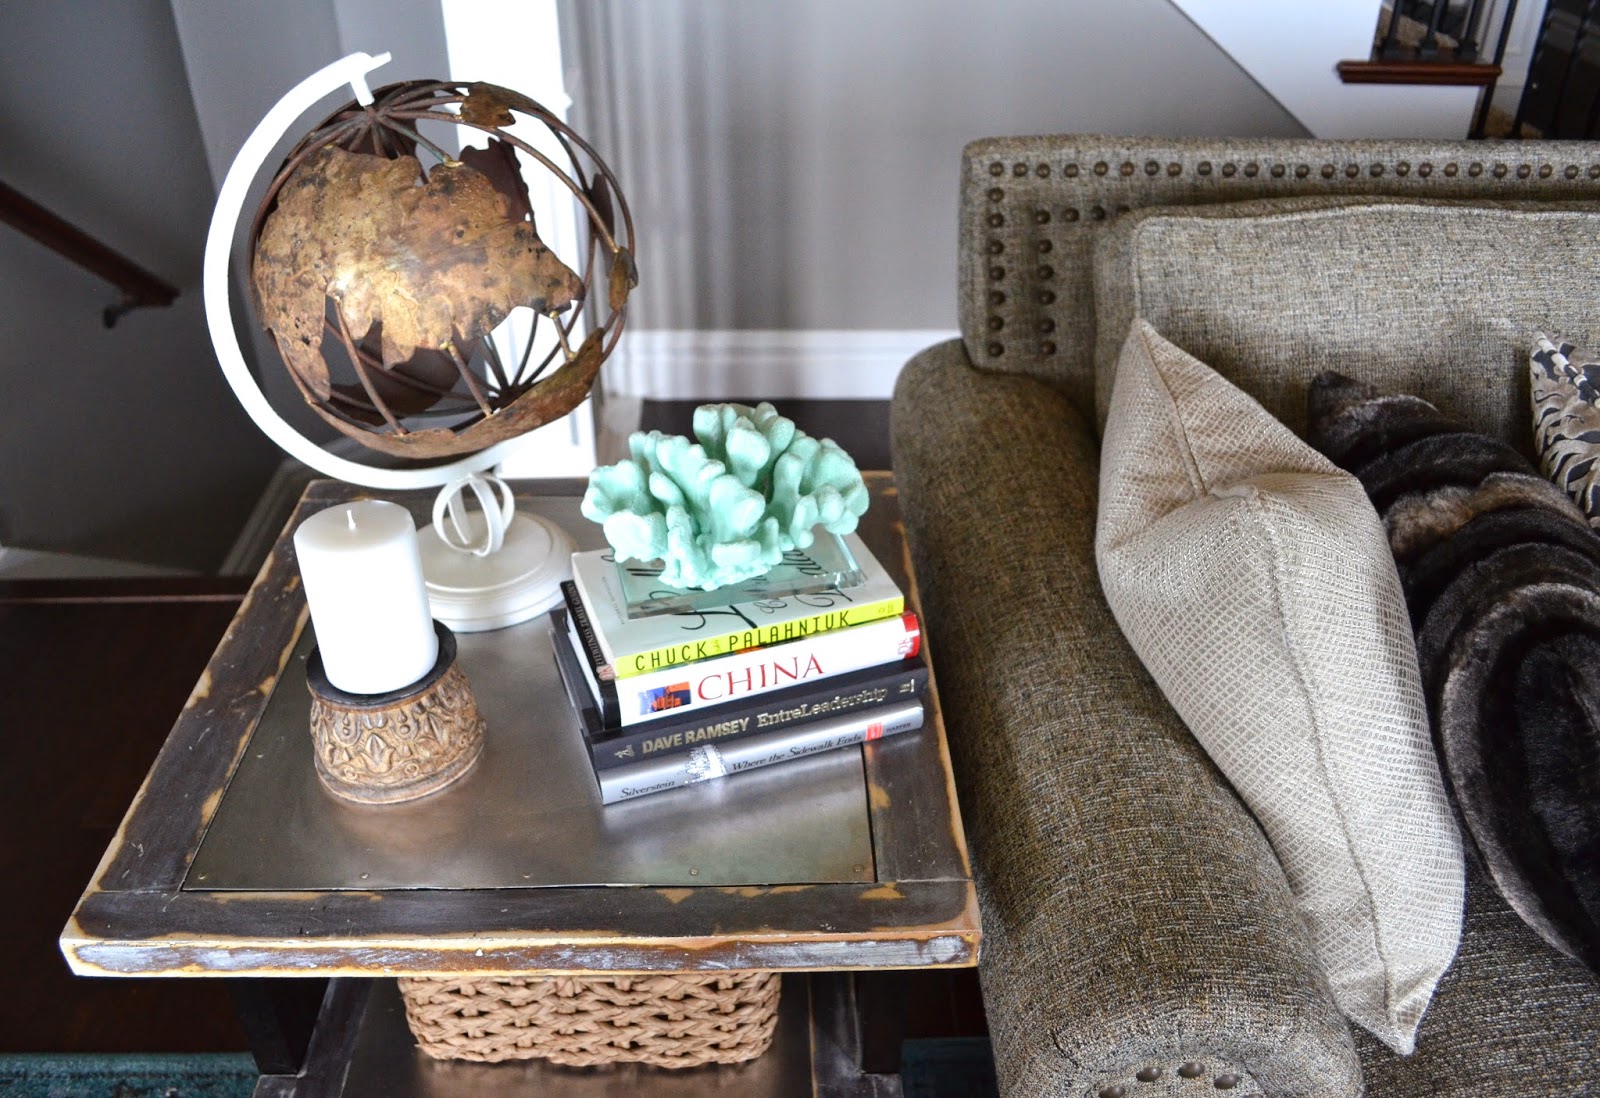
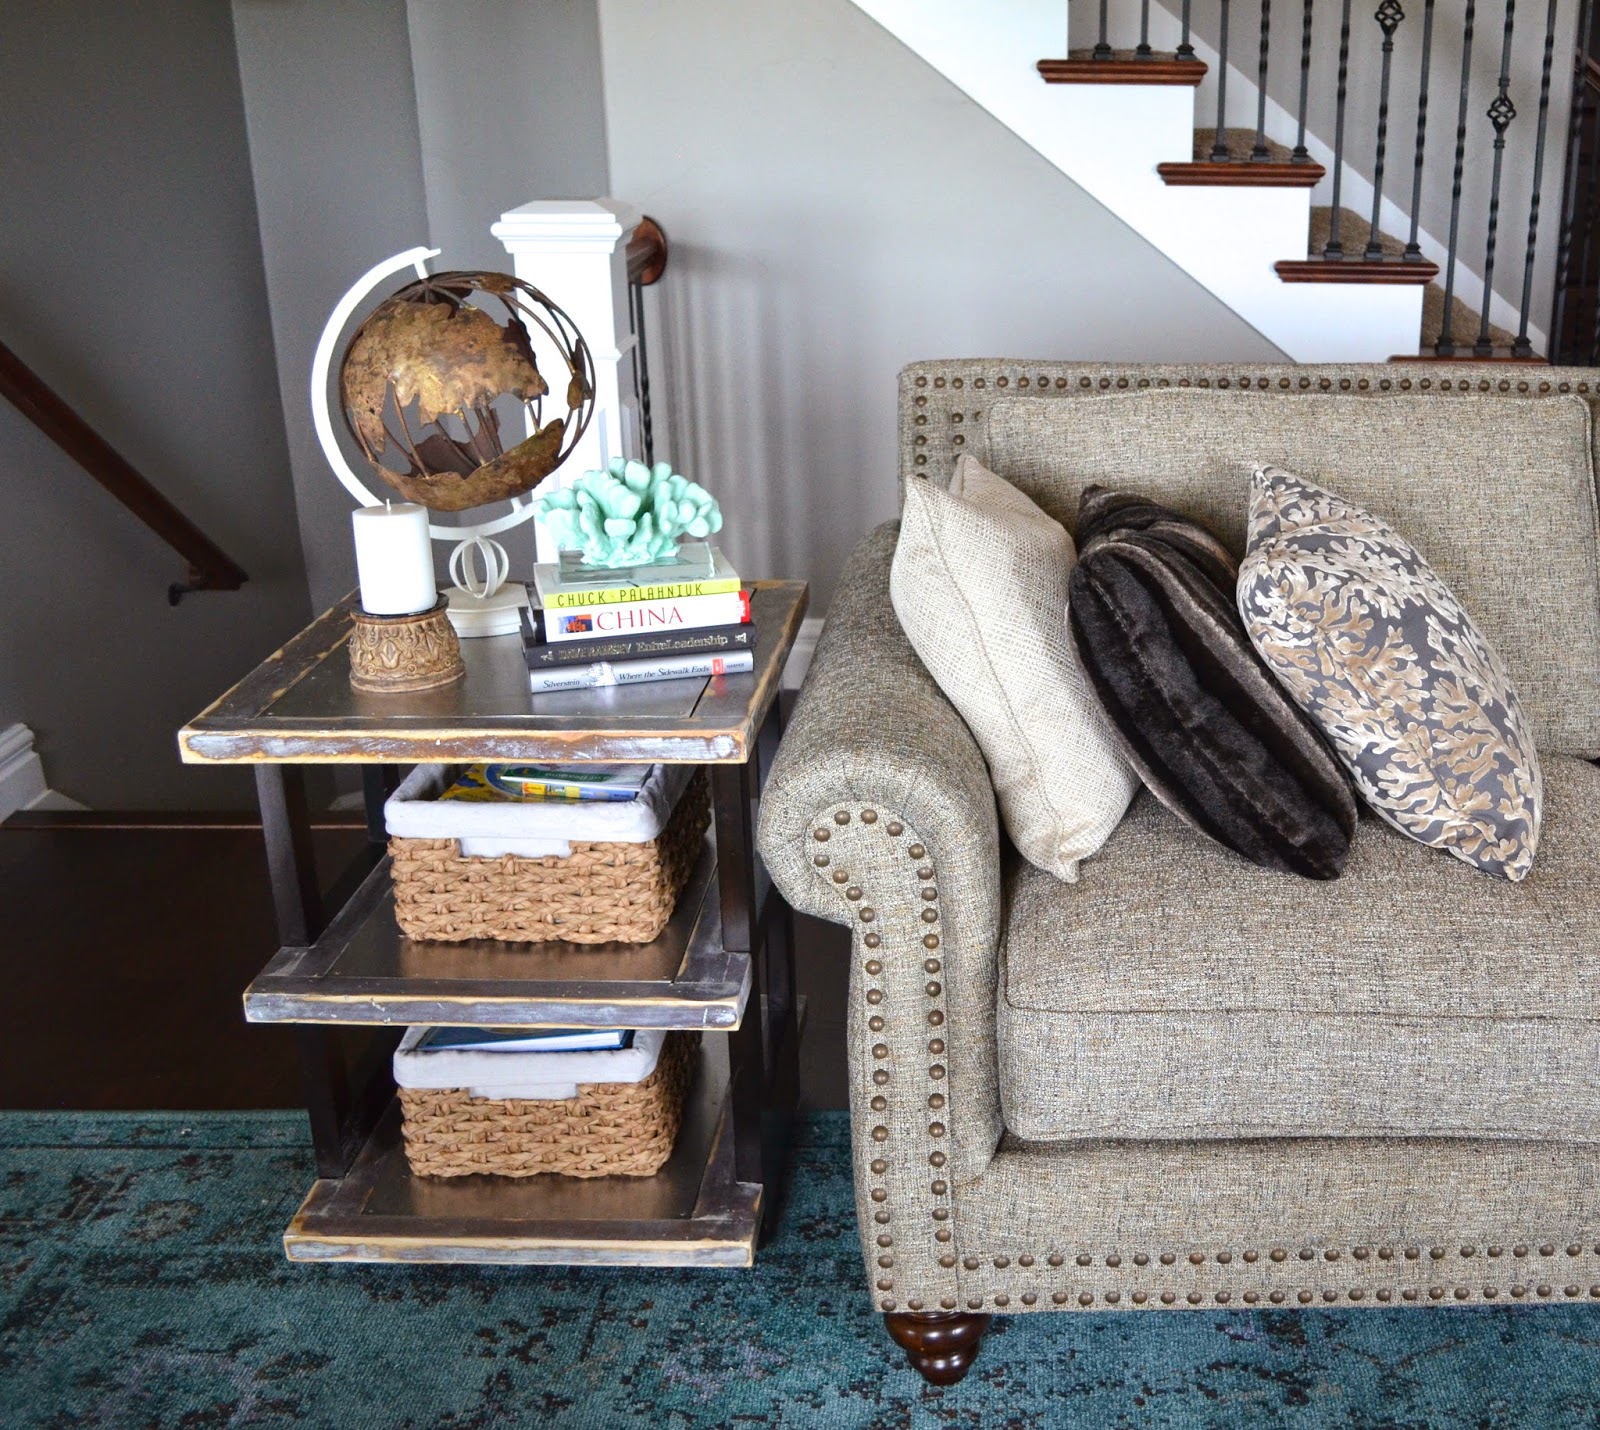
Side Table Makeover with Metal Top
 |
| BEFORE |
 |
| AFTER |
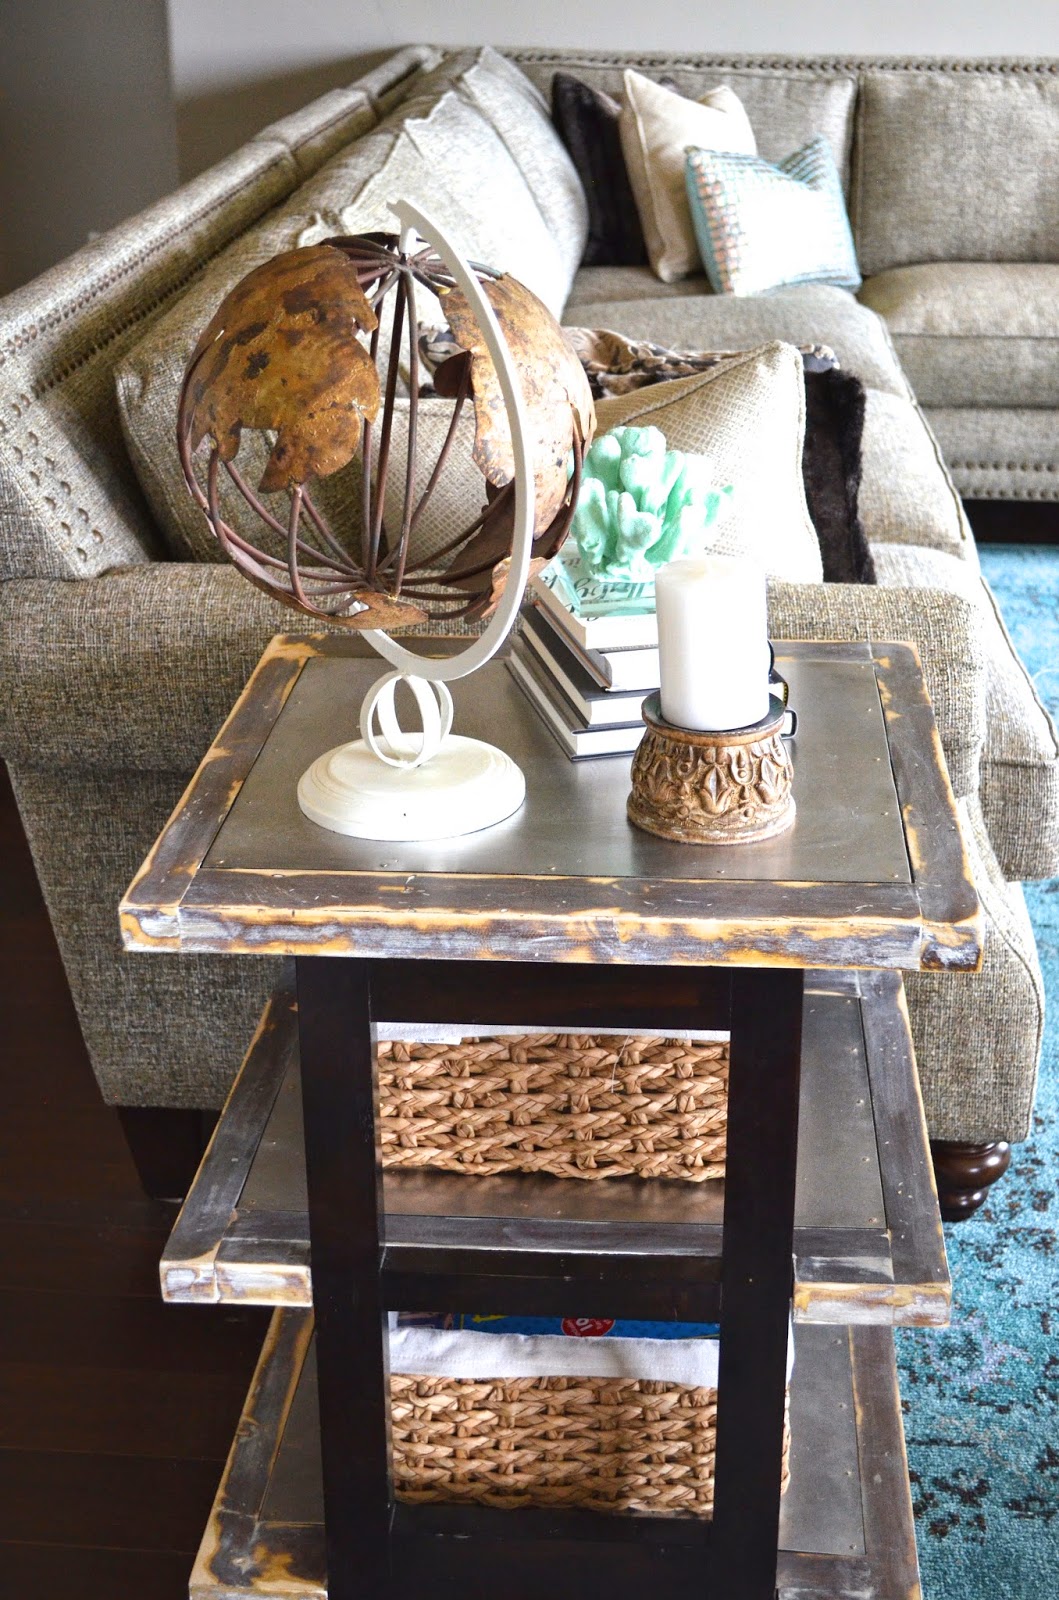
Side Table Makeover
with diy metal table top
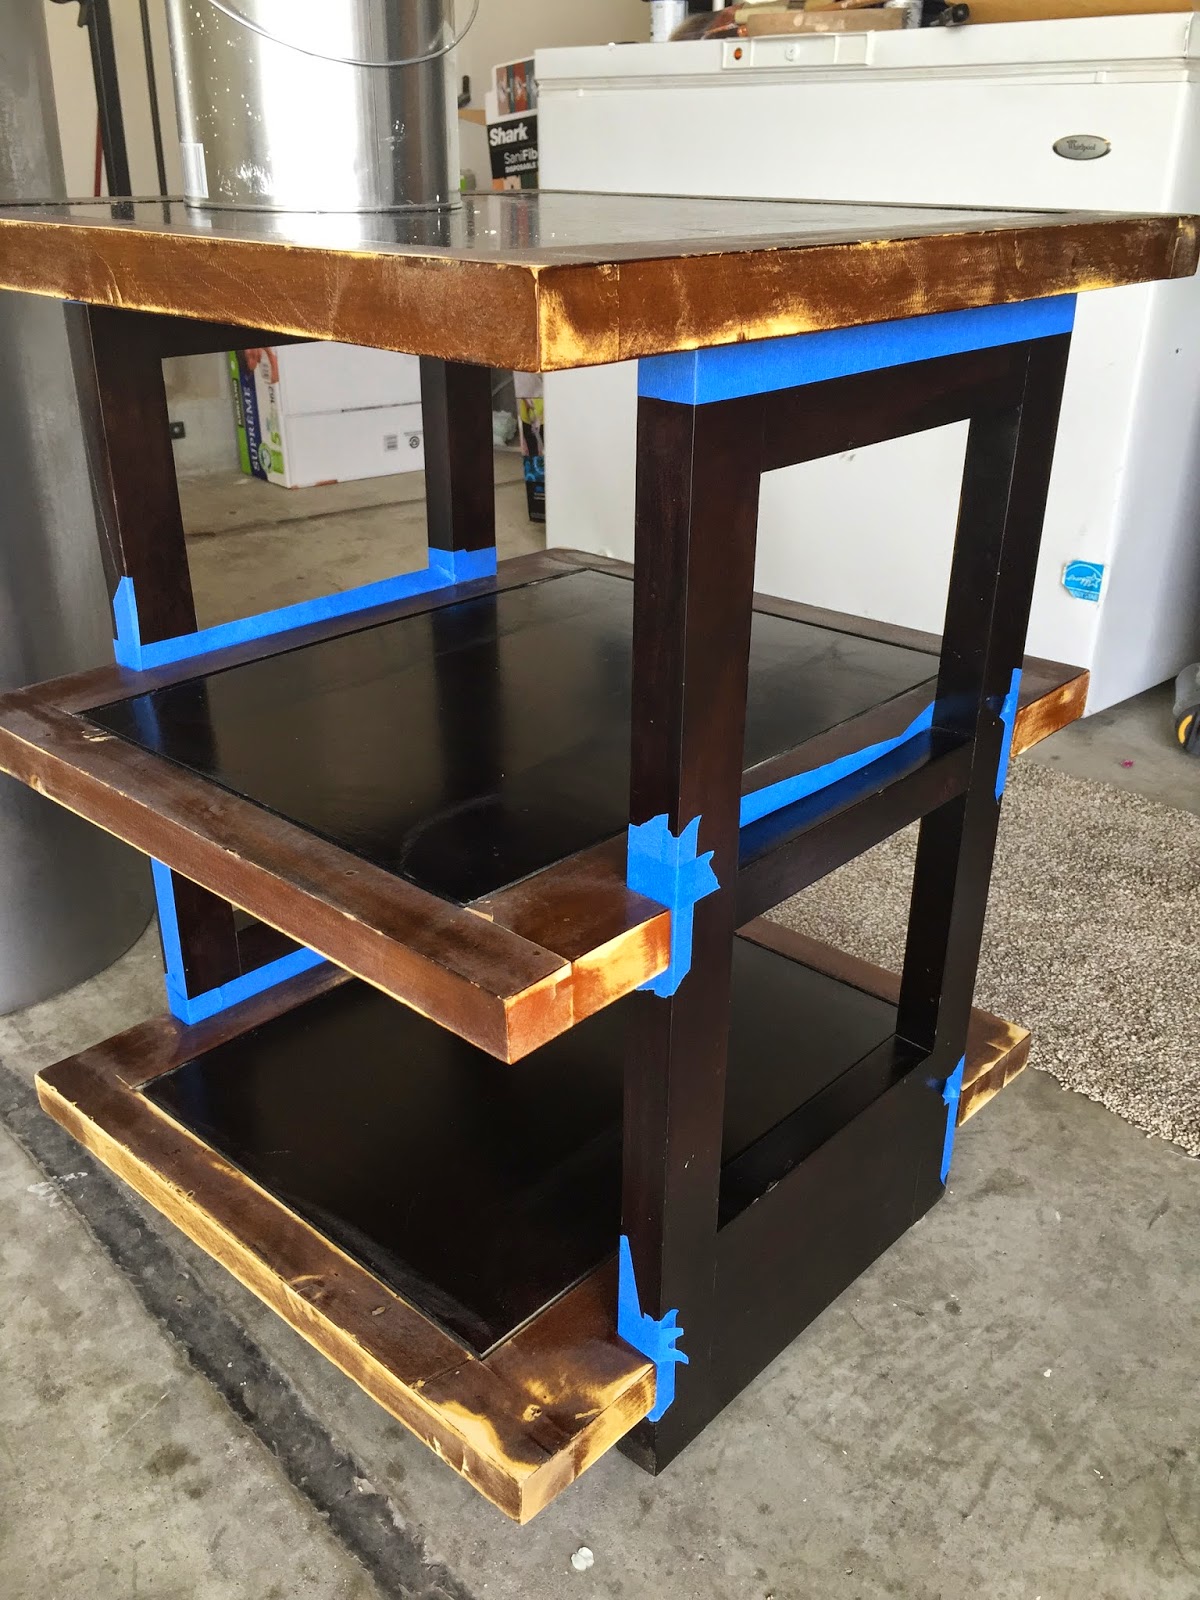
Before selling any furniture, I always think to myself “What could I do with this,”and “How could I make this work in my home?” Obviously I couldn’t get rid of this sentimental item, but just as a rule of thumb! The stain had flaked off from years of use especially on the edges. I took my sander to all lighter colored edges. I scuffed the tops a bit but who cares, they’re getting covered anyway. I did however pay close attention not to get any sand marks on the dark expresso colored sides. I knew I didn’t want to change those at all.
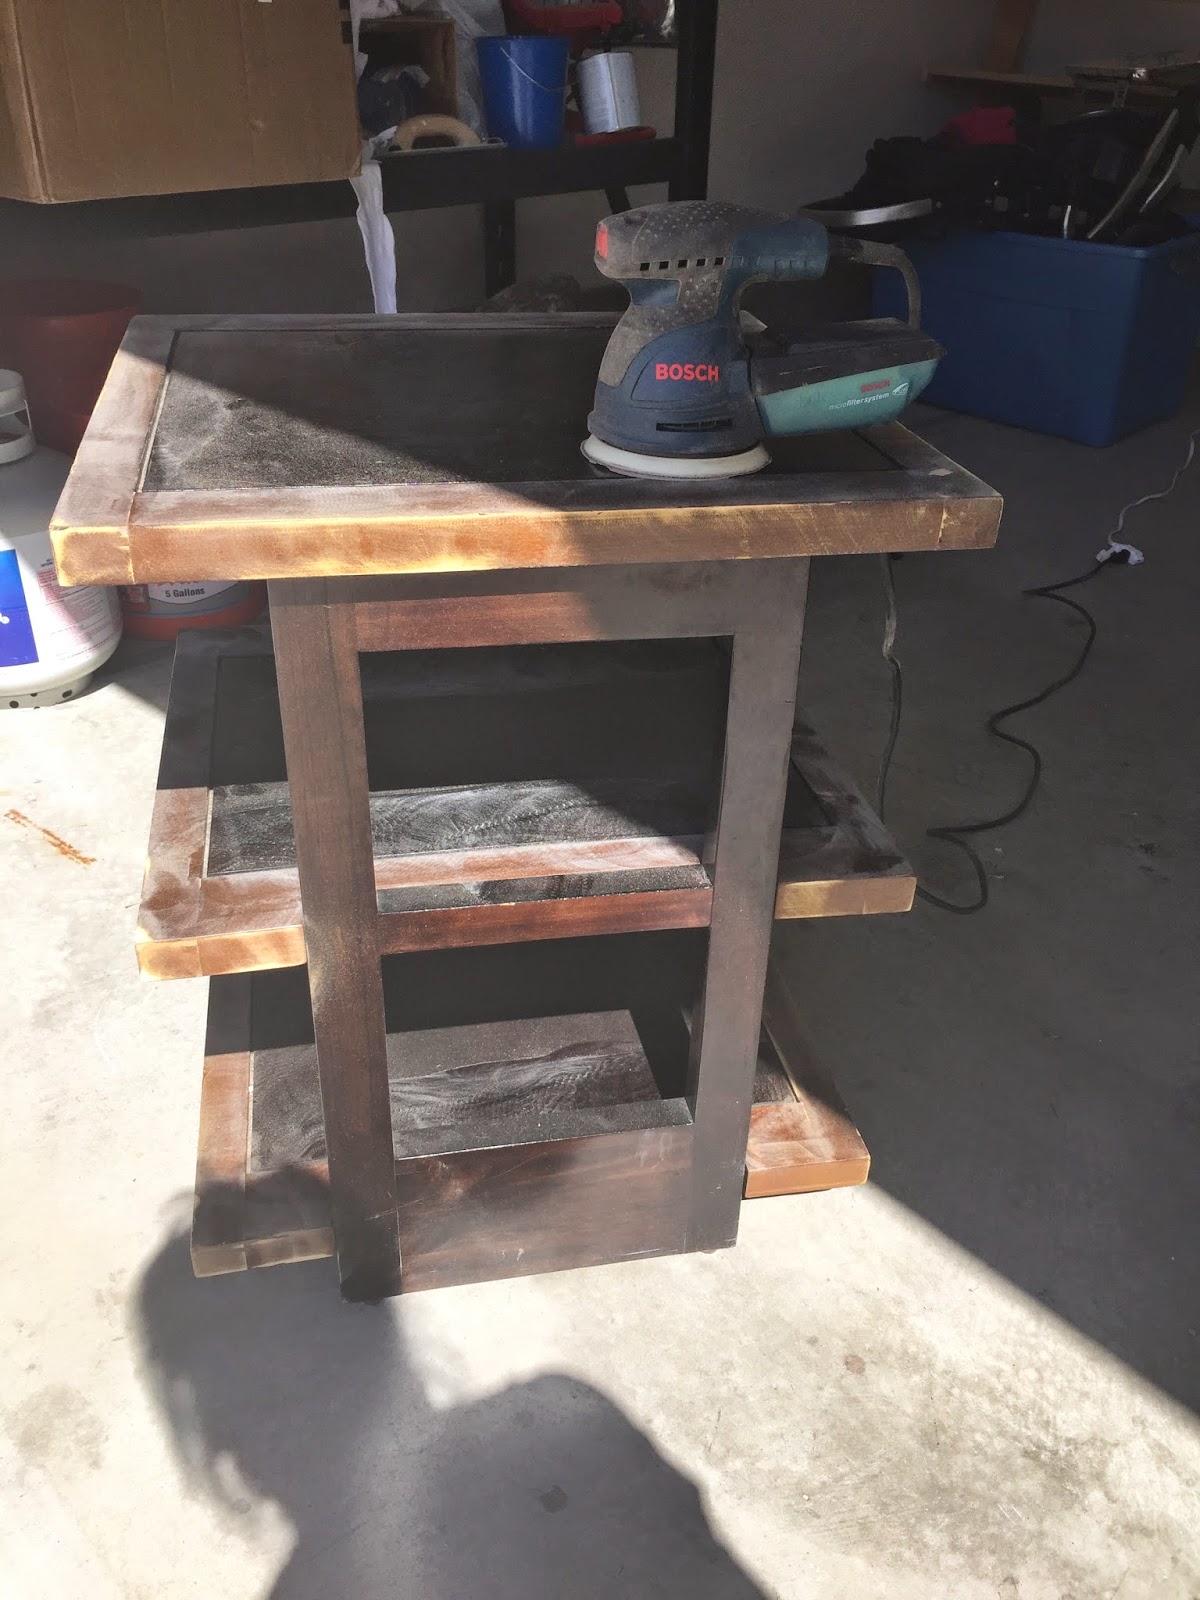
I taped off the dark sides and painted the lighter brown sides with some leftover Annie Sloan chalk paint from my kitchen. I first drybrushed a quick coat of Old white. This just means i used very little paint on a relatively dry brush. Using the same technique i went over that same area with French Linen, a grayish tan color, and then again with a flat black. I used a variety of colors to create depth and mimic an aged over time look.
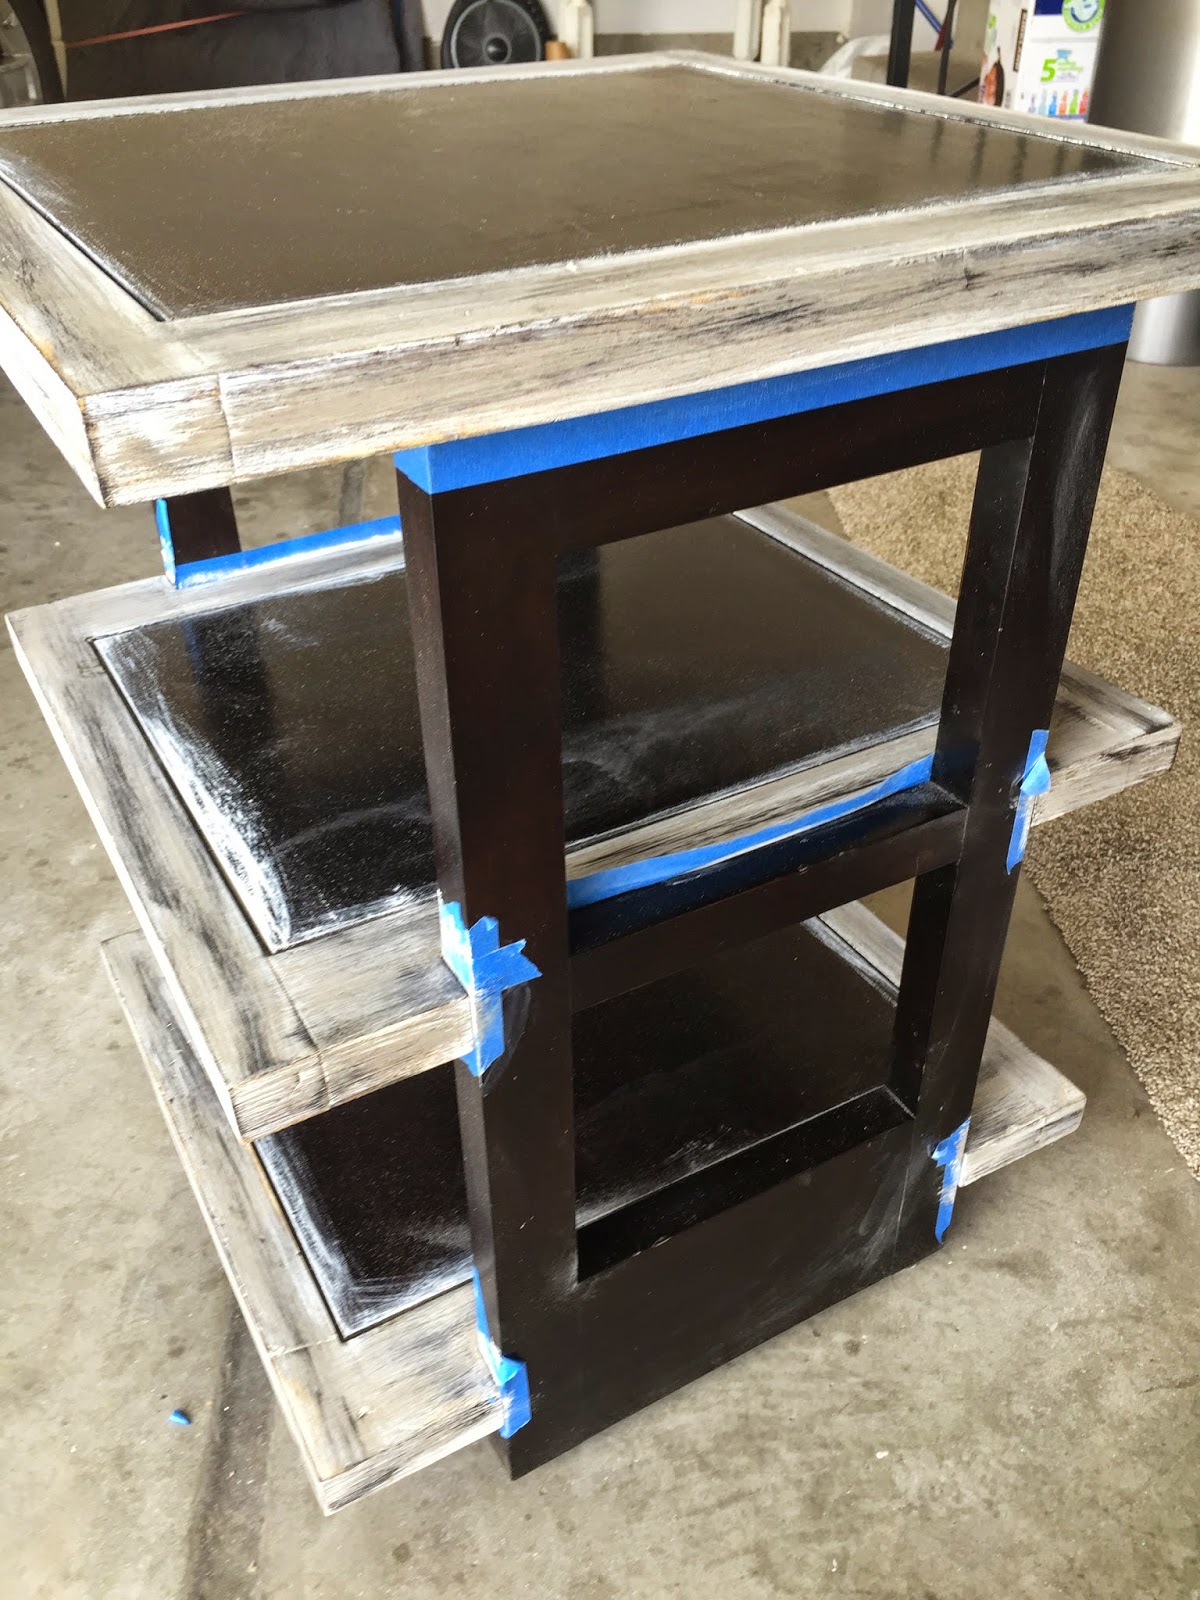
Next step was to sand again. This time I was i bit more selective about it. I sanded the very edges down to the raw wood. With the rest I used different pressures expose different layers of paint.
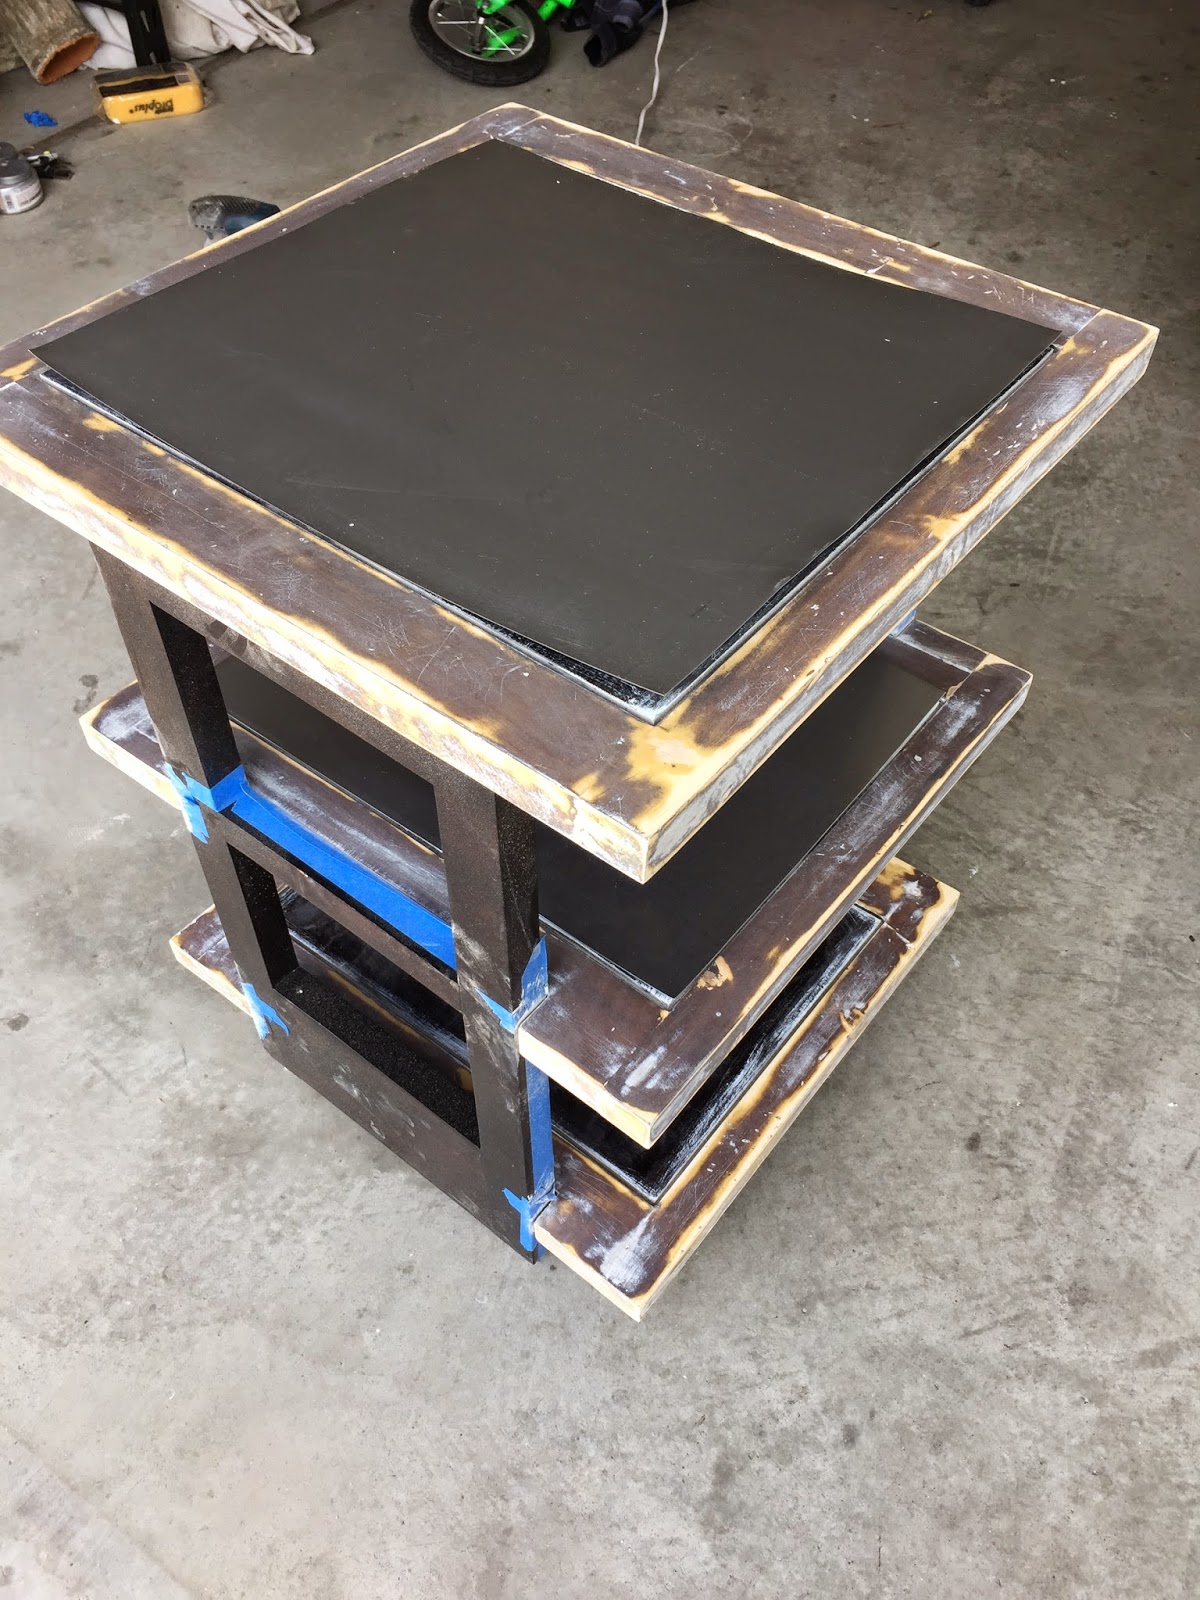
Then I painted again. This time I watered down the Old White to i milk consistency. You only need a tiny bit. I brushed it on all over the edges and finished with a low sheen Poly acrylic sealer.
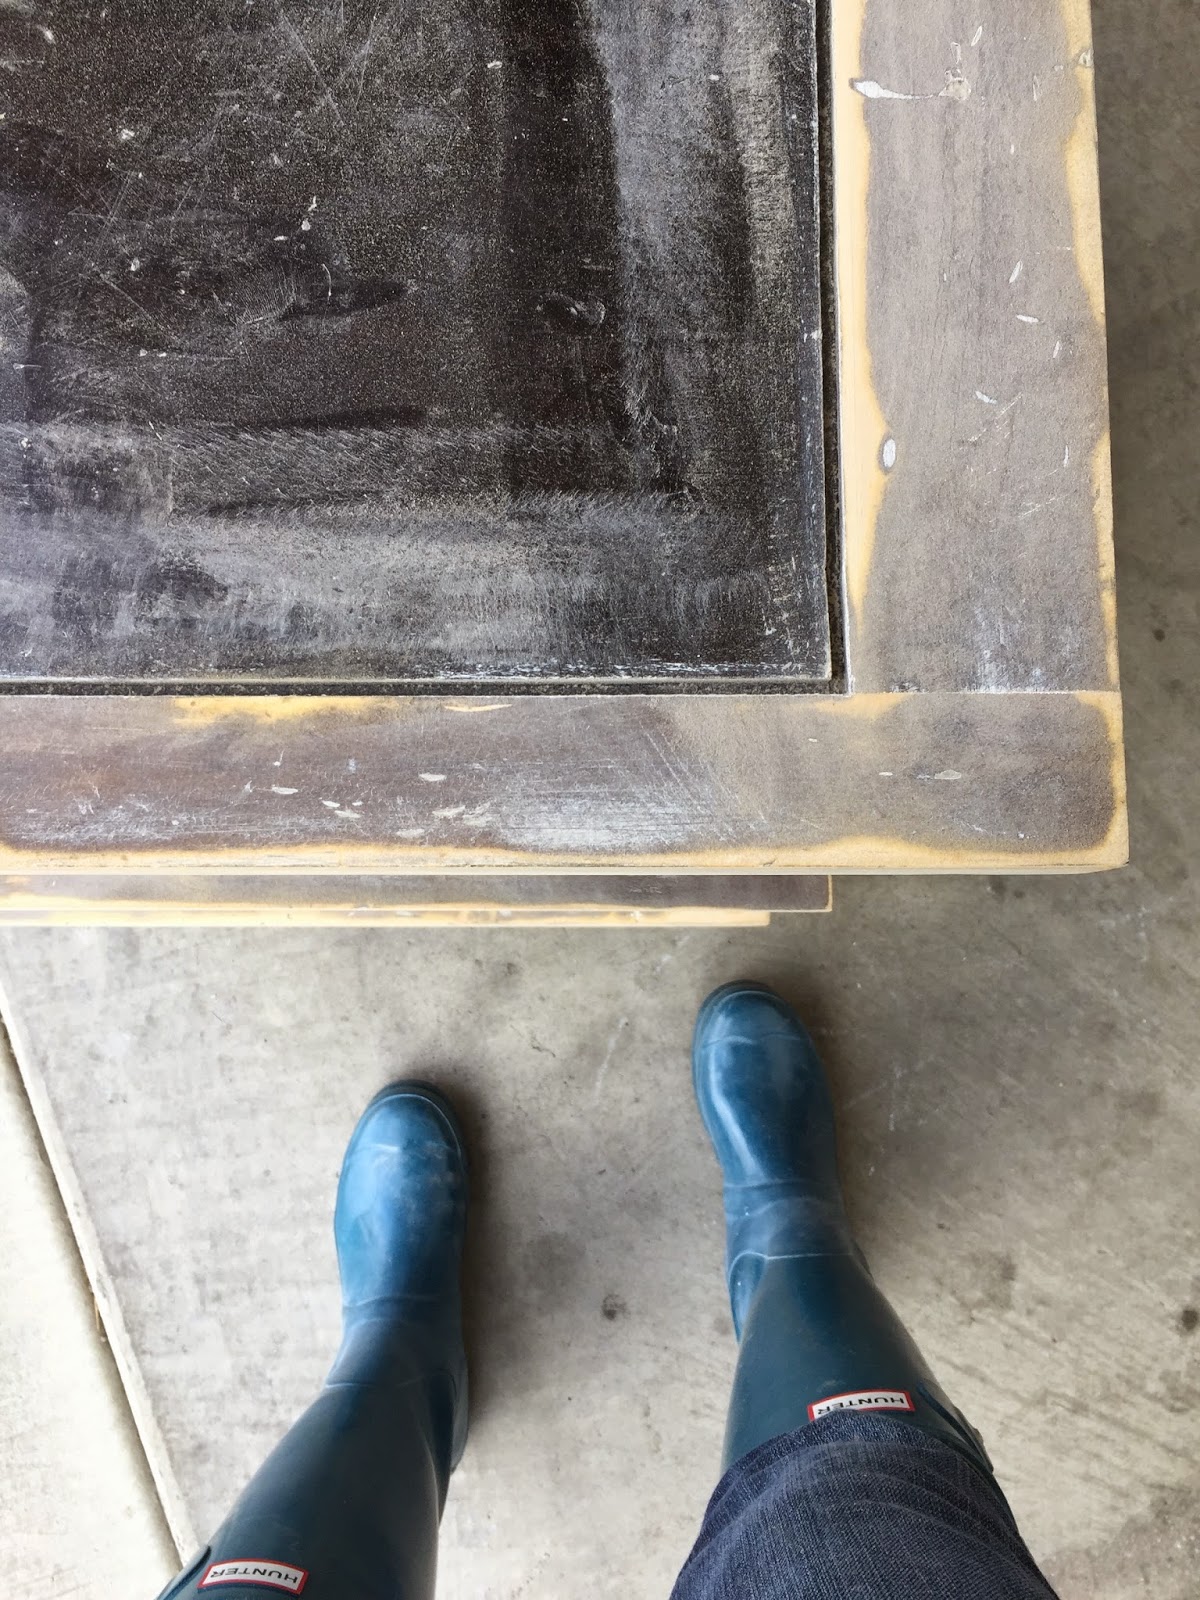
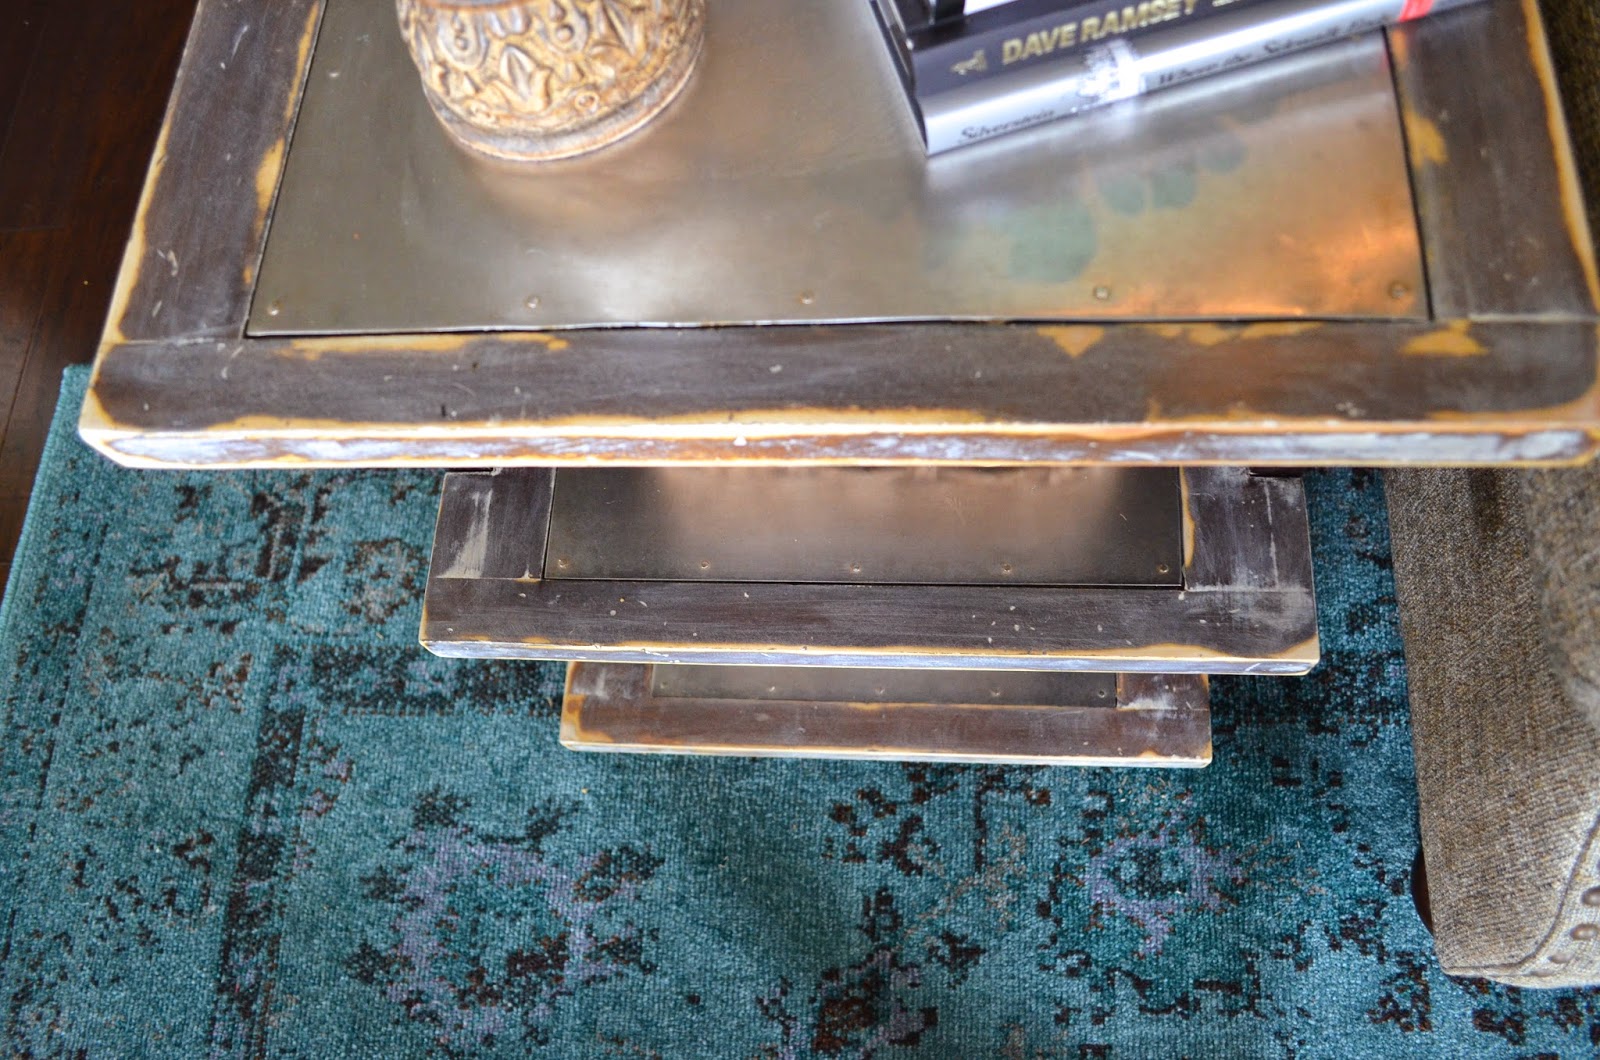
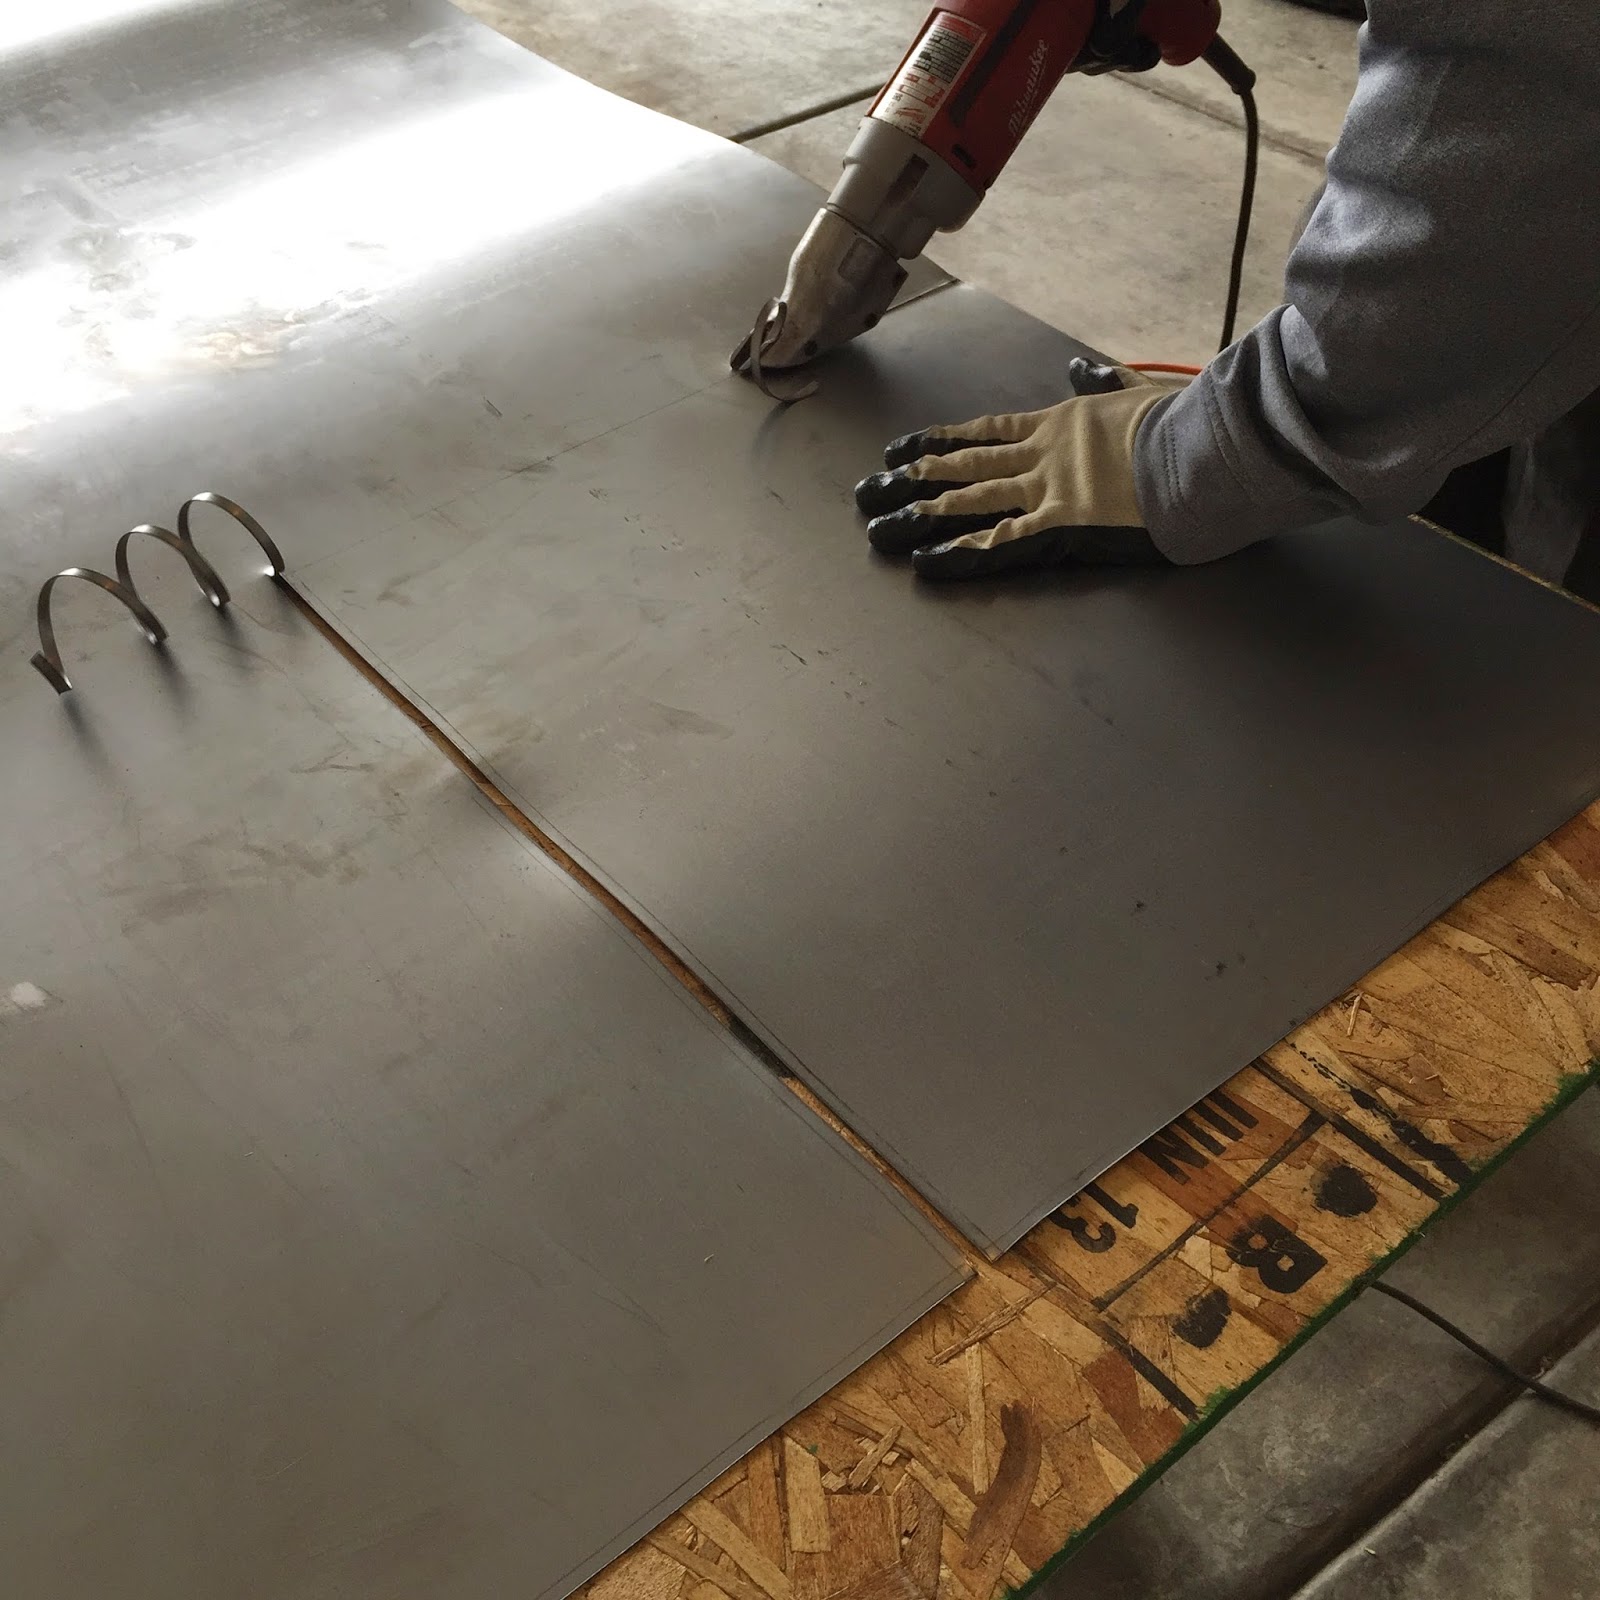
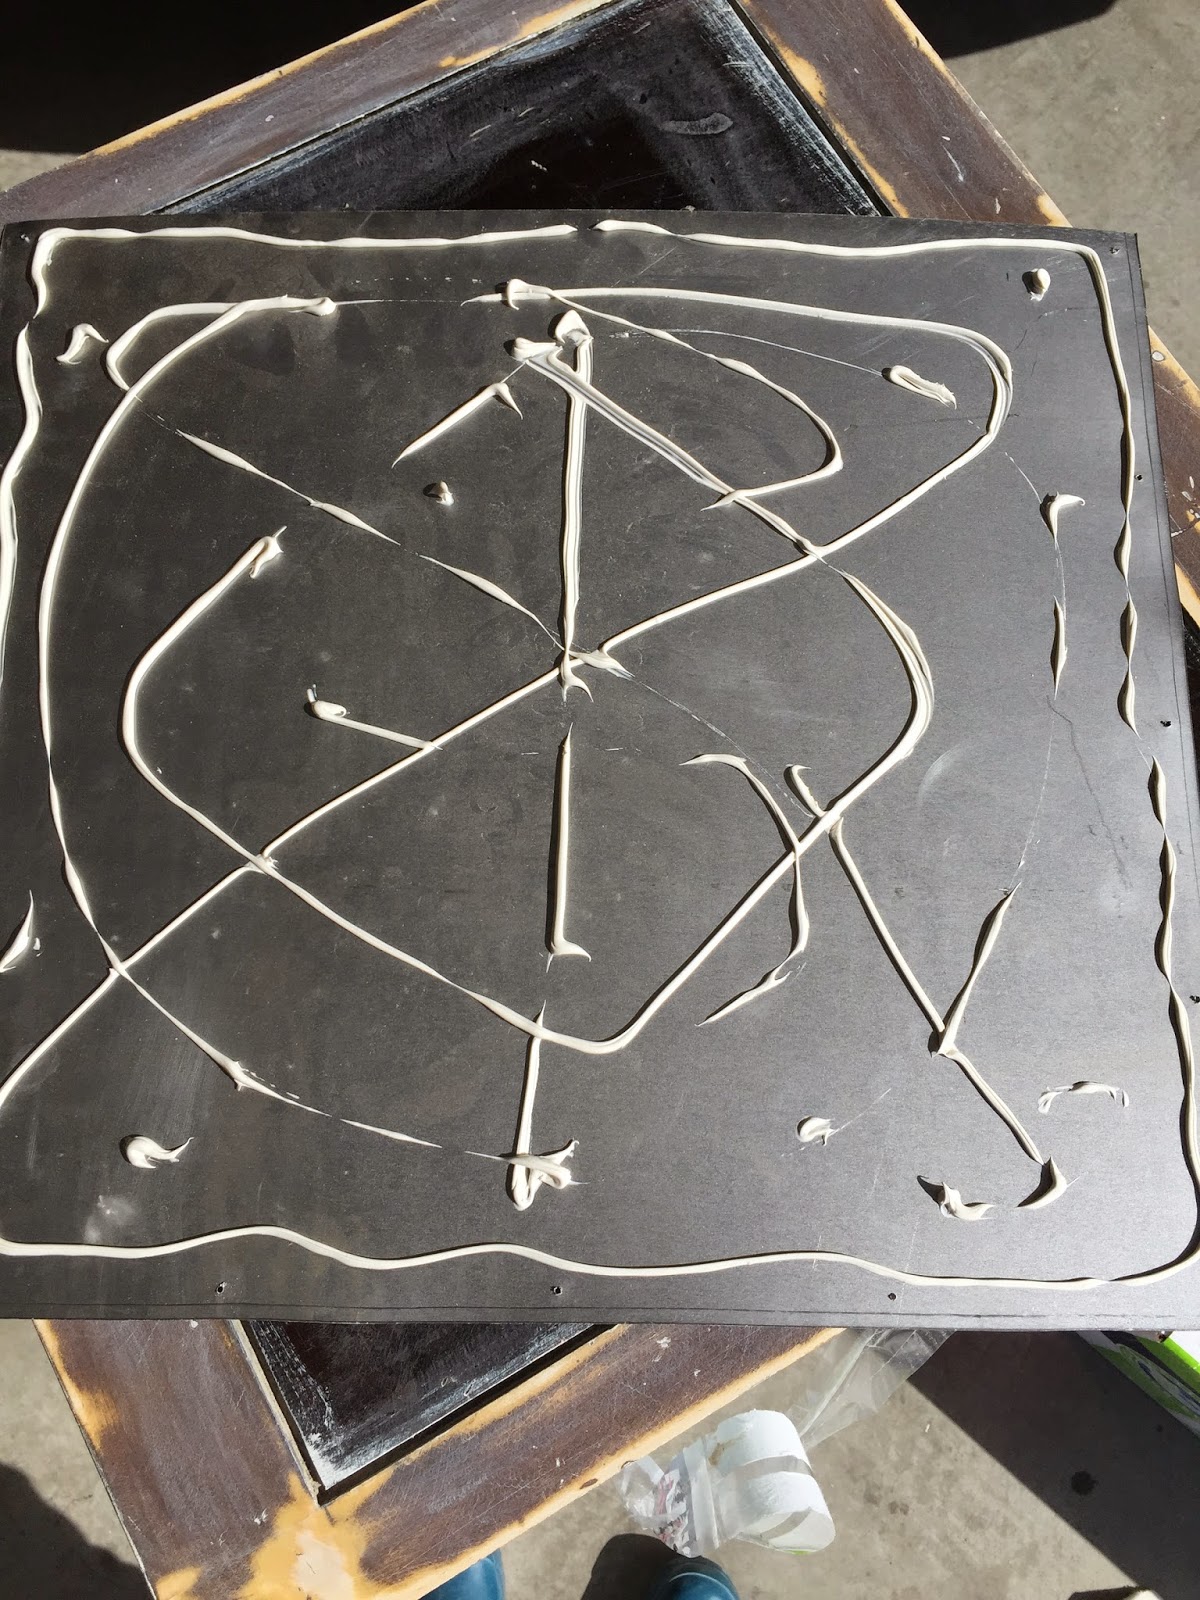
Now the fun begins. I didn’t cut the metal squares for this project, but after seeing how easy it was, ill definitely take it on next time. My buddy Lance cut the measured squares for me using an 18 gauge electric sheet metal sheer. I measured the squares to align with the existing dark ones as shown above.
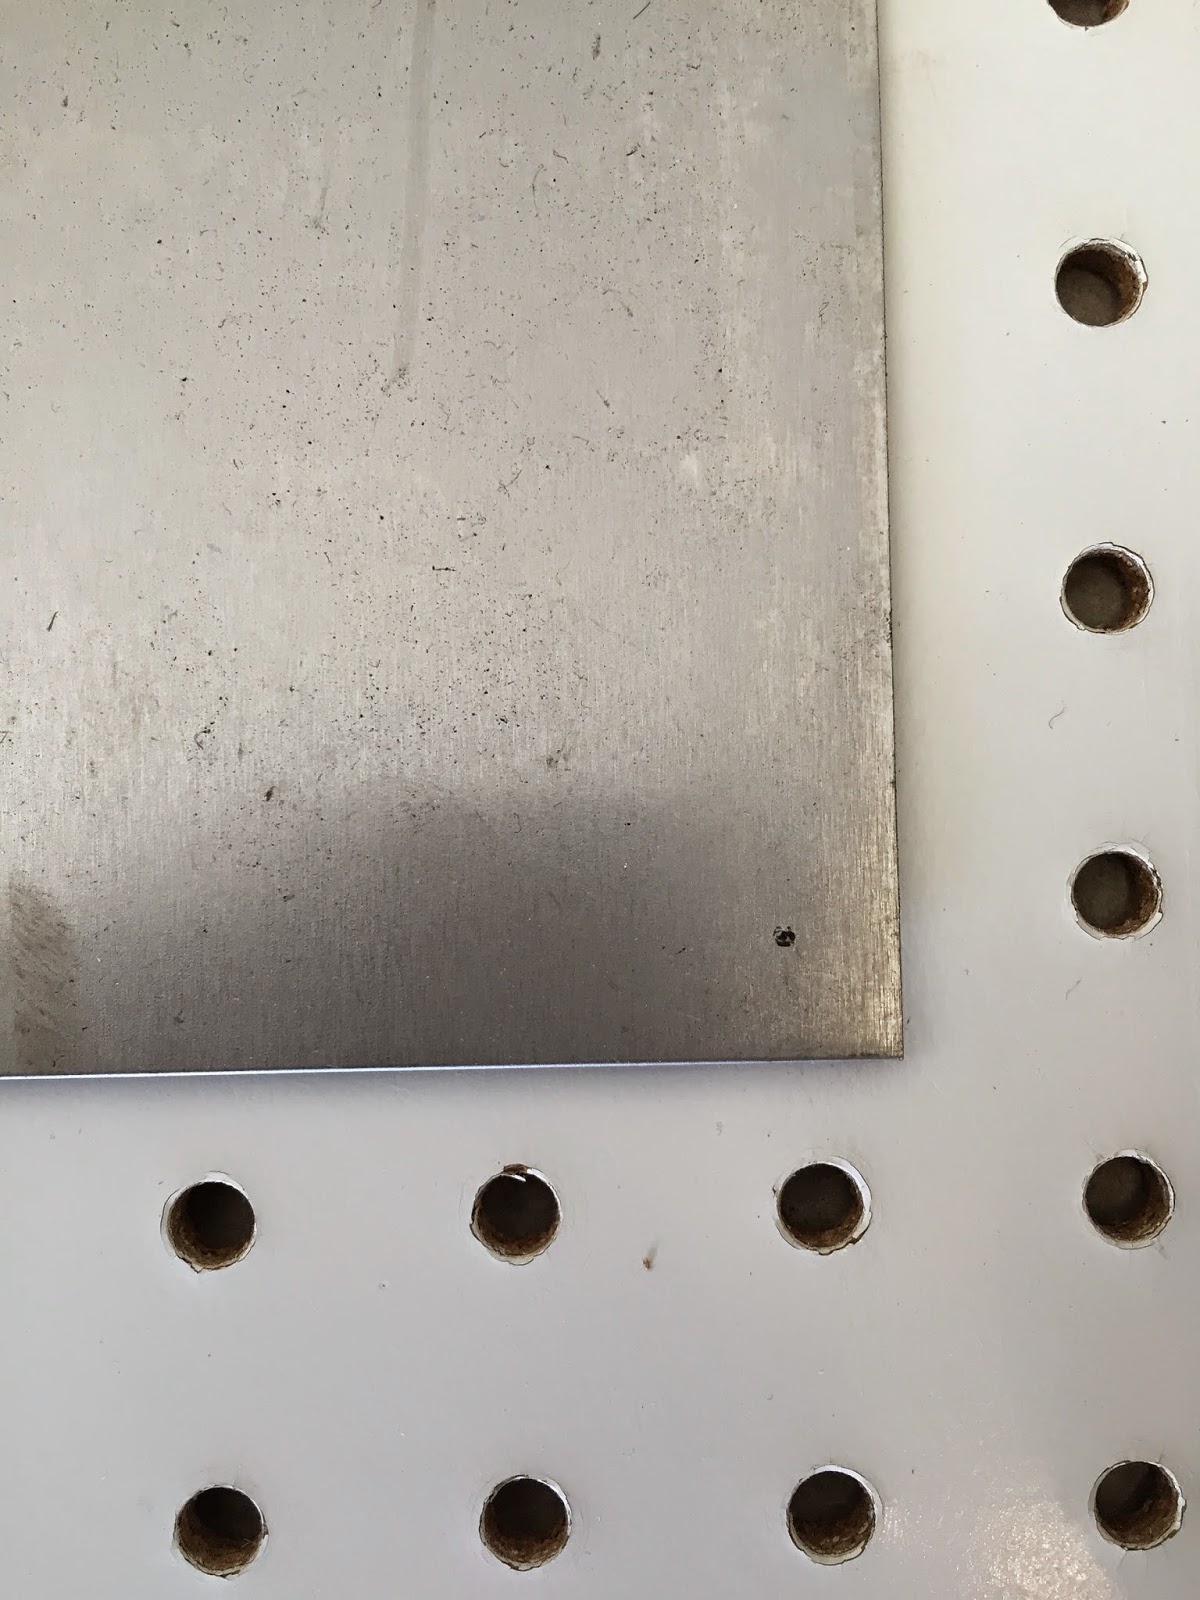


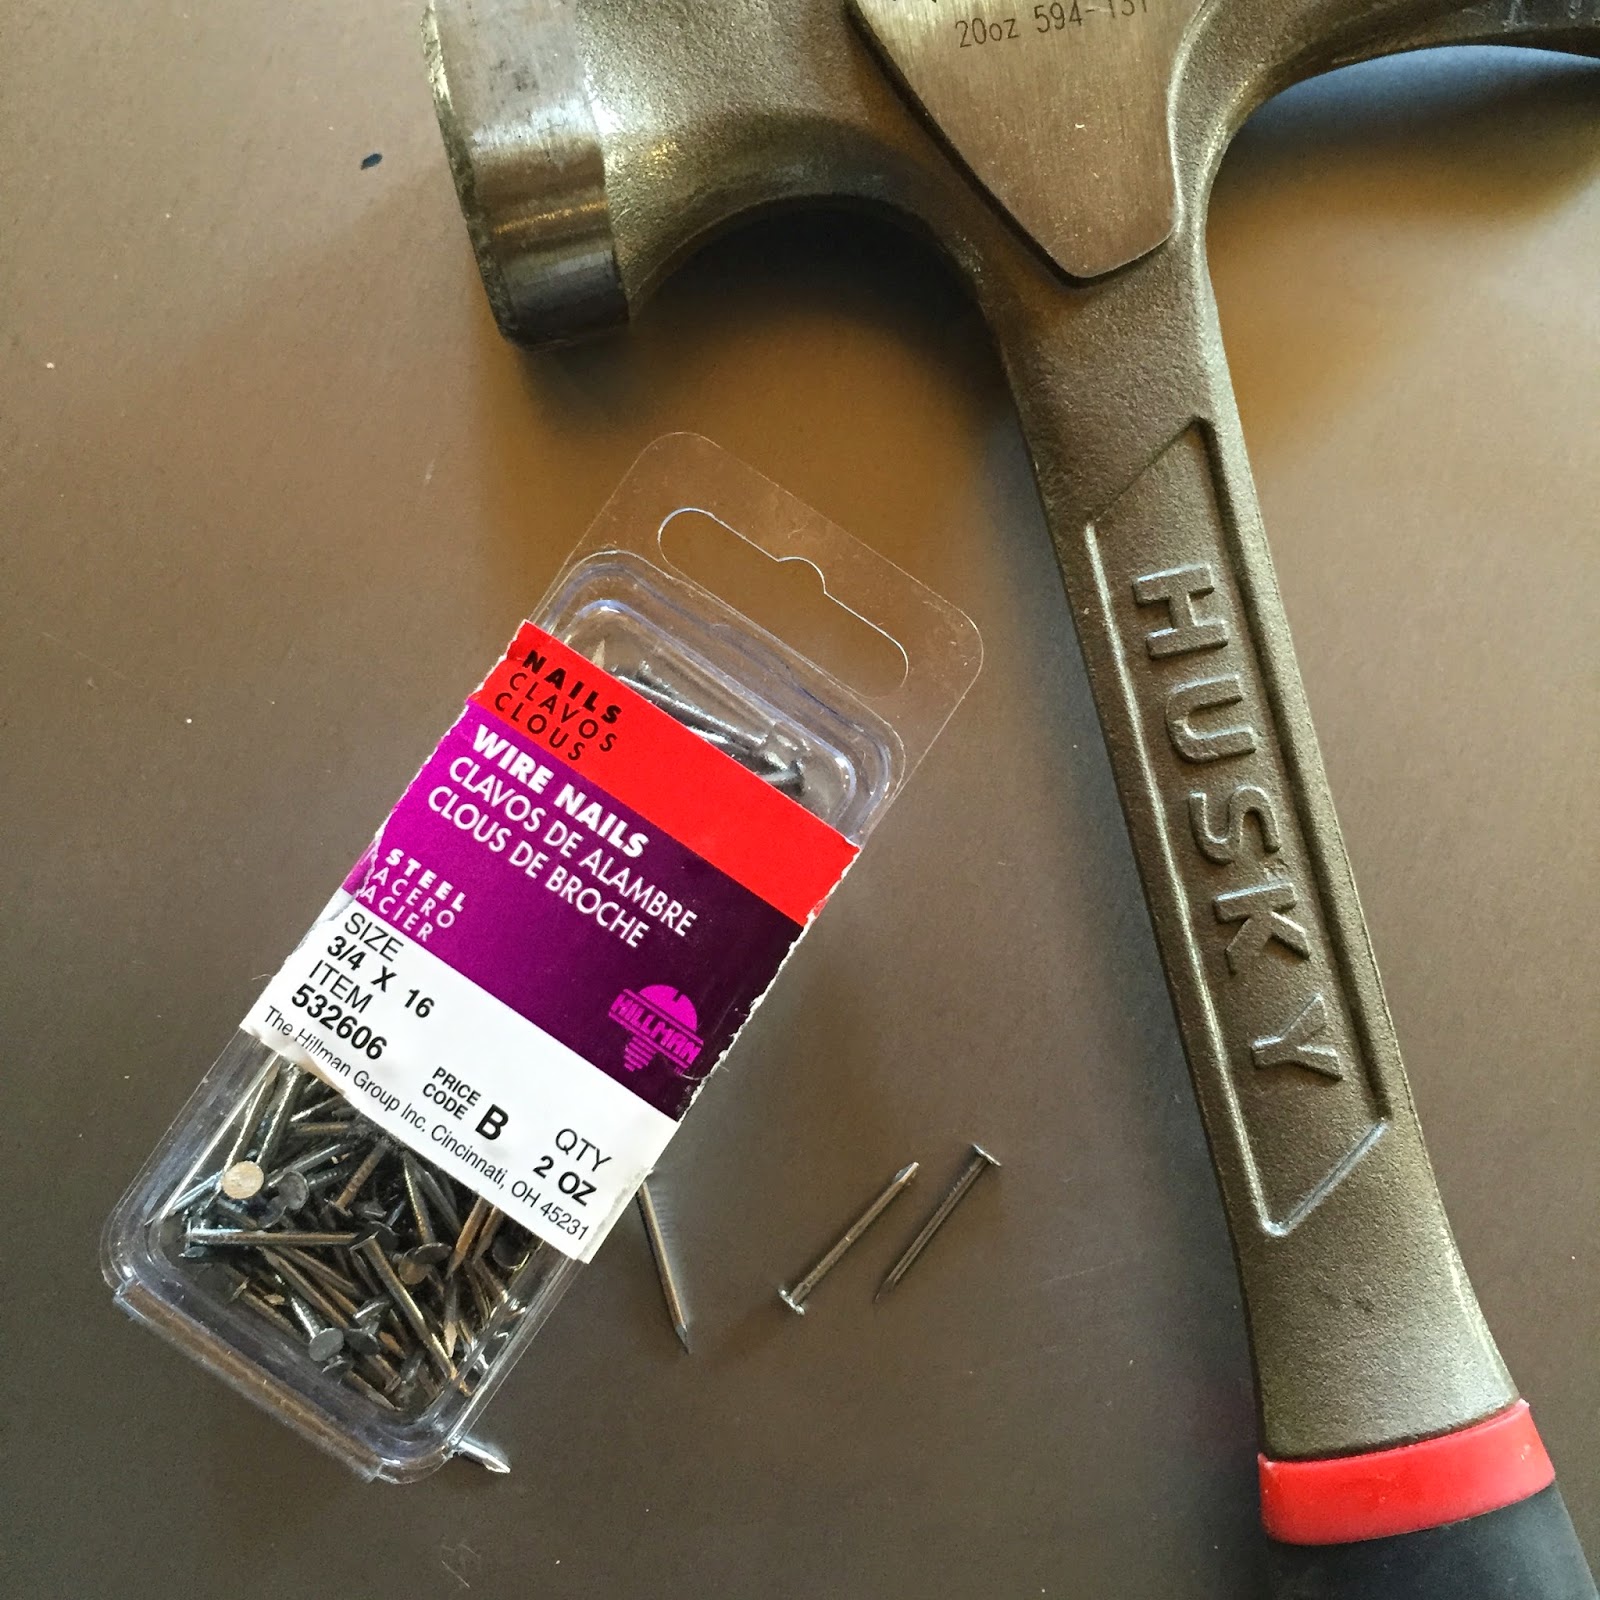
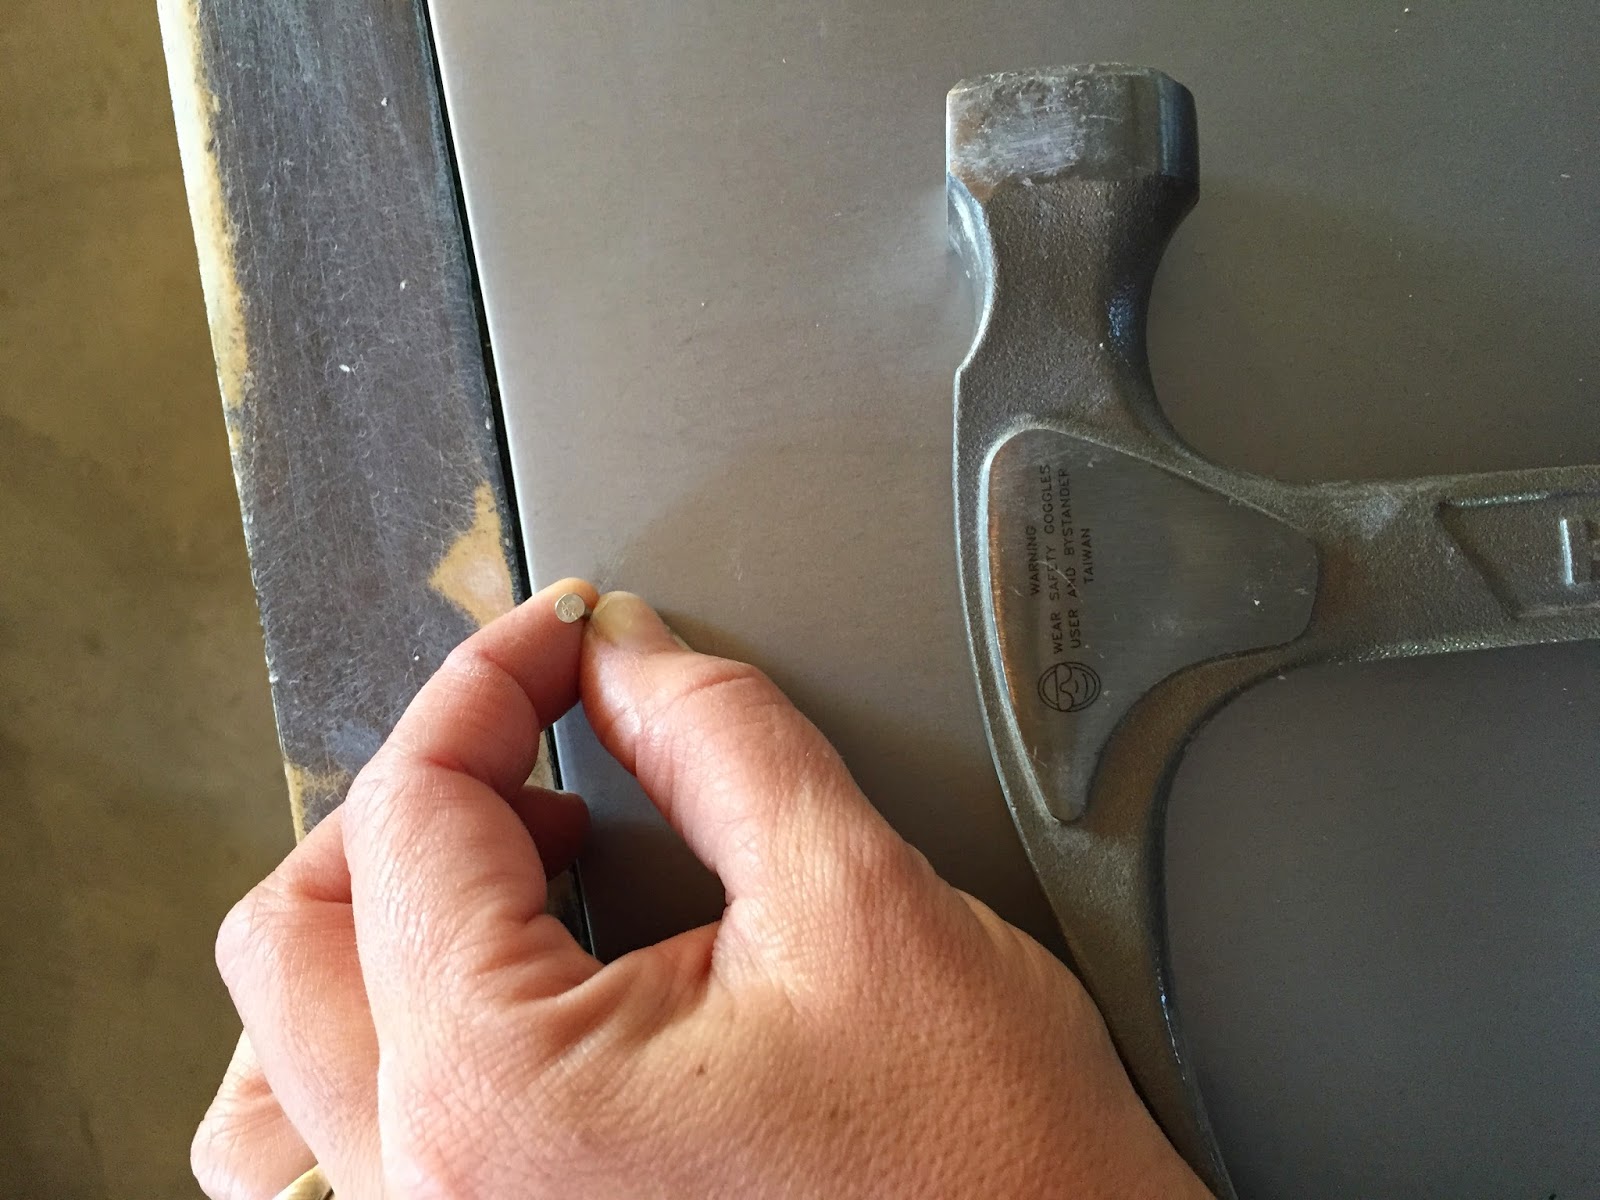
To finish things off I took my 3/4 x16 nails and hammered em into the designated holes. Pretty simple really.
The final step in this makeover was giving the metal a slight patina. I looked up a few recipes, but this one got good reviews. I just mixed 3 parts cider vinegar with 1 part water and 1 tablespoon of salt in a spray bottle. I sprayed it evenly on all three tops and wiped it around with a sponge to prevent water marks. I let it dry over night and this is what I found in the morning.

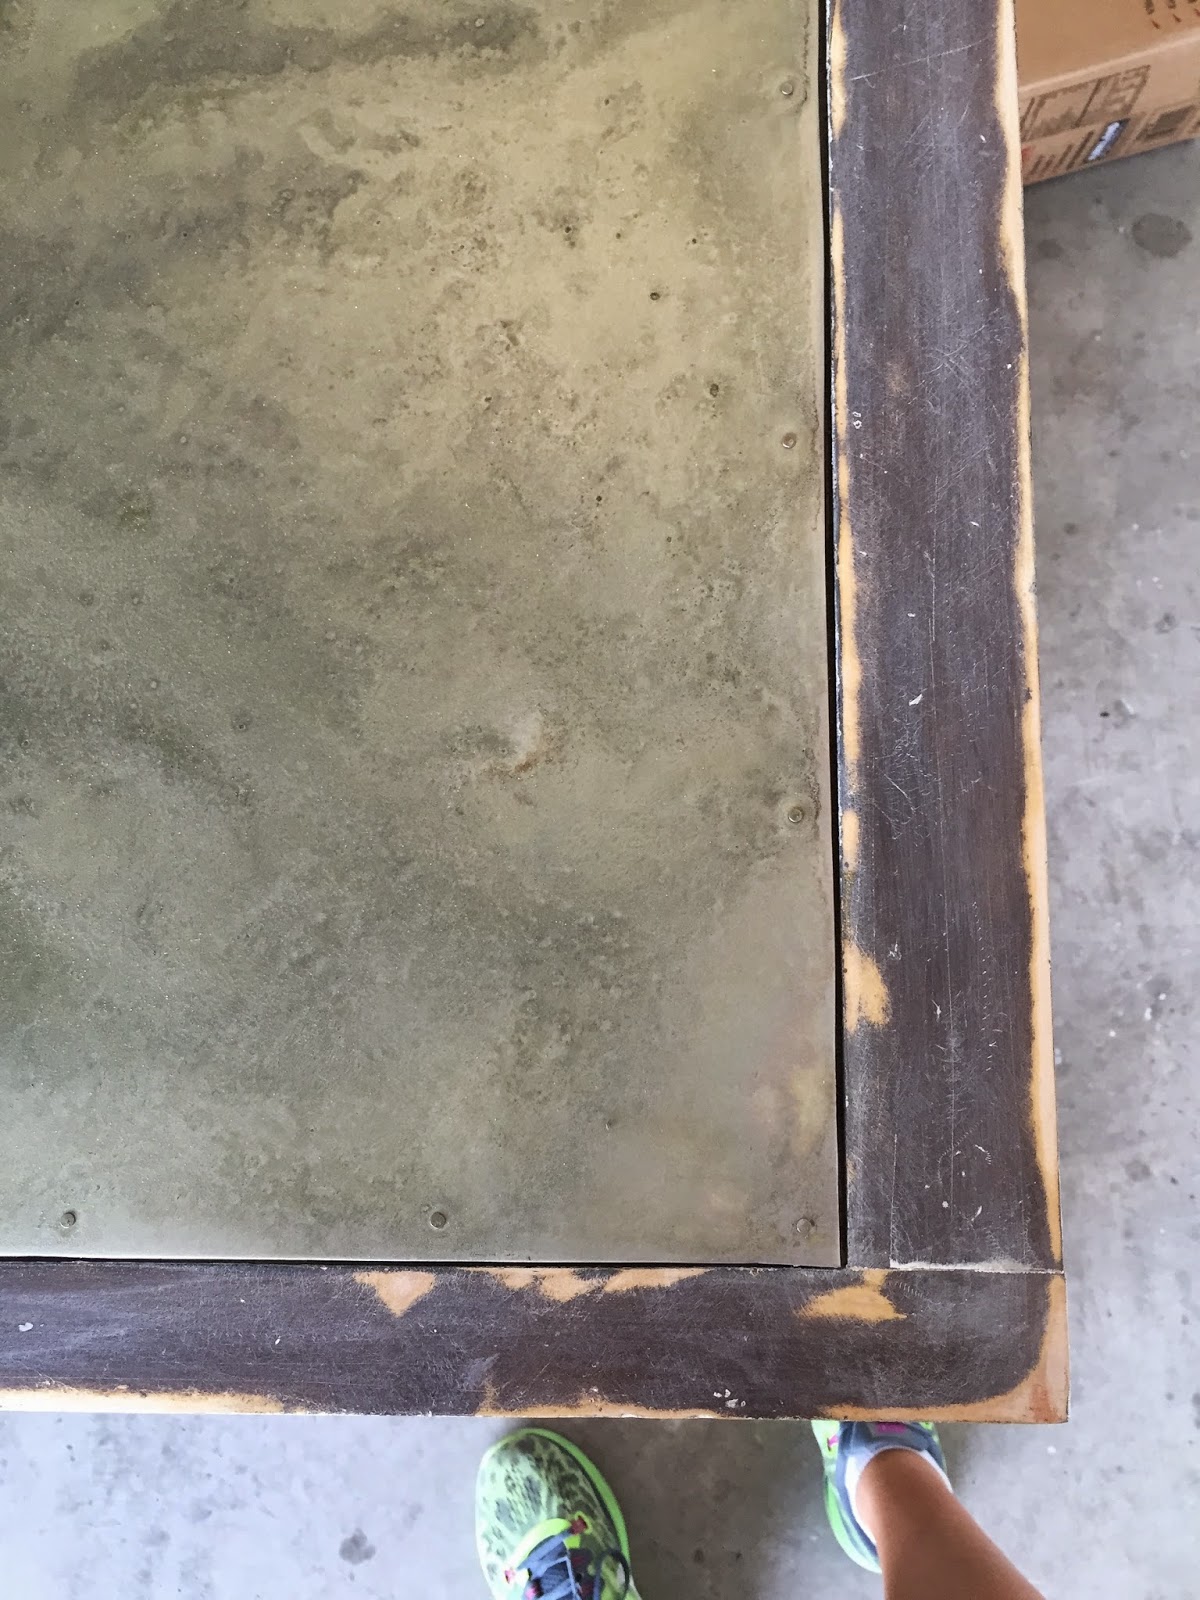
It was pretty stinky and grimy with all that salt. I took a couple clean wet cloths and wiped it down thoroughly. When I was done I was left with a slight patina that would seal the metal from scuffs and marks. Are you ready to top one of your tables now?!


 Add to favorites or read later