Pimp My Curtains Please
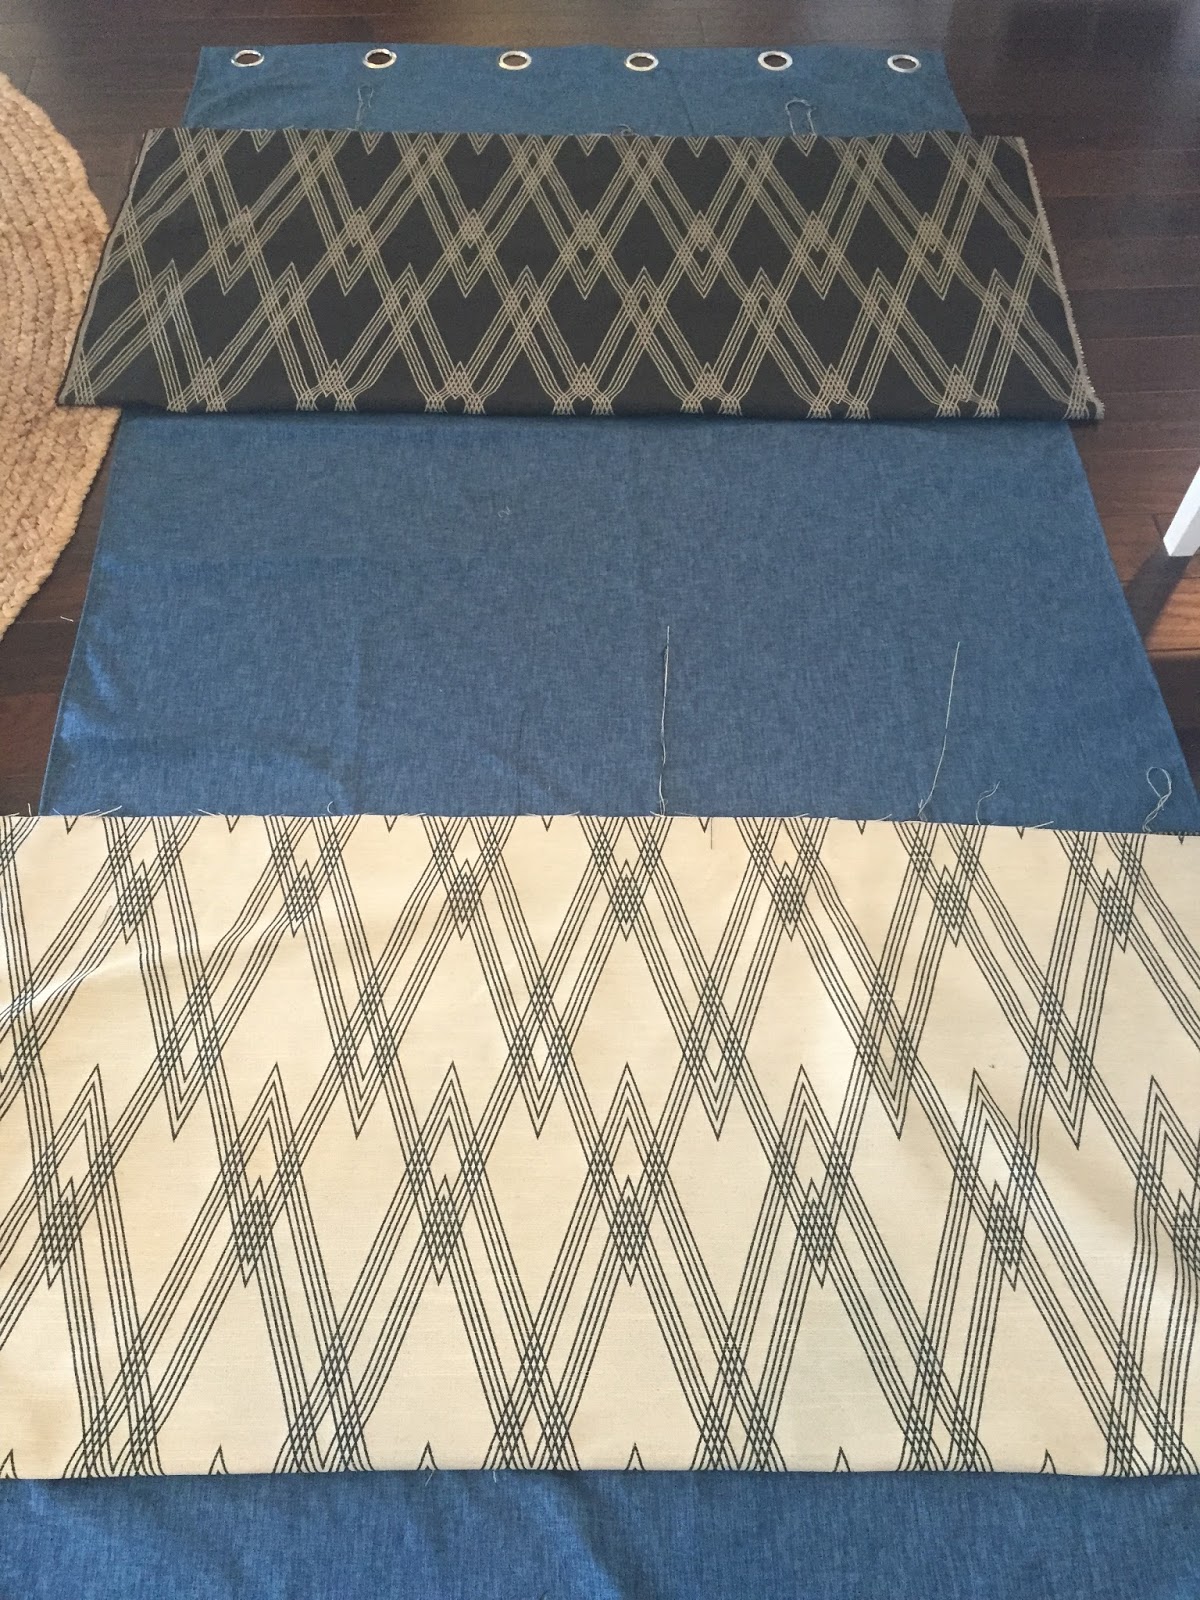
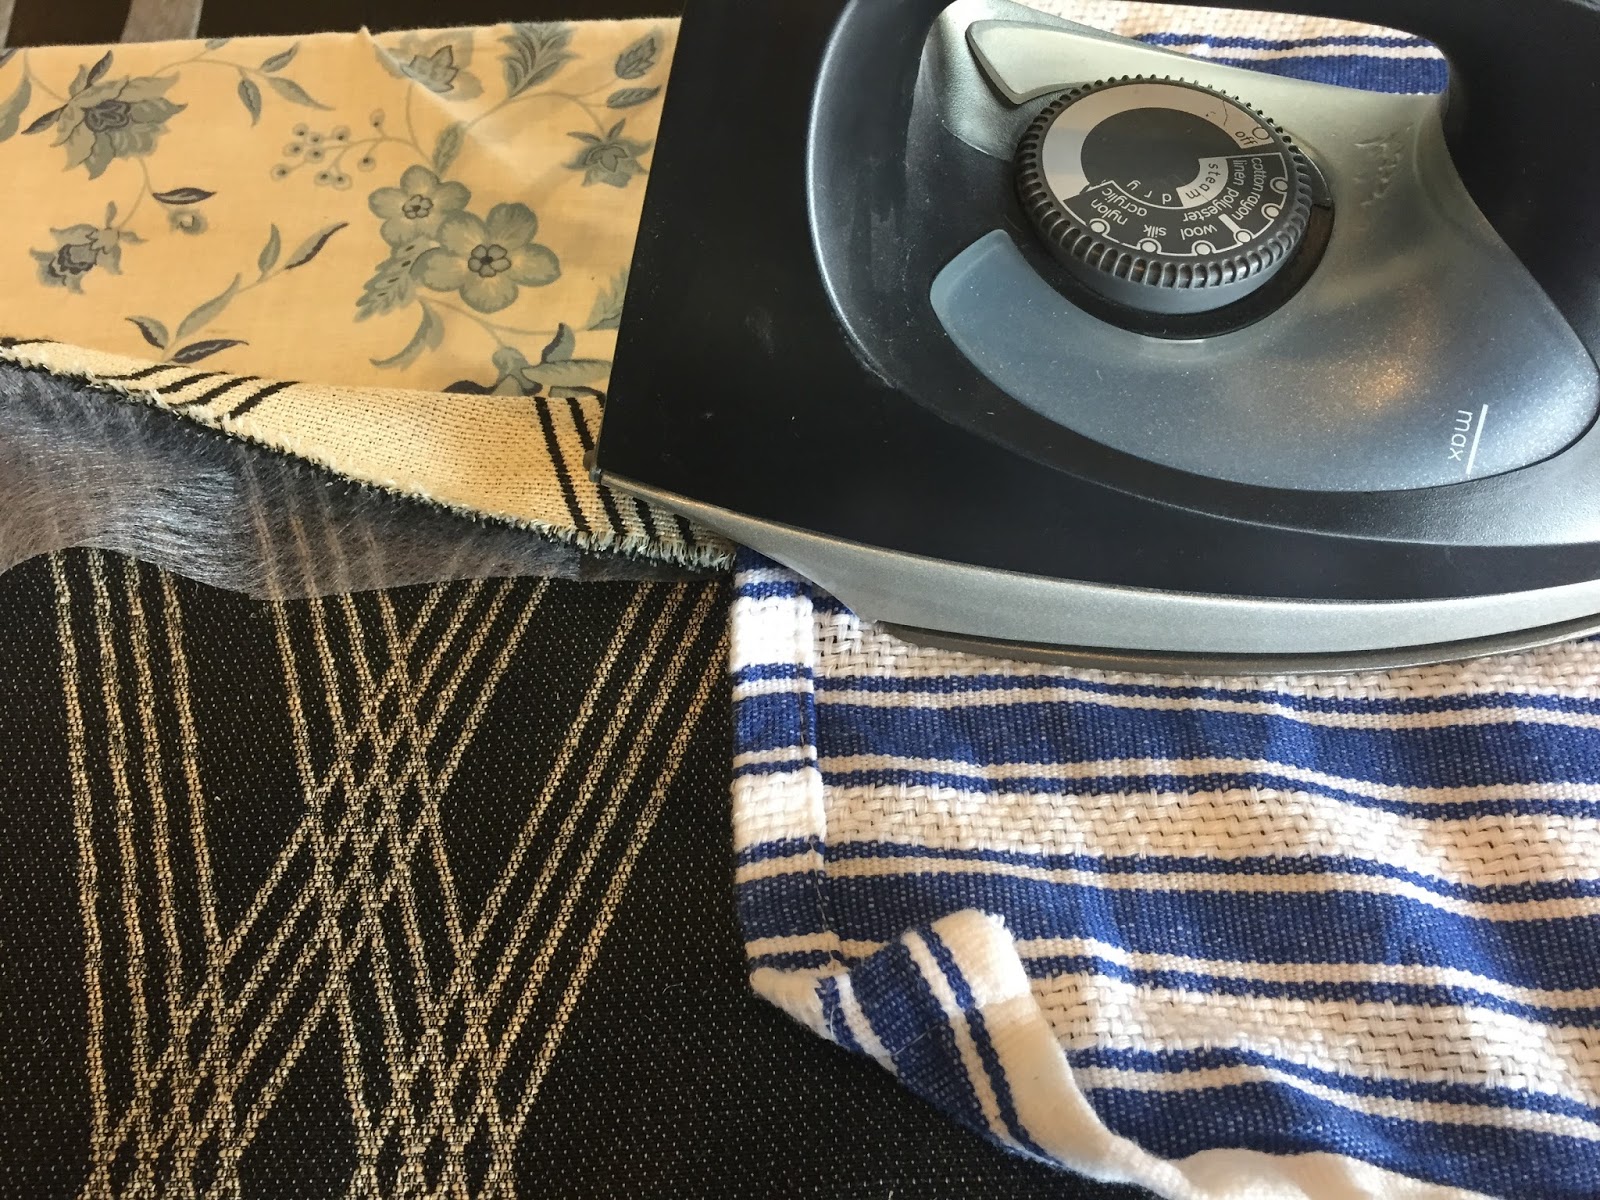
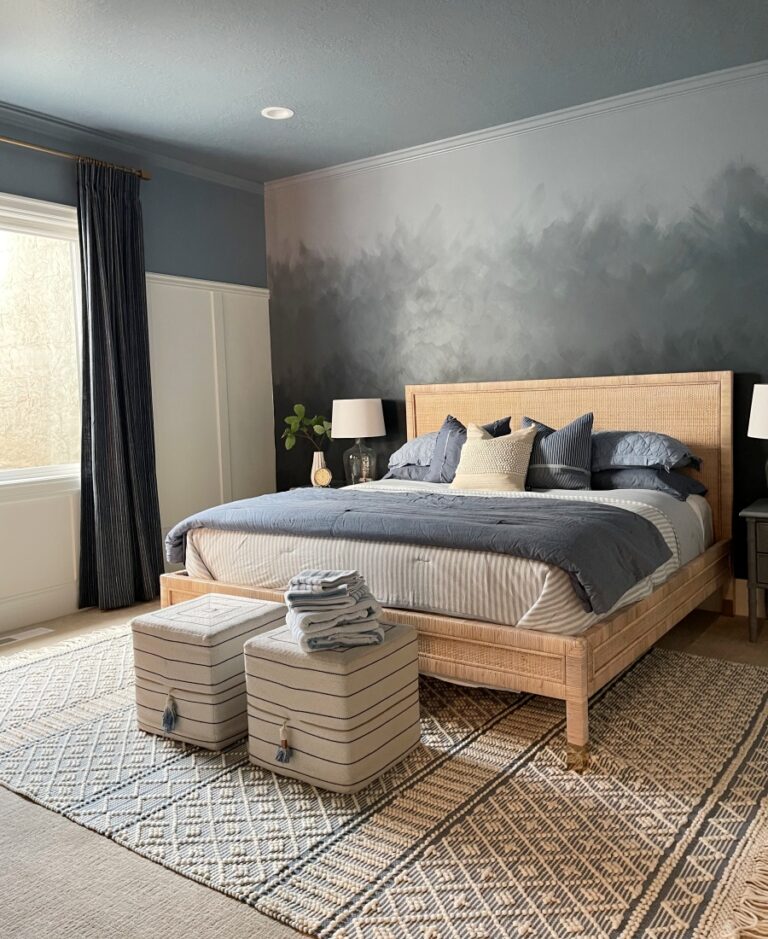
A great way to add a bit of drama to your space is by adding floor length curtains. Sometimes this can end up being pretty pricey, even if you plan on making them yourself. I found these blackout panels at http://www.tuesdaymorning.com/ clearance for $29.99 for the pair. The color and texture were perfect, just missing some pattern.

I picked up this fun home decor fabric at http://www.joann.com/ I love this fabric because the weight and texture were similar to the panels and it provided a lot of contrast and pattern. Using my %50 off coupon I ended up buying 3 yards for $30. Total project cost = $60.00 Pretty good for custom floor length panels right! 108″ in Length.
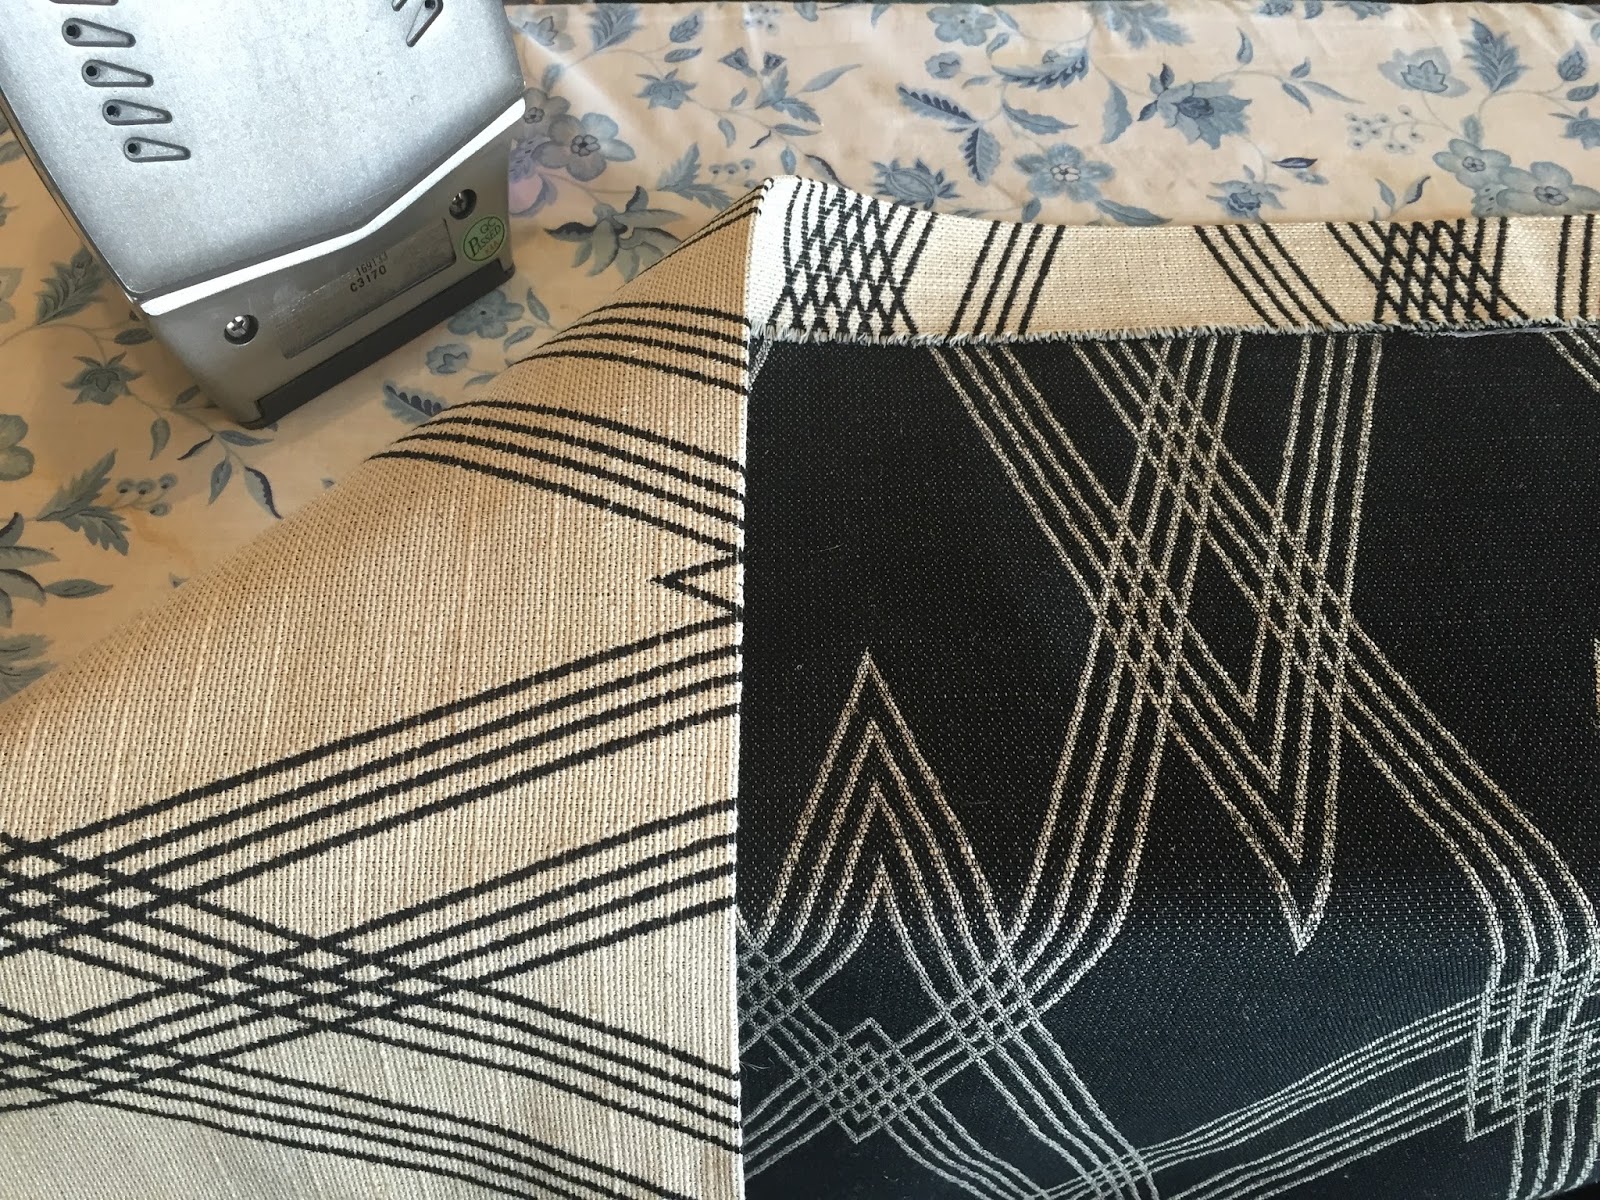
Here’s how the panels looked before. I laid the pattern fabric I bought over them to see which side I wanted to use. I really loved the black side but in the end it didn’t give off enough contrast or light for my space.
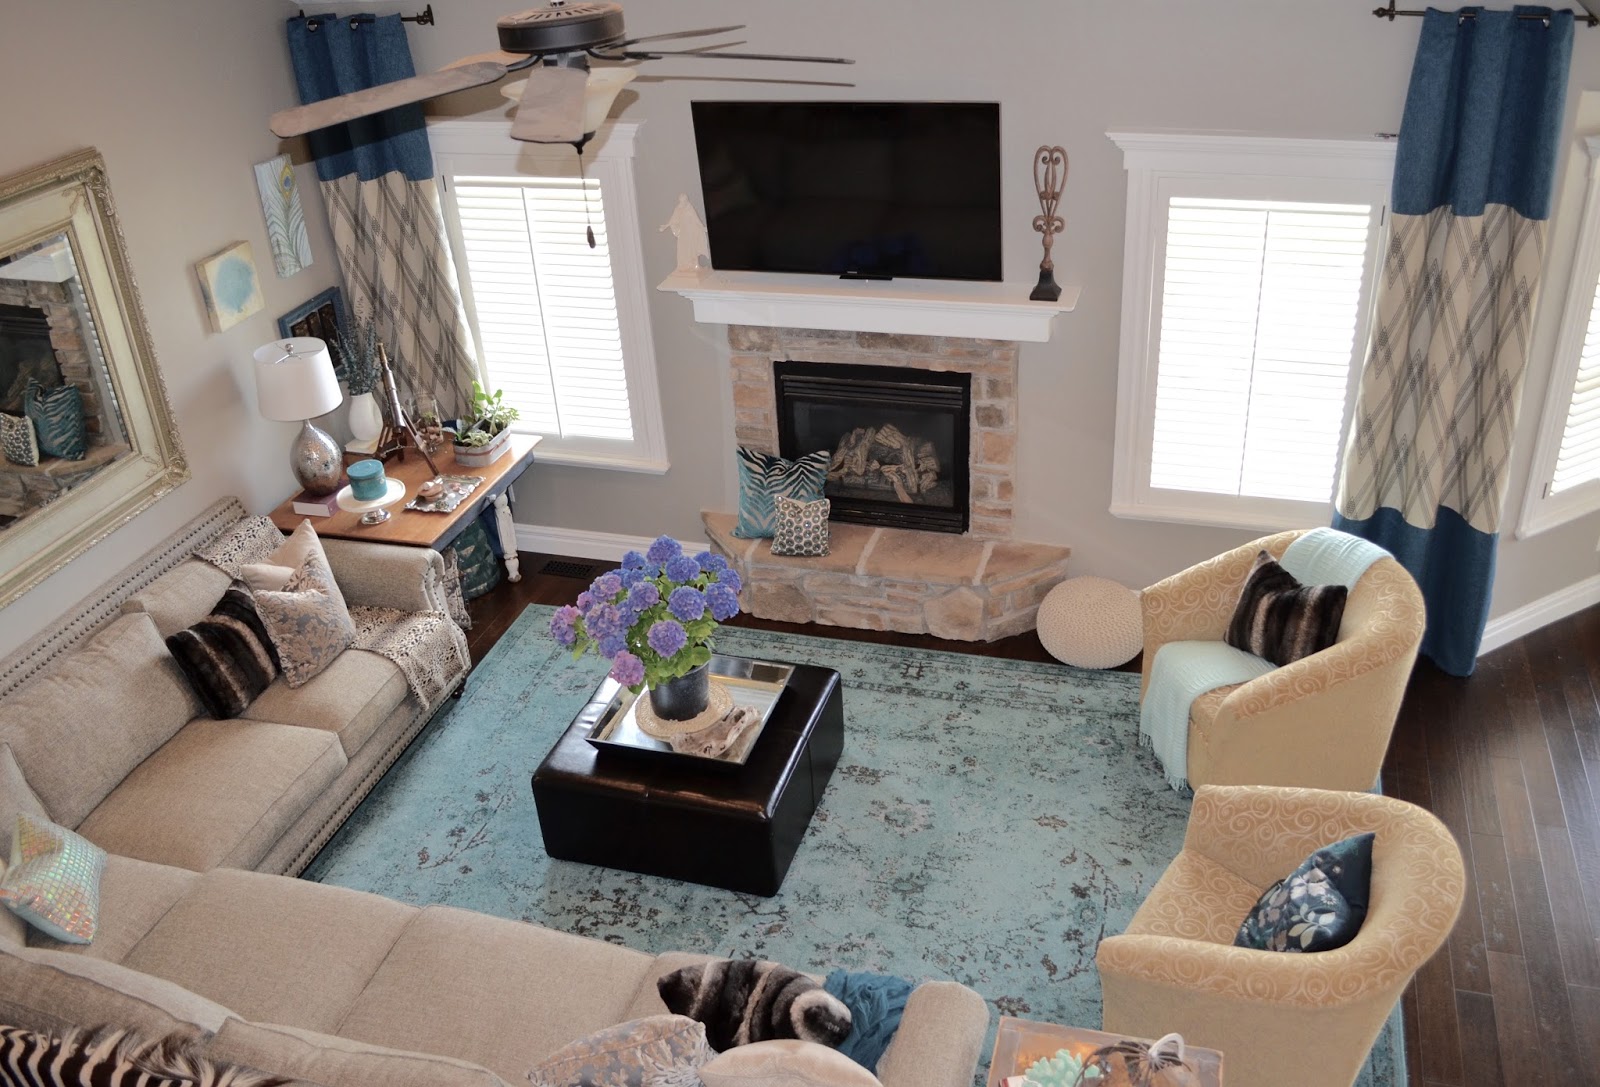
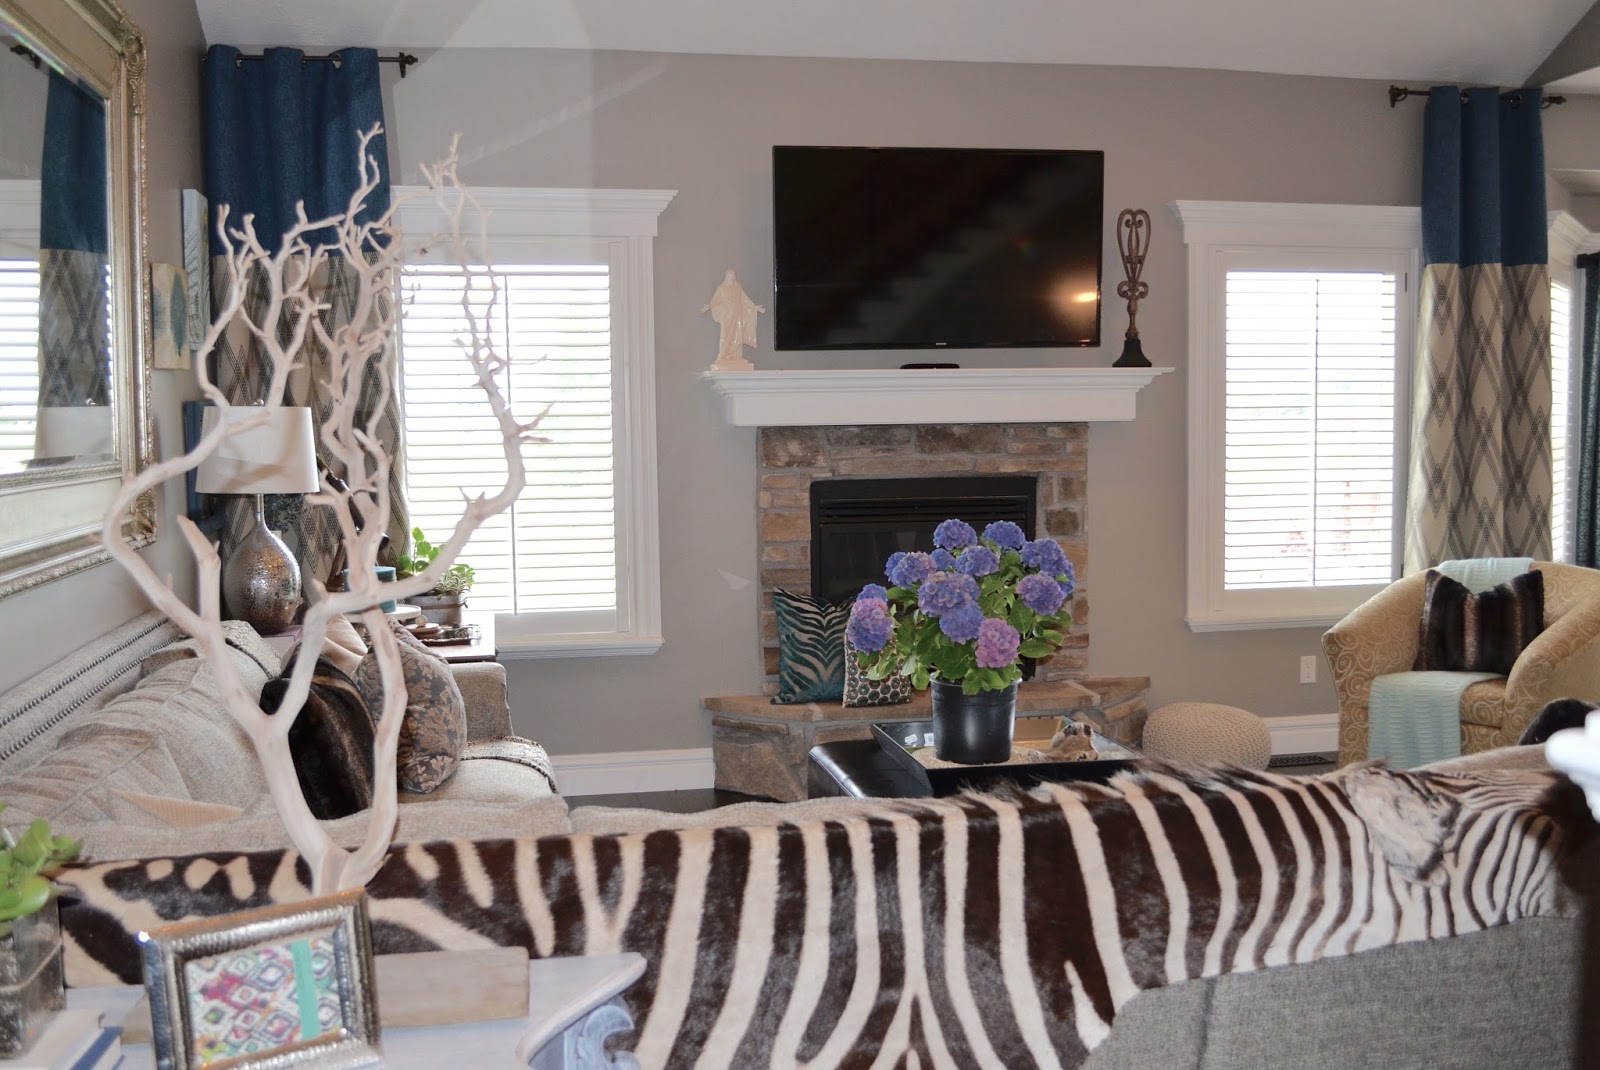
Here’s what they look like after being “pimped!”

Tutorial:
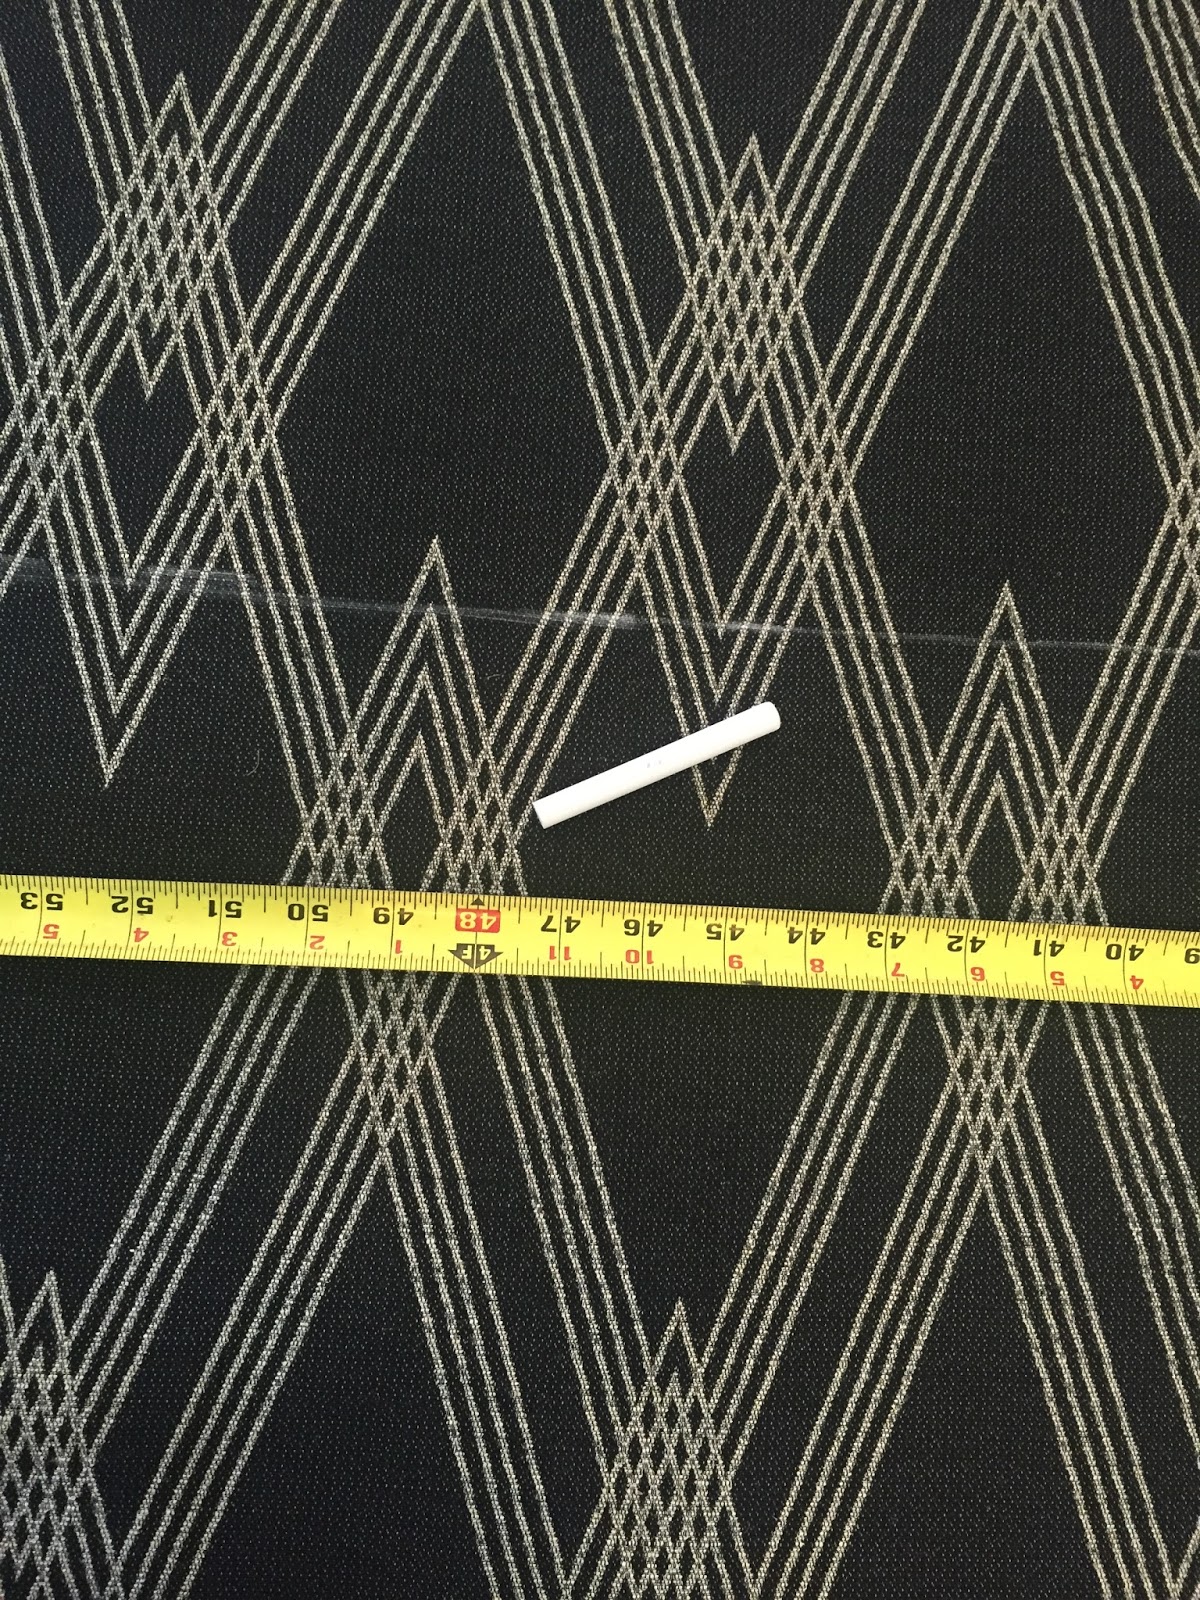
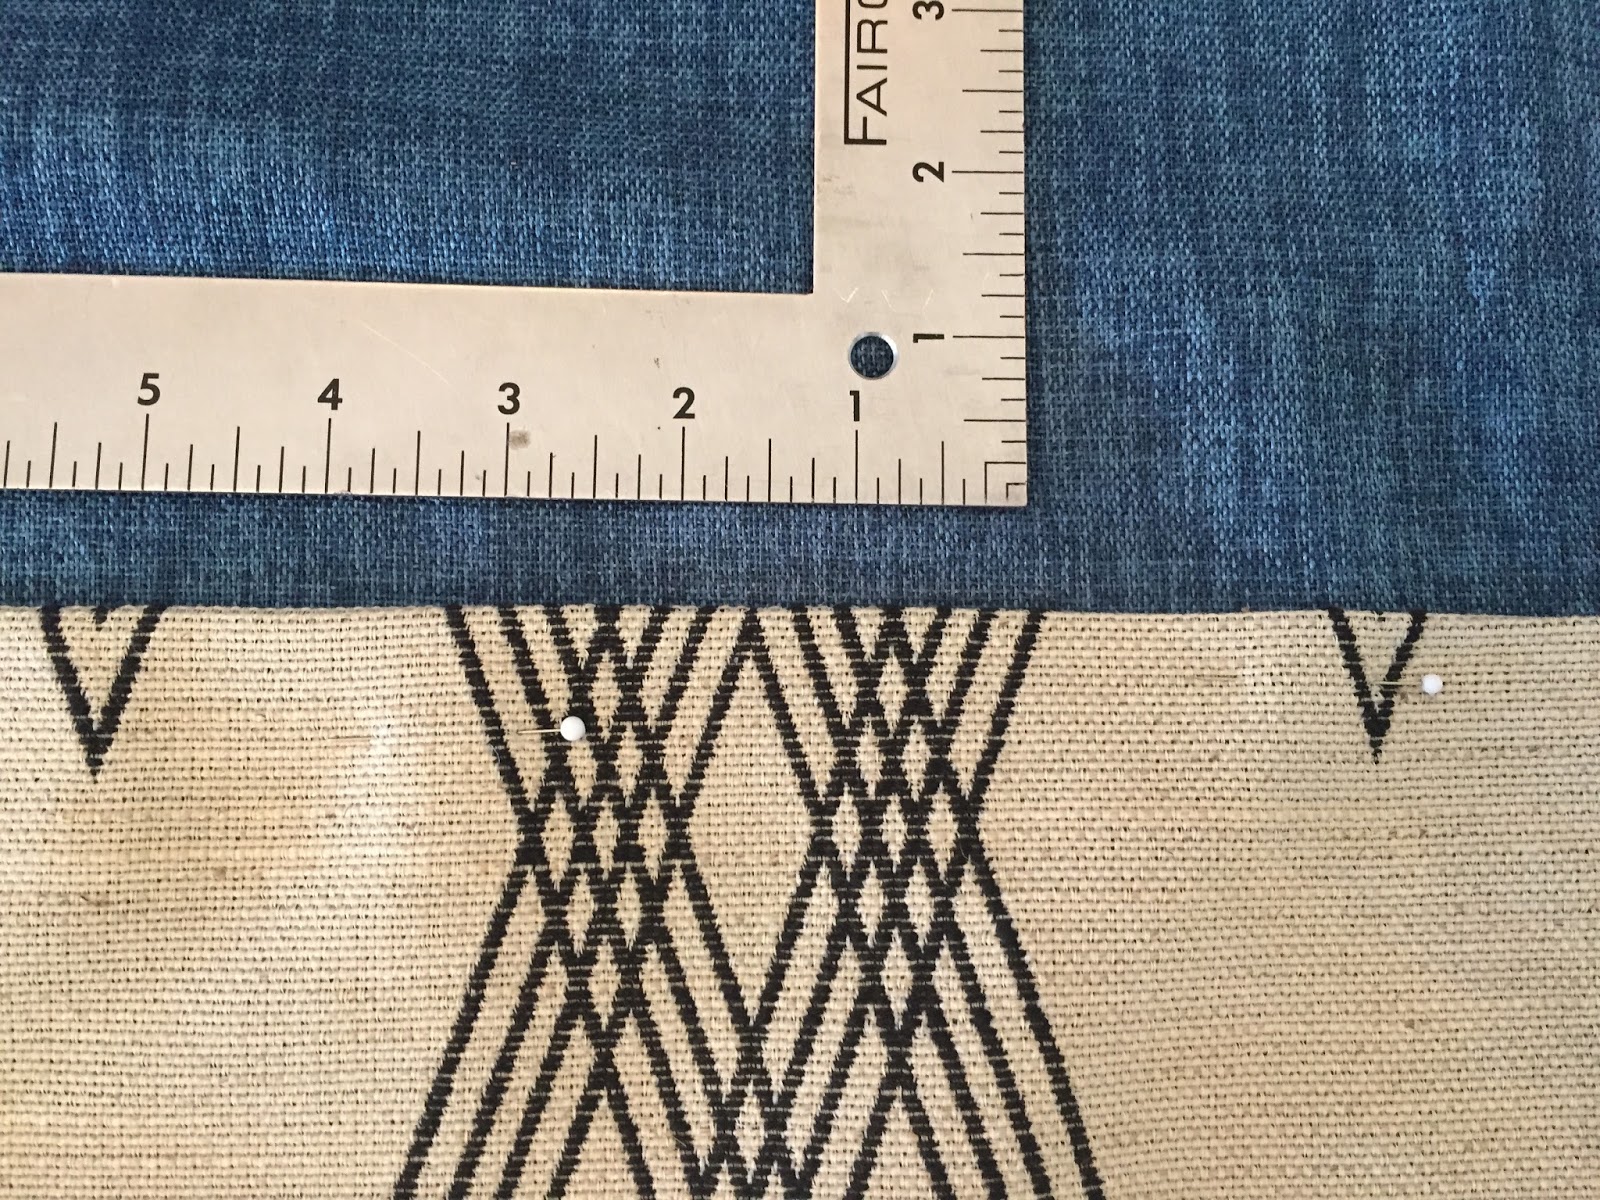
1. Calculate how much accent fabric you want to add to the panel. I overlaid 42″ band in the center. This was exactly half of my total accent fabric. I chose to do a center band because that’s where it would show the most in my space. You could do 2 bands if you wanted also. One on top and bottom.
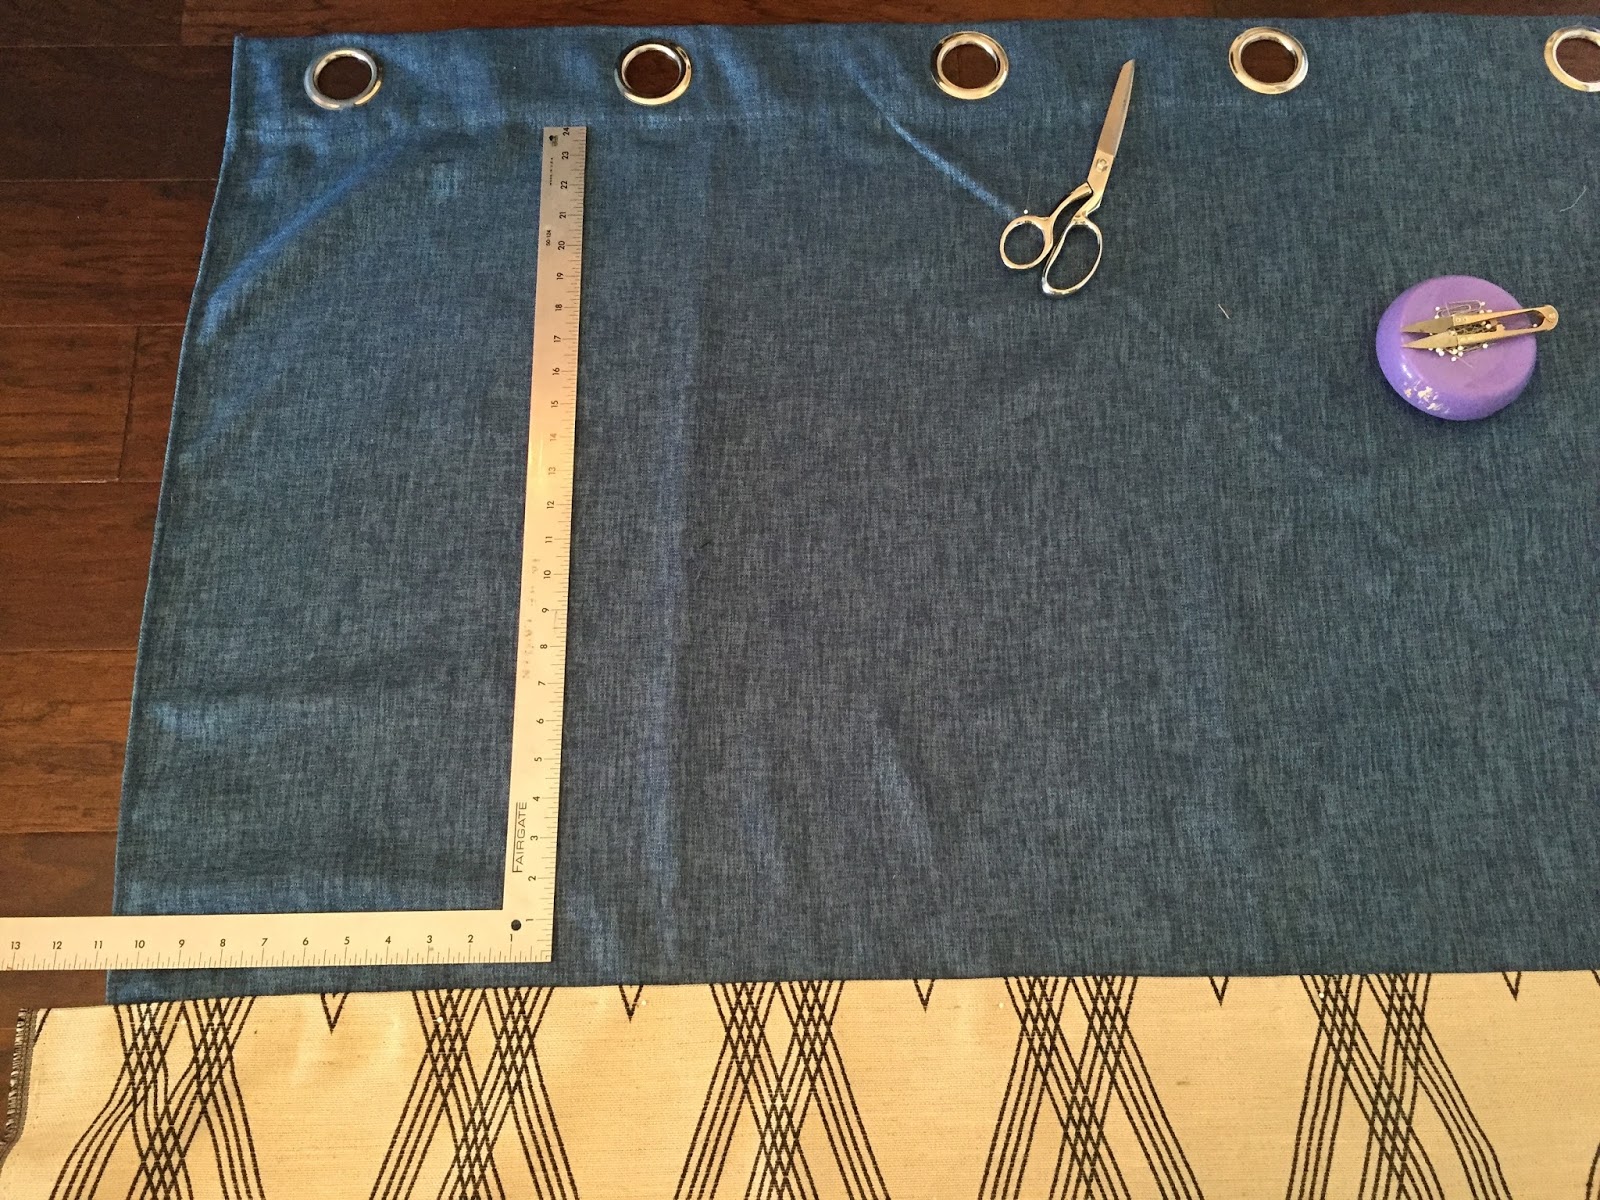
2. Measure, Mark, and Cut! Measure to find the center of your panel or half way point. Mark that point on front of panel using chalk. Then find the middle of your accent fabric and cut into 2 equal parts (mine was 42″). Then measure each accent piece again and find the center of each of them. Mark the back of each accent piece on the back. Line up the center of each accent piece to the center of each curtain panel. Mark lightly where the top of the accent fabric will span each panel.
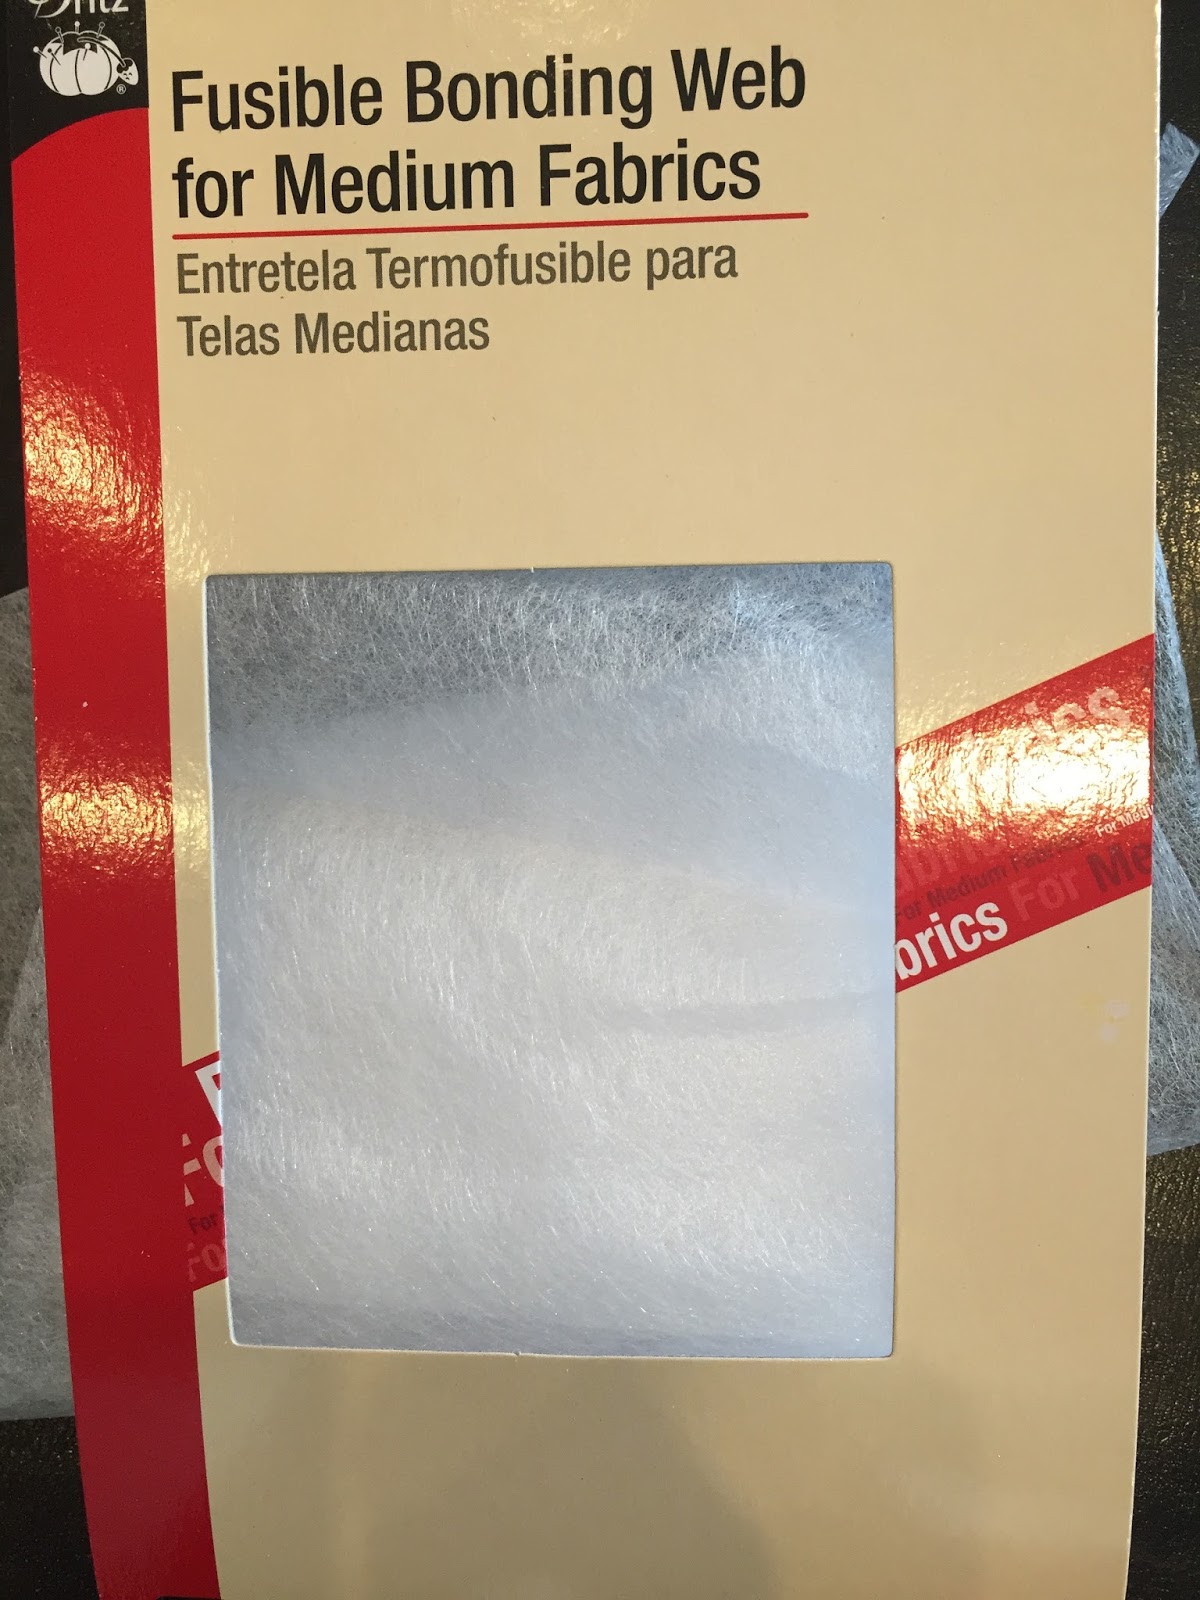
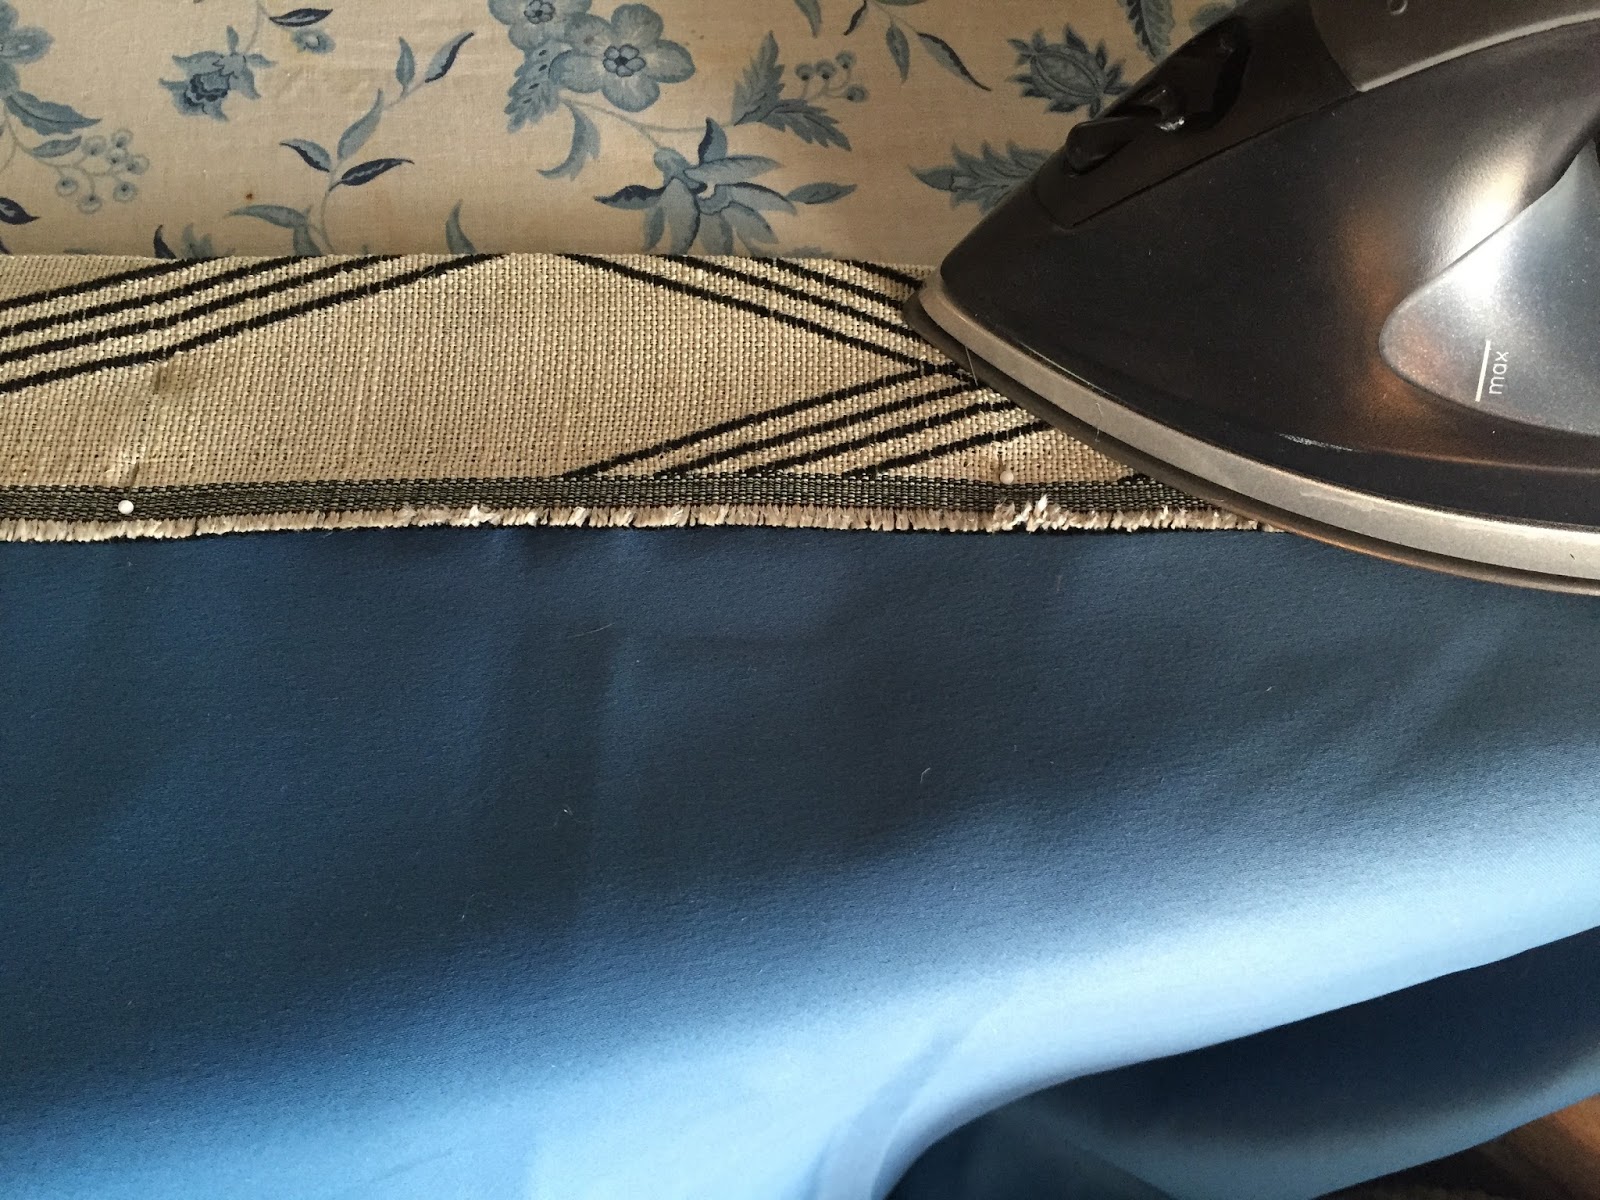
3. Take your fusible bonding and cut into 1 inch strips. Plug in your iron so that it can warm while doing this. You will need a damp rag to create steam as will. (There are instructions on the back of package as well).
4. Measure 1.25 inches down from top of accent fabric. Press with your iron to create a crease.

5. Insert the fusible bonding strip under the lip of the fabric. Cover with a damp rag and set iron on top for 10-15 sec in order for the bonding to adhere to each side.
6. Keep this up till you have created a seam along the entire top of the accent fabric. Repeat this step on each side of the accent fabric. Top and Bottom of each piece of accent fabric.
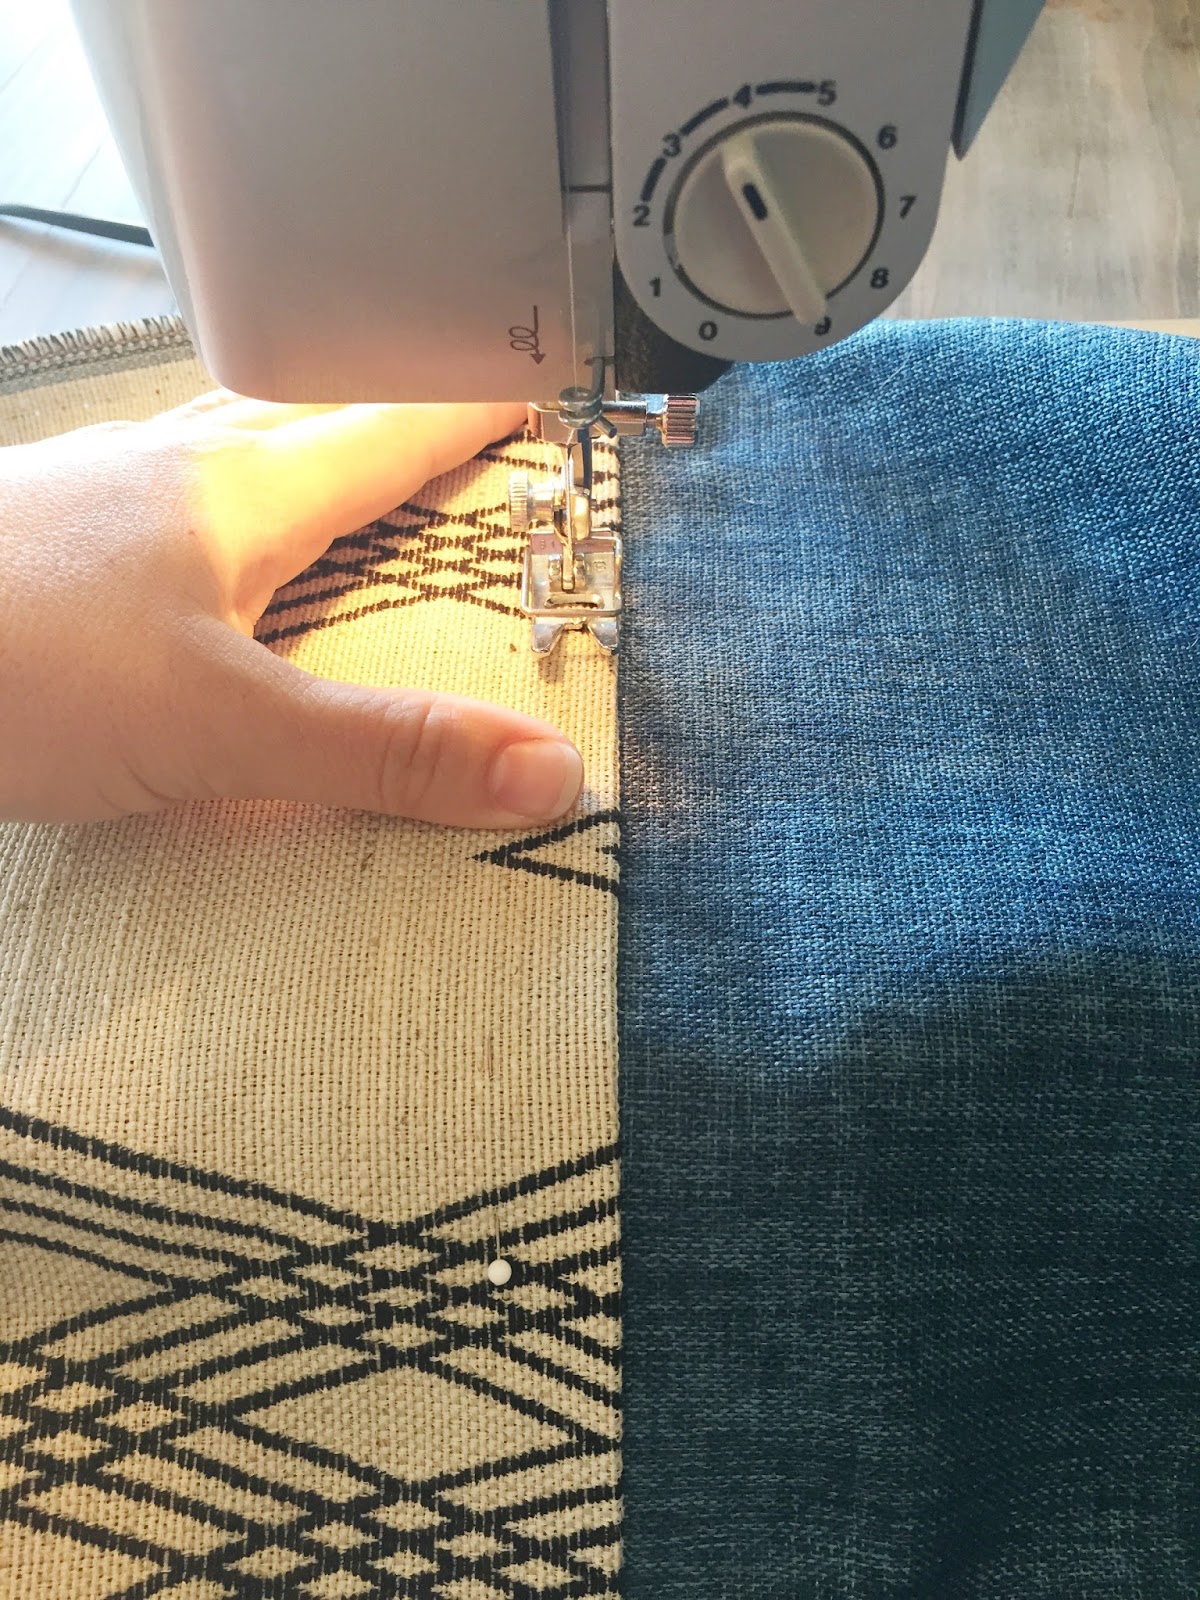
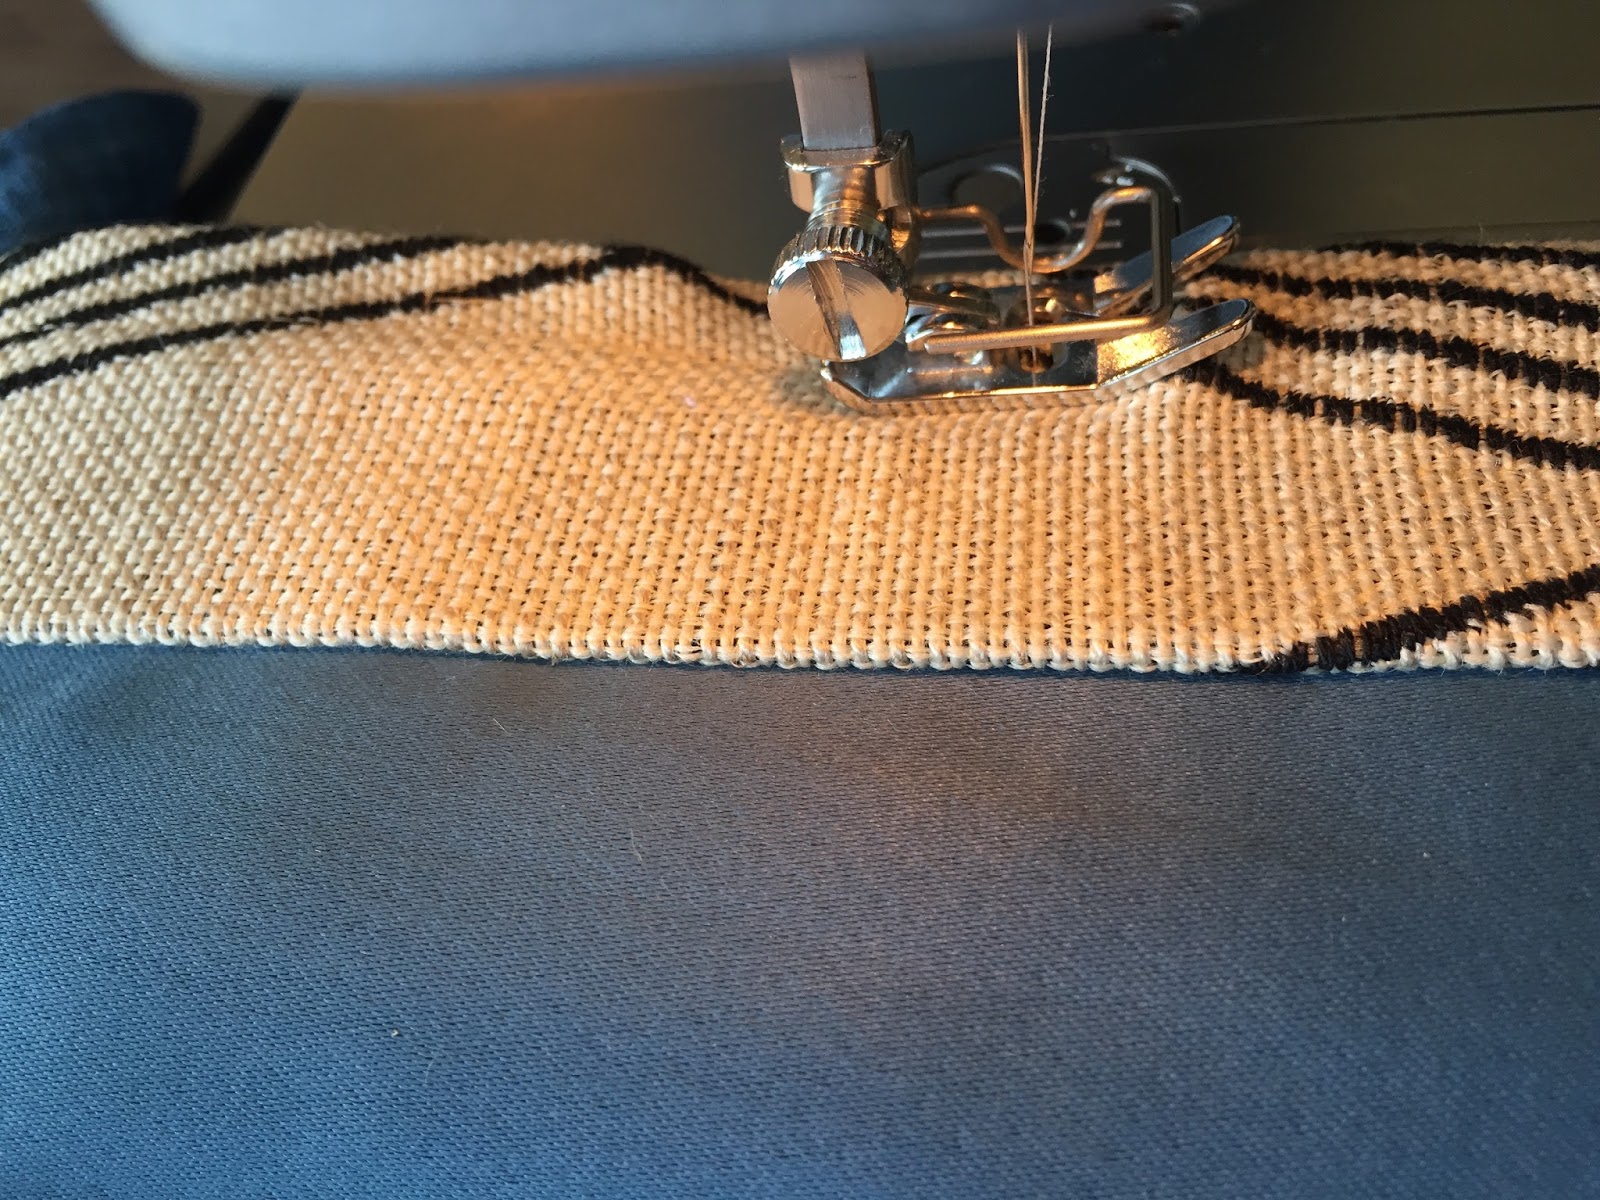
7. Line up center marking on accent fabric with center of Panel and pin along the tops of accent fabric to each panel.
8. Sew the accent fabric over the panel along the pin line. I usually sew 1/4′ seam line. Repeat this step along both panels on top and bottom of accent pieces.
9. At this point you should have 2 panels with accent bands attached. Now you need to fold the sides and pin the accent pieces around the sides of the panel. Press with iron to create a nice finish. Repeat step #5 and insert fusible bonding here also.
10. Sew along the sides following the existing seam line on the panels. Should be 1/4″ seam line.
11. Hang panels from your selected rods and enjoy their beauty!


 Add to favorites or read later

One Comment
Comments are closed.