Let me start by saying this small little bathroom was a real bugger to photograph. There are no windows in here nor in the adjoining mud room. Natural Light = nonexistent!
My design process started with a rough sketch. I knew the direction I wanted to go but still needed to work out the details. I had originally planned to paint my cabinet white or dark gray, but after putting pen to paper, I could see that the room really needed that natural wood to balance all the black and white that I would be adding.
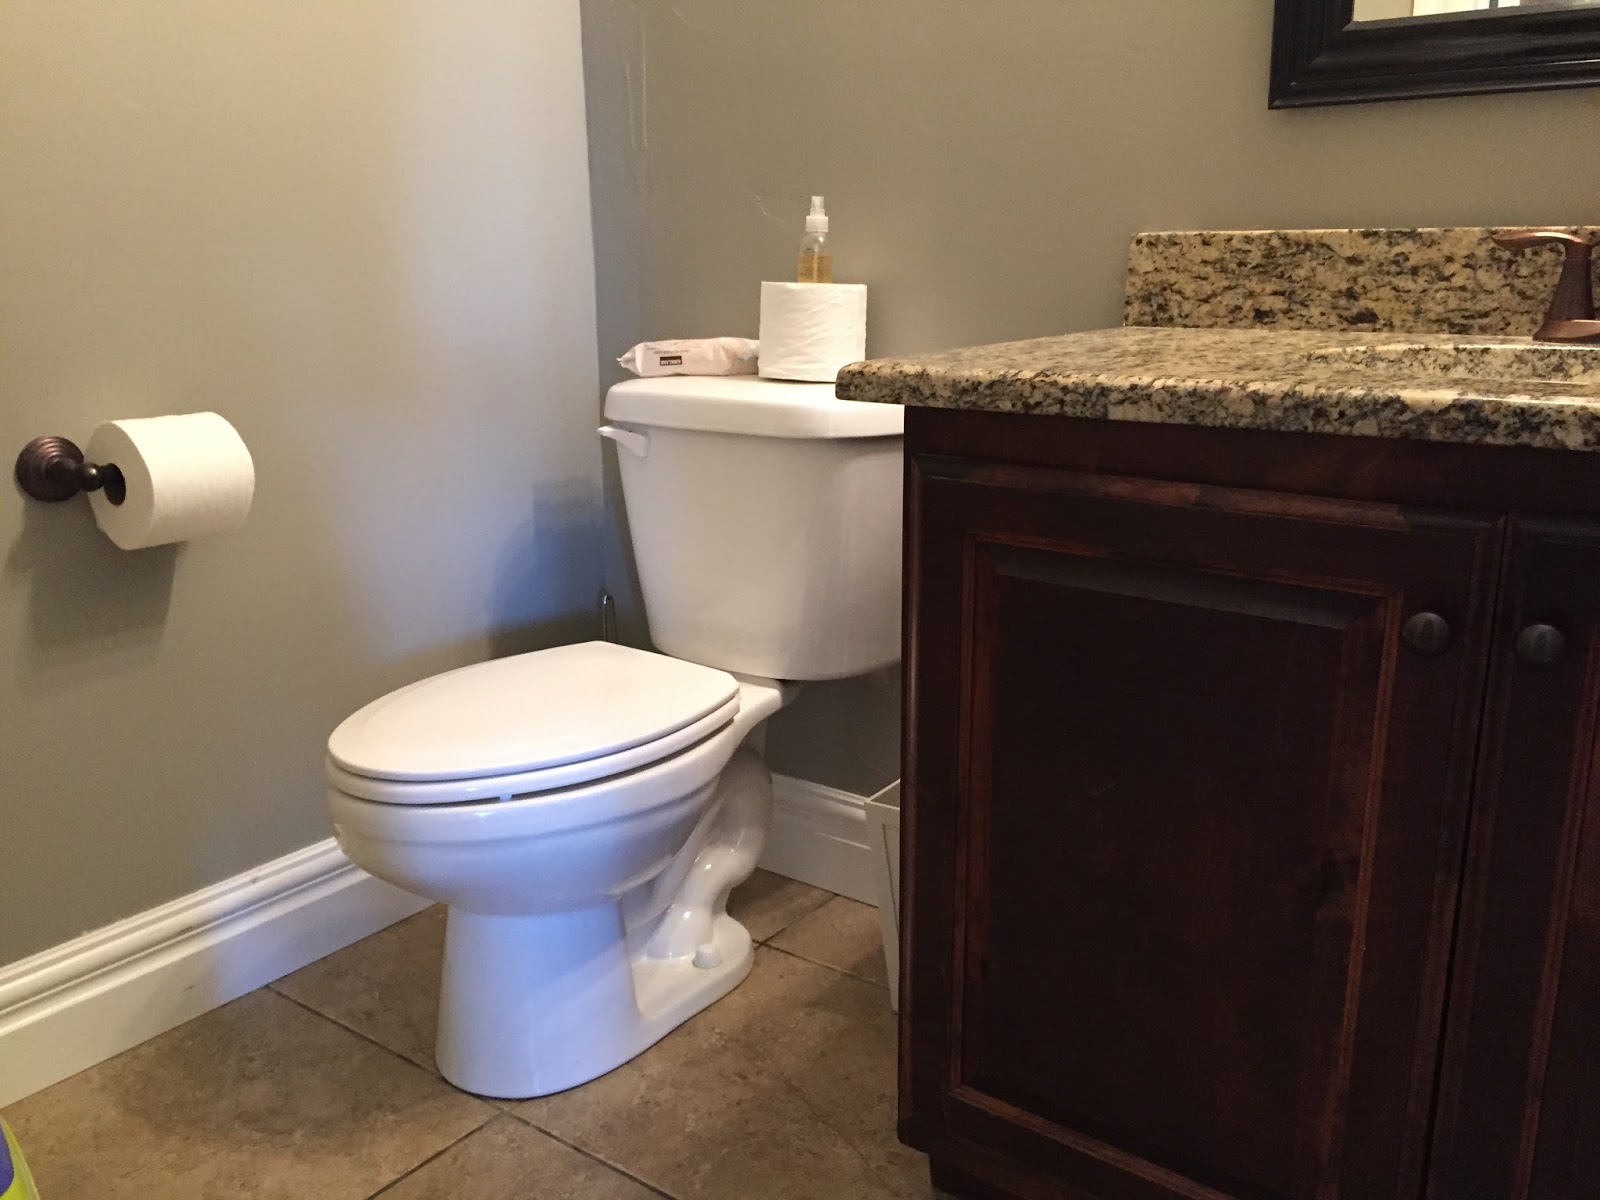
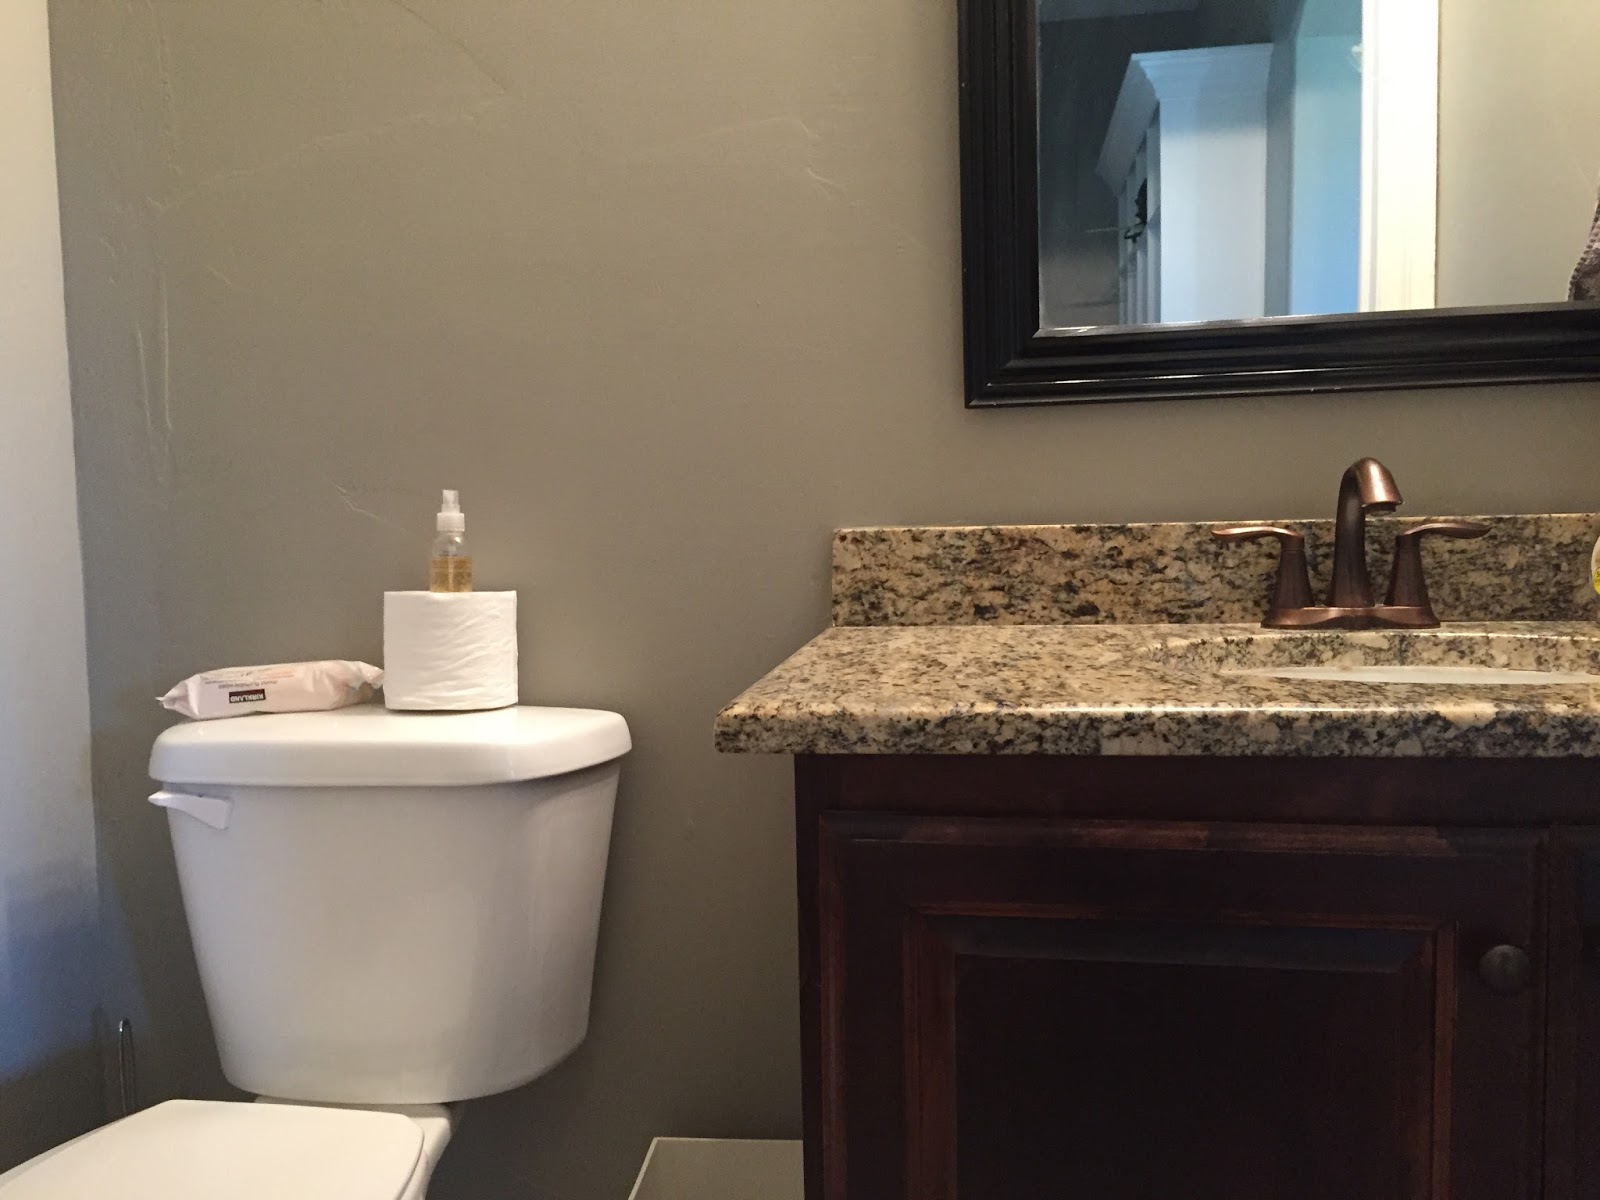
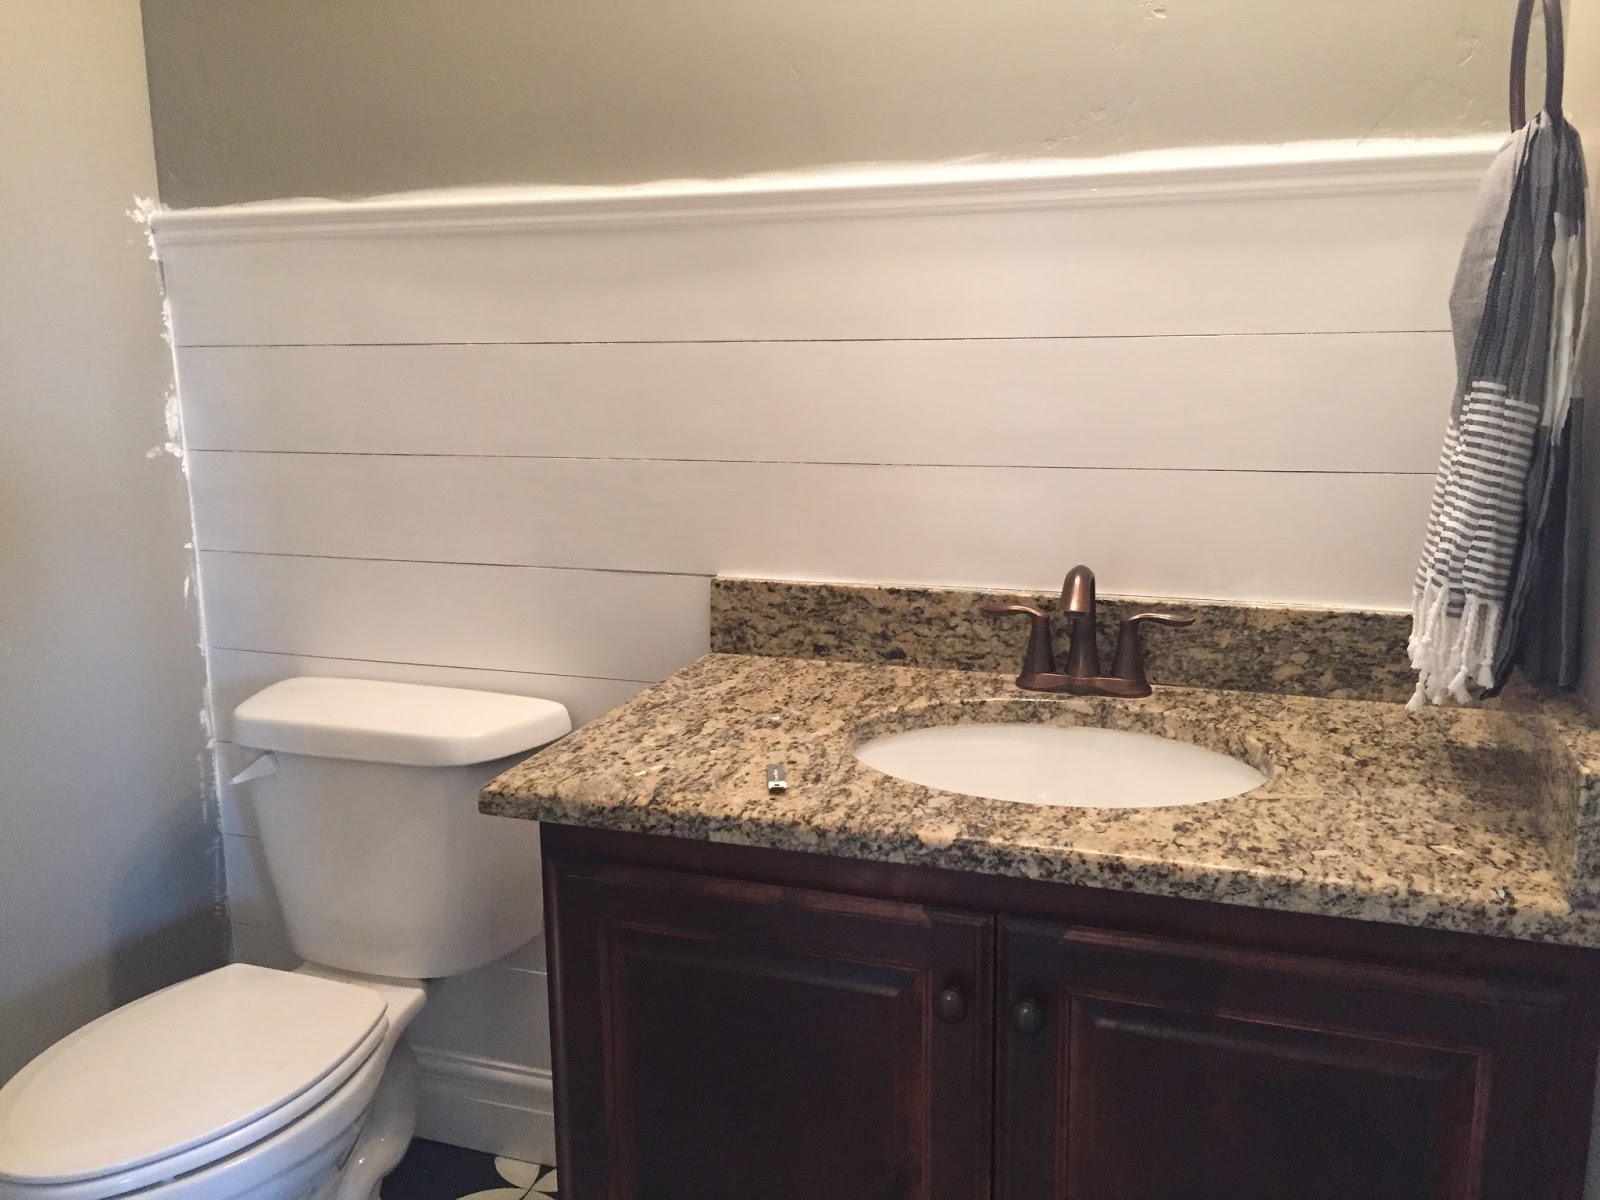
Here is what the powder room looked like BEFORE I got my hands on it. Pretty plain Jane! The only change that had been made from when we moved in was the wall color. It got painted Dorian Gray by Sherwin Williams. This is the color we painted the entire main level of my home.
BEFORE
BEFORE
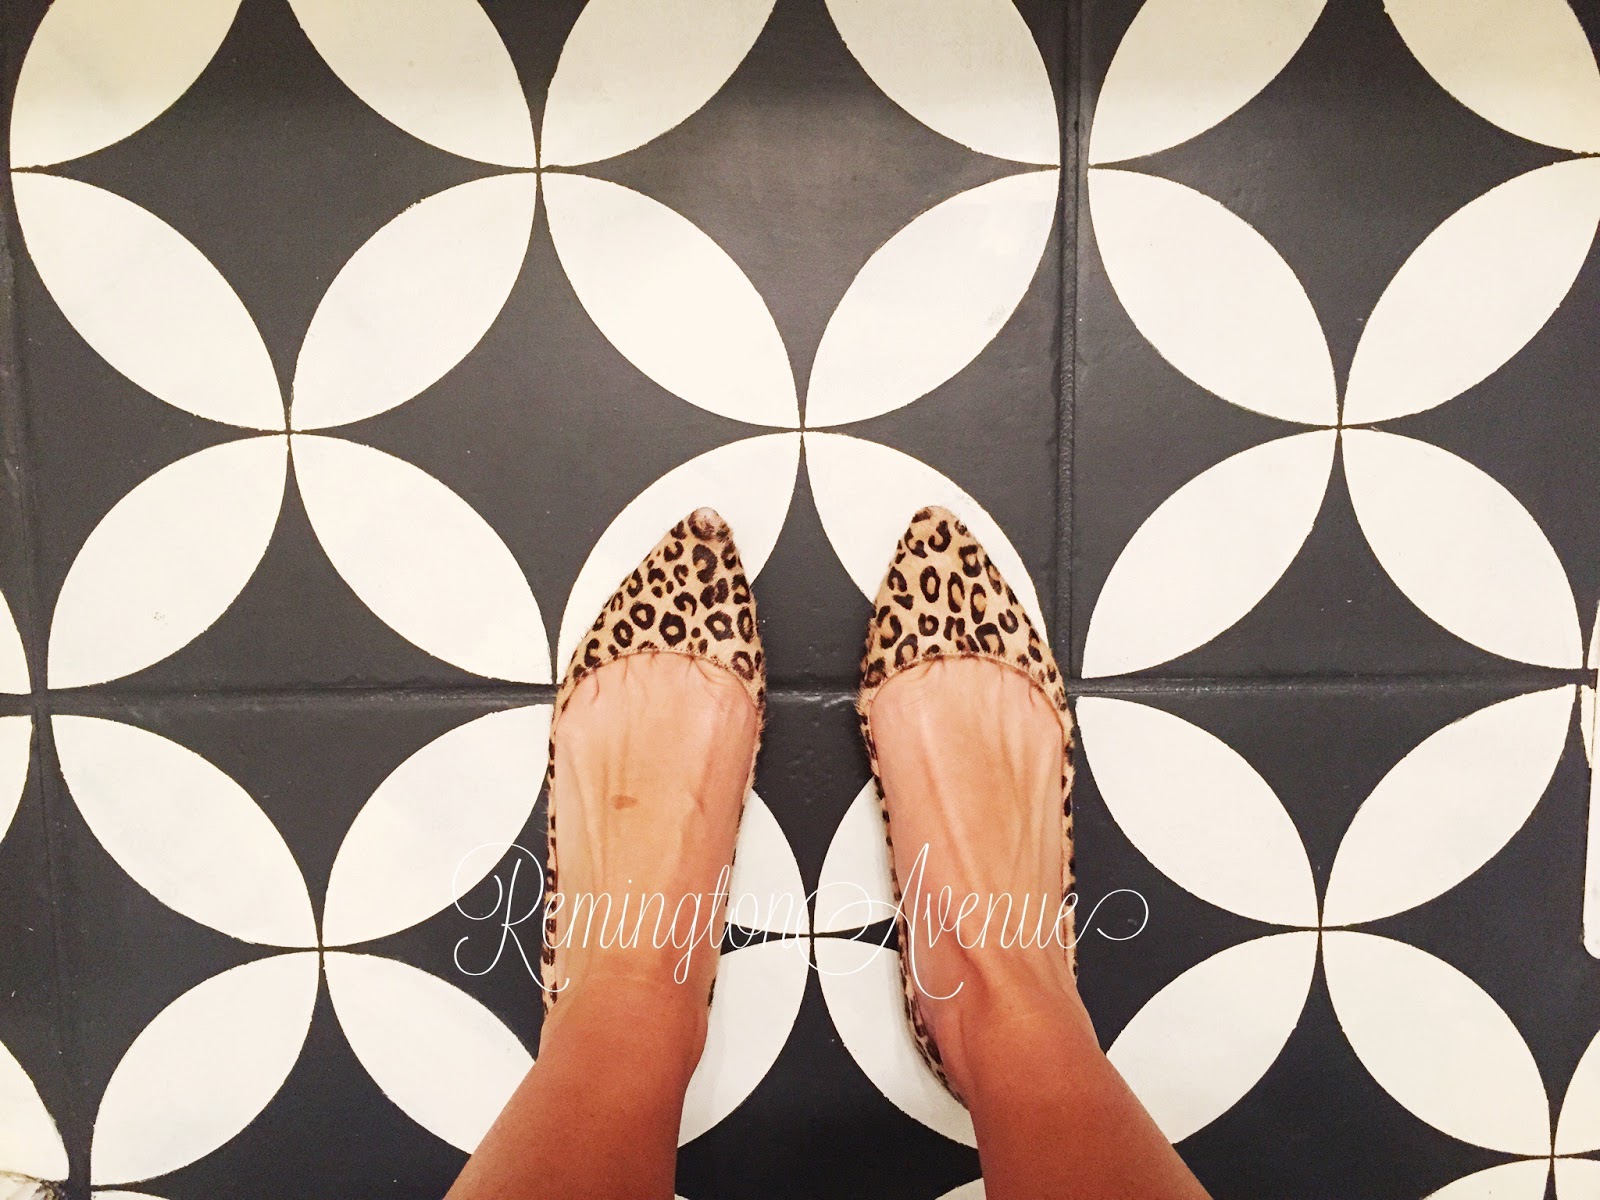
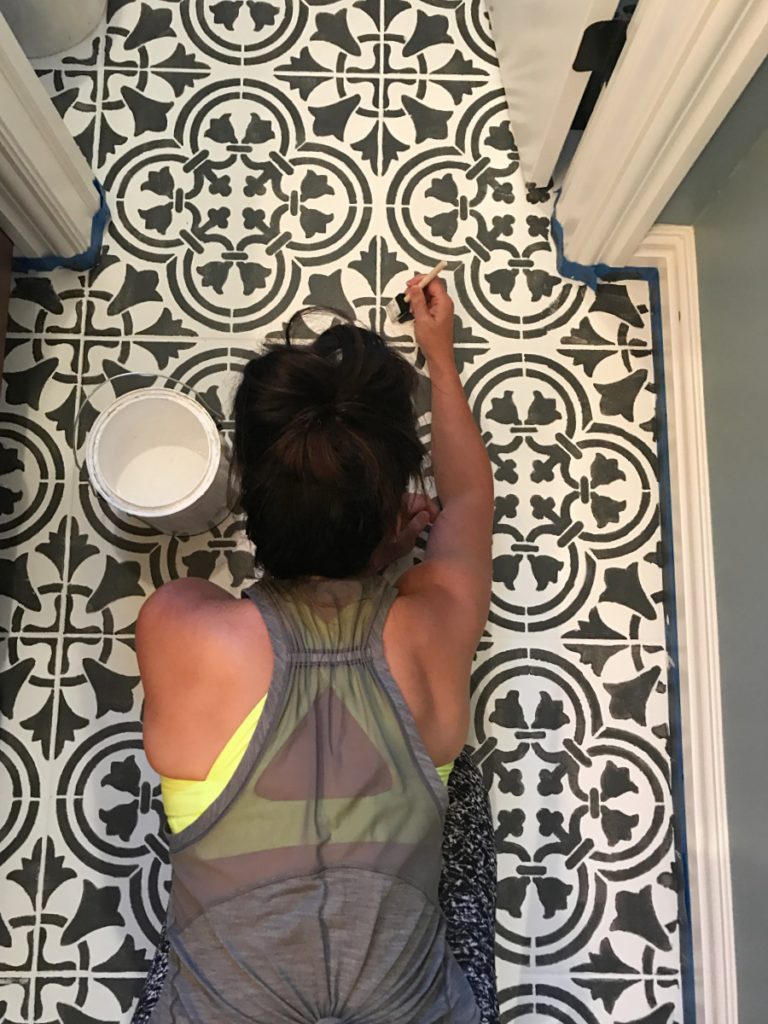
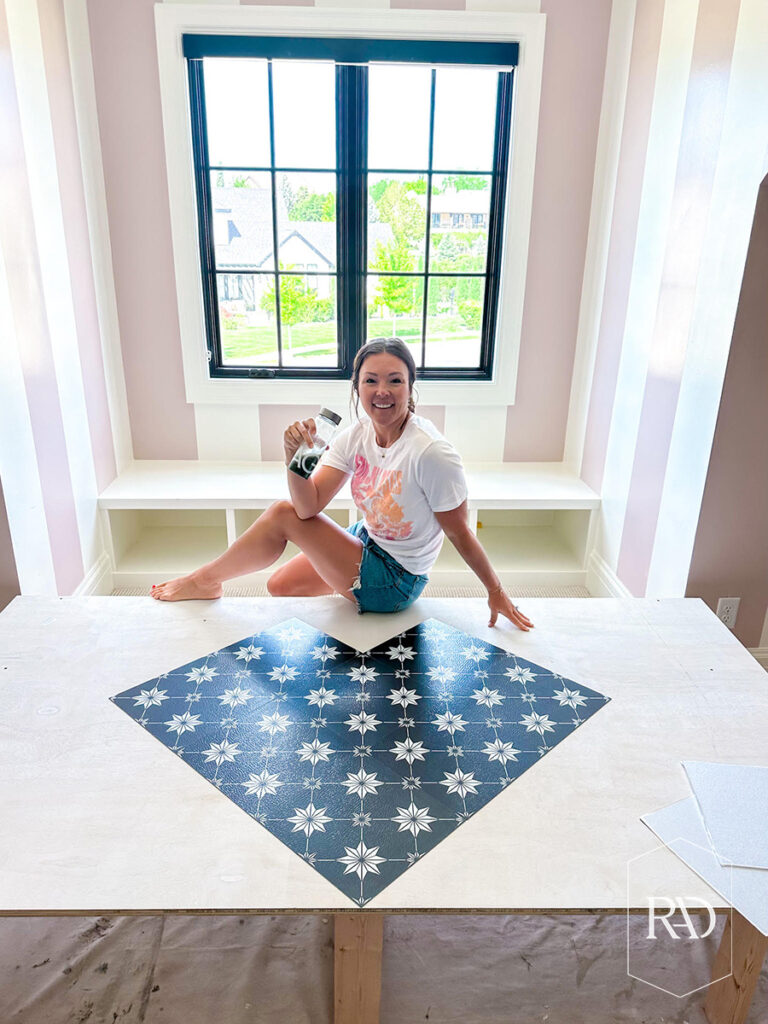
Sometimes small rooms can be easier to go bold. Some may choose a graphic wall paper, but in this case I chose to go high impact on the floor. Ive been swooning over the variety of graphics available on some of the new cement tiles, but they were above my budget for this space. Instead I chose to hand stencil the entire floor. A much more budget friendly option! If you’d like to read my tutorial on this process, click here:
After completing the floors, I turned my attention to the walls. I’ve really been wanting to put up some ship lap somewhere in my home. This seemed like the perfect spot! If you’ve looked into doing ship lap, you’d know it is actually pretty expensive. I did some research and came up with a less expensive option that still accomplished the look! It’s also only 1/4″ thick making it easier to put up on the wall. I used Under-layment panels! I know right! I actually followed a great tutorial on this process myself. Here is the link if you’d like to check it out! https://www.pinterest.com/pin/15270086214849777/
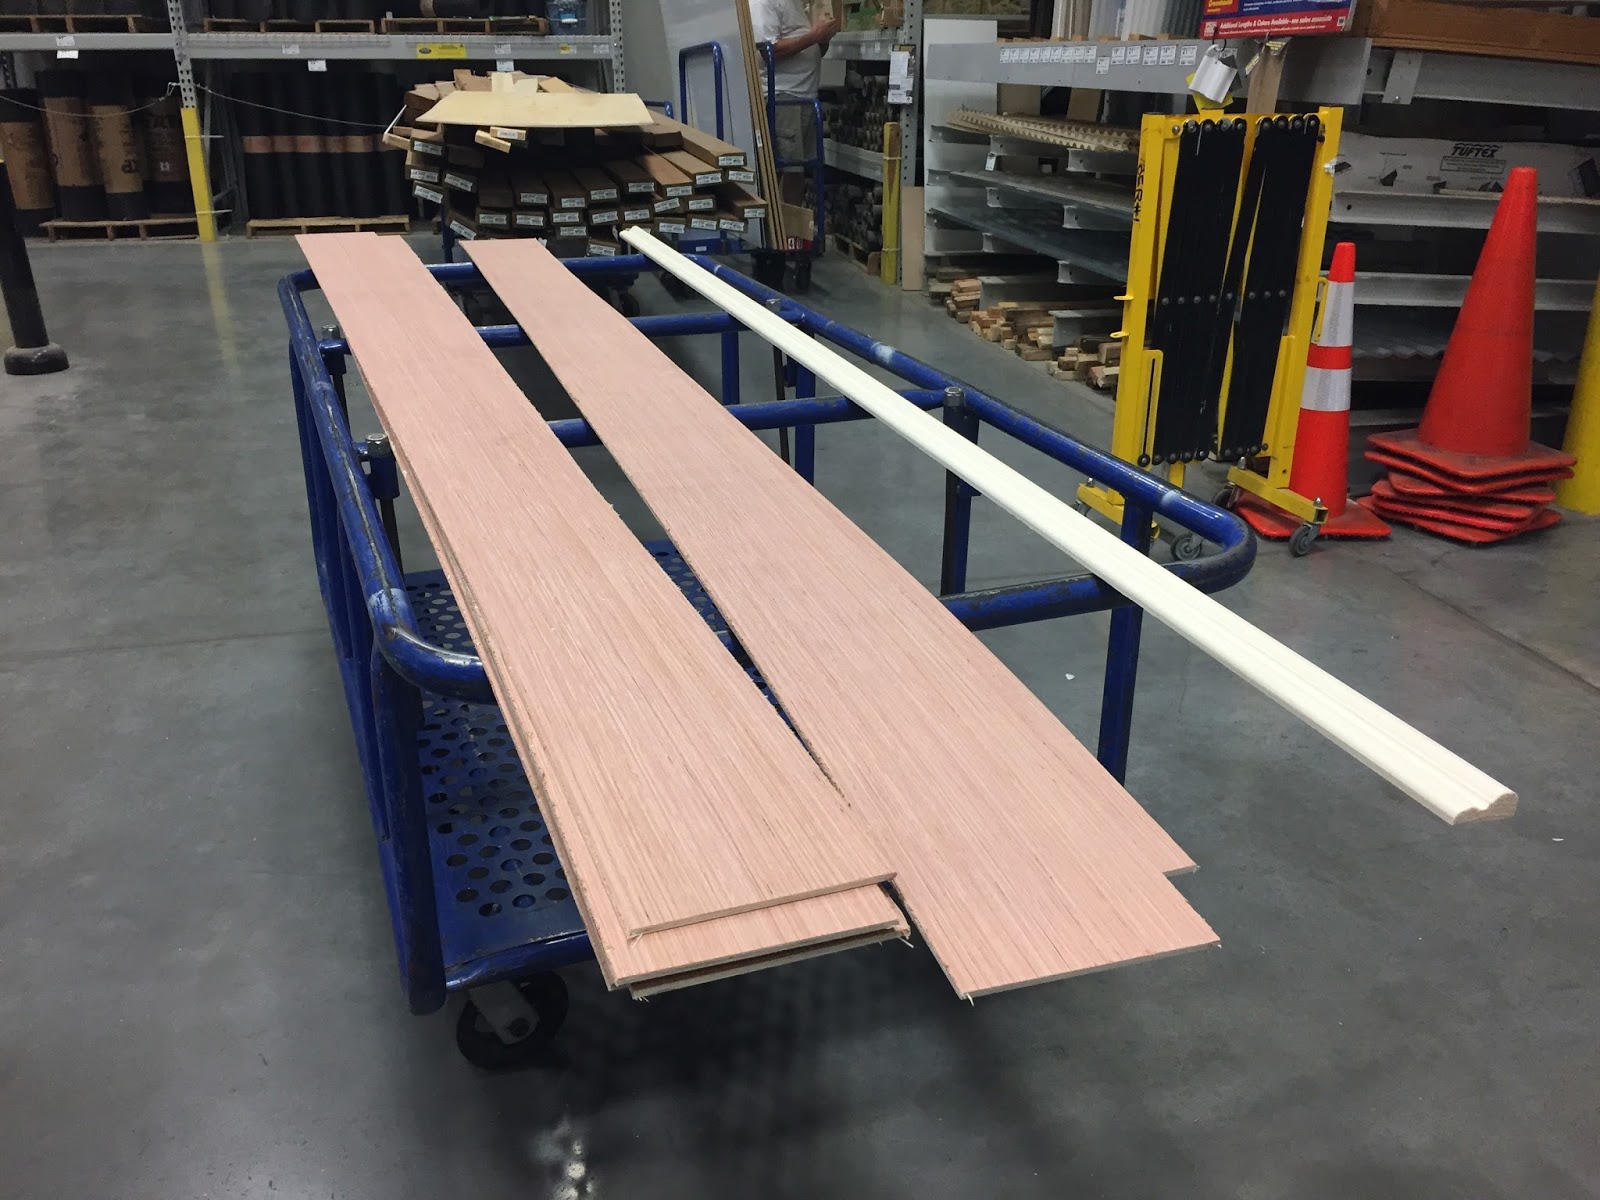
Because this is such a small space, I only need to purchase one under-layment panel, costing me a total of $13.97. Here is the link for the exact product I used. http://www.lowes.com/ProductDisplay?partNumber=518477-53547-518477&langId=-1&storeId=10151&productId=50121135&catalogId=10051&cmRelshp=req&rel=nofollow&cId=PDIO1
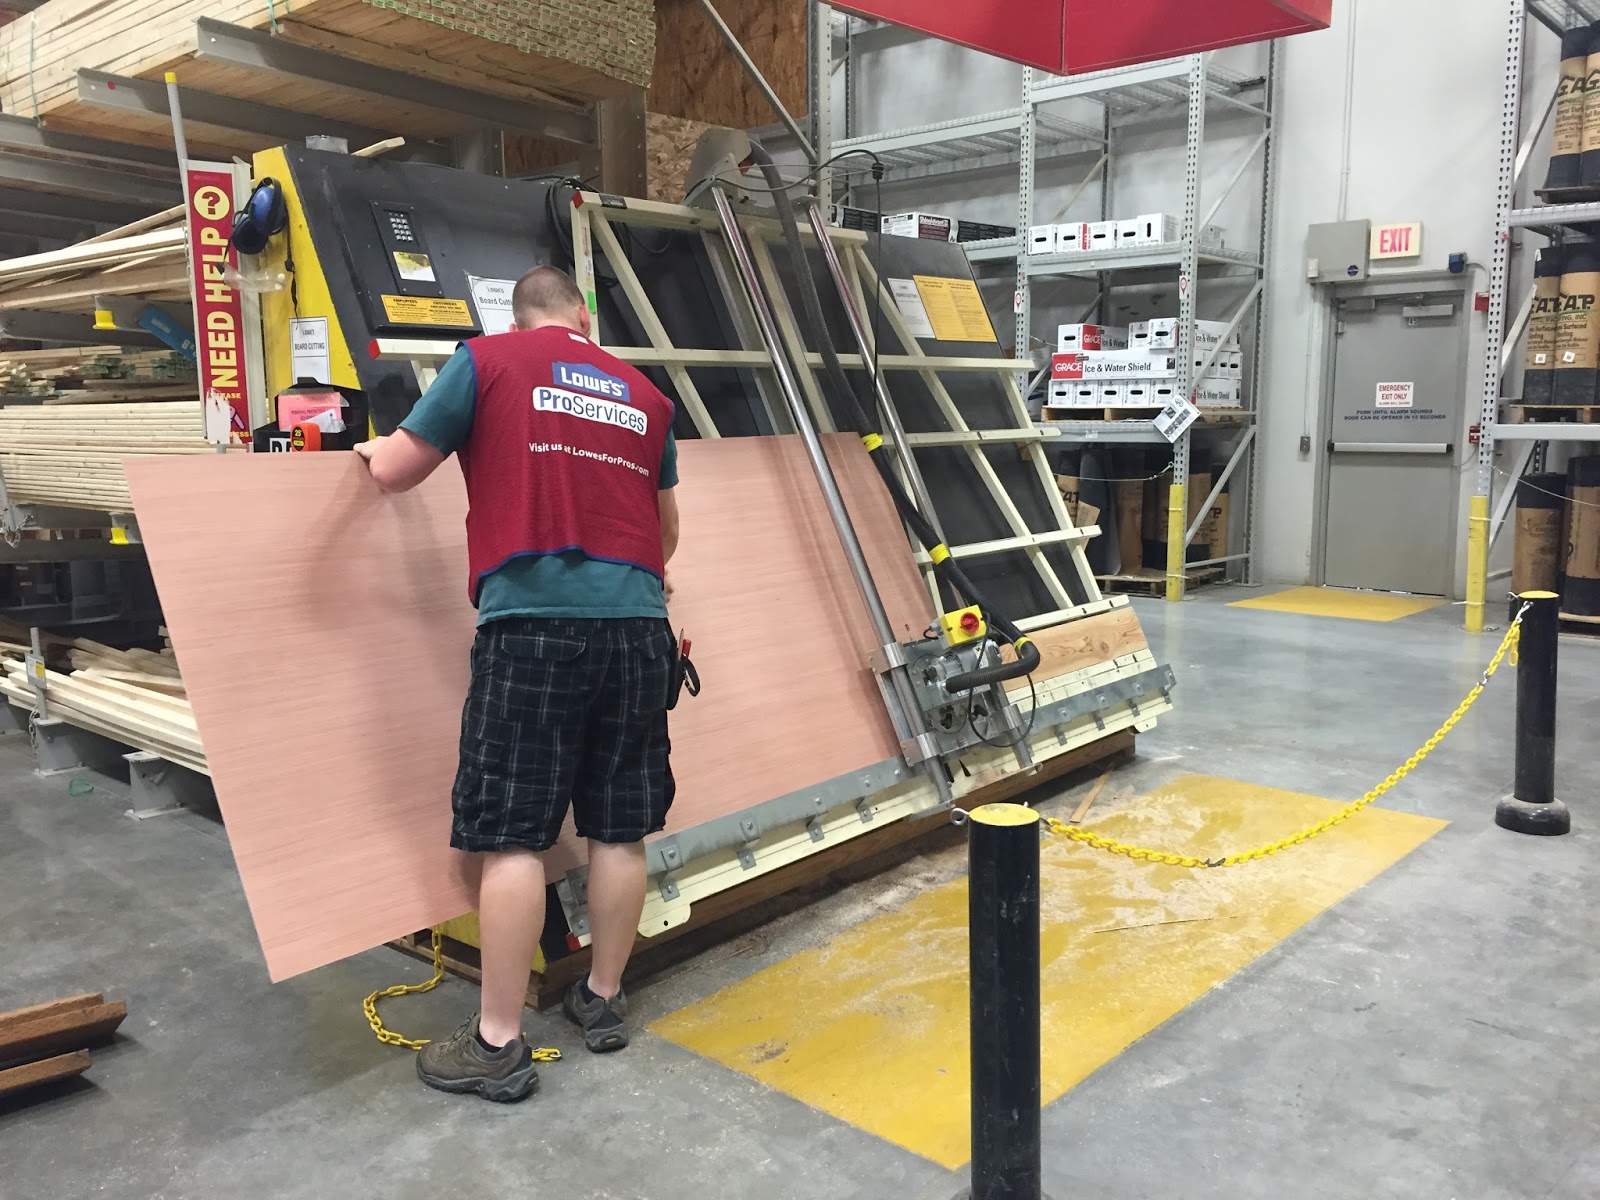
I had Lowes cut the board into my specified measurements. They do this for free BTW! Each board measures 48″x96″. I divided 48 by 6 to come up with 8 boards measuring 96″ long and 6″ wide. Then I had them cut the long boards to specific measurements for my space to align perfectly to my vanity and across the top from wall to wall. I also had him cut one piece of trim to finish off the top of my soon to be ship lap wall.
My Lowes friend
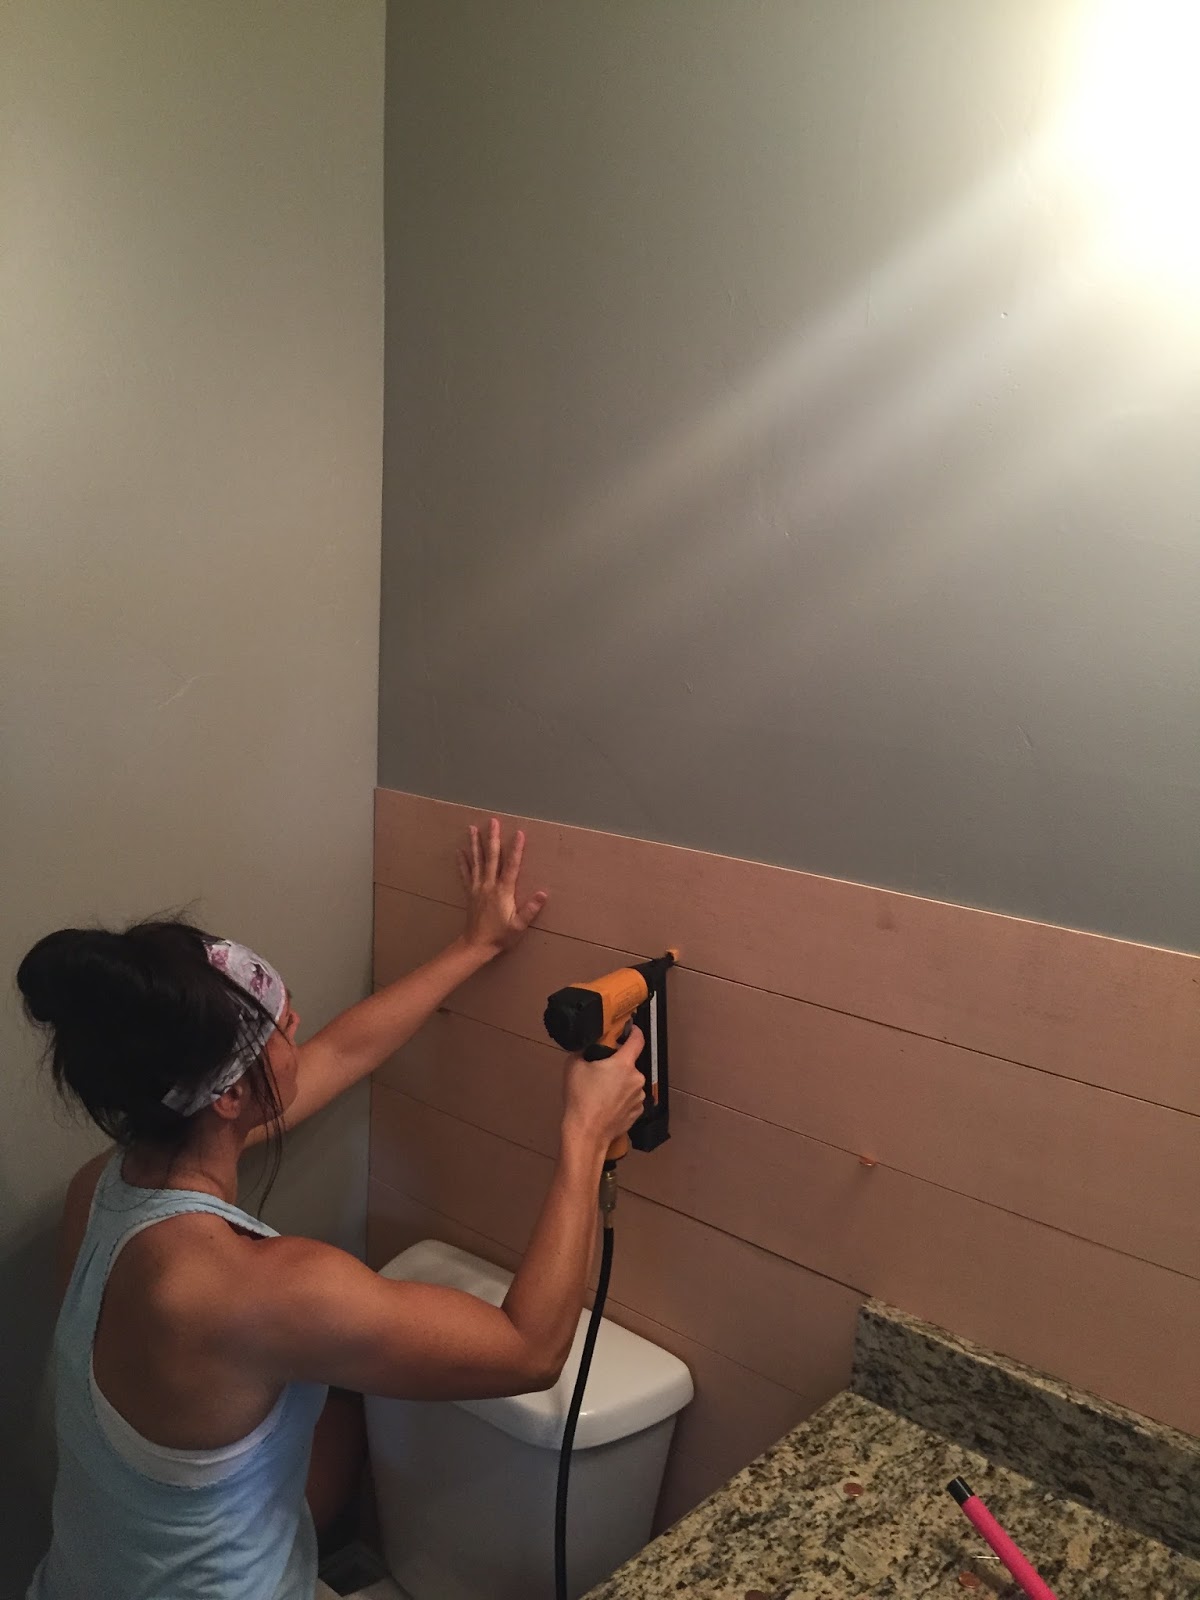
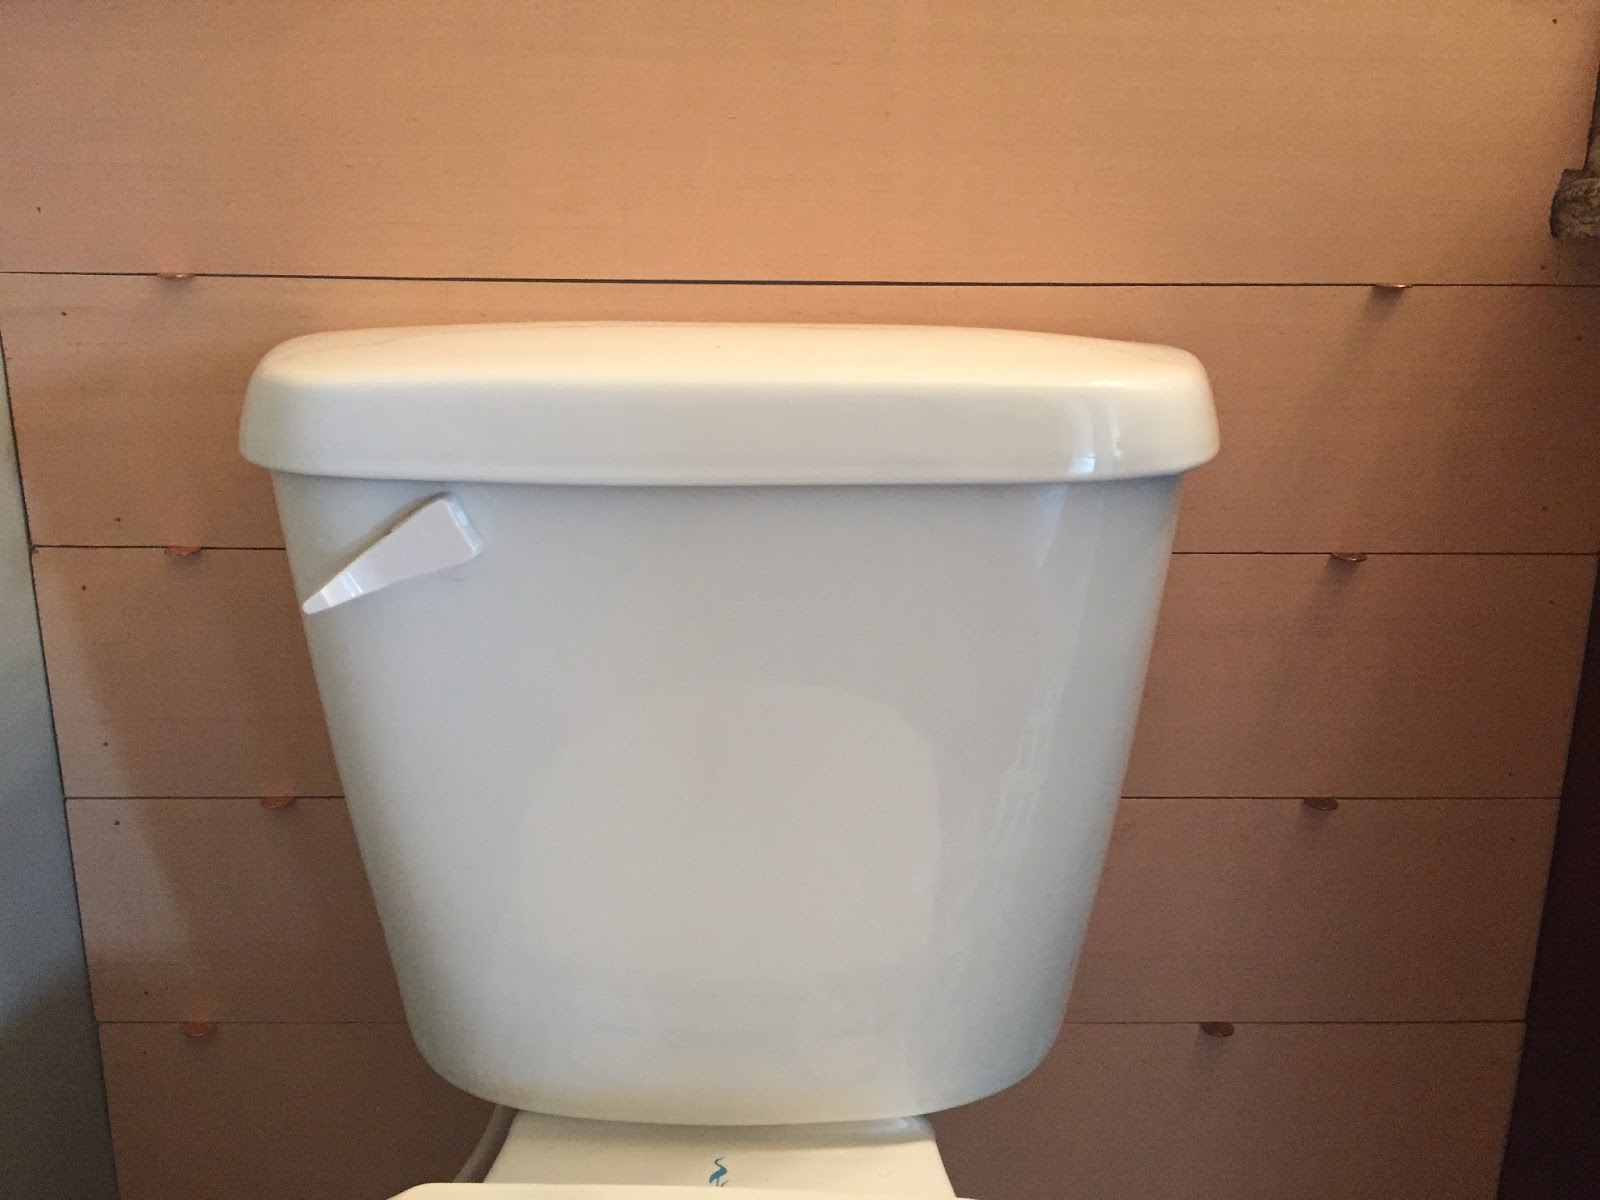
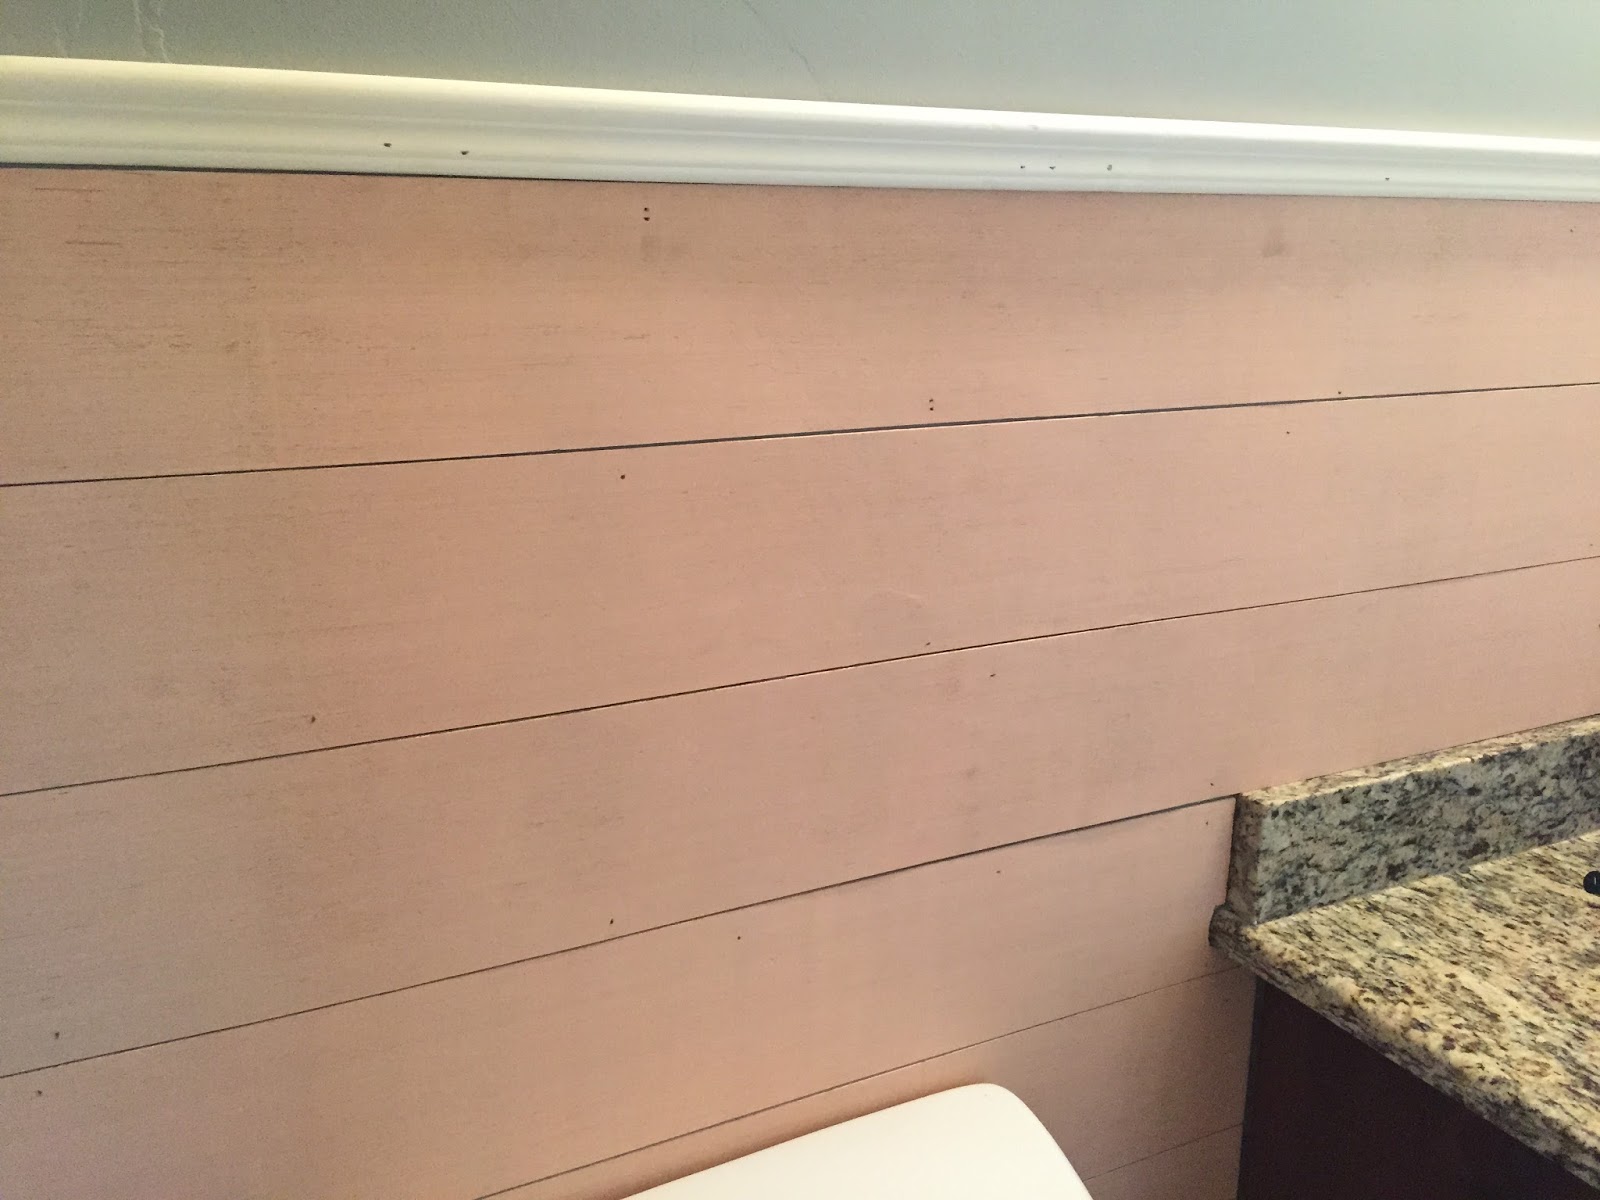
Once you get them home, you will need to sand the edges a bit so they are nice and smooth. One side of the paneling is more smooth than the other. This is the side you will want facing out when you hang them up. If I were doing a larger wall, I would have taken off the baseboard before nailing up any boards. However it just so happened that my baseboard was actually square to the ground, which never happens, so I decided to just go from there. Waisting no time, I started at the bottom of the wall (just above my baseboard) and worked my way up nailing each board a few times until secured to the wall. I used pennies to exact the spacing between each board. I got this idea from the tutorial, and it worked beautifully.
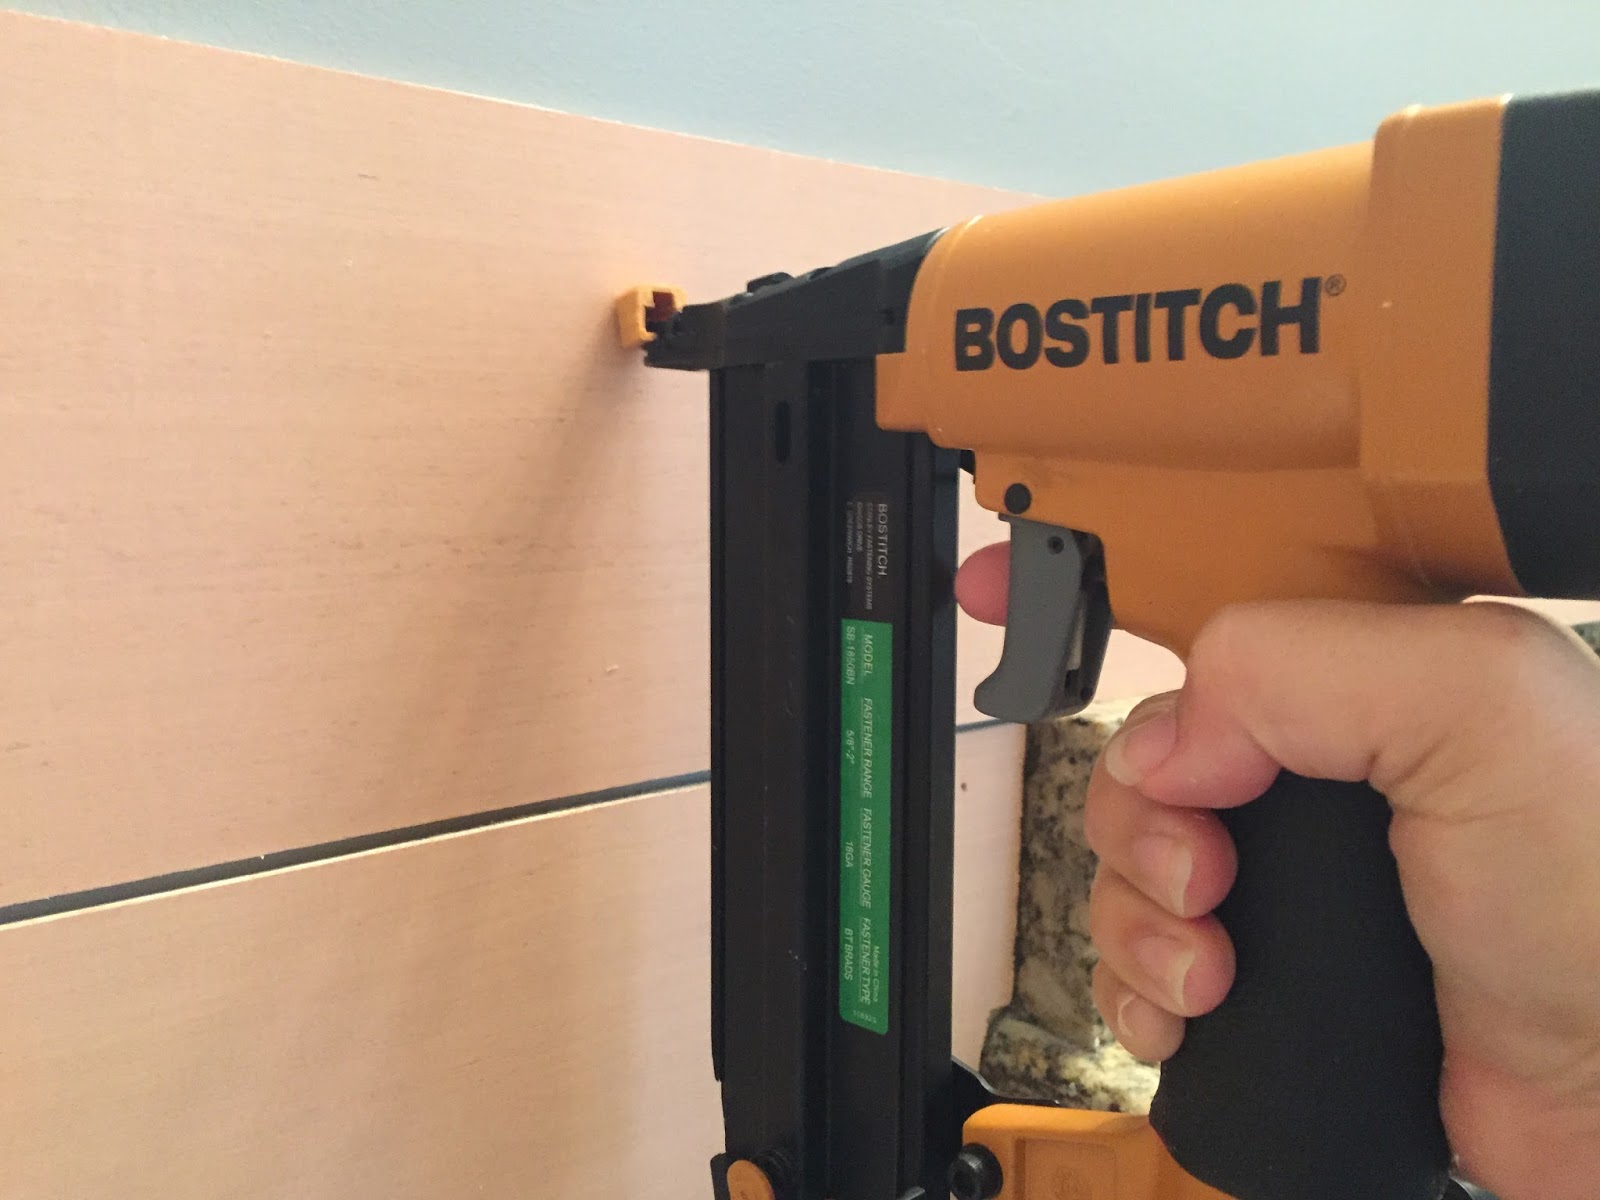
my favorite tool of all time
After nailing up my last board, I finished it off with my selected moulding. Here’s the finished wall so far.
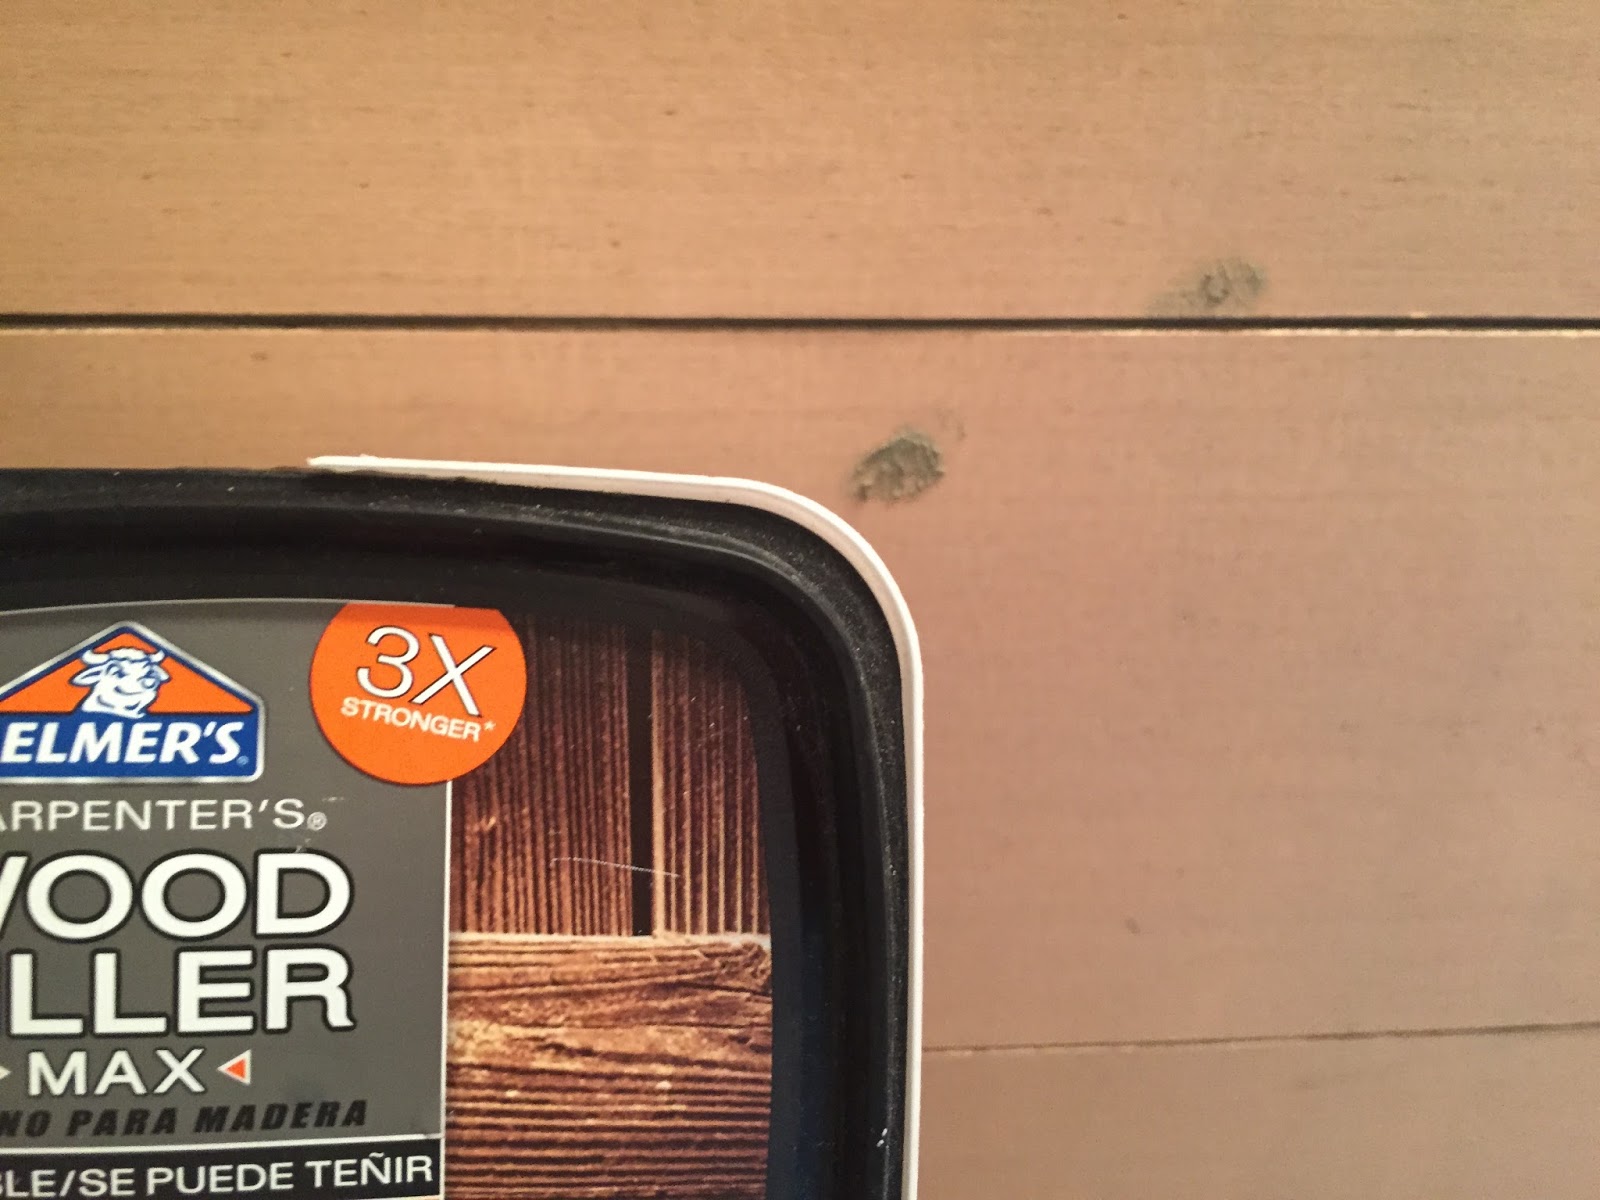
Now for the paint prep! First I speckled the nail holes.
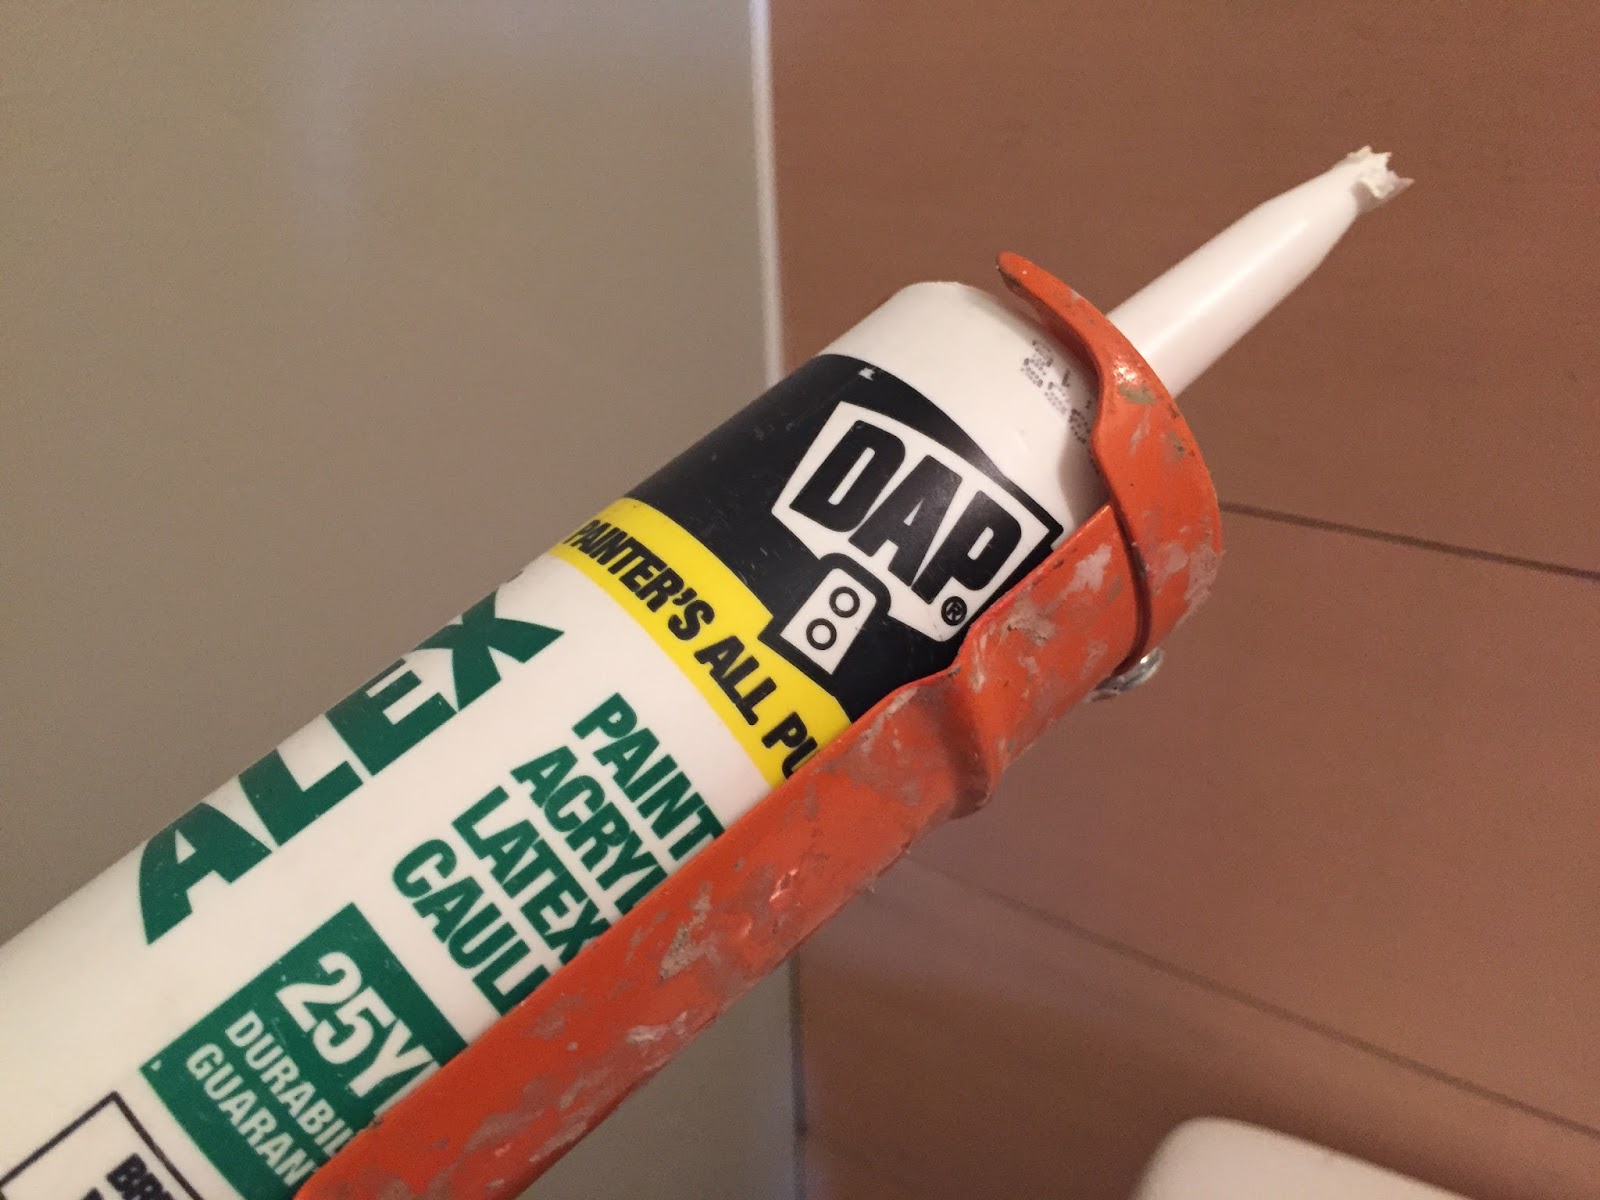
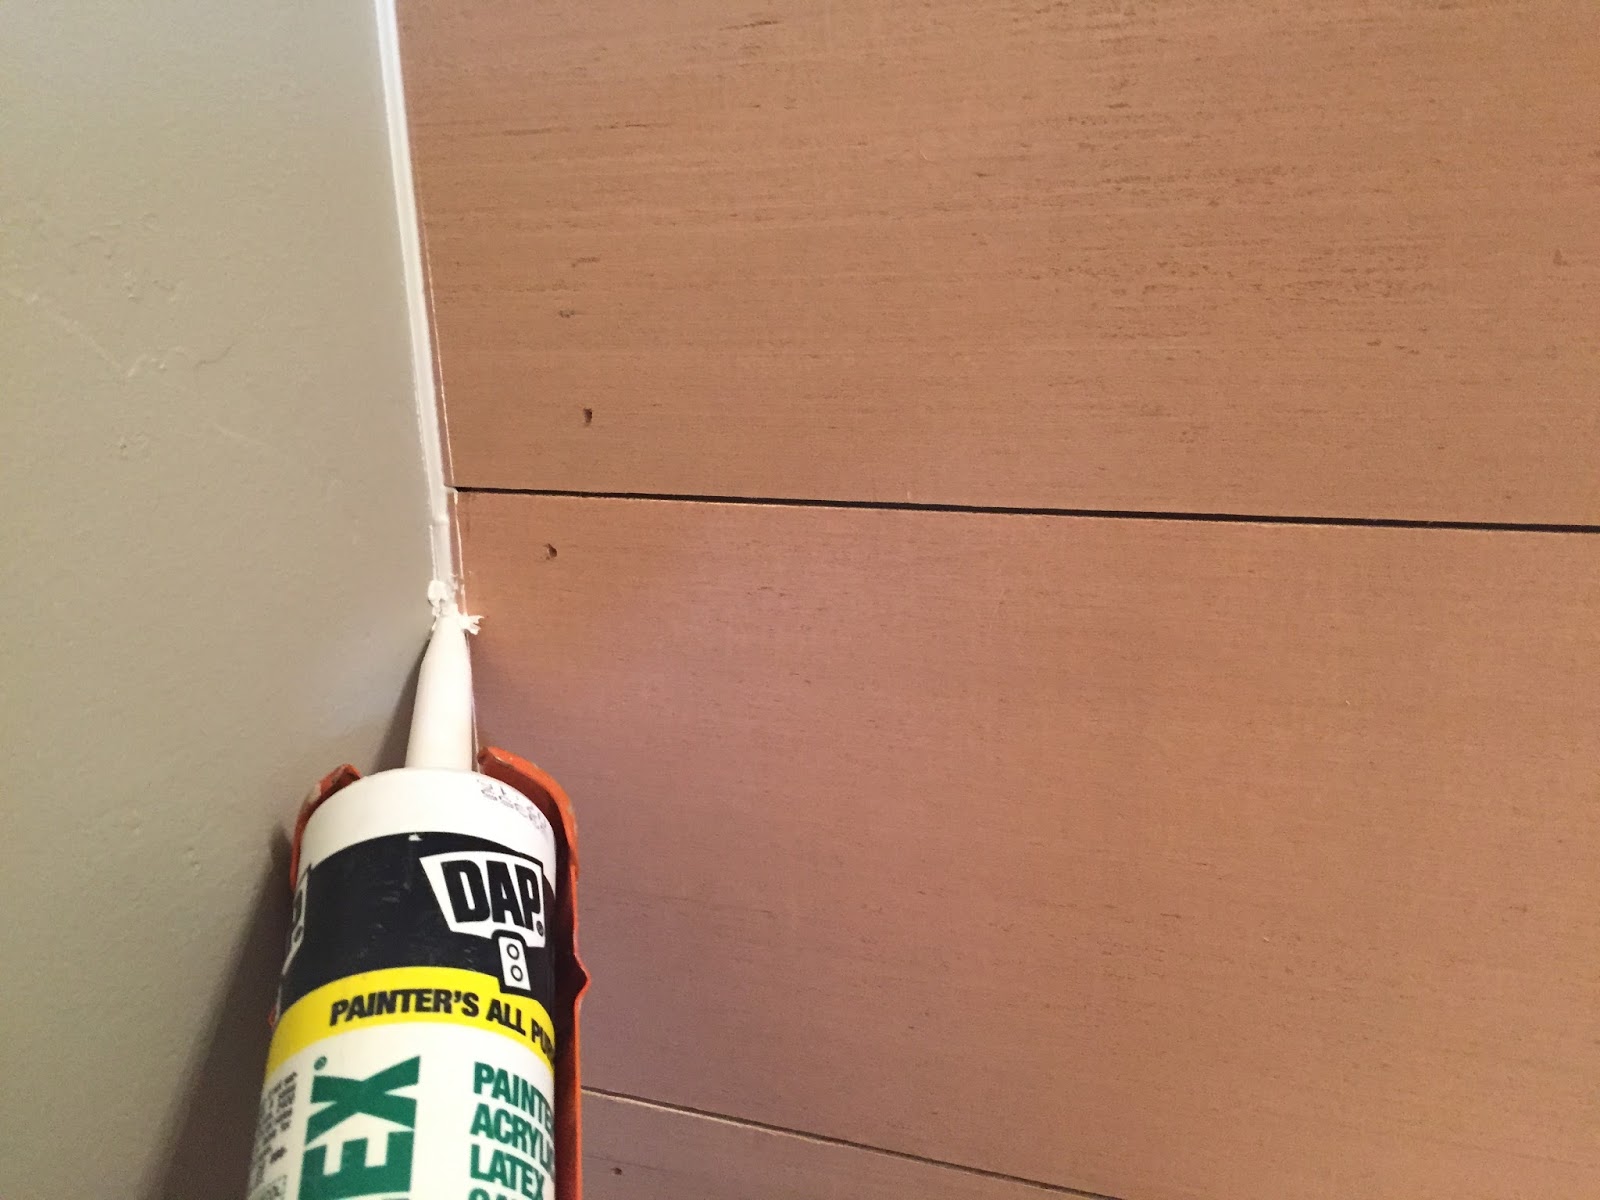
Then I caulked the sides.
I used a white paint I had lying around from when I finished my baseboards after our hardwood floors were installed. Its called Whisper White by Sherwin Williams.
Getting exciting now! All I had left was to take the gray wall color and touch up the sides and top. Over all, a very easy install. It only took me a few hours including dry time between coats of paint.
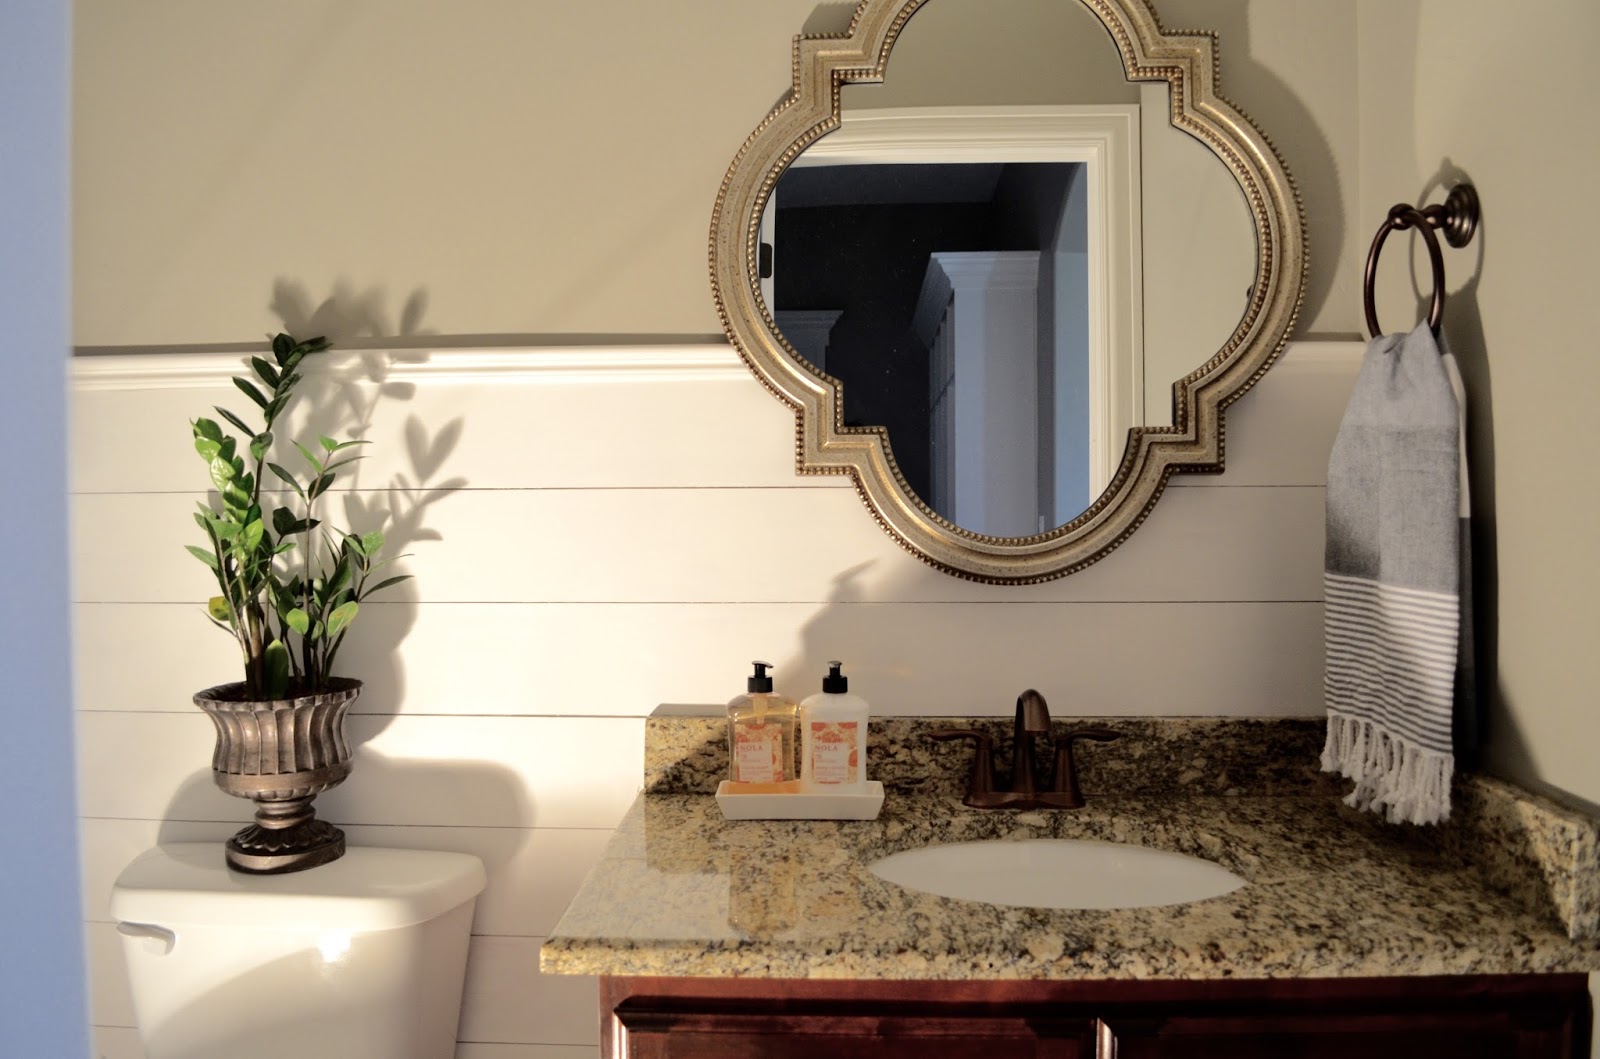
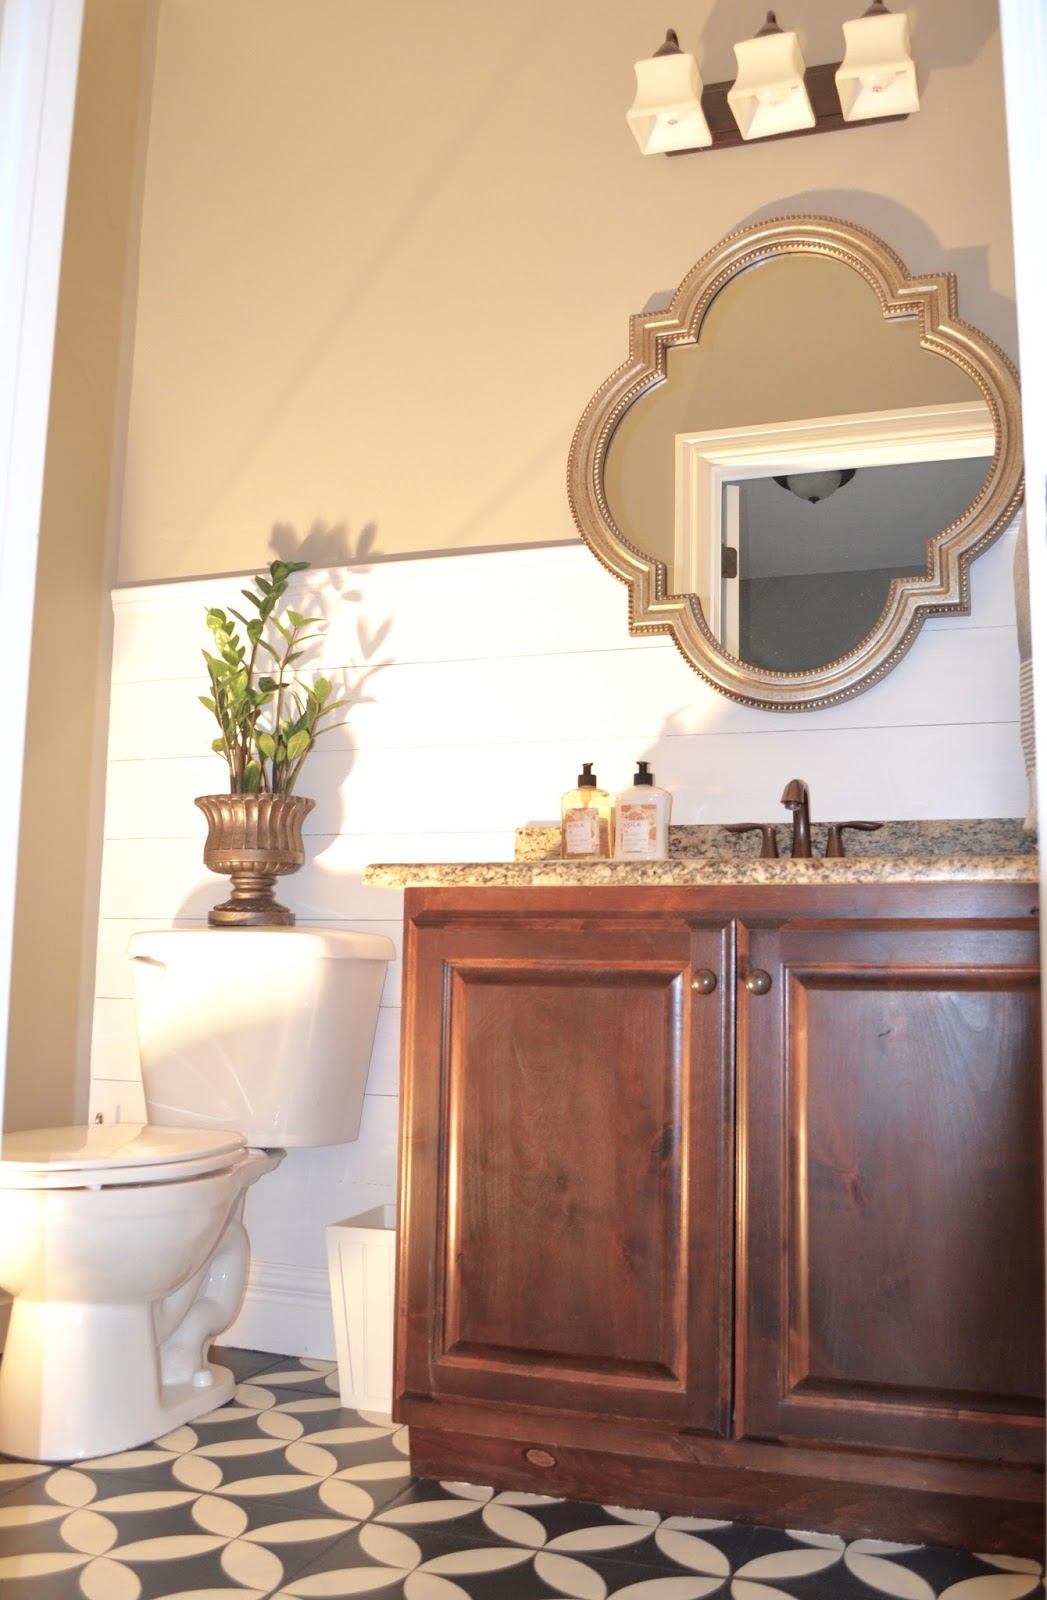
Now for the finishing touches! I purchased this new hand towel from Homegoods along with a this metallic Moroccan inspired mirror. I wanted a circular shape to break up all the squares and match the new pattern on the floor. Add a touch of greenery and you got yourself a total makeover.
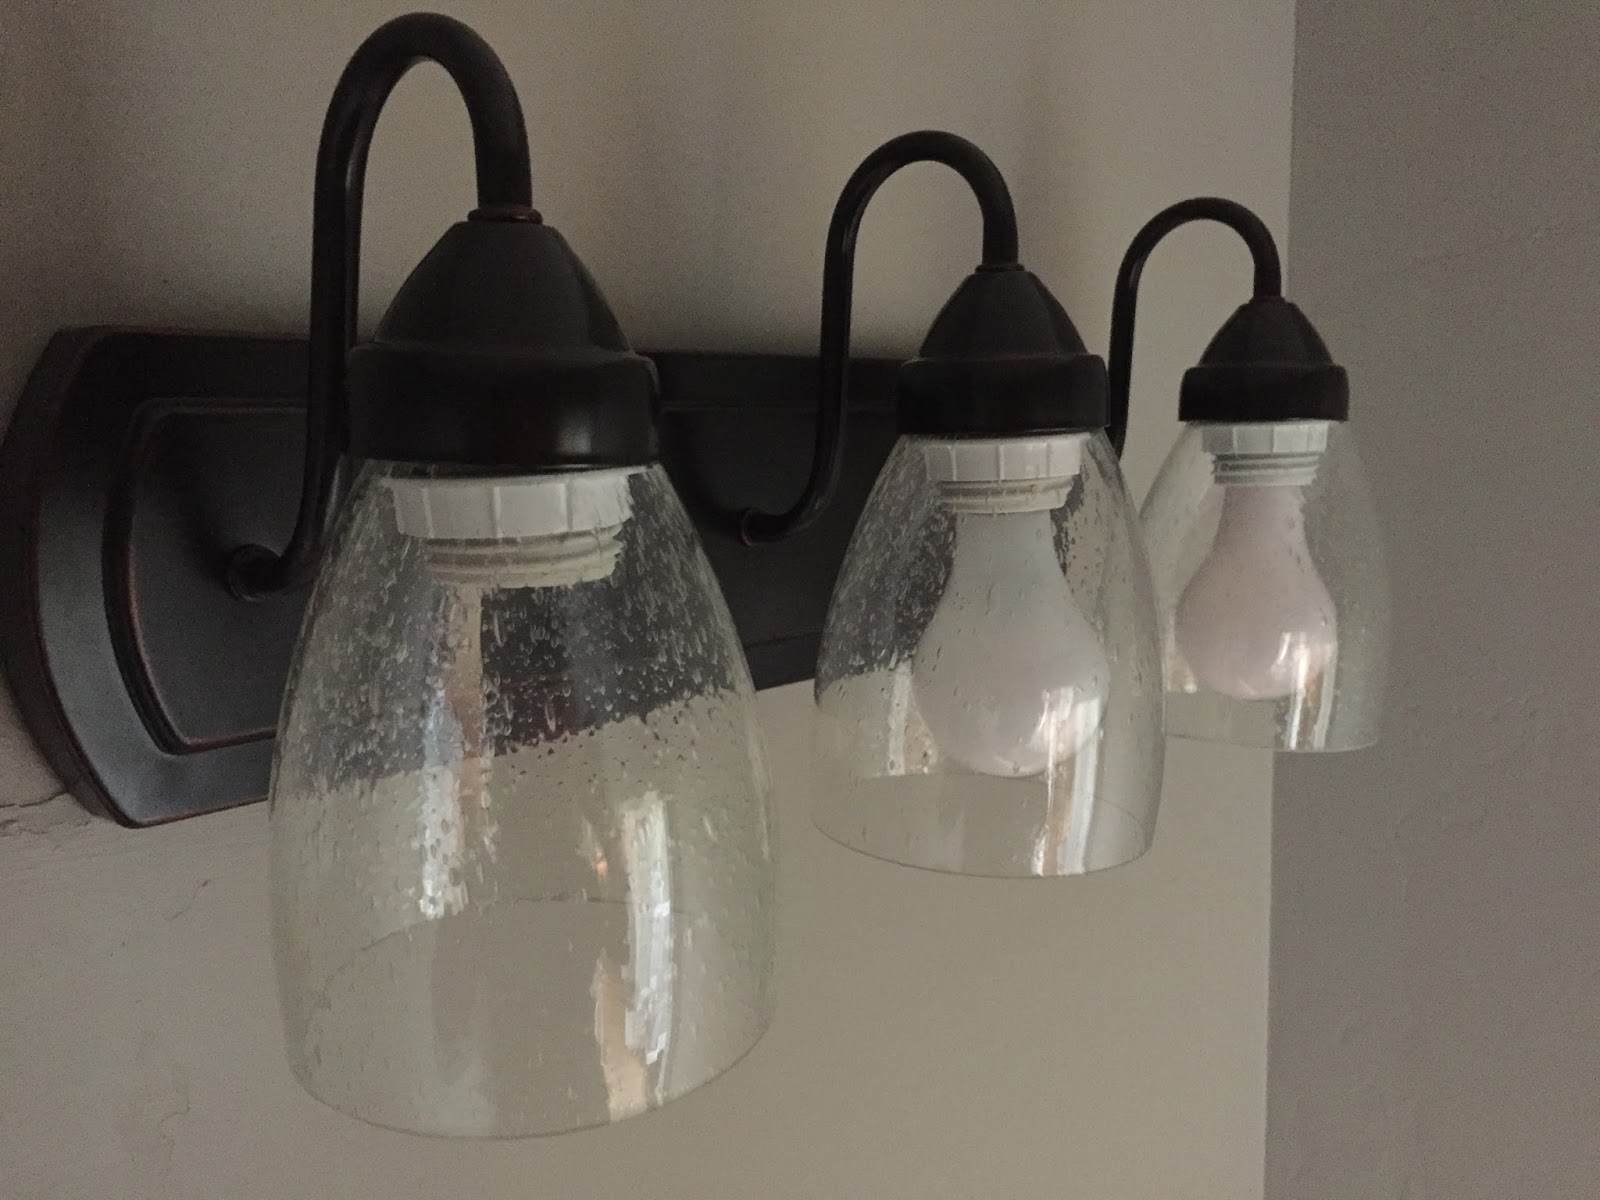
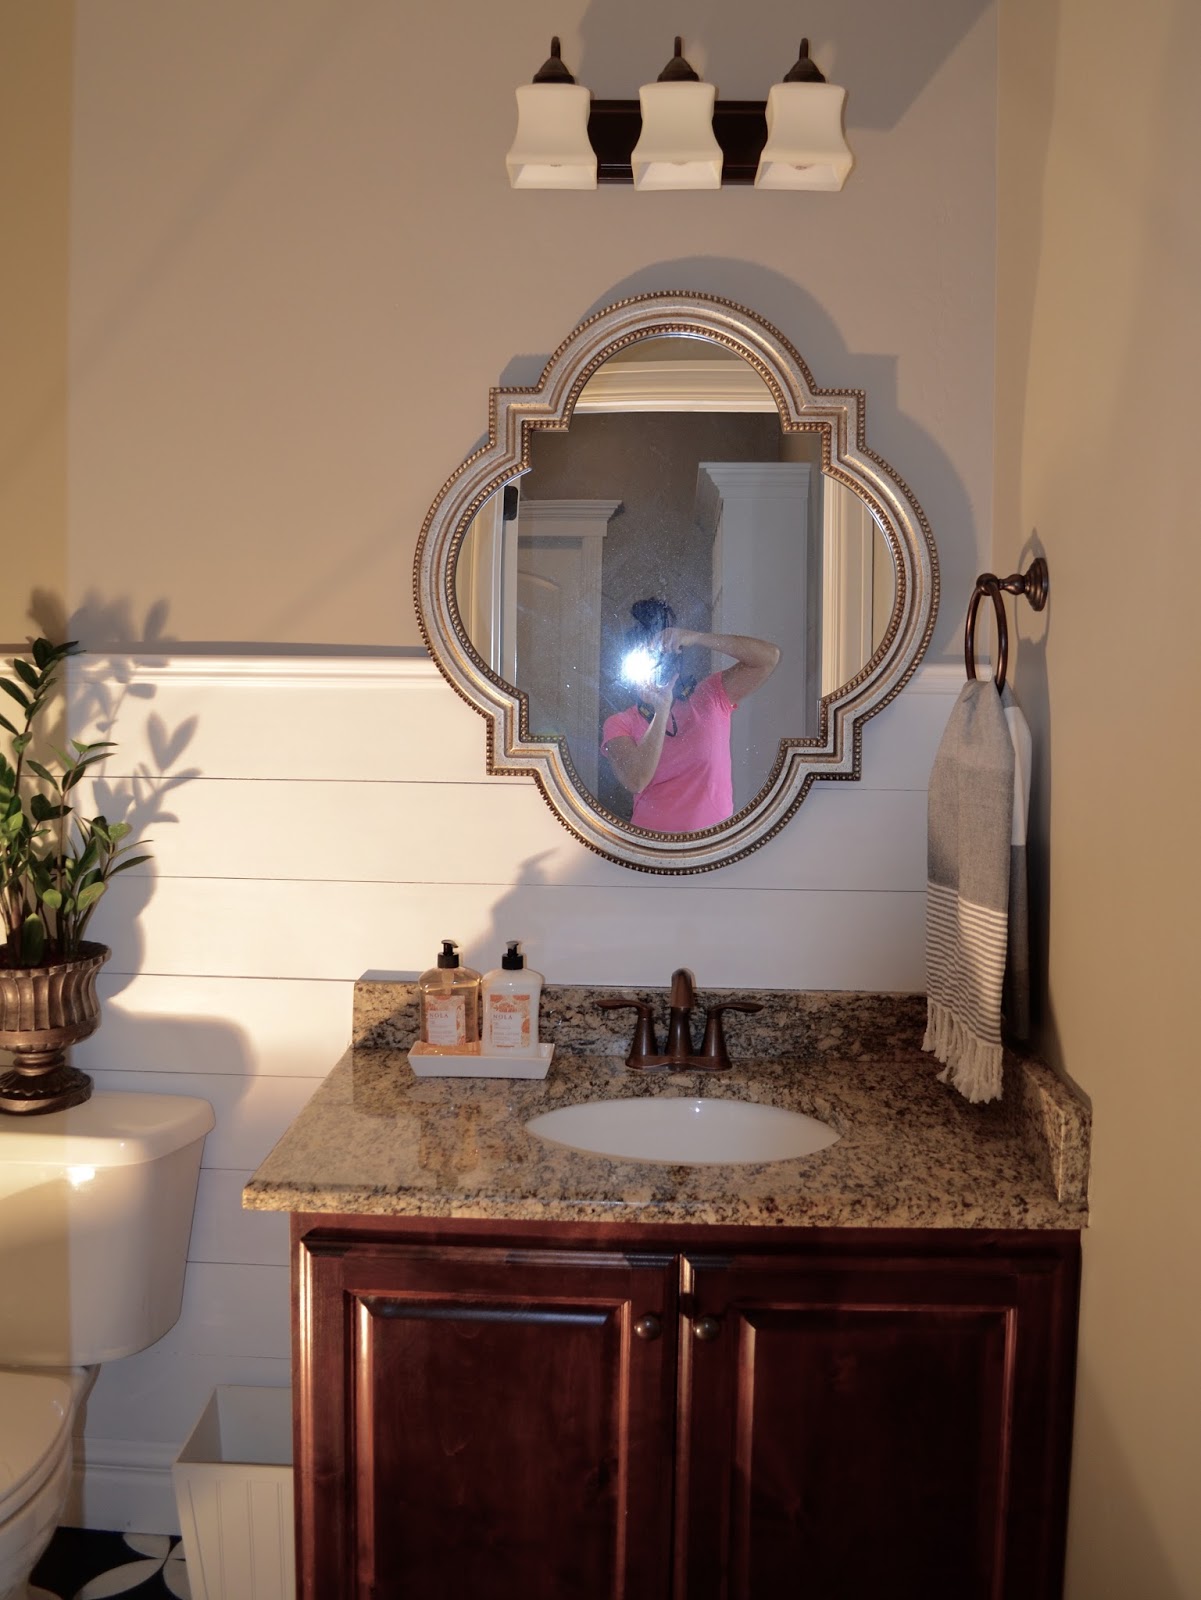
I switched out the light shades on my existing fixture for a more farmhouse look. This is just a cheep light (probably around $25) but adding the new shades really changed the whole look. The new shades cost about $6 dollars each, and I purchased them at Lowes Home Improvement.
BEFORE
AFTER(oops there I am in the mirror)
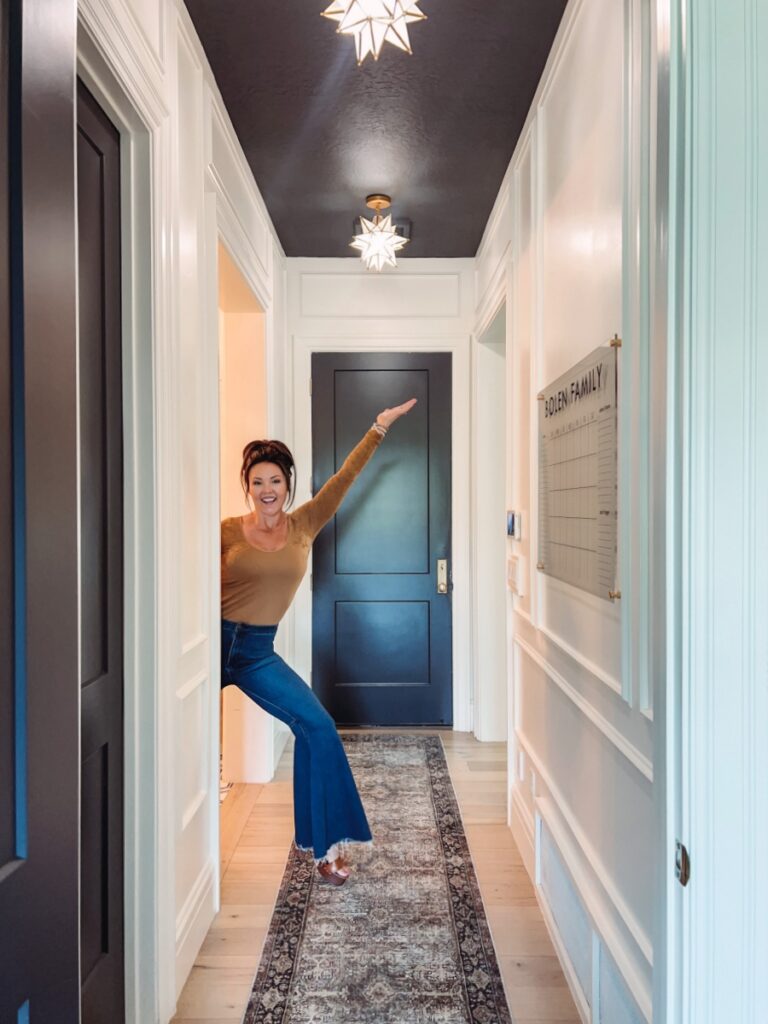
And that’s a wrap for this little powder room makeover. Oh and did I mention I’m carrying this new floor pattern into my mud room and over to my laundry room? More before and afters coming soon!


 Add to favorites or read later
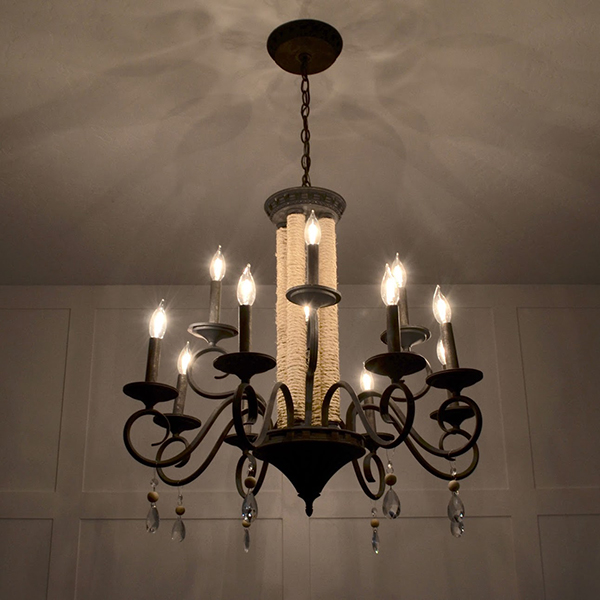

