African Juju hat tutorial

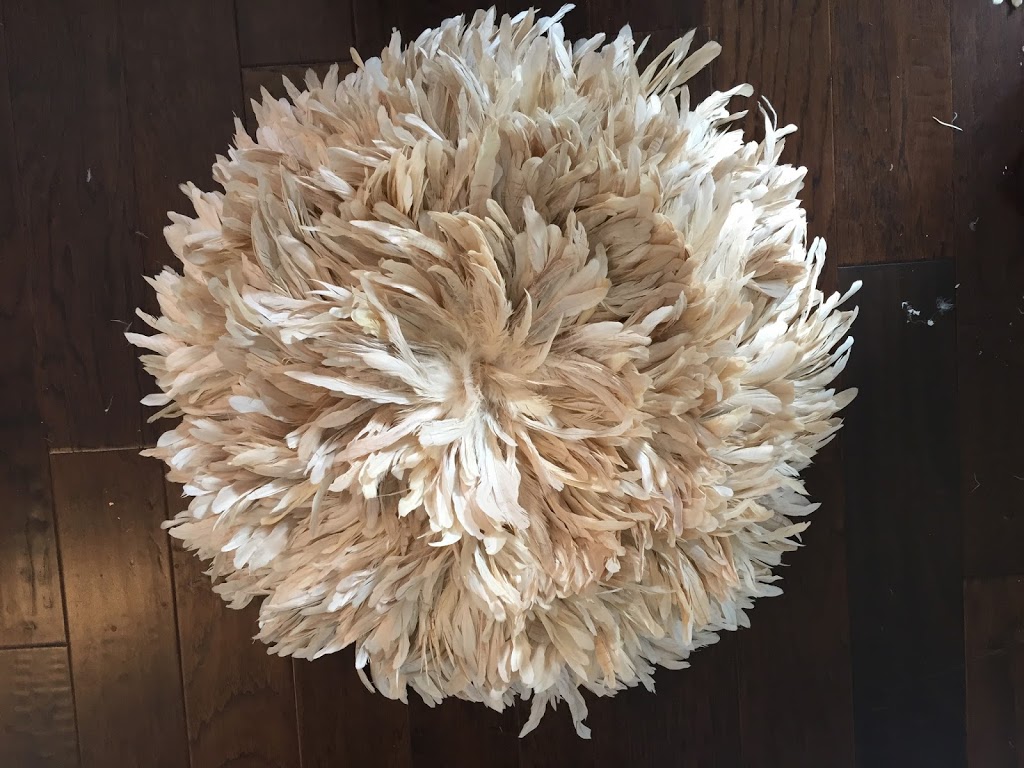
Well I have been obsessing over these African Juju hats for quite some time now, as I’m sure many of you have. They are all the rave in the interior design world and its easy to see why. They serve as an eye catching accessory to the home, providing beautiful color and texture.

These traditional tribal hats are worn by village chiefs in the Cameroon region of central Africa. Each feather is painstakingly hand sewn onto a raffia fiber base or basket and splays out into a large circle. Feathers are considered rare objects of beauty and a symbol of prosperity and wealth.

Because of the craftsmanship these are expensive, ranging anywhere from $400-$800. This is the main reason I do not already own one. Being the thrifty DIYer I am, I immediately started pondering ways to create this fluffy feather wreath. I found a couple good tutorials out there from like minded individuals. This one I found particularly helpful and used some of her tips to make my own Juju hat.
http://www.songbirdblog.com/diy-african-juju-hat/
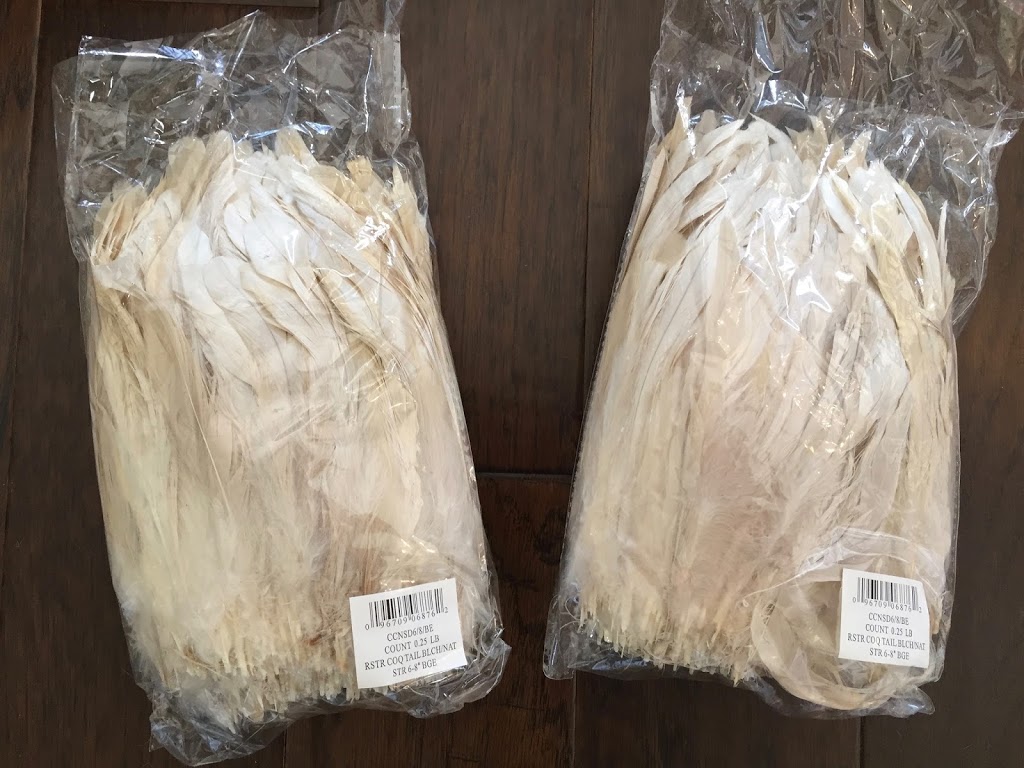
Just a warning… this is one of my more expensive day’s. Real feathers are pricey. Each pack of strung feathers cost about $40 adding up to approx. $120 in total. Still a bargain compared to the real thing.
Supplies
3 rooster coquet strung feather 6-8″strands (purchase here)
scissors
rug pad
drop cloth for backing material
hot glue gun and sticks
large circular item
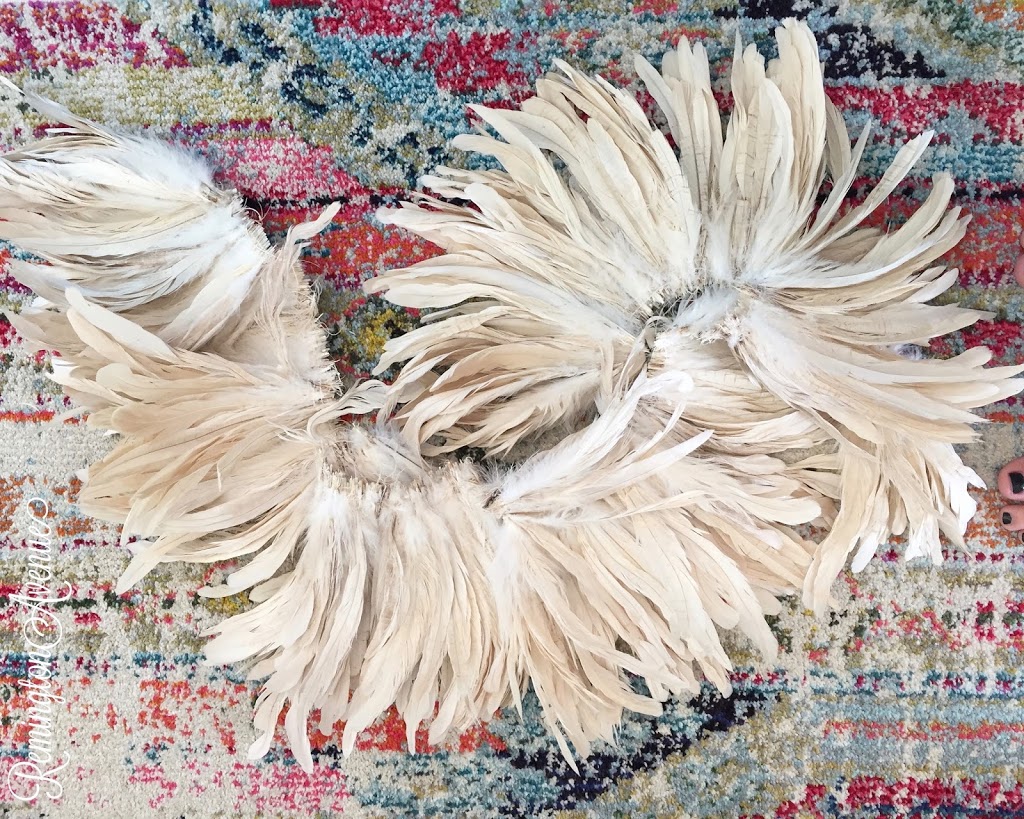
Step One
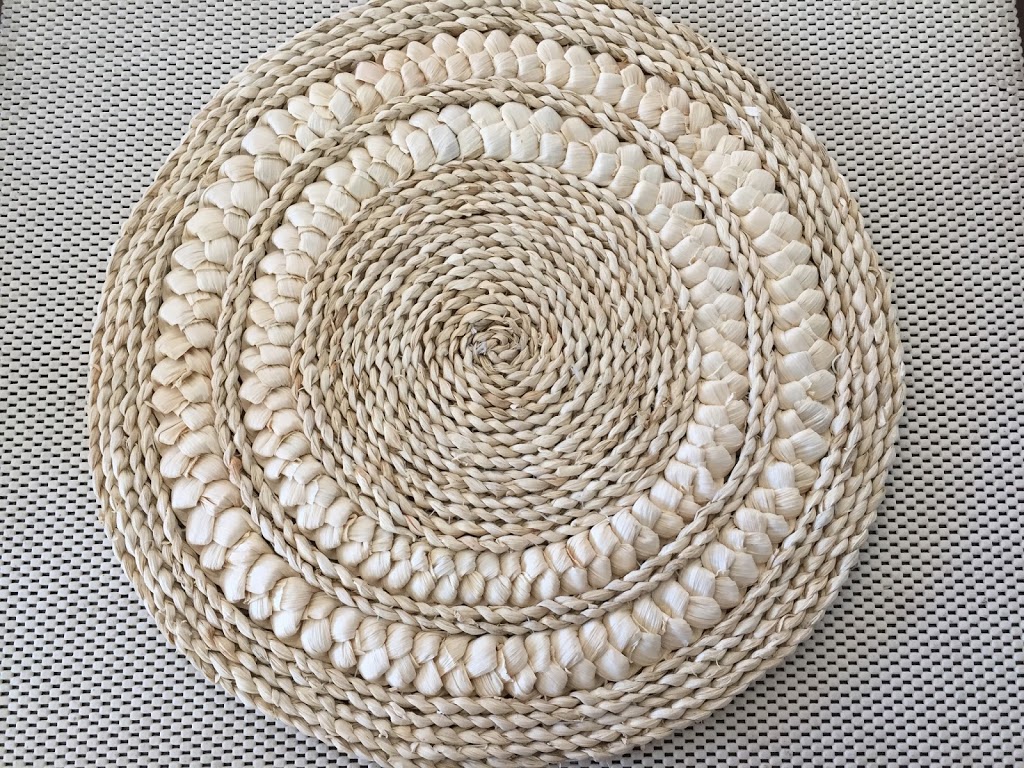
Lay out the strands of feathers making sure to untangle any twisted ones. Set aside. Trace a circular item such as a plate, tray, or place mat onto your rug mat. It should measure approx.12 inches. I used a place mat. If you want a fancier backing you could always just use a woven place mat too. I just went for the less expensive route;) If you want yours a little larger, you could go up to 15inches. You will need one more strand of feathers though. This would bring your total to $160.
Step Two
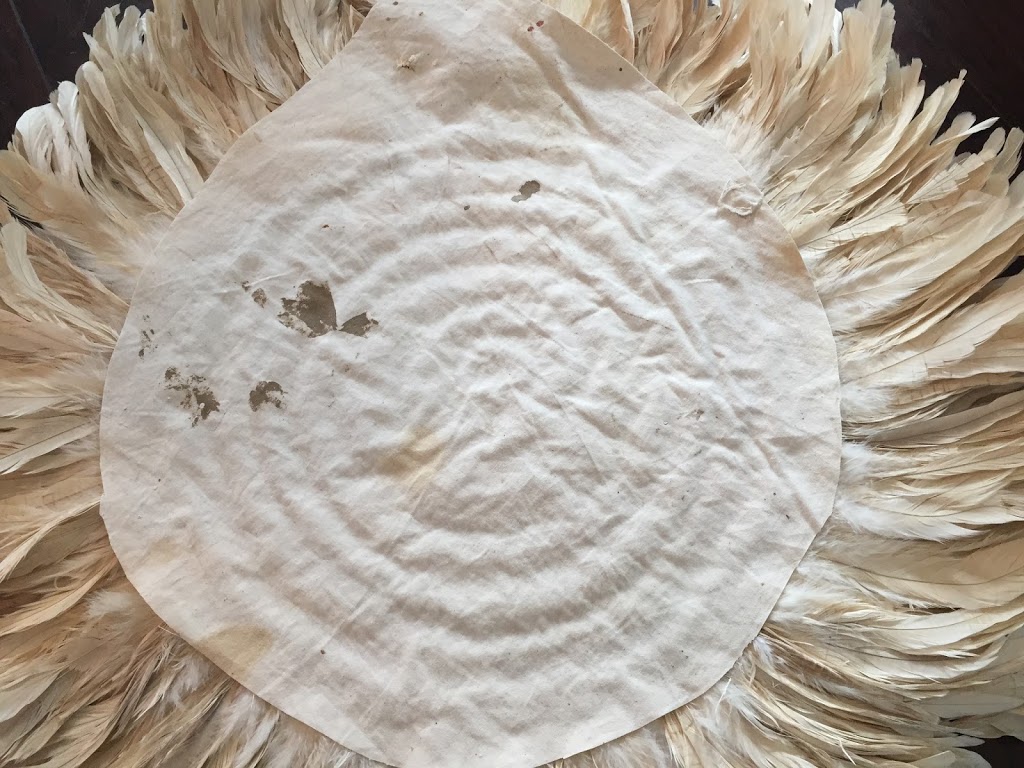
Cut out a square of canvas drop cloth larger than your rug mat circle. Place the rug mat circle atop the canvas. As you glue your feathers down the glue will bind the two layers together locking then in place. I know it doesn’t seem like it would be steady enough to keep the hat from bending but it does! Trust me! As you can see from my photo, both these items are used. No need to go out and buy a new drop cloth or rug mat if you already have some hanging around the house. They will not be visible once the project is complete.


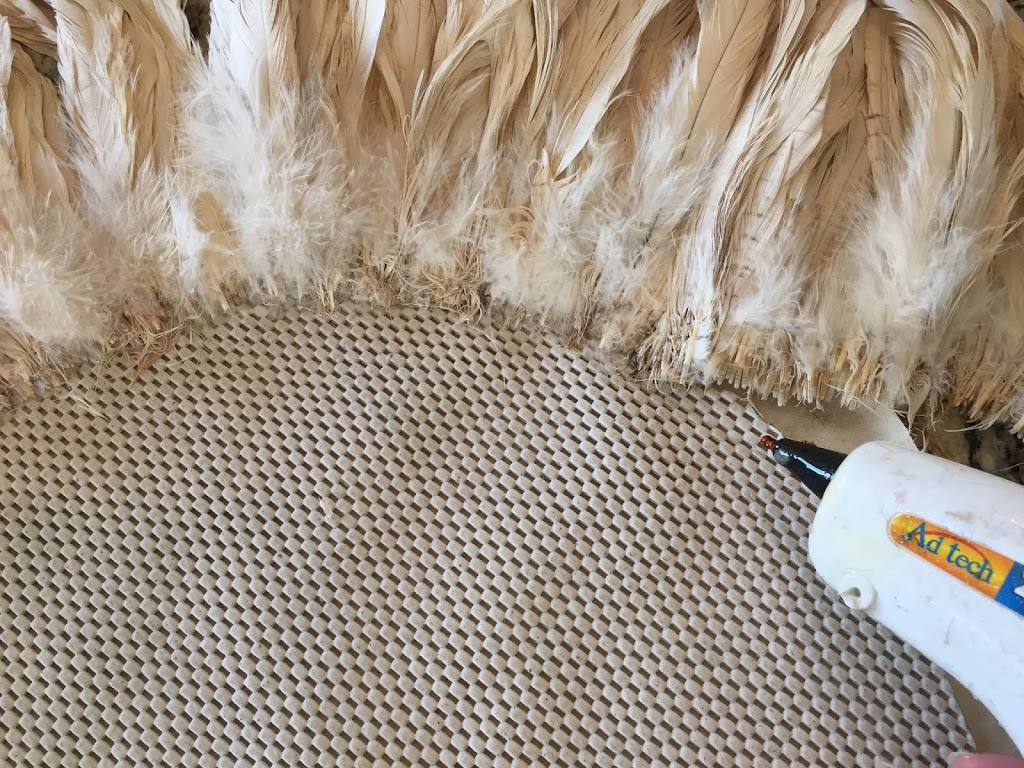
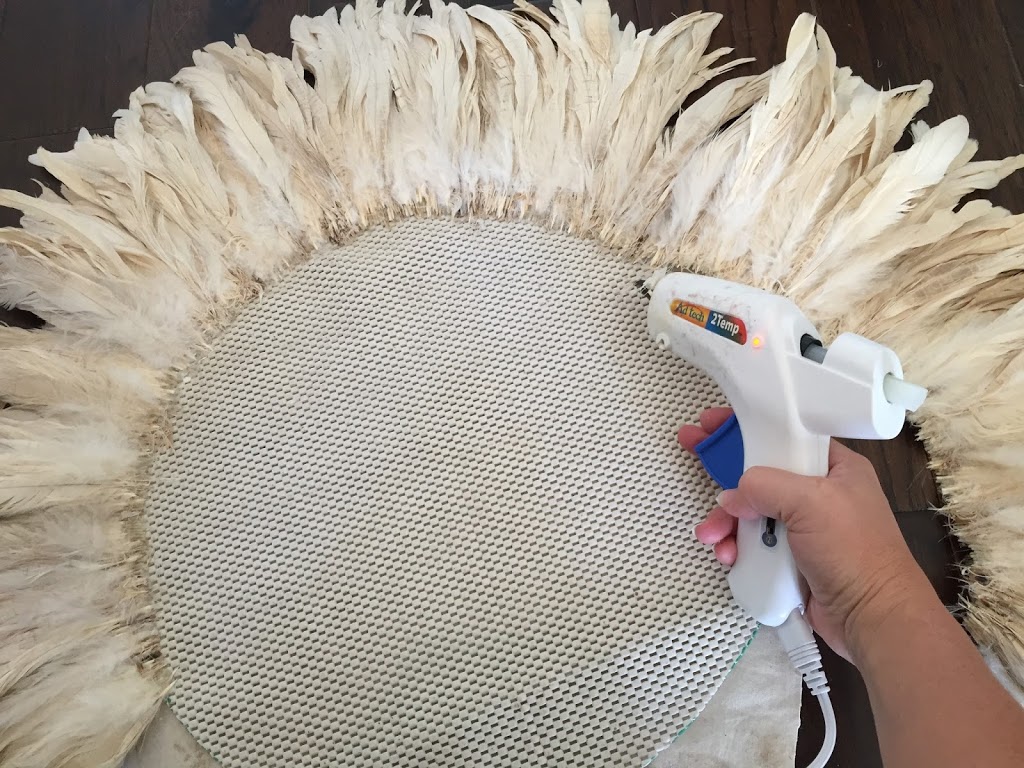
Step Three
Get your guns ready cause here we go! Start by gluing the feathers around the outer edge of your circular base. Make sure the feathers are arching downward. As you glue around the circle make sure to press the feather tips into the glue. If you push them down and toward the outer edge of the base it will give your juju hat more volume and height. Once you’ve completed one full circle, stop and cut off the excess. DO NOT KEEP SPIRALING FEATHERS AROUND.

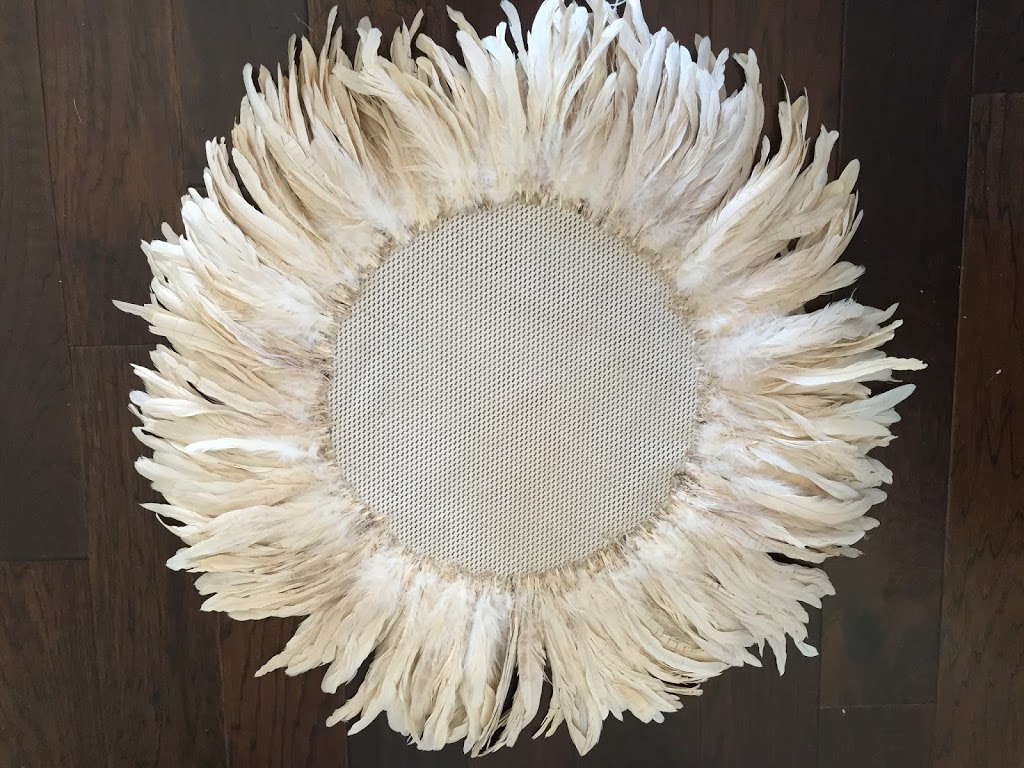
Step Four
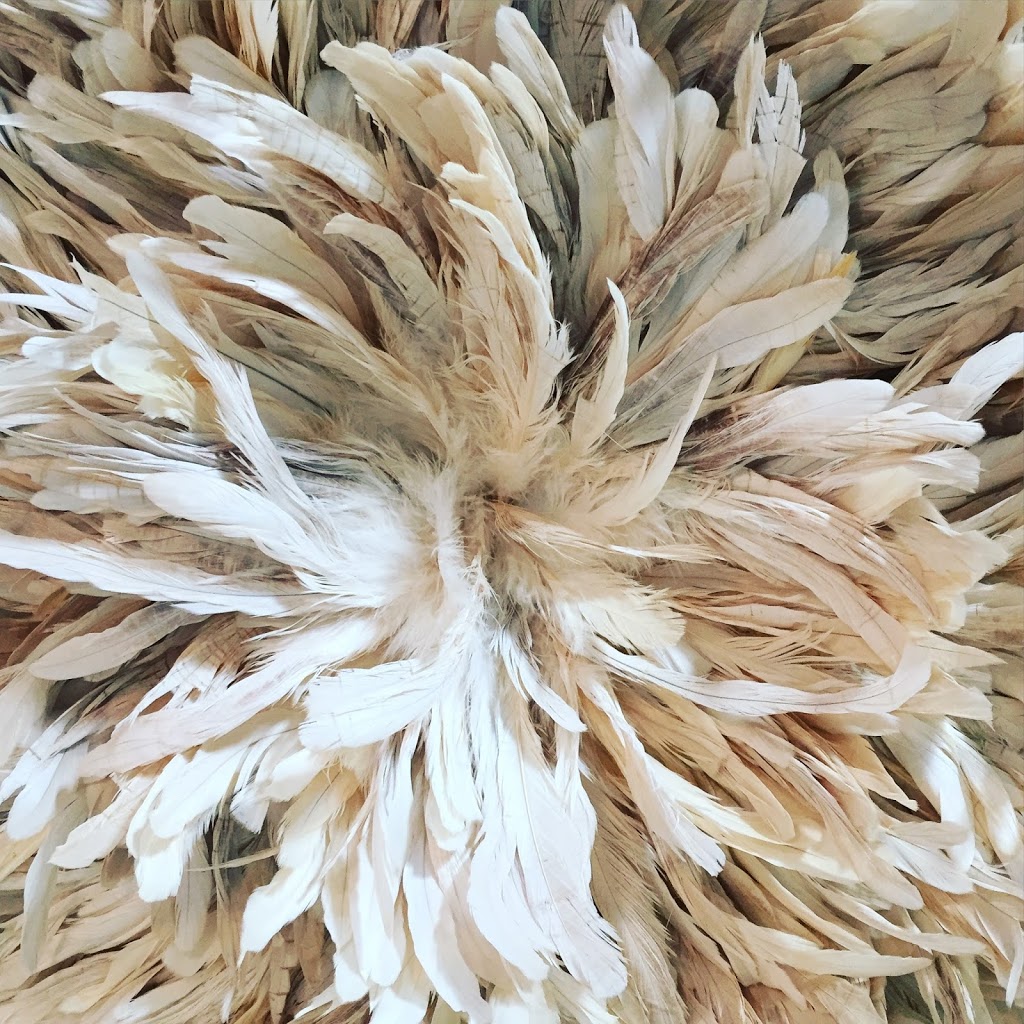
Begin gluing your next circle of feathers. This time place the feathers so they are arching upward. Alternate turning your feathers upward and downward on each circle. This will hide any bare spots and ensure volume and height. Continue this process until you reach the center of your Juju hat. Aren’t these feathers gorgeous! I know your getting excited now!

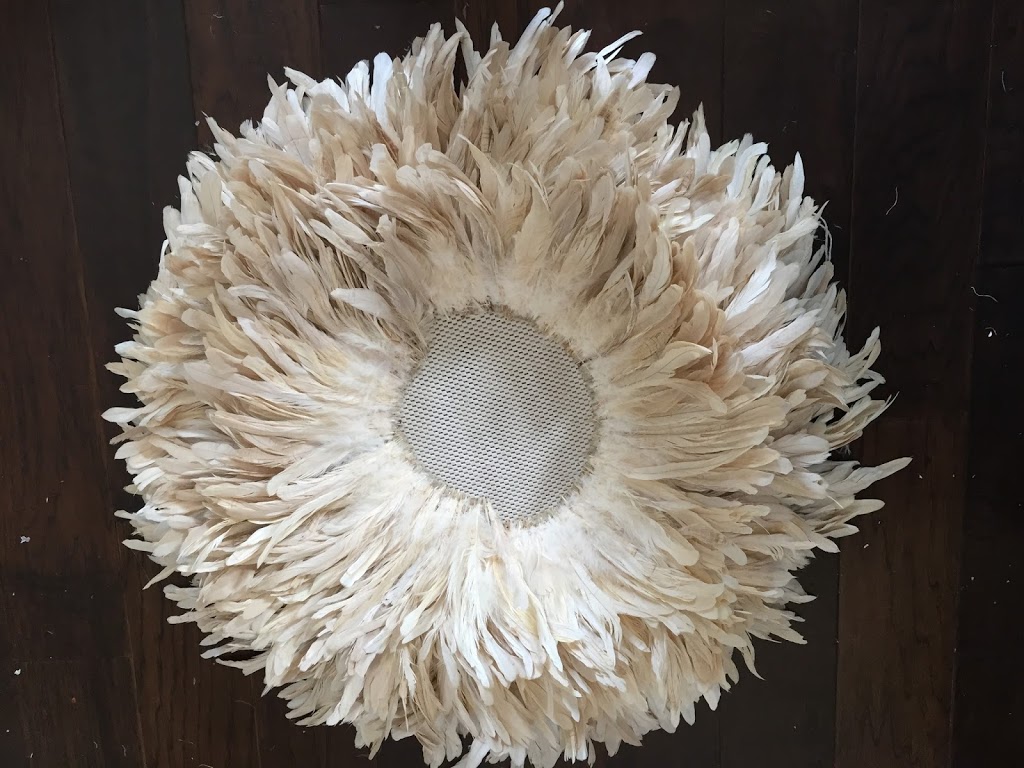
Step Five
Use the remaining short strands of feathers to fill in the center of the hat. These are the remnants of the feather strands that were cut. Add these feathers a few at a time in various angles and directions.
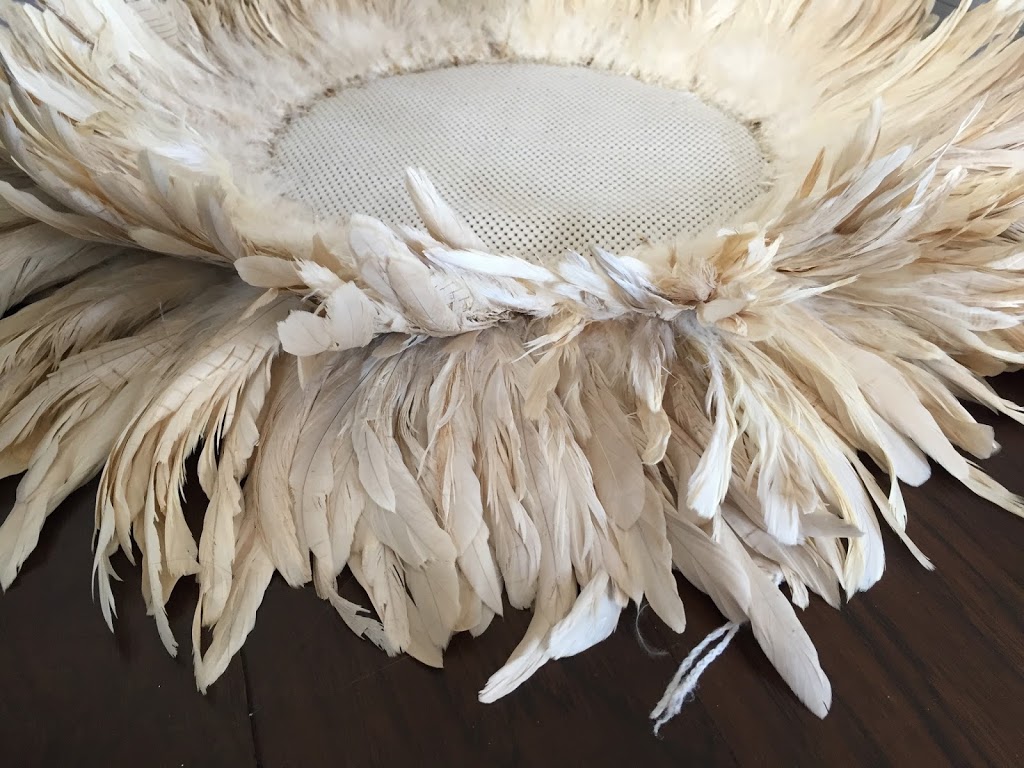


Step Six
Now determine which direction you want your hat to hang on the wall (which way do your feathers hang the best). Once you’ve determined that, flip your hat facing down. Fold back some of the excess backing on the top side of your juju hat and glue down. This will give a little more support to the backing ensuring it holds its shape. Then trim the rest of the backing around the hat so its no longer visible. All you need is a thumb tack to hang it. I just stuck mine right through the canvas layer.

Im so happy with my finished Juju hat! I know you’ll enjoy yours as much as I do. I may not have an authentic African Juju hat, but I do have a few extra $$hundies in my pocket! Shhh… our little secret!


 Add to favorites or read later
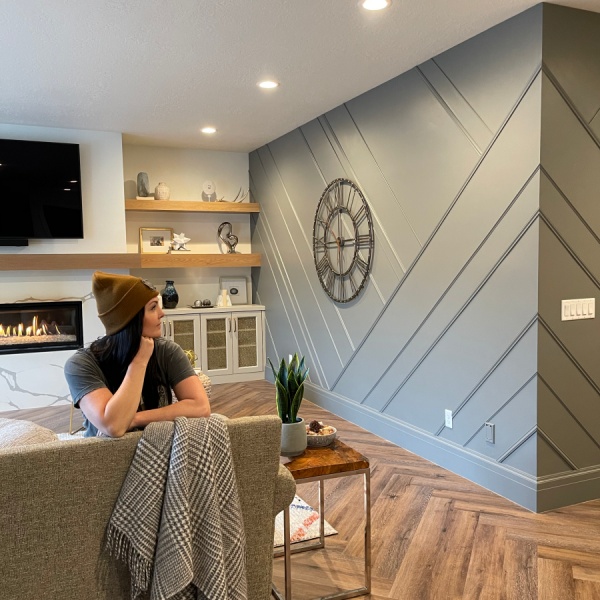
Wow!! Looks like amazing!
very good information about kitchen ,
By the way best amazon kitchen decor sets thanks
SO beautiful! I saw one of these at a model home I toured and fell in love. Seeing this tutorial makes me want to make my own.
Thanks Tamara
You should totally do it. This project was truly a piece of cake
Thank you so much for your very informative tutorial on juju hat making. I have seen them used in magazines and on tv. Yours looks totally authentic and lovely up on your wall. It is just as beautiful as those that I have seen. I’m definitely going to try this project myself. Thanks again.
Thanks so much for stopping in Karla. I appreciate your kind remarks. I have loved the juju hat and it really is such an easy diy
I did it and it turned out amazing!!! Thanks for the tips!
I’m so glad traci! Id love to see, could you post a picture here or email me one?
Hi! I’m hoping to make this DIY Project also. I’m wondering what the diameter of the finished piece is?
about 24″
Cant wait to try this! If buying feather trim (feathers stitched into ribbon), would you be able to advise approx how many meters to buy for same size juju that you made. I can’t gauge by looking at the link where you bought feathers from.
Thanks
I linked the exact feather trim I bought. I purchased 3 strands to complete my juju hat. I hope that helps because I dont remember how many meters each strand was.