Easy Fireplace Makeover

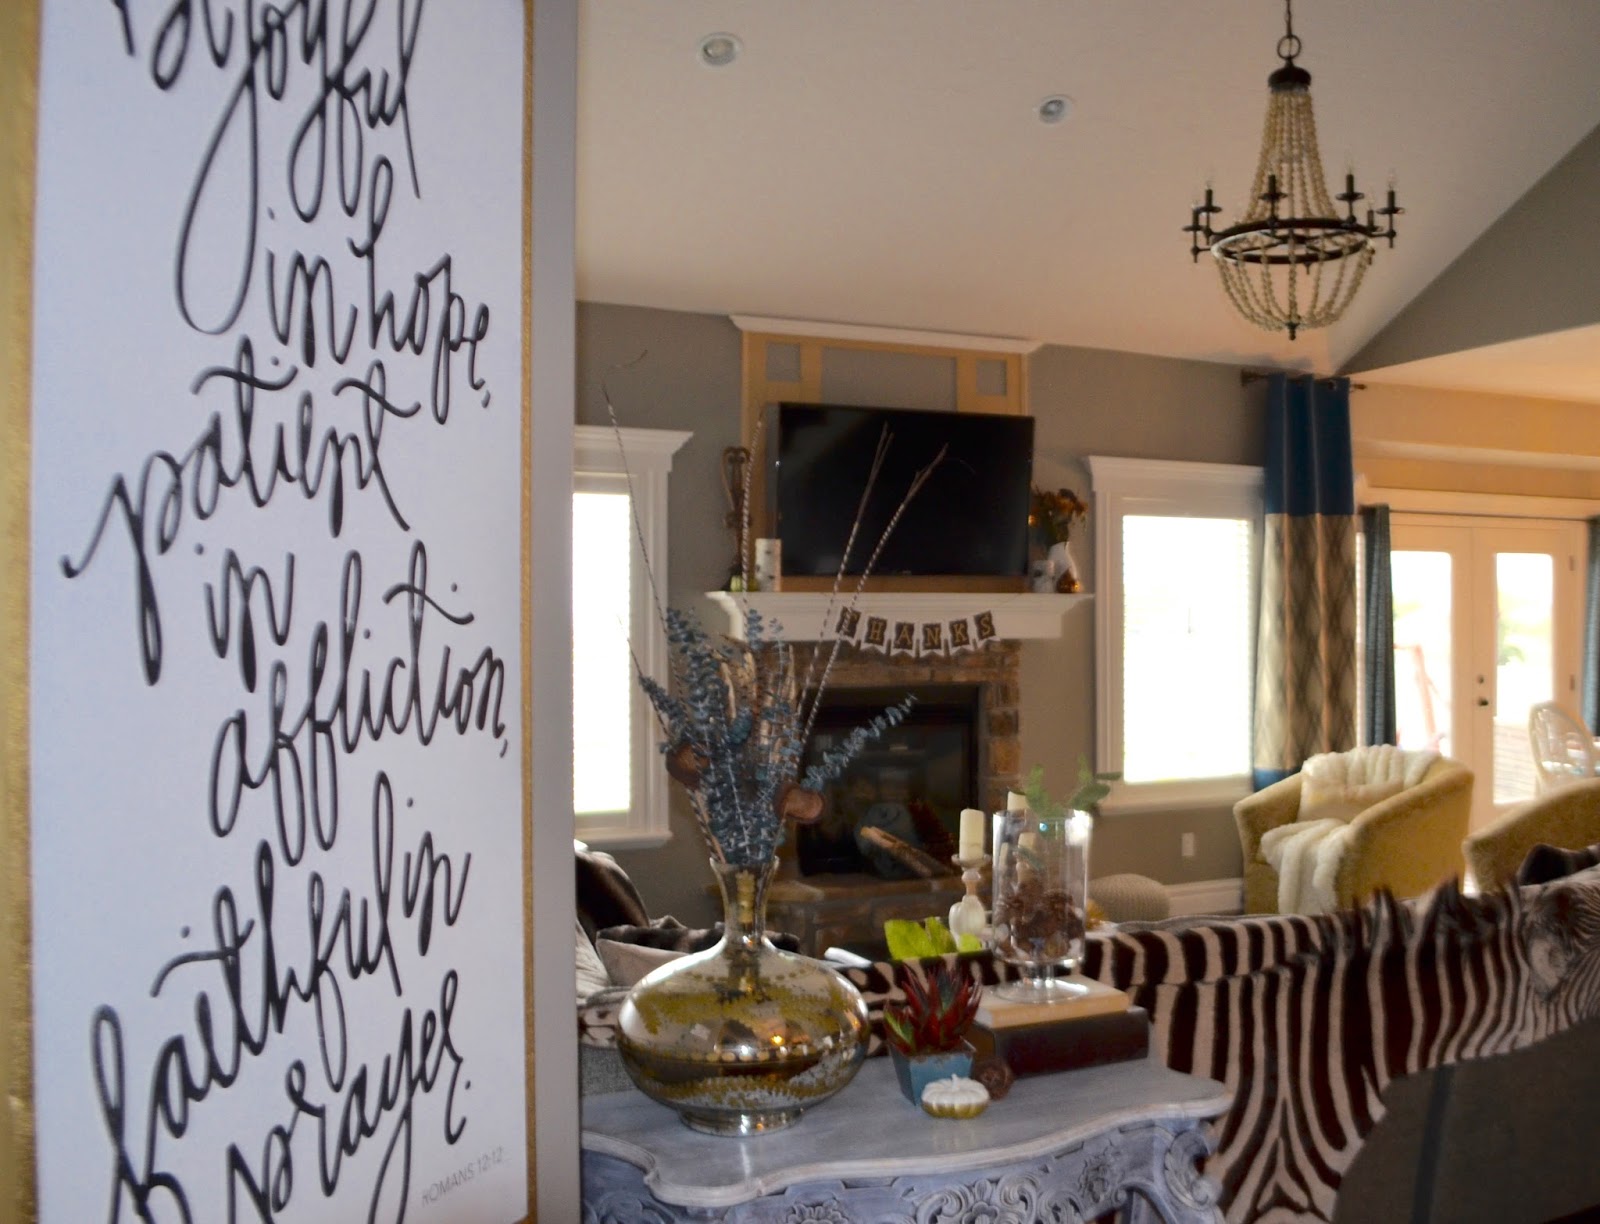
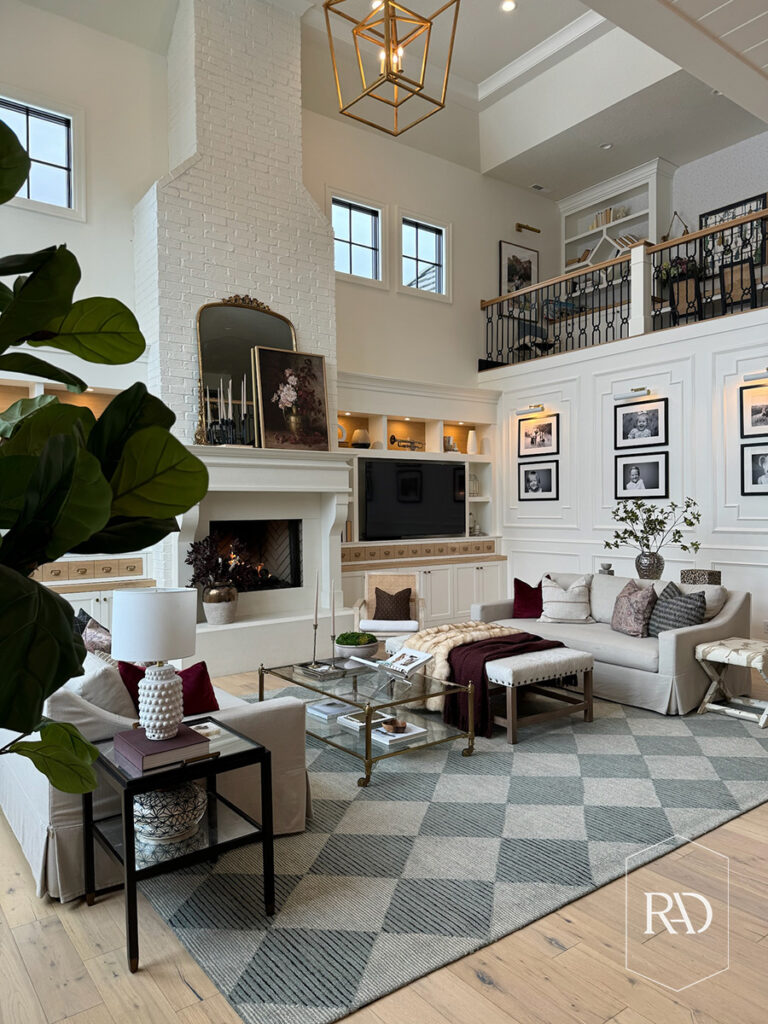
When we moved into this house, we configured the furniture arrangement with the fireplace as the focal point. The only problem was, it wasn’t much to look at (in my opinion). Here’s what I came up with for an easy fireplace makeover.
My first thought was to add molding stretching from the mantel to the ceiling to add more presence. All I needed was 2 bending boards like I used in my Board and Batten tutorial, 1 trim piece, and 1 crown molding piece. Total cost $15 (mostly the crown). I used the same Whisper White paint by Sherwin Williams that matches all my baseboards, trim, and Kitchen cabinets. I always keep that in stock!

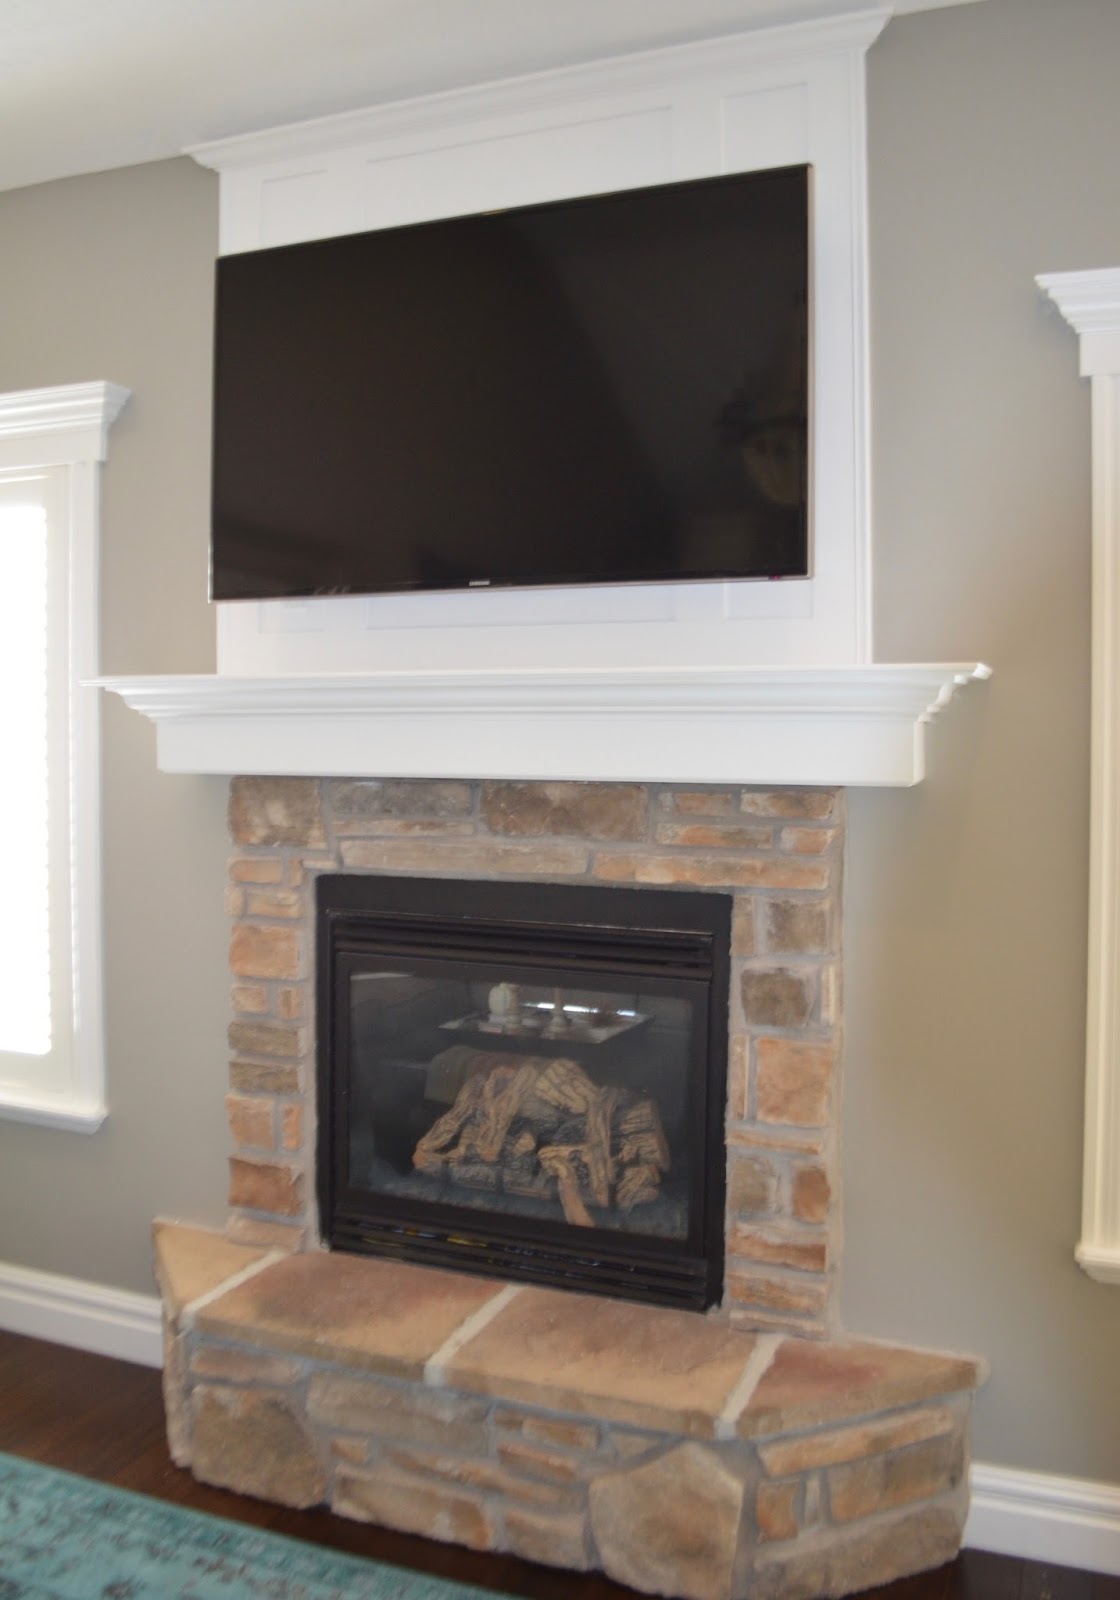
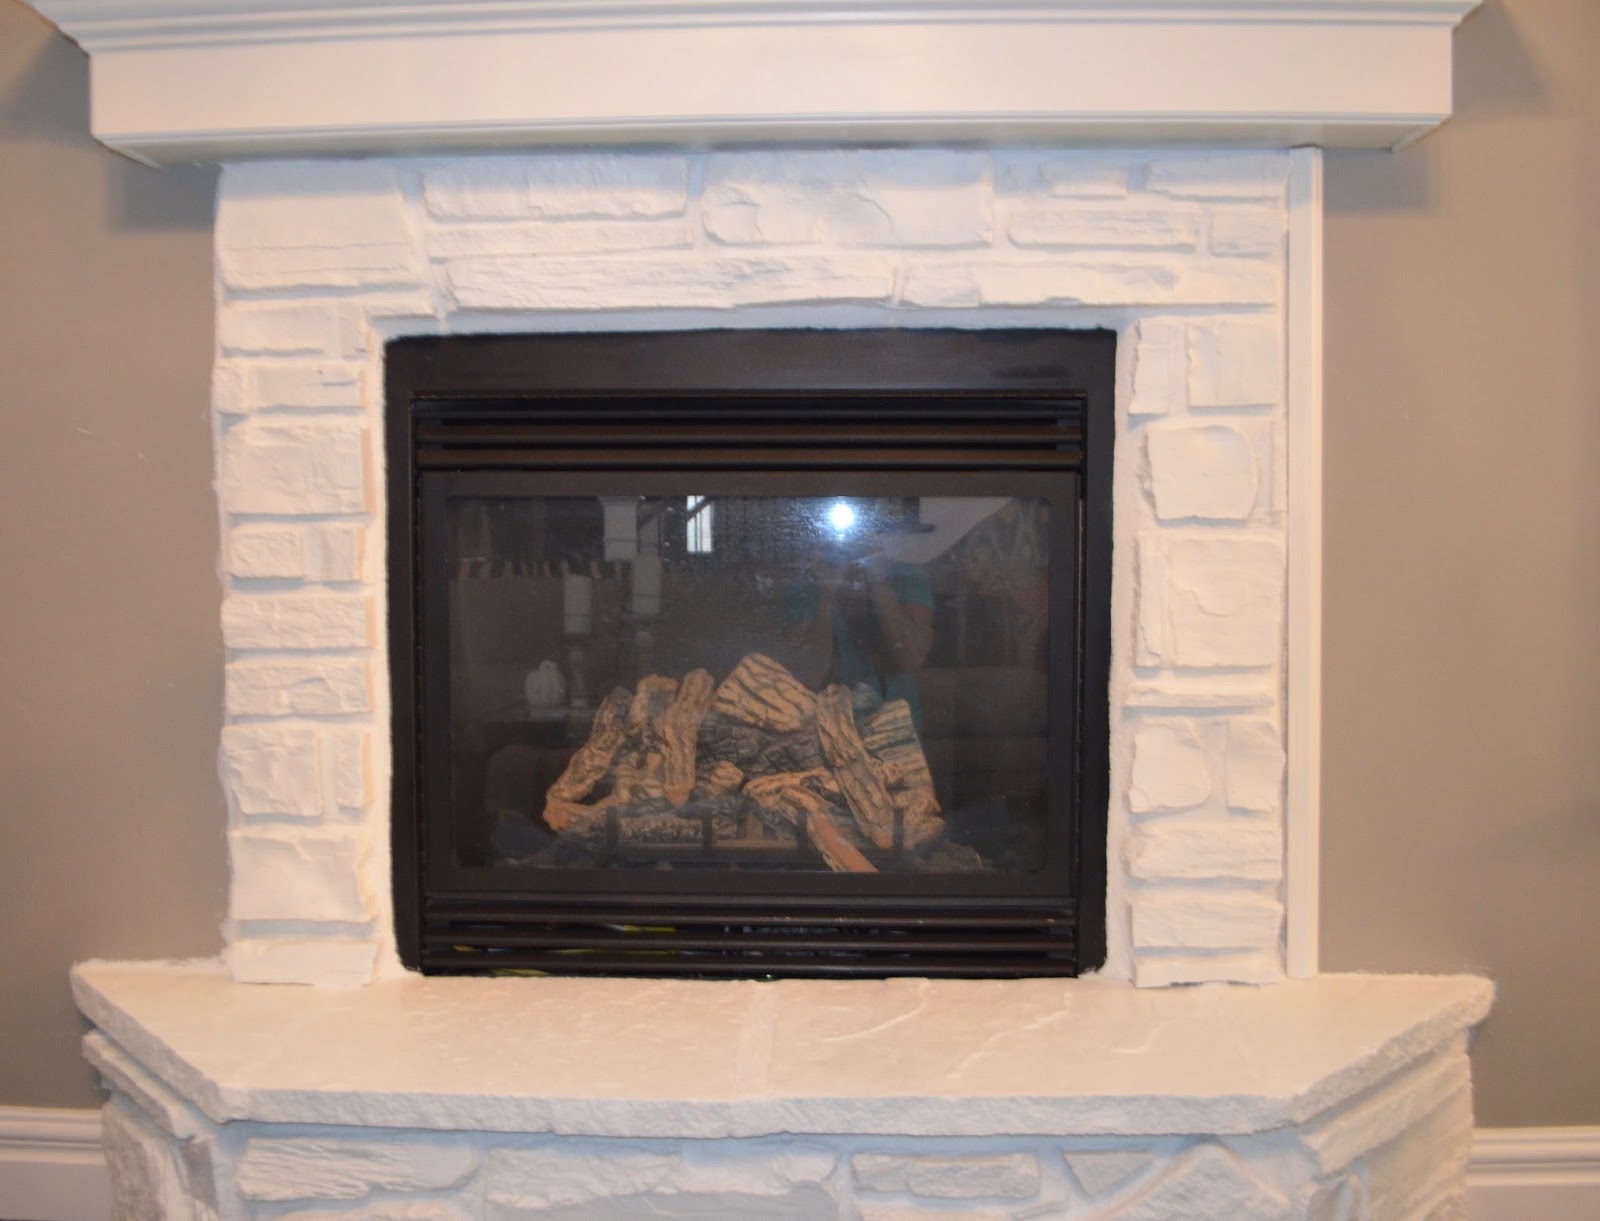
This is what it looked like in the space before I took the white paint to it. Some of your might think it was better before. I know there is some controversy about painting rock, but for my house this was the right decision. I really wanted this room a bit brighter. Painting the whole fireplace white also added a bit more unity with my adjoining kitchen (which is white).
Here is a photo of the board and batten pre-paint!
This is what it looked like after I painted it white. At this point it felt a little top heavy. I considered adding legs to each side and keeping the stone its original color, but there were a few problems. First, the contractor that installed the fireplace when the home was built, installed it off center. Meaning from the rock to the end of the mantel on the right side measured 5 inches. On the left it measured only 3.5 inches. You’ll find there are many annoying details that are overlooked in the construction of a house without an interior designer present!!
The second problem was even if I removed that mantel and reinstalled in properly, it would only leave me about 4″ on either side from the stone to the end of the mantel. 4 inches does not allow for enough clearance to build legs proportionate to the top of the mantel. You might think… why not overlap the legs over the stone? Well, I had that thought to, but my stone is very jagged. I felt I could not get a clean line unless I literally took a saw to it! As you can see, I thought through this very hard before painting the stone white. For my budget and skills, this was my best option!

I first watered down my paint to create a white wash. I wanted to see if that would add enough unity to carry the weight of the top. It didn’t. As soon as it dried, I painted one more coat with paint (adding no water)! When you’re painting stone, there is really no techinique other than shoving the paint in all the nooks and crannies. If your looking for a therapeutic project, this is it…lol! Brush, dab, brush, dab…etc!
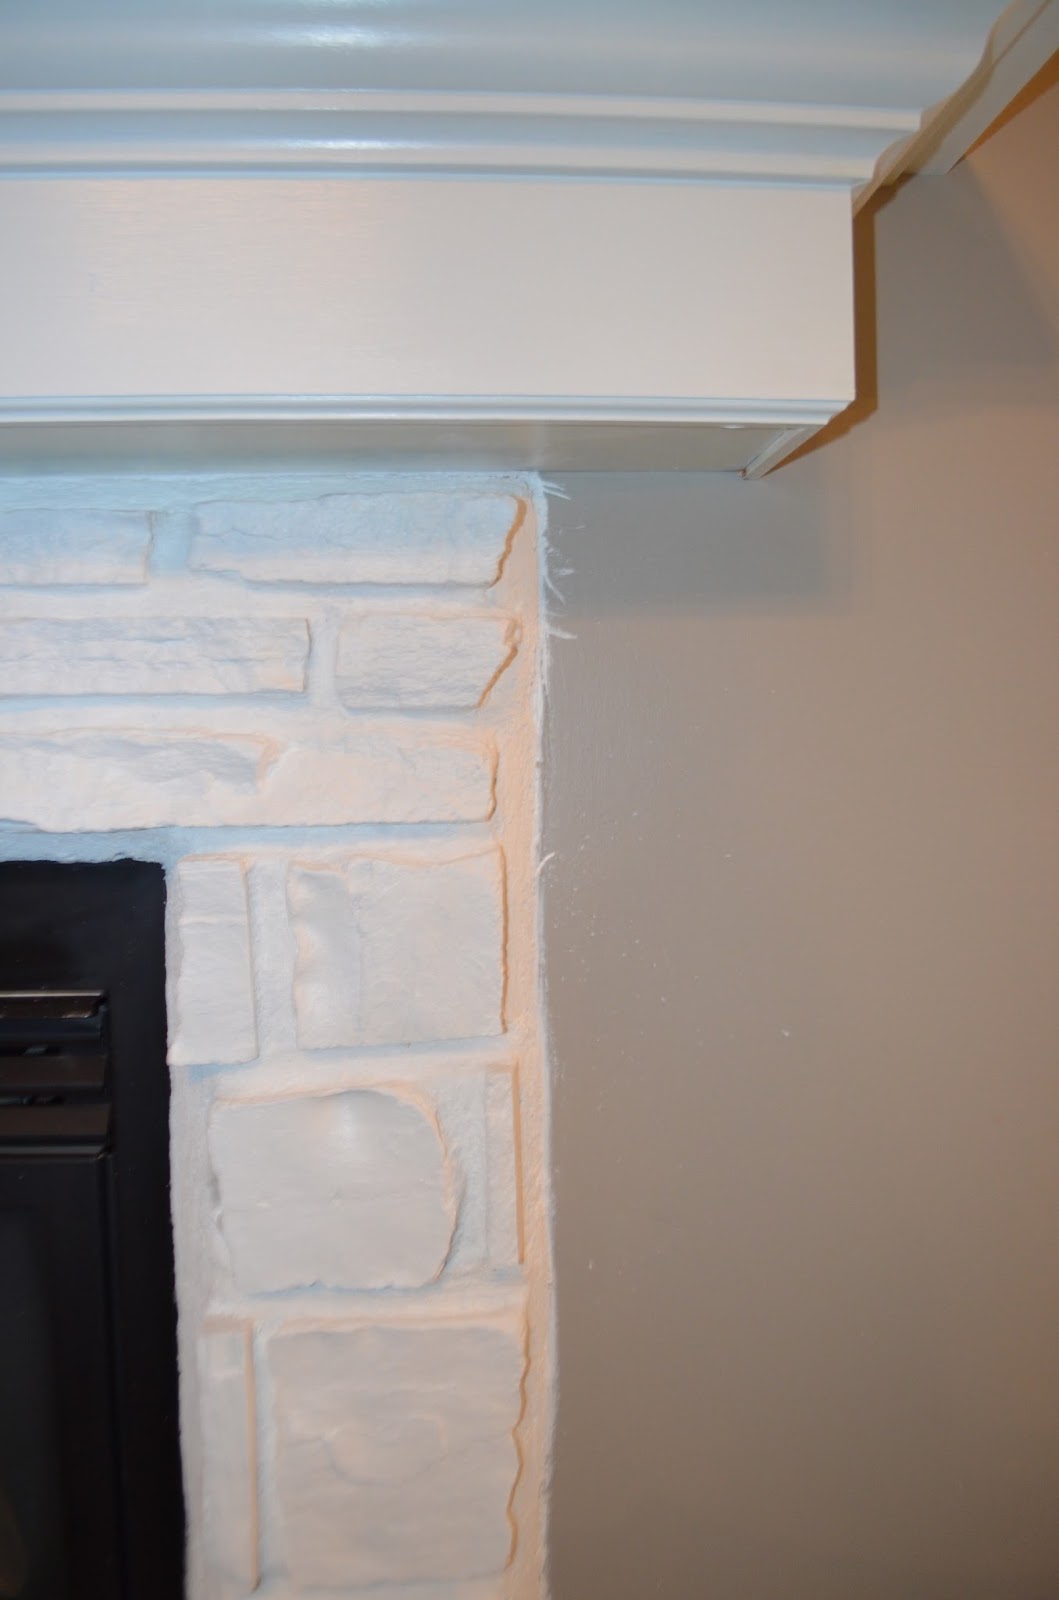
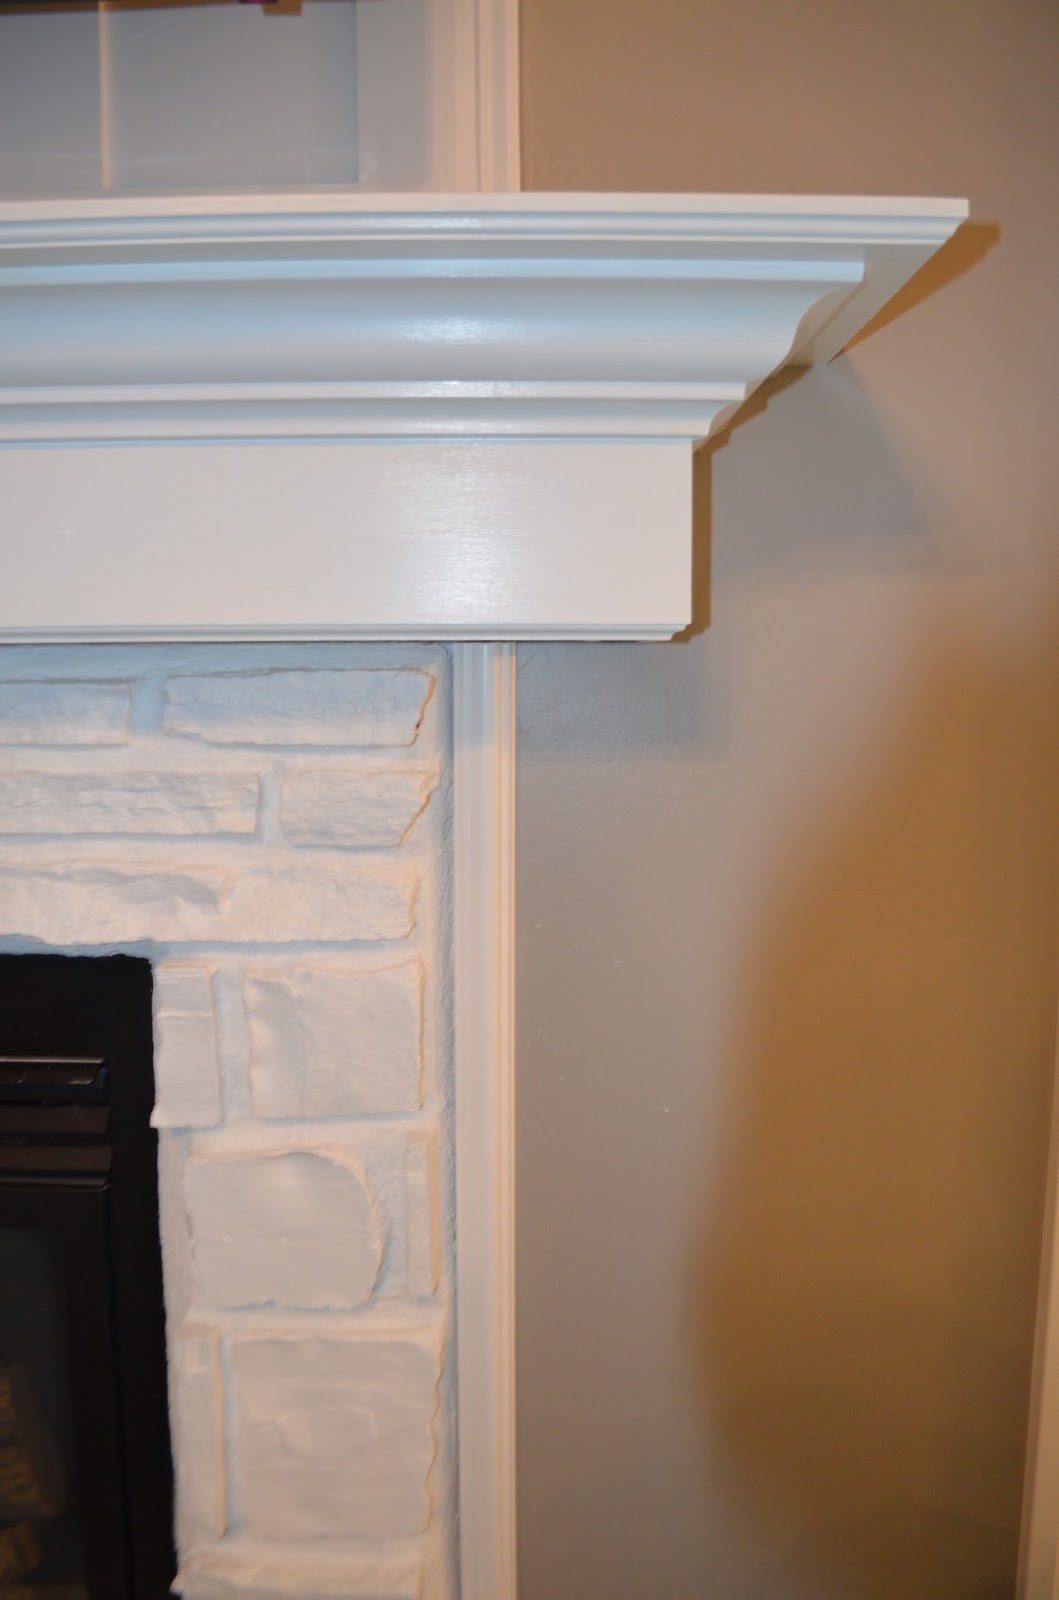
After painting the stone, I added another trim piece to the side of the rock to create a clean line on each side. The trim also added a couple inches so that the top and bottom of the mantel measured the same size.
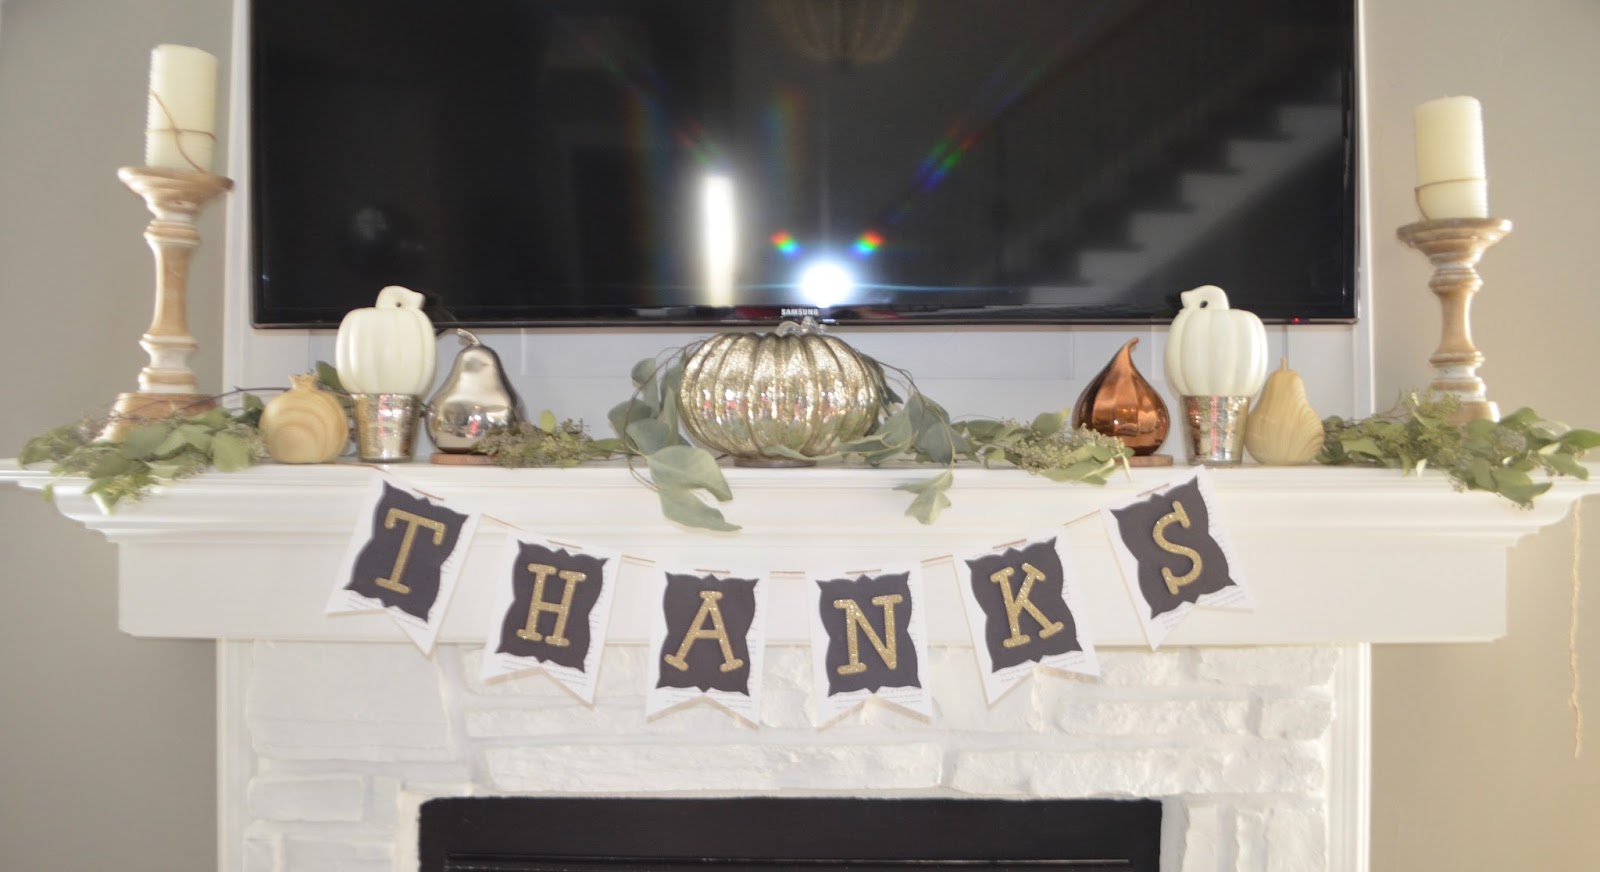
And thats a wrap folks. I love how it turned out. After all the self debate on how to transform my fireplace, I couldn’t be happier with the outcome!


 Add to favorites or read later


I'm not sure if you'll see this because it's an old post, but thought I'd mention how much I love everything you've done to your house. I tried to look up your trim color your mentioned and the only Whisper White I can find is by Behr. I'm wondering if you could verify that for me, I'm trying to pick a white and it's so hard!
Hi Jeanette thanks so much for stopping in. Whisper white is by kwal paint which is now owned by sherwin williams. I know picking the perfect white can be tough, good luck
Love this? Where did you get your living room rug? It is just what I am looking for. Love all that you do. Thanks for the great post!
Thanks so much Brittany! If you go to my staircase gallery wall tutorial you can actually buy the exact rug right of “shop the look” at the end of the post. Have a great day