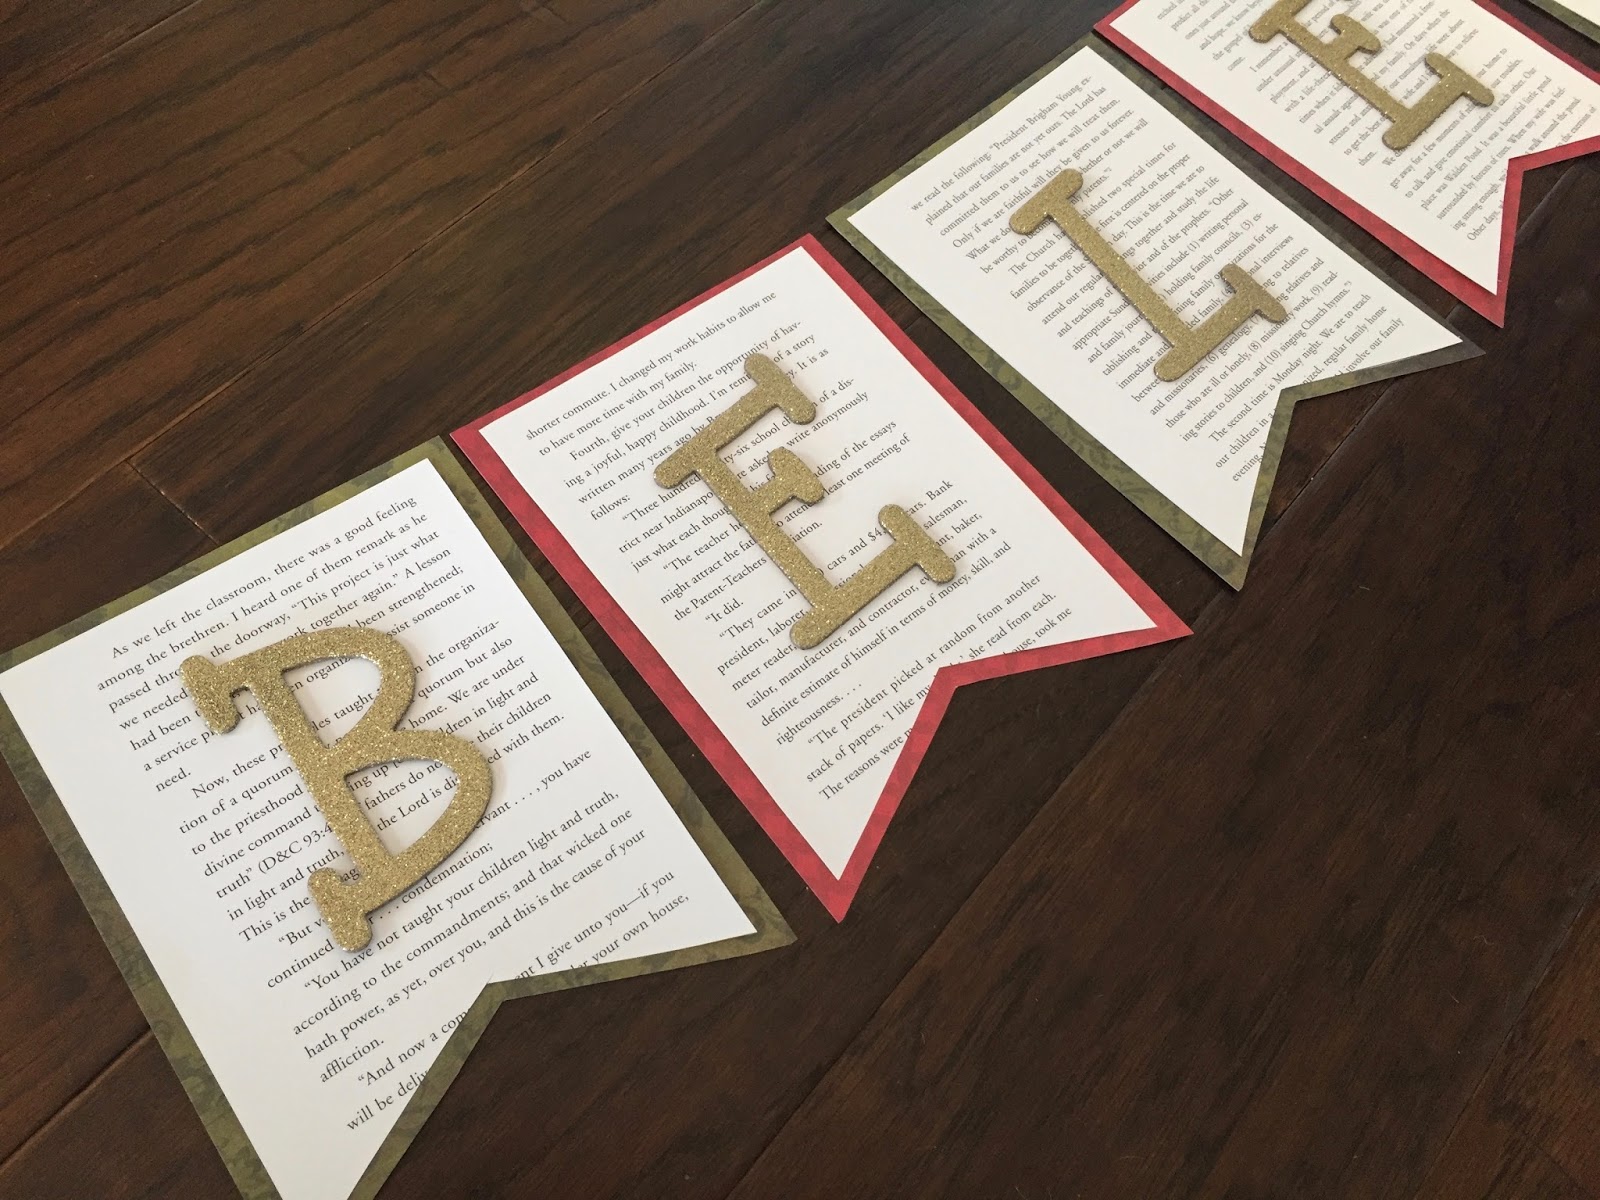
I love decorating for the holidays and I’ll admit that many of my decorations come strait from the stores. However, I like to mix in a few homemade touches to keep it feeling authentic and personal rather than like a department store catalog. Banners are nothing new but they can be personalized to your taste and don’t require a lot of money to make. For this project I used an old paperback book. I know we all have one or two of those lying around.
Supplies:
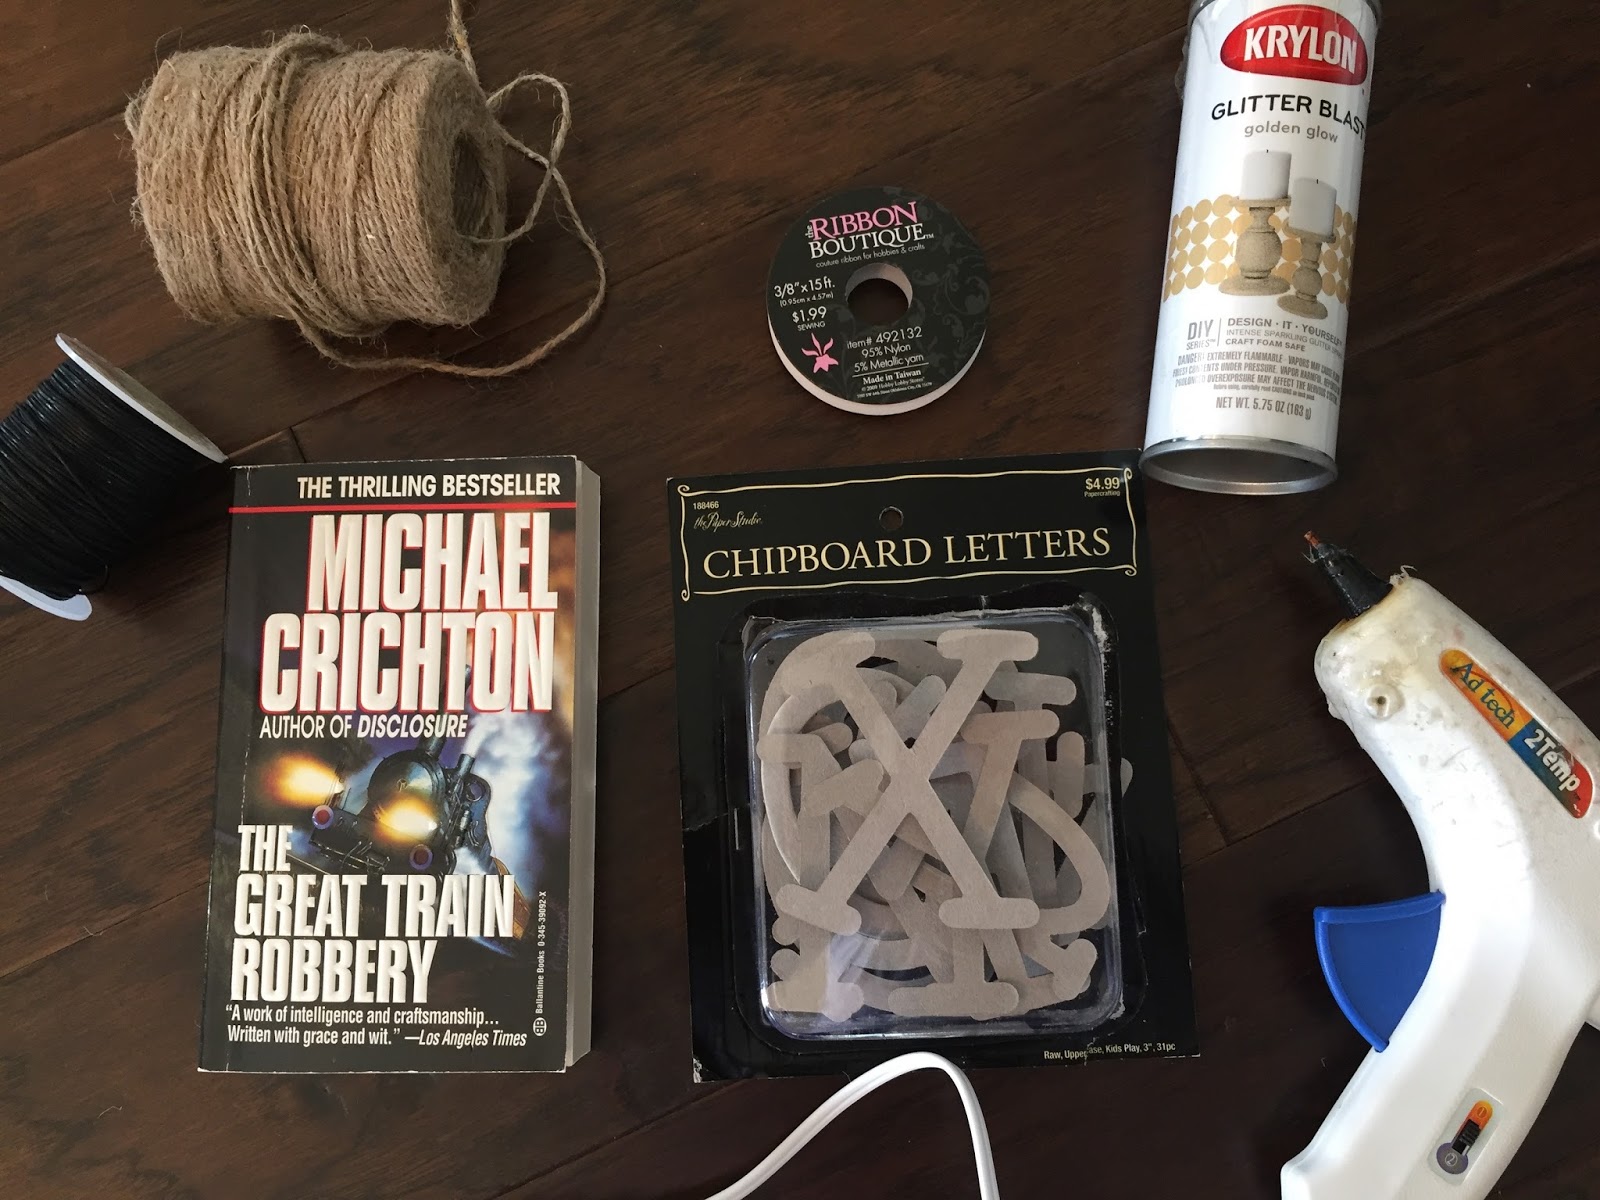
Chipboard letters: I purchased mine at hobby lobby. Use your 40 percent off coupon for $3/pack. Old paperback book Glitter spray: Hobby lobby. I used gold but you can choose form many colors. $4 with coupon Twine, hemp, or string of choice Hot glue gun and glue or craft glue of choice. scissors pen Craft paper: scrapbooking paper, construction paper, burlap, or felt Total cost: $9 (with 2 packs letters) I already had the rest of the supplies
Tutorial:
Decide what you want your banner to say. I made 2 shown here “Thanks” and “Believe”, but I bought 2 packs of letters so I could make a few more for gifts. Each pack contains 2 of each vowel. Keep that in mind when deciding on words. Here are some other ideas: Happy Holidays, Merry Christmas, Give Thanks, Thankful, Noel, Silent Night, Thanksgiving, Harvest, Yuletide, Good Tidings, Let it Snow, you get the point!
Once you’ve determined your works, lay them out flat on a canvas or mat to spray. Use your spray glitter to cover all the letters. It only took one coat for full coverage. Let dry.
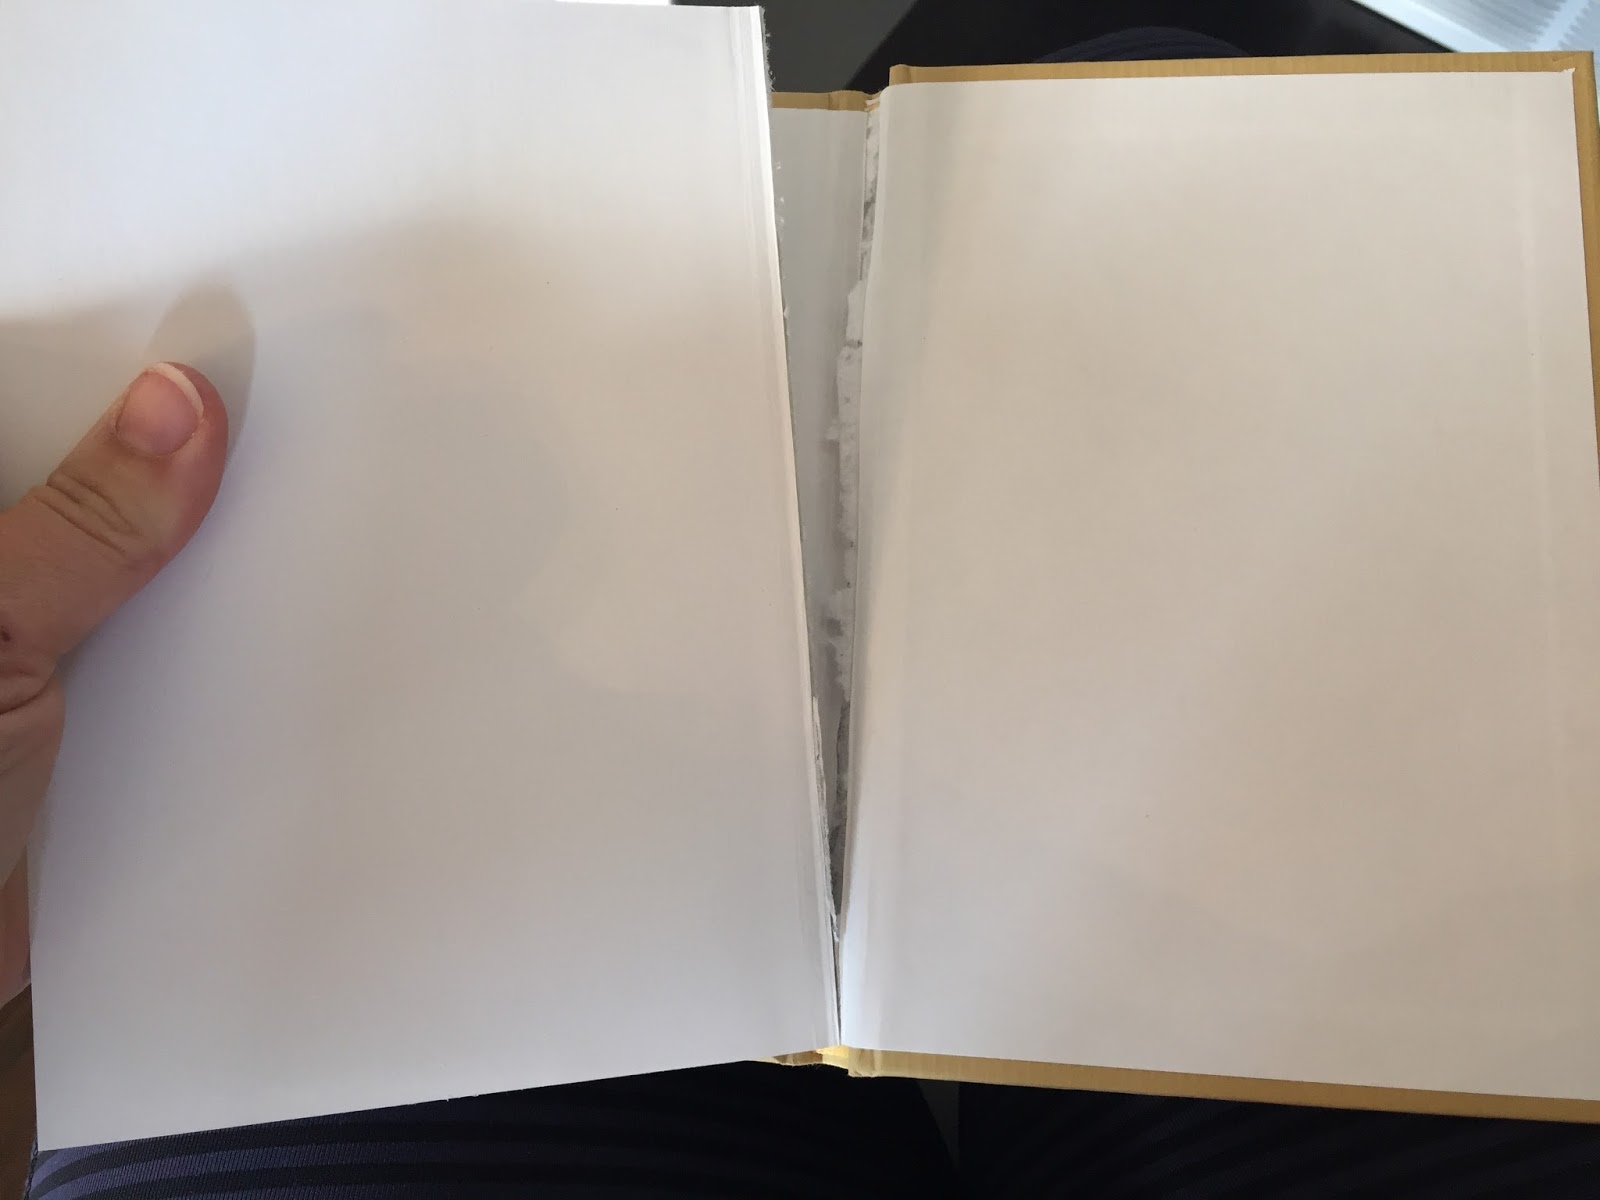
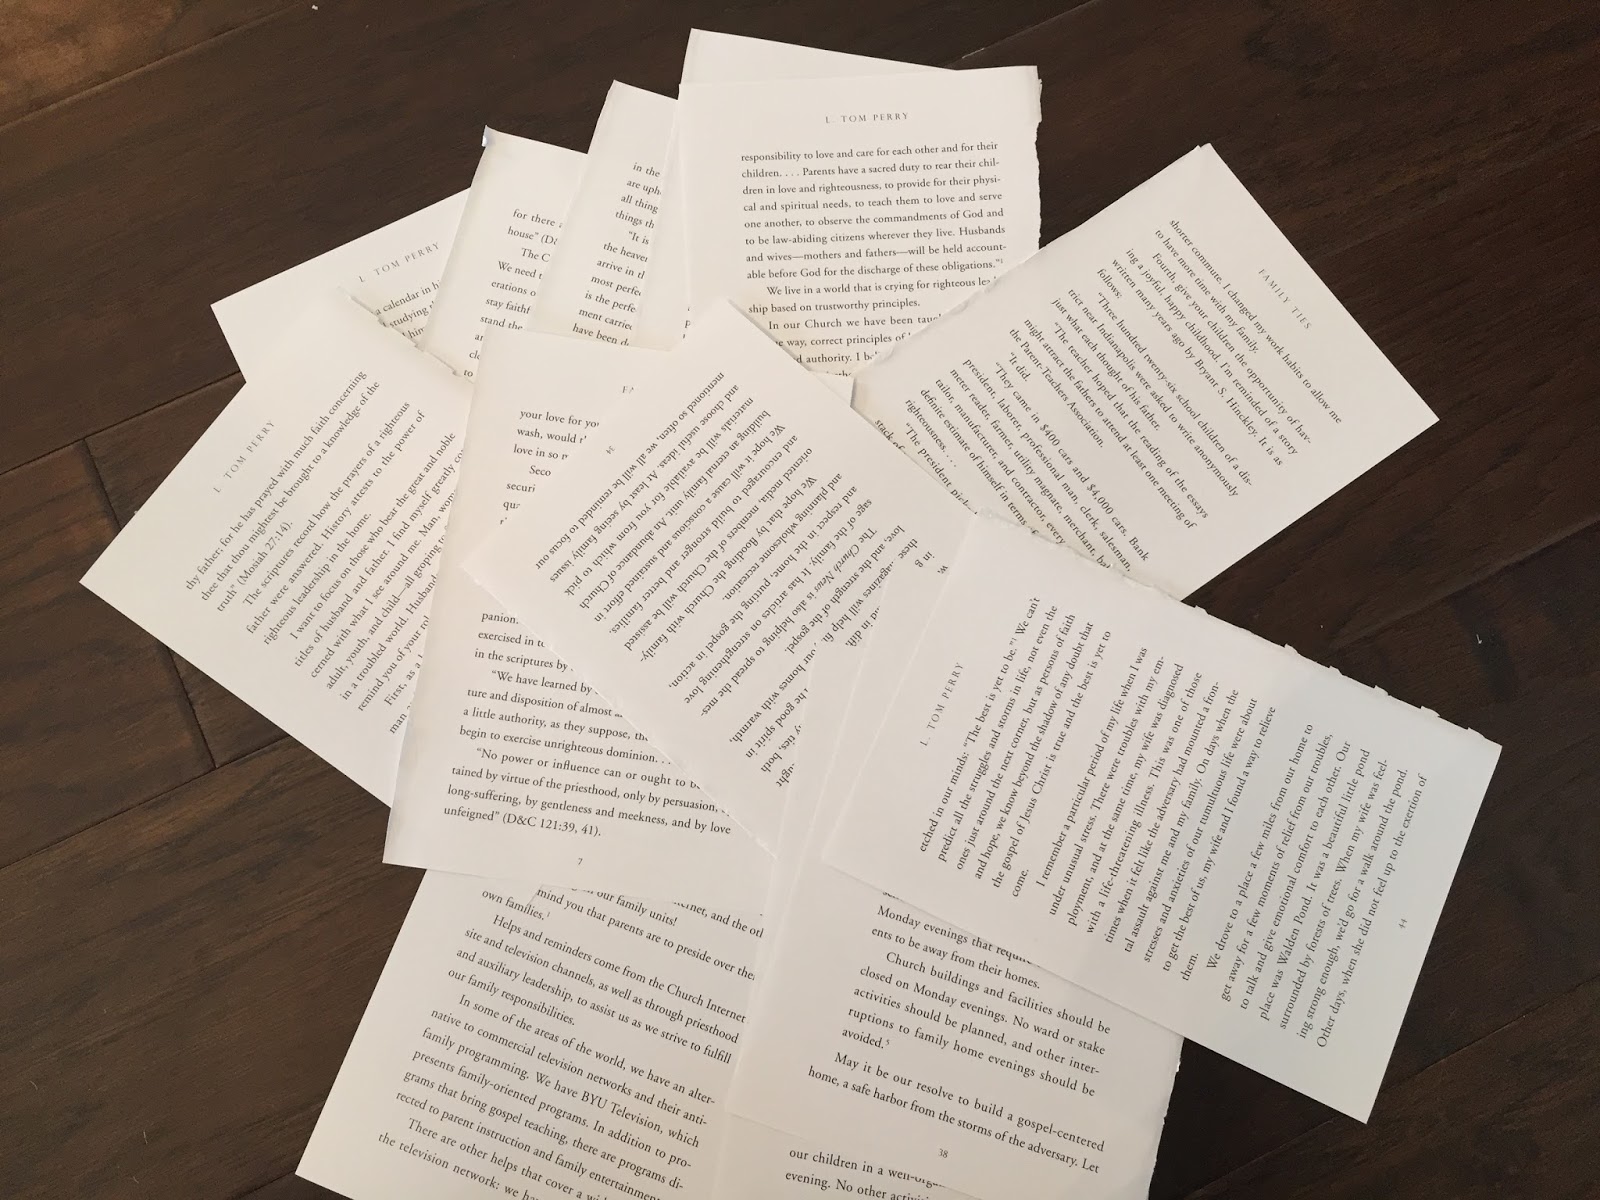
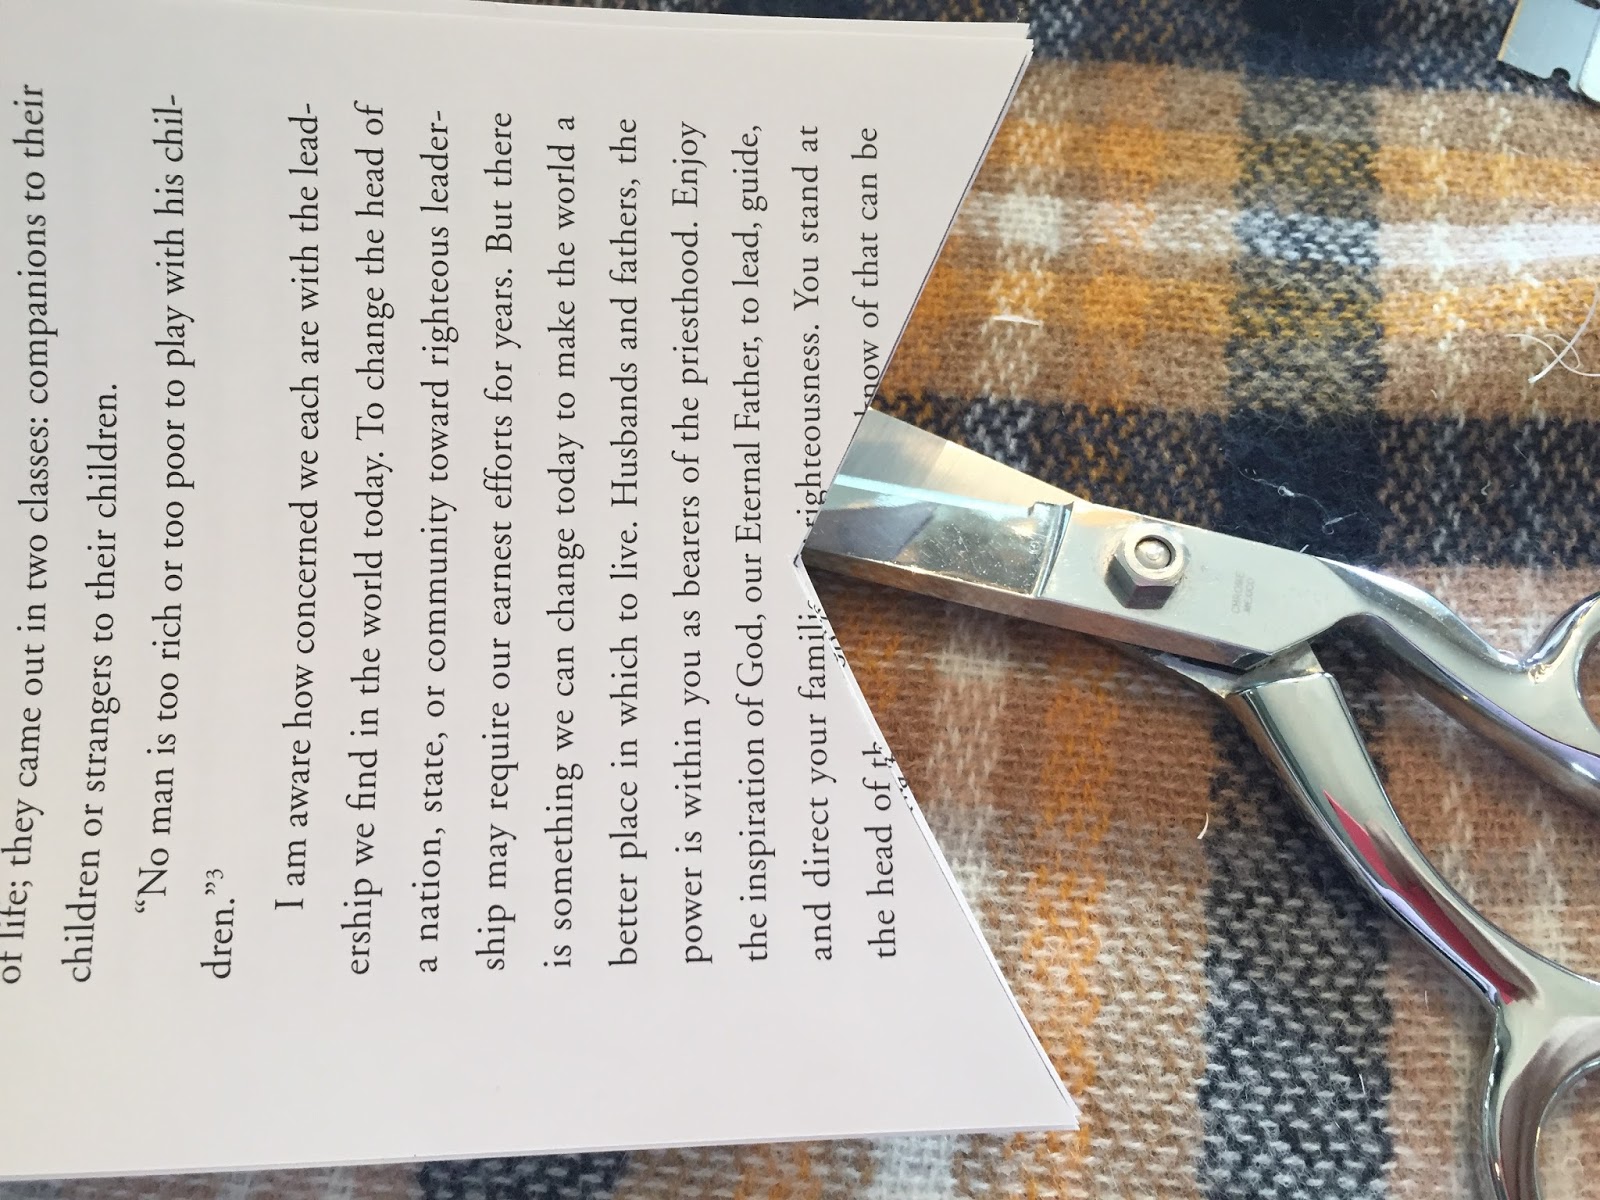
I found the best way to remove the pages without tears was to remove the spine or cover from the stack of pages. Then carefully tear pages apart and count out how many you will need for your banner. I used 12 for these 2 words.
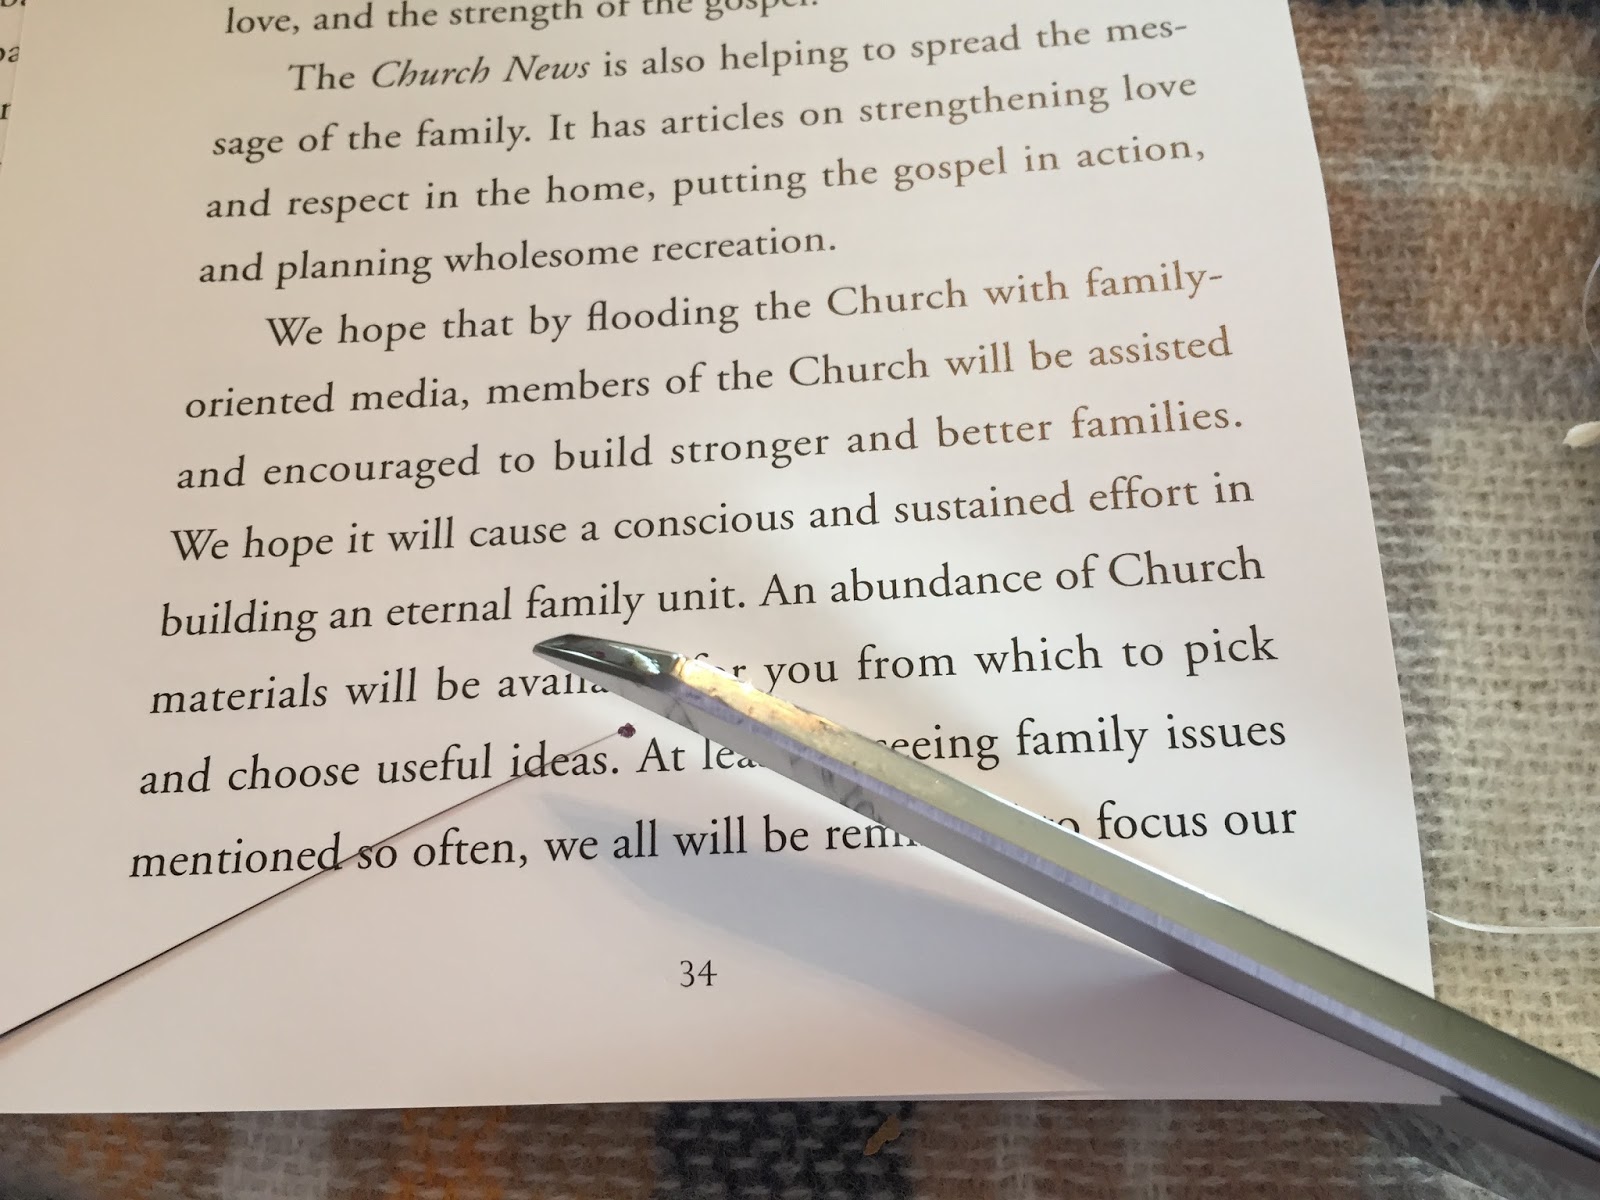
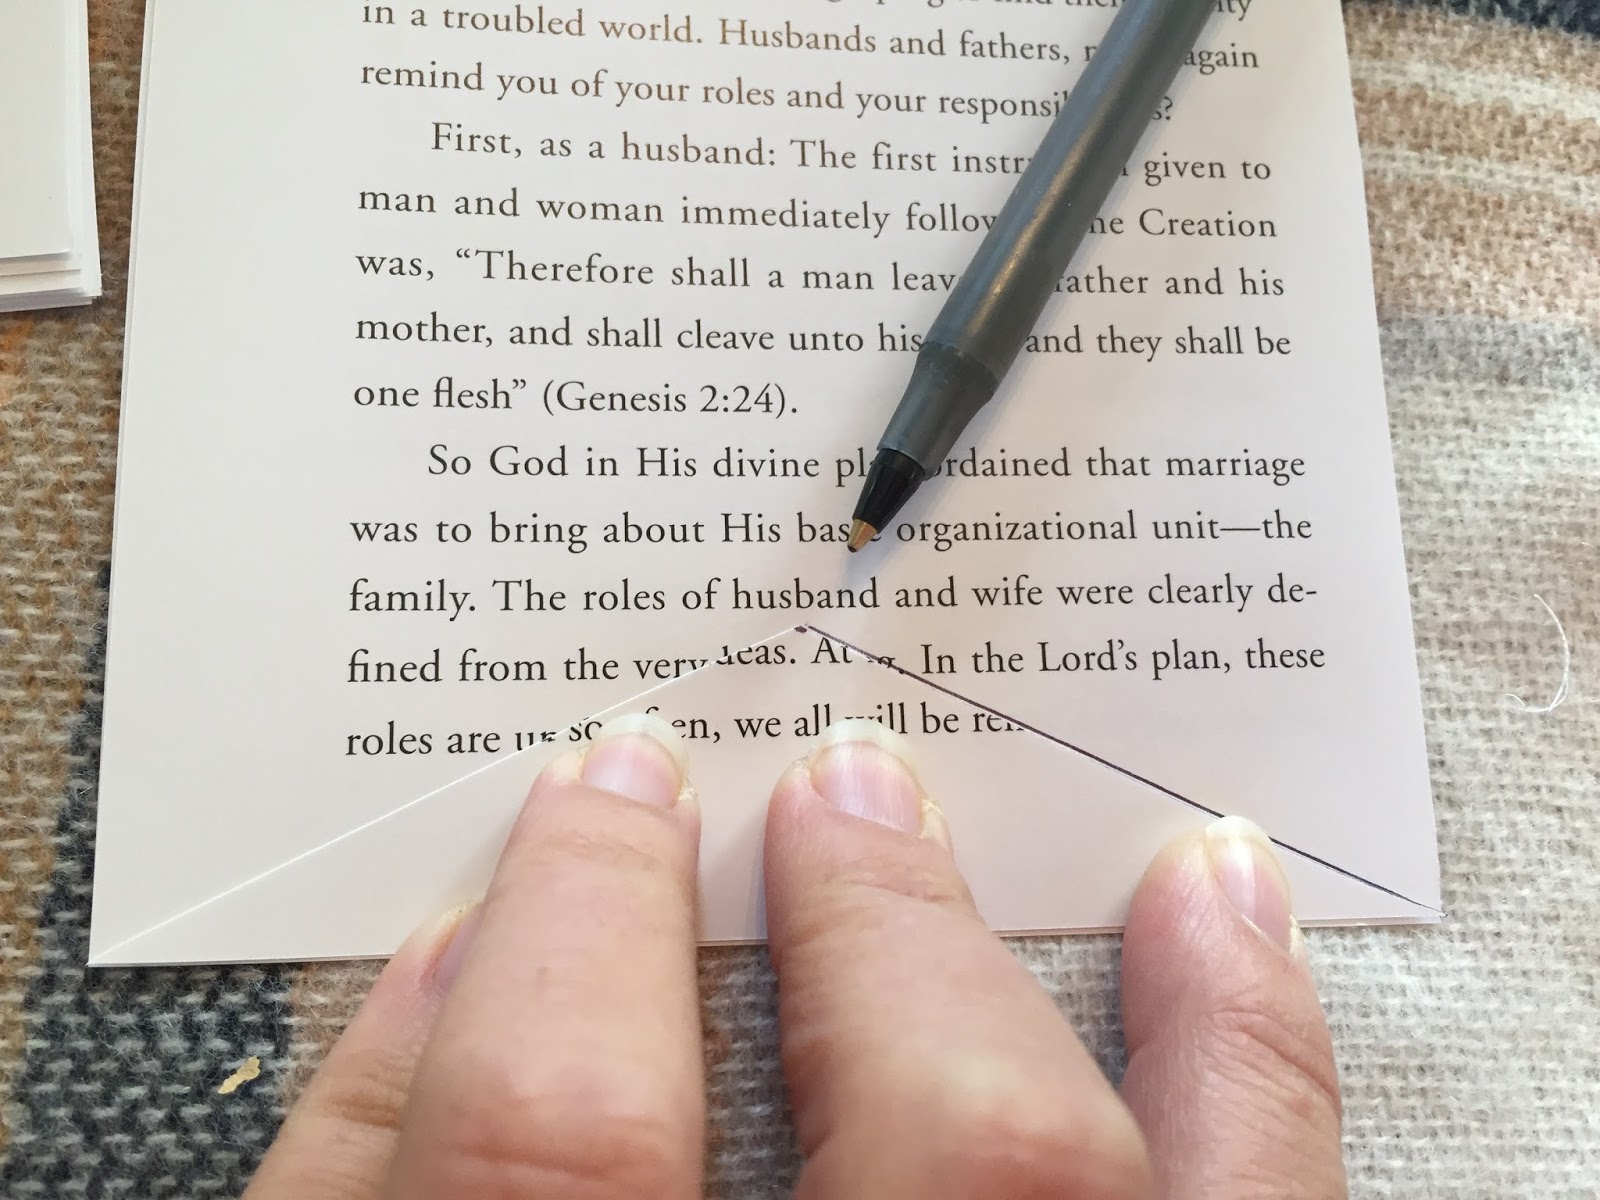
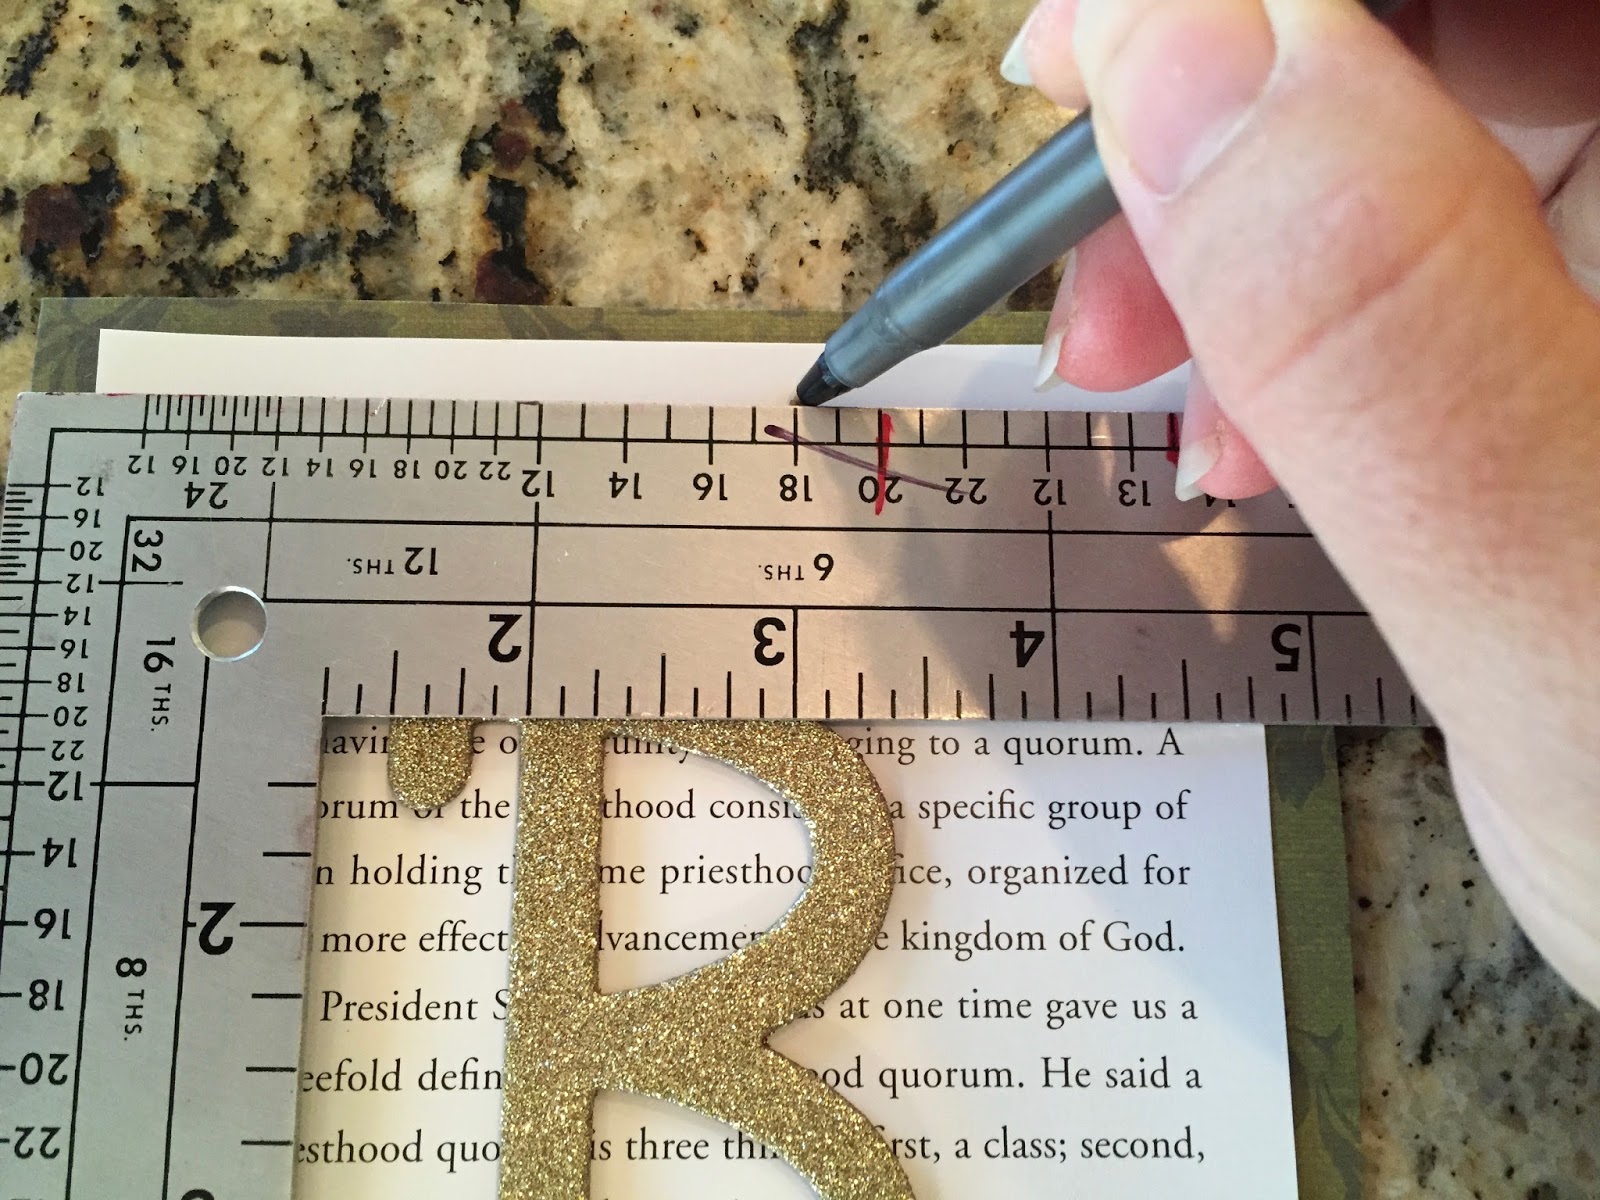
Using a pen find the center point of the page about an inch from the bottom. I eyeballed it, but you could use a ruler if preferred. Mark that spot. Cut a strait line from each bottom corner of the page to the center dot. Remove the triangle and use as a stencil for the rest of the pages. Trace and cut the remaining pages. My measurements weren’t exact, but no one could tell.
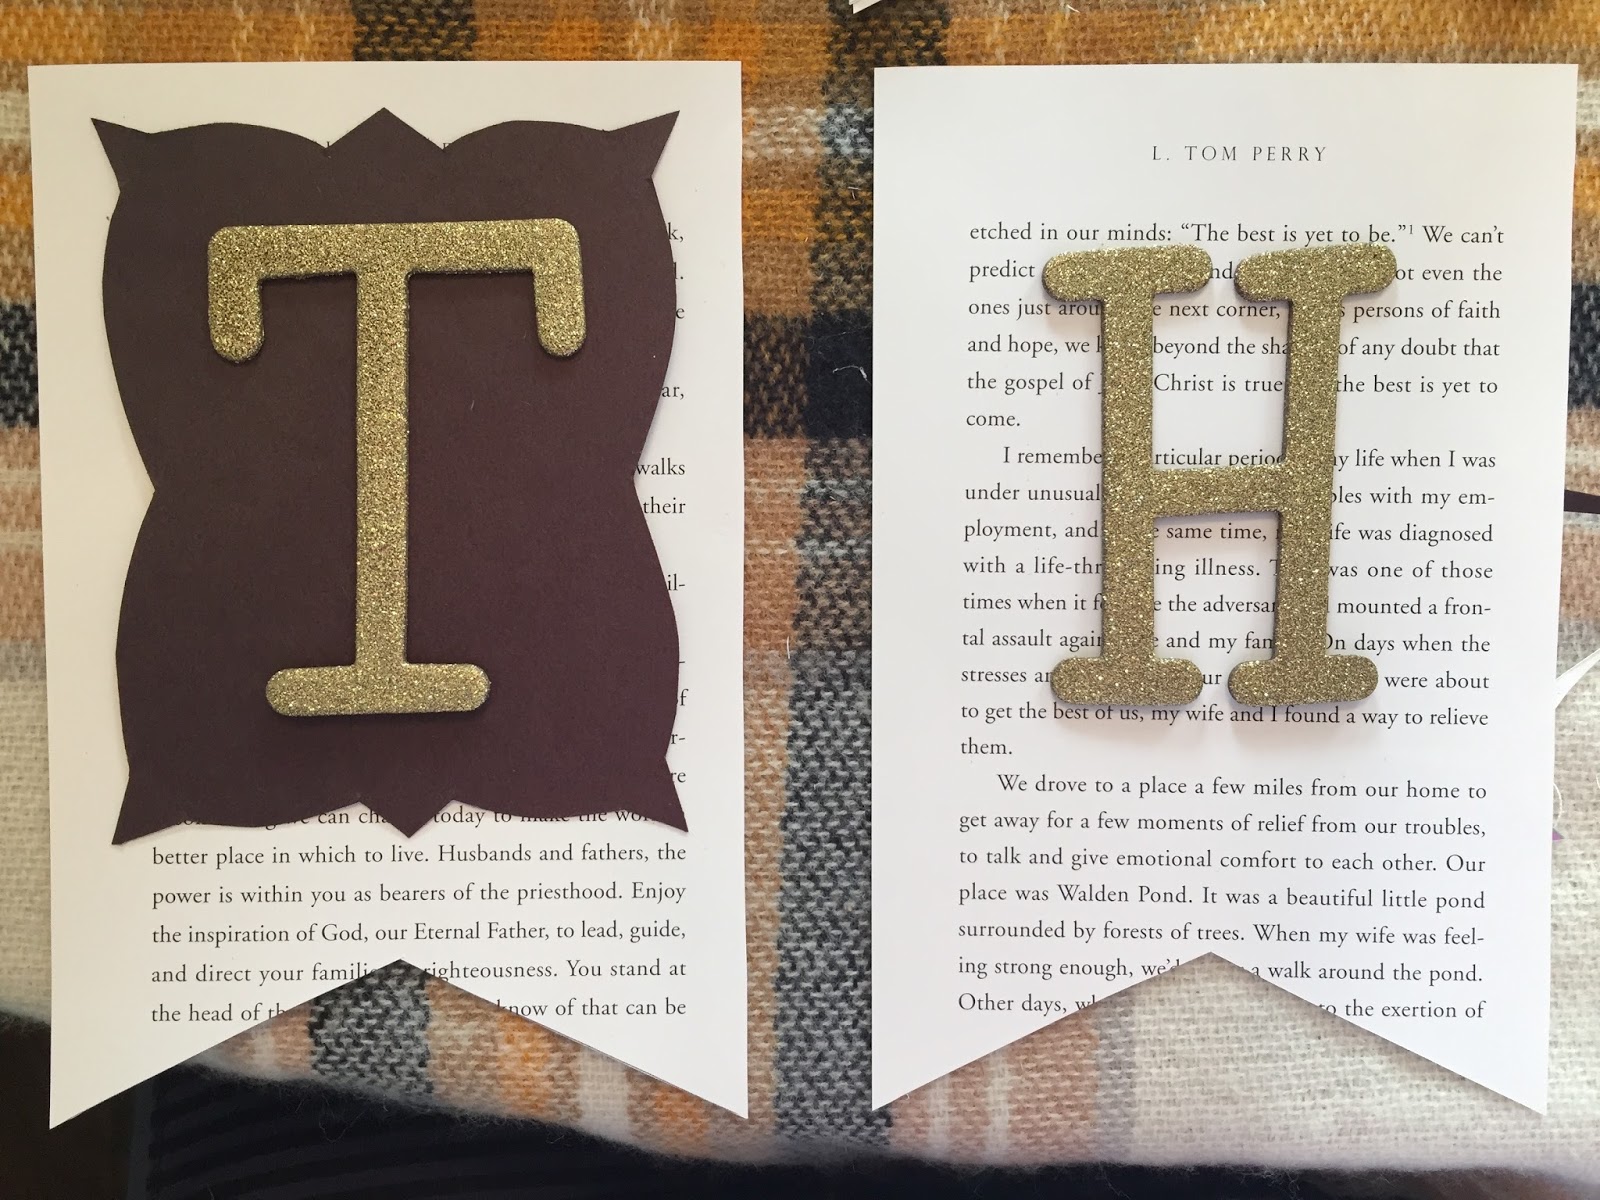
Here is an option. You could simply glue the letters on your book pages and call it done, or you could add another layer of paper. I like both options, but for my “Thanks” banner I liked the addition.
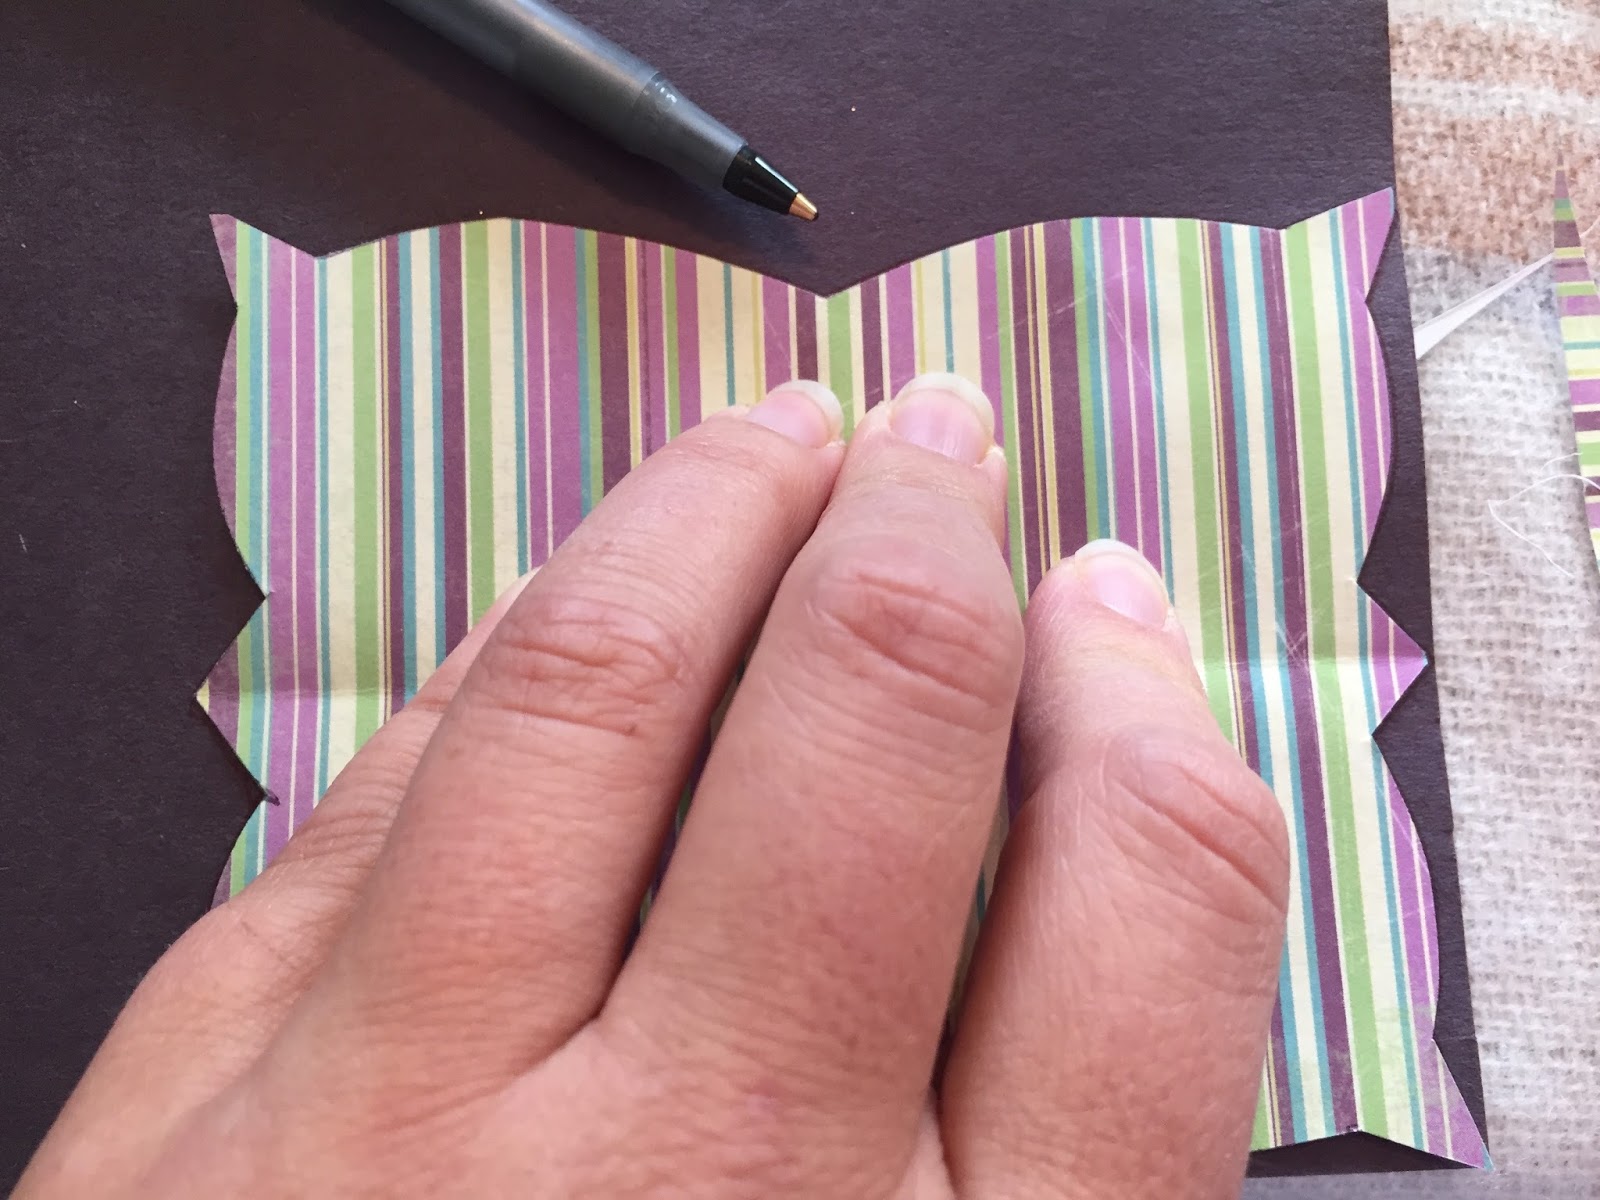
On a scrap piece of paper, cut out a rectangle larger than the letter but smaller than the book page. Fold it in half. You can use your creativity here and do any shape you choose. Once I had a shape I was happy with, I traced it 6 times for each letter on my banner. Cut out each shape.
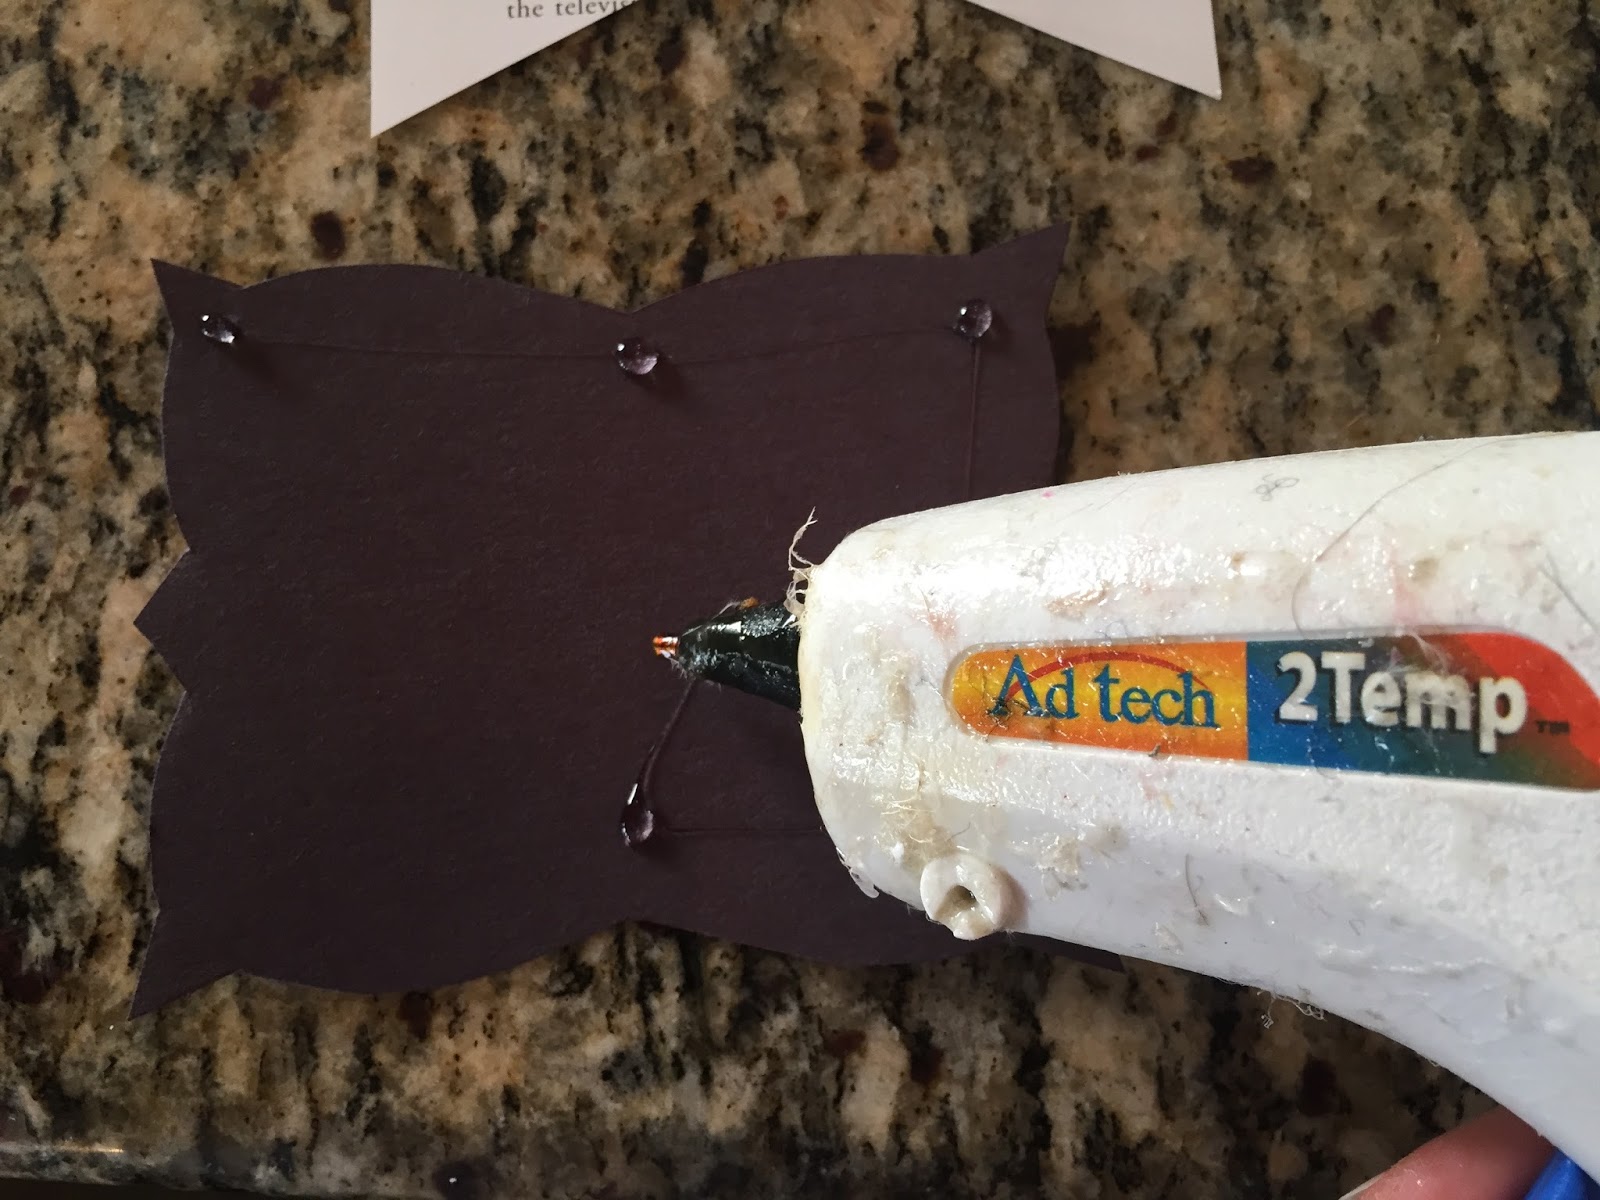
Using the glue of choice, dot each corner and place centered on each book page. Trace one letter at a time with glue and stick to the center of each shape.
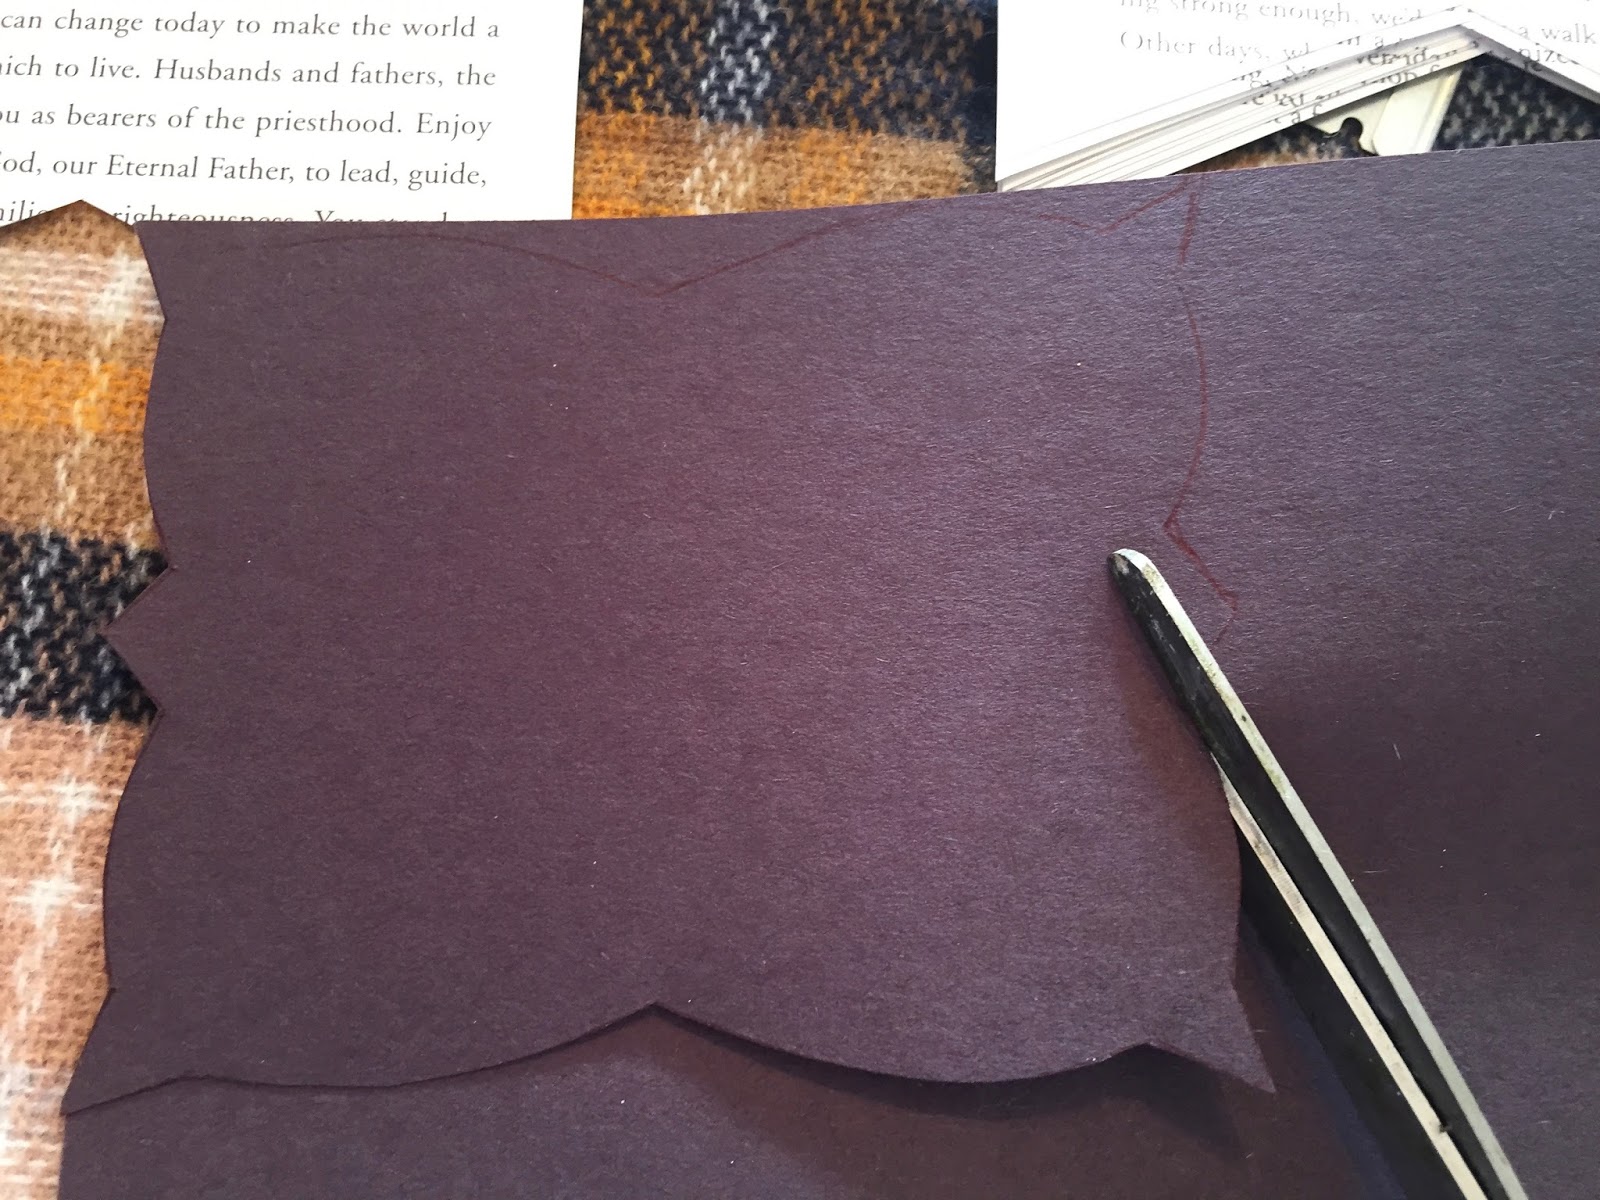
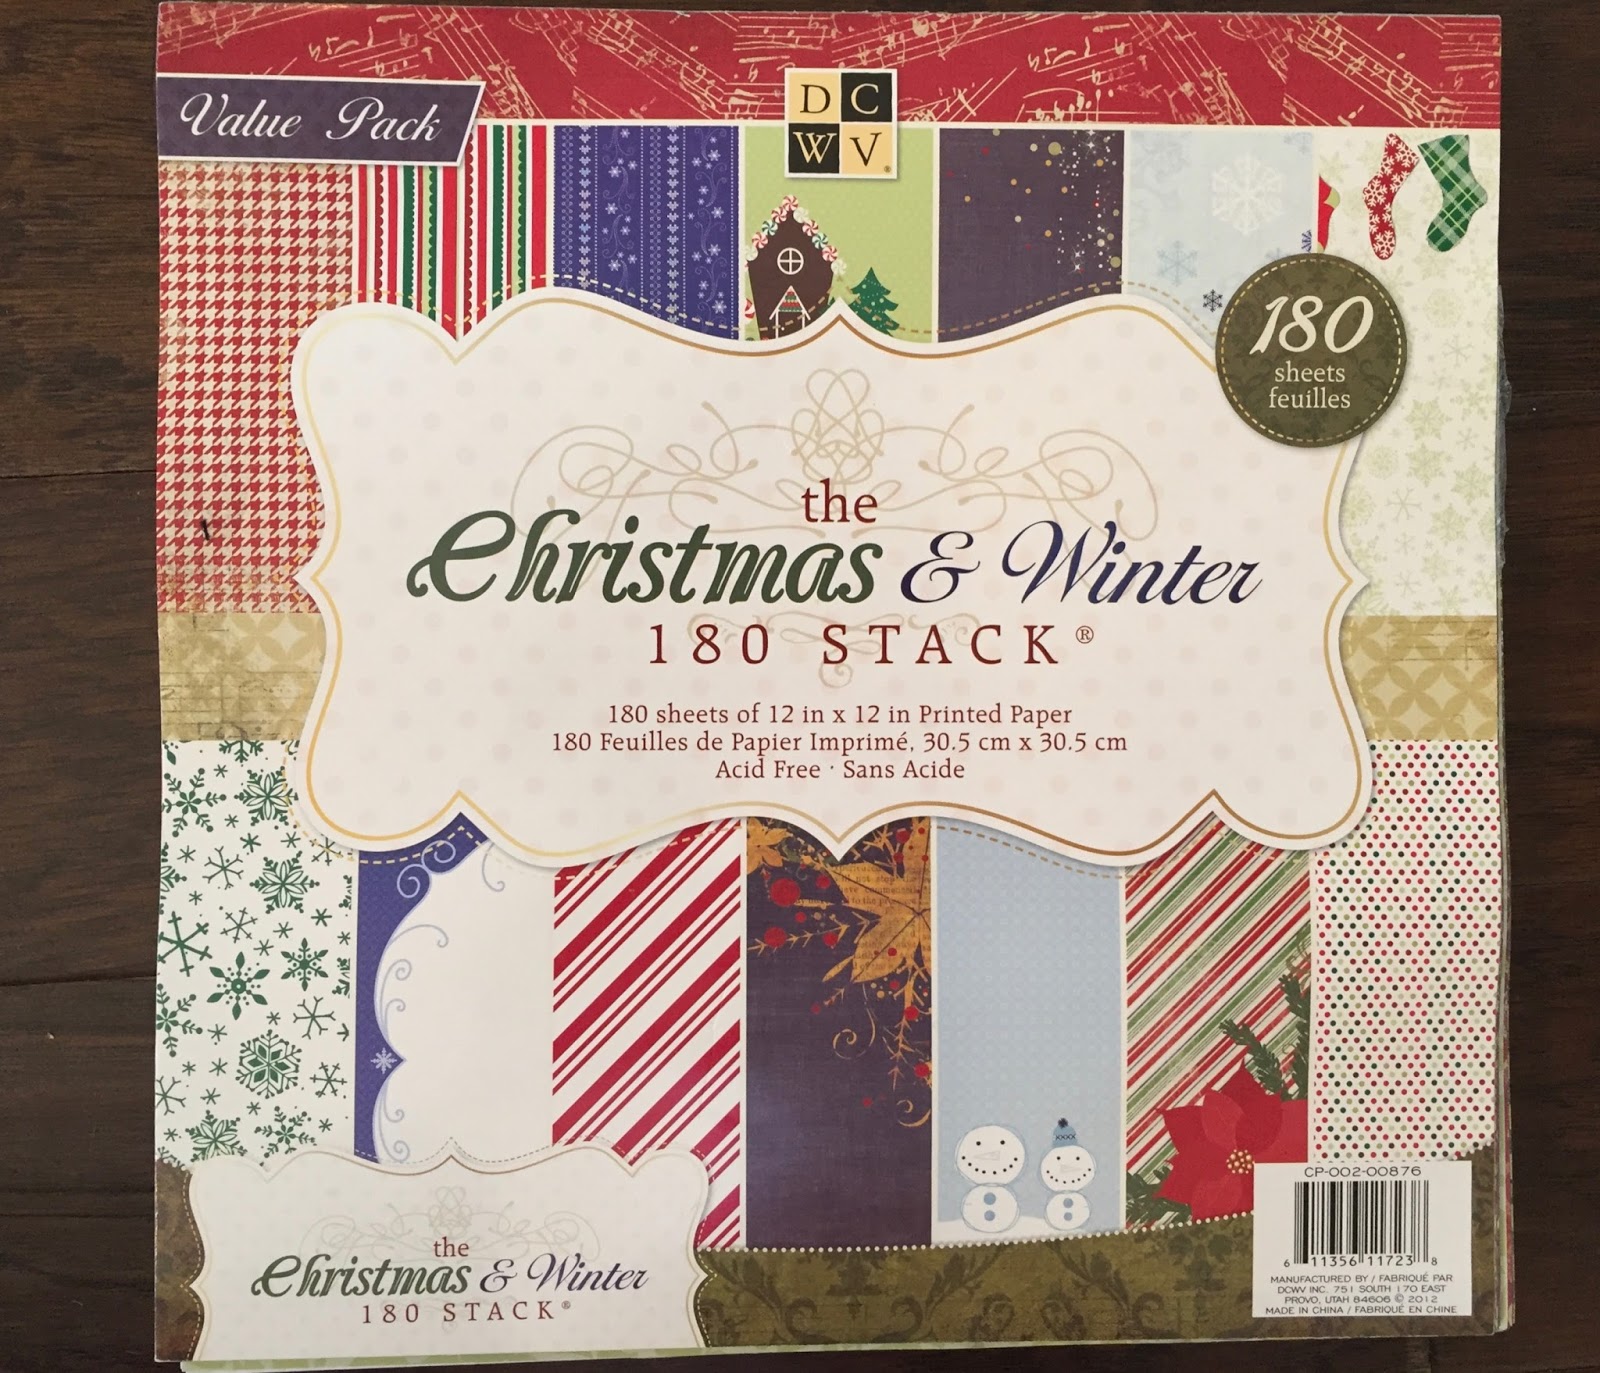
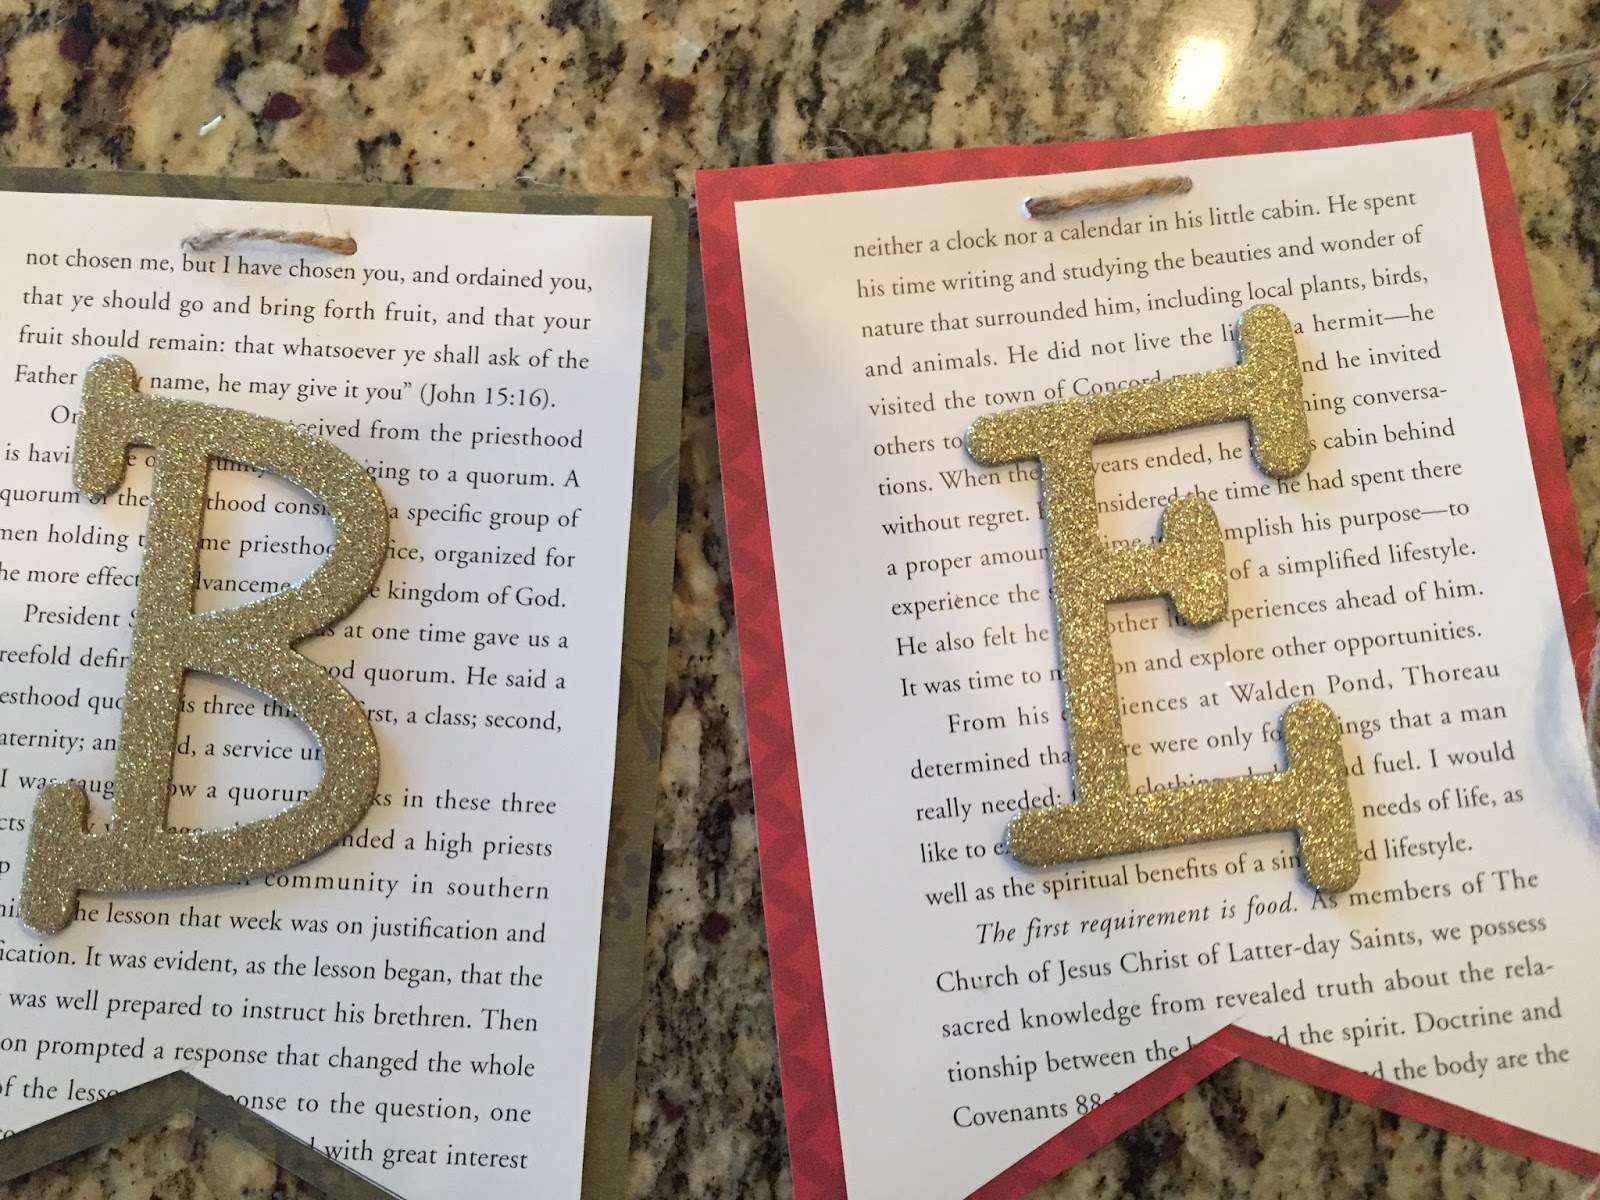
For my “Believe” banner I followed all the same steps omitting the extra shape layer between the book page and letter. If you choose to add a layer under neath like I did, simply trace one of your book pages onto the paper or fabric of your choice. Cut it out 1/4″ larger on each side of book page. Use your first decorative paper/fabric layer as a pattern for the remaining letters. I had this book of scrapbooking holiday paper left over from a craft a few christmases back. I purchased it at Hobby Lobby. It has tons of different colors and styles to choose from.
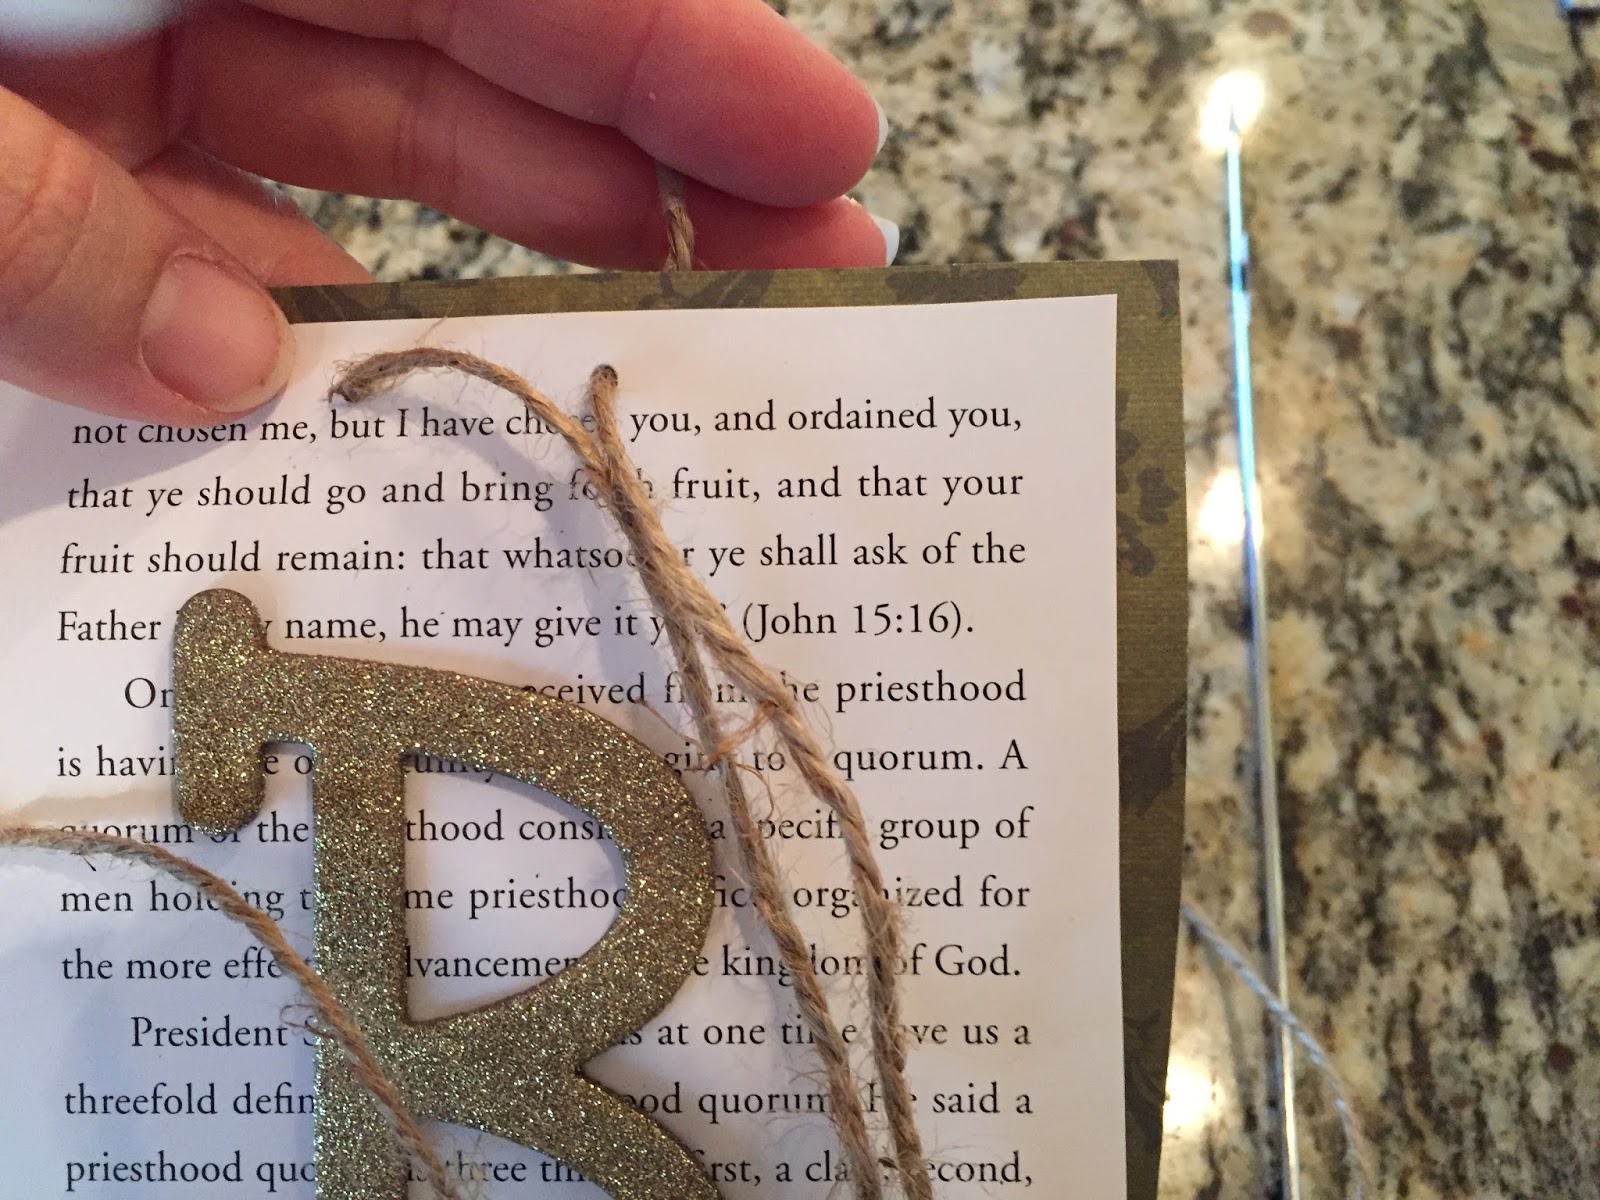
Once you have all your letters glued and each layer glued together, break out your rulers. Each book page letter measured 5″ across. Find your center point and mark out a 1/2″ on each side. Total should measure 1″. Using a sharp object, punch each marking out, 2 on each page. I used an upholstery needle because thats what I had.
Using the string of your choice (I used hemp), thread each book page starting from the back of page, through hole to the front. Return string through the second hole from front of page to back. String each book page using the same method.


 Add to favorites or read later


I love this banner!!! and I am so glad I found your blog, beautiful!!!