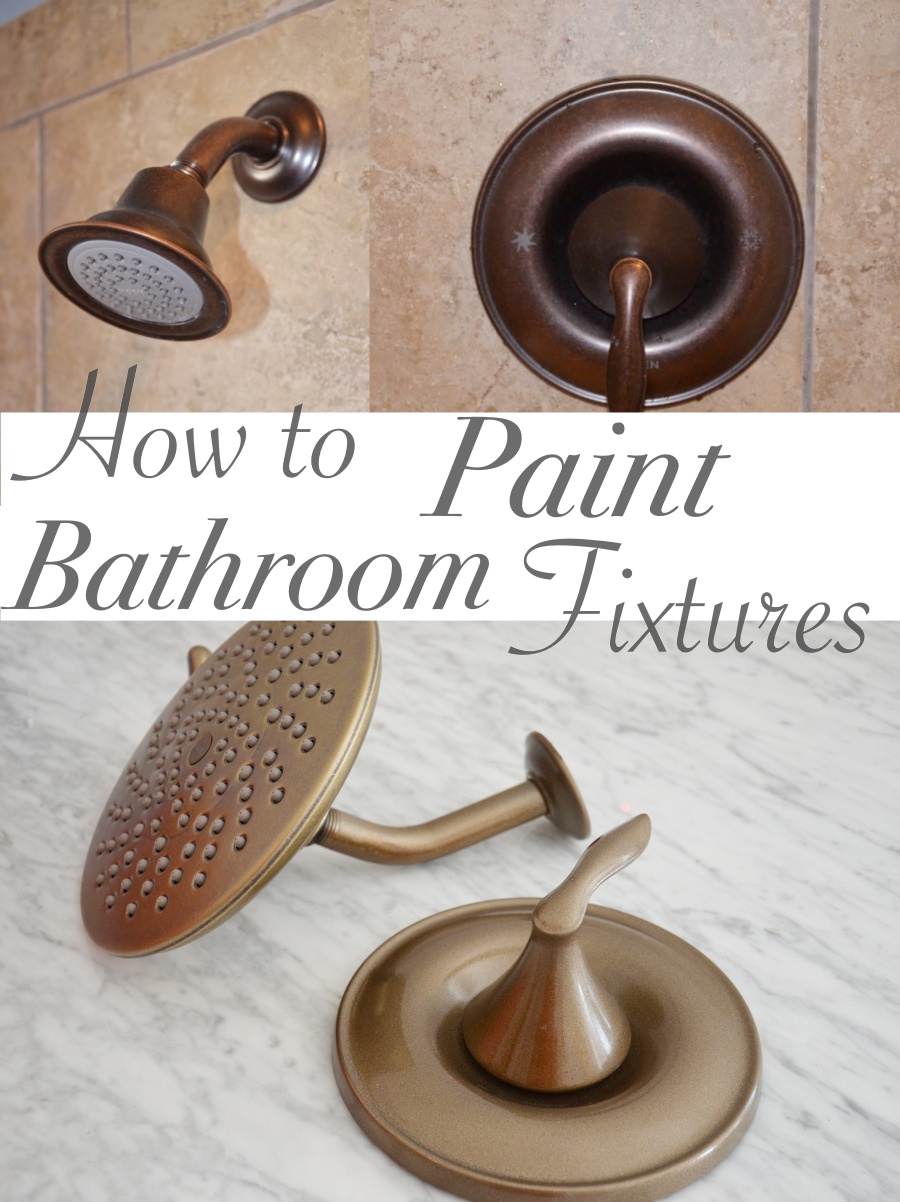
One Room Challenge- Week 3: Bathroom vanity and painted faucets!
It’s week three of the One Room Challenge and boy its been a bumpy one. If you missed the first & second weeks, you can catch up on my six-week bright white master bathroom makeover HERE. I’m thrilled with the progress made this week. I selected my paint color and painted all the bathroom walls, installed the bathroom vanity (sort of), but the most exciting progress is my painted faucet transformation! First things first, lets talk paint!
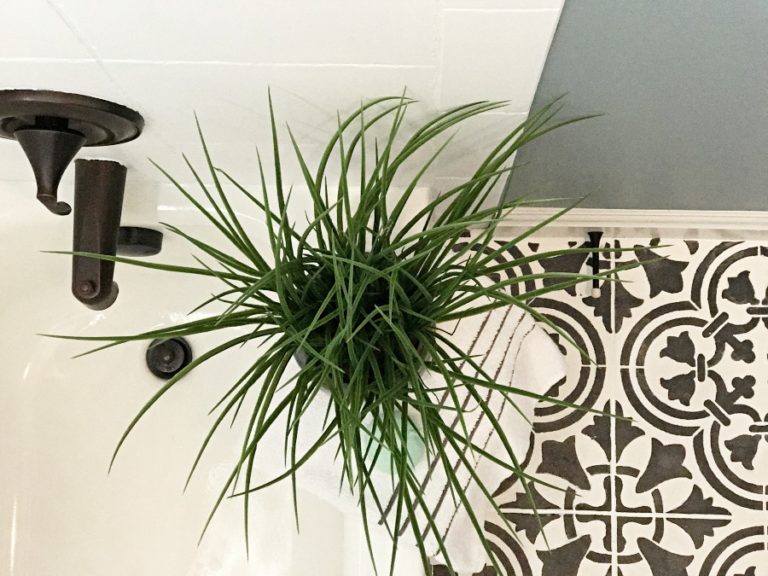
 Selecting Wall paint
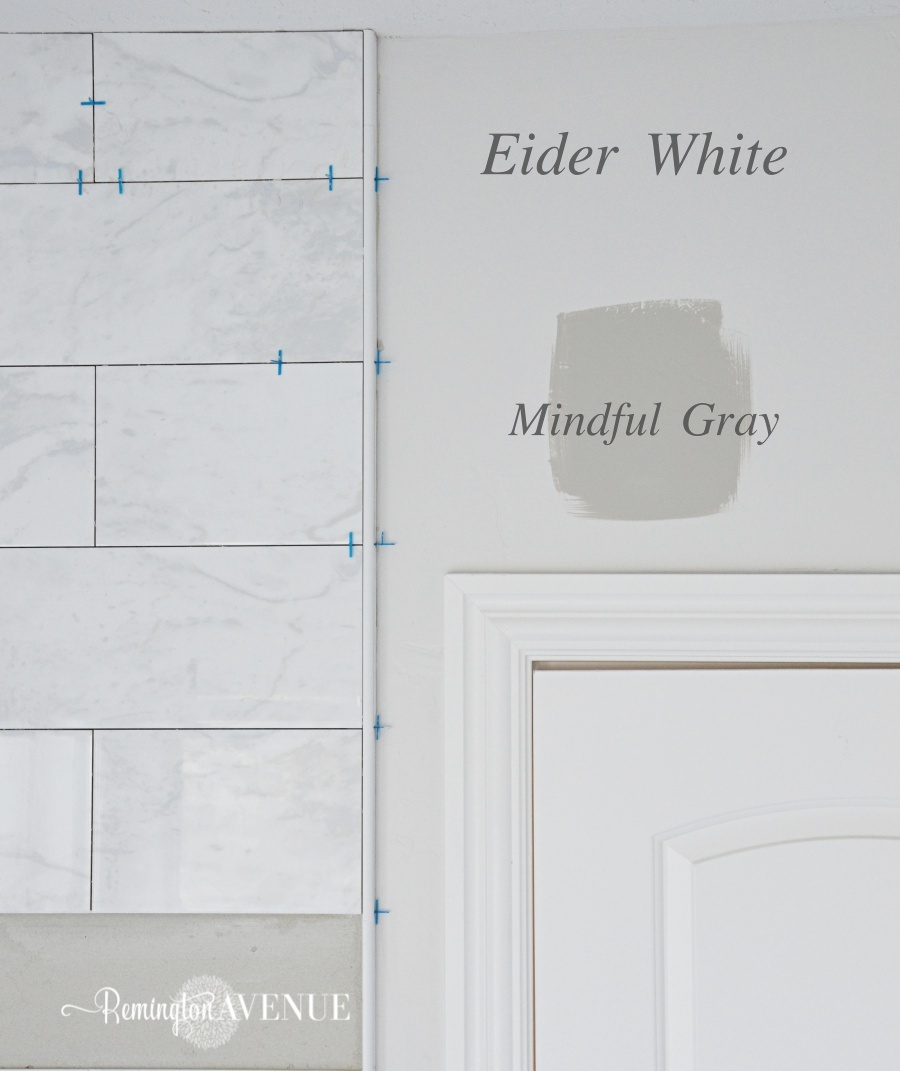
The current color of my master bathroom is unknown, but the yellowy-tan hybrid does not have me swooning! This color covered my entire house before I painted all the upstairs walls “Dorian Gray” by sherwin Williams. While I love that color, I wanted to go lighter and brighter for my bathroom. I had 2 colors in mind: “Eider white” (which I used in my basement), and “Mindful gray” (which was a contender when I painted my upstairs). Once I got both colors on the wall, it was an easy choice. Eider White all the way! Since my trim is super white, the Eider white actually appears to be more of a light gray.
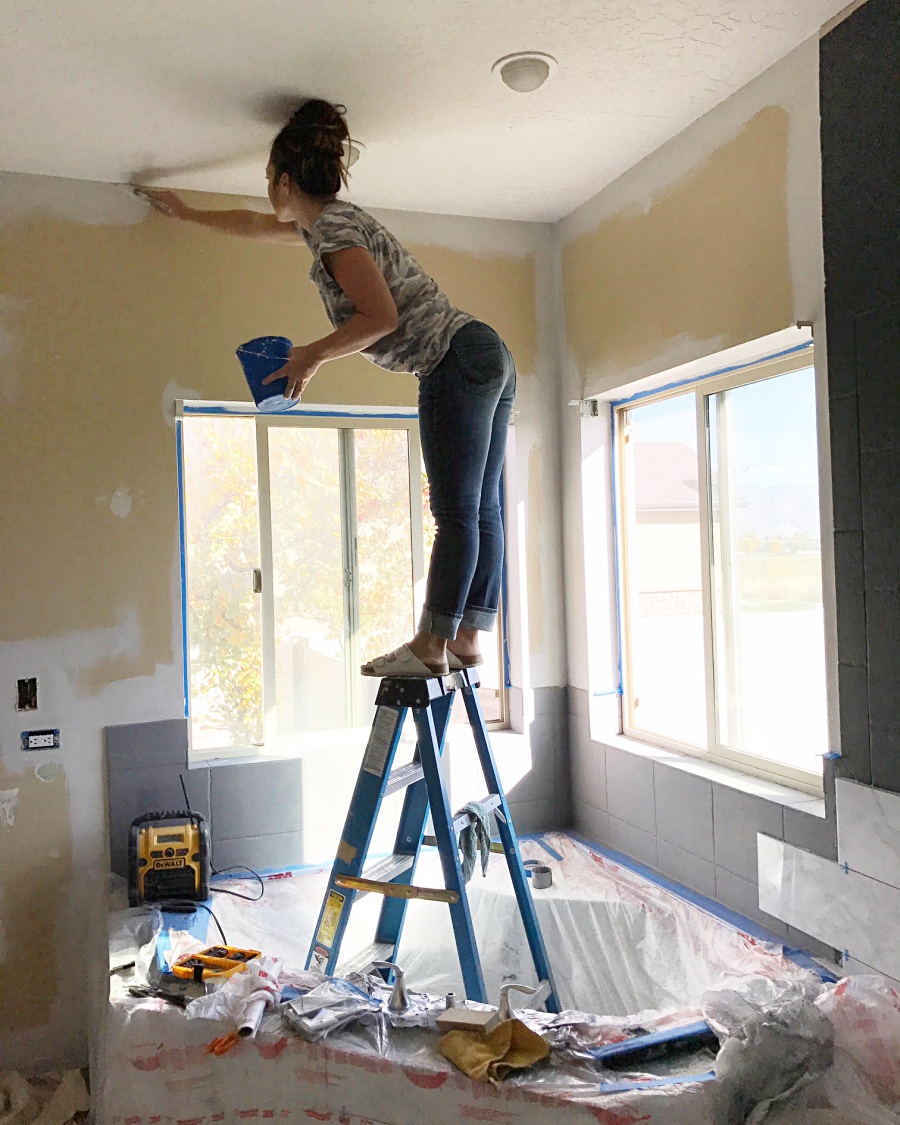
My Mr. (CB) managed to sprain his shoulder reliving his old wresting days last week, so all the painting was on me. I’m one of those weird people who actually like to paint so it wasn’t that big of a deal, it just took a bit longer than planned. I mastered the “bend & snap” move on top of a ladder and still live to tell about it. That by far was the highlight of the whole experience.
Selecting and Installing the Vanity
After doing some serious google shopping I found the perfect vanity. I needed wanted a prefabricated white 80″ vanity with pedestal legs. I narrowed it down to these 4. *Tap photos to shop*
Option 1: no countertop
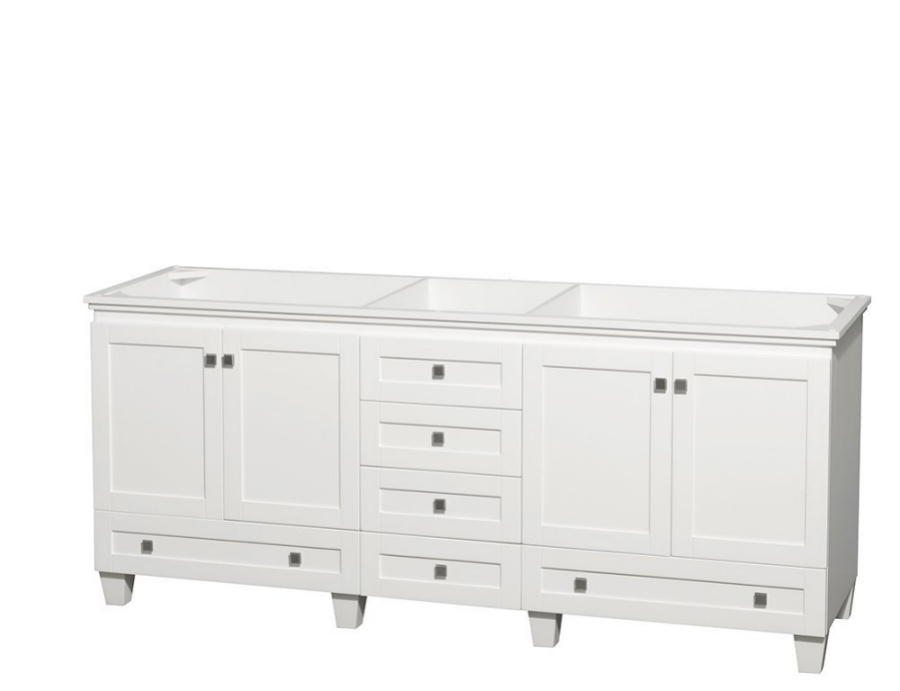
Option 2: Modern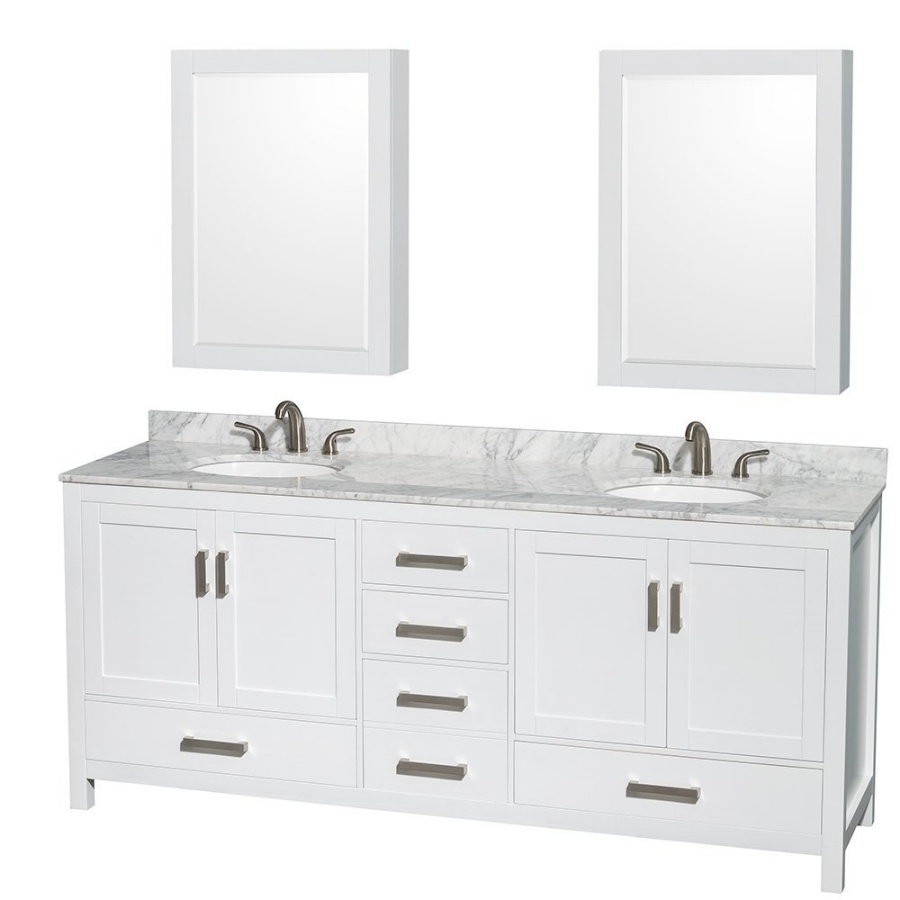
Option 3: Drawers

Option 4: Traditional (Ding ding ding…Winner)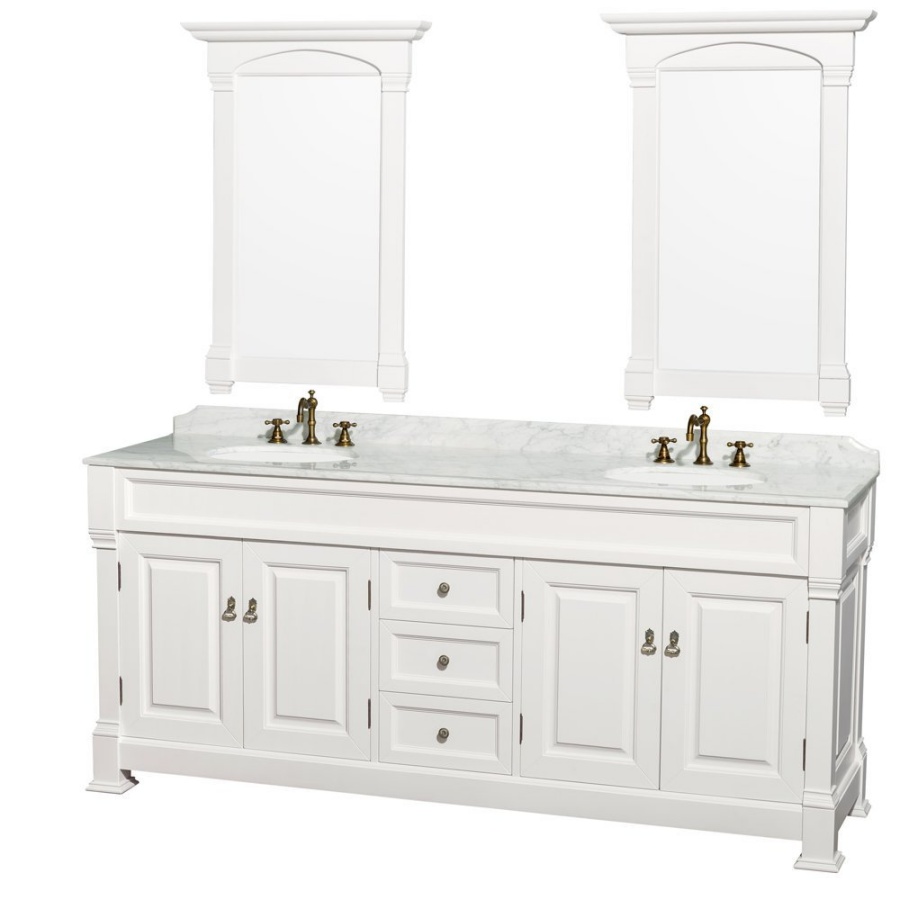
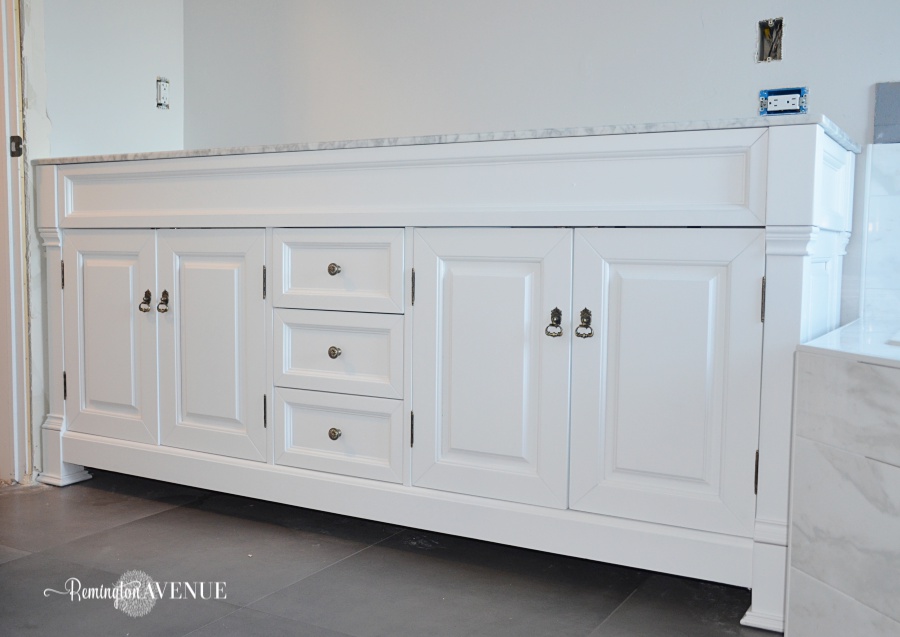
I chose the traditional option number 4. I love the craftsmanship of the legs and It came with the mirrors. Bonus! The sinks, marble countertop, and hardware were all included too.
My tile guy Jim has been working hard on installing my tile which I can’t wait to share with you next week! If you’re local to Utah please send me an email or comment if you’re looking for a reliable professional! Anyway, we will be extending the tile into a backsplash for the vanity right from the tub surround. In order for the backsplash to get tiled, the vanity needed to be installed. We pulled it from the box in perfect condition and hauled it to the bathroom. It was a perfect fit, almost, the bottom of those darn beautiful legs stuck out just a little too much. (Here’s a little sneak peek of the beautiful new tile going in from Floor and Decor.)
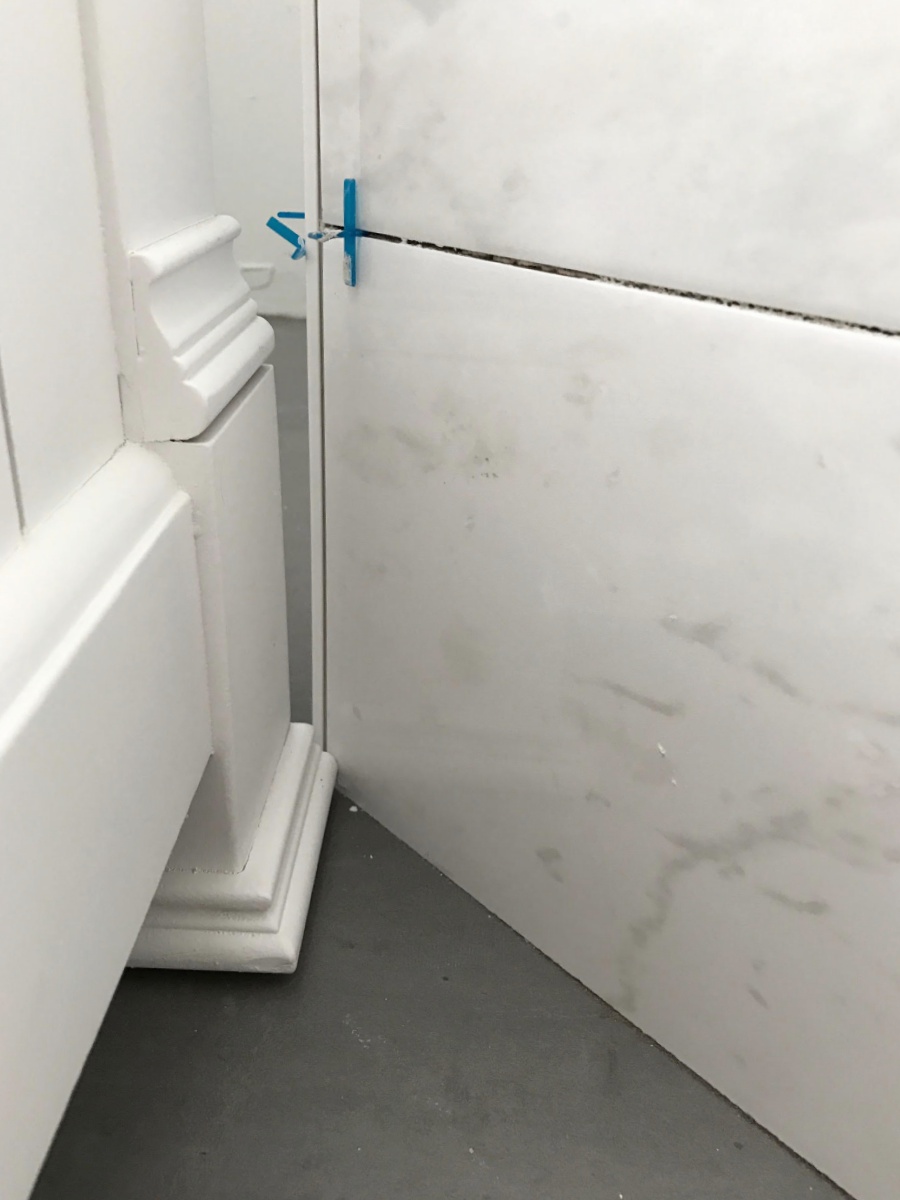
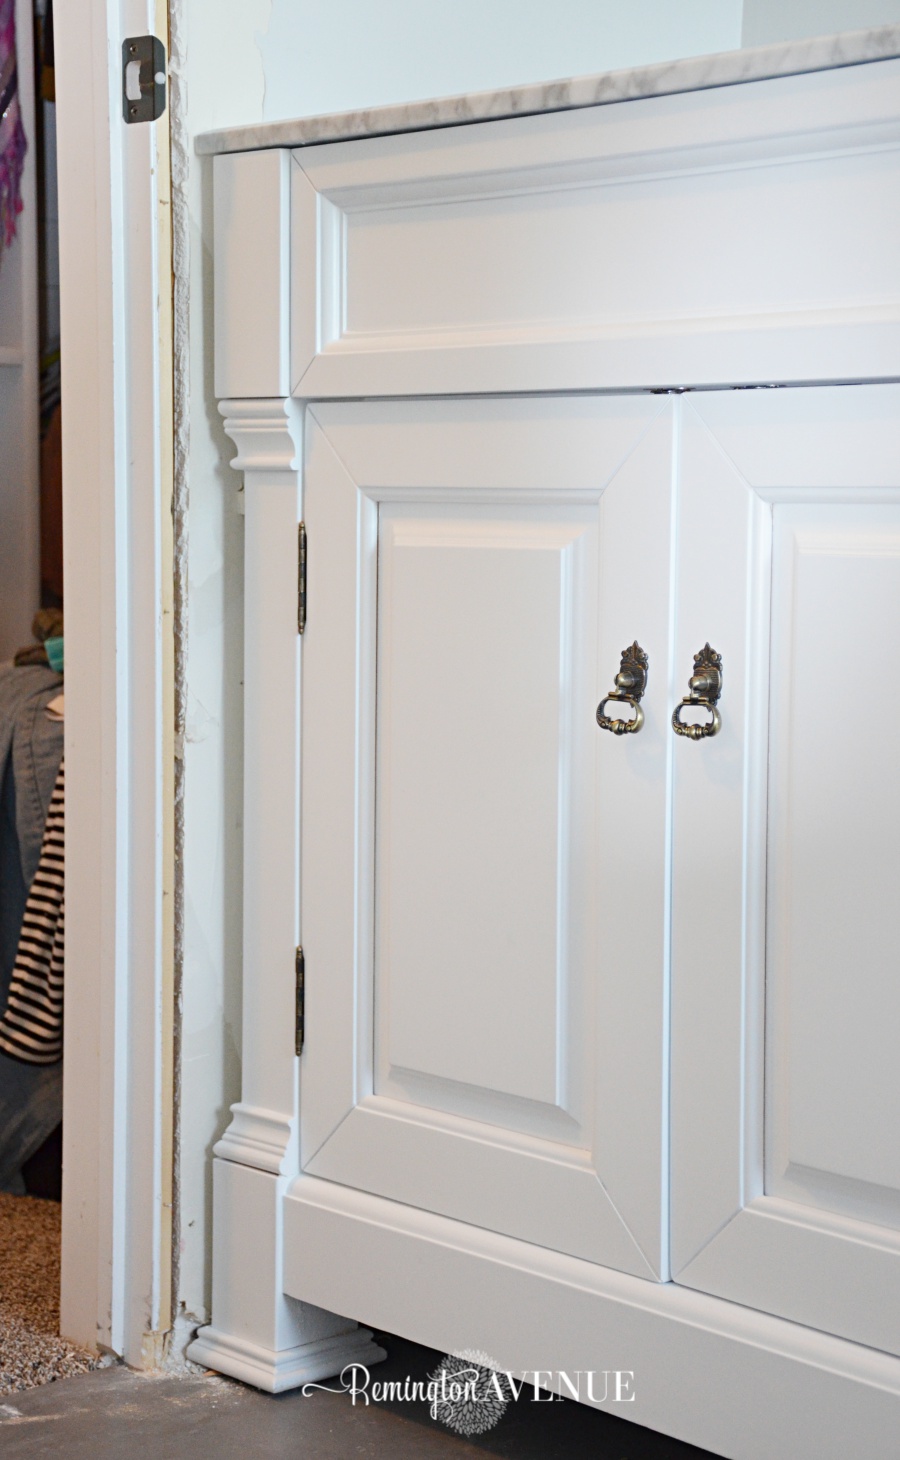
I really didn’t want to mess with the pedistools so I cut out a chunk of my closet door casing on the other side of the vanity.

That didn’t quit solve the problem, so off went the entire door casing. Now it fits like a glove!
But how am I going to fix that door casing problem?…
Shop the Vanity

Painted bathroom faucets
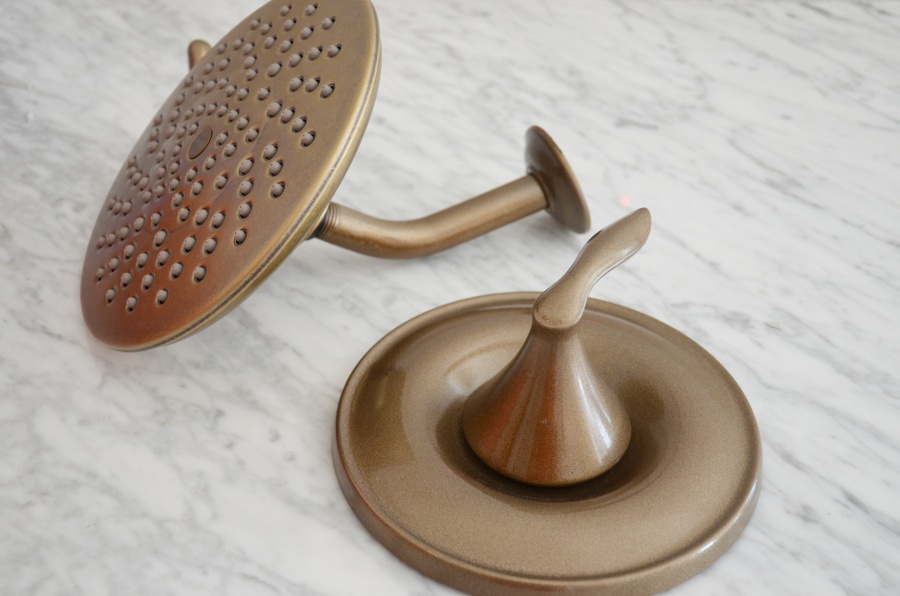
I know you’ll are asking yourselves if this is legit. Well it is, and I did! I painted my bathroom faucets. I did order new brushed bronze sink fixtures since the old vanity fixtures are headed down to the basement bathroom along with the old vanity. More on that later! Following my master bathroom motto, “splurge and save“, faucets were an area in which I wanted to save. Since mixing metals is all the rage, I thought I’d pull together an antique brushed bronze with a shiny chrome. I painted the shower fixtures to match the new brushed bronze sink fixtures, and I painted the bath fixture chrome to match the new lights from Lighting design Company. While I was at it, I painted my basement bathroom fixture in Satin Nickel (shown in the photo below). I did upgrade my Master shower head to a two-function rainshower in antiqued bronze to match the new paint. I showed my sister the new shower head with the painted bronze parts and she couldn’t even tell the difference! Insert high fives and fist bumps! You could paint the existing shower head using this same method below, just be sure to tape off the water holes!
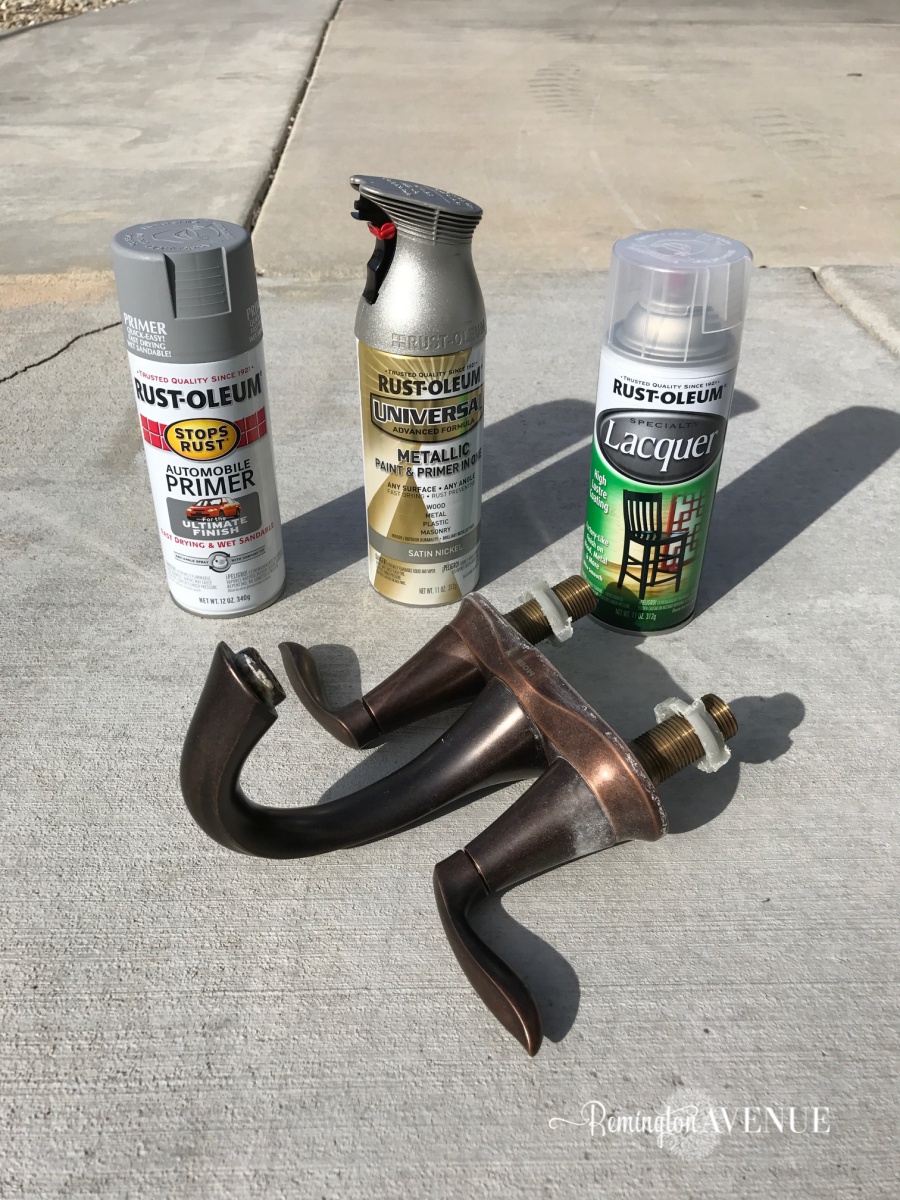
Shop the Supplies
Tutorial: (showing 3 different fixtures using all the same process)
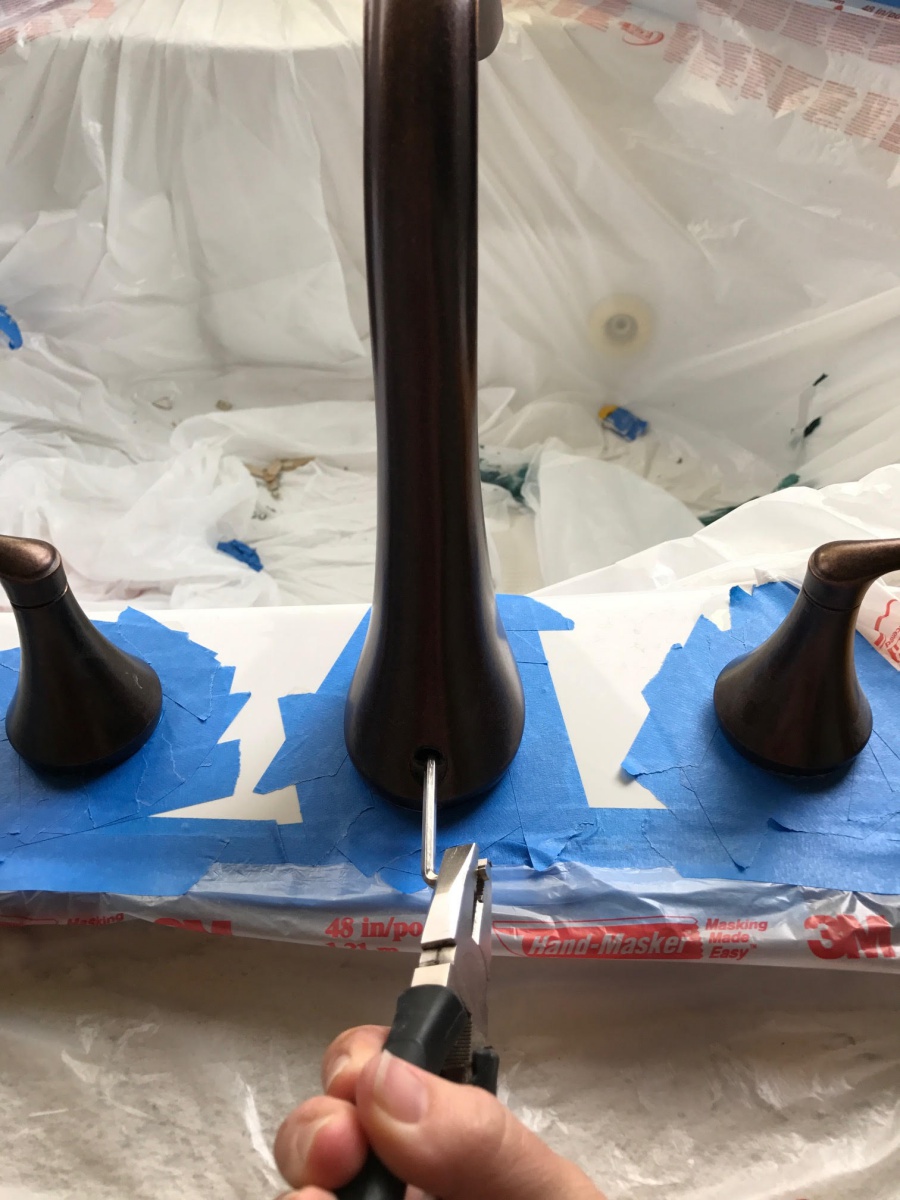
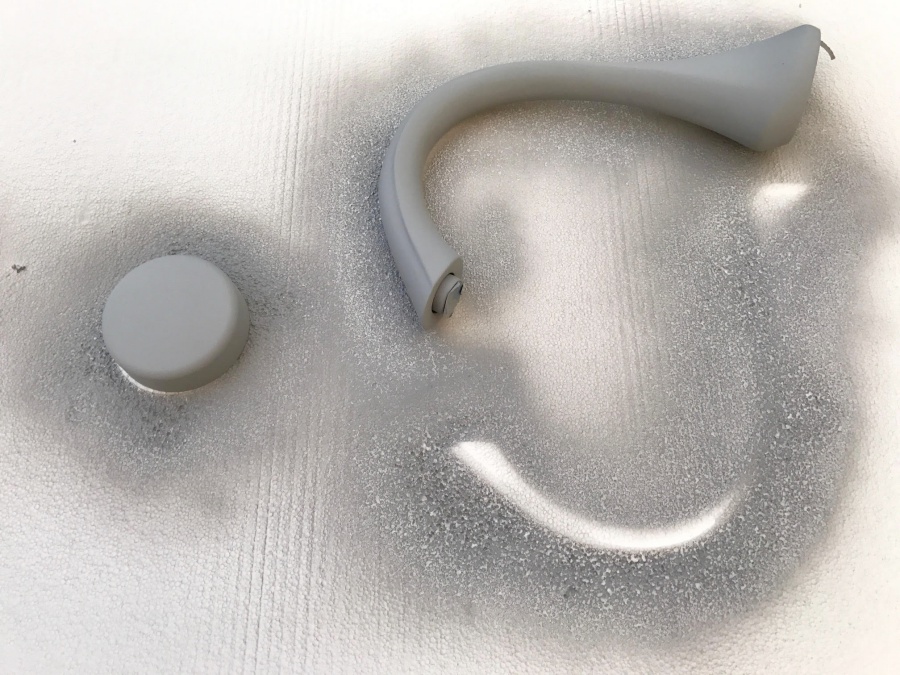
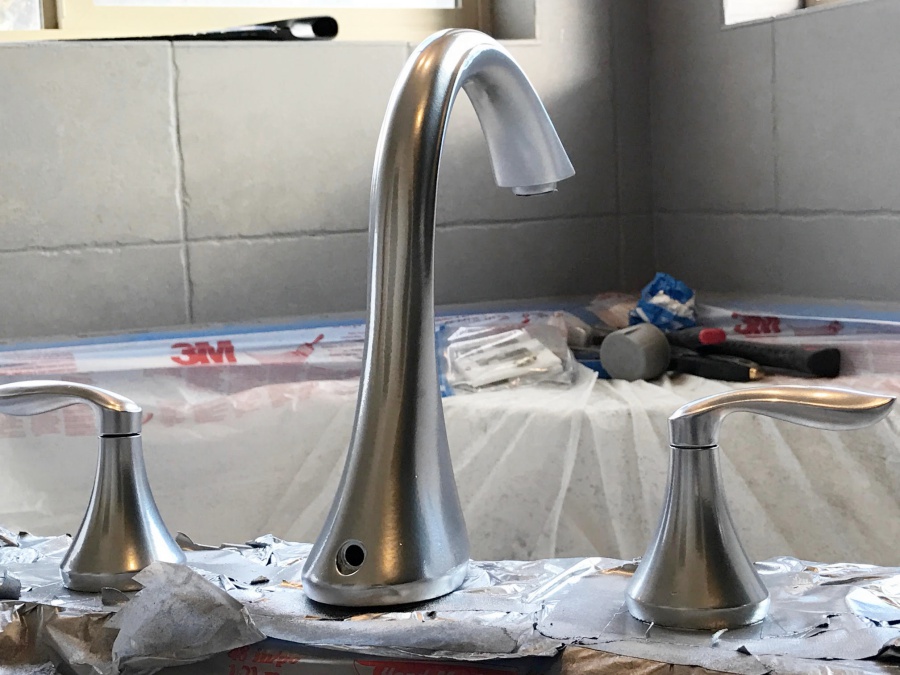
Remove all the fixtures that easily come off. My shower fixtures were all removed for tiling anyway, and the bath faucet came off like a charm. I left the 2 handles in place and masked around them using painters tape and plastic. Make sure to cover EVERYTHING in plastic!
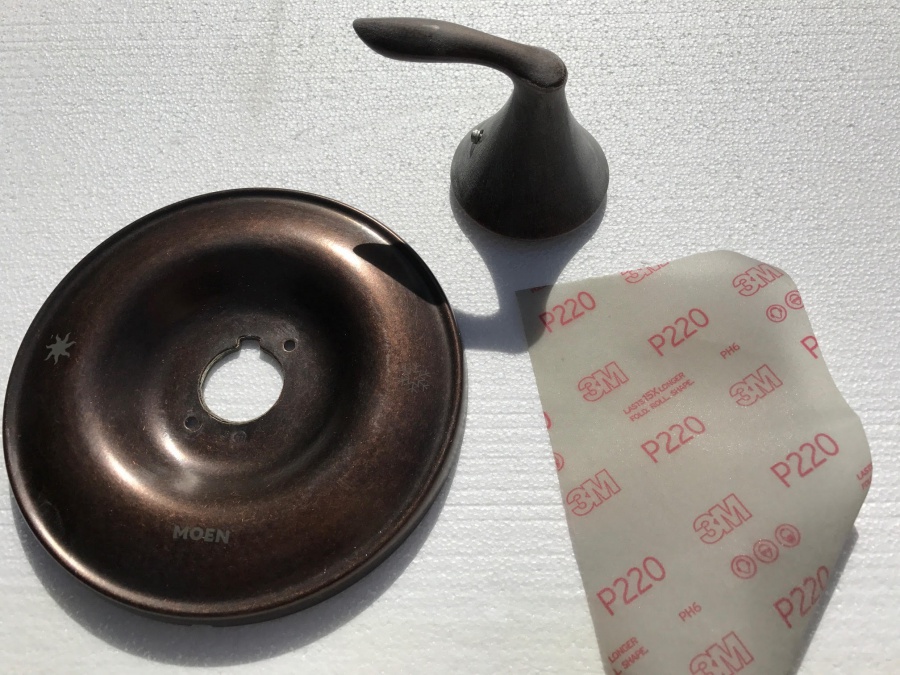
Sand the fixtures using a 220-grit sandpaper. I like the rubbery sandpaper for this application. It bends and moves easily between the small cracks and crevices. This is a super important step…so sand the heck out of those fixtures! Dust the fixtures off with a damp rag and let dry. Lay the fixtures out on card board/drop cloth or styrofoam. (You can see the handle is sanded and dusted in the photo below.)
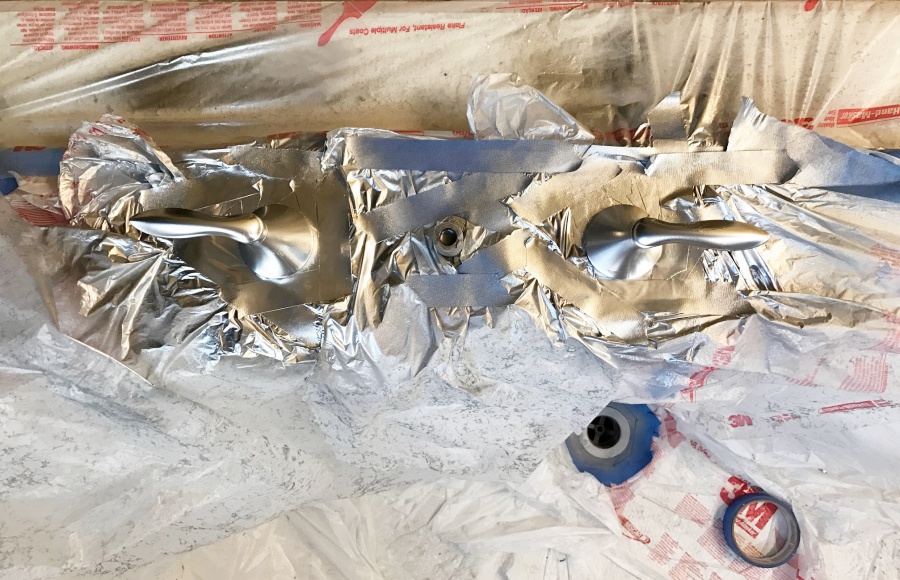
For fixtures still installed, tape around them with painters tape. Basically use small pieces of painters tape all the way around each fixture. Then I taped down plastic sheeting all around the surrounding areas.
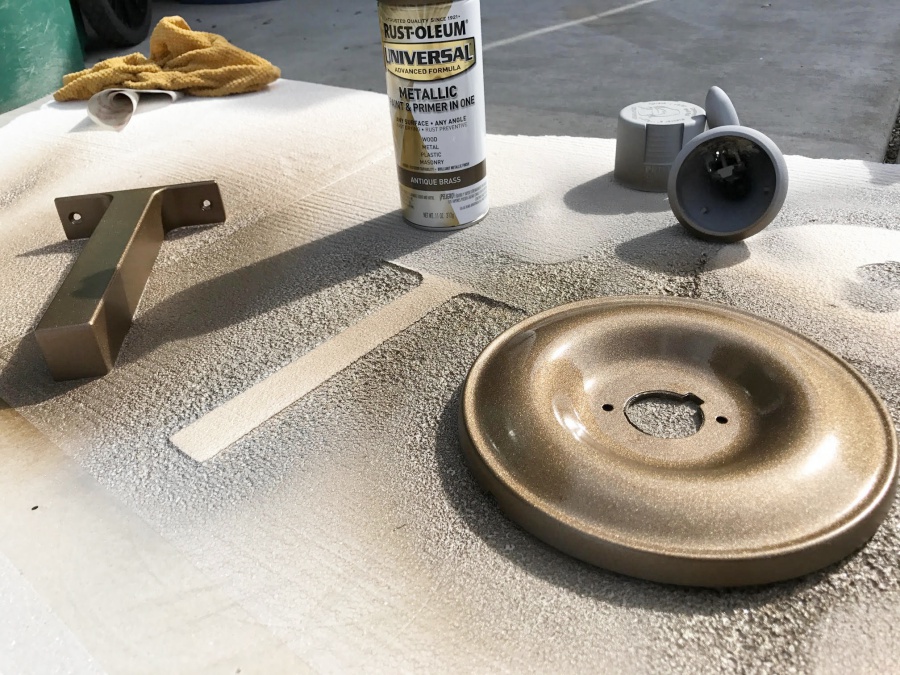
Apply the first coat of primer. I used the an automotive primer spray by Rust-oleum. I only applied one coat just like it said in the directions.

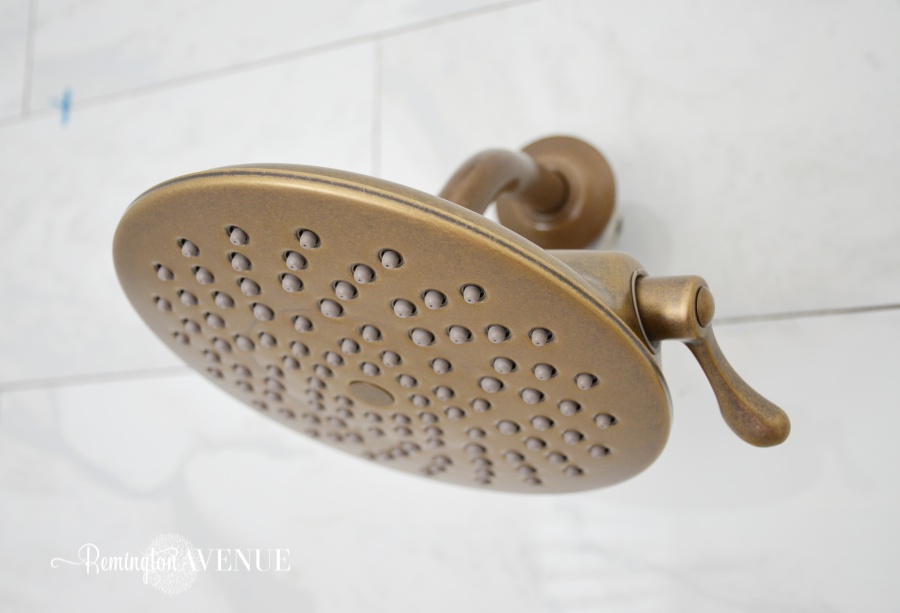
When the primer was dry, I applied the first coat of Rust-Oleum Universal in antique brass to the shower fixture. Then I waited 48 hours, and applied a second coat. PS. I totally LOVE this color!
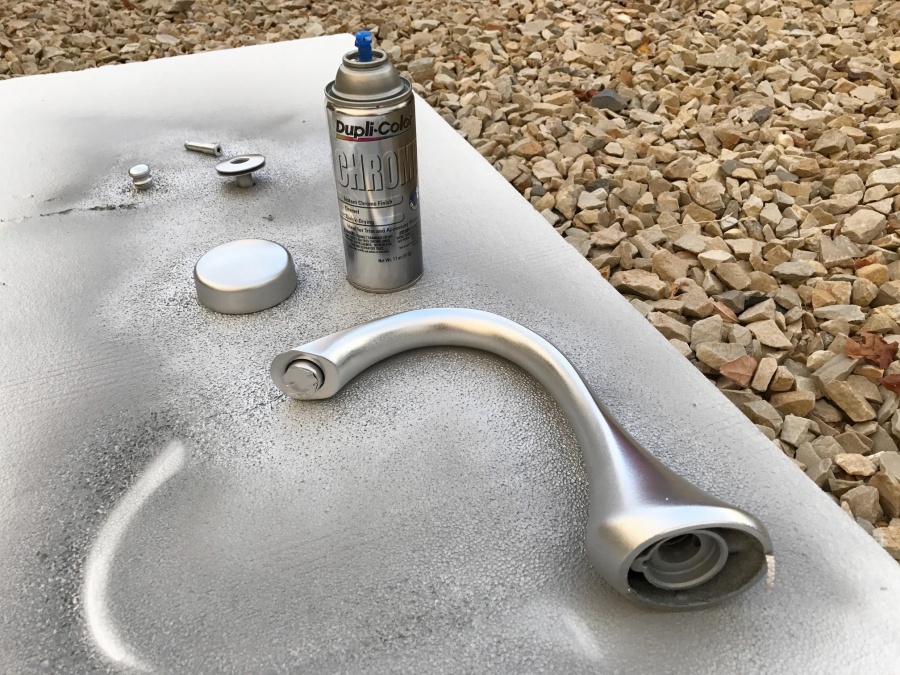
At the same time I sprayed the bath faucet and plug outside with the Dupli-Color chrome spray paint and I also sprayed the handles and the drain inside using the same method.
I let everything dry overnight then applied the first coat of Rust-oleum Lacquer. I let the fixtures dry for 20 min then applied a second and final coat. I let all the fixtures dry again overnight. The Lacquer sealed the paint perfectly for the antique brass; however, it turned the shiny chrome paint into a duller gray…not so great! I guess I might be replacing the bath faucet after all!
Shop the Supplies
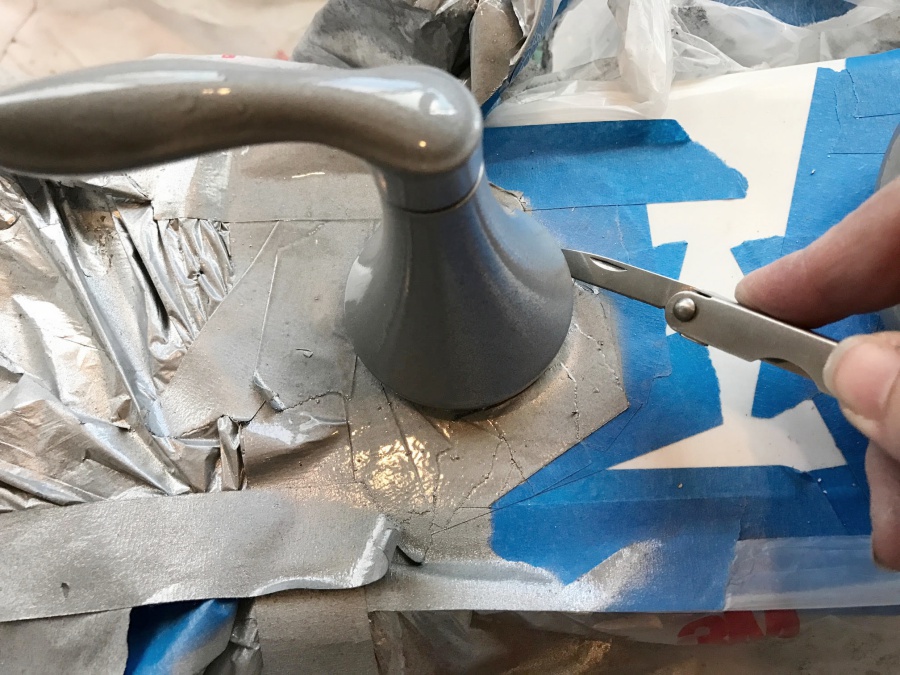
I then used my pocket knife (I know…who has a pocket knife?) to scored around the base of the handles, and the drain. A razor blade would work great too! Be sure not to use too much pressure or you’ll cut right through the tape! I carefully removed all the painters tape and plastic. If you have any overspray, gently use your razor blade and scrape the excess paint off the sink/bath. (you can see how dull the chrome appears now.)
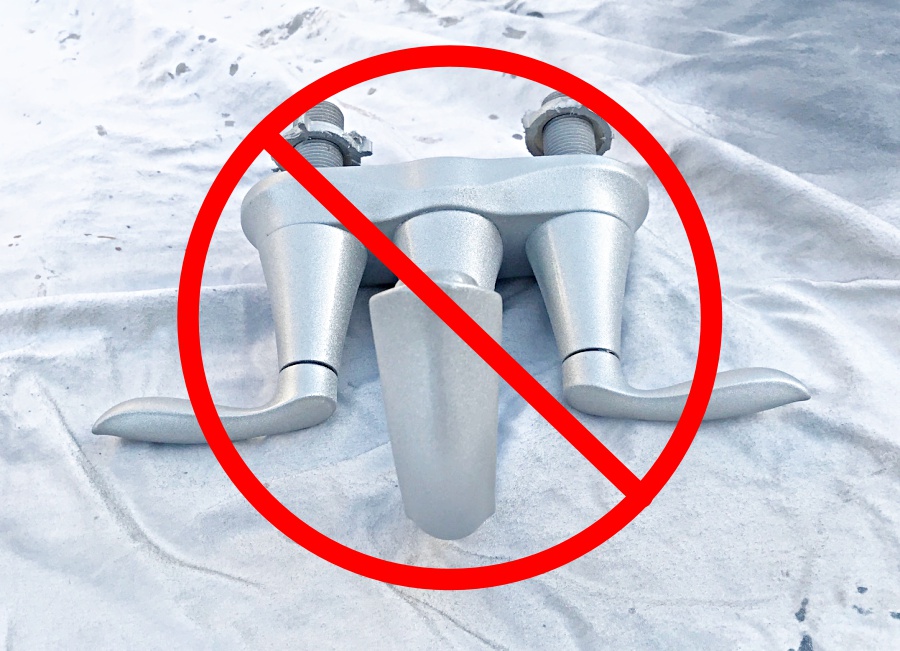
Like I said before, I used this exact same method on my downstairs fixture. I tried the Rust-oleum Universal in brushed nickel. Lets just say if you don’t want your fixture to look like a disco ball, I’d skip that finish. I would also skip the chrome as well. The chrome paint is beautiful, but with no way to seal it, It won’t hold up. I do, however, recommend the antique brass, and oil rubbed bronze finishes! I would definitely use them again! Arn’t you glad I’m here to work out the kinks and test drive all these metallic paints for you:)
Voila! Brand new bathroom fixtures without the high cost! I will be waiting several days before I use these fixtures since everything is still being installed. If you use this method I’d also recommend waiting a few days before use just to let the paint fully cure!
Shop the Fixtures
I hope you love my bathroom vanity choice as much as I do! I am thrilled with how it’s all coming together with the new painted faucets and freshly painted walls. By this time next week I hope to have all the tiling totally finished and the vanity completely installed. So stay tuned and come back next week for all the updates!
To check out the other designers in the One Room Challenge click HERE.
Special thanks to my sponsors for making this One Room Challenge possible!
![]()
![]()
![]()
*Affiliate links used*

 Add to favorites or read later
Oh Mysha I am loving that vanity and the tile, both are stunning! You’ve made major progress my friend! Ironically I almost bought the same shower head in brass, but opted for a different one since we need the entire set. I’m using your tutorial as I my cleaning ladies have already rubbed off the spray paint on the hardware. I feel like I need to get cracking after seeing everything you’ve accomplished. Let’s do this! XOXO, Sarah
I’m really hoping the tile is finished by tomorrow so i can get going on all the other finishes! Seriously I couldnt be more happy with how the fixtures turned out!
it looks so beautiful so far- love your choices!
Thank you so much Cassie
Mysha!! It’s incredible and you have SERIOUSLY inspired me to get my act together!! I’ve been talking for too long about upgrading our vanity – yours is perfect! And the painted fixtures??!! Brilliant! You are so good! xoxo
Thanks Tam! You are so sweet. I truly love your style
Love the vanity!!!!! It’s gorgeous!
That tile is stunning! And my heart sank a little when I saw you on that ladder! I’ve fallen off twice, and still have a lump that won’t leave. Your fixtures look awesome! I can’t wait to see your final reveal! Stunning thus far!
Thank you so much Jen! Im so sorry to hear about your accident! I should really be more careful myself!
Hi Mysha, your bath looks fabulous so far!! I am local to Utah and I am wondering if I can get your tile guy info? We are finishing our basement and I need a good reliable tiler to do my bath!
Hi Cecily, thank you so much for stopping in. Sounds like you have a project of your own to complete. My tile guys name is Jim and his company’s name is Marble Creek. This is the second job he has done for me and I feel very comfortable recommending him. Just let him know I referred you! Here is his number. (801)836-5068
MYSHA! You are my DIY hero! Wow, what a week. You did so good, girl. I am seriously impressed. I know the results are going to be stellar. Ok, tell me your secret. How are you doing this with your kids esp an infant?! #tellmeyourways #doyousleep 😉
Love the vanity selection, and I’m super impressed with the painted shower fixtures, that antique brass looks amazing!
Thank you so much Cristy!
Omg obsessed with the faucets!!!!!! Rustoleum for the win, gf!!! I love the vanity you selected too!!! This is going to be SO gorg!!!
Thanks Keila! I sure hope it all comes together
Looking good! Had to laugh about removing the door casing to get the vanity in – well worth it because that vanity is amazing!
Haha jean, I have a guy over here right now trying to fix that very problem. It’s a little over my head! I can’t wait to see how your laundry room turns out! love all the bench and basket options…cant go wrong!
I would have picked the gorgeous traditional vanity, too. I’m SO traditional! That tile looks so much like marble! I’ve been looking for something like that! (Please don’t stand on the top of the ladder again! That’s just too scary!) Those fixtures you painted look great!
Hi Lucille, thank you so much for stopping in. I’ll be posting all about that marble look alike tile tomorrow(Thursday) morning. I have it all linked up for ya! And I really should be more careful:)
Hi Mysha! i just loved the whole bathroom! its amazing and waiting to try out the paint on bathroom fixtures. I wanted to know how you did the shower head with all the tiny holes and no paint getting into them…please let me know.
Hi kal
I actually upgraded my shower head to a rain shower head to match the new paint job on the rest of the fixture. My old shower head had a rubber center which i would have just taped off if I were painting the whole head. Anyway hope that helps and its holding up perfectly