Brick Veneer Wall Tutorial
My summer project was my basement space! And it was a BIG project. Right after Junie was born I completed this asymmetrical wall in our basement and it added a lot to the space. But there were still too many plain white walls down here for my liking. I wanted to create a warm and inviting space where the kids wanted to come play. That’s where this brick veneer wall tutorial comes in.
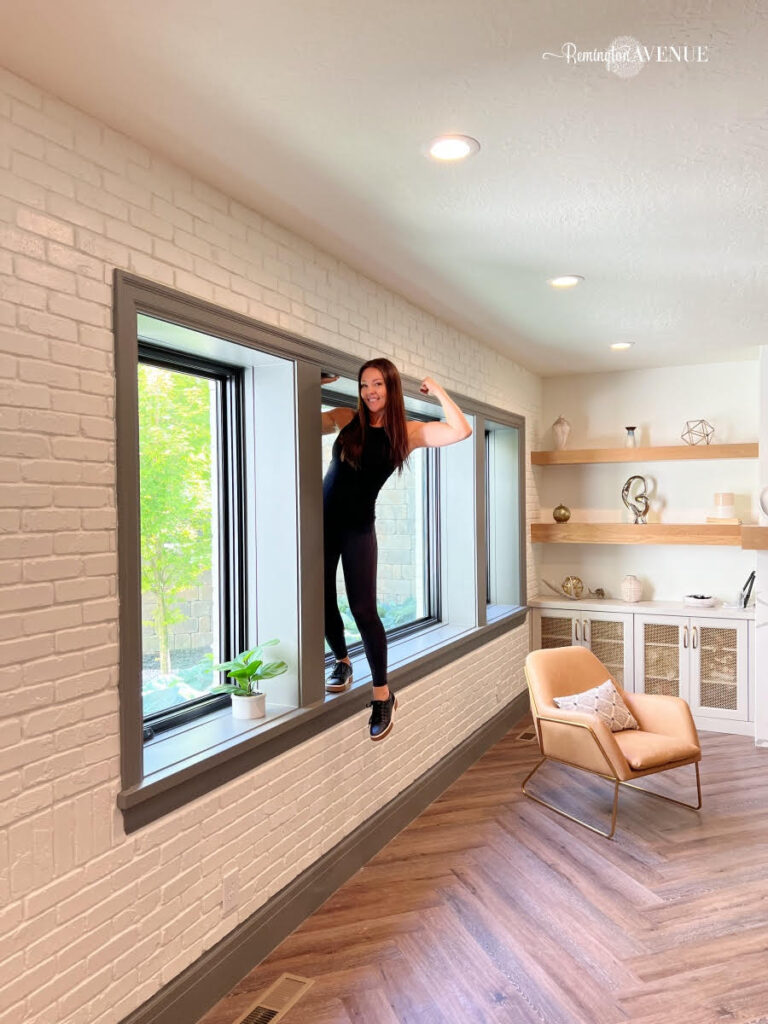
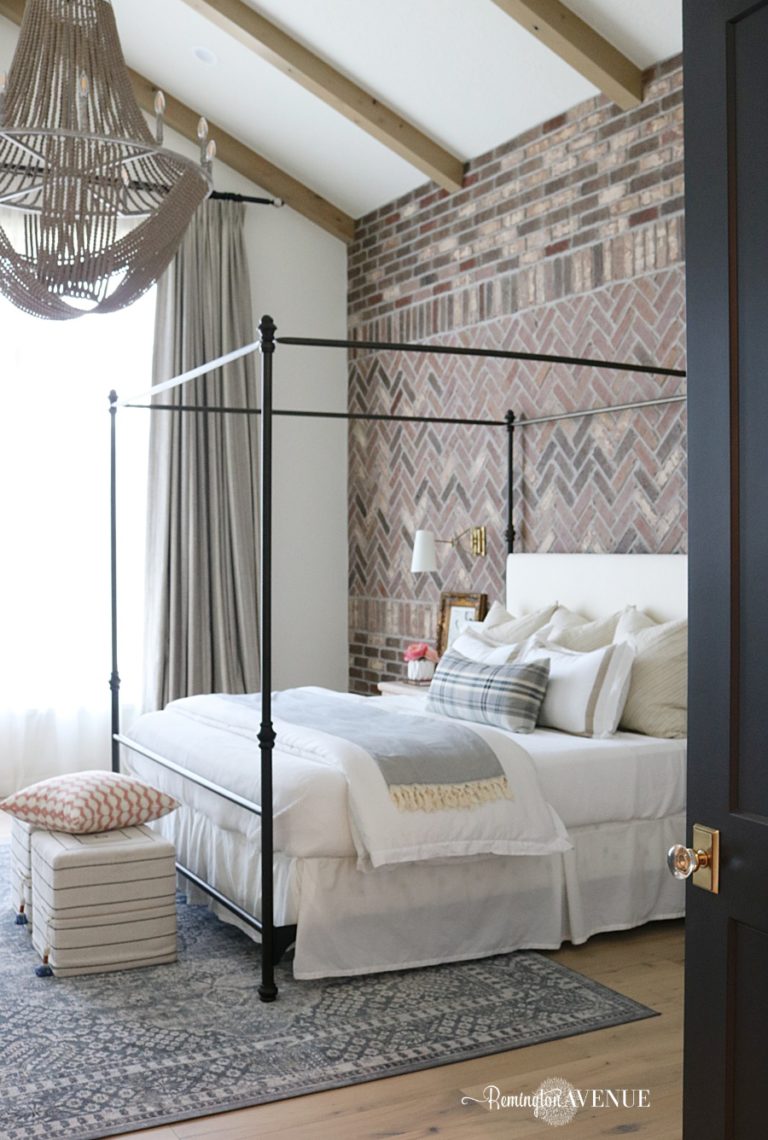
This is the biggest brick project I’ve ever done! Even bigger than my master bedroom and my front porch project! The brick veneer adds so much texture and depth to this space and really makes the basement feel complete.
Here’s a design tip:
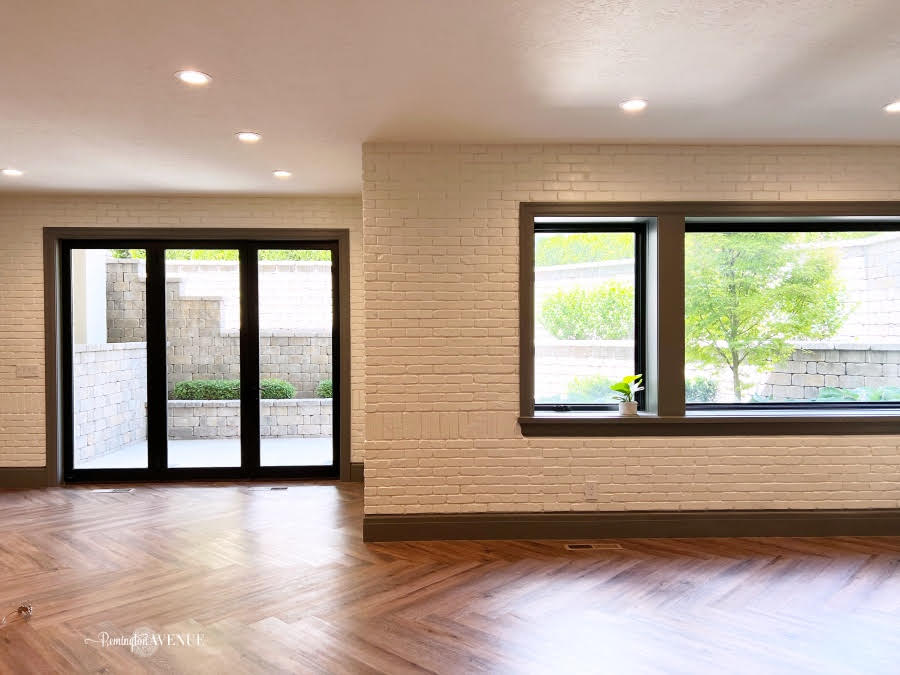
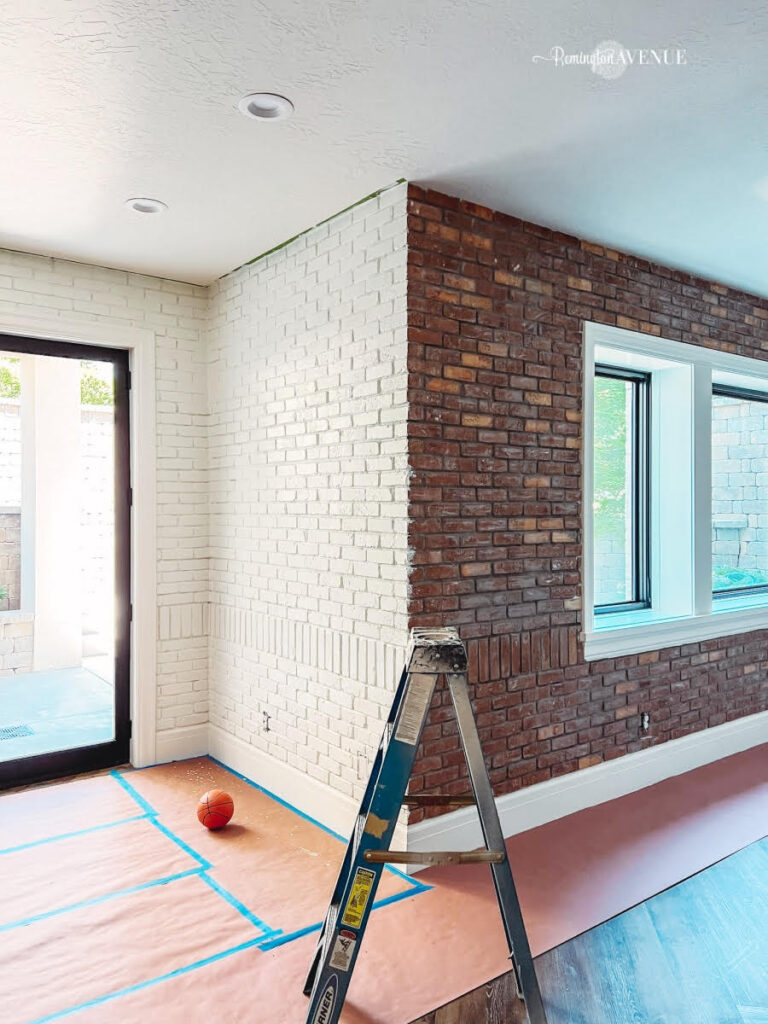
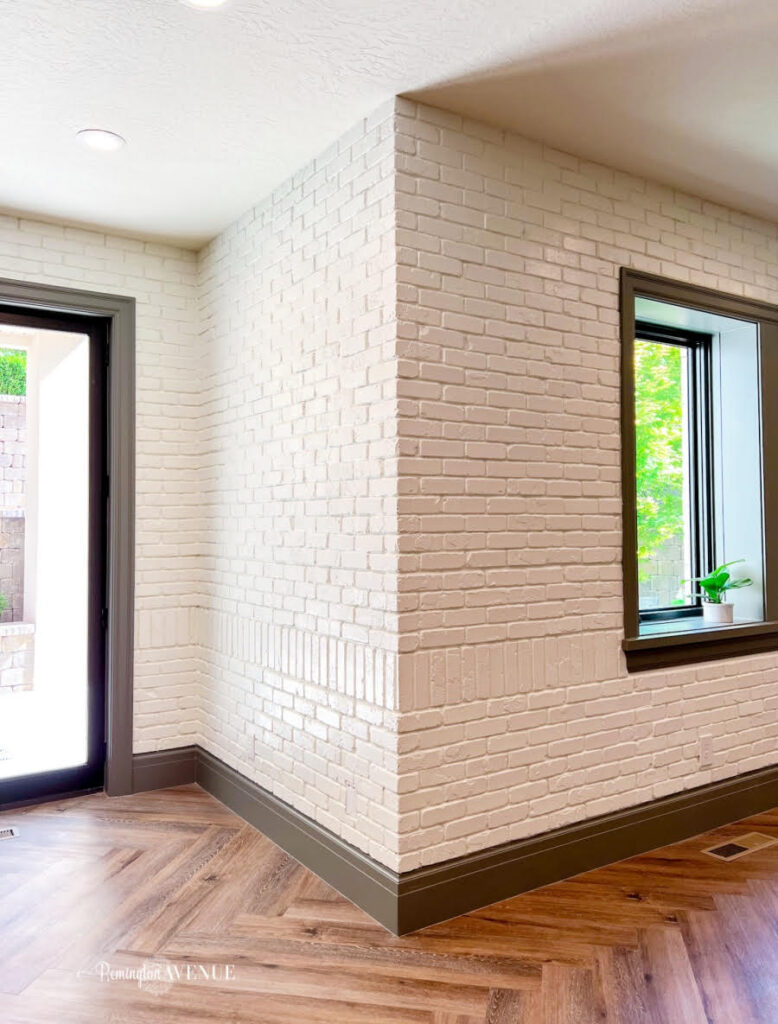
When you are looking to bring in stone or masonry inside your home, ask yourself, “does it exist on the exterior of your home?” If it does, use it! Continuity is key in a well designed, timeless home. The wall I put my brick veneers on is an exterior wall that has brick on the other side of it, so when you look at both walls they look like an extension of each other.
Supplies:
Brick veneers – I used singles, corners, and webbing
Type 1 Tile Adhesive
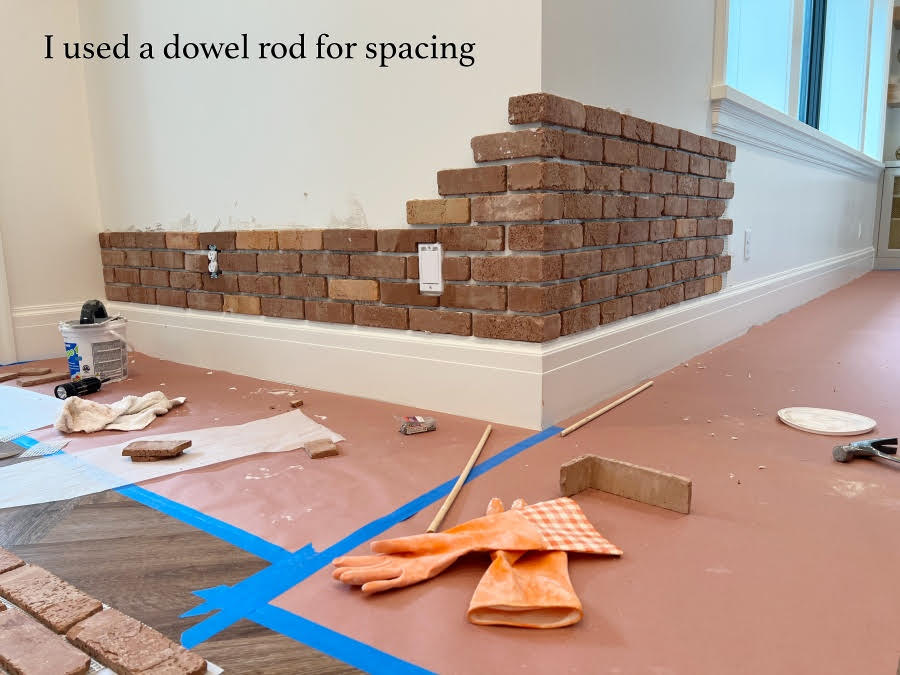
Dowels for spacing
White paint – Simply White BM semigloss
Grout
Grout bag
Glove
Laser level

Brick Veneer Wall Tutorial
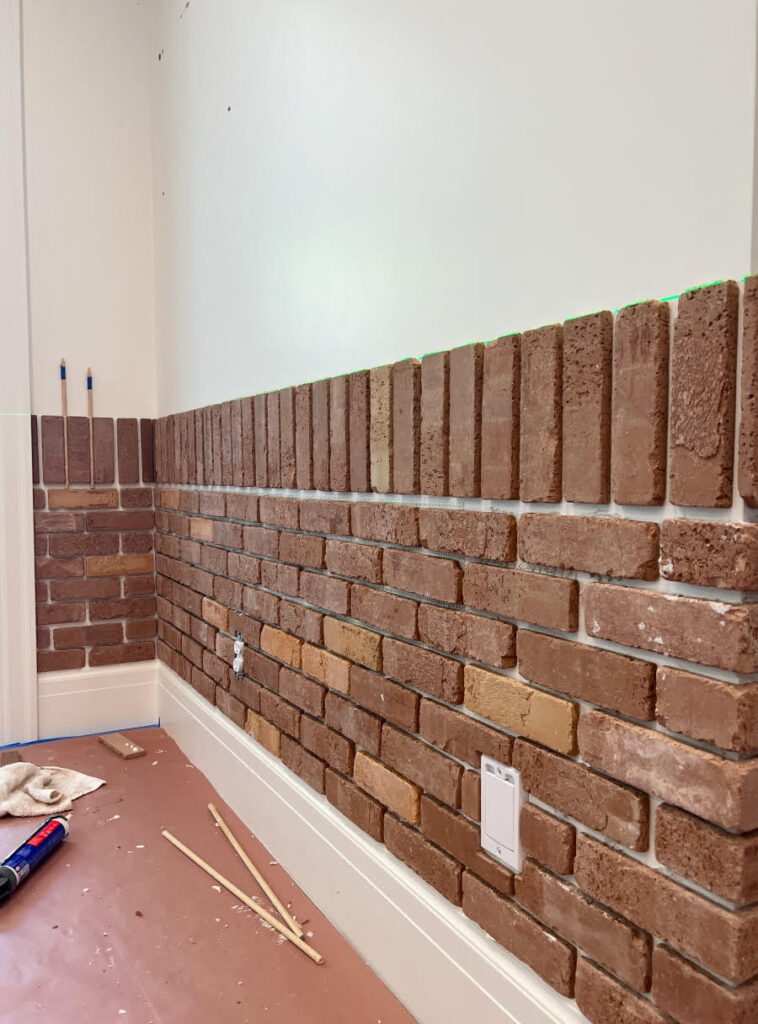
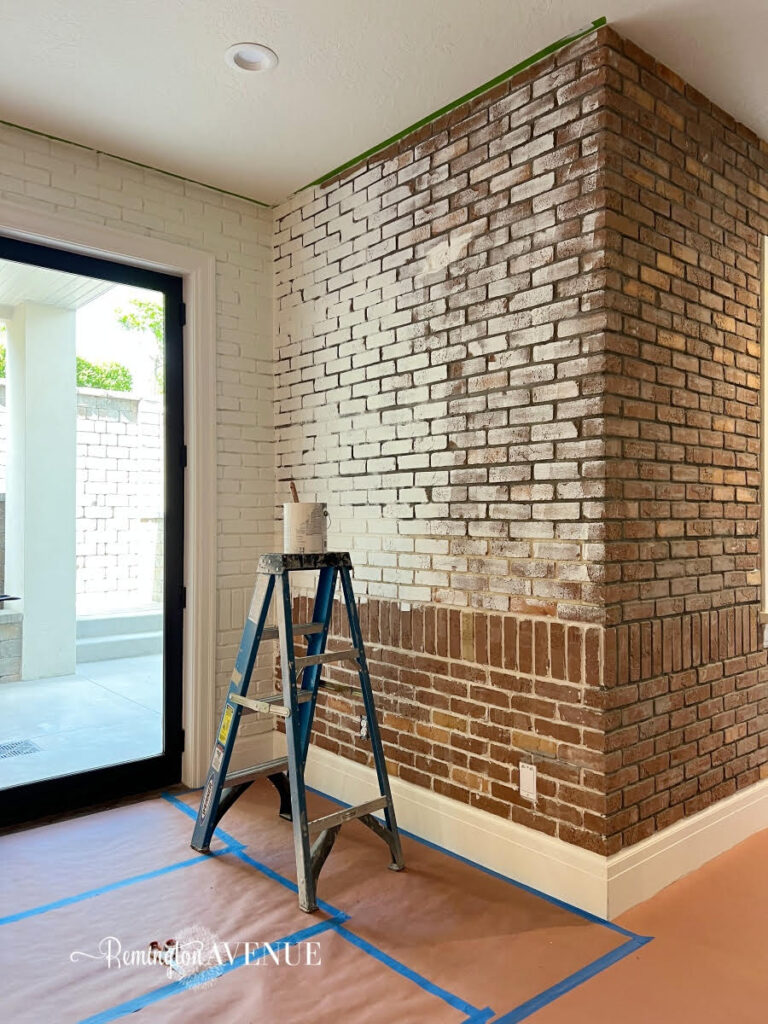
Because I have an outside corner on this wall, that’s where my placement began. I started here because I needed to make sure my brick placement lined up correctly when it wrapped the corner.
The brick I am using is called non-pigmented thin brick or brick veneer and it’s from Old Mill Brick. I’ve used this product in the backsplash in my kitchen, on my front porch, and in my master bedroom. I used a combo of singles, corners, and webbing.
I used a laser level through this project to make sure everything was straight.
As far as adhesives go, I tried a few different ones before I found the one that worked the best. If you remember the checkerboard tile backsplash I completed not too long ago, I used the MusselBound adhesive backing. However that won’t work here because the brick is too dirty and not flat enough. Thin set would work, but it tends to slide a bit, and you don’t want that on a wall, so that didn’t work. I tried Locktite Quick Grab, but that doesn’t work for mesh sheets. So Type 1 Tile Adhesive was the winner!
Place Your Brick
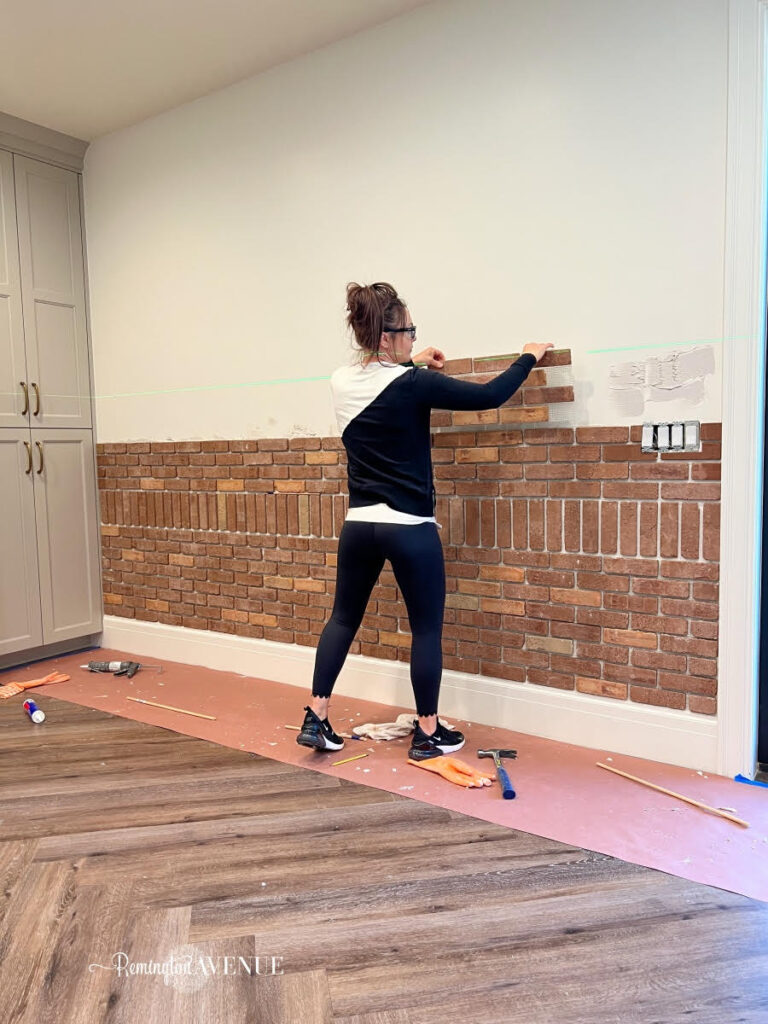
Begin placing your brick sheets. This is just like placing it like you would on the floor, but it’s on the wall! I used dowels for spacers to keep the space between each sheet consistent. Apply the adhesive to the wall first when using the mesh sheets. As we got further up the wall we started using drywall screws to drill into the mesh sheets to keep them from sliding before the adhesive sets.
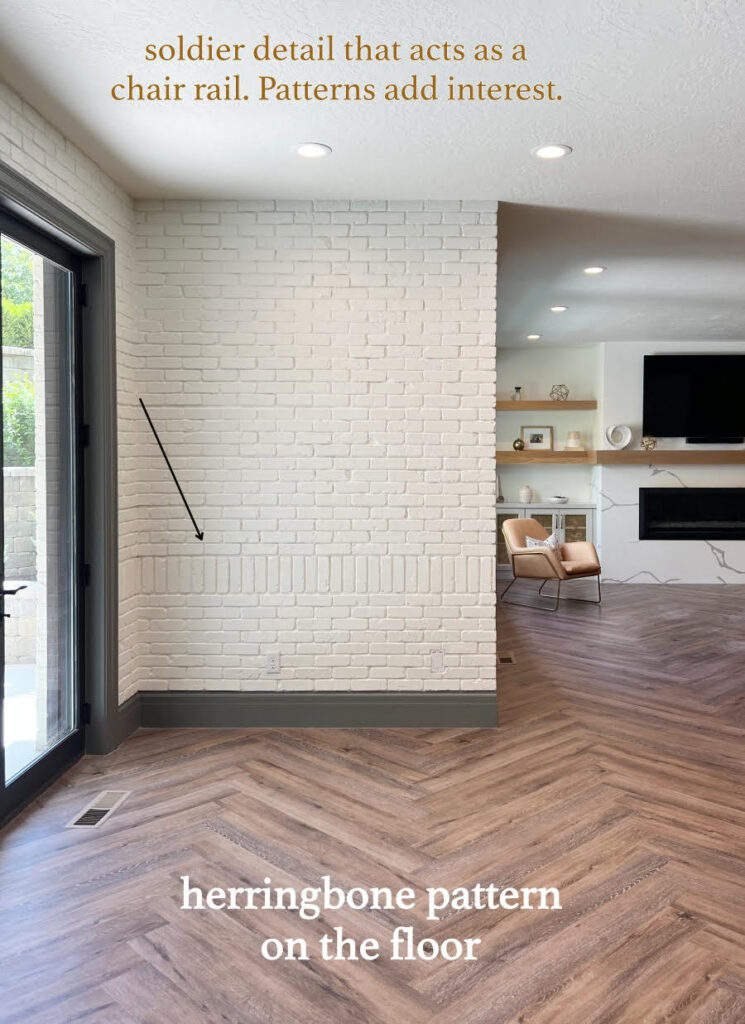
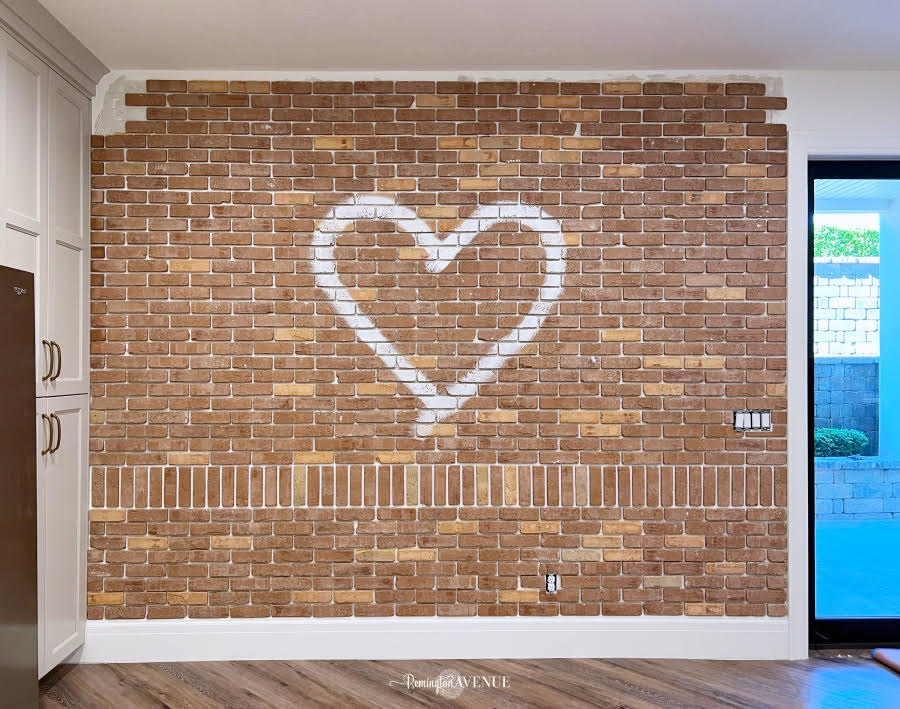
Once I finished the lower portion of the wall, I did something crazy, I turned the single bricks vertically to create a new pattern. This adds interest so it isn’t just one big brick wall. Above the soldier course, I continued my bricklay pattern all the way up the rest of the wall.
Tidbit of pattern knowledge:
Don’t be afraid to play with pattern! My floors down here are herringbone, the lower part of the wall is the bricklay pattern, and the vertical side-by-side bricks are in a pattern called soldier course.
To cut any of the bricks I marked the cuts with pencil and then used my wet saw.
To handle the inside corner I have, I took a brick, sawed it in half, then overlapped the corner!
Grout It
Once the brick veneers were laid, it was time to grout. Through many brick wall installations, I figured out that it’s actually easiest for me to pipe the grout in. So I put it in a grout bag, which is basically like a large frosting bag.
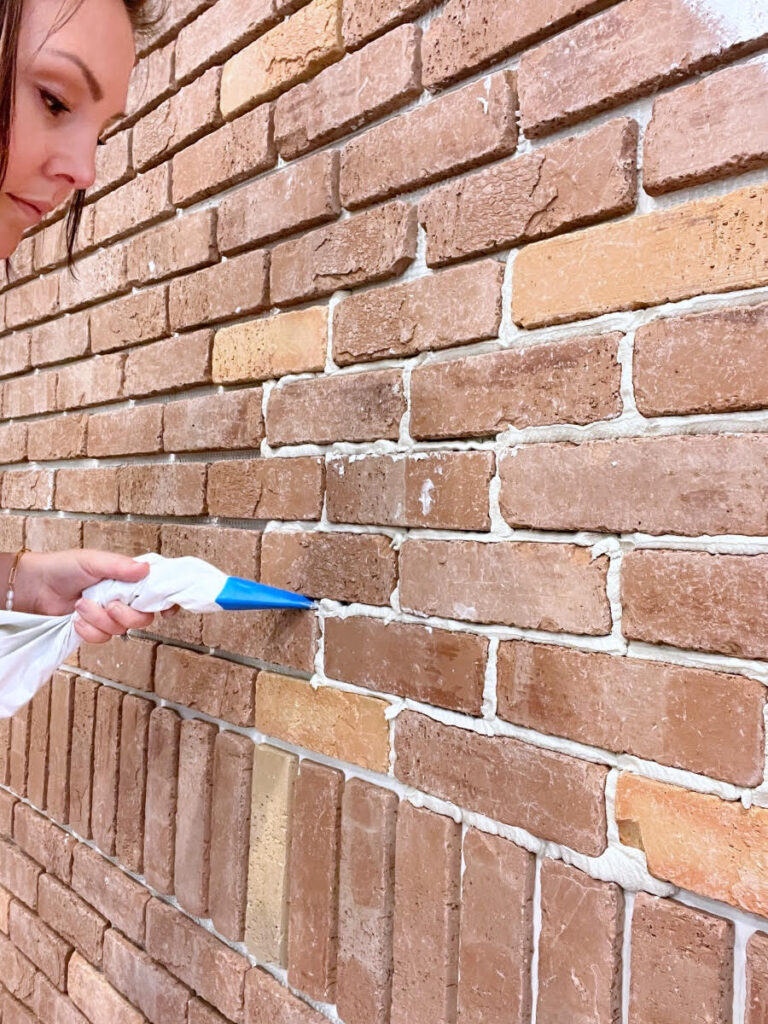
You can do heavy grout or light grout and it’ll all change the look and appearance of the wall. I did a whole blog post on grouting brick which you can read HERE. After you pipe your grout, you’ll take a gloved hand and press the grout in. Because I knew I wanted to paint this wall, I wanted to create deeper wells for lots of texture to transfer under the paint.
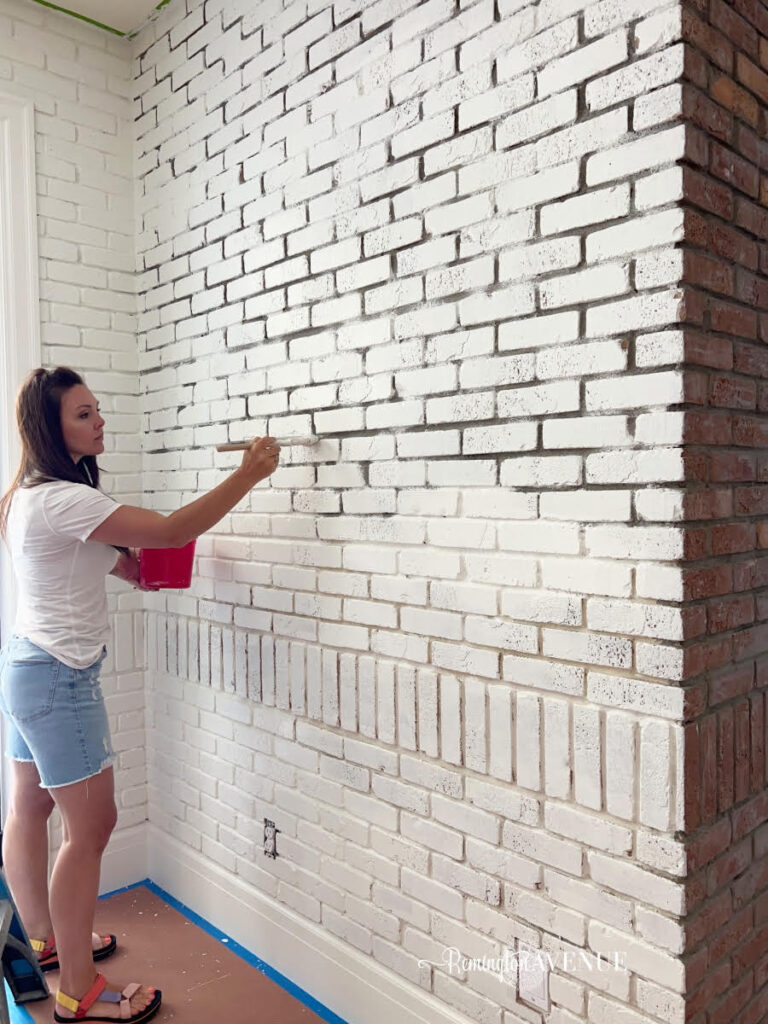
Paint It
I think I really shocked some of you when I brought out the white paint, but there’s always going to be some people who are team leave it and some who are team paint it. So I did what I knew I always wanted to do, and painted it white. My paint color is Benjamin Moore Simply White in semi gloss. I used a semi gloss finish so I can wipe it down easily. This wall will get touched a lot between the basketball hoop and the giant tic tac toe.
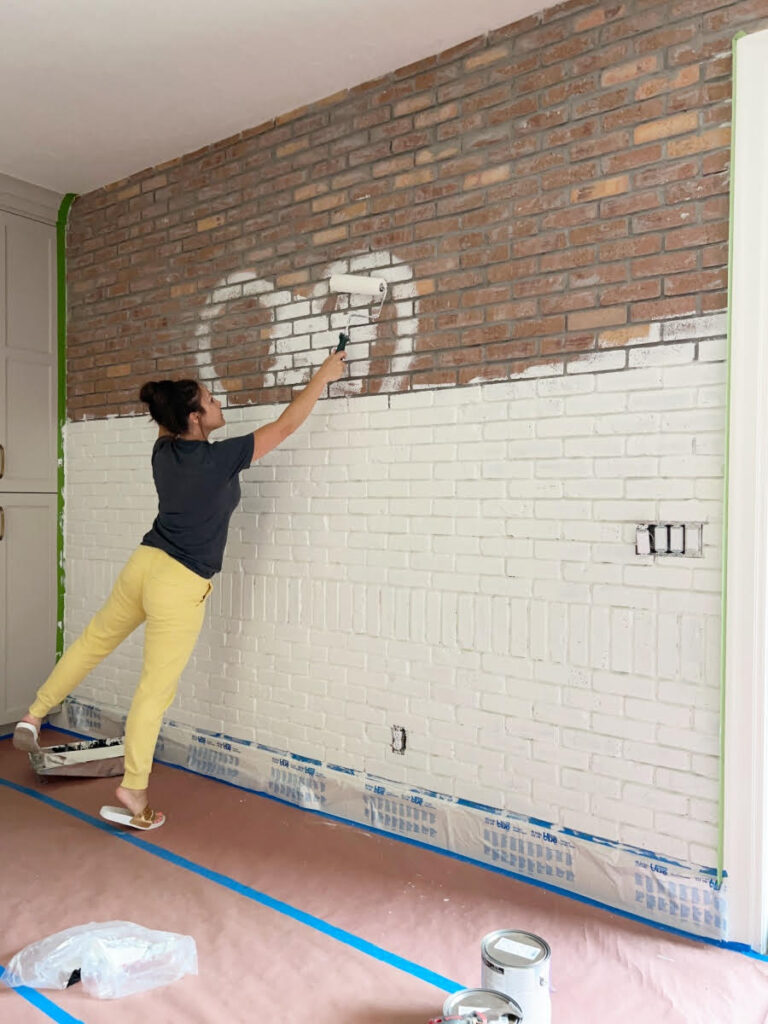
Best methods to paint a brick wall: sprayer or brush and roller. I have a love hate relationship with the sprayer. I love using it, but I hate all of the prep and masking everything off and the fact that I have to keep my kids out of the space for however long it takes me to complete the project. Also, I like that with a brush I could stop and start as I pleased. So I used a brush to paint my grout lines and then went over the bricks with a roller. With the brush, you kind of just have to shove it in there and smush it around to make sure you cover all of the areas. To store your brushes and rollers overnight and keep them fresh, bag them up and put them in the fridge.
The best taping tip I can give you is this: blue tape on the paper on the floor. Green tape where it counts, where you need a clean crisp line.
Once it’s all painted and you lift your tape you’ll get to see the full vision of the space and it’ll be worth all of the work you put in. This wasn’t an easy project and there were times that I needed to call in for help. But the end result was exactly what I envisioned for the space. Hopefully this brick veneer wall tutorial inspires you to take on a brick veneer wall in your home!


 Add to favorites or read later

Oh I wish this had come out last week, just bricked a wall at my son’s new home. Did you have to wait for the wall to cure before painting.
This looks amazing- awesome work Mysha! Thank you for sharing this and ALL of your DIY projects! You have inspired me to take on some projects in the building of my home. Unfortunately, I have to convince a few men in my life that I am, in fact, capable. Fortunately, it’s MY house so although it’s annoying, they’re opinions really don’t matter.