I would bet there are a lot of you who long for a chandelier to top off your master bedroom! Perhaps (like me) the functionality of a fan has been your only set back! I’m actually the one in this couple who is the hot sleeper. In fact, CB (hubs) has nick named me hot box! Needless to say, I just couldn’t give it up! So this is what happens when FASHION meets FUNCTION!
CHANDY-FAN
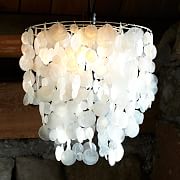
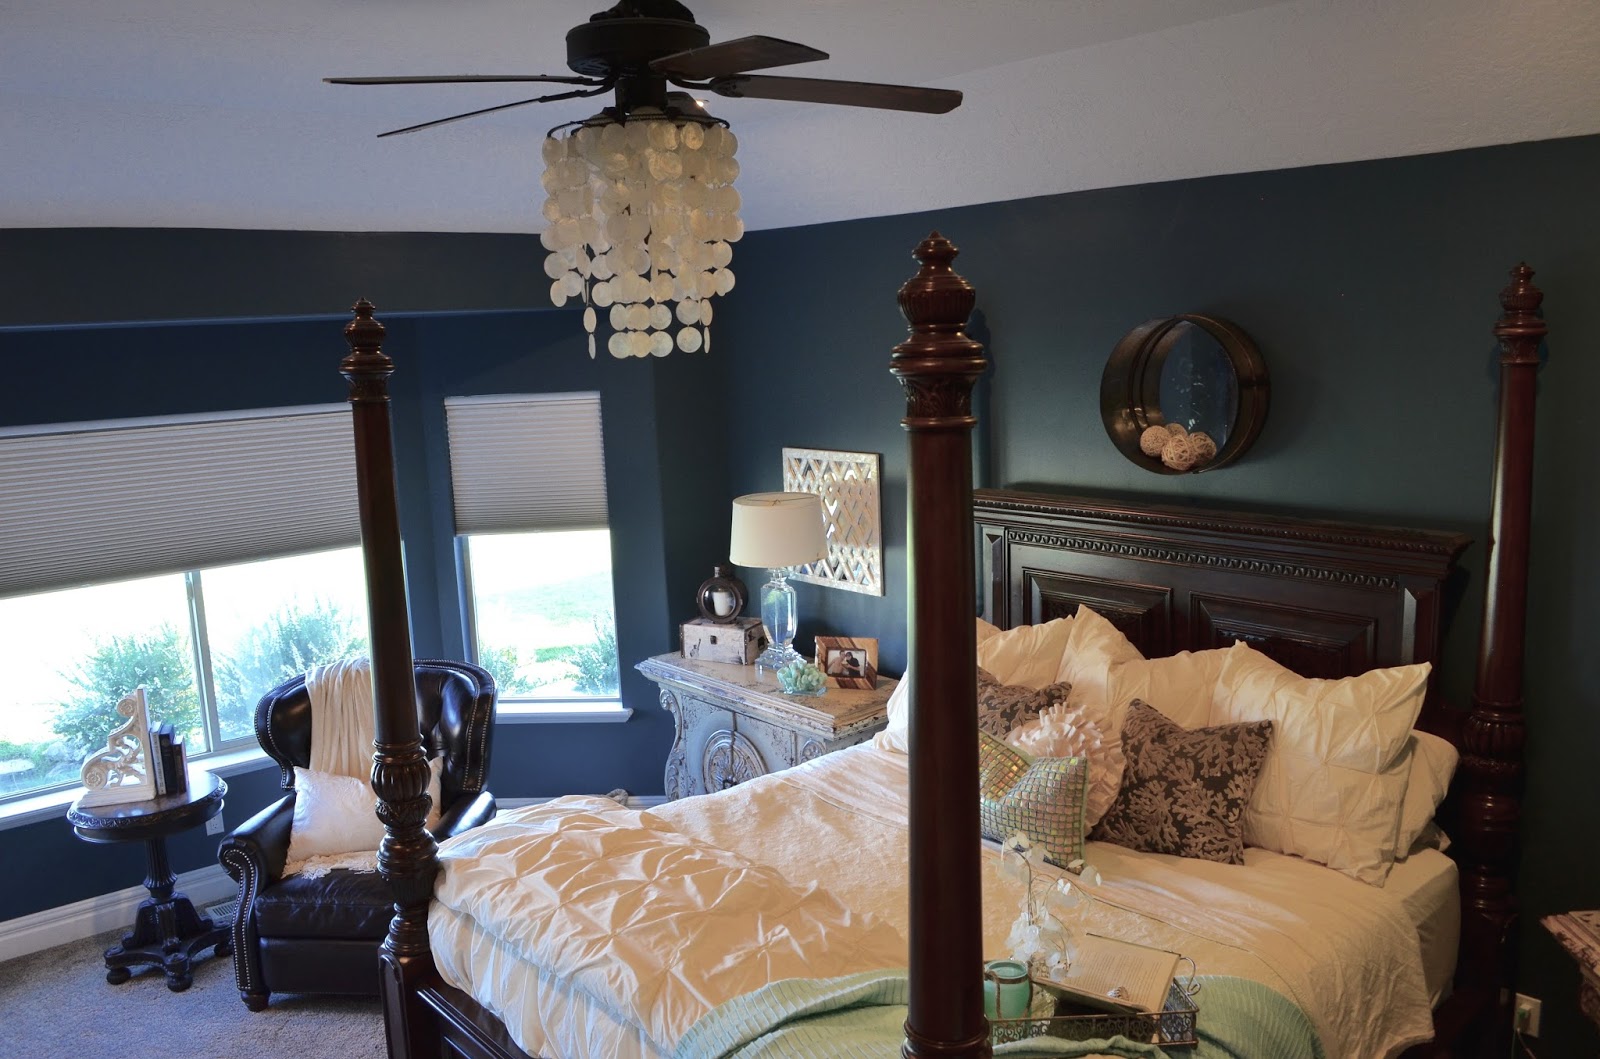
If you’ve seen my master bedroom (link here: http://remingtonavenue.blogspot.com/2015/04/settling-in-master-bedroom-its.html ) you’d know my room is completely neutral with creams and dark wood furniture set off by a deep blue wall color. I’ve had my eye on several Capiz shell chandeliers and light shades. They hang so beautifully, but range in price form $200-$3000! Even this light shade I found on West Elm was more than I wanted to pay for something I would have to rig!
So I searched for a Capiz light shade or wind chime on line and ended up with this one. I found it on Amazon for 35.99 sold through a shop called Shop_Wild_Things. Budget friendly whoop whoop! The link is listed below! http://www.shopwildthings.com/
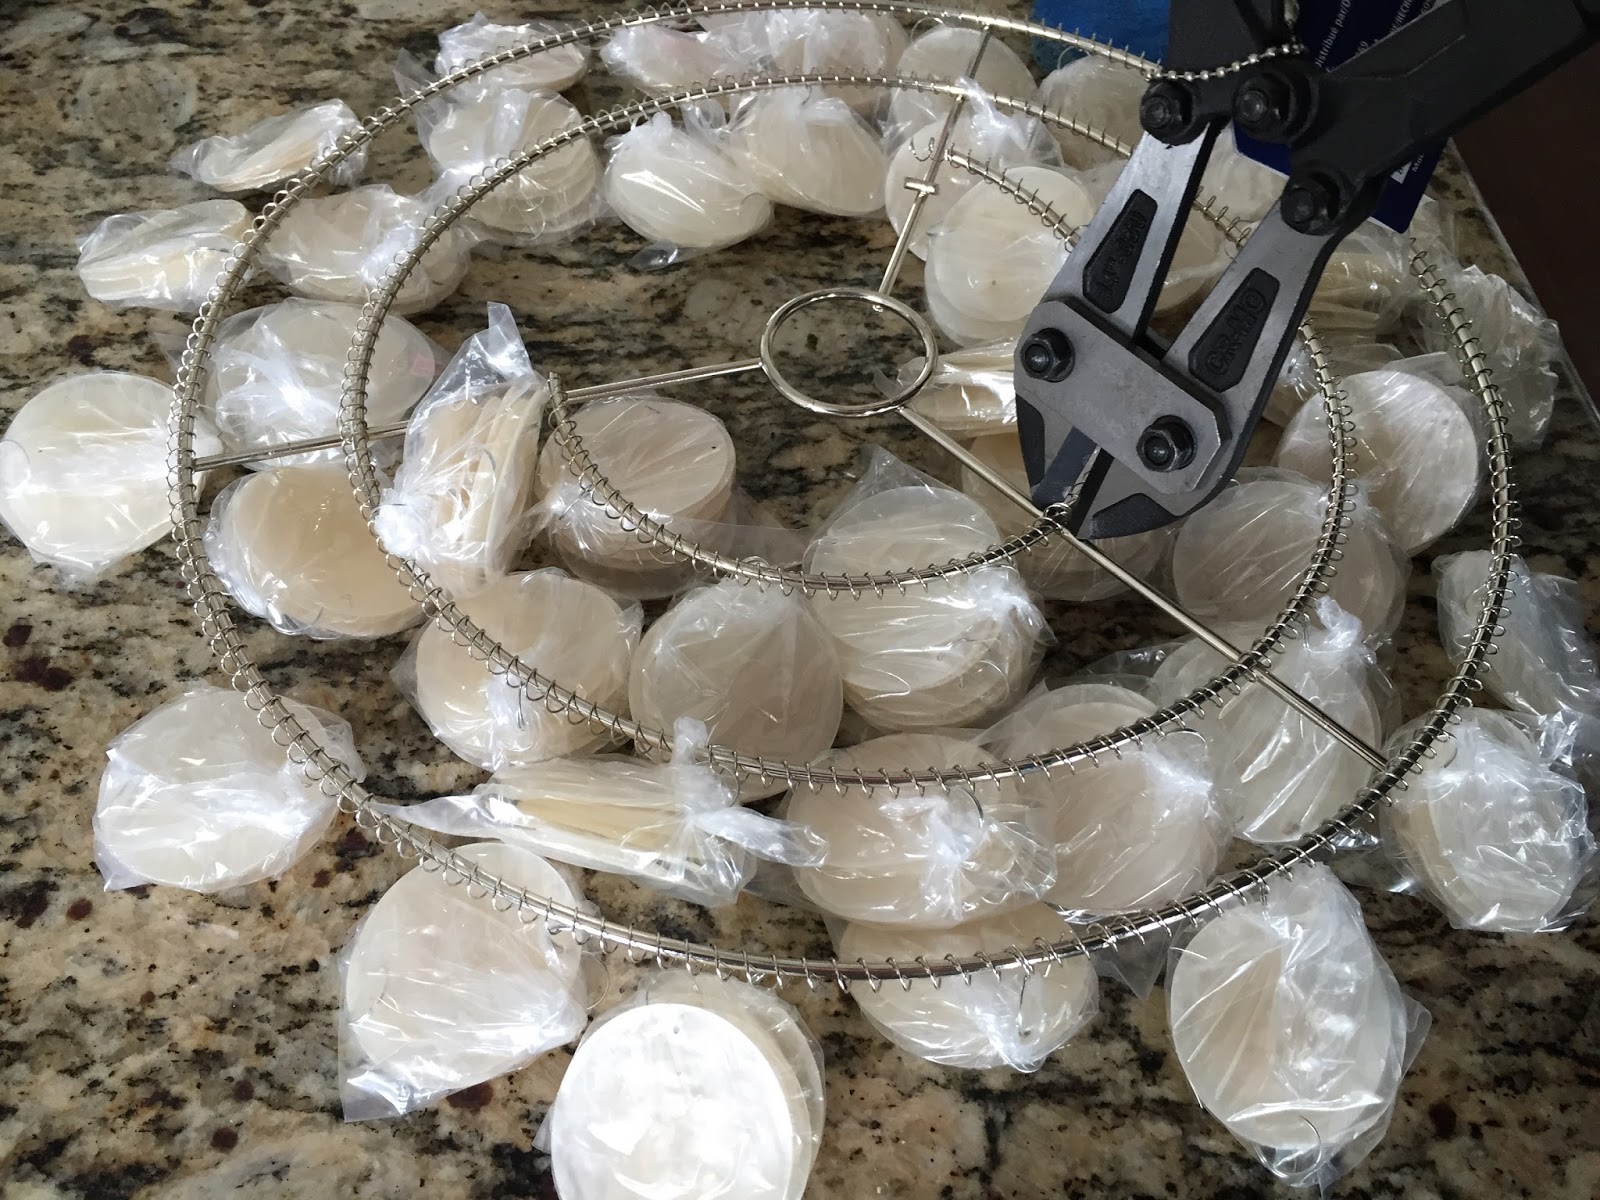
First thing I had to do was remove the inner ring on the capiz shade so that it could fit over the existing light shades. Biting and pulling didn’t work so I resorted to wire cutters and viola!
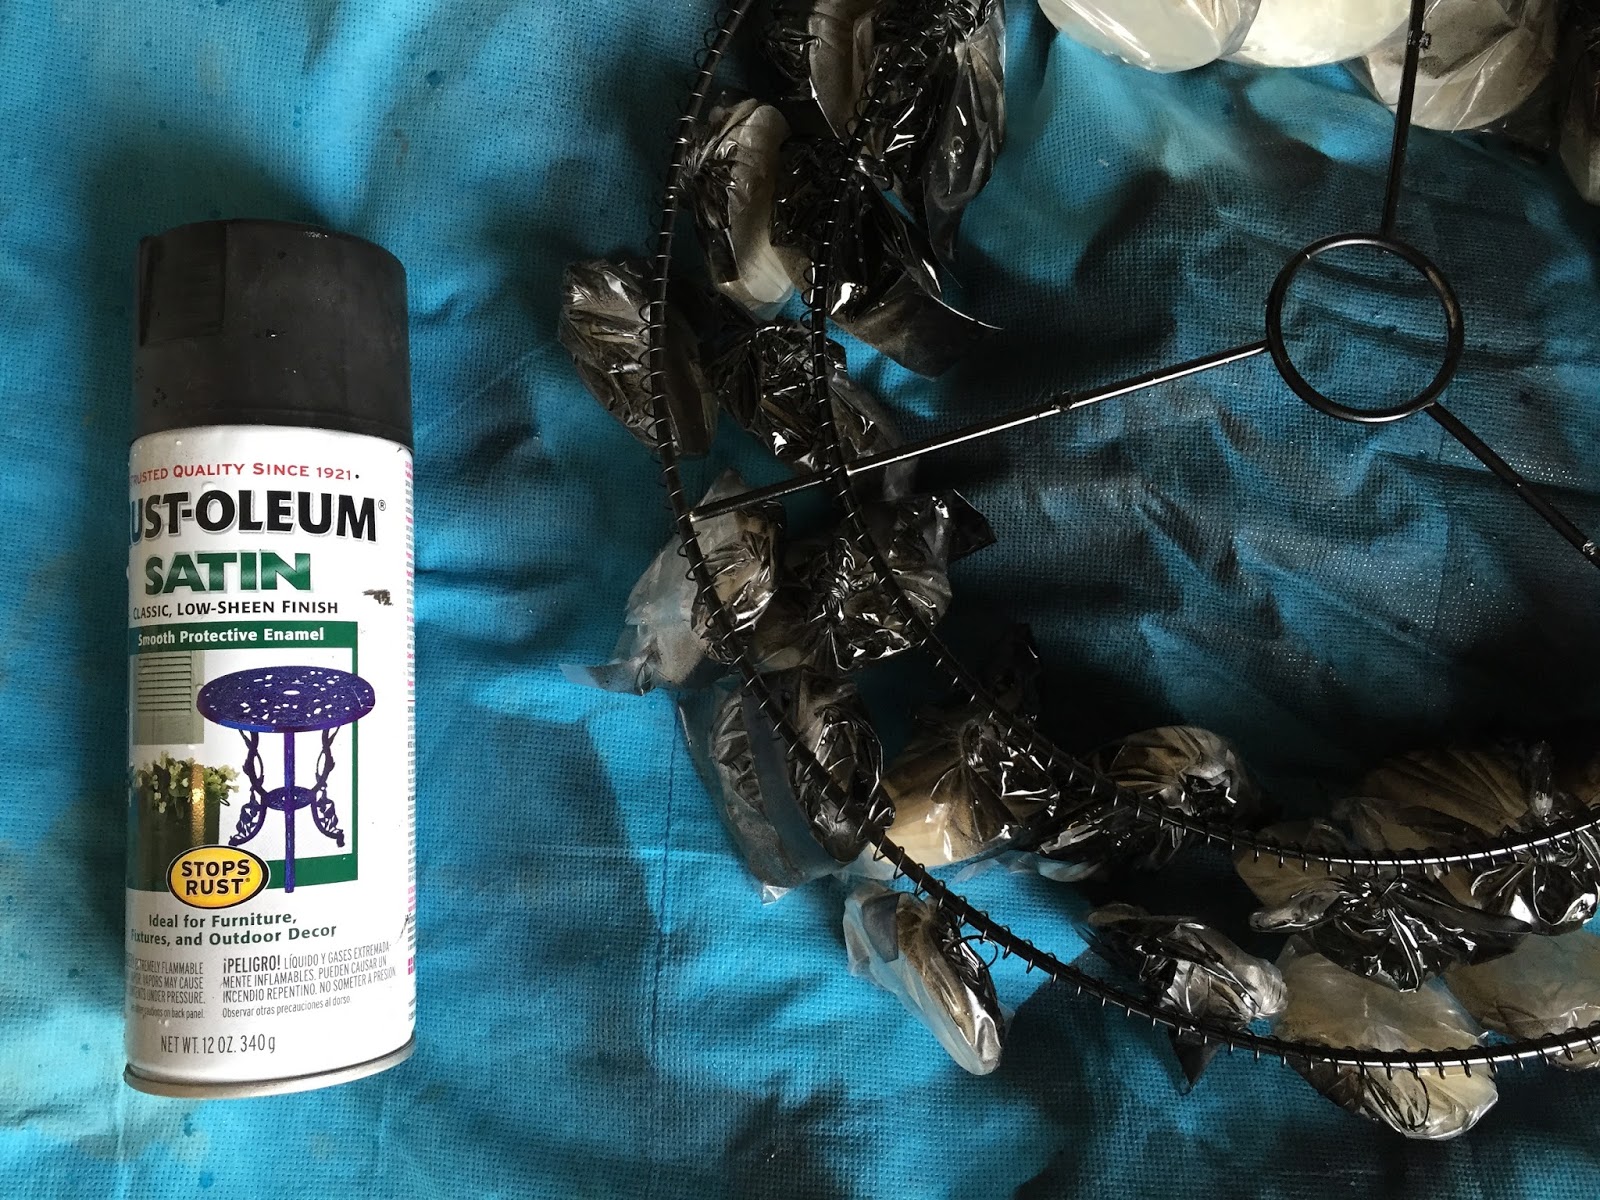
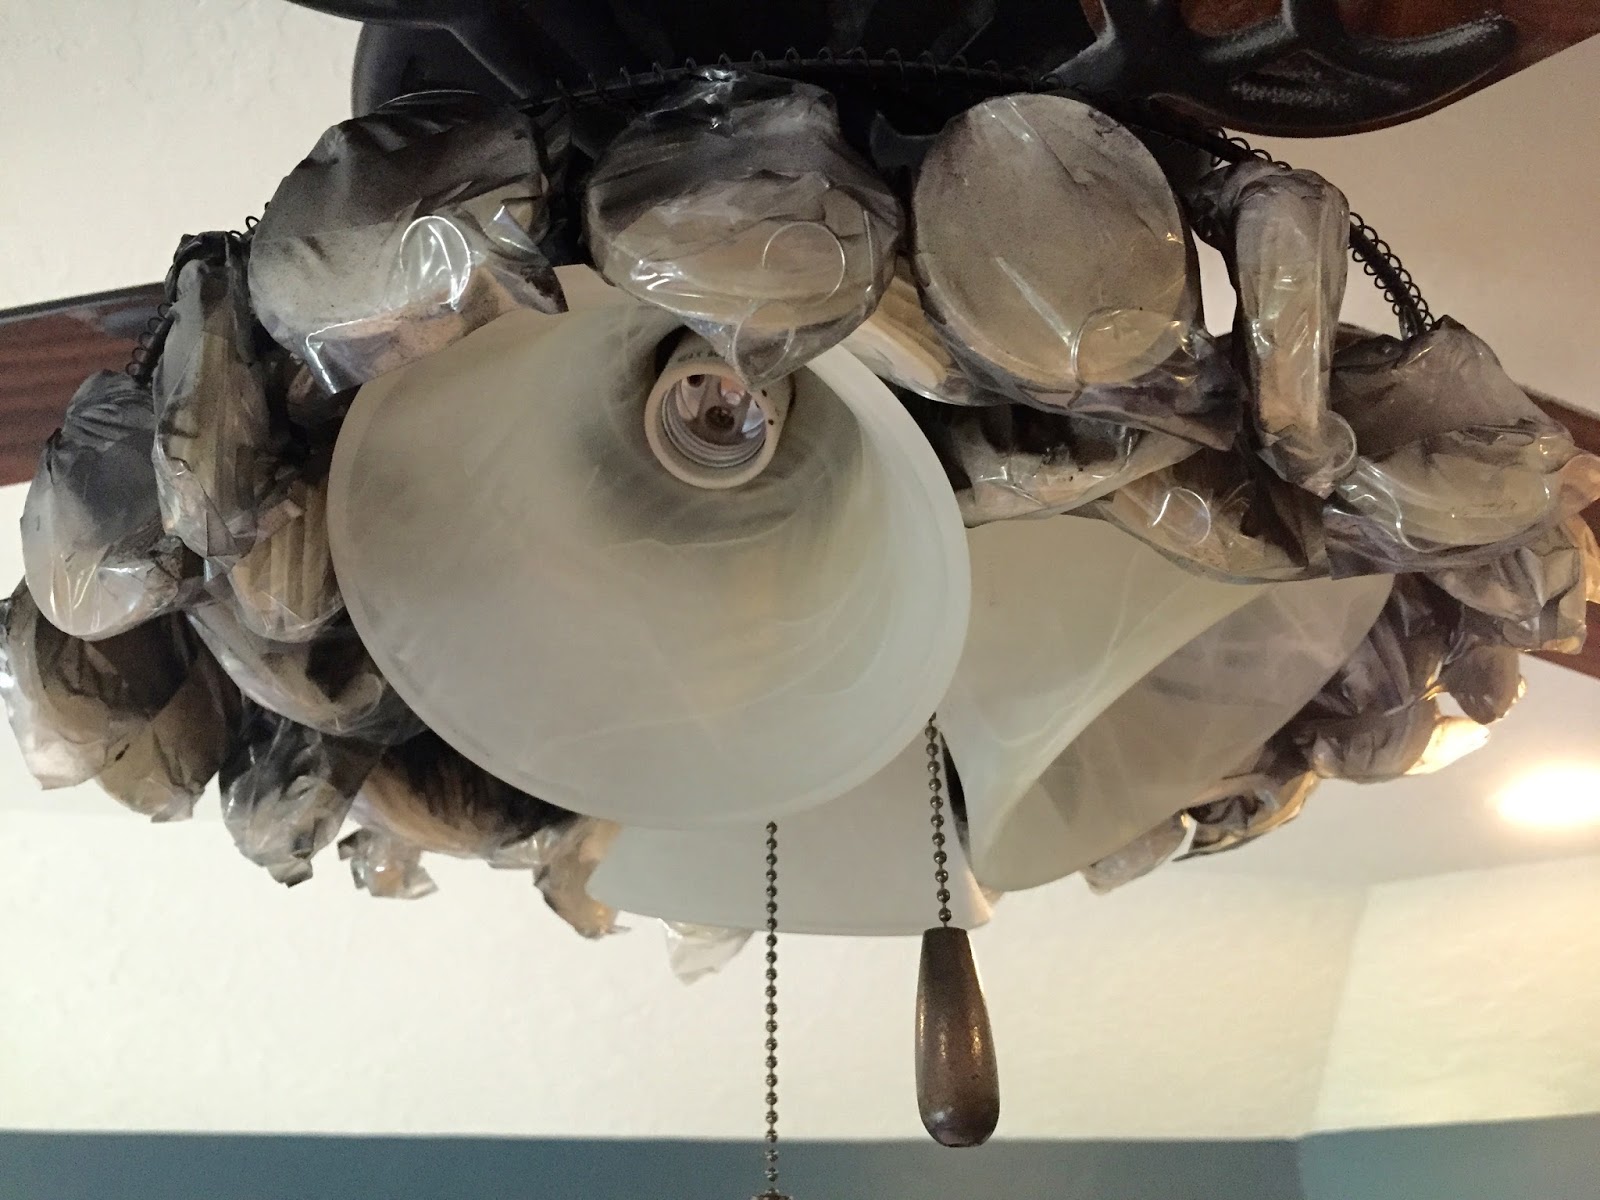
Second, I spray painted the chrome rings with a dull black paint. Make sure you leave on the protective plastic it was shipped in! Let dry over night. I chose this color to match the existing metal on my ceiling fan (plus I already had it in my collection). Its Rust-Oleum satin in low sheen purchased from Lowes Home Improvement. http://www.lowes.com/
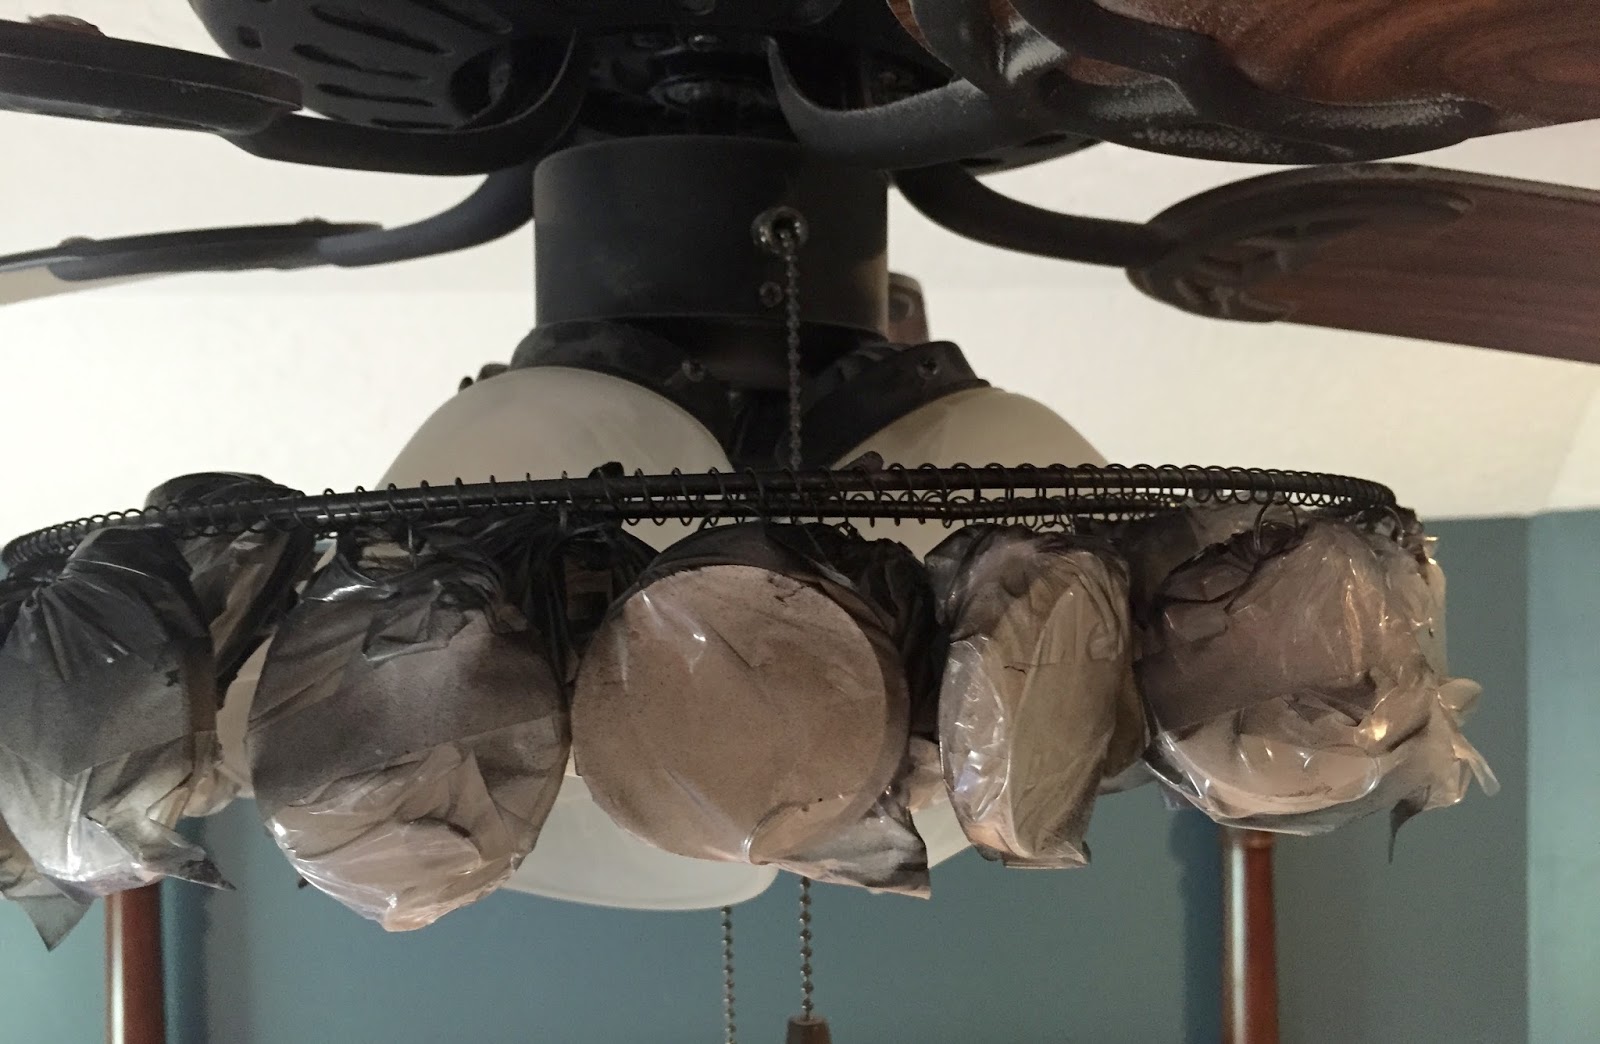
Third, I removed the glass shades and light bulbs form my ceiling fan. Grab your newly painted light shade and hold up to the fan. Mine had 3 lights so it fit perfectly between the 3 spaces between the bars. I screwed the first glass light shade back in while holding the wire shade in the other hand. Once you get one in, it will hold the weight of the capiz shade, making it easier to secure the other 2 back in place. If your wondering why I still used the glass shades, the answer is TO HOLD UP THE CAPIZ SHADE. This way I didn’t have to use any wires that could be seen.
Once all the shades were secured in place, I removed all the protective plastic wrap and let the capiz shells hang down. I then took the leftover shell strands that were attached to the wire ring I removed earlier and reattached 3 of them to the small center ring in the middle of the light shades. I attached the remainder on all 3 of the wire bars that divided each glass light shade. Finally, I screwed the light bulbs back in and BEHOLD… my new CHANDY-FAN!
Love it!!!! So basically the only thing holding the Capiz shade are the glass light shades?
Hey girl! I love this idea, and actually ordered this same light shade after reading your post about it! Does your light shade rattle when you have the fan turned on? Mine sure does, and I was wondering if you found a solution to yours. I’m not sure if my hubs will approve! It looks awesome though, and hoping to fix the prob before he gets home from work, lol. Ugh!
Hi Lauren, mine does not rattle…HMMM! Im not much help here so sorry


 Add to favorites or read later


Love it!!!! So basically the only thing holding the Capiz shade are the glass light shades?
Hey girl! I love this idea, and actually ordered this same light shade after reading your post about it! Does your light shade rattle when you have the fan turned on? Mine sure does, and I was wondering if you found a solution to yours. I’m not sure if my hubs will approve! It looks awesome though, and hoping to fix the prob before he gets home from work, lol. Ugh!
Hi Lauren, mine does not rattle…HMMM! Im not much help here so sorry