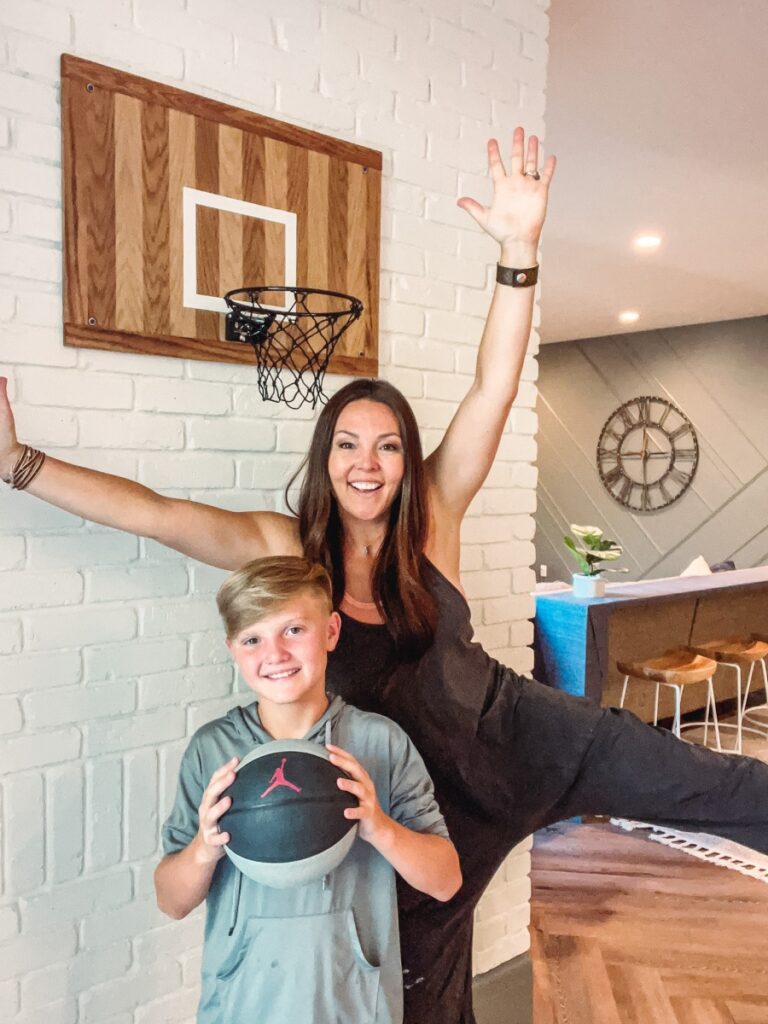
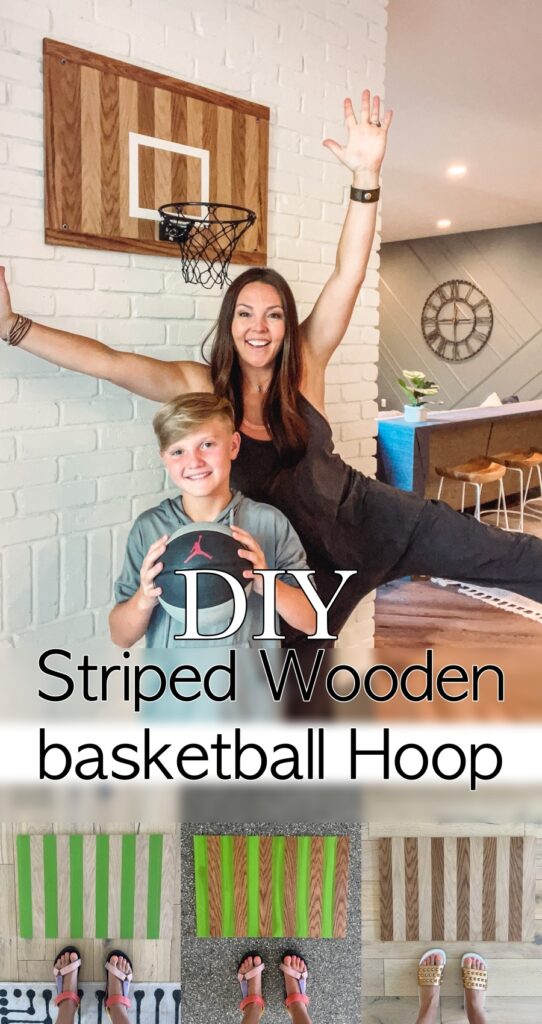
DIY Wooden Mini Basketball Hoop
Currently I am in the midst of my basement transformation! I am working on turning it into a fun space for the kids to play in year-round, but especially during the winter when it’s freezing outside. So part of my idea was to have a basketball hoop area. The thing is, I was on the hunt for a cute basketball hoop that would coordinate with my decor, but there was literally nothing out there even remotely cute. So I set out to create my own mini basketball hoop with some designer flair! The end result is a DIY wooden mini basketball hoop that is both functional and decorative!
DIY Wooden mini basketball hoop – designer style.
Supplies:
White oak plywood
Early American stain
Frog Tape
Polycrylic clear coat
White paint
Mini basketball hoop kit
Steps:
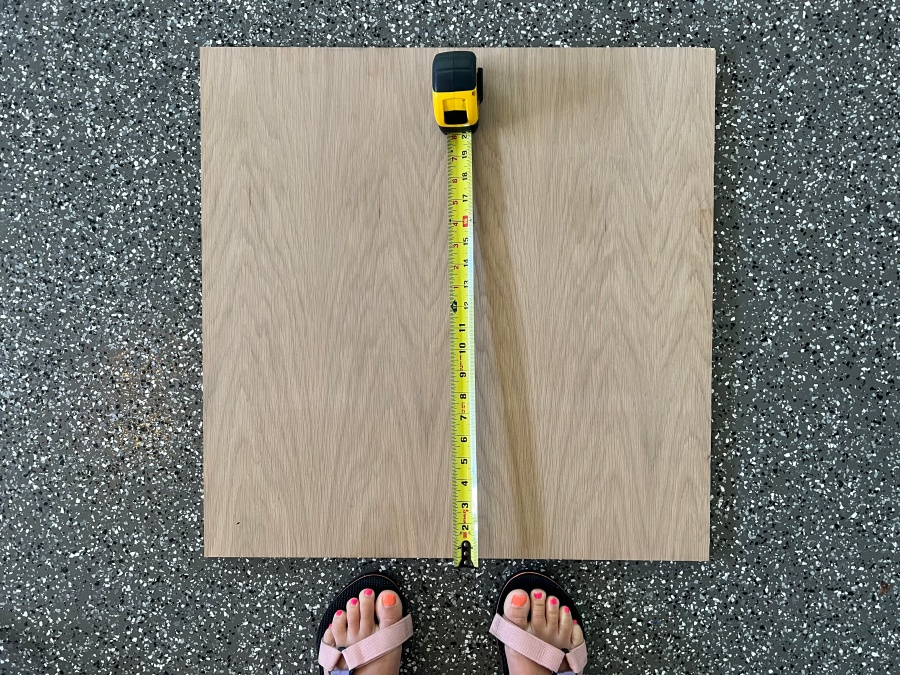
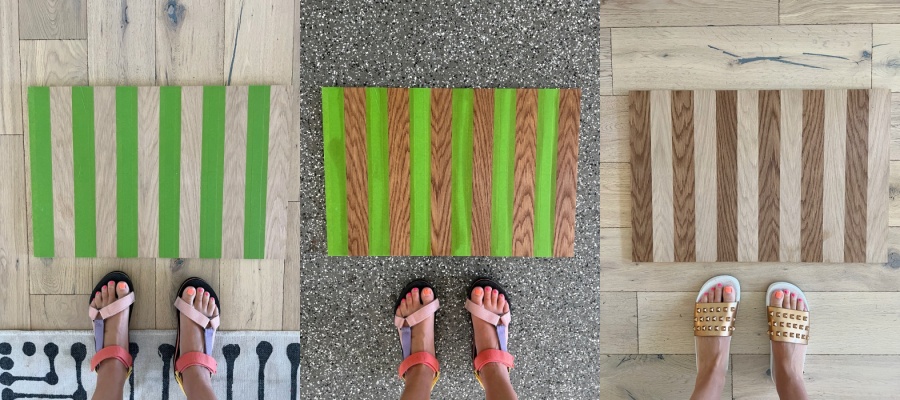
Step 1: I started with the white oak plywood and ripped it down to 16″x24.”
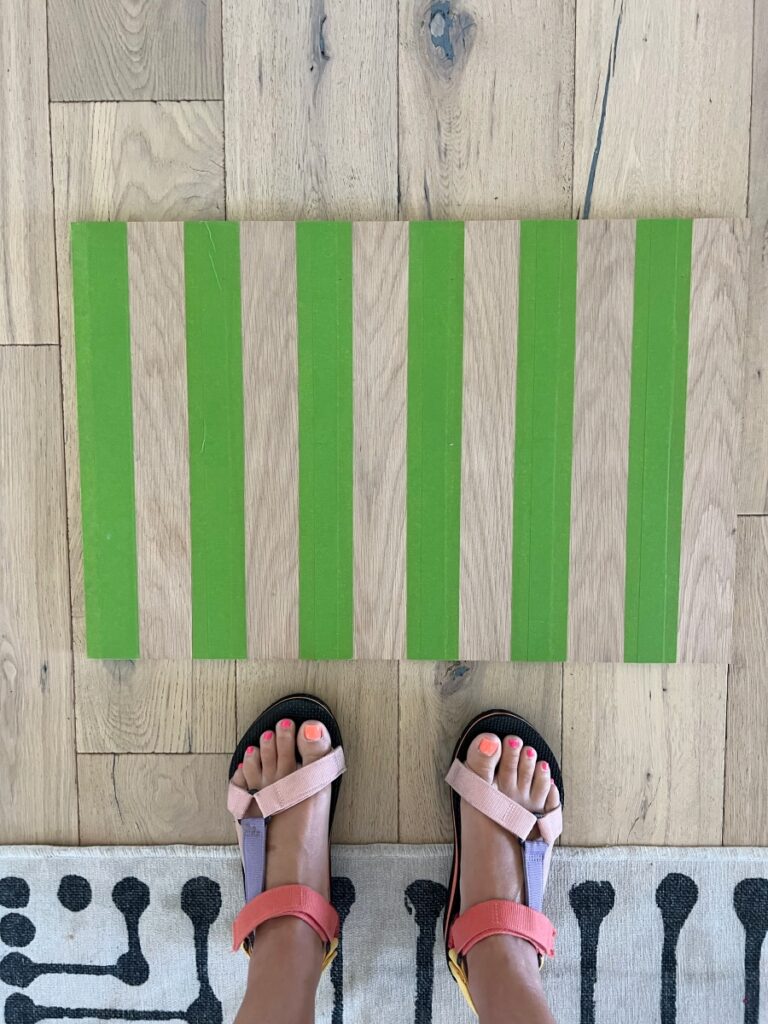
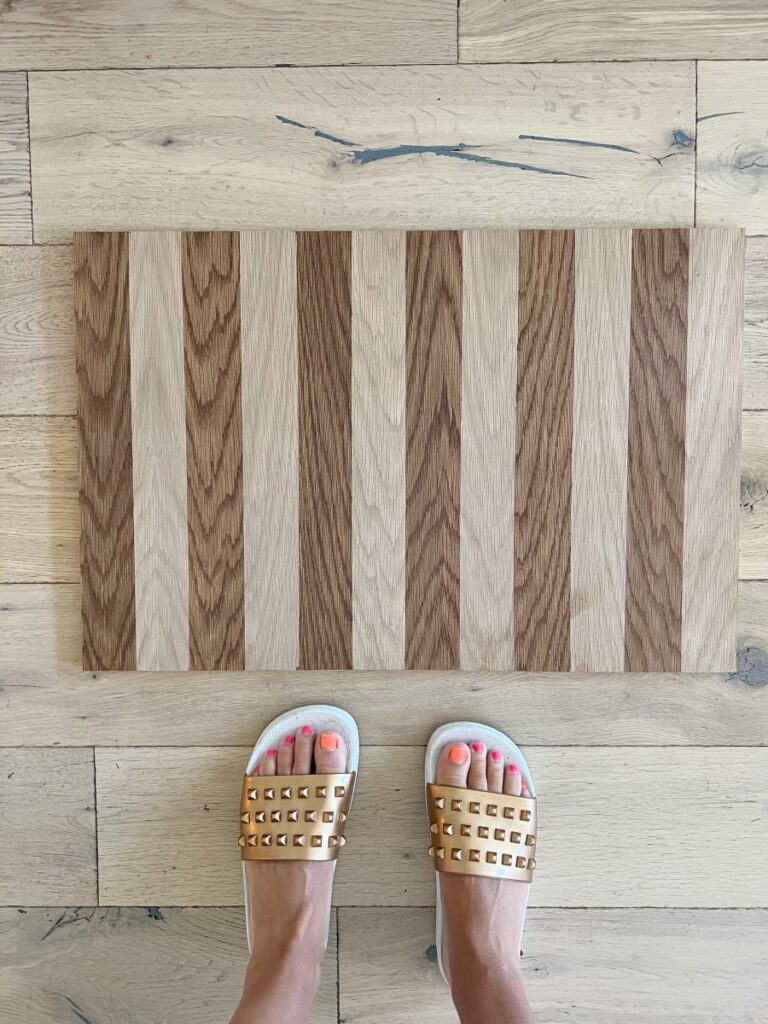
Step 2: I used Frog Tape to create a stripe pattern and Early American stain to match the floors. Don’t worry, there was no bleeding from the stain under the tape!
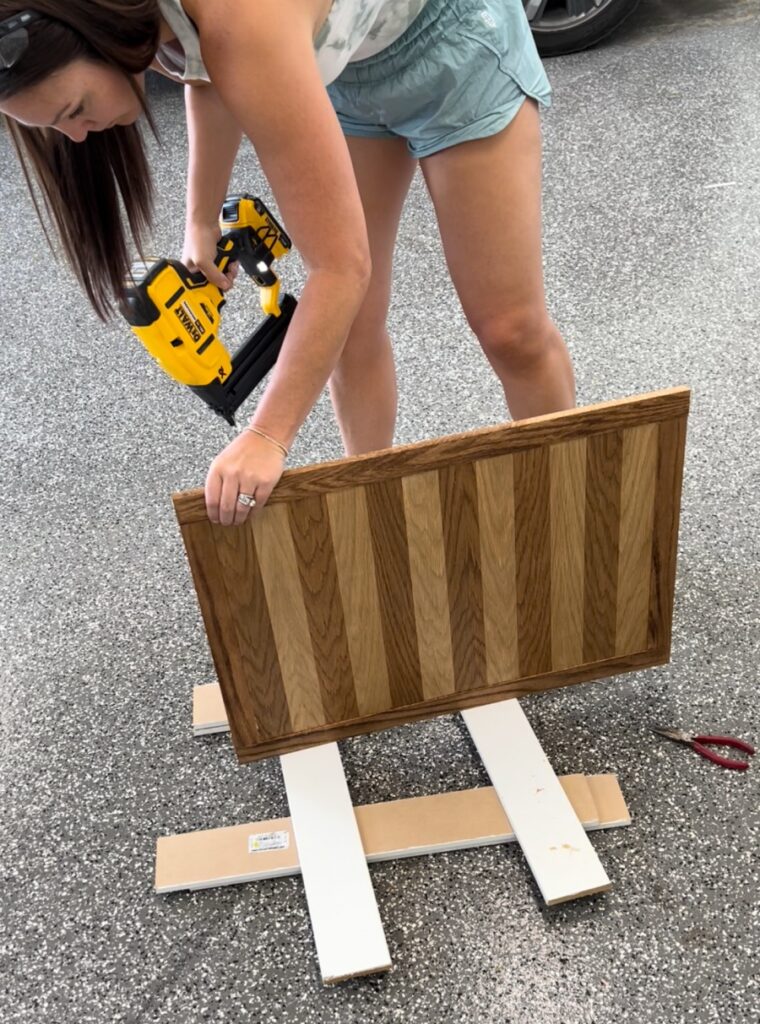
Step 3: Frame it out in 1.5″ pieces of oak stained to match. I attached the simple butt joint frame using my nail gun and wood glue.
Step 4: I applied two coats of clear Polyacrylic.

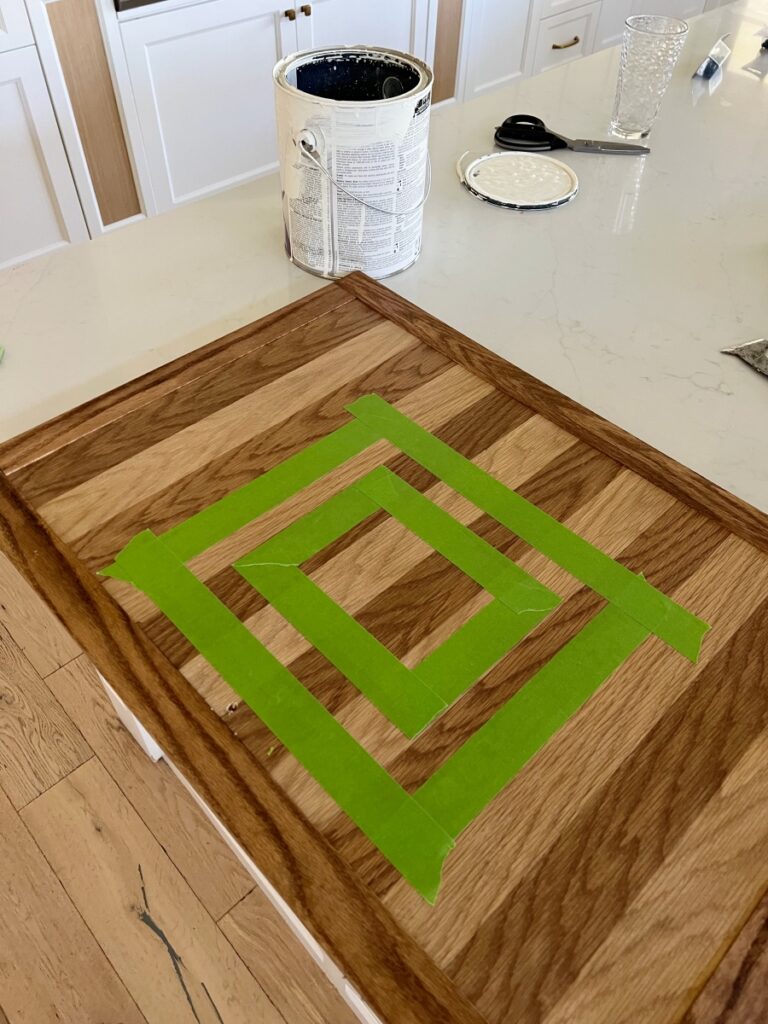
Step 5: Paint the white square on the backboard. Mine is 10.5″x9.5″ and 1″ wide.
Step 6: Attach the hoop! I couldn’t find a black mini basketball hoop sold separately, so I just purchased this kit and used the balls and hoop. It worked great!
And that’s it! Now you have a DIY wooden mini basketball hoop with designer flair, that seamlessly flows into your existing decor. Watch me put this hoop together in my Instagram reel below!
The basement transformation is coming along nicely, so stay tuned for the full reveal!

 Add to favorites or read later