Easy $30 Board and Batten

Looking for a great way to add architectural interest to a boring wall? Look no further…
Board and Batten is a super easy and inexpensive way to achieve that goal. In Fact, this entire project was done for $30!!!
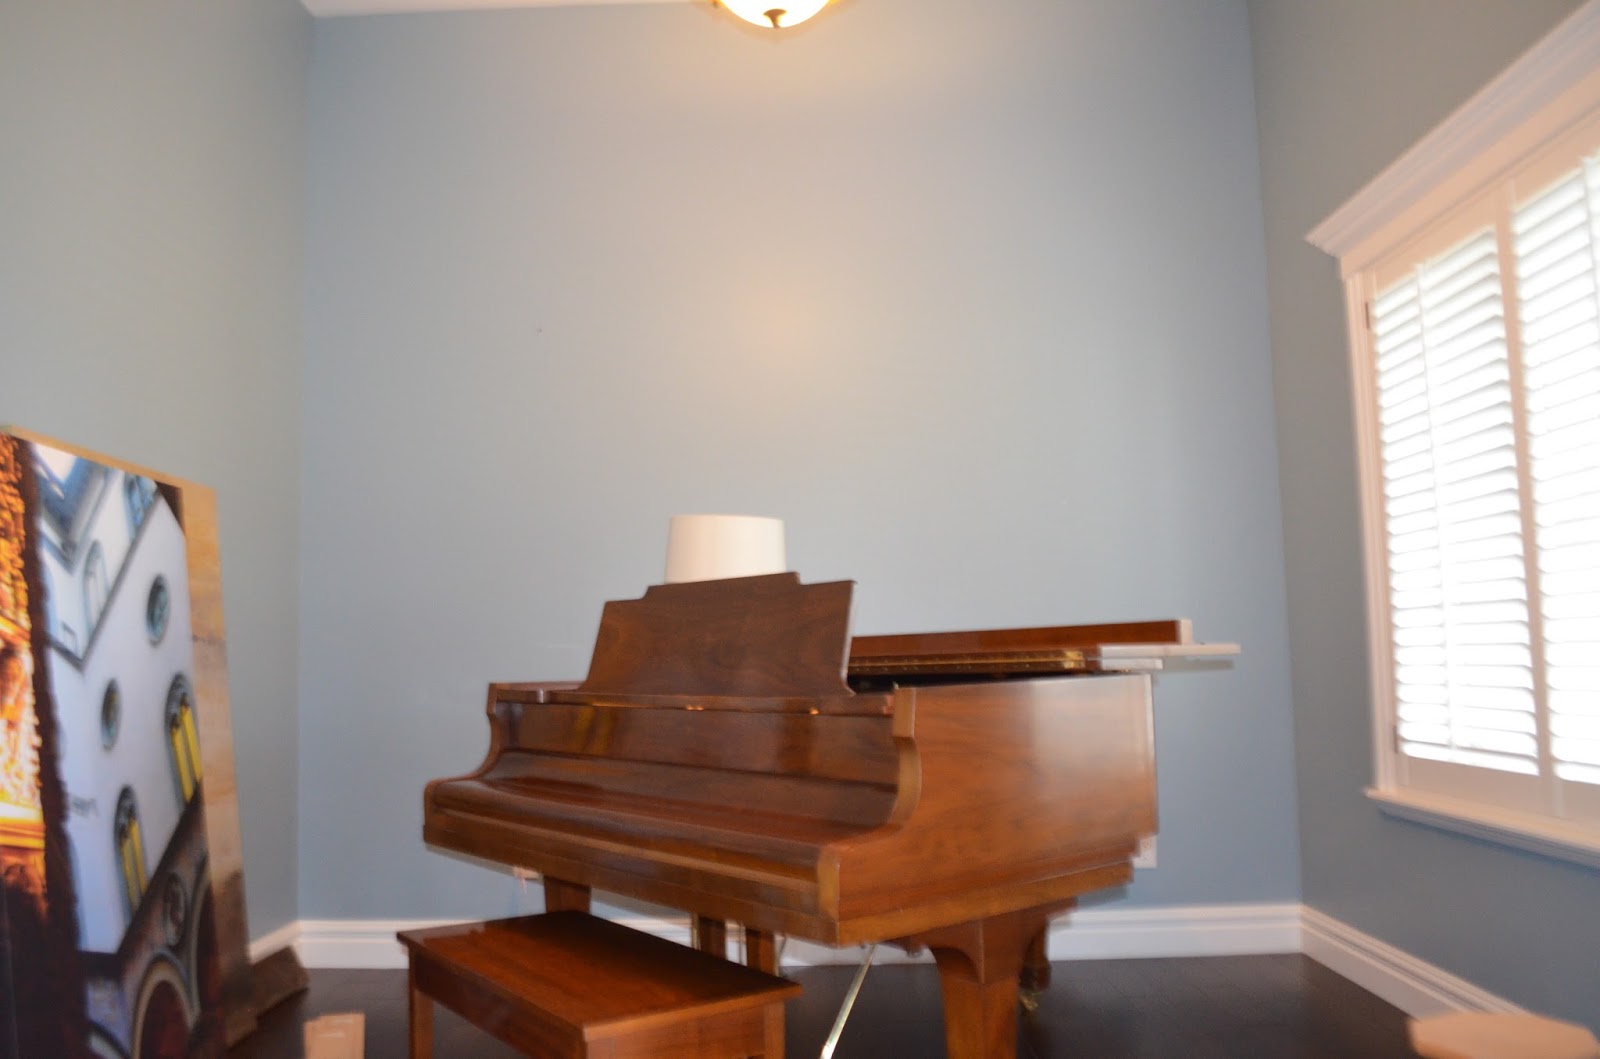
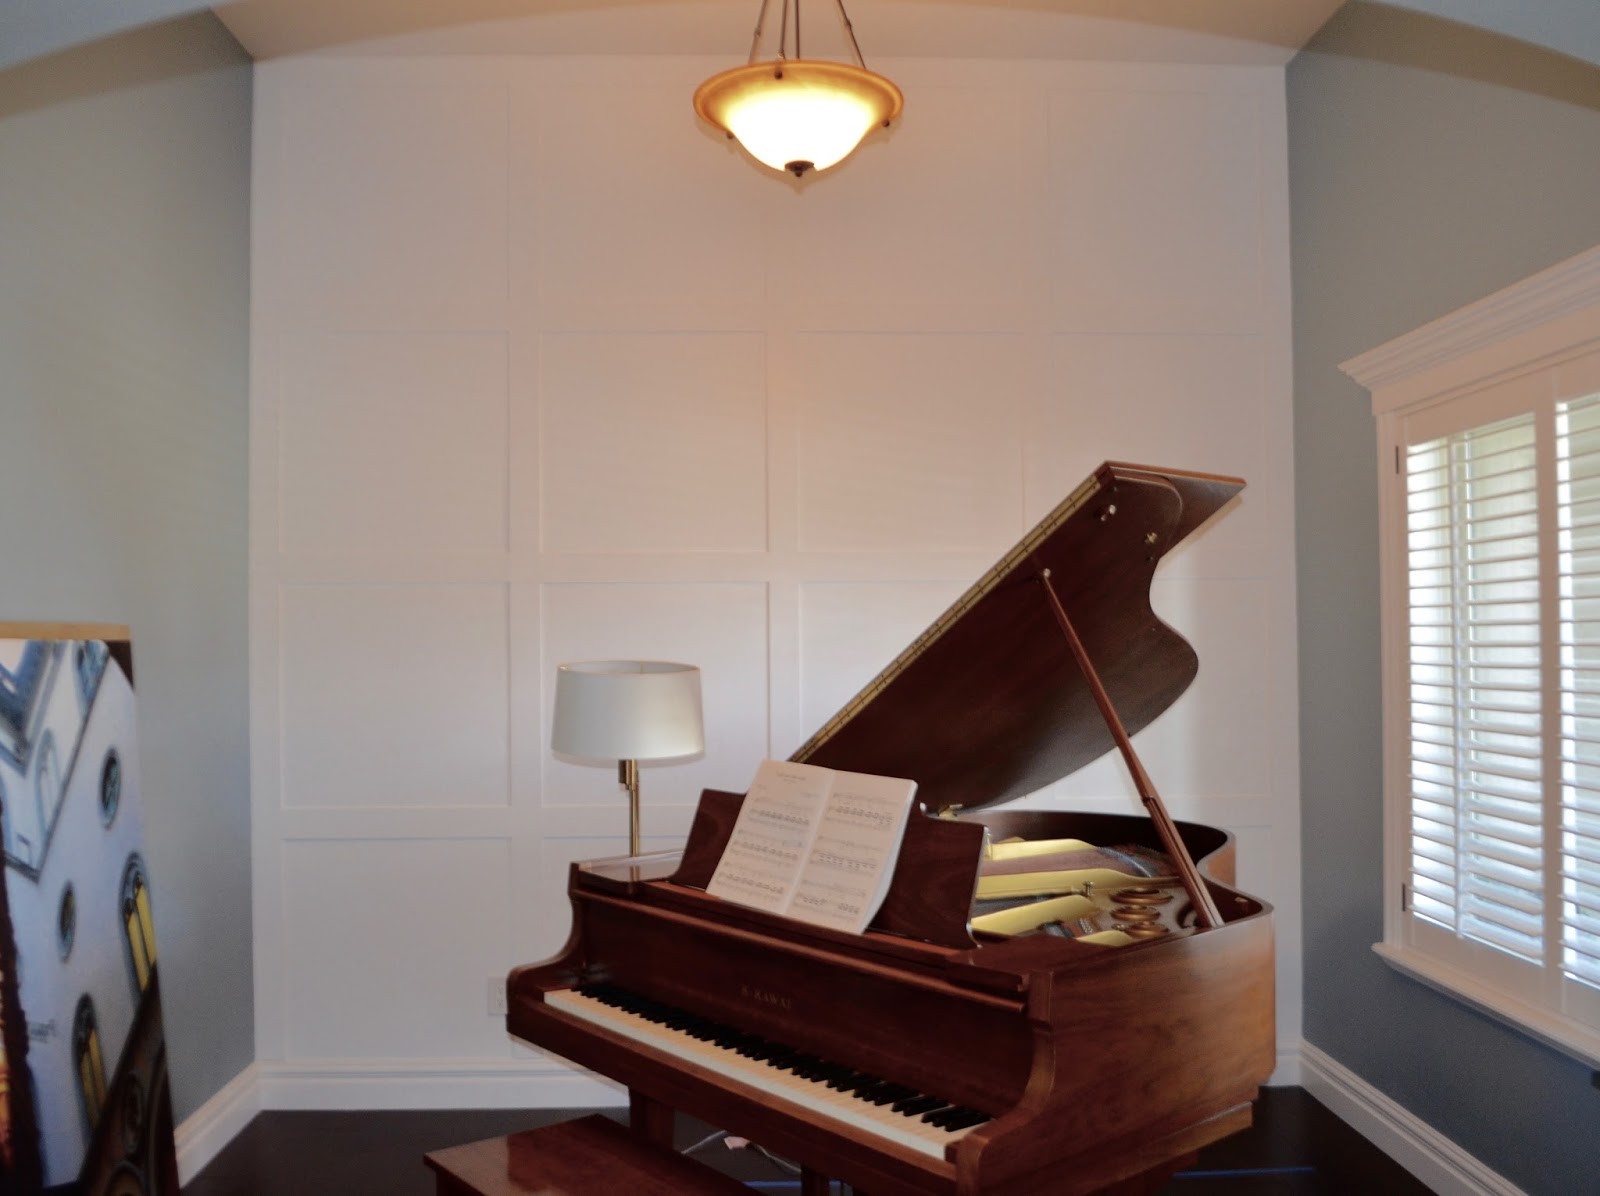
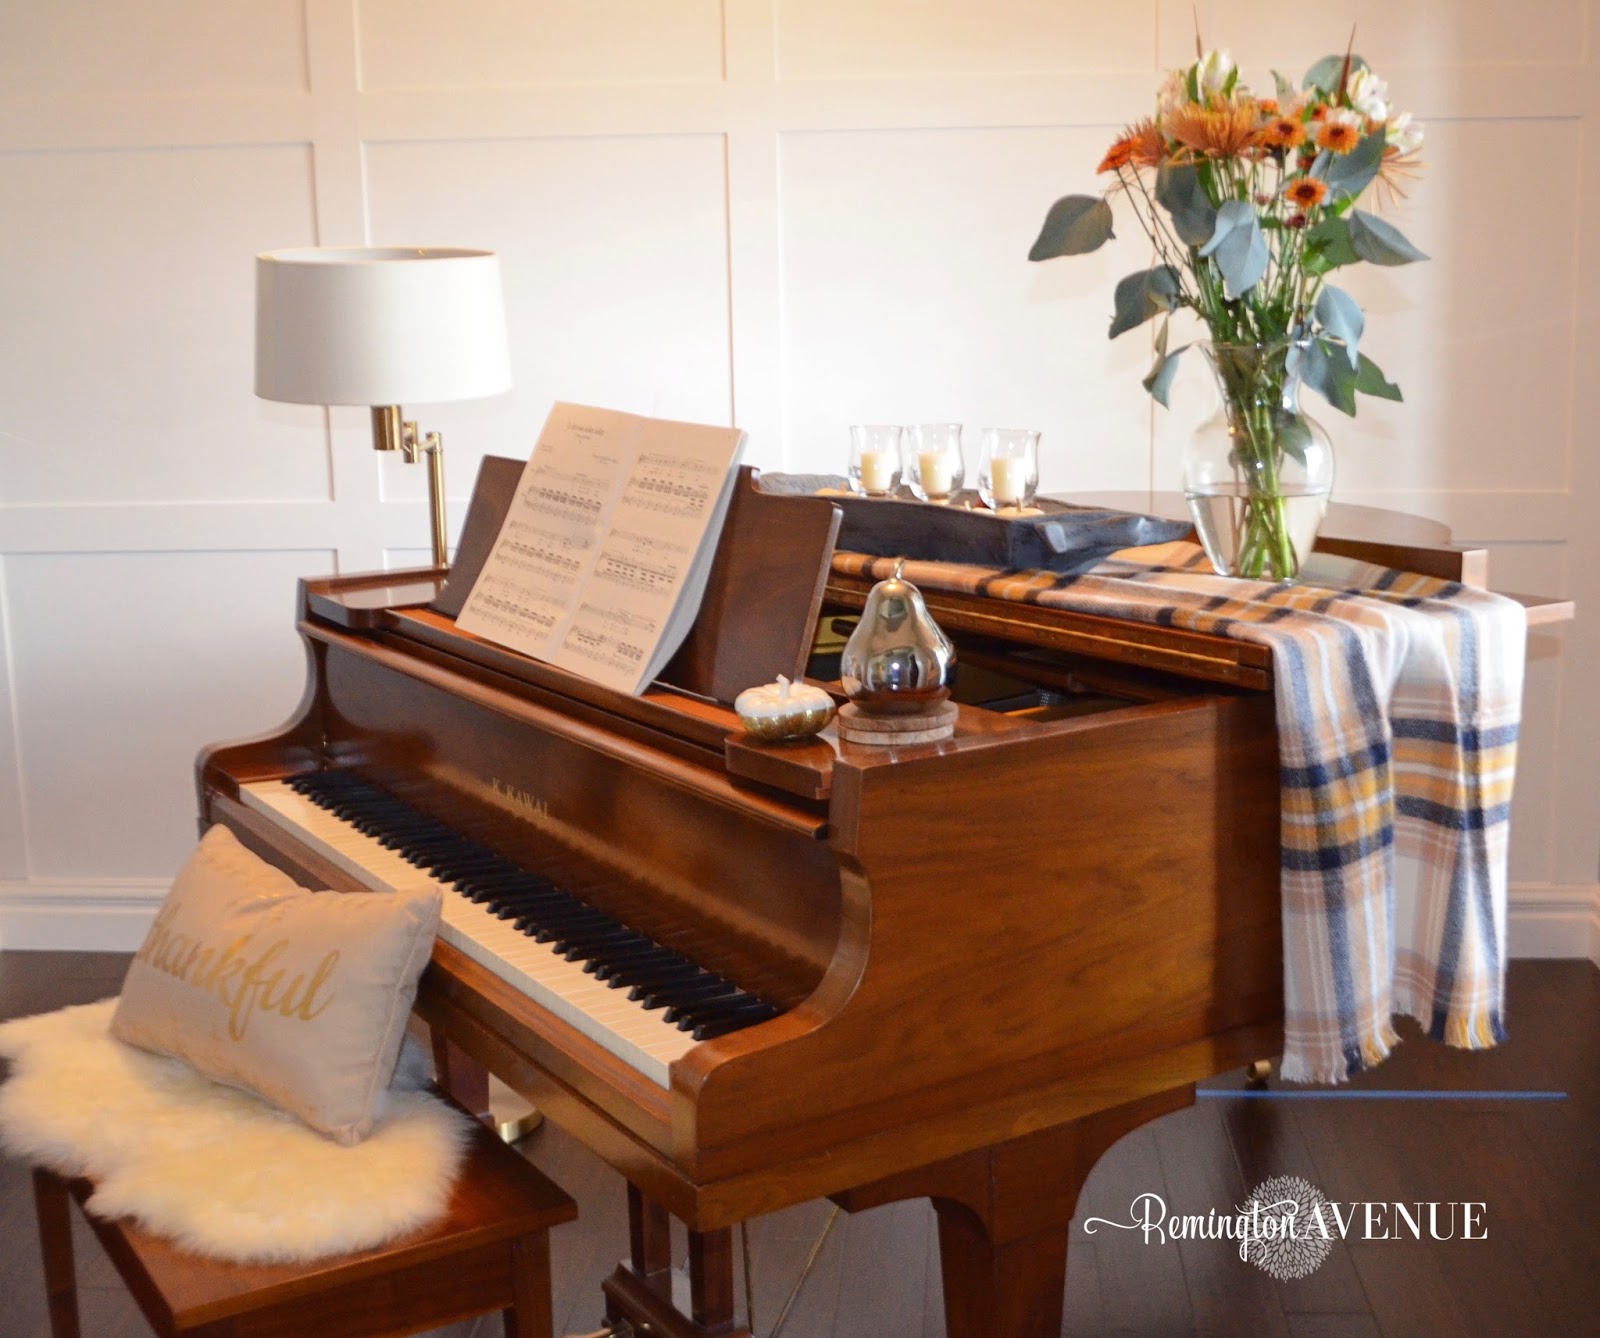
My front room needed some love. It’s on the small side (10’x11′), and does not get a lot of light. Adding this white painted moulding from floor to ceiling really brightens up the space making it appear larger than reality!
Here’s how I did it: Tutorial
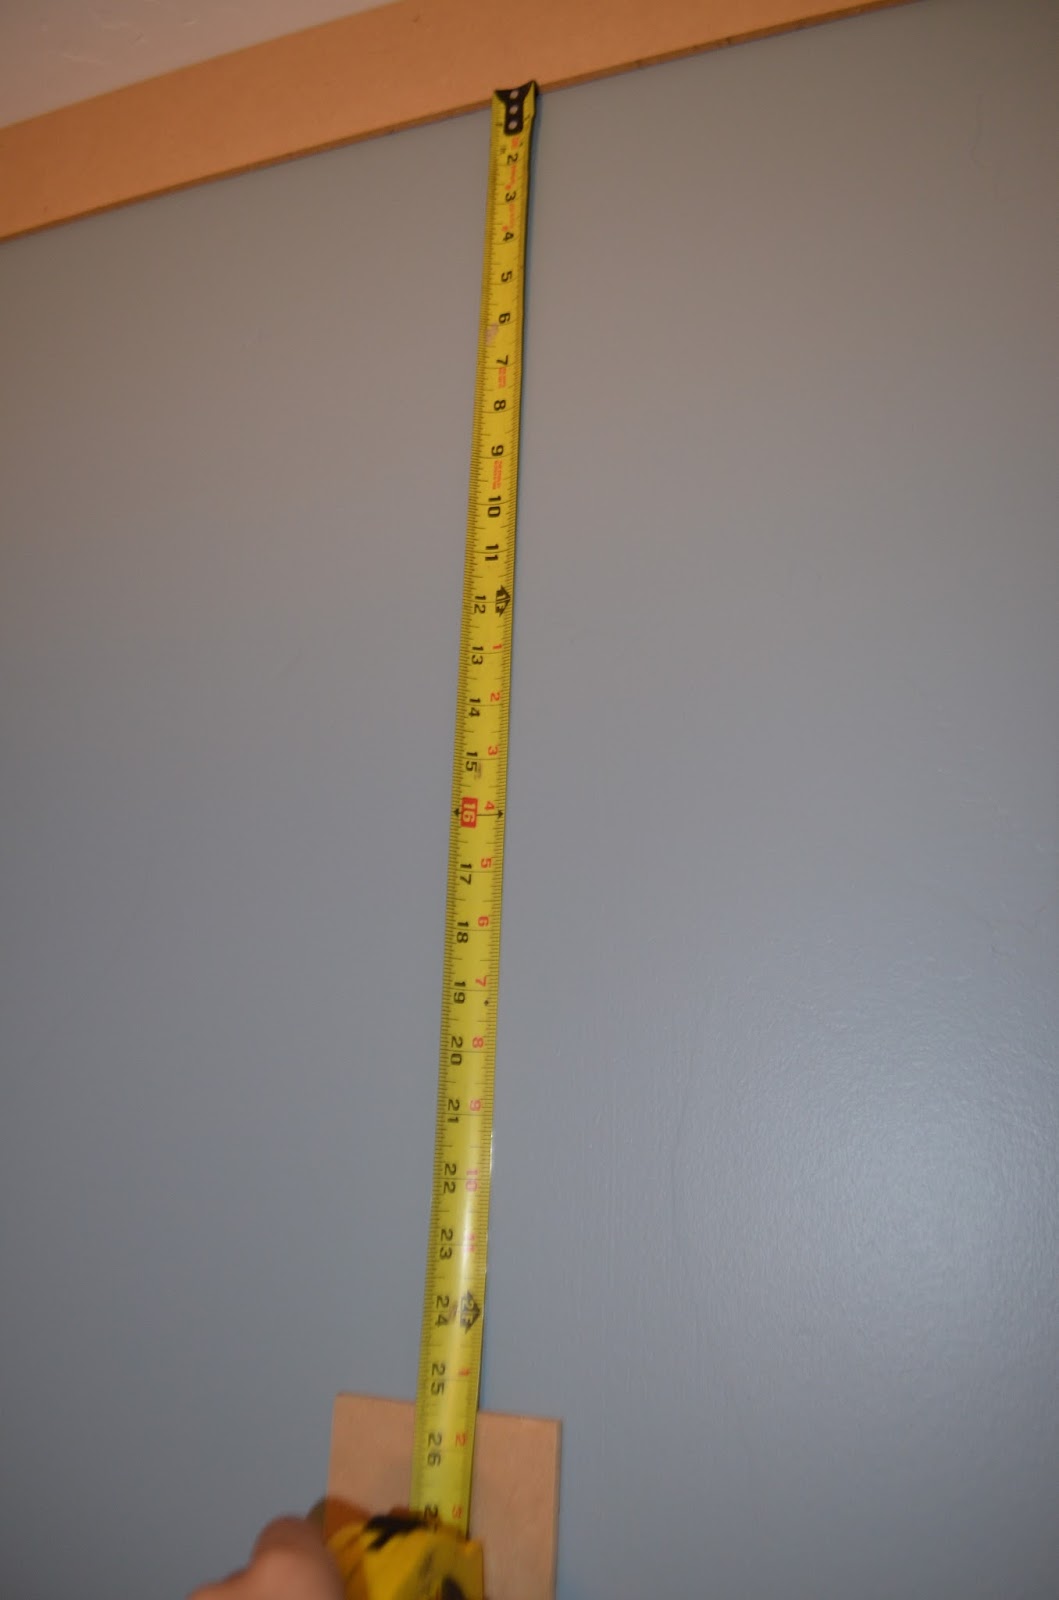
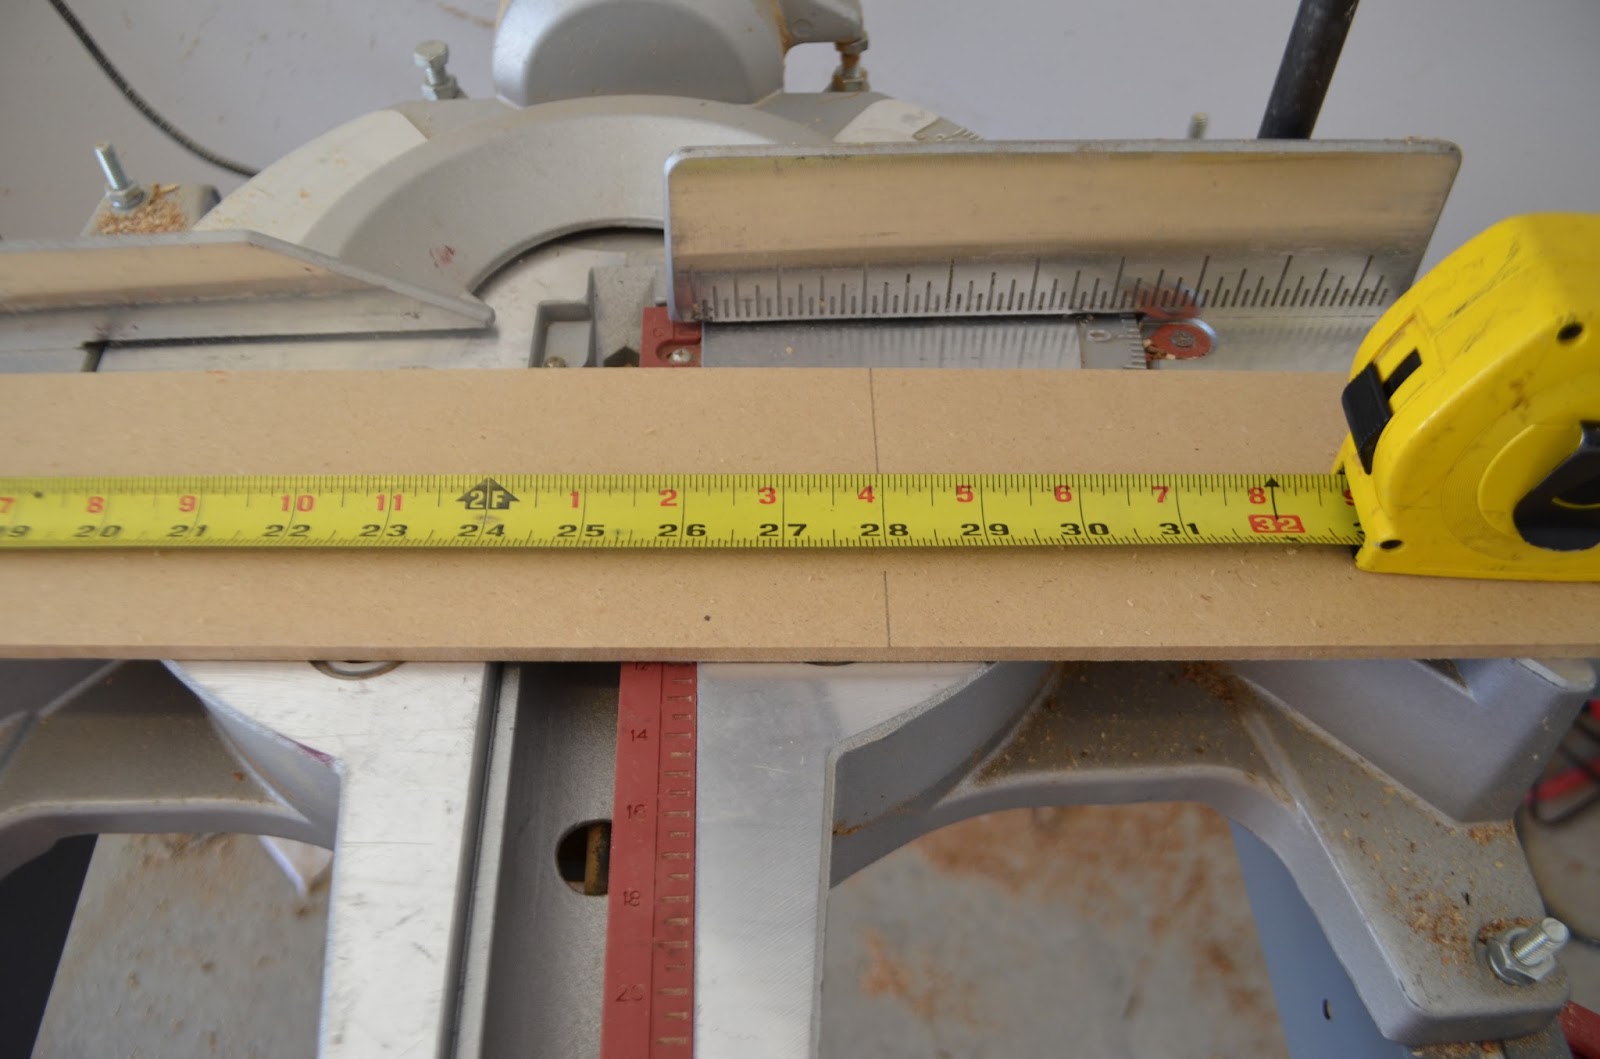
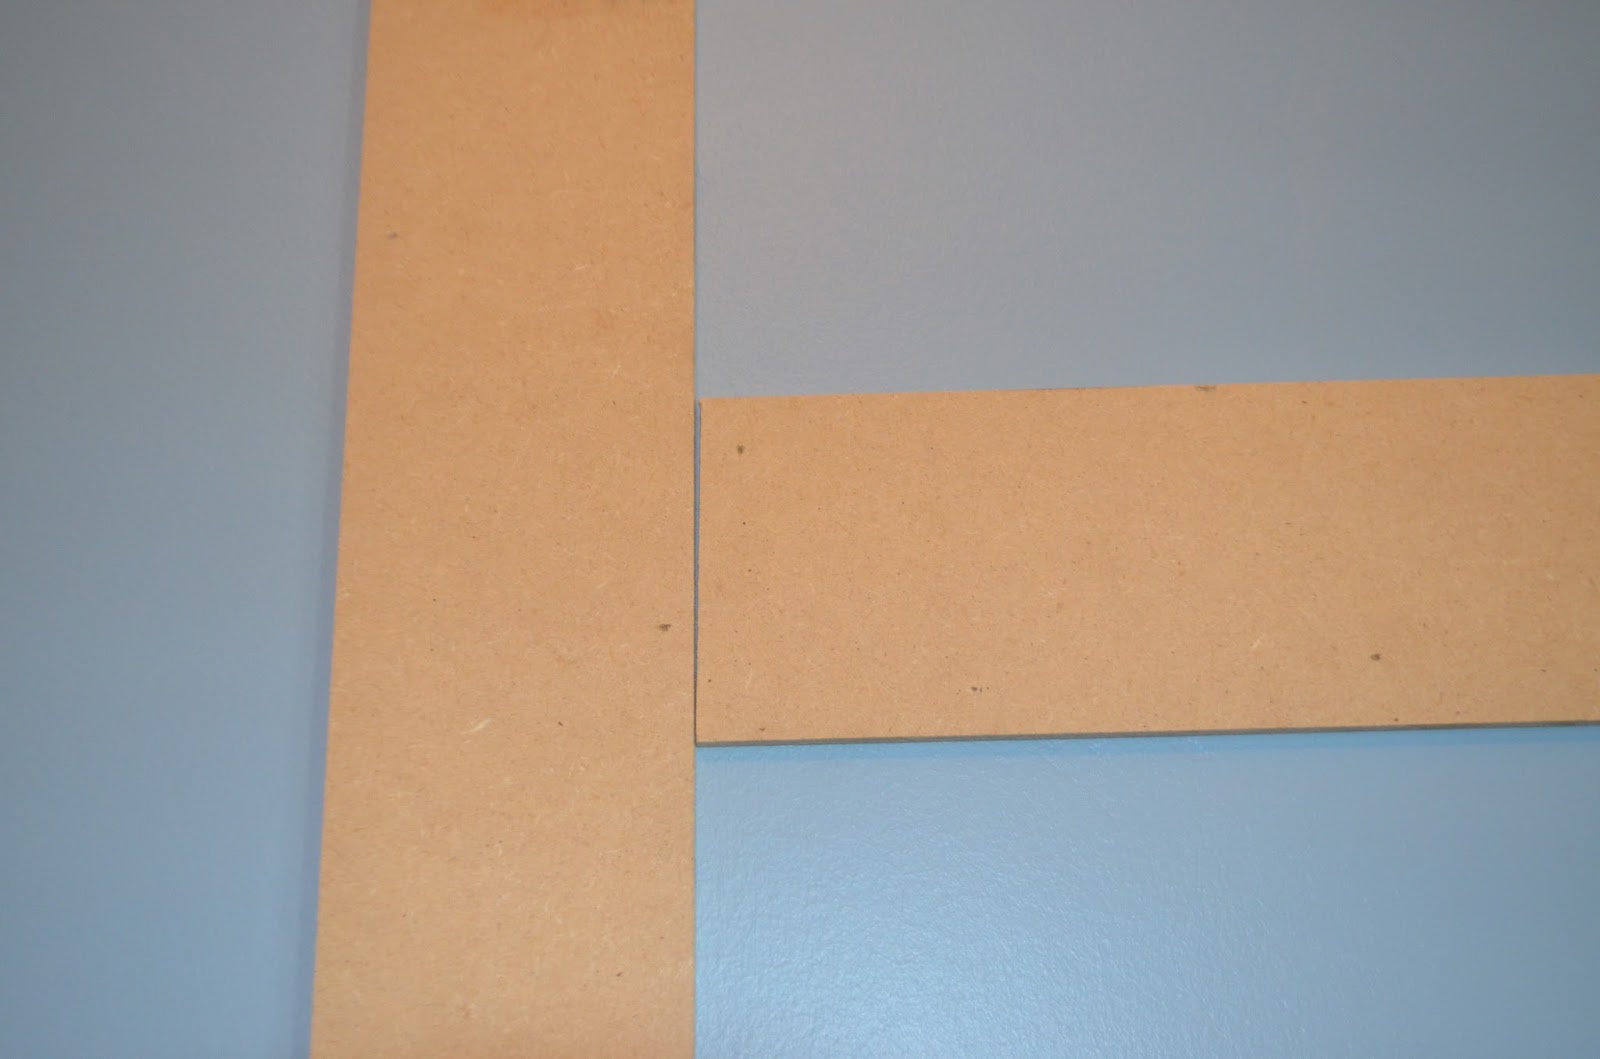
Before making any cuts or purchasing materials, measure your wall vertically and horizontally. I wanted perfect squares so I used and equal number of boards both ways (including my existing baseboard counted as one board). To achieve this look on a budget, I used “bending boards” made out of MDF. They are typically used for cement work, but work great for this project. Because they are going to be painted, this is a great way to lower the cost. You’ll find them near the plywood NOT with the moulding! Each board measures 3 3/4″ wide and 1/4″ thick. This is the perfect thickness to transition right from existing baseboards. I also skipped the backing board because my walls have very little texture. This was another money saving step! Note: You will want to lightly sand all cut edges of MDF boards. If you skip this step, you will notice the touch edges after its painted!!
STEPS:
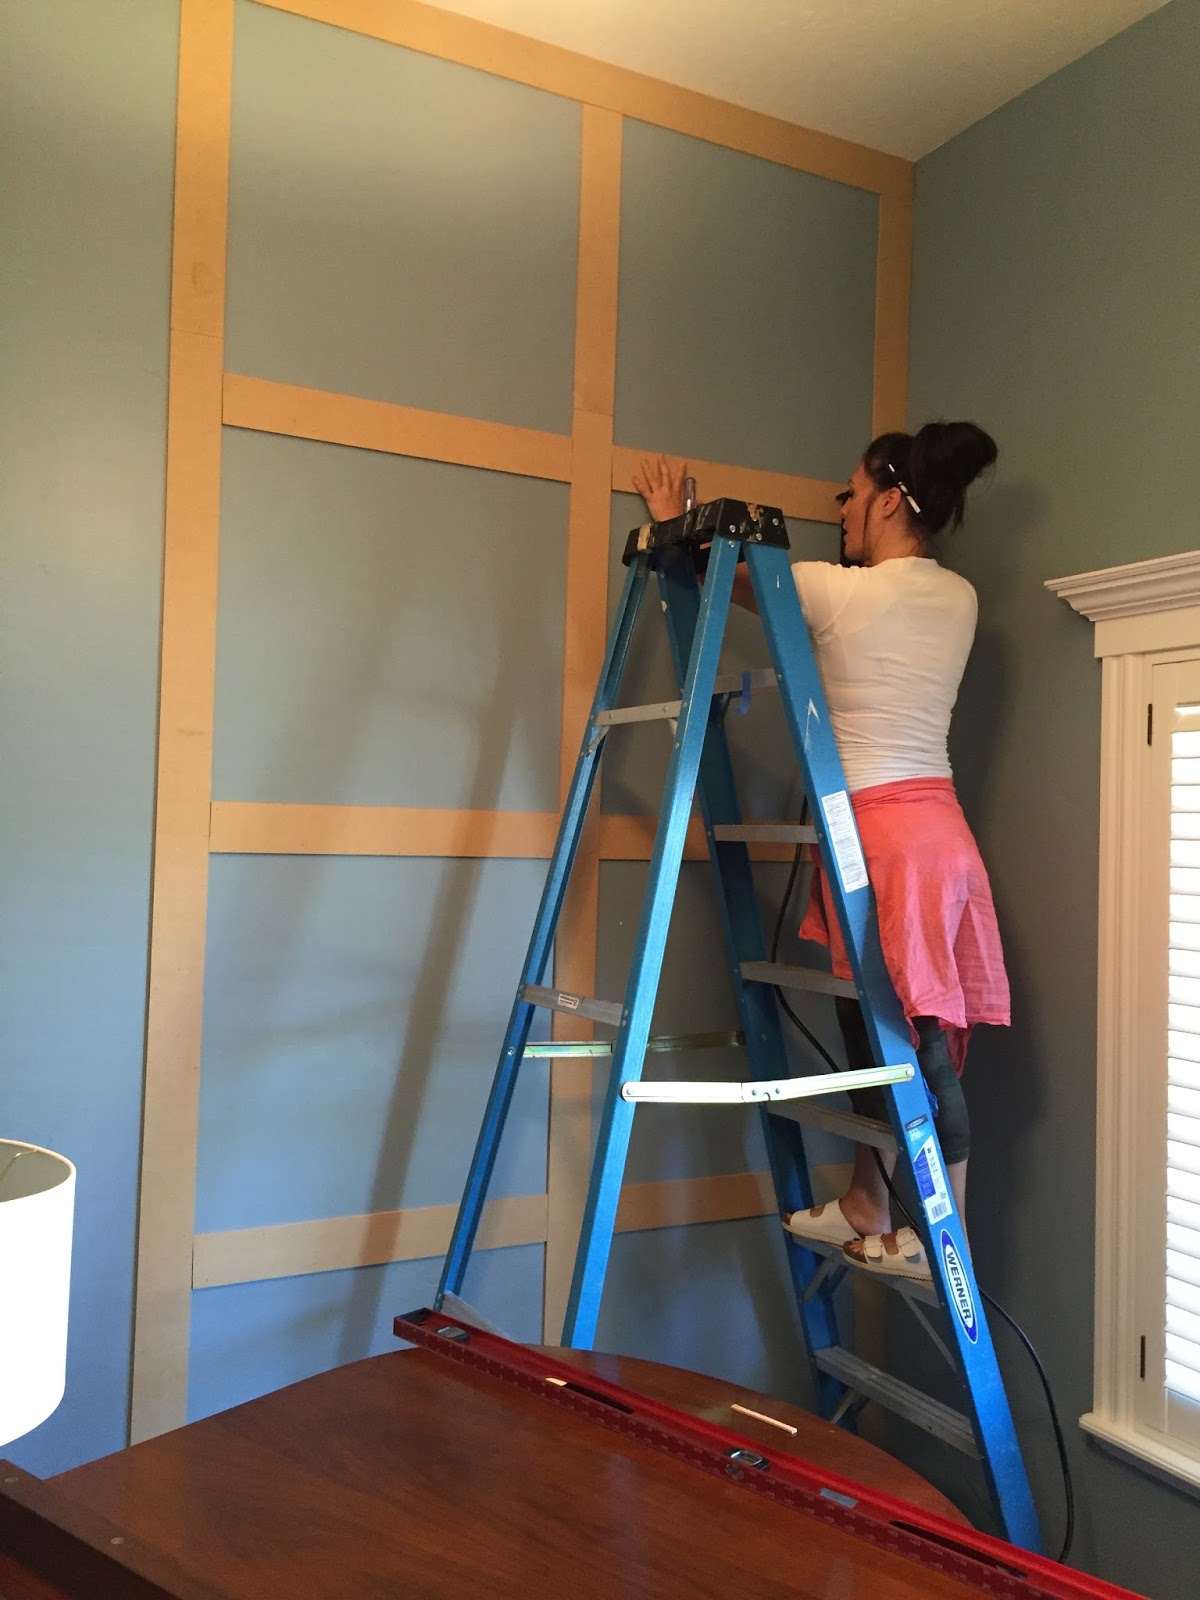
1. Install the first boards along the ceiling horizontally. I started at one corner and nailed it up using my Bosch nail gun. It only reached about 3/4’s the way across. I then measured from the end of the board to the other corner, and cut the next board to that measurement. Keep in mind walls and ceilings are not level. I have found that measuring each cut this way gives me a more precise length. Some of your boards could be 1/2″ different depending on where they are placed on the wall.
2. Nail up the boards bordering the side walls. I started from the baseboard and went up. I then measured the remaining distance to the ceiling board and cut my next board to that size. Finish each side so the boards span from baseboard to meet the ceiling board.
Note: you will see some gaps between the boards and walls/ceiling. Don’t be alarmed! Again walls and ceilings are not level. It will be corrected later with caulk.
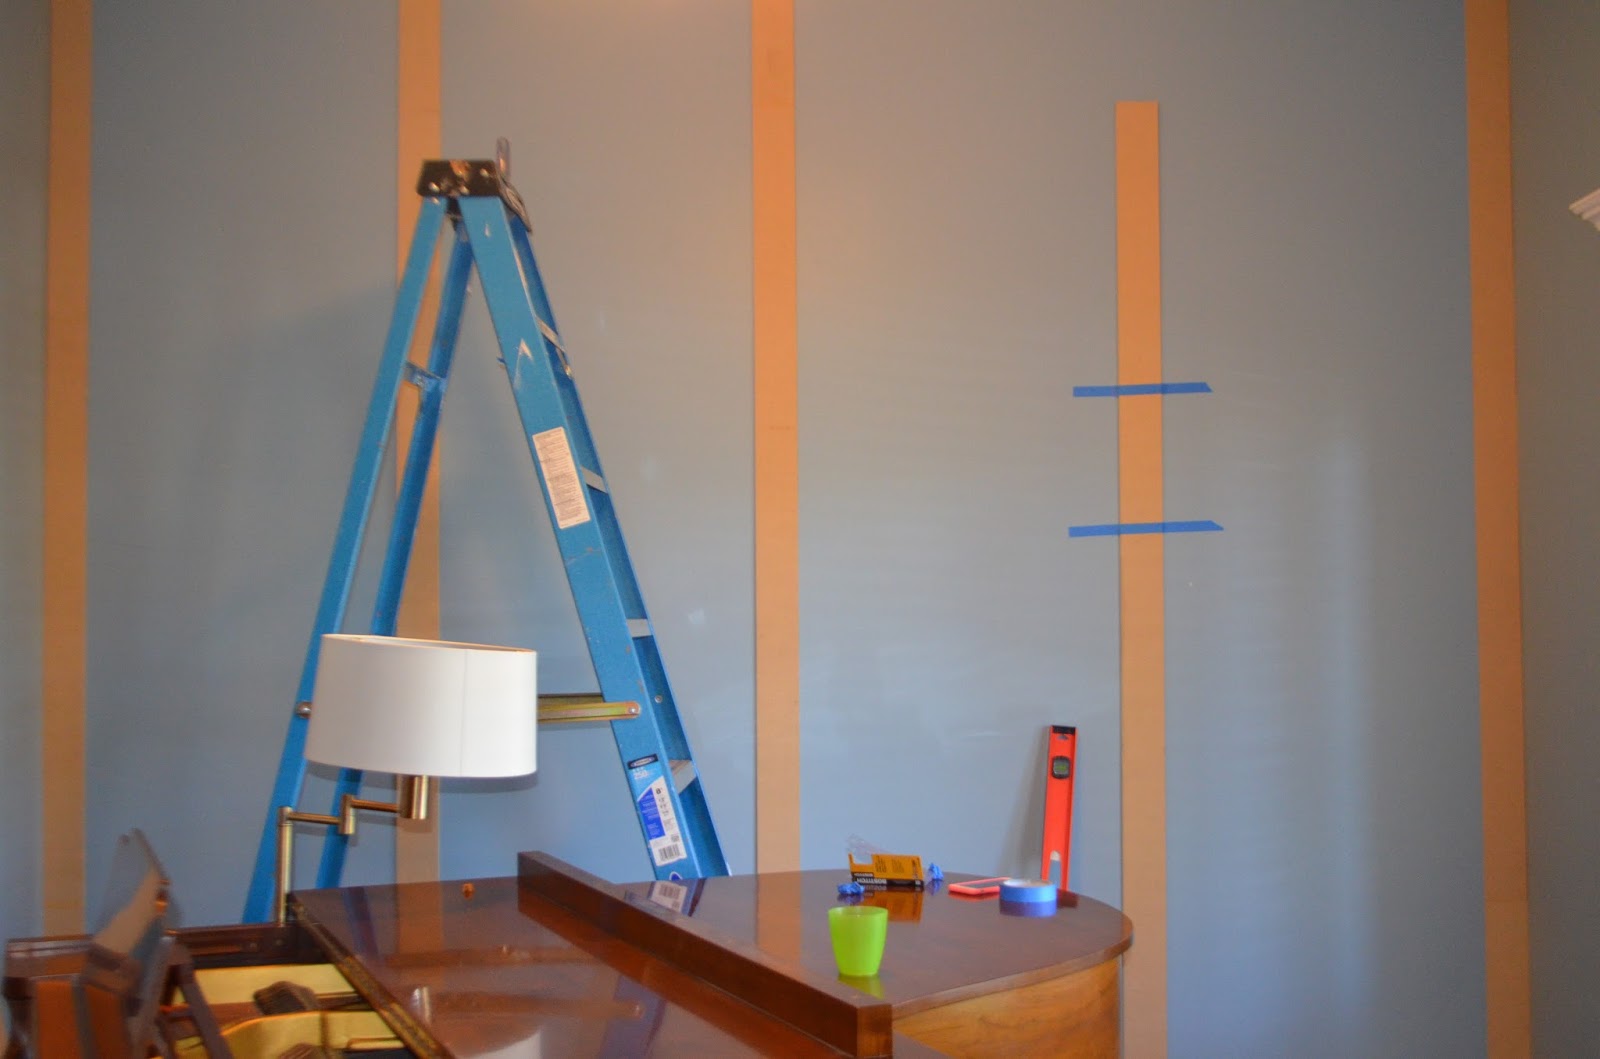
3. Measure the remaining space between the side boards. Divide that in half to find your center point. (my wall measures 11 ft across and each batten is 3 3/4 wide so the remaining space measures 124.5″. 124.5″decided by 2 equals 62.25″ or my center point) Nail up the center board vertically using a level. Make sure to center the board on the center point. Measure the remaining distance from the board to the ceiling board and cut another board to that size.
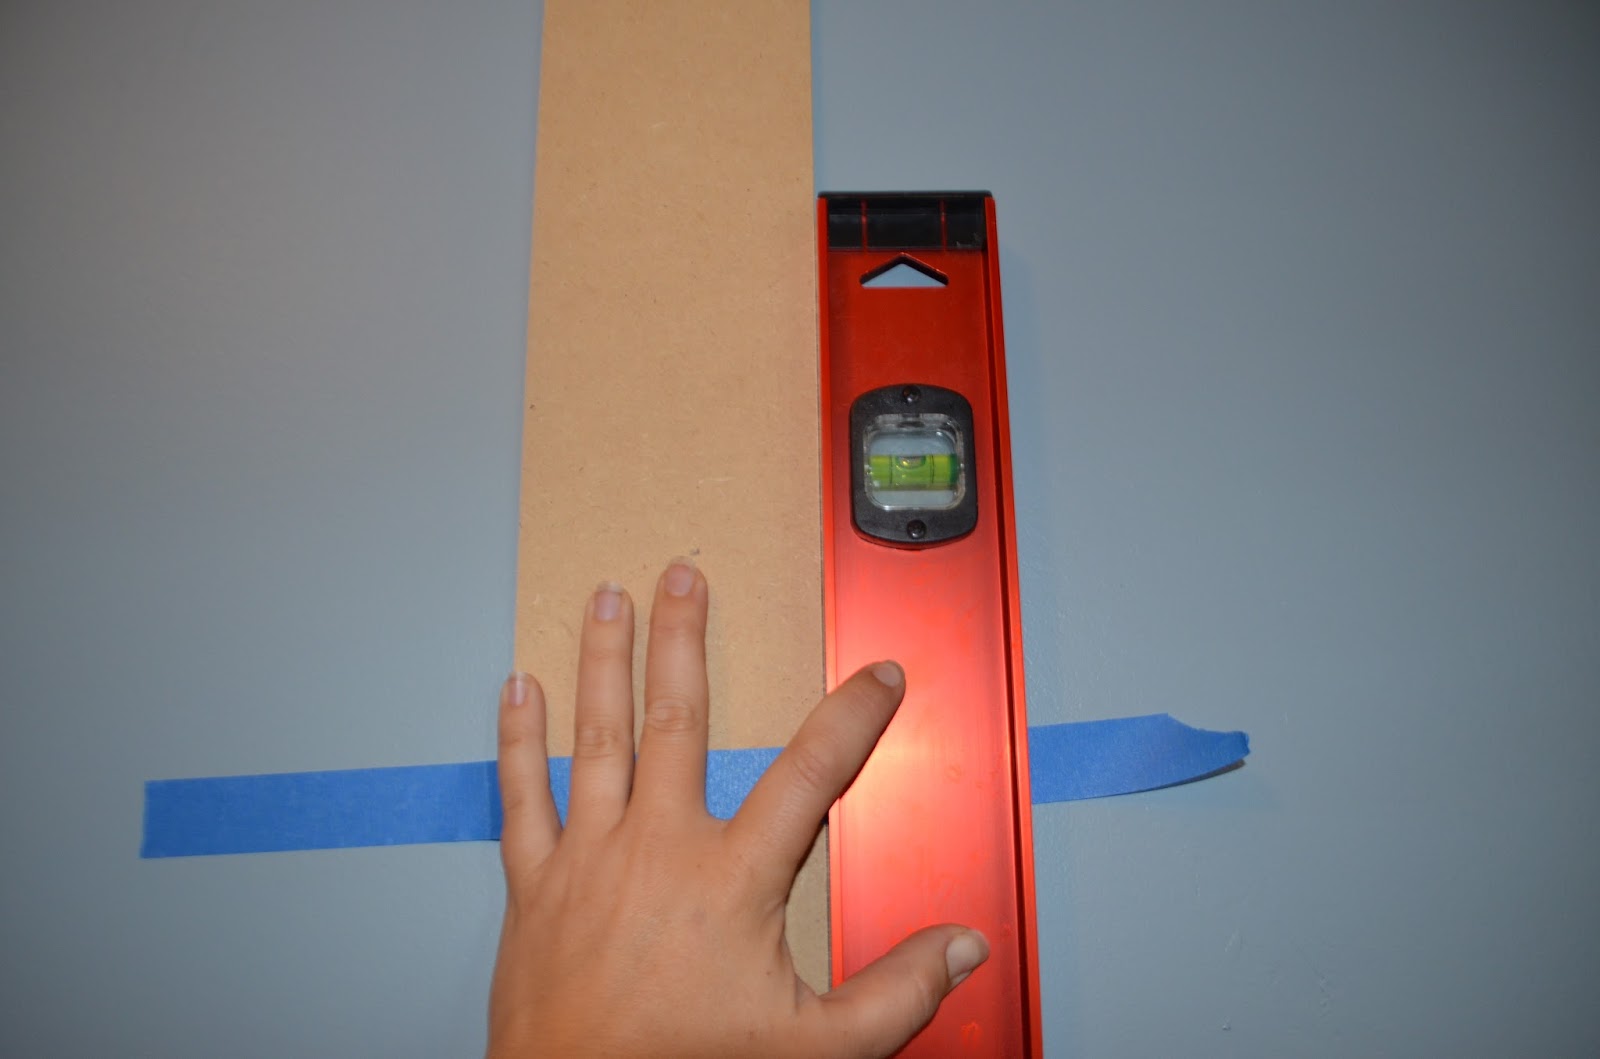
4. Then measure the remaining space between the side boards and the center board. Divide that measurement in half to find the center point of those 2 boards. (Each space should be equal from center to side board) Nail up the boards at the center point starting from the baseboard going up to the ceiling board. Make sure to use a level again, and center the board on that center point. Measure the remaining distance to the ceiling board and cut your next boards accordingly.
5. Now that you have all your vertical boards hung, we hang the horizontal boards. This will involve a lot more cutting. Measure the vertical distance between the ceiling board and baseboard. Divide that measurement in half to find your center point of your center board. Mark with a pencil. Measure the remaining horizontal distance between the side boards to find your center pint and mark with a pencil. You should now have ONE center dot marked in the center of your center vertical board!
6. Measure the distance between your center board and the next vertical board. It should be between 2 and 3 ft. Then cut 12 boards to that exact size. This will give you all your vertical boards if you are doing square spaces like my wall.
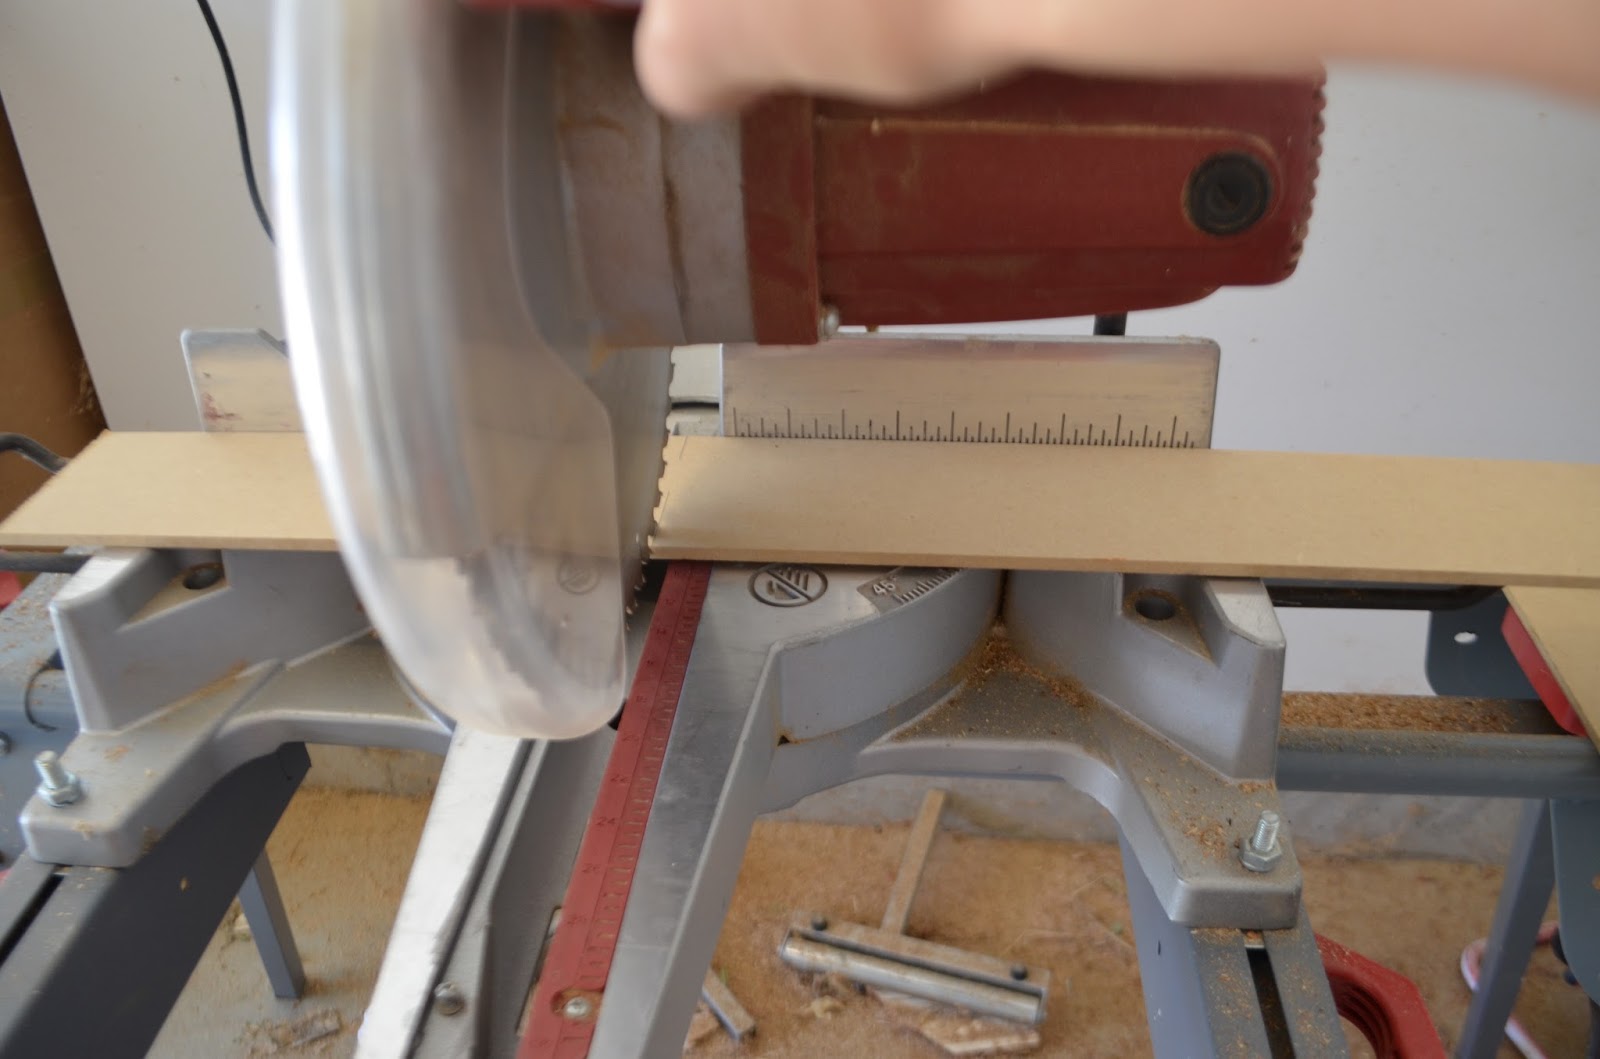
7. Find your center dot and nail up your first horizontal board using a level. Make sure to center the board on that dot. Once you have that board hung you can measure the remaining distance between your center horizontal board and the ceiling and baseboards. Divide in half and mark each point. Nail up the remaining 2 boards.
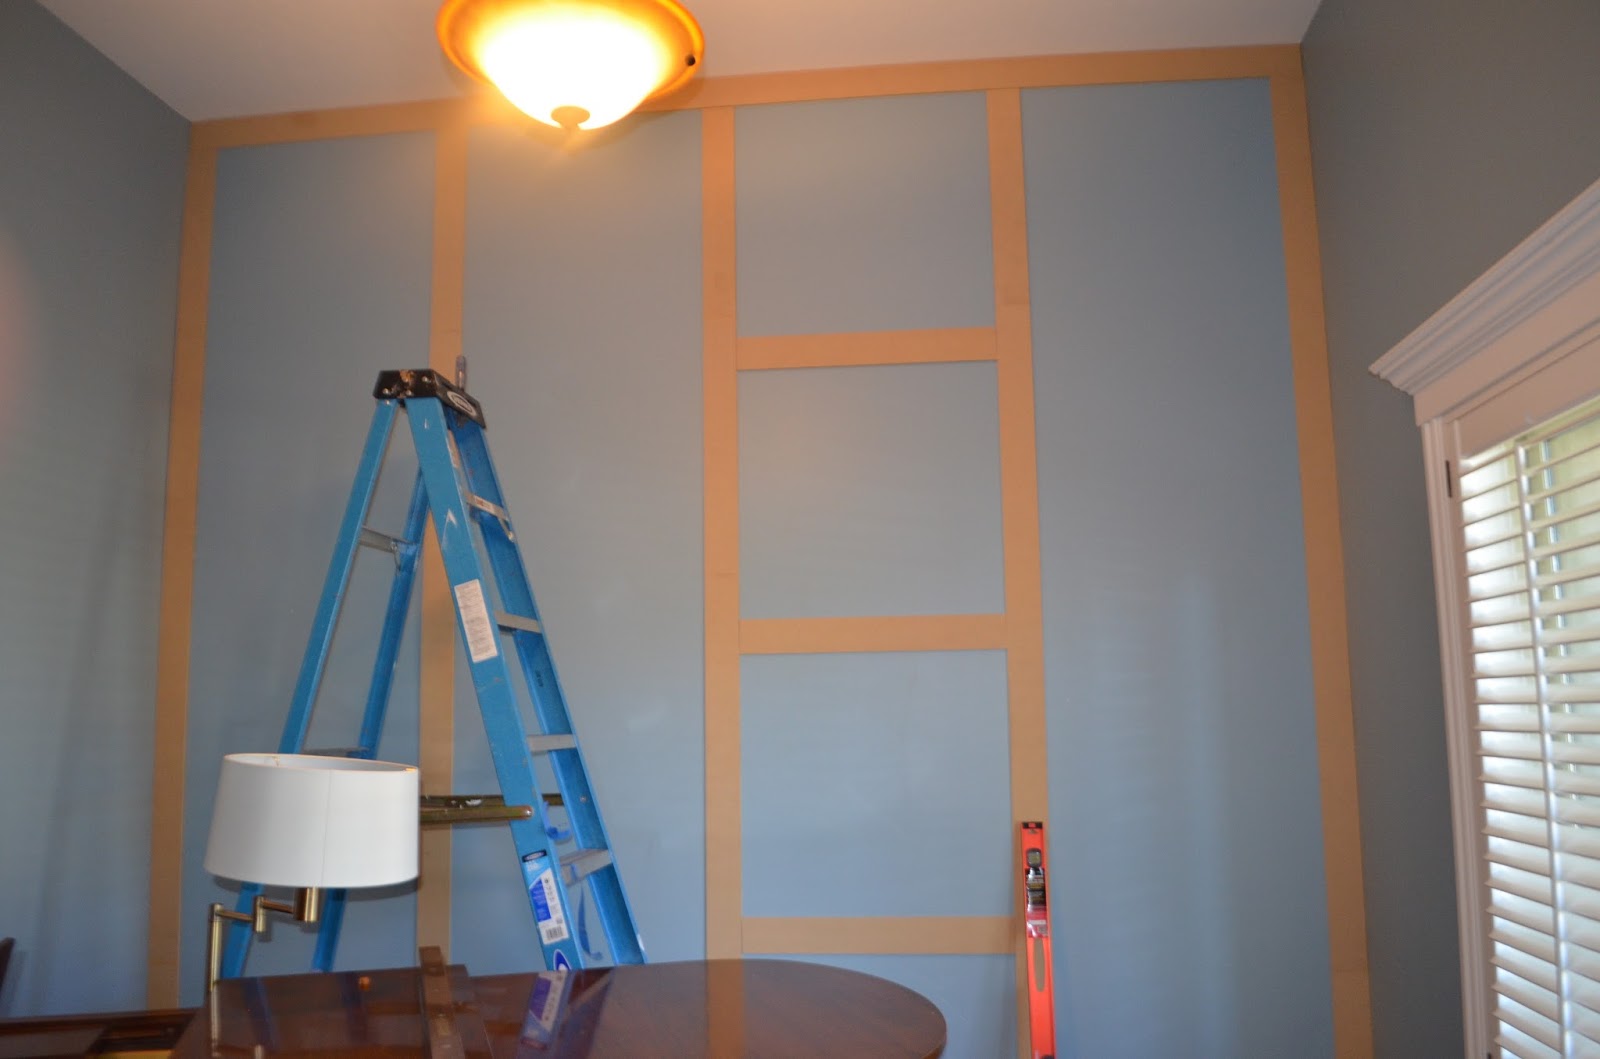
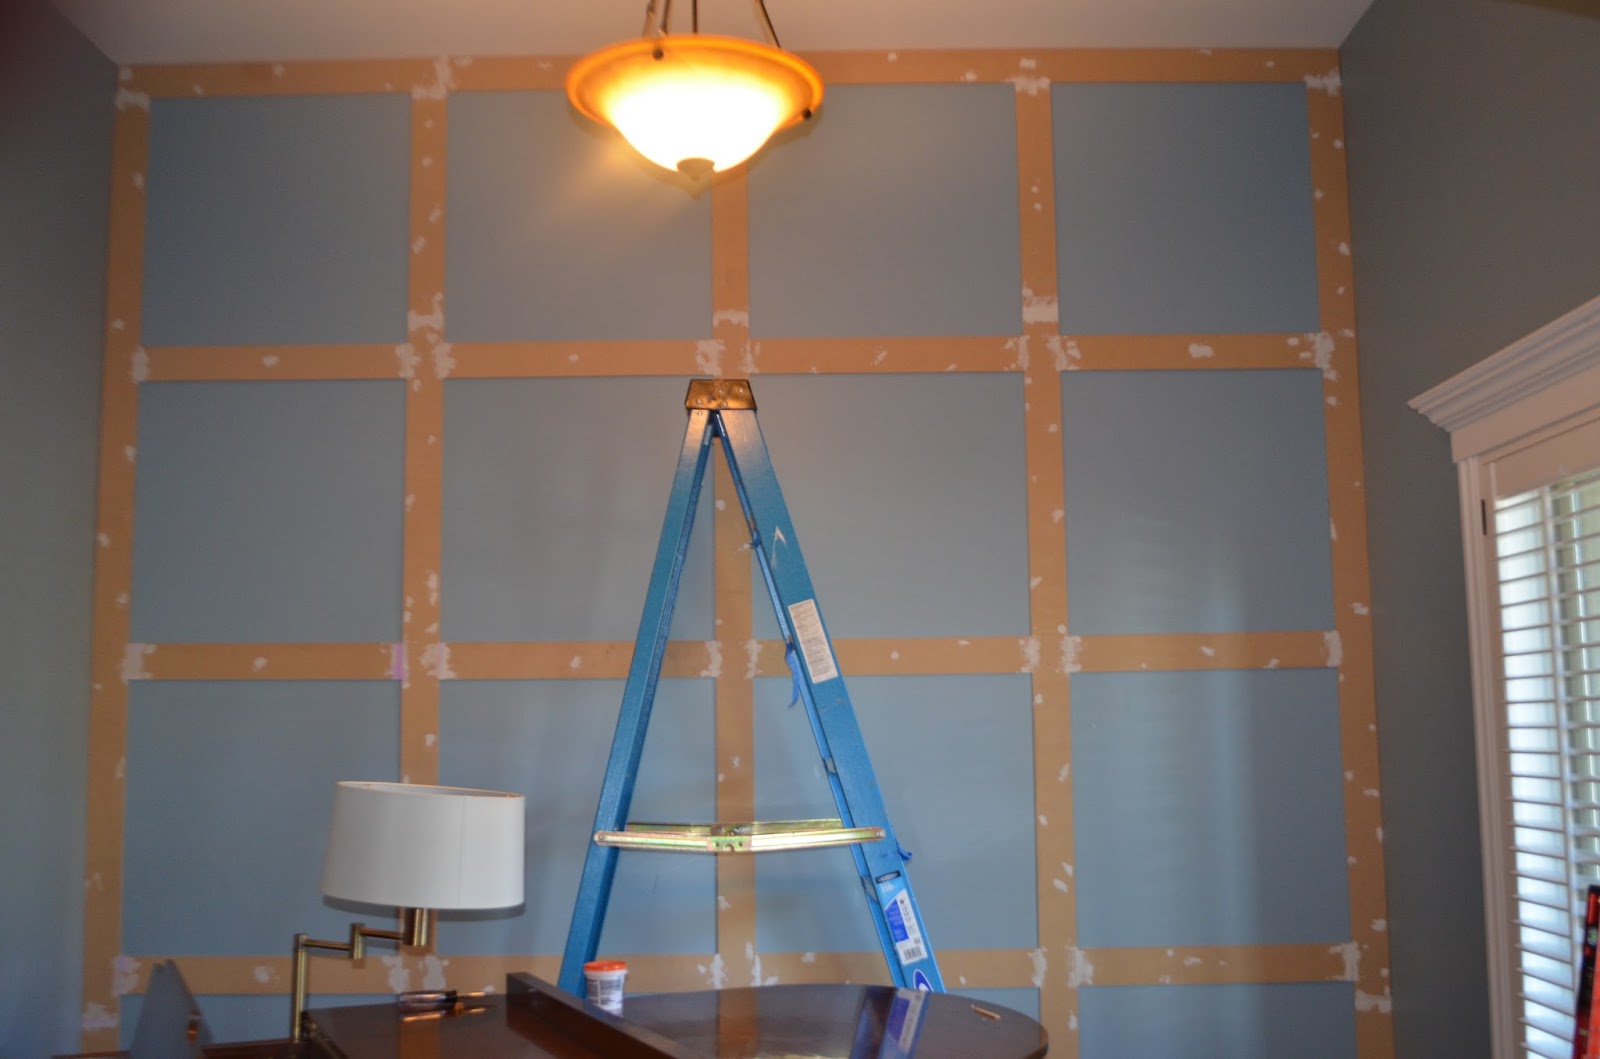
8. At this point you should have 9 cut boards left to complete the last 3 rows of horizontal battens. Using a level continue nailing up the boards on the lines you’ve already marked.
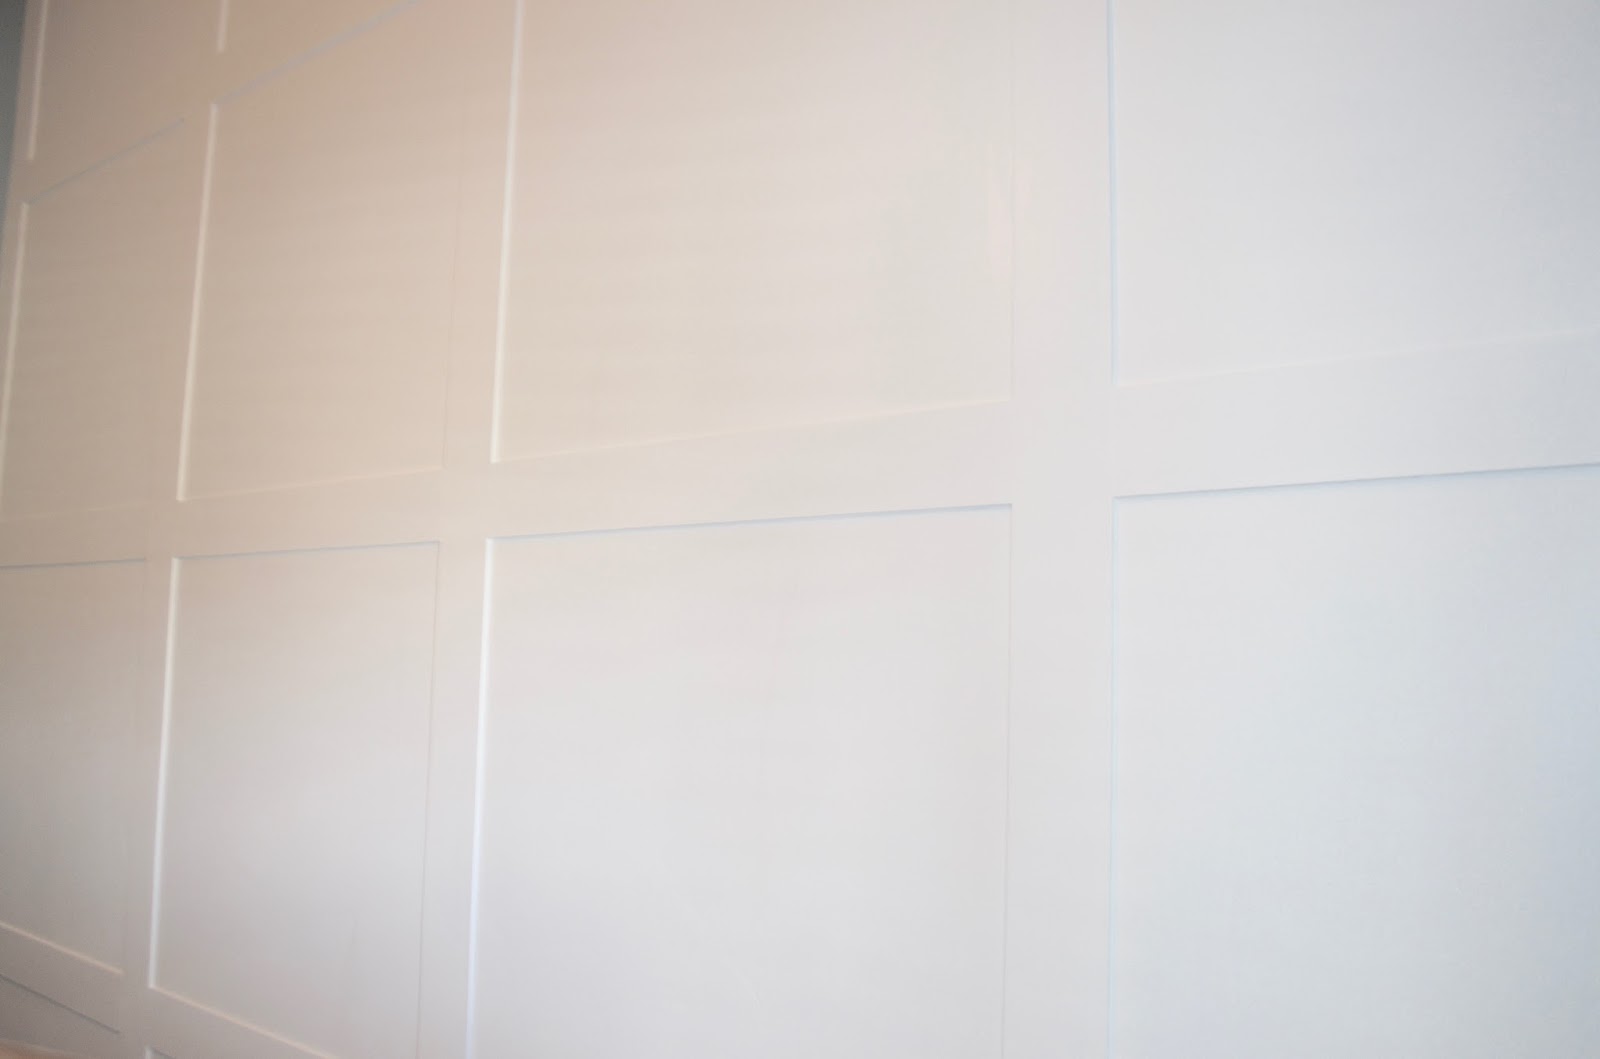
9. All your battens should now be hung.
10. Using wood filler and a puddy knife, fill in gaps between the boards and all the nail holes.
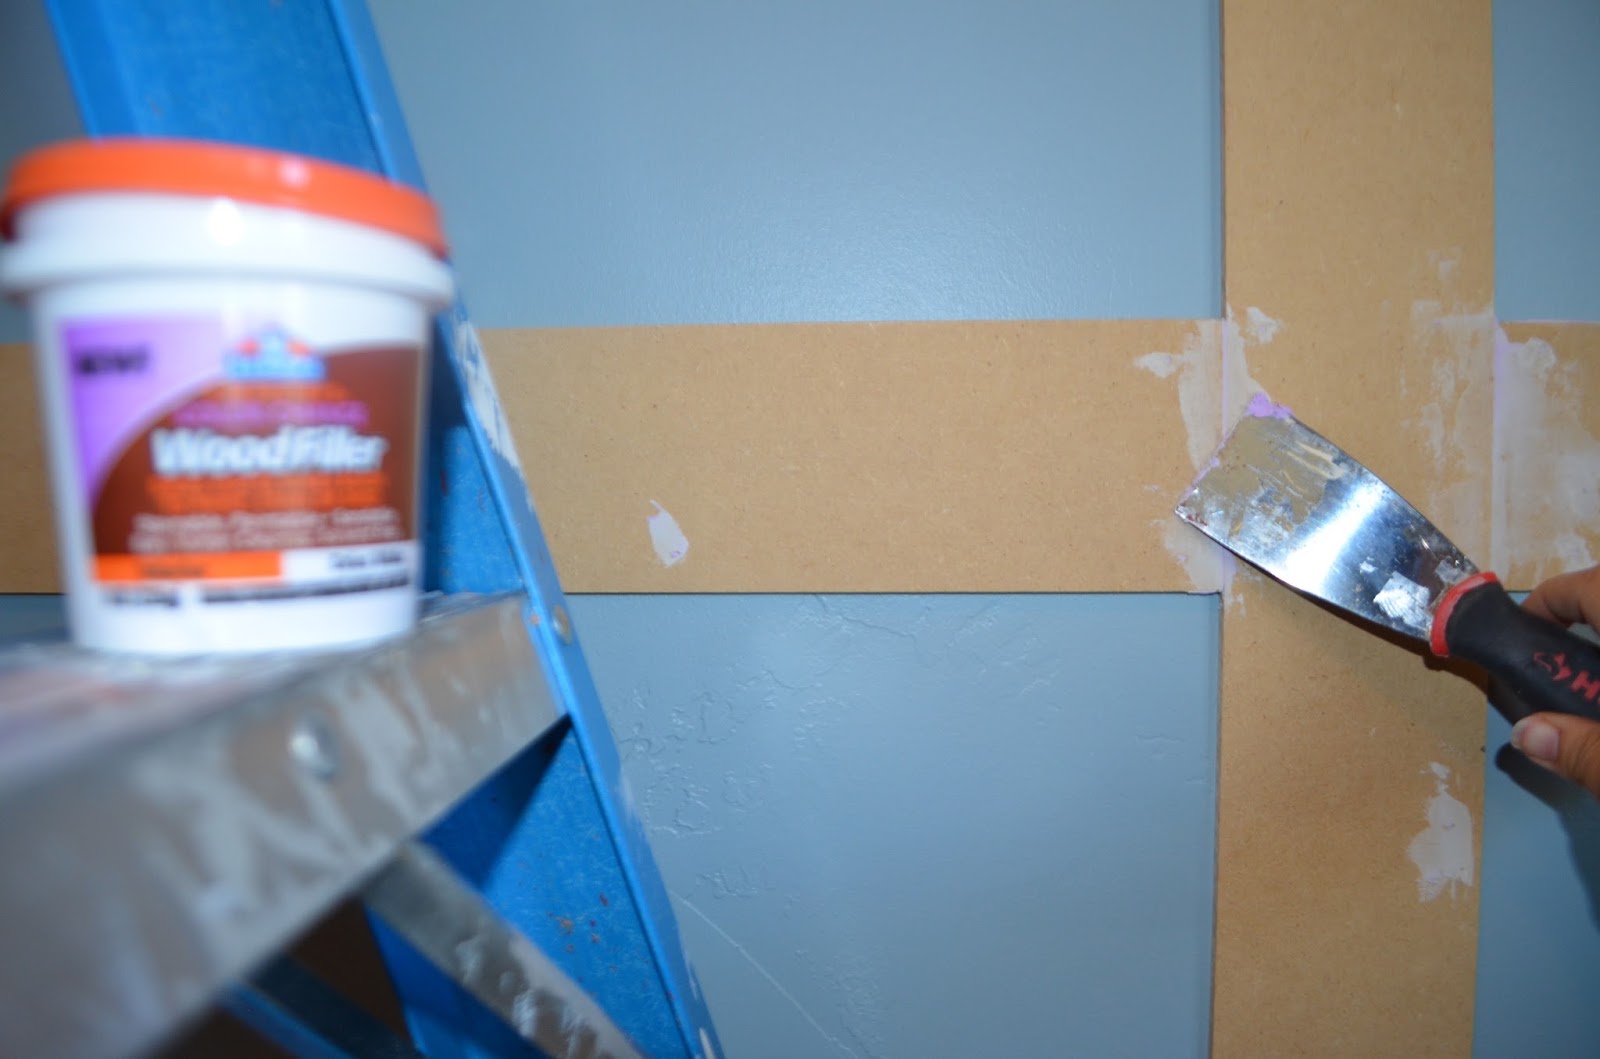
11. Sand down the patches until smooth. You may have to repeat steps 10 & 11 a couple times to create a seamless transition between 2 boards.

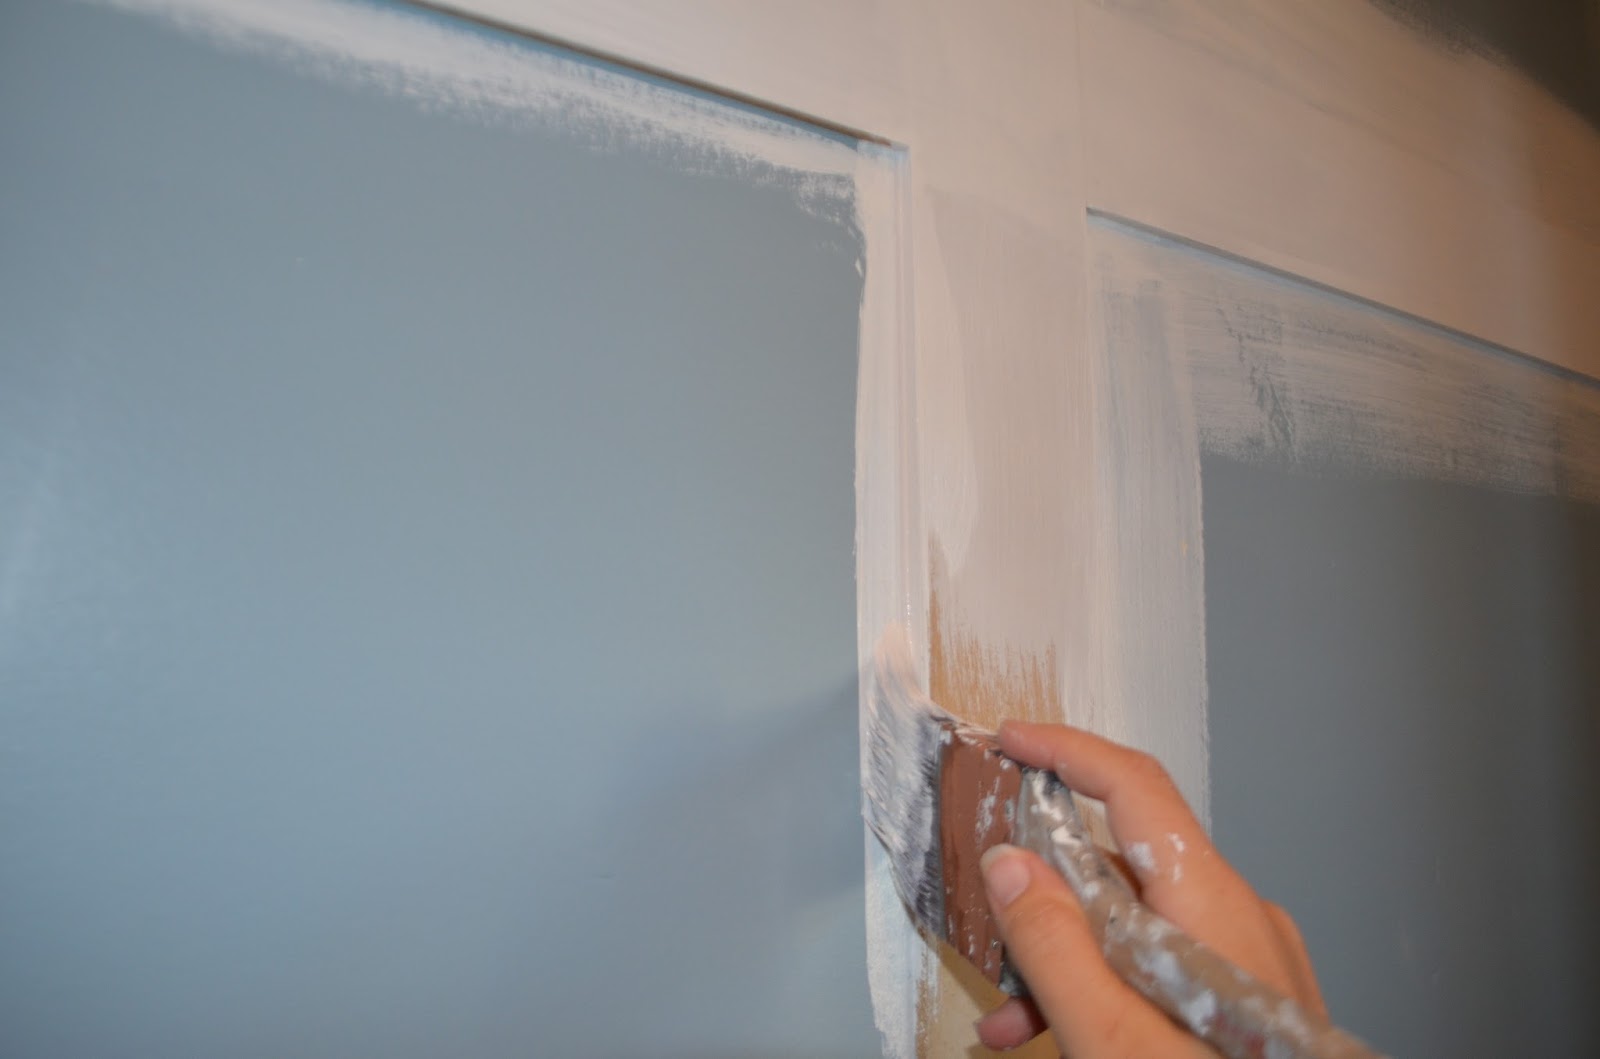
12. Using an angled brush, paint the battens using your predetermined color. Make sure to paint around edges and bordering each batten. Let dry


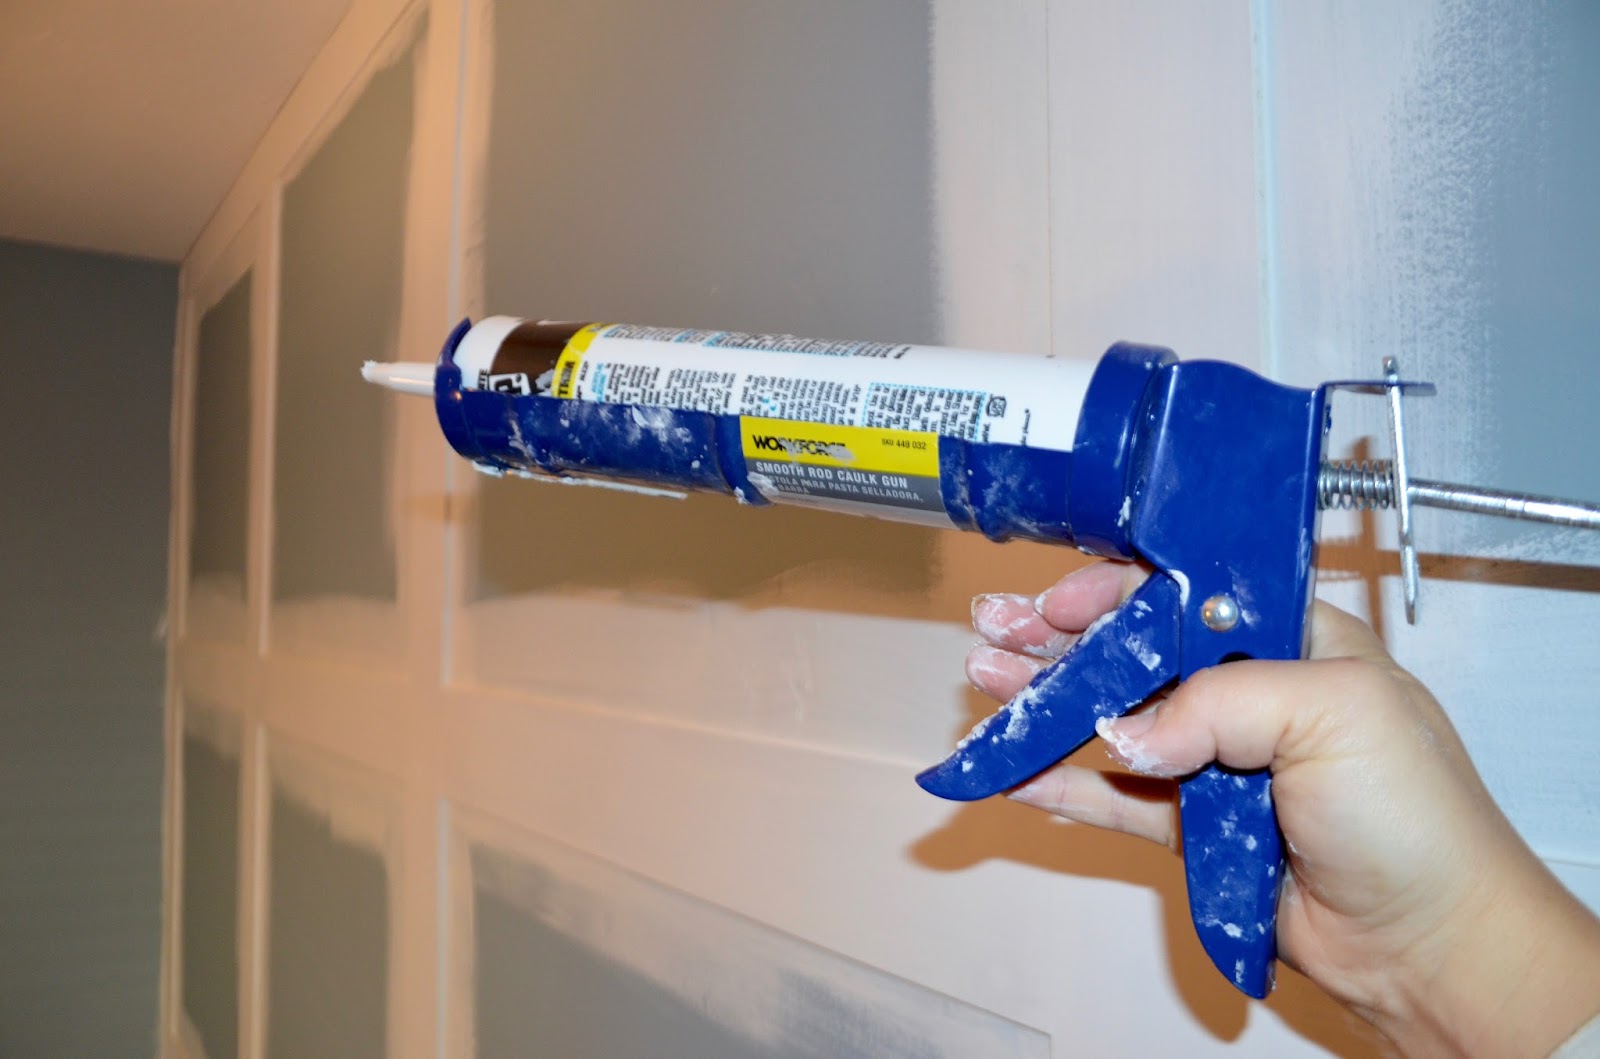
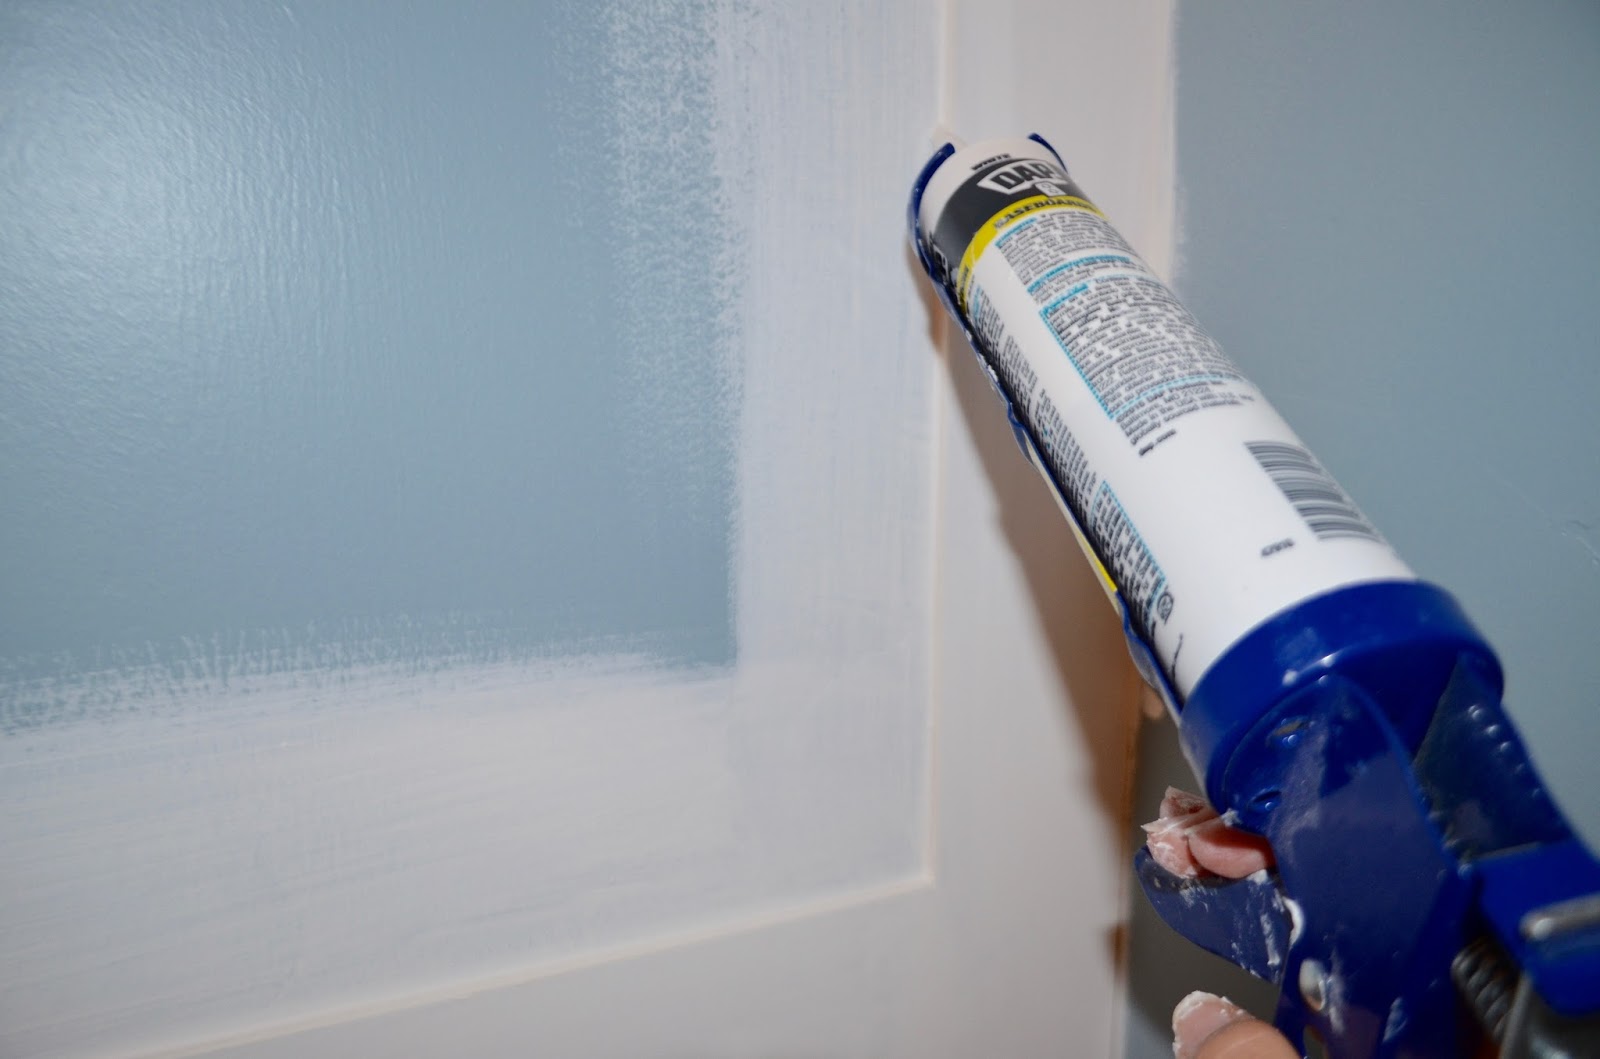
13. Caulk around each batten board and between the walls and ceilings. This should get rid of all the gaps and ensure the walls appear level. Note: use your caulk gun around each board and follow with your finger to smooth out the line.
14. Using a brush, paint a second coat around the battens and on the batten boards. Let dry.

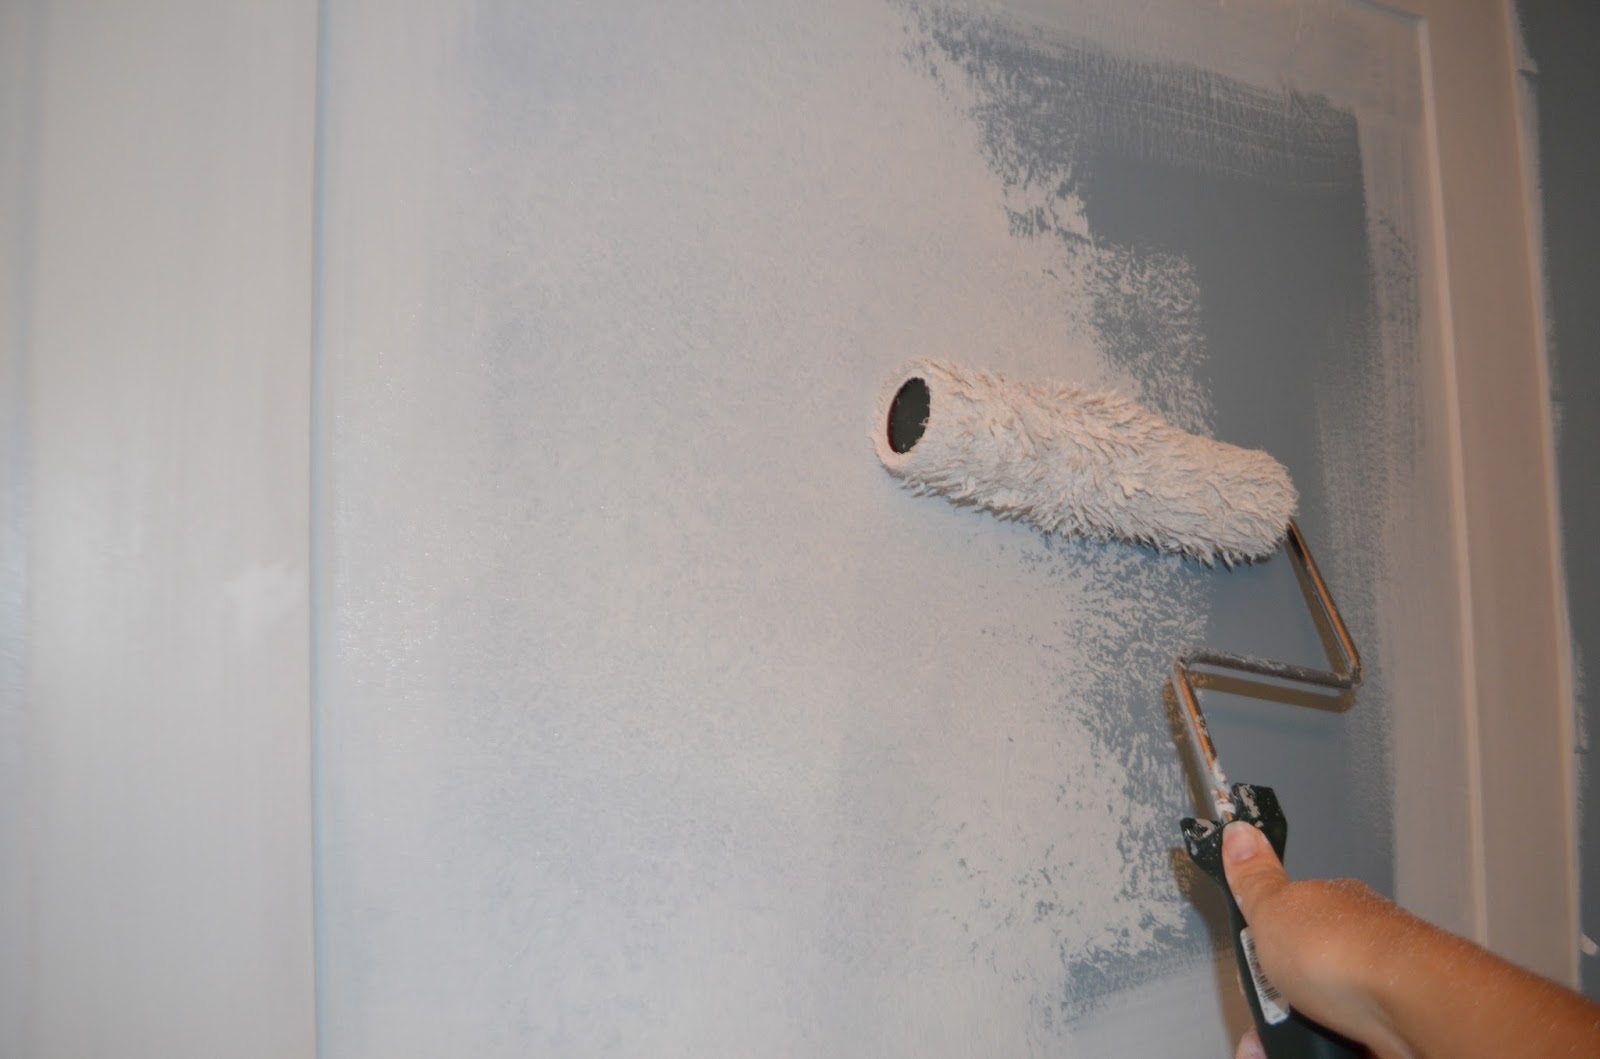
15. Use a roller to paint the spaces between the batten boards. Let dry.
16. Repeat steps 12 and 13 until you reach full coverage. It took 4 coats for me.

17. Step back and enjoy you beautiful new board and batten wall!


 Add to favorites or read later
I just wanted to take a moment to say thank you for the wonderful ideas on your blog and for your thorough explanation! I am getting ready to move into a new house and have been researching ideas. I found your blog extremely helpful. Keep up the good work, please! 🙂
Thank you so much for stopping in. I appreciate your feedback more than you know! Good luck on the new house
Was you wall smooth/smoothish to begin with? We the standard textured walls and I was thinking we would have to back them first to make this work. Thanks!
Yes my walls have very little texture. If yours have a lot of texture, I would back it first!
Thanks! 🙂