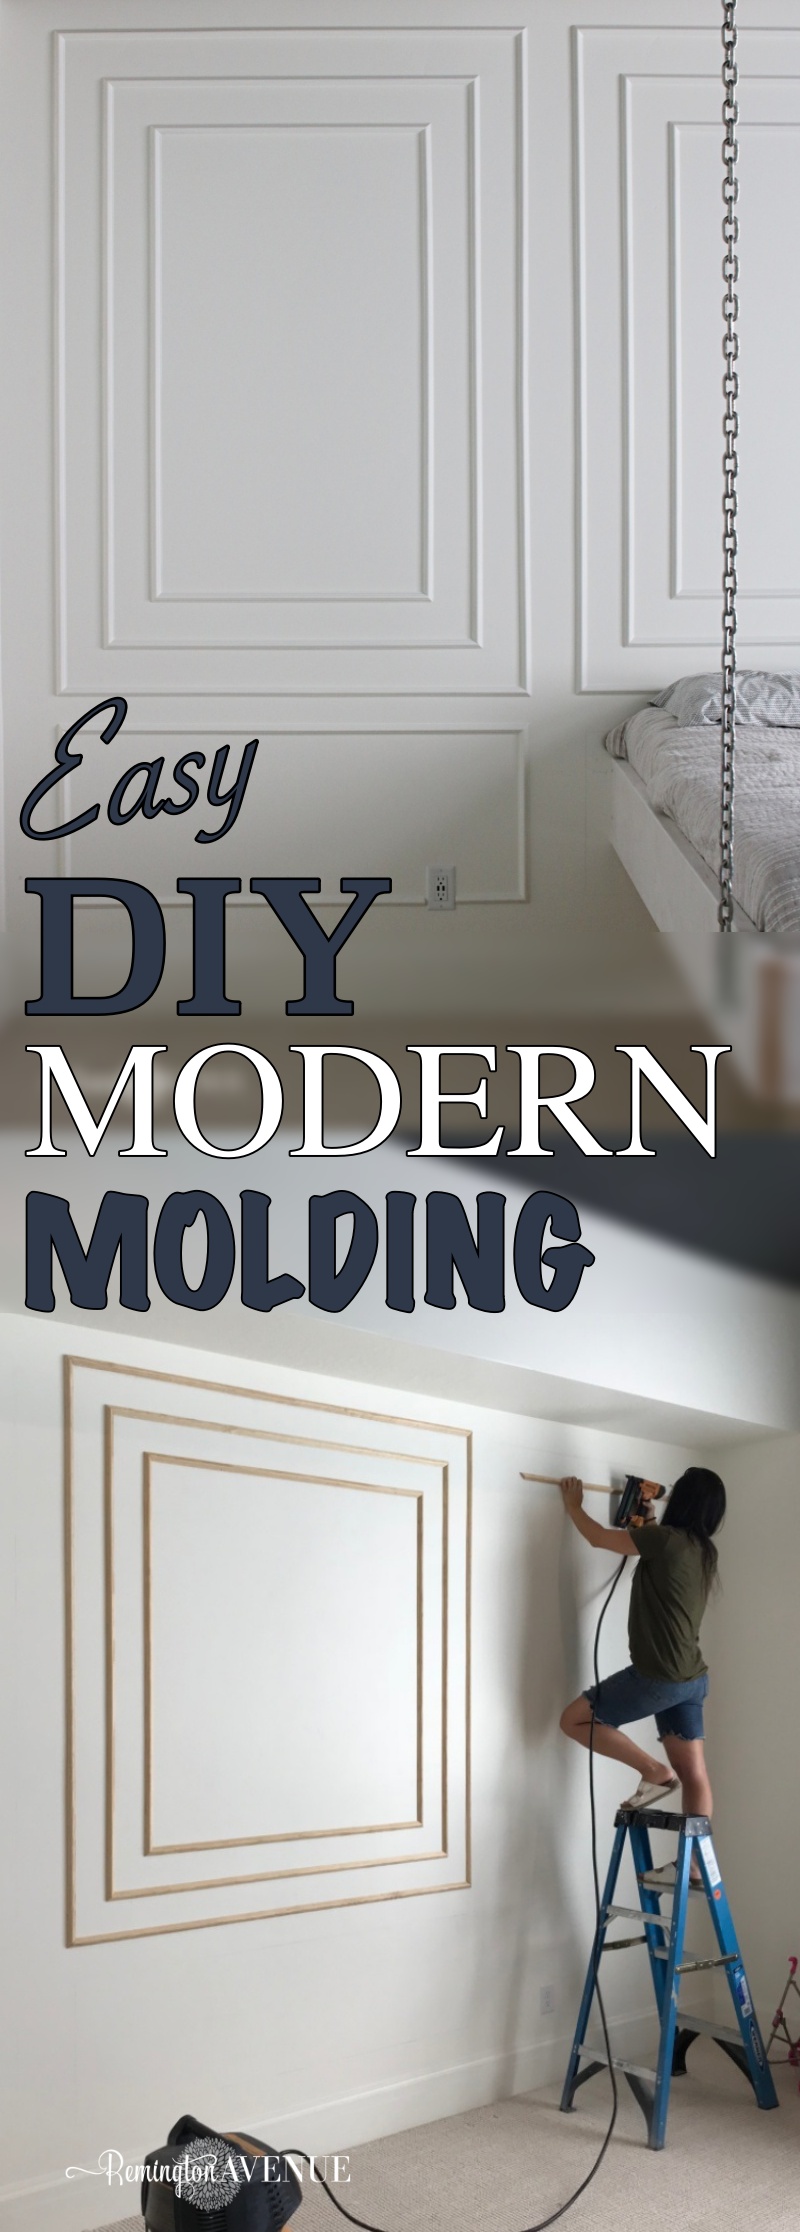
How to install modern wall molding
How do you make a HUGE design impact on one wall without any wall decor? You guessed it, by adding trim work. You know what I love about decorative wall molding? There is no limit to the creative design patterns! Today I am sharing a full tutorial on how to install modern wall molding in your own home.
If you are just catching up, I am taking my sons blank slate of a room to the bedroom of his dreams. This is week two of the One Room Challenge (don’t forget to check out what all the others participants are up to), and I am really hoping and praying by week 6 that I will have this whole transformation wrapped up. You can see my design plan from week one by clicking here.
![]()
Each week I will update my project list below.
Wall molding & paint- Install Stikwood over ceiling beams
Build his bed(almost done, but you can’t see it quite yet.- Lighting- Hunter Fan & task lighting
- Large Furnishings & custom drapes
- Reveal
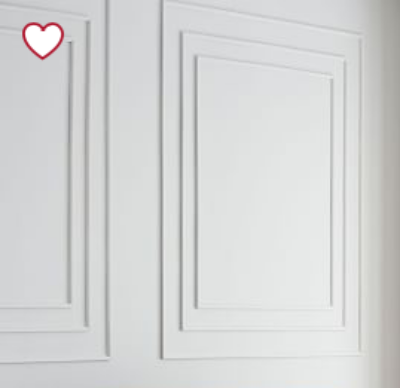
From the get go, I knew I wanted to put up some diy wall molding in my son’s bedroom. I was browsing the West Elm website looking at beds and BAM, the wall molding in the background caught my eye. It’s a simple pattern that feels modern and current.
*This post contains affiliate links.
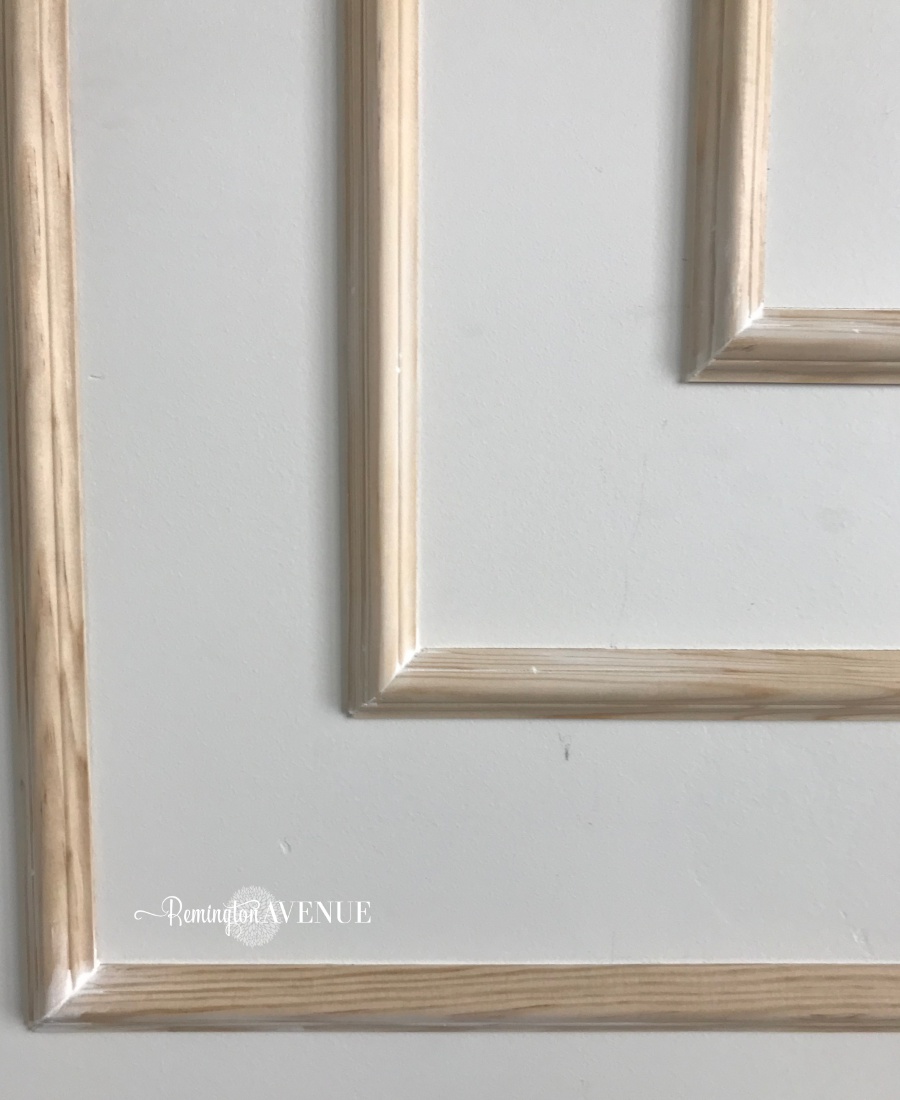
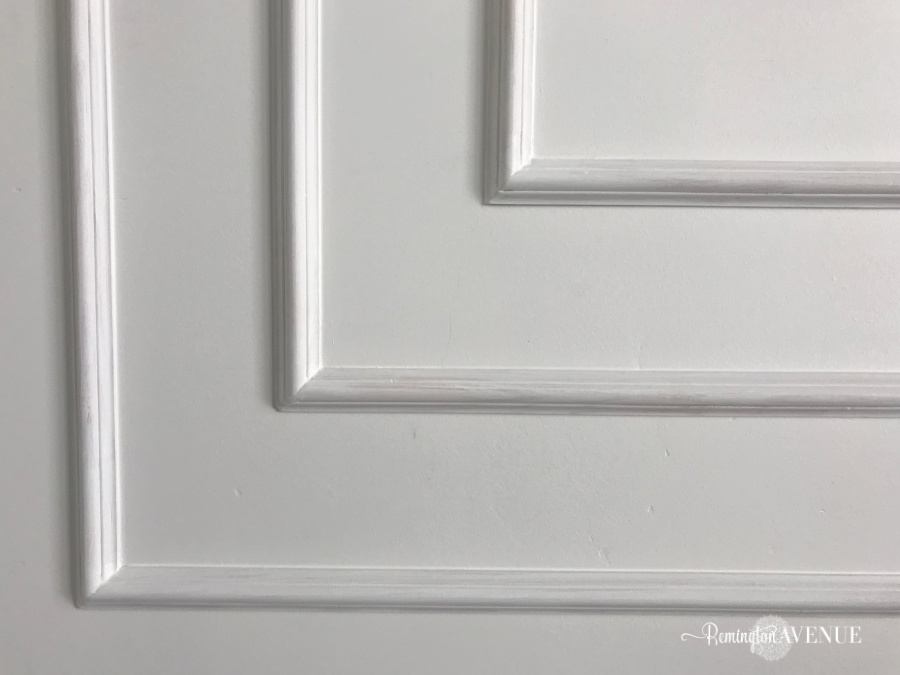
Instead of replicating this exact design, I decided to stick with the same molding profile throughout the rest of my home. It’s more carries a more traditional profile compared to the very simple one shown above. Click HERE to see what I mean. I didn’t want my son’s room to be a total departure from the overall style of my home. This is the molding profile I selected: 9/16″ x 1 9/16″ fingers jointed pine panel molding.
Click HERE for my inexpensive board & batten tutorial.
Click HERE for my Thrifty staircase molding tutorial.
How to Install Modern Wall Molding
Tools & Materials List:
Tools
Materials
- Wood Putty
- Moulding
- Paint
- Caulk
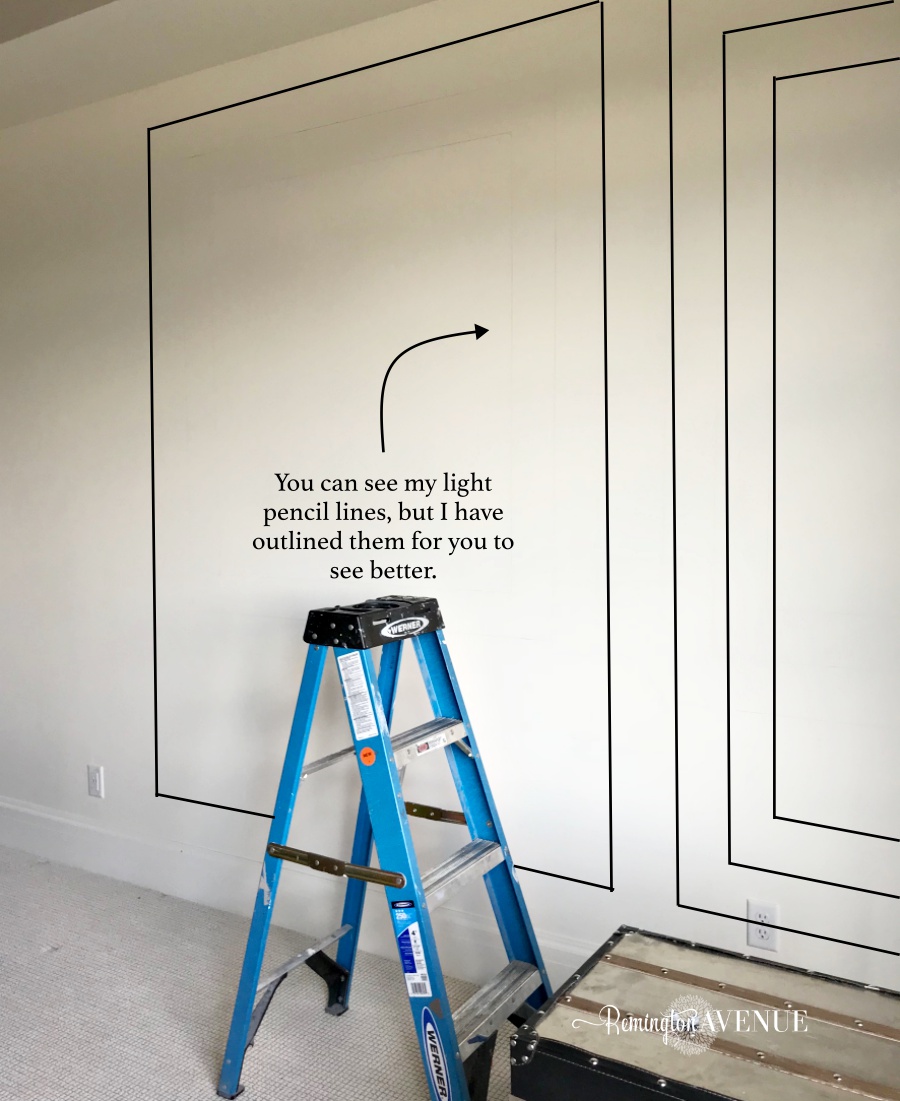
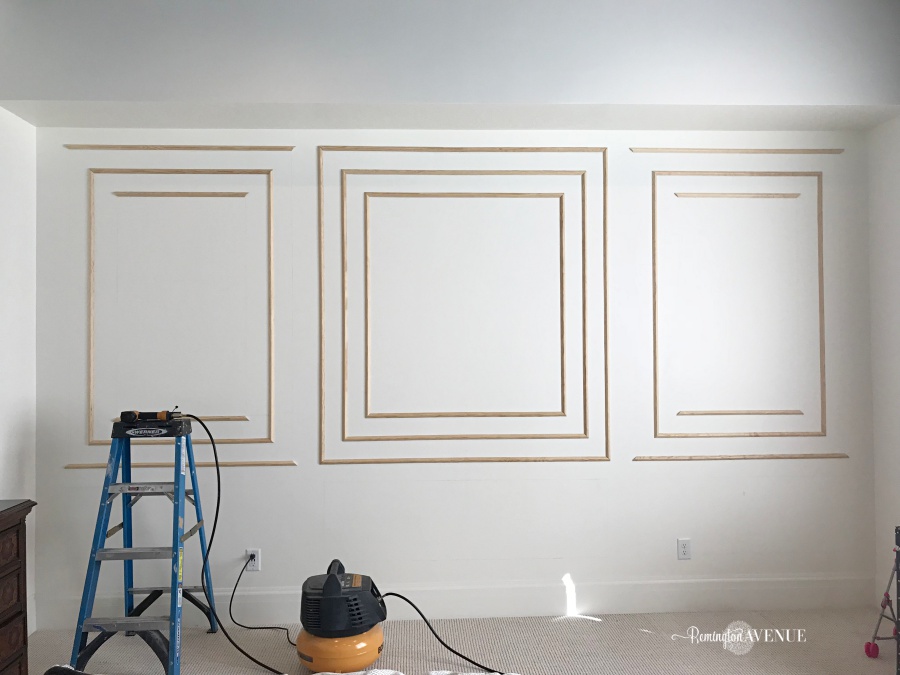
Step 1: Determine how much molding you need. Using a pencil, measuring tape, and level, determine your box sizes in relation to the overall wall size. I wanted my middle box to be wider then the side boxes to carry the visual weight of the centered bed. I completely drew out the full design on my wall first. This took me about 1 hour. Tip: Your floor and ceiling will probably not be level. Instead of mapping out your molding boxes to be level, match the lines created by the ceiling. This will trick the eye into seeing straight lines.
For example, my wall measures 160 inches across. The largest centered box measures 63 inches across and the two largest side boxes measure 48 inches across. The three main boxes are repeated 2 more times, each 5″ smaller then the last. Creating the pattern below.
Step 2: Buy your molding. Once you have mapped out your wall, simply add up the measurements of each box and add 10% for waste. Standard wood moulding usually comes in 8, 10 and 12-ft lengths. Looking at your wall map, calculate what lengths of moulding will cover the area with the least waste. For example, if you have one side of a box that’s 6-ft and another that’s 5-ft, using a 12-ft piece of moulding yields both the 6-ft and 5-ft pieces, only leaving 1-ft of scrap moulding. However, if you use an 8-ft piece for the 6-ft stretch and an 8-ft piece for the 5-ft stretch, you’d be left with five feet of scrap. These are things you will want to consider before purchasing your molding. Tip: Once you’ve calculated the different lengths of trim and how much you will need, order it online. It’s free delivery! 12 ft lengths of molding are pretty tough to fit in a car.
Step 3: Locate and mark wall studs with a pencil.
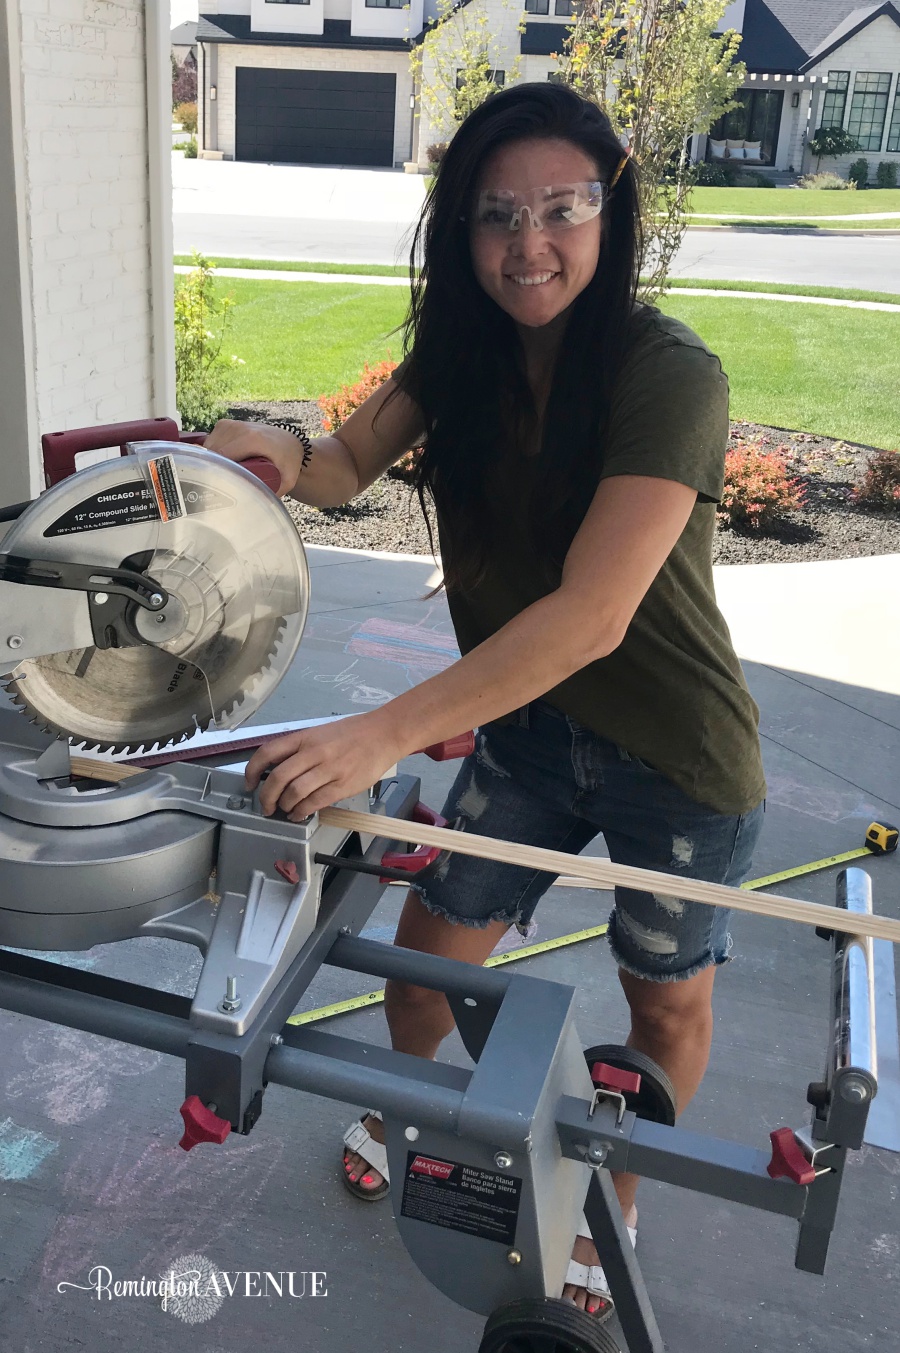
Step 4: Measure the distance between two inside corners and cut a piece of moulding to fit between the corners. Since we are making boxes, each corner will need to be cut at a 45 degree angle.

Step 5: Nail it up! Using your finish nail gun, secure the molding into place by nailing into the wall studs. Tip: Nailing into drywall will not keep the molding in place. Only nail into studs.
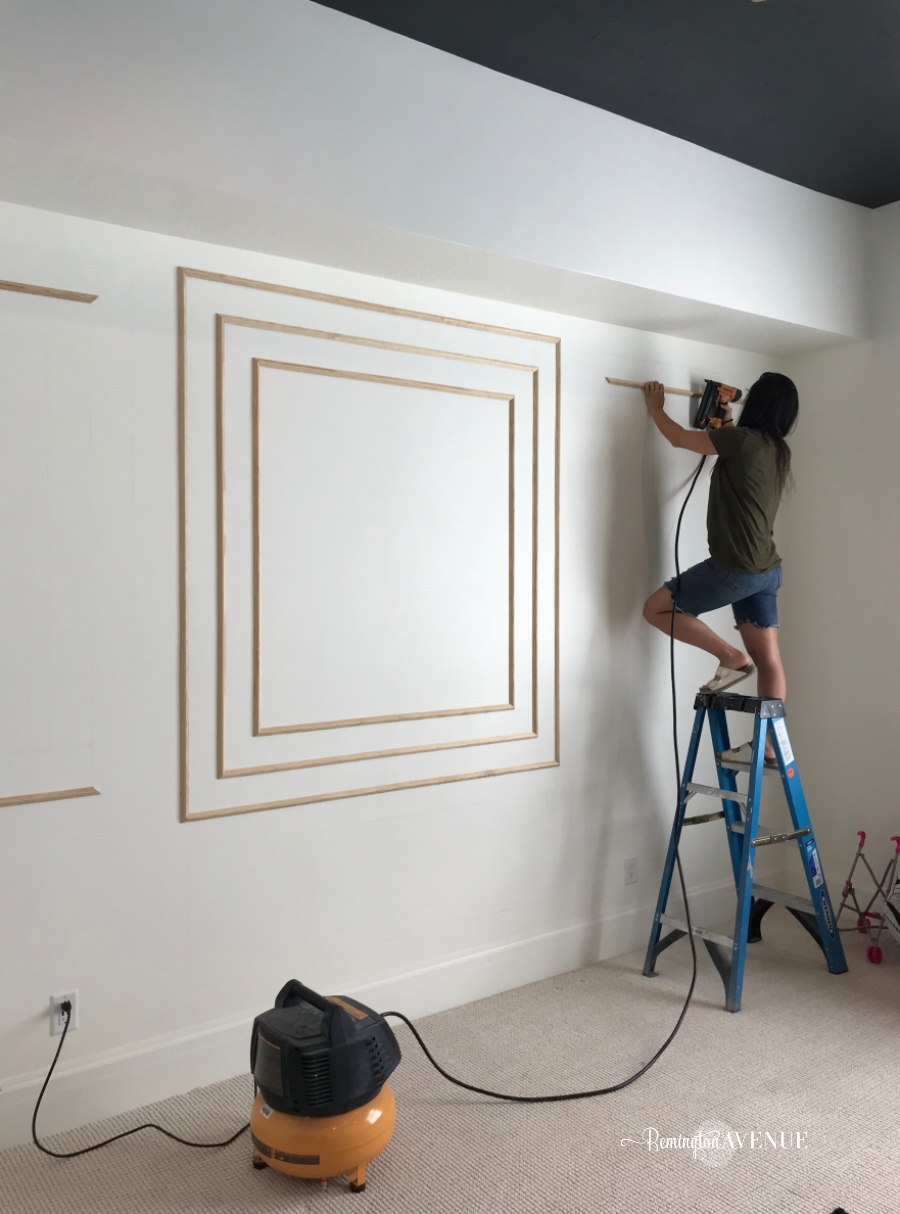
Step 6: Continue cutting & installing all of the wall molding until you have all the pieces in place.
Step 7: Use wood putty to hide nail holes. You may need to use putty to fill in corner gaps as well. I know I did! Once it’s dry, sand down until all transitions and holes are smooth.
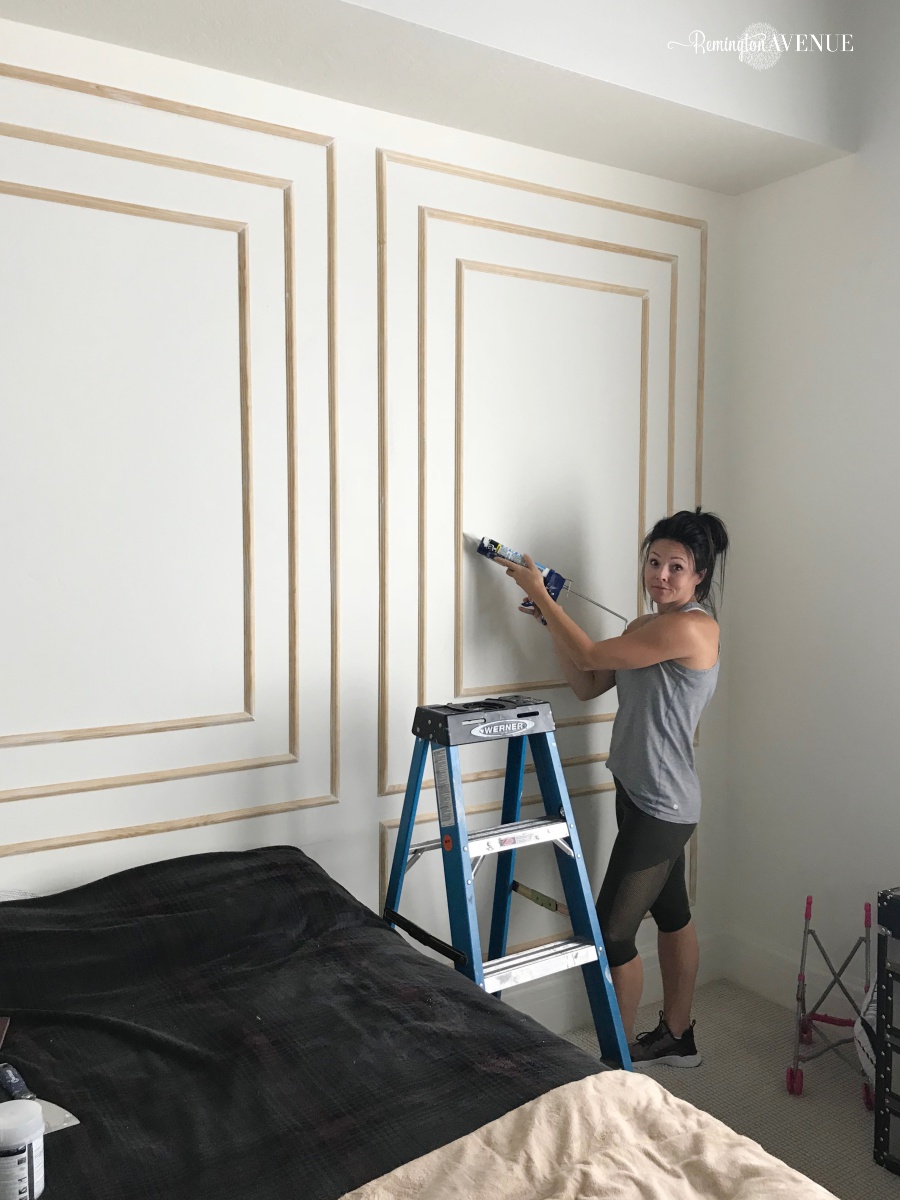
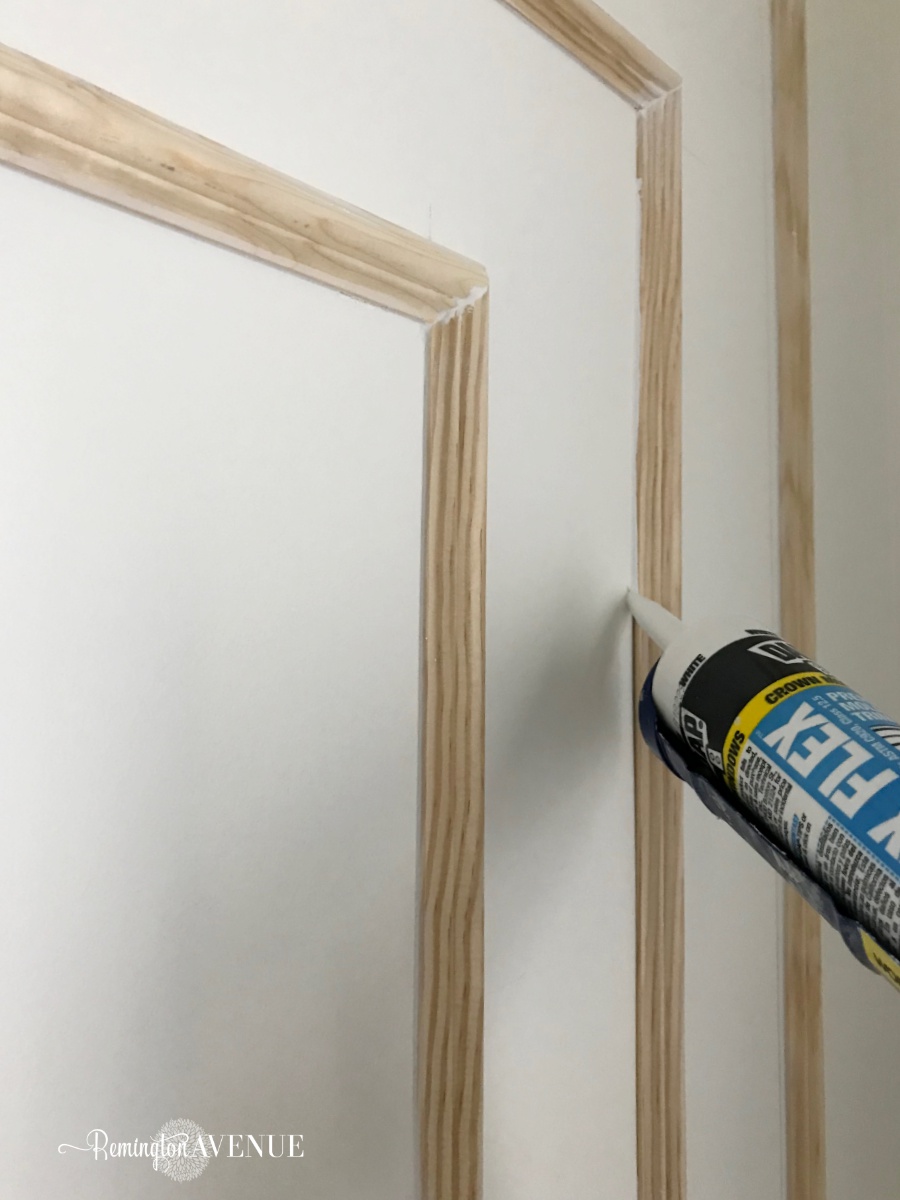
Step 8: Caulk it! This step takes forever but hides all the gaps between the molding and wall. It makes a huge difference in the finished product.
step 9: Prime it! When covering raw wood, you always want to apply a coat of primer. This will keep the wood from showing though the paint. If you purchased pre-primed trim, go ahead and skip this step.
Step 10: Paint it! I used an angled brush to apply paint over my trim. Since I was painting the molding the same color as my wall, I didn’t even have to repaint the entire wall. Just the molding yay! I used Simply White by Benjamin Moore.

Step back and admire your handy work! You did it!
Pin the image below to save this tutorial for later and share it with your friends. As always, thank for stopping in!

 Add to favorites or read later
It looks really fantastic! I just love projects!! Can’t wait to see the finishing reveal!
Thanks Cecilia, this was a fun one.
This looks great!! LOVE IT! Pinned.
Thank you Deneen.
Love this! I wish I had flat walls on my walls but I currently have like a light orange peel texture. Do you think I can pull it off with texture on the wall ? Thanks!
I always prefer a flat wall over textured, but molding adds appeal either way in my opinion. I would price out how much it would be to add board over the wall. If it’s over budget then just apply directly to wall.
Do you think this would look good in a small bedroom? Maybe only 1 square?
Finish work always looks amazing, not matter the size of the space. You could do one large rectangular box with 2 smaller covering the entire wall. Just keep in mind lengths of molding. It is hard to hide seems if you have to use different lengths for one long stretch. Does that make sense?
This room excites me!
That looks great. I didn’t really see your vision until you also showed the bottom rectangle. This is going to be awesome.
Thank you Laura!
This is one of my favorite walls in this challenge. LOVE the modern take on this molding! So excited to see your vision come together. ~~ Susie from The Chelsea Project
Susie thank you so much! My boy’s bedroom has been such a fun project for my son and I to work on together.