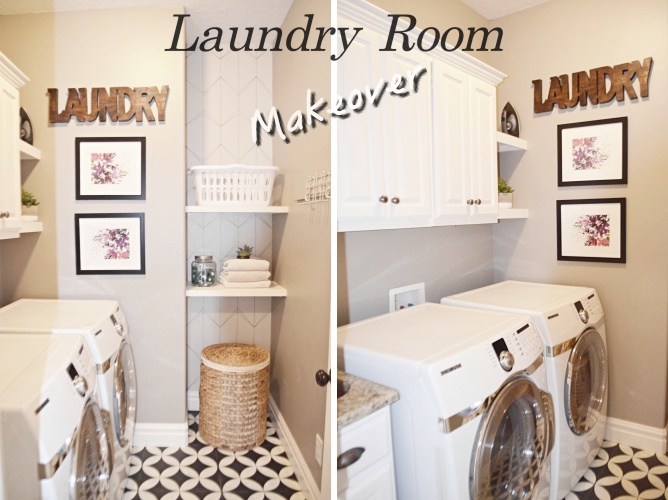
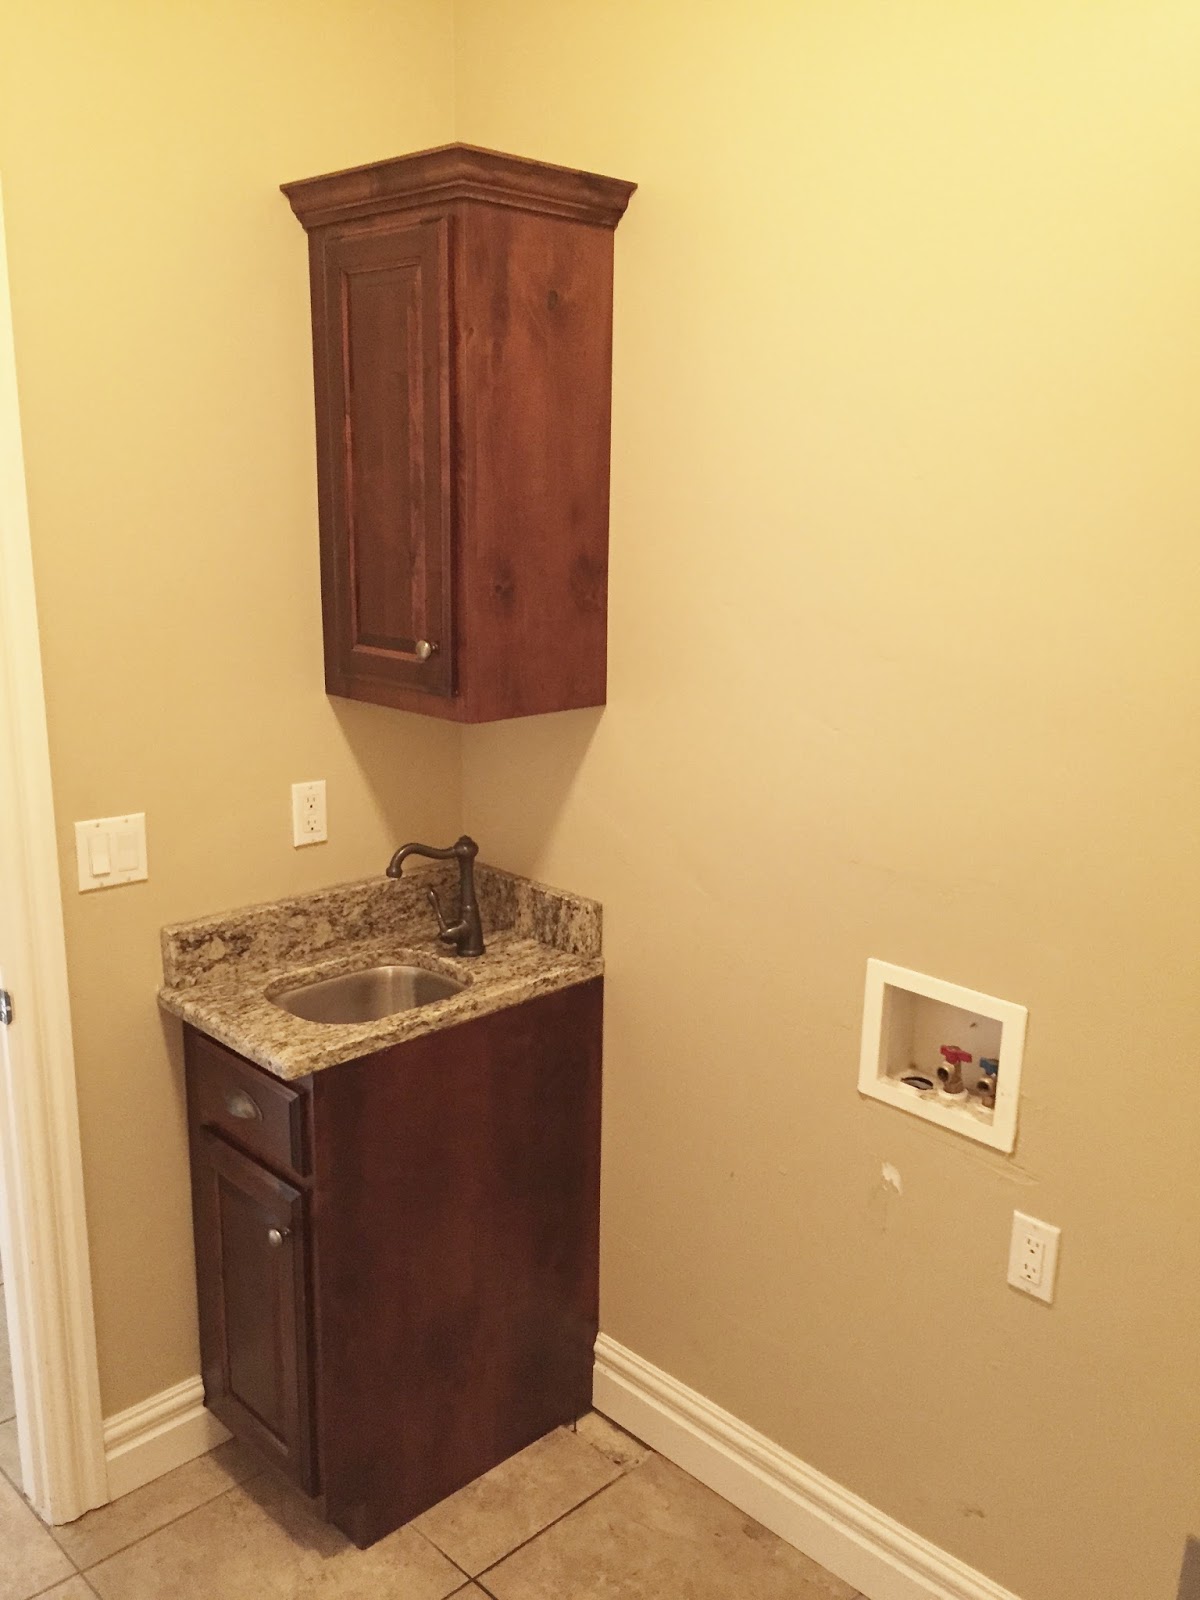
My laundry room is definitely on the small side. It measures about 6ft x 7ft and thats being generous. When we moved in, it was basically like a walk in closet except with no organization. There was a small corner sink (which I was happy about) and one upper cabinet…that’s it!
The walls were yellow, and the cabinets a dark cherry
color, same as my kitchen
When we remodeled the kitchen we removed a couple of cabinets that flanked the old hood. I had the contractor move them to the laundry room to add more storage. “Waste not want not” right?! He also added a little open shelving, which was supposed to hang over the sink, but whatever. You gotta stay on those contractors with the details btw or little things like that get looked over! Sorry for the rant! We painted all the laundry room cabinets white when we painted the kitchen cabinets and that’s where we left it until now! For a fun look at the Kitchen remodel click HERE.
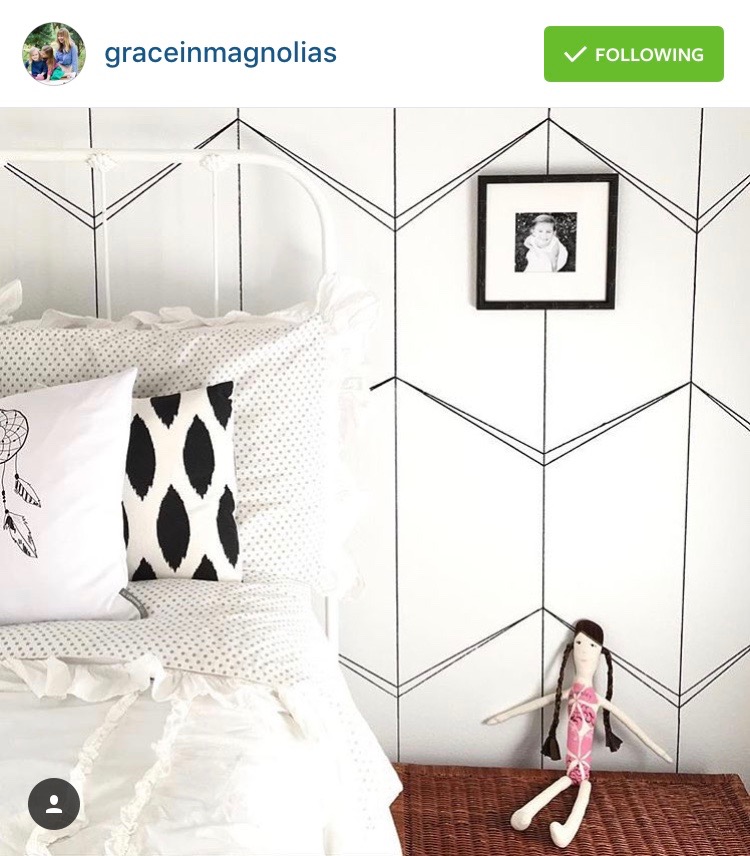
It all started with a sharpie! One of my Instagram friends posted a picture of her daughters room for #Hercuteroom tag that myself and some other gals were hosting. At first look, I thought the wall had been treated with some awesome wallpaper, but sure enough she had done it all with a sharpie! I knew as soon as I saw it that I had to replicate it somewhere in my home. Here is a photo of her Sharpie wall, and if your on Instagram you should definitely follow @Graceinmagmolias. She is super talented.
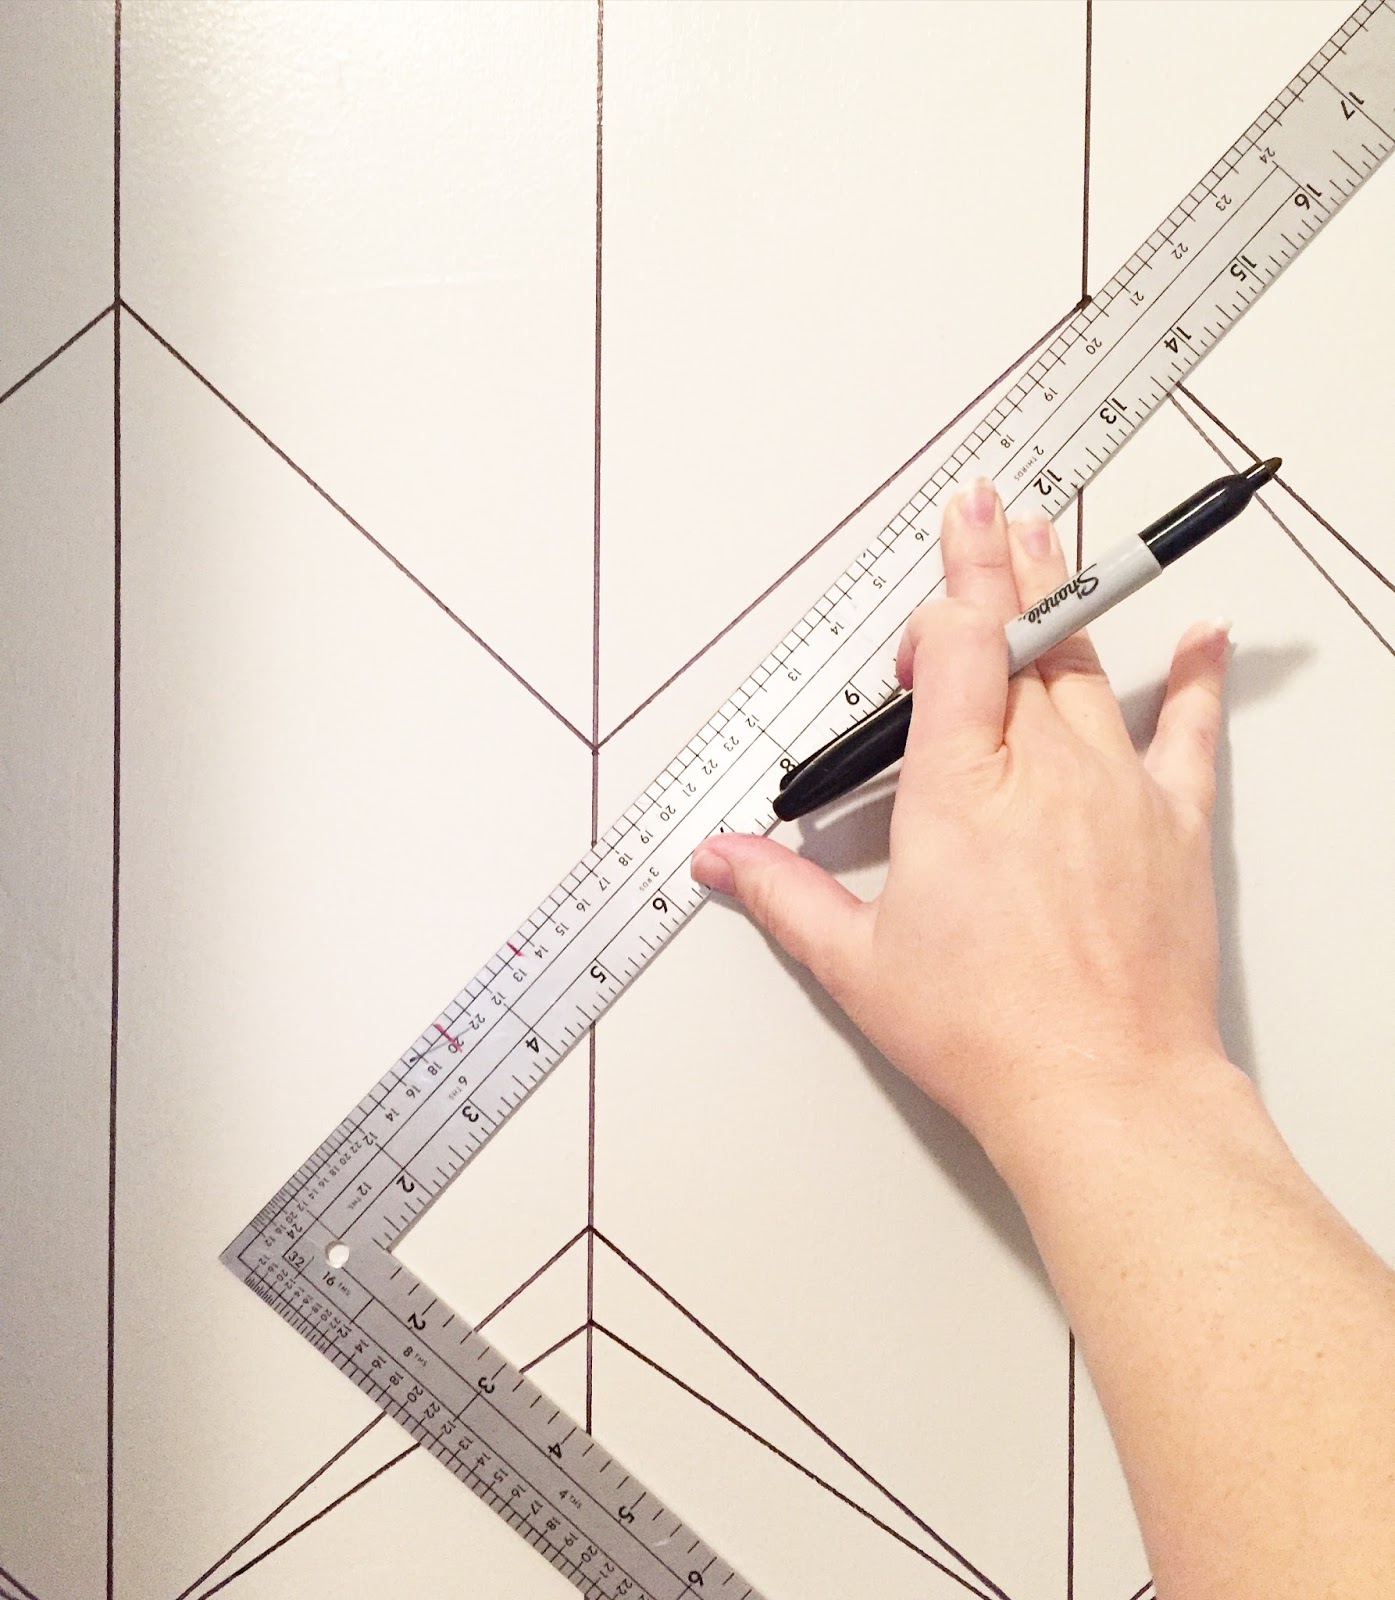
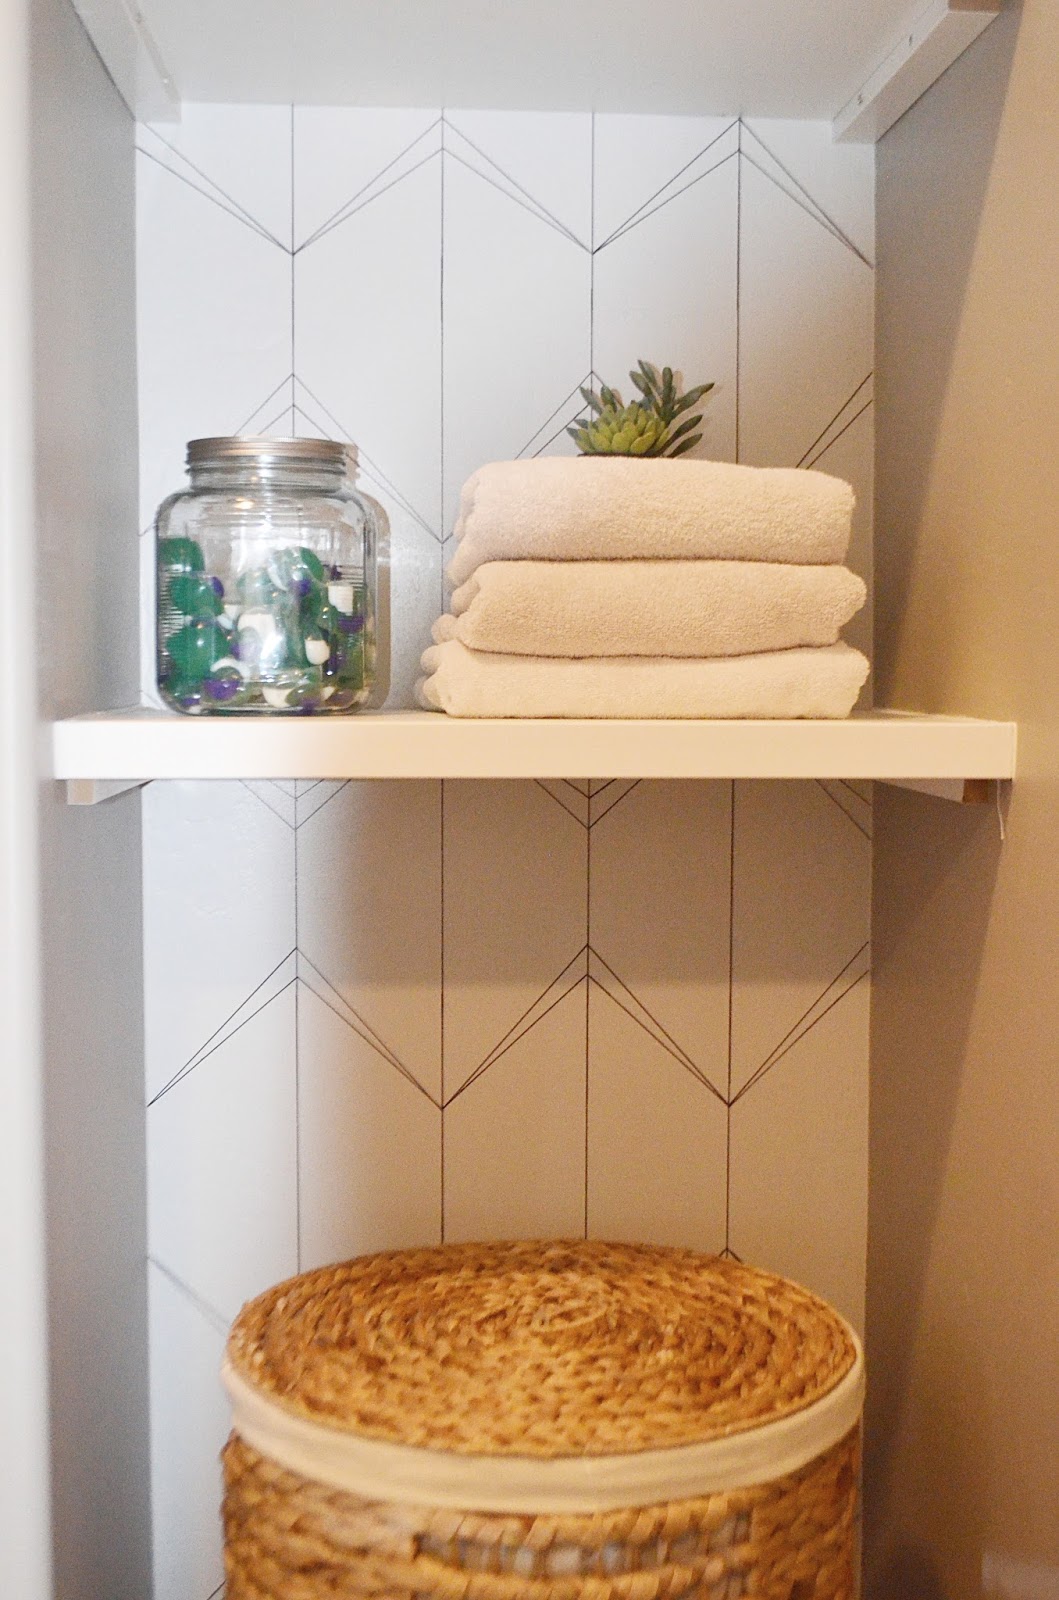
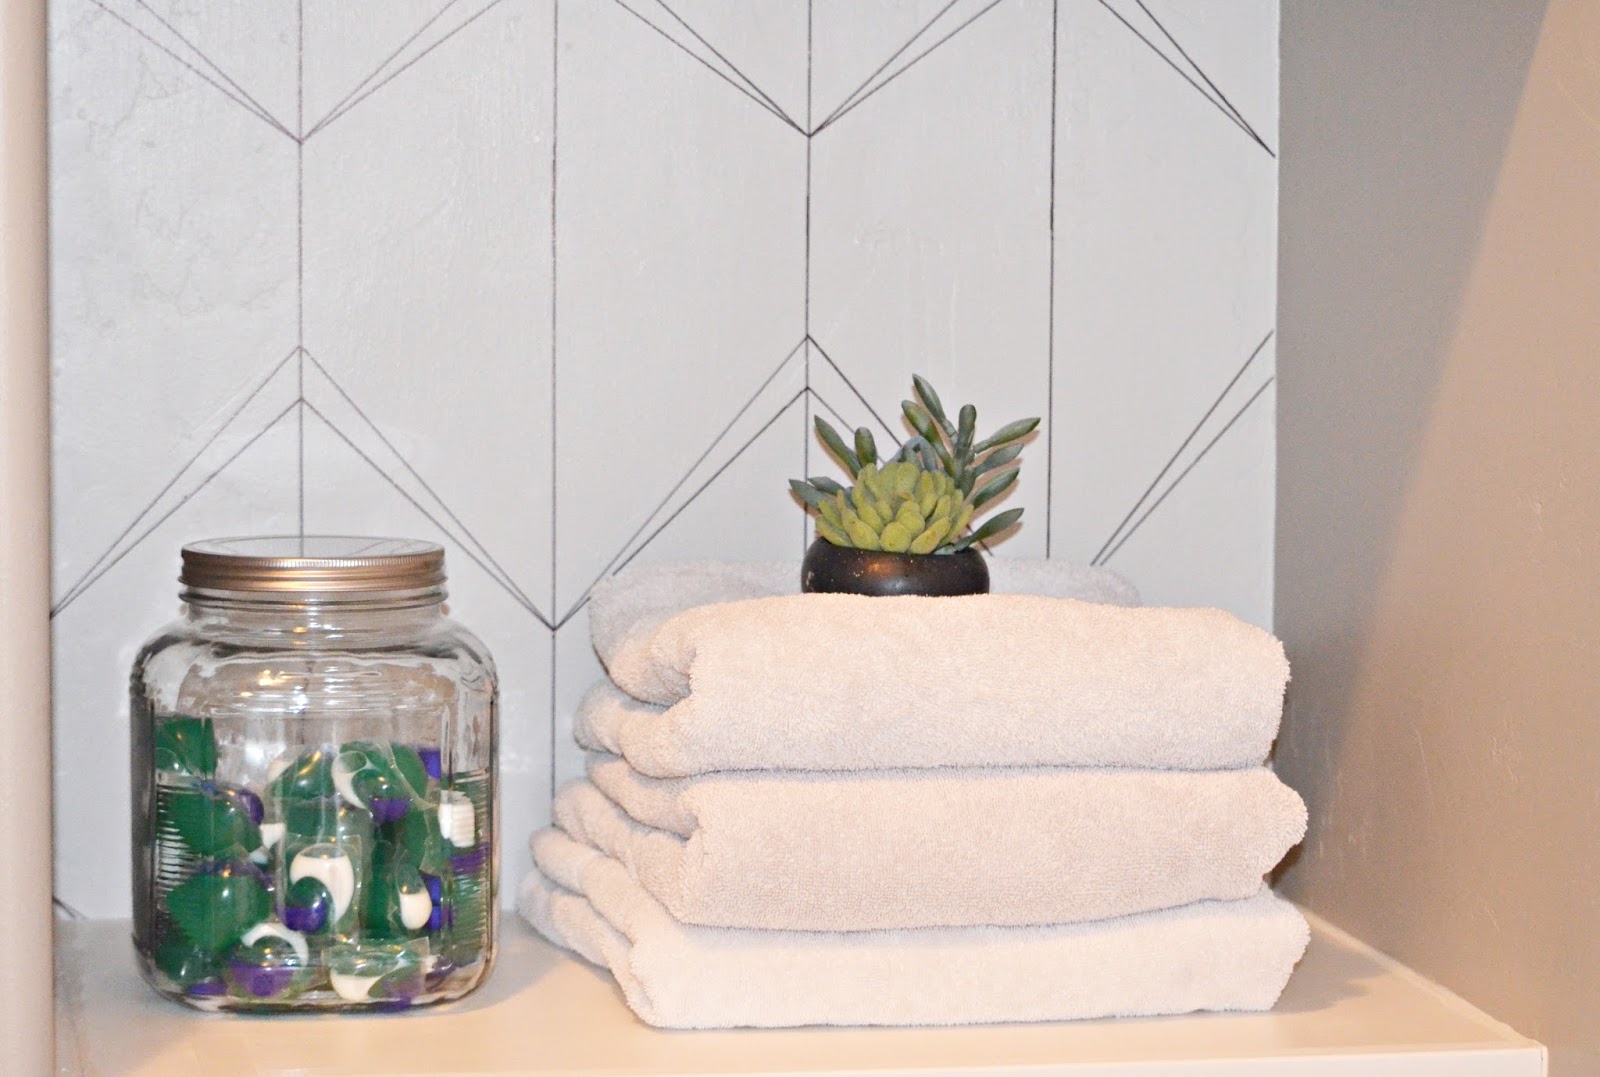
A couple weeks later while my kids were down for naps, I set out to “sharpie” my laundry room wall. Mine is not an exact match, but its close in pattern. I measured the width of the area I wanted to draw on and divided it equally into 5 horizontal sections (my wall measured 25″ across). Using a level I drew 4 horizontal lines from floor to ceiling. Then using a right angle I drew my diagonal lines at a 90 degree angle. I left 5″ between each 90 degree diagonal line on each vertical line I had already drawn. The great thing about this project is you can use whatever measurements you want! Just make sure to establish a pattern and continue to repeat.
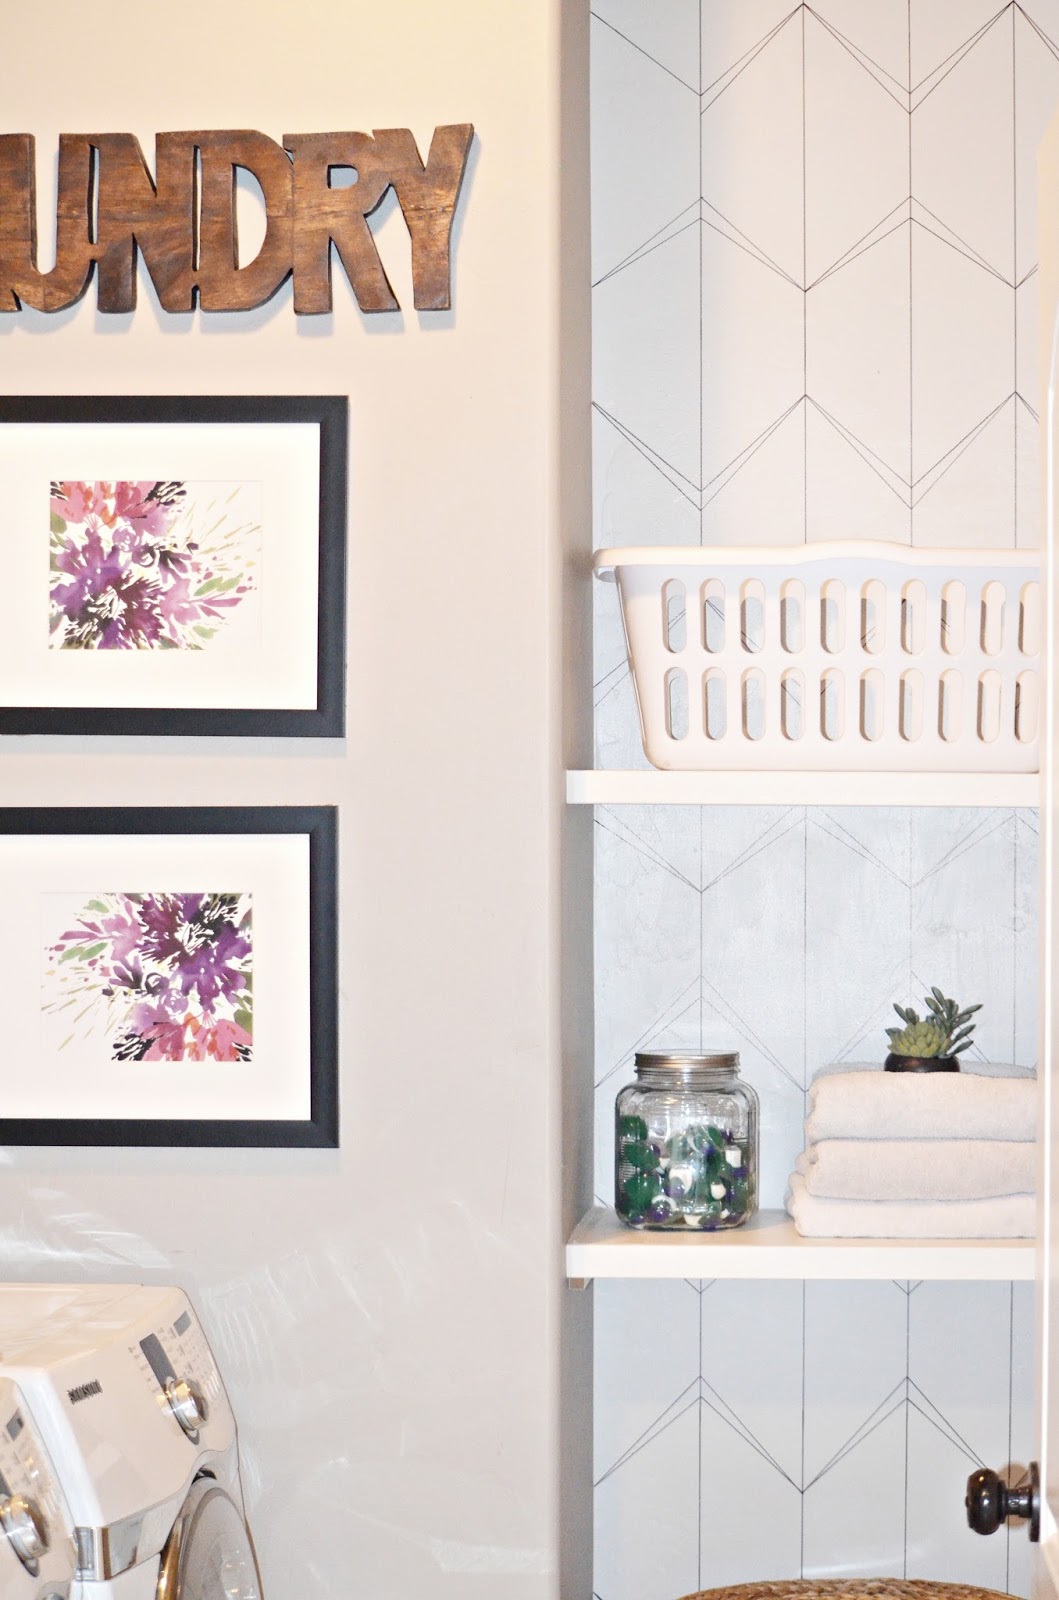
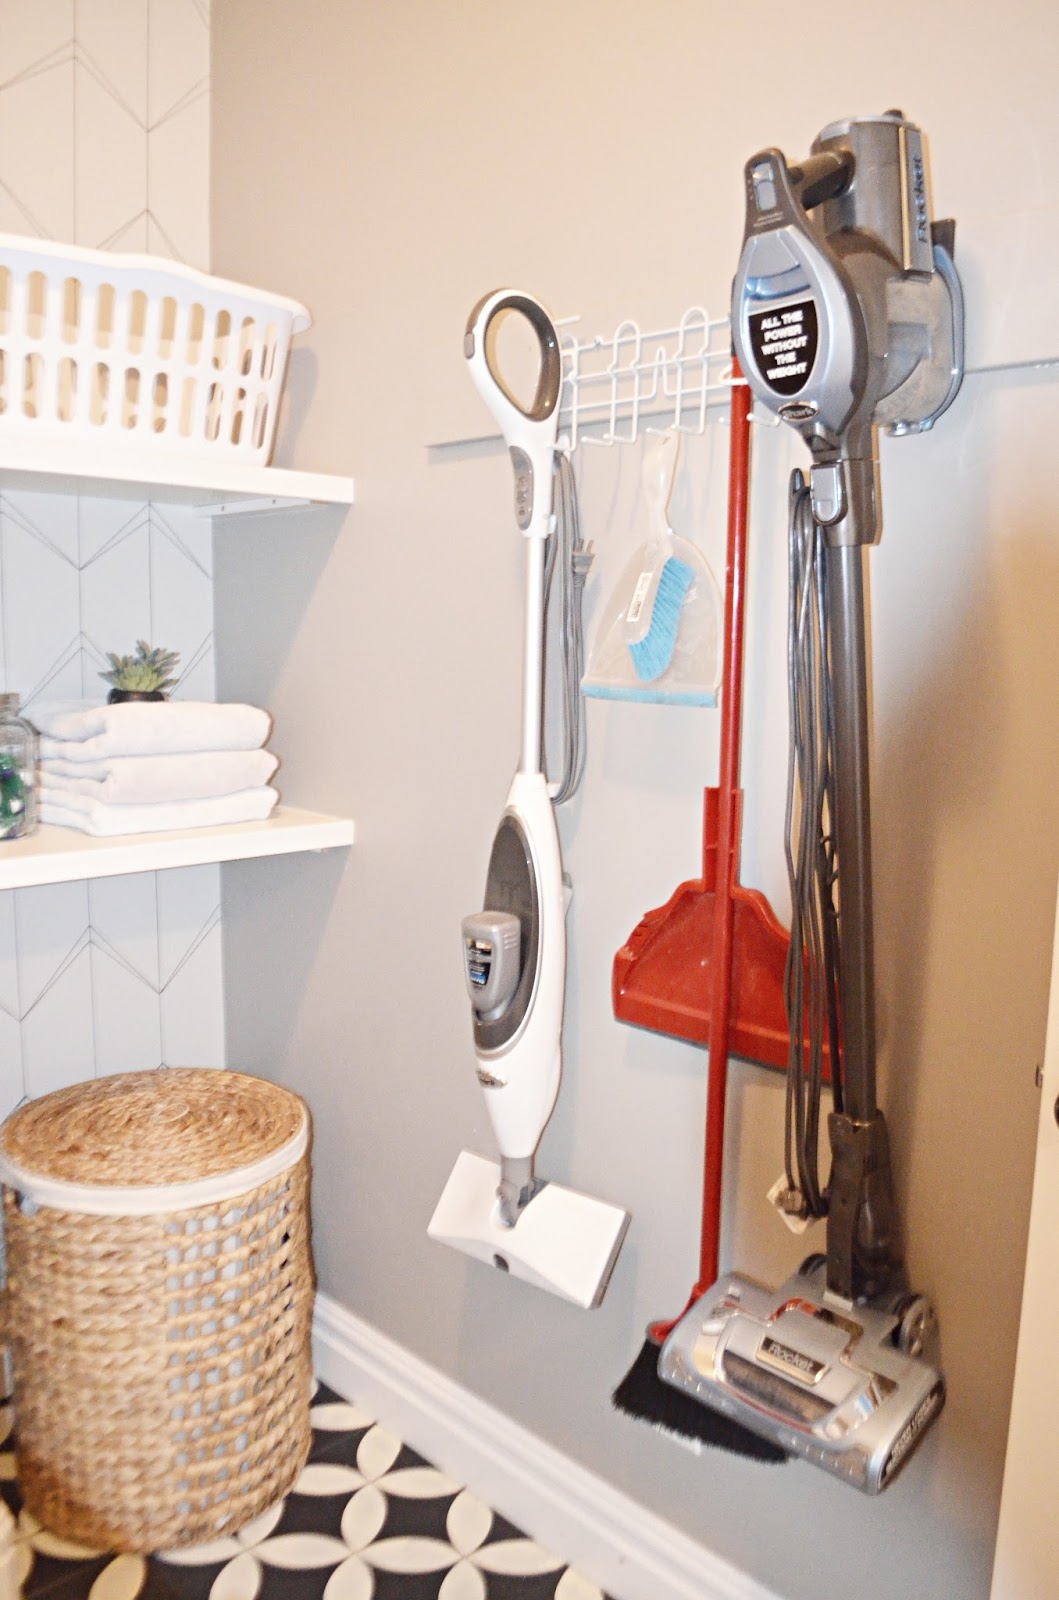
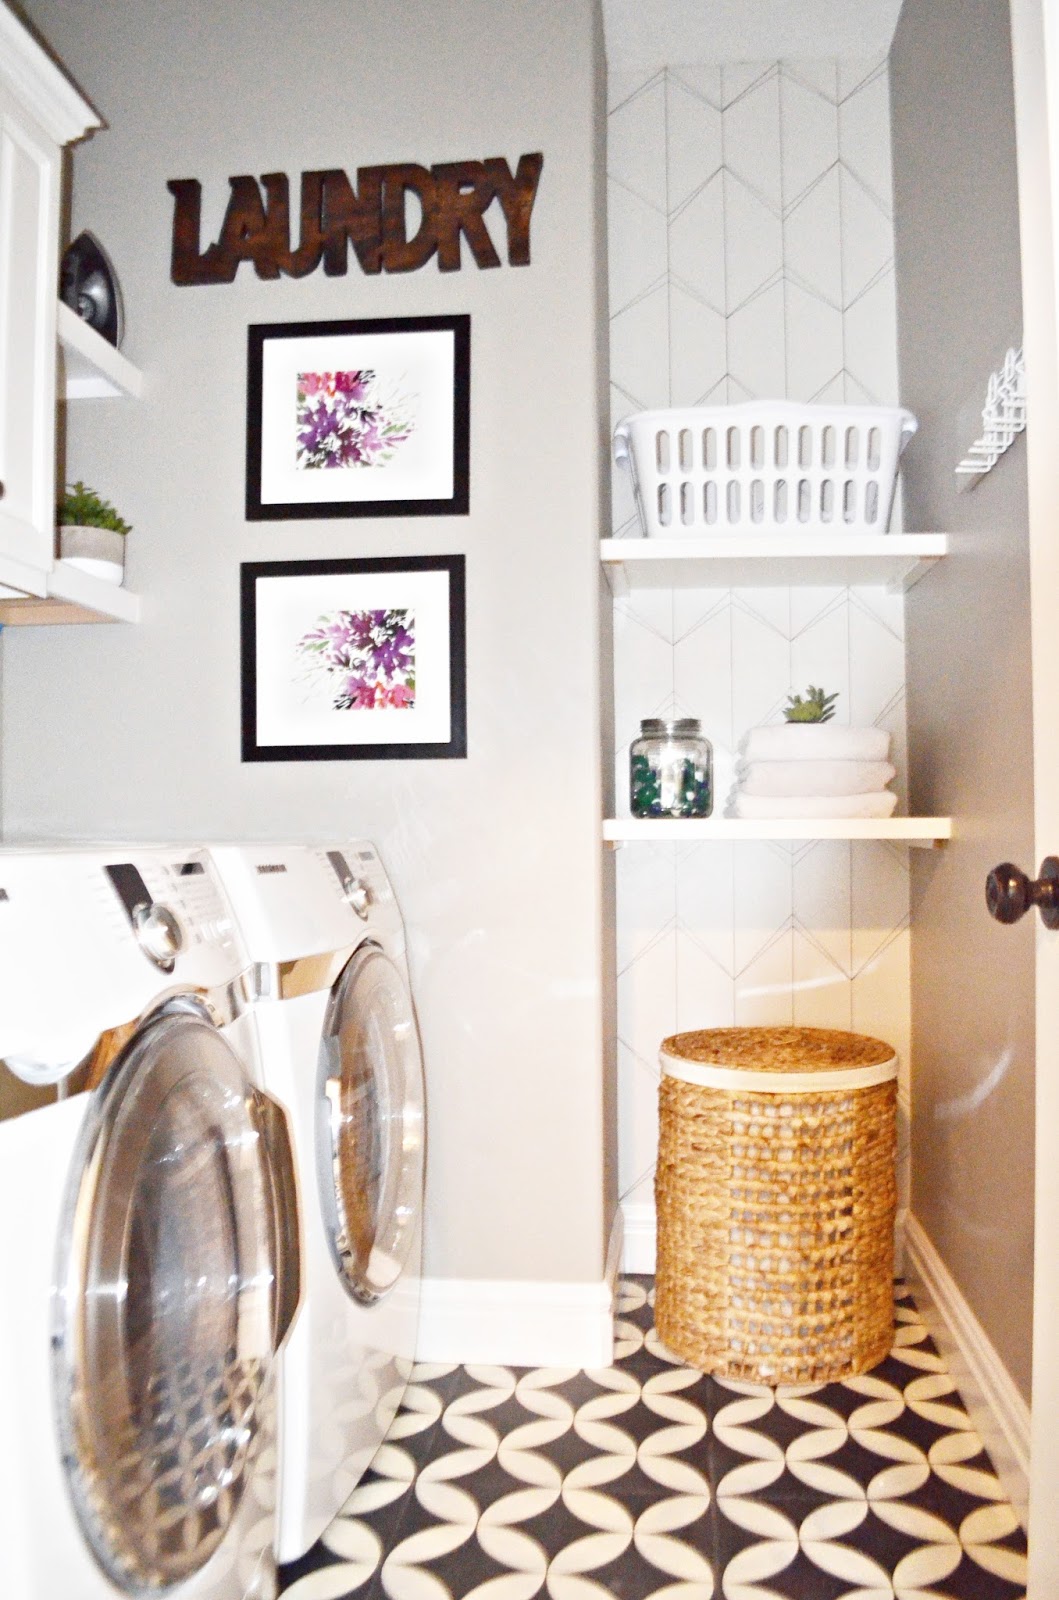
Here is a photo of the small cove I tackled in my laundry room.
I chose not to do the whole back wall because I already had a pretty graphic floor pattern. By the way, my floor is another DIY project I tackled about 6 months ago. I painted and stenciled my existing brown tile floor with this fun pattern. For a full tutorial on that click HERE.
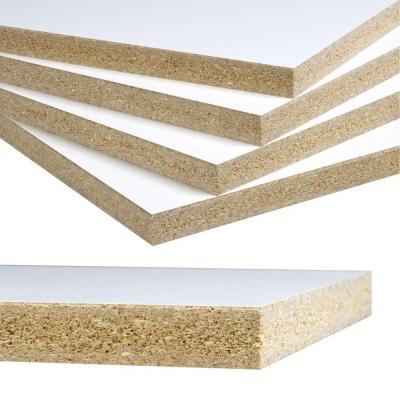
I think the sharpie wall added the perfect backdrop for my new shelves. I built these shelves using a melemine board I had cut custom to the measurements of the laundry room cove at Home Depot. The whole sheet cost me $30. They are the perfect size for 2 rotating laundry baskets… cause lets be honest, laundry rooms are all about function! To buy this product click HERE.
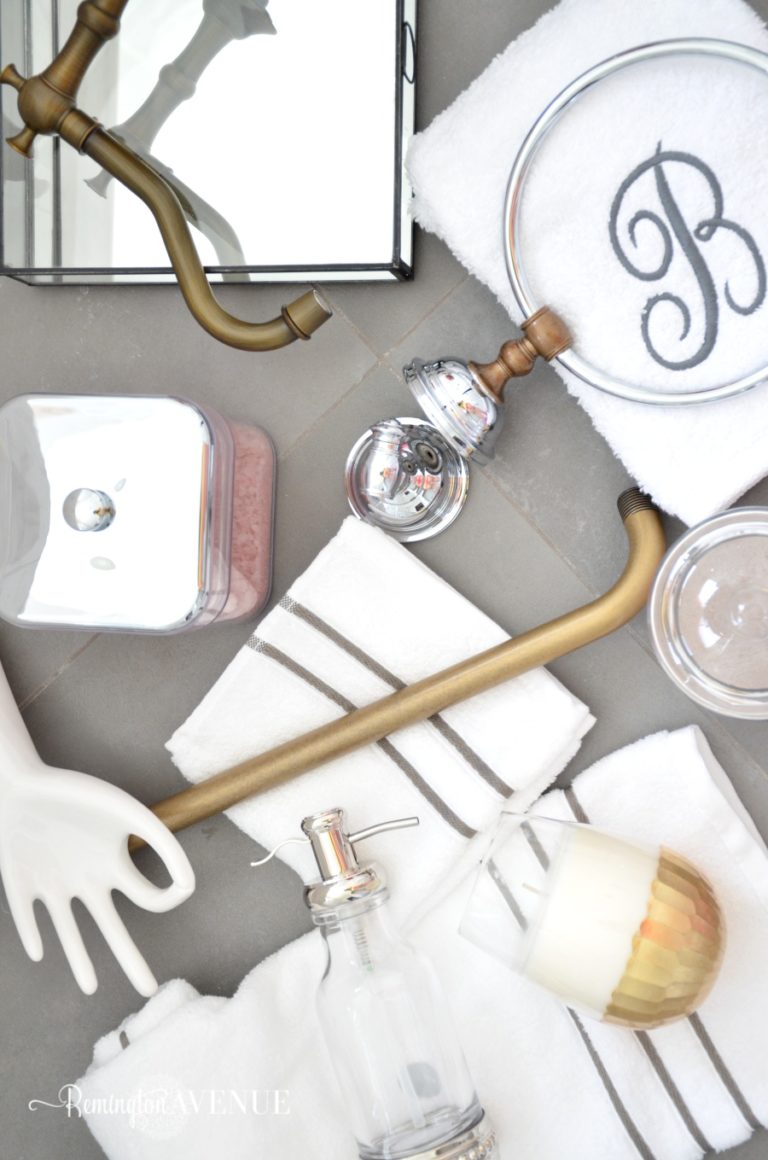
I snagged this wicker laundry basket from Home Goods for $20 on clearance. In my opinion you must have a place for dirty dish towels and sorts. I suppose Home Goods was a one stop shop for all the decor you see here. The “laundry” sign and the 2 matching floral prints were purchased there too.
I also mounted a broom rack on the right wall. Now that my little cove had a new function, I needed a space to organize my cleaning tools. Its not the prettiest, but it does the job. All in all I spent about $80 (including the paint supplies for the stenciled floor) on my mini laundry room makeover. Its super functional and it even looks good too! Thats a win win!
Love this!!! This is the laundry room inspo I needed. What color paint are your walls?
Dorian gray by sherwin williams! so glad you like it rachel
Hello, Your make over is fresh , efficient and i think also energizing. You already know all of this plus more! I would like to know how your floor that you did last August in your Bathroom is holding up as well as how you clean this BATHROOM floor 🙂 Love your ideas! *I found you via Pinterest With Kindness, Mary
Do you have any tricks on moving the washer & dryer back over the stenciled floor w/o scratching the paint? It looks fantastic! Love your blog!
Yes! place a washcloth under each corner then move into place


 Add to favorites or read later
Love this!!! This is the laundry room inspo I needed. What color paint are your walls?
Dorian gray by sherwin williams! so glad you like it rachel
Hello,
Your make over is fresh , efficient and i think also energizing. You already know all of this plus more!
I would like to know how your floor that you did last August in your Bathroom is holding up as well as how you clean this BATHROOM floor 🙂
Love your ideas! *I found you via Pinterest
With Kindness,
Mary
Do you have any tricks on moving the washer & dryer back over the stenciled floor w/o scratching the paint? It looks fantastic! Love your blog!
Yes! place a washcloth under each corner then move into place