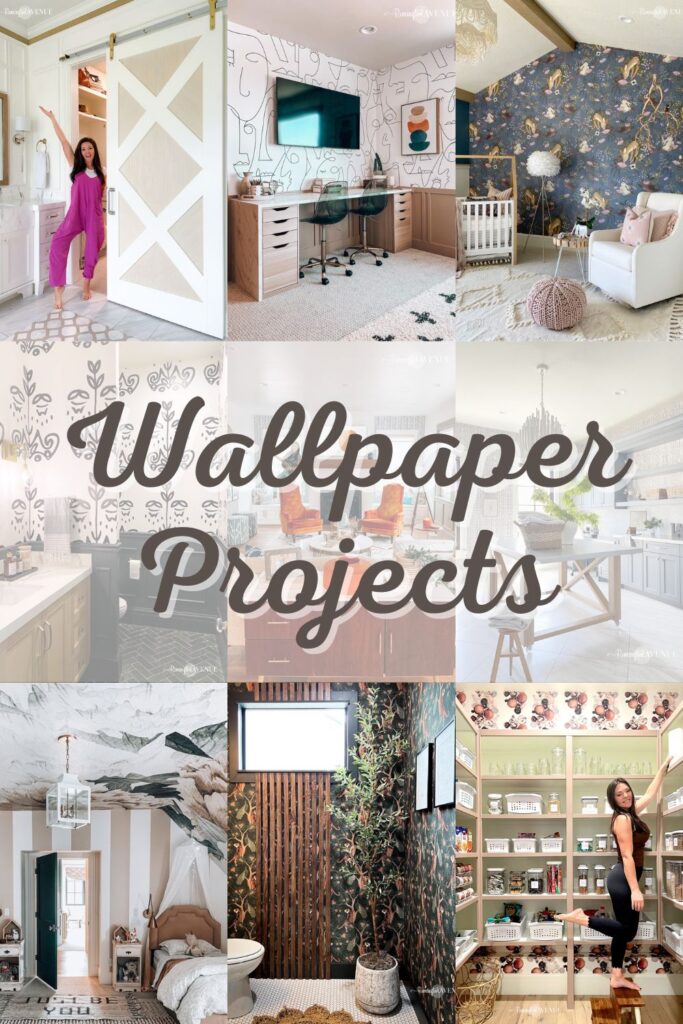
My Wallpaper Projects
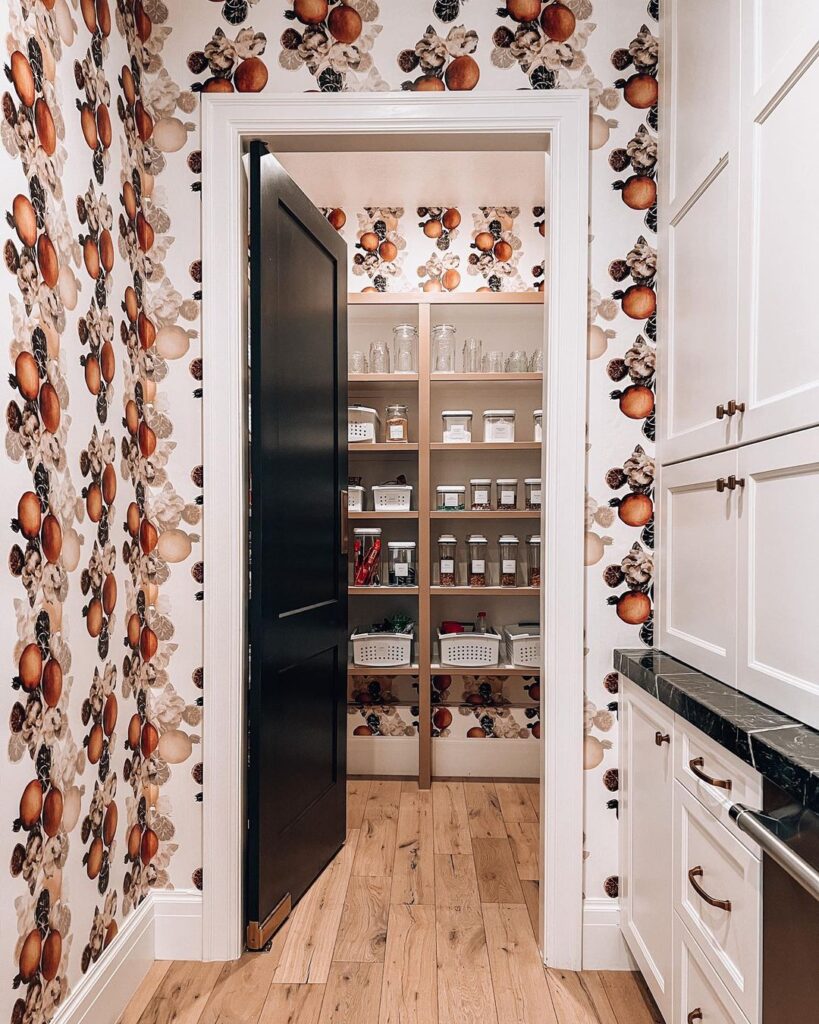
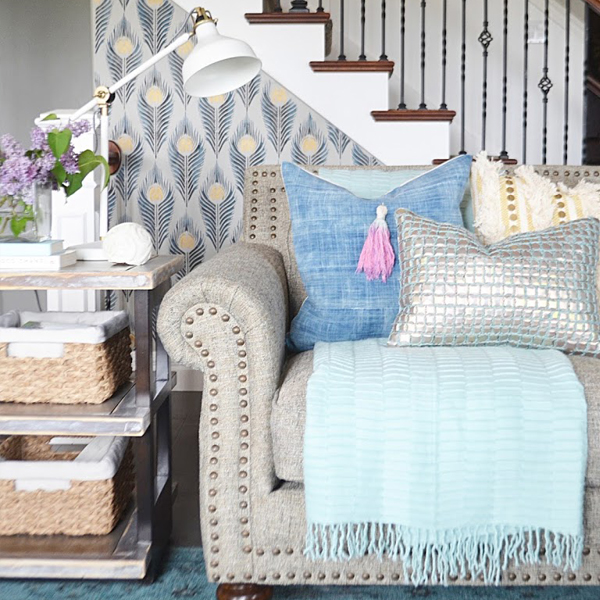
Over the past couple years, you’ve seen me do my fair share of wallpaper projects! I love the punch a good wallpaper can pack and how it can instantly transform a space! Here are a few of my tips and tricks for wallpapering, as well as a roundup of all of my wallpaper projects!
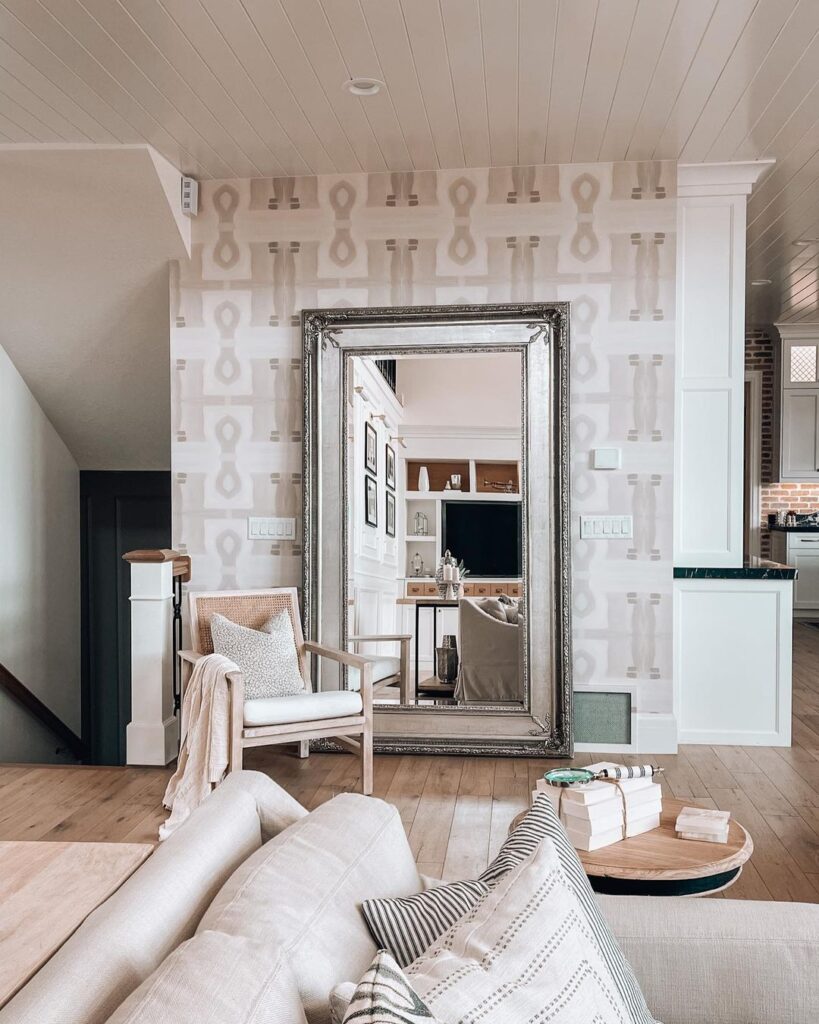
One thing to note about me is that I am super passionate about quality wallpaper. I will always choose prepasted paper over traditional paper or peel and stick. Mostly because it’s easier to manipulate and move around once it’s on the wall. So while it may be a little more messy because you have to deal with the water, it is so much easier to install. Copper corners wall paper is easy to remove as well. use hot water and soak it down, and you can peel it off later. I love that aspect! That isn’t to say peel and stick paper is bad. Some patterns only come in peel and stick. Plus, it’s better if you’re a renter since it’s more easily removable.
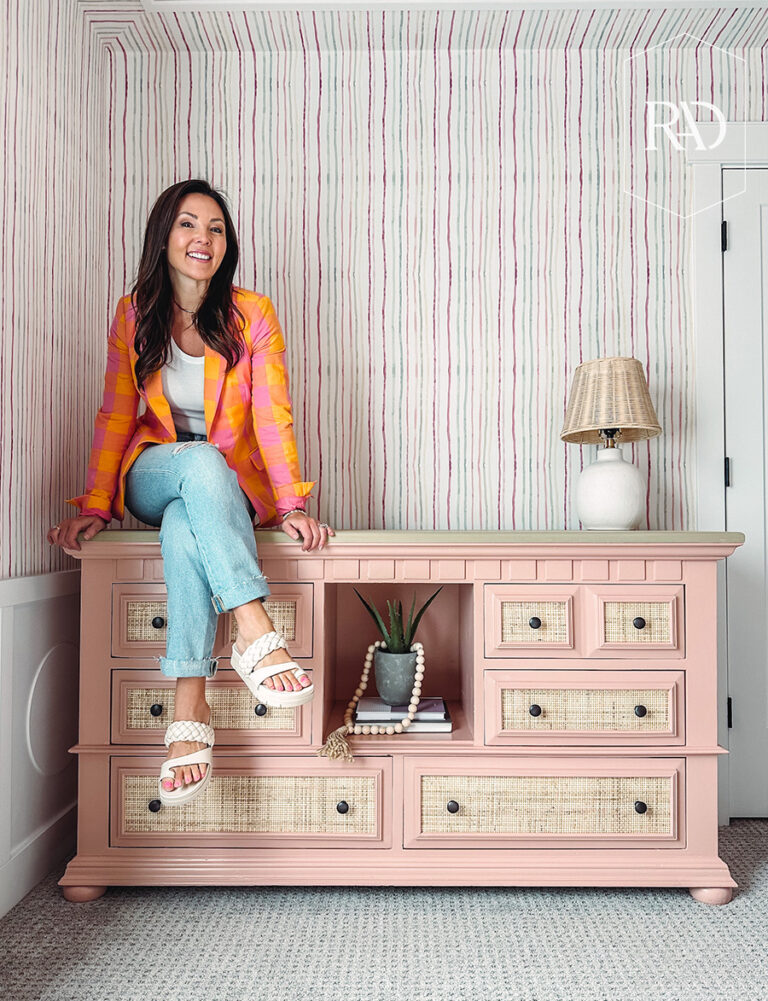
Most of these wallpaper prints are from Copper Corners. I am a huge fan of her one of a kind prints and the quality is amazing. You can always use my code: REMINGTON10 for 10% off anything on her site. Go check out her selections, I bet you will fall in love with something.
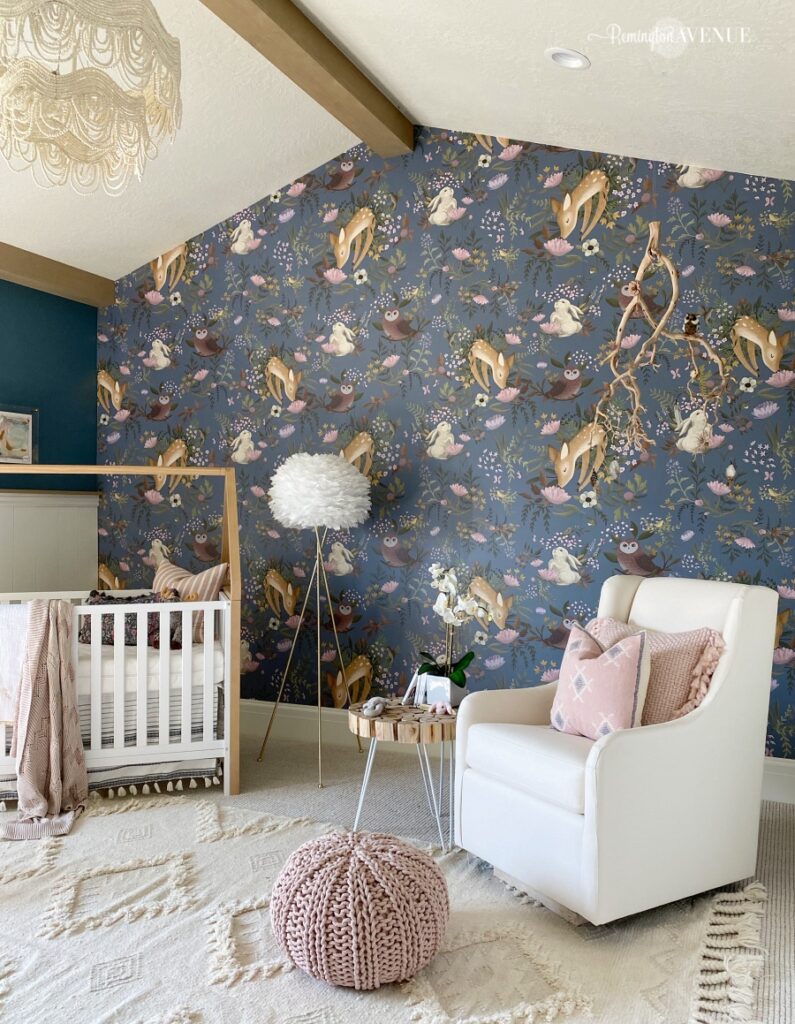
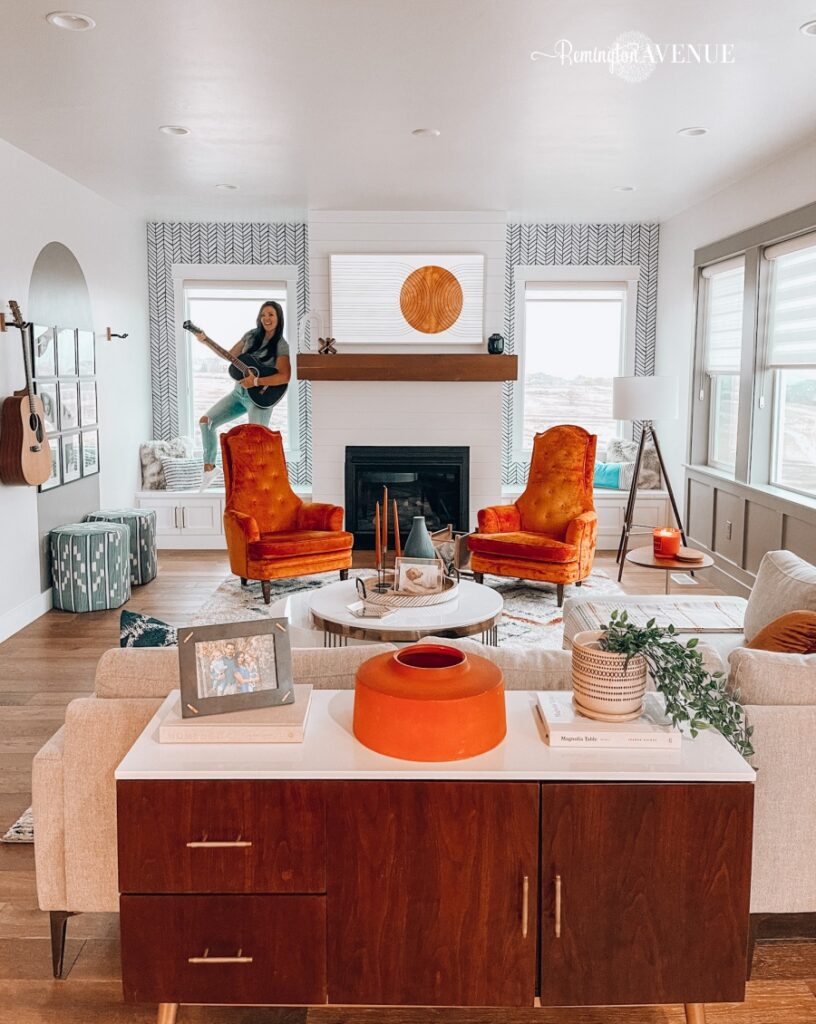
A question I get asked allll the time is if you can wallpaper over textured walls. And you sure can! Busy patterns, multicolored papers, and grasscloths are great for covering textured walls. Busy patterns are also easier to patch if you make a mistake! If you really want smooth walls, you can always skim coat your walls first.
Supplies you’ll need:
- Scissors
- Straightedge
- Razor blade
- Bucket of water
- Sponge
Wallpaper prep and install:
- Roll up with the pattern side in.
- Soak the roll in water for 15 sec.
- Fold paste side to paste side and let sit 2 min.
- Always start hanging your wallpaper from the top down.
- Use a wet sponge to smooth out the air bubbles.
- When going around a corner, hold the paper in place when lined up on the seam while smoothing around the corner. Sometimes trying to wrap a corner will create gaps so holding it in place will prevent that.
- Trim the excess. I like to let the paper dry for 30-40 minutes then trim it with a razor blade! If you trim it wet it snags and if you trim it totally dry, it’s not as forgiving.
- Trim around windows with scissors. Use a straight edge and razor along baseboards, ceilings, shelves.
Take a look at my wallpaper projects below!
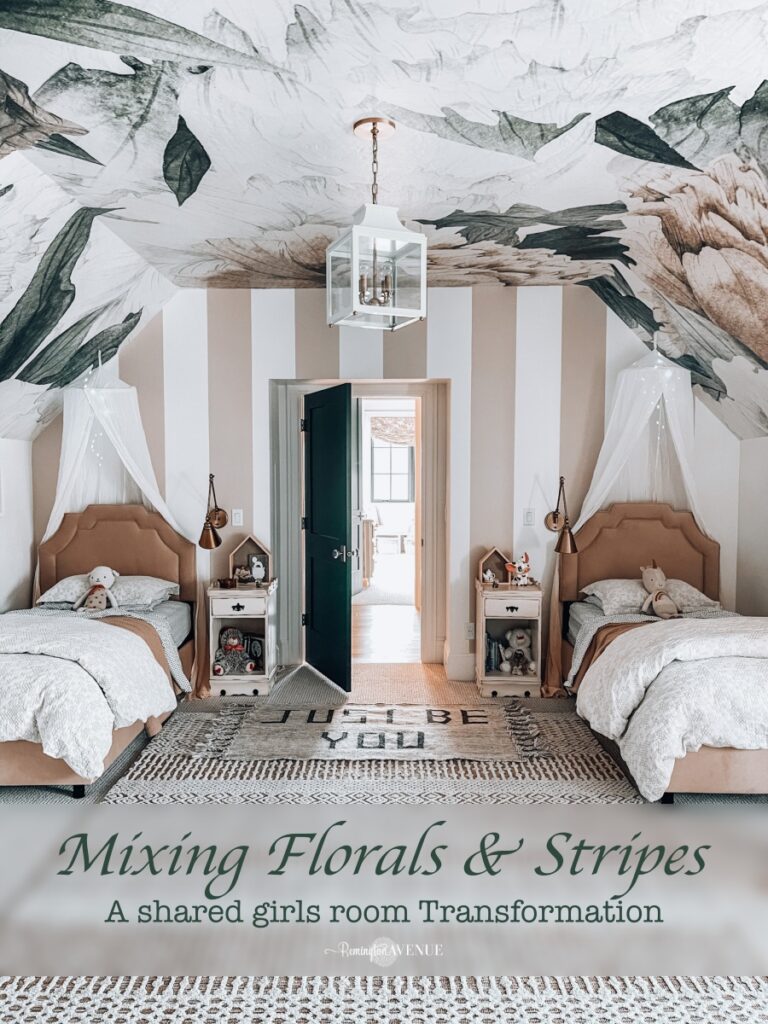
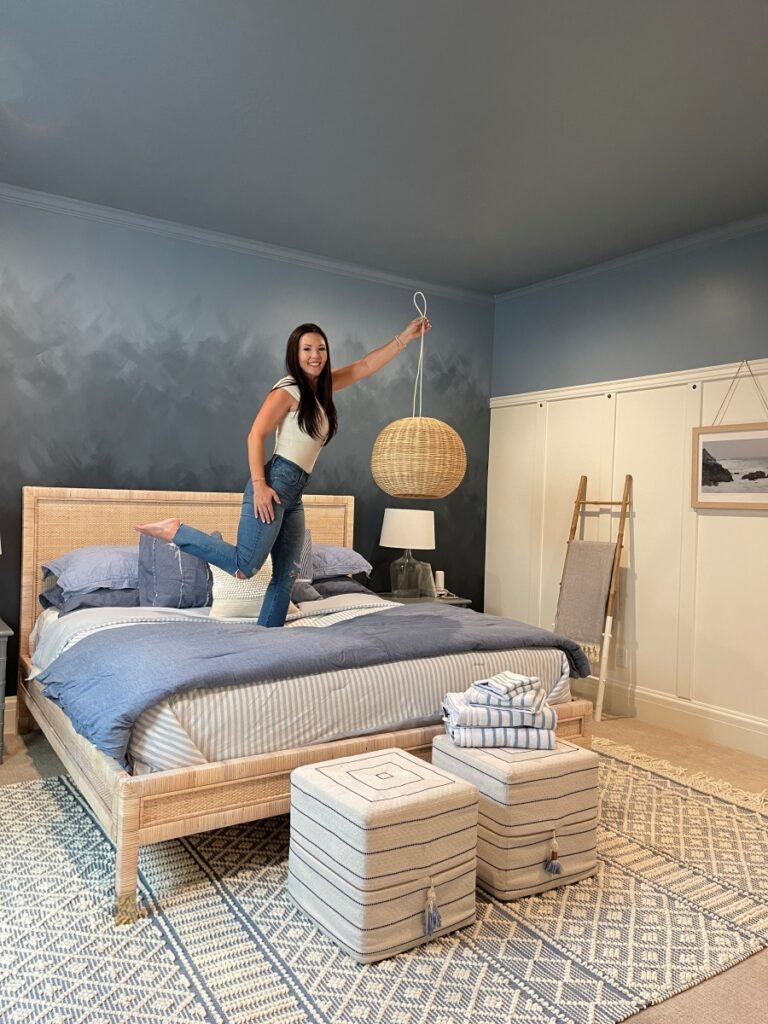
Shared Girls Bedroom with Floral Wallpaper and Girl’s Bedroom Update
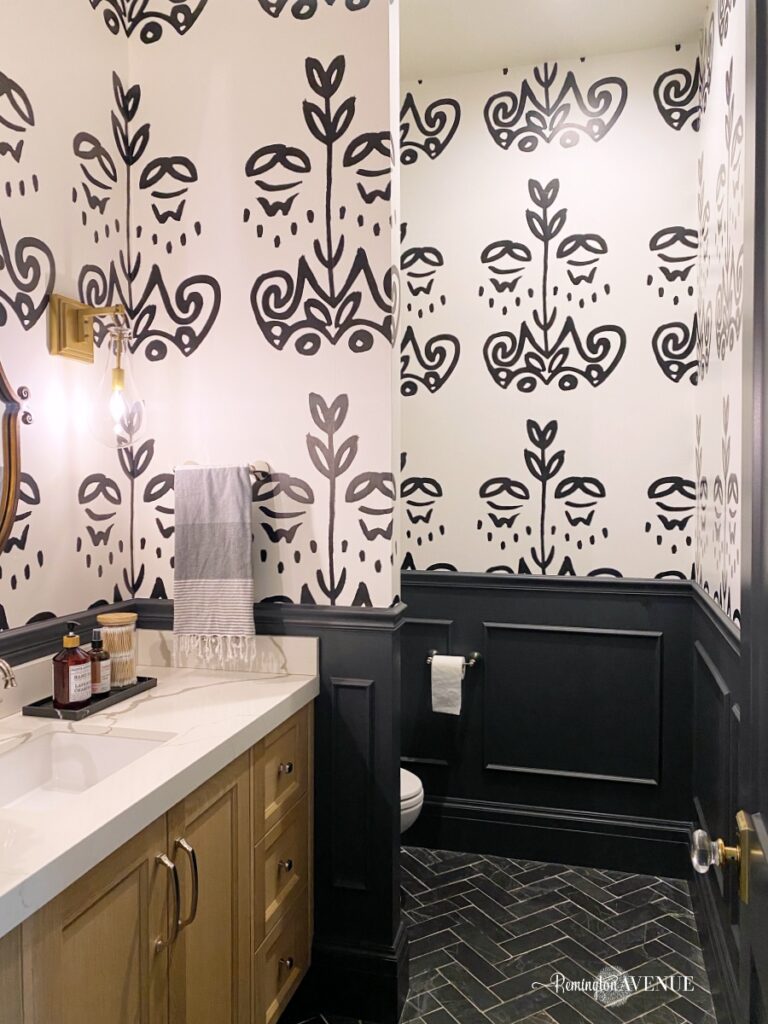
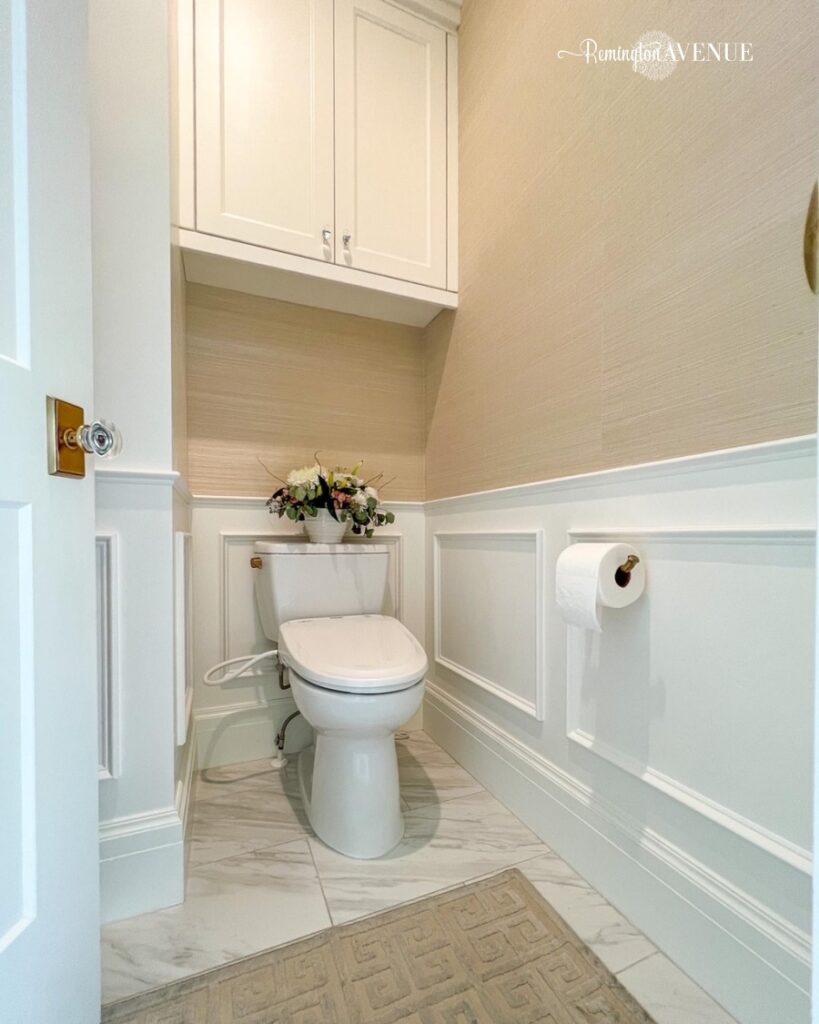
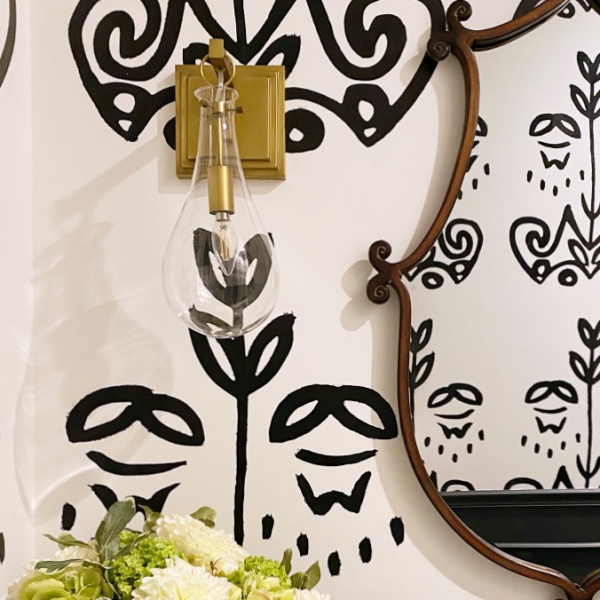
Black & White Powder Room Reveal
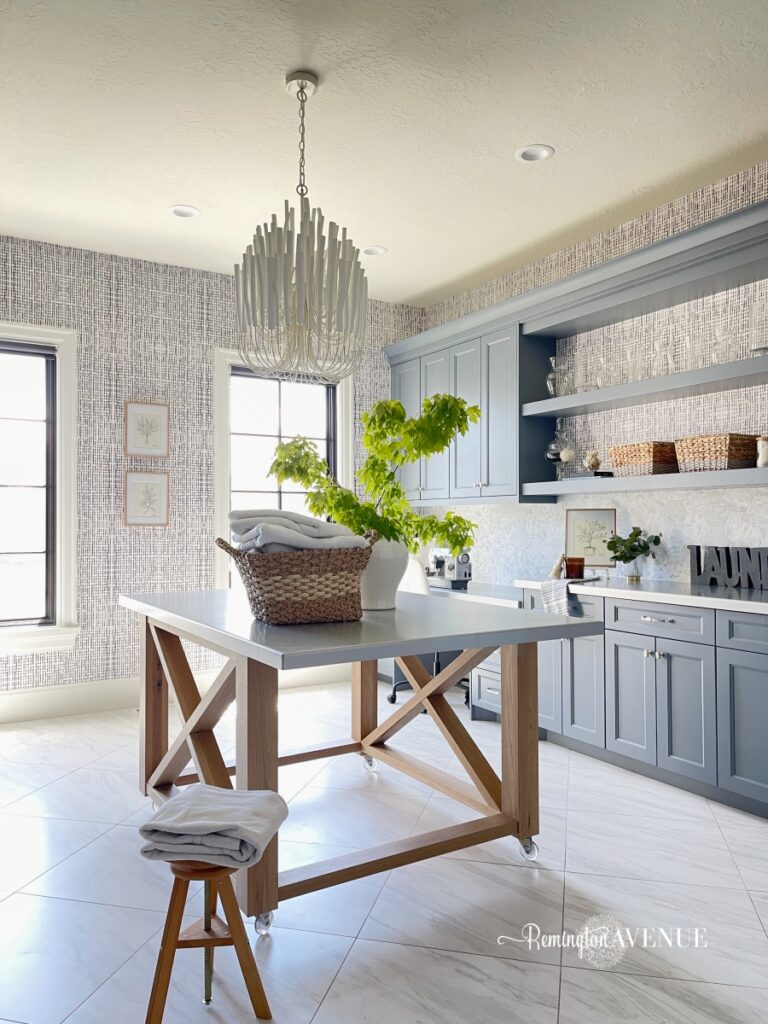
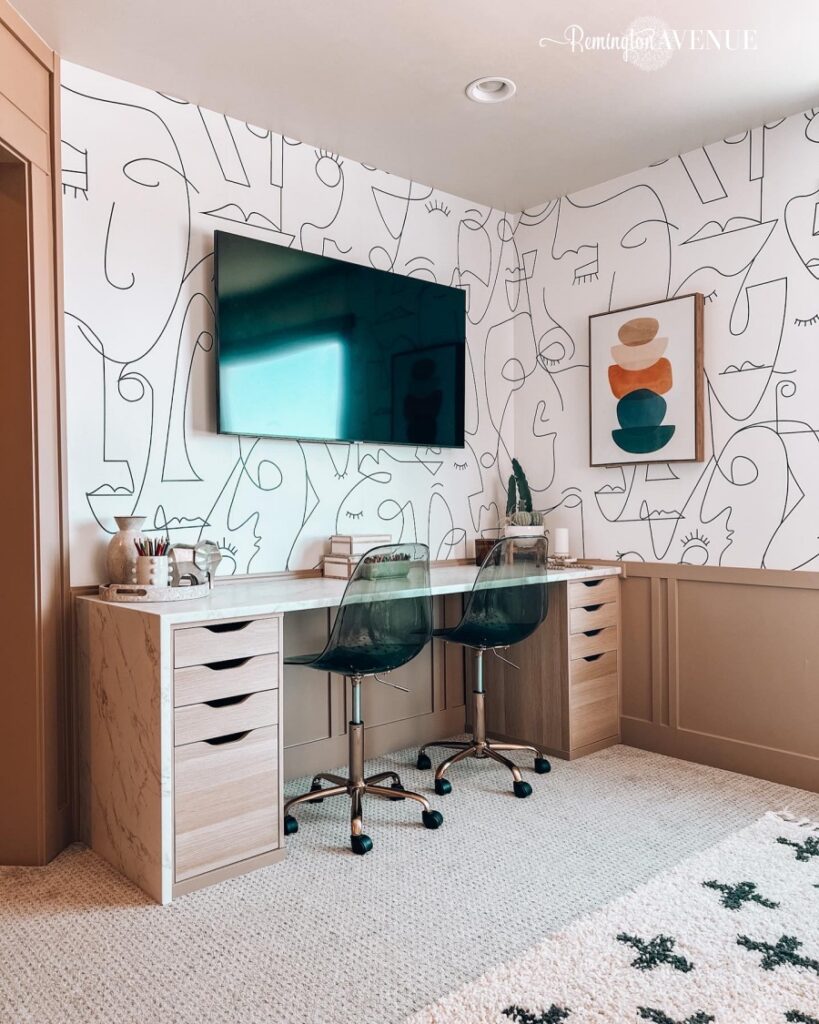
DIY IKEA Hack Homework Station and Sister’s Loft Renovation Reveal
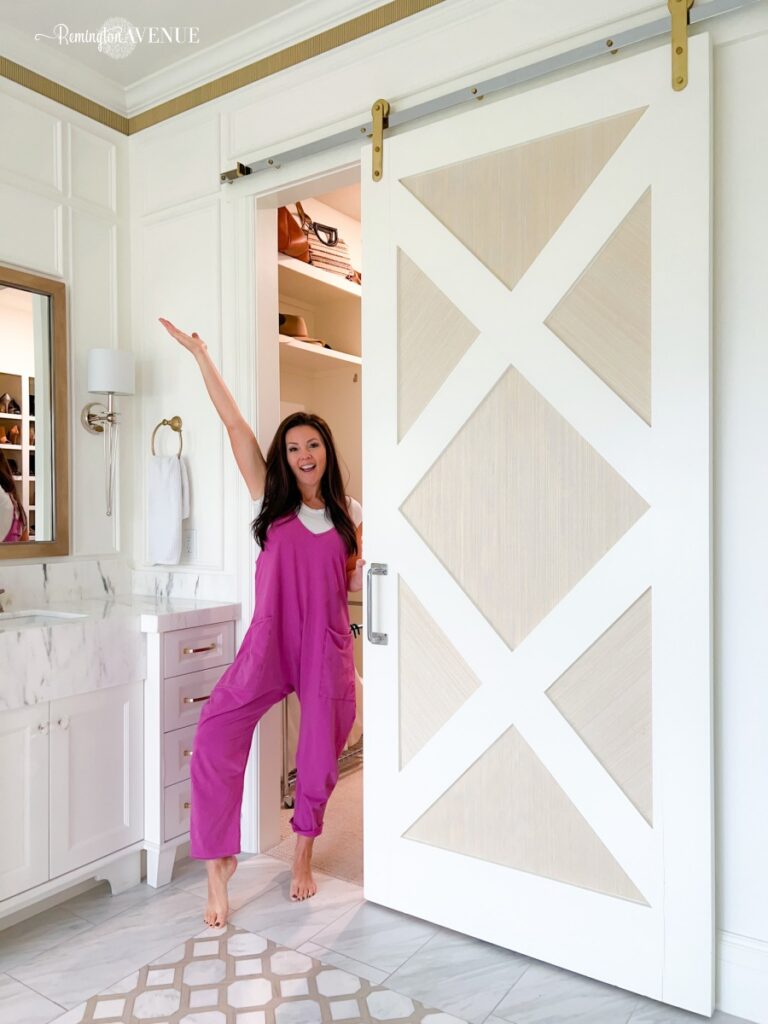
Moody Bathroom With Grasscloth Wallpaper

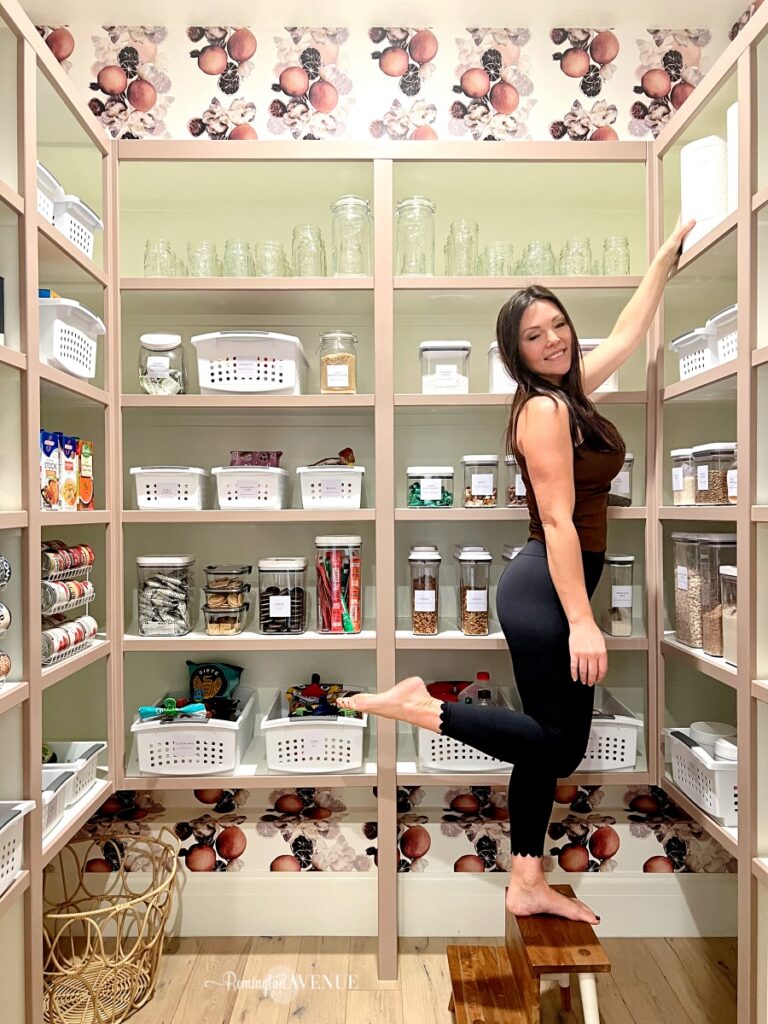
I also just finished installing wallpaper in my friend’s’ pool house in the Hamptons. You can watch that Instagram Reel below!
And that’s a roundup of my wallpaper projects! Which one is your favorite?

 Add to favorites or read later
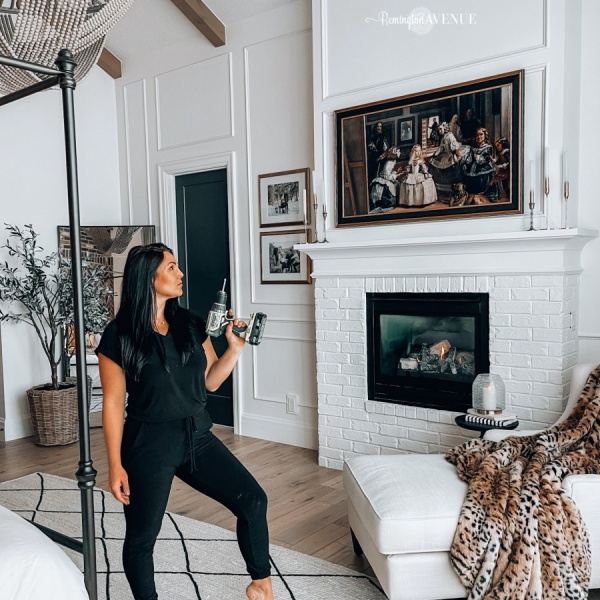
Hello Tisha, I enjoy watching your projects. You’re very talented!
I have textured walls, can you please share prep and installation tips to install wallpaper on textured wall.
Thanks
Vivian