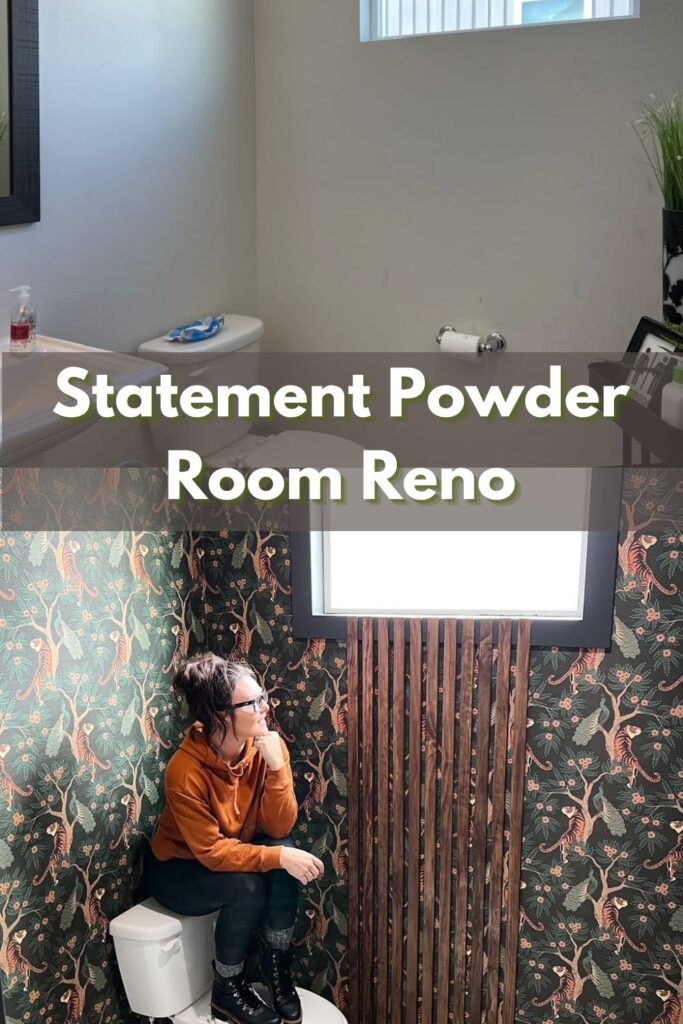
Statement Powder Room Reno
This statement powder room reno has been the next big project in my sister’s house renovations!
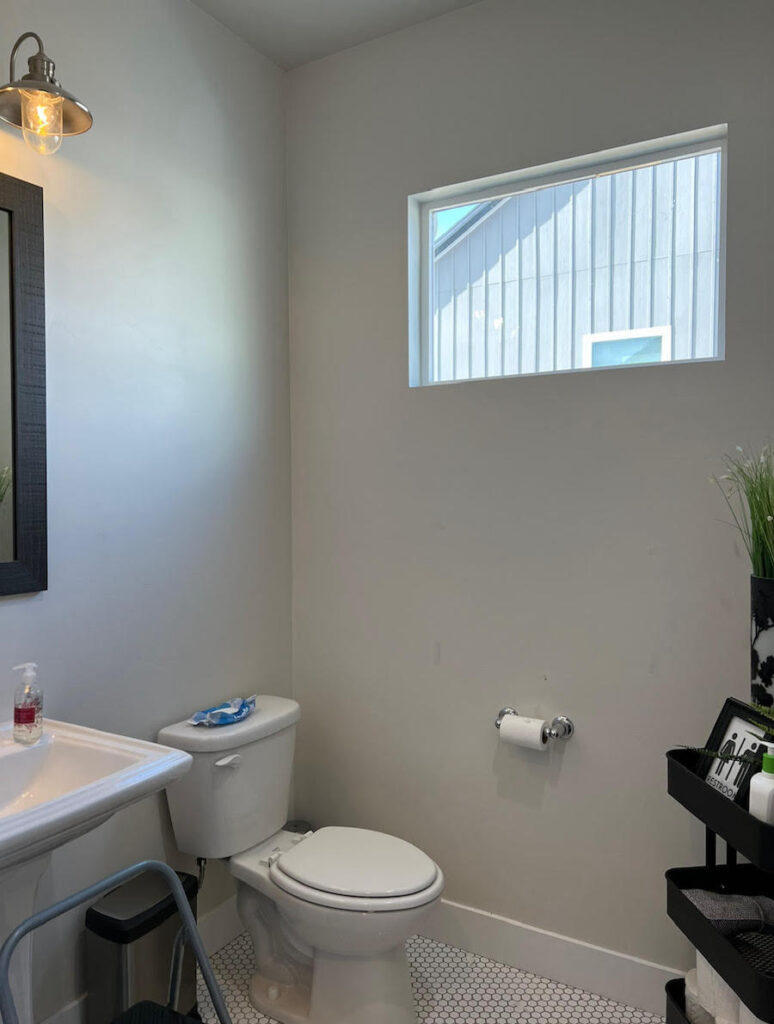
And I actually am transforming the last room on the main floor that I have yet to touch: her powder room. I started making my way through her main floor last year with her entryway, living room, and dining room. Then I moved upstairs to her loft towards the end of the year, but I’m heading back downstairs to level up this half bath to match the rest of the house.
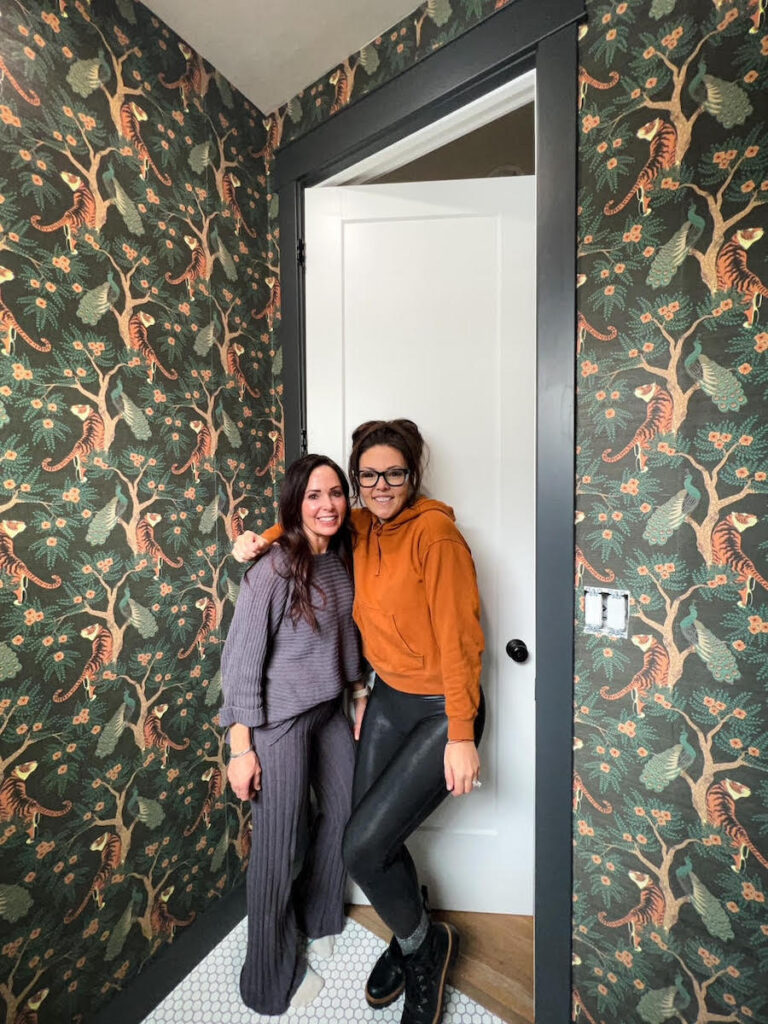
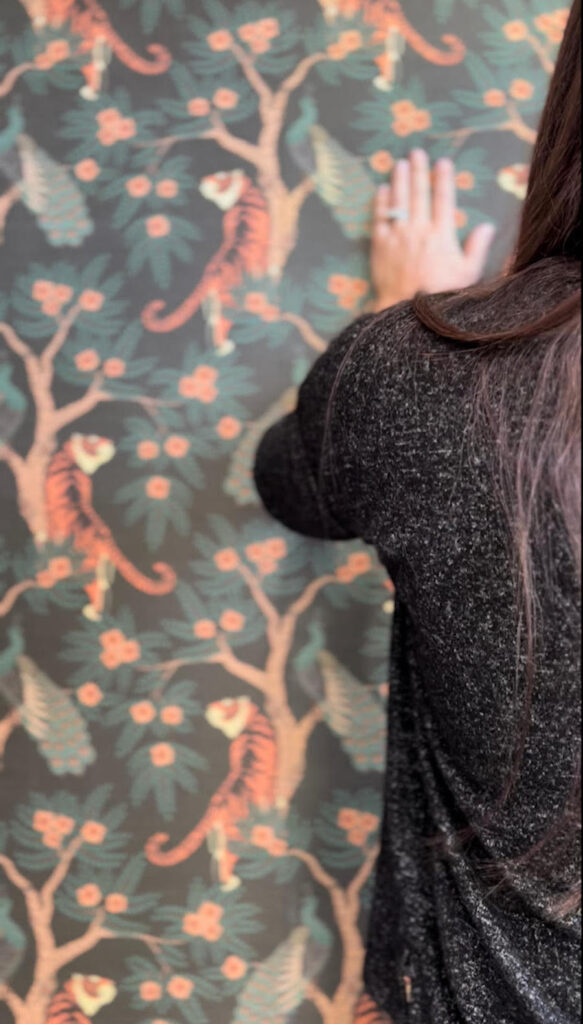
My jumping off point for her bathroom design was this amazing tiger peacock grasscloth wallpaper. Although it’s a bit of a splurge, I just love the traditional finish that grasscloth brings to any space. This bold wallpaper print is Tiger and Peacock (medium scale) by Spoonflower. Use code remington20 for 20% off sitewide! It’s a fashion forward print that packs a punch and the grasscloth adds a nice texture all the way around the room. Keep in mind if choosing grasscloth, that it is a little stiffer than normal wallpaper ,making it a little more difficult to install. Most people recommend having it installed by a professional, but at this point I feel like I basically am a pro! Here’s a tip I learned after a piece fell on me while installing, “Roll the glue on the wall AND the back of the paper”.
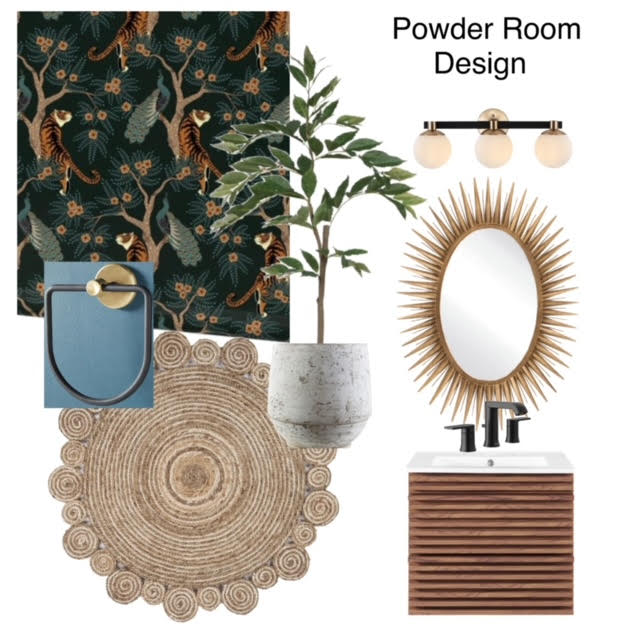
In all honesty, Alyse was NOT on board with the wallpaper at first. She thought it was a little much. So I convinced her by putting together a full design board! Once she was able to see my vision she said yes! (although it’s not done yet, it’s already one of her favorite spaces!) Trust your designer friends!

Once all of the wall paper was up, the next stop on the makeover train was a one of a kind slat wall feature I’d dreamed up while laying in bed. And it is absolutely perfect for this powder room.
If you’ve been here for a while you’ll remember, I did a similar slat wall in her entryway. If not, you can find a full tutorial on how to create one in your own home HERE.
To continue on with this slat wall, I treated all of the pine planks with a pre-stain or a wood conditioner. This helps the stain penetrate the wood deeper creating a more uniform acceptance of the stain. For this project I used a gel stain – specifically Minwax in special walnut. To apply gel stain, you’ll apply a pretty heavy coat and let it sit for 3-5 minutes. Then you’ll wipe away the excess. I figured out that for me, doing batches of four planks at a time was the perfect rotation to allow enough time to apply it to all the planks and then wipe it off. You’re going to want to go back through and fill all of your nail holes with stainable wood filler. Then you’ll come back through with your gel stain technique to cover it up.
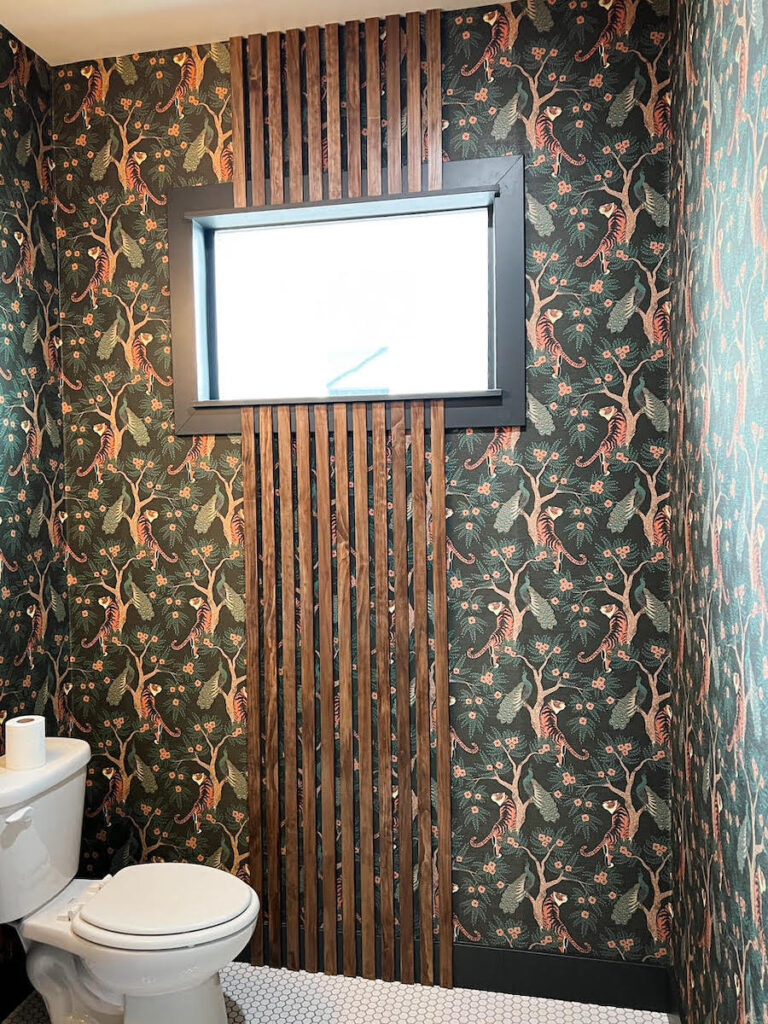
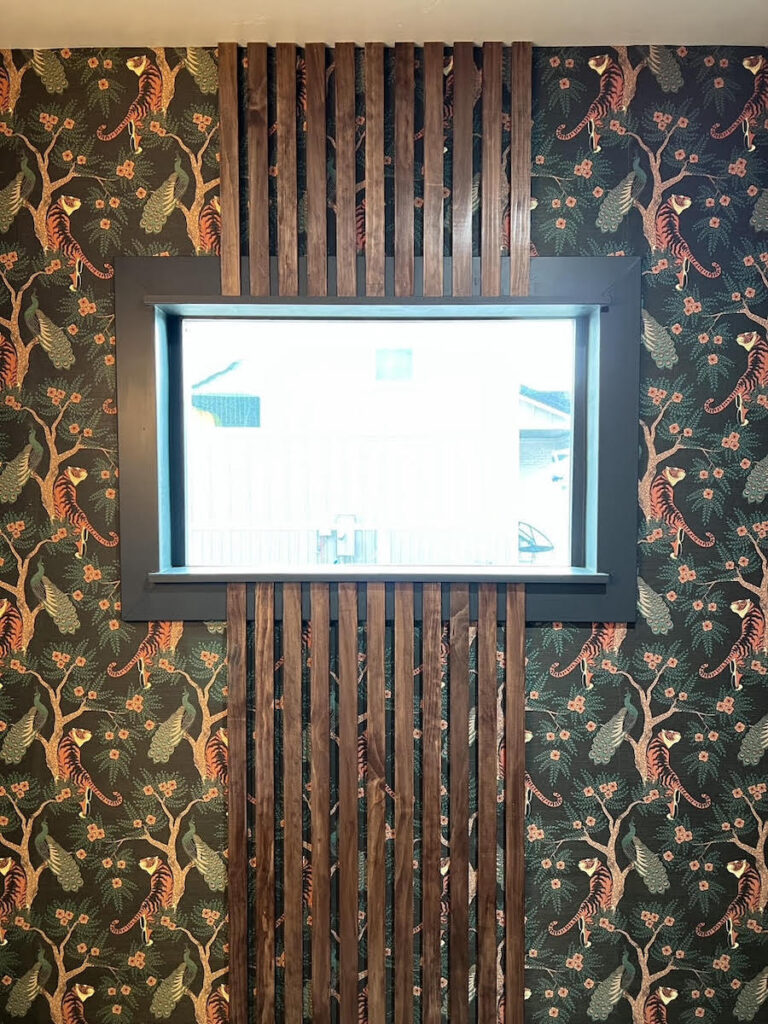
The slat wall went up and I reinstalled the pieces of trim I had taken out, again you can see how I wove the trim through the slats in this blog post. And I decided to go dark on all of the trim! I sanded all of it down before painting and then applied two coats of paint. Afterwards I trimmed out the window to really finish out the look.
I love how this vanity ties into the wood slat wall SO well. I found this one on Wal-mart and it comes in different size versions, including a wall mounted one, to fit any size bathroom.
You can achieve a similar look on a tighter budget, just take a look at the mood board below! Everything is from Wal-mart!
I’m so excited to finish this project next week in stories! Be sure to follow along for some more one of a kind design features!

 Add to favorites or read later

Love the wallpaper. I would have put the slats under the frame so it attaches to the wall better. It would seem it is canting and with my OCD, I would have to dust behind the slats.