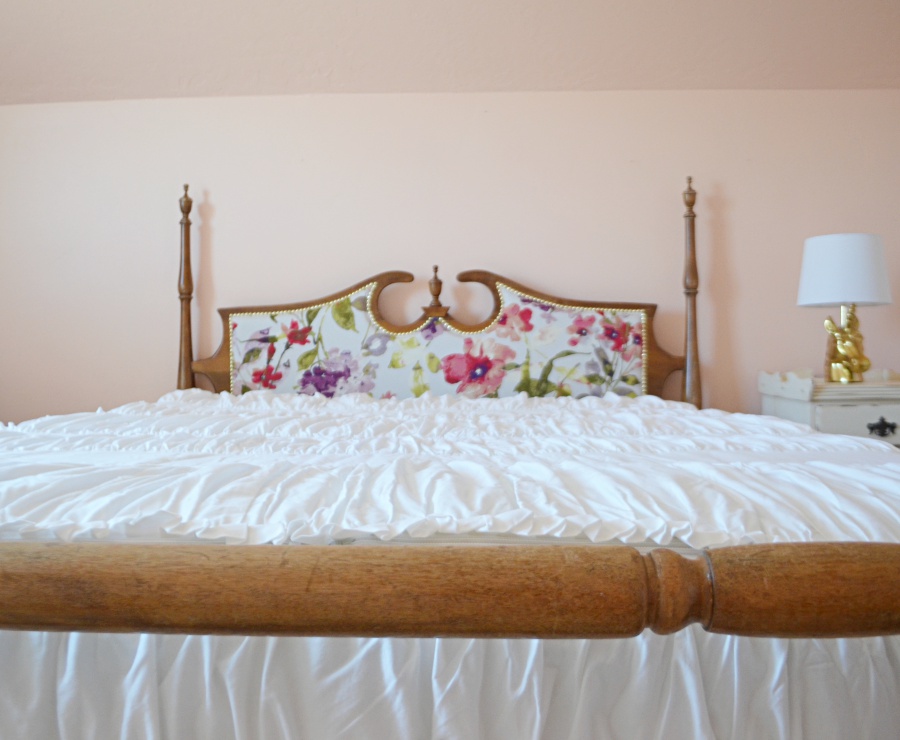
upholstered vintage Headboard tutorial
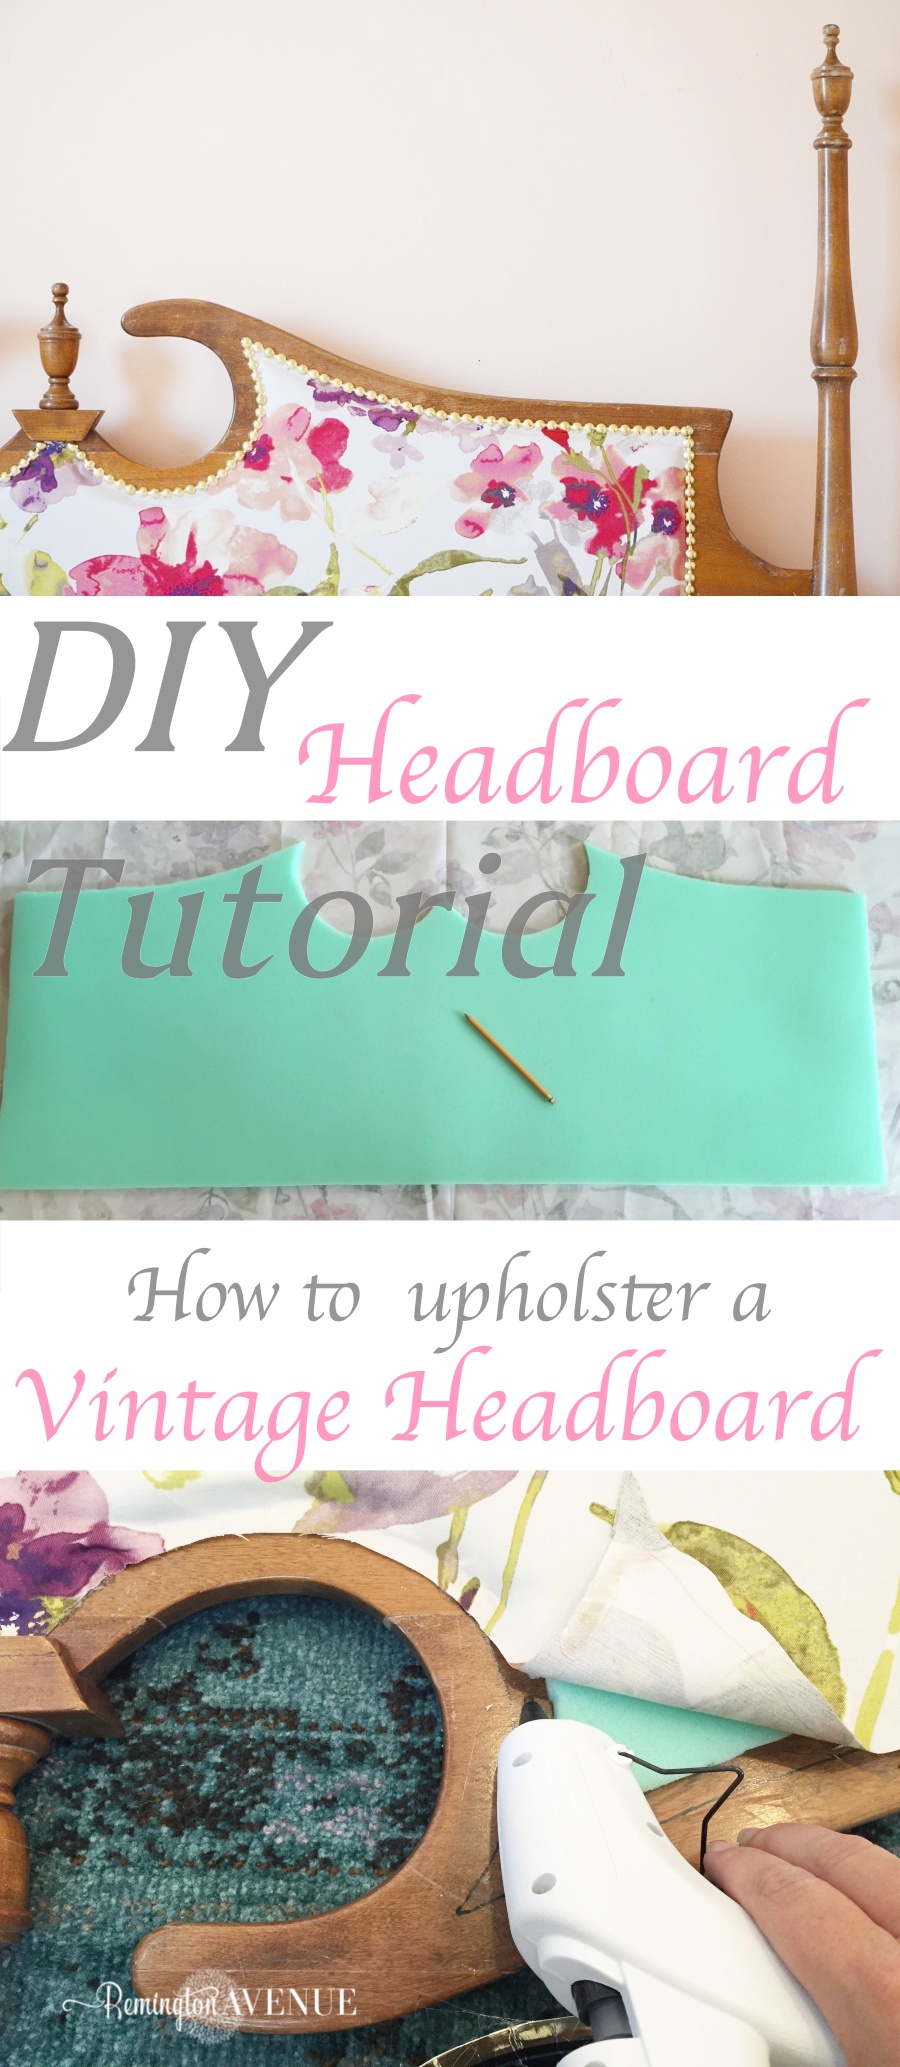
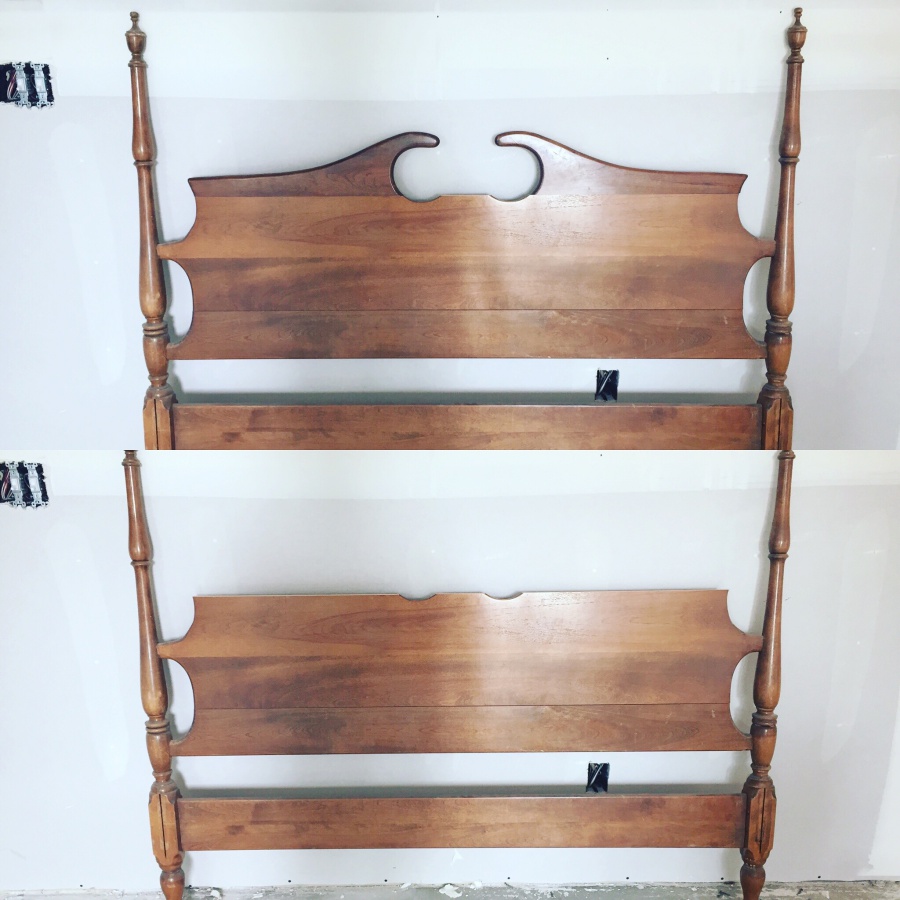
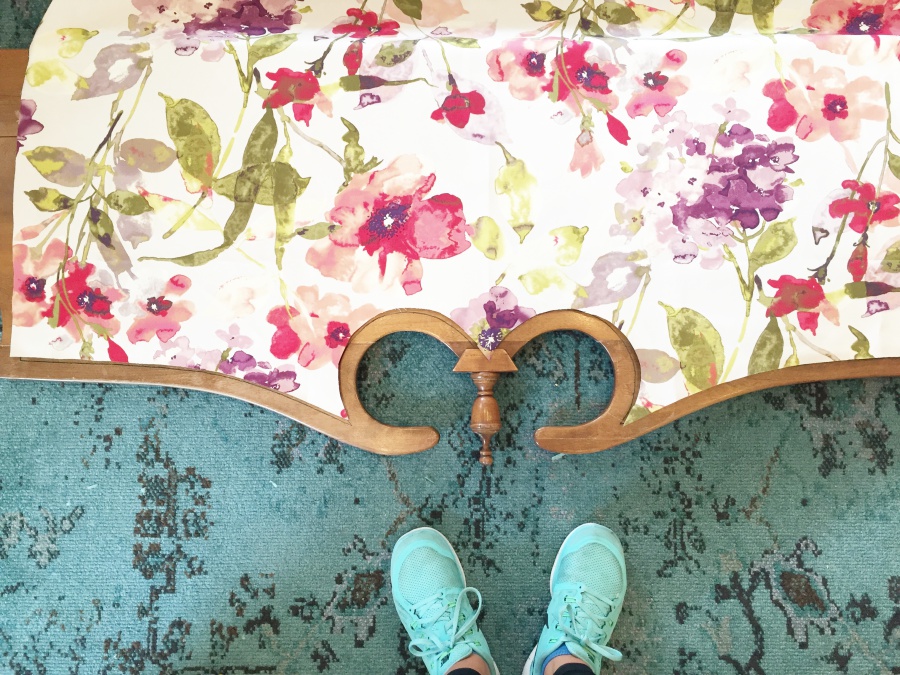
My mother in law gave us this beautiful 4 post bed. It was part of a set that her and “grandpa” bought when they were first married. When my daughter Remi was a baby she passed the whole set on to her. I refinished the nightstands and dresser for her original nursery, but saved the bed for now! Originally, I intended to paint it like I did with the other vintage pieces, but quickly changed my mind after applying a rough coat of chalk paint on the lower boards. Good thing chalk paint washes off easily before wax is applied Whew;) While the paint was drying a lightbulb went off in my head that was adorned with flowers. At that moment I knew I had to upholster the vintage head board and leave the original finish. Read on as I share exactly how I upholstered this vintage headboard and brought the old and the new together with minimal tools and a bit of creativity.
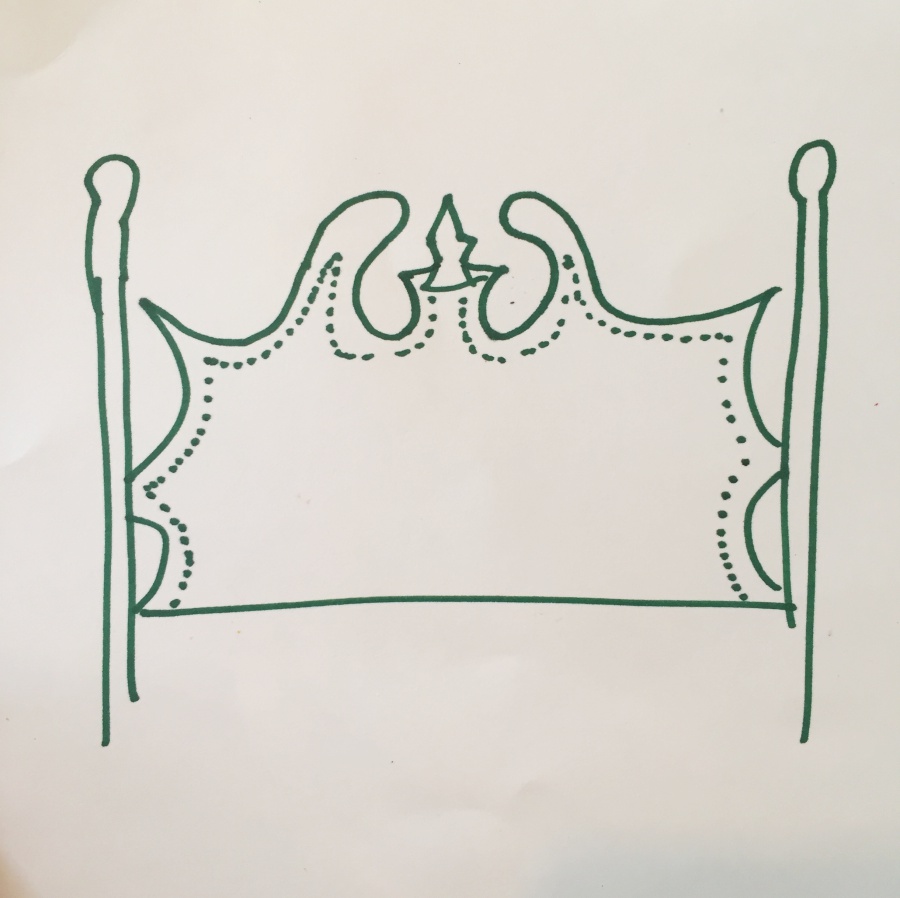
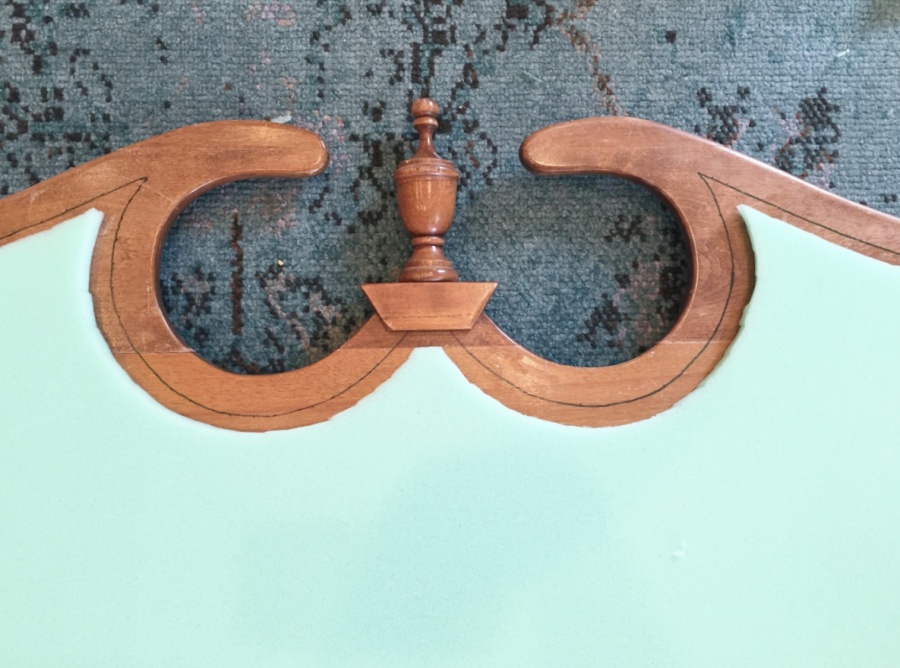
My first thought was to cover the entire vintage headboard with fabric leaving only the posts and decorative spindle uncovered. After further thought, this is what I came up with. A rough sketch obviously, but it gave me a general map.
Supplies:
- Heavy duty foam slab 1″ thick (cut to desired size)
- fabric of choice (cut to desired size) I used 1 yard for this project.
- foam adhesive
- hot glue gun
- glue sticks
- scissors
- Brass nail head trim
- hammer
- pen/marker
- square ruler

Shop the Supplies
Tutorial:
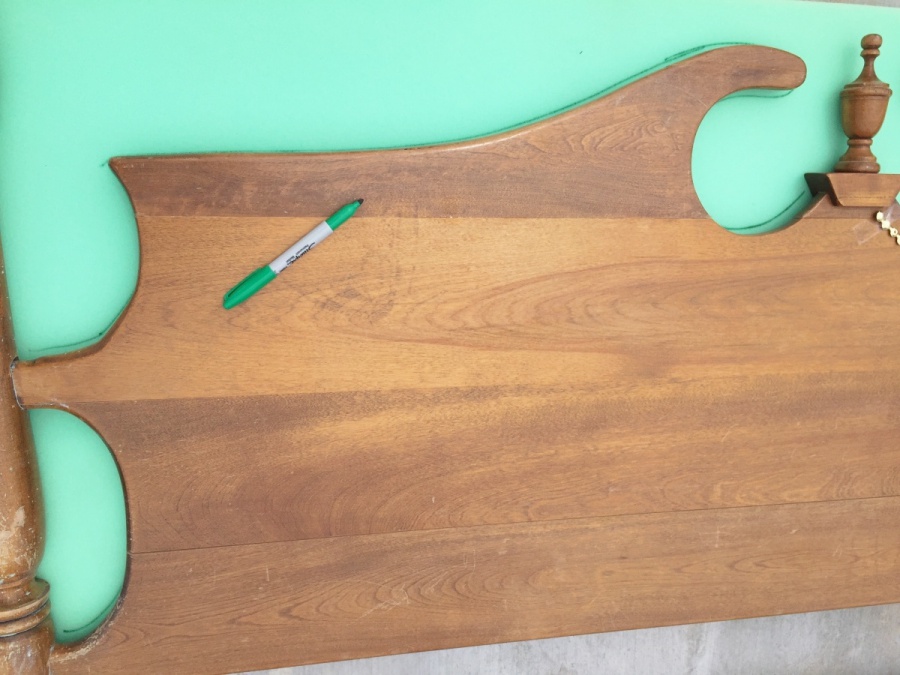
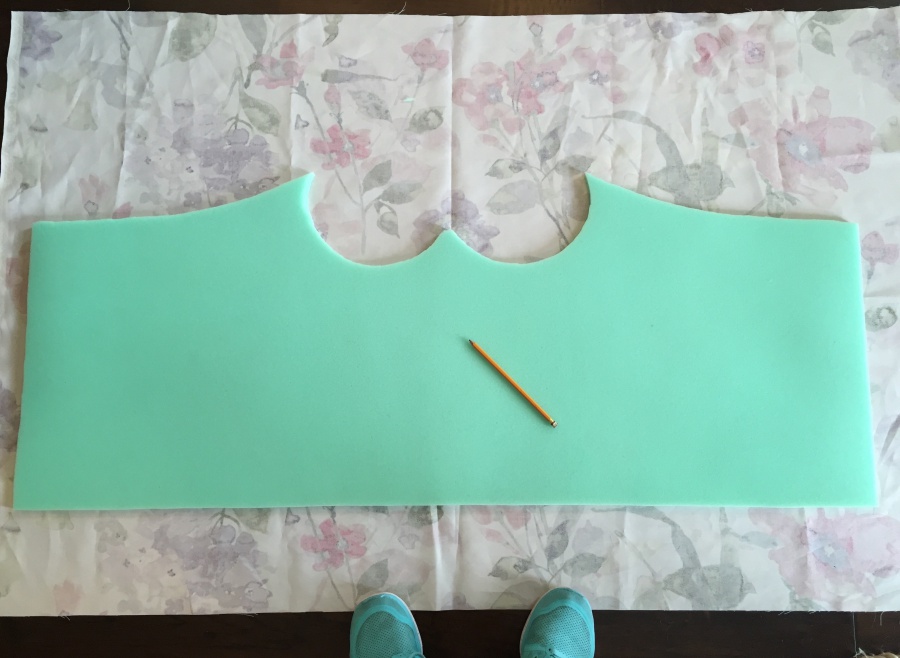
Step 1: Trace the vintage headboard onto the foam slab with a sharpie. Remove the headboard from the foam and cut out the traced shape.
Step 2: Figure out what area of the headboard you want to cover. I used my nail head trim to roughly outline where I wanted my fabric to lay in relation to the vintage headboard. You can see I just taped it on till I found the right shape.

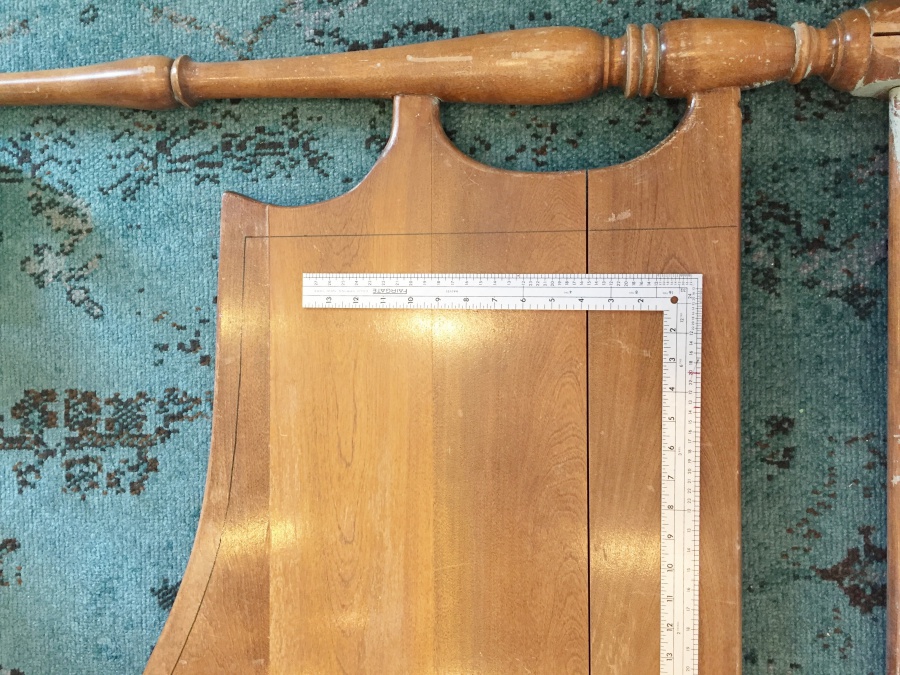
Step 3: Measure 1″ in from the edge of the headboard and mark. Do this all along the top edge of the headboard creating a 1″ perimiter. On the sides, measure 1 ” from the closest cutout to the center of the headboard and mark. Once you have all your marks, use a 90 degree angled ruler to connect the dots. Leave bottom edge as is. The fabric will cover all the way down and adhere on the back. This will become your map for the foam and fabric. (You can see on my headboard that if I followed the outline of the headboard all the way around it would have created a funny shape. -illustrated in above drawing)
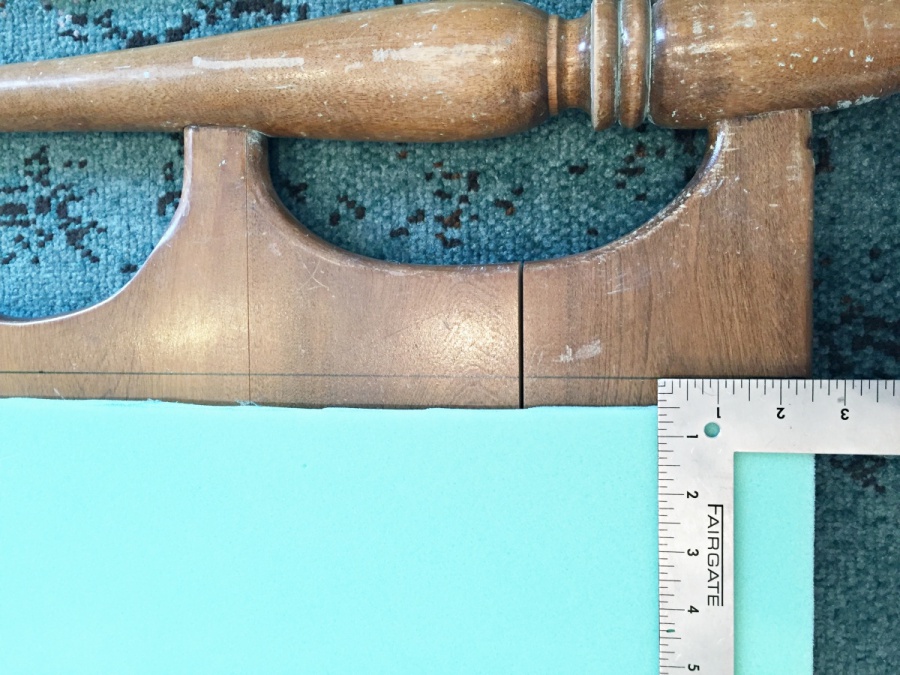
Step 4: Using the same guidelines from step 3, measure and mark your foam in the same fashion except this time the measurement is 1.5″. This will allow room for the nail head trim later. In other words create the same shape only .5″ smaller on all sides except bottom.
Step 5: Lay out fabric face down. Place foam cut out centered atop the back of the fabric. Trace the foam shape out with a pencil. Measure .5″ out from traced line and mark on top and side edges. Leave ALL the excess fabric on the bottom to fold under and onto the back later. Cut out the fabric .5″ larger than the foam. The .5″ excess fabric will allow for the nailhead trim.
Shop the Supplies
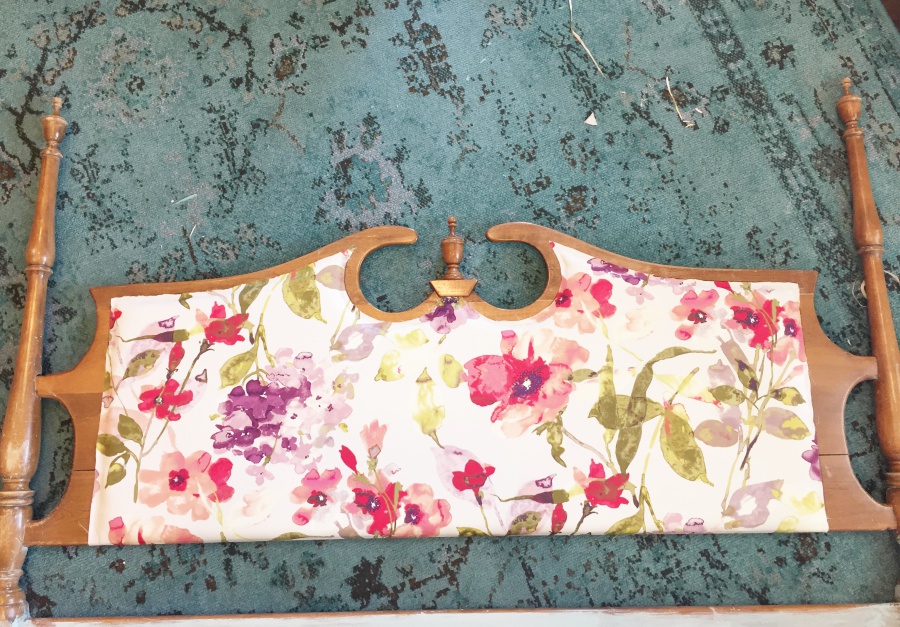
Step 6: Lay foam atop headboard and line it up with the markings. It should be .5″ smaller on each side except bottom side. Using foam adhesive, spray the entire back side of the foam (Spray outside- you don’t want overspray on your floors). Place adhesive side down onto the front of the headboard, lining it up .5″ from the marked perimeter. Let it dry for a few minutes.
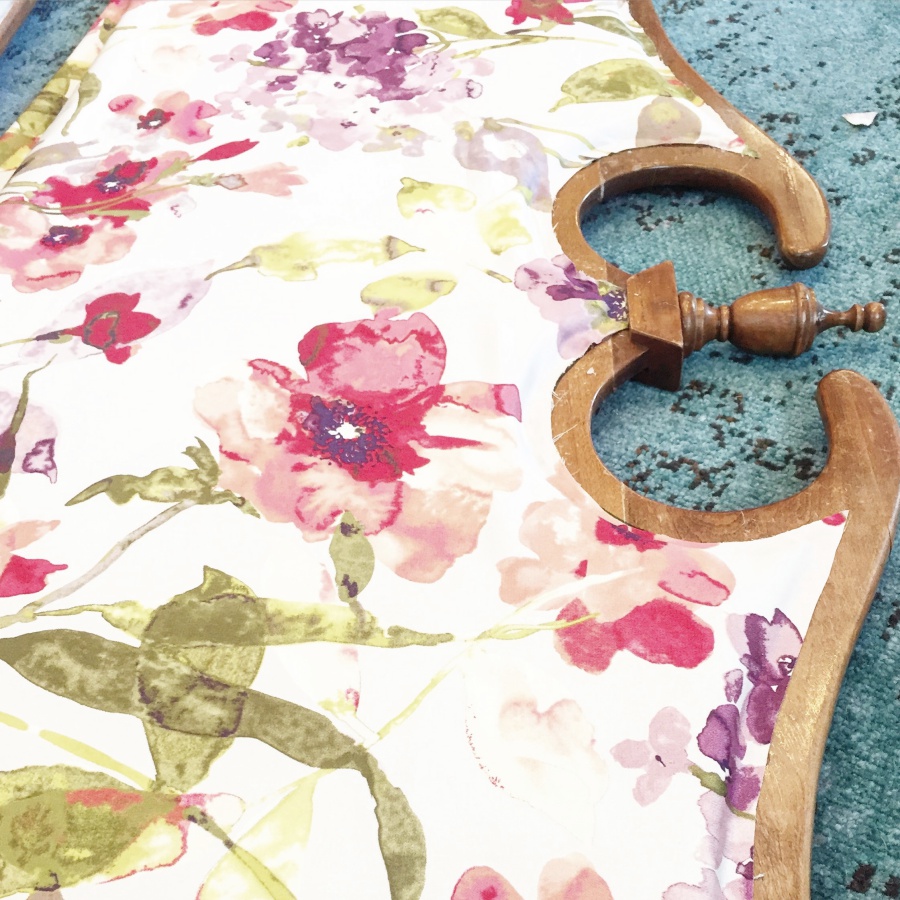
Step 7: Place the fabric (print side up) atop the foam on the headboard. Your fabric should line up with the perimeter drawn on the headboard. I found this fabulous watercolor floral print at Joann Fabrics.
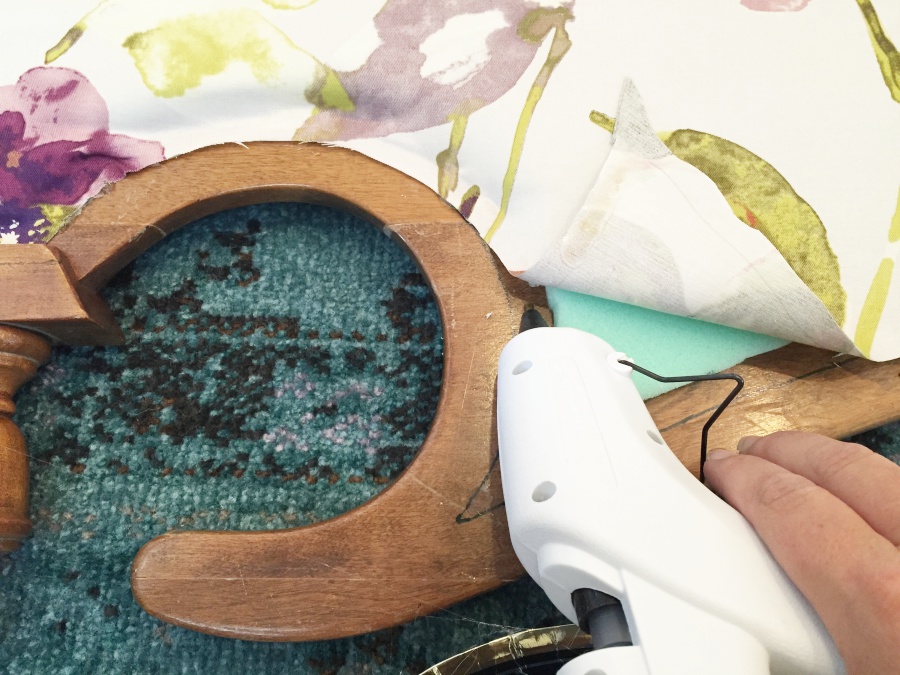
Step 8: Break out the hot glue gun! Starting at the top center of the headboard, glue the edge of the fabric to the drawn perimeter. Starting in the center will prevent weird pulling in the fabric. Continue gluing along the entire top of headboard in this fashion. (You can see in the photo below that I glued half way between the drawn perimeter and the foam. This way the glue won’t get in the way of the nail head trim).
Shop the Supplies
Step 9: Now glue going down the sides. Pull the fabric tight so the edge of the foam underneath won’t be seen. In some places you might find that the fabric covers the drawn perimeter after pulling tight. Its ok- mine did too. We will just trim the excess after glueing all the fabric!
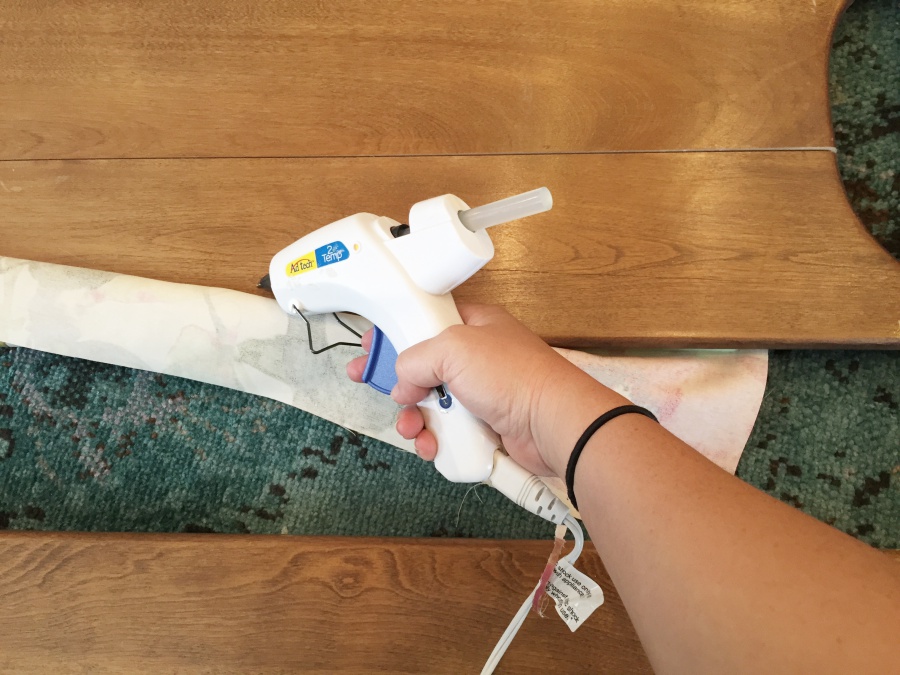
Step 10. Now that the fabric is glued along the top and sides, pull the fabric tightly to the bottom of the headboard and stretch it under the headboard. Glue the fabric to the back of the headboard. No one ever sees the back of a headboard, and your pillows/matress will cover the bottom so no sense in adding nail head trim here.
Step 11. Trim any excess fabric overlapping the drawn perimeter with scissors.
Step 12: Lay out your brass nail head trim along one of the sides of fabric. Leaving 3 or 4 extra nail heads at the bottom, begin nailing the trim to the edge of the fabric. This particular brand required a nail every 5th one. It’s very easy to use, just pull tightly as you go and follow instructions listed on the product.
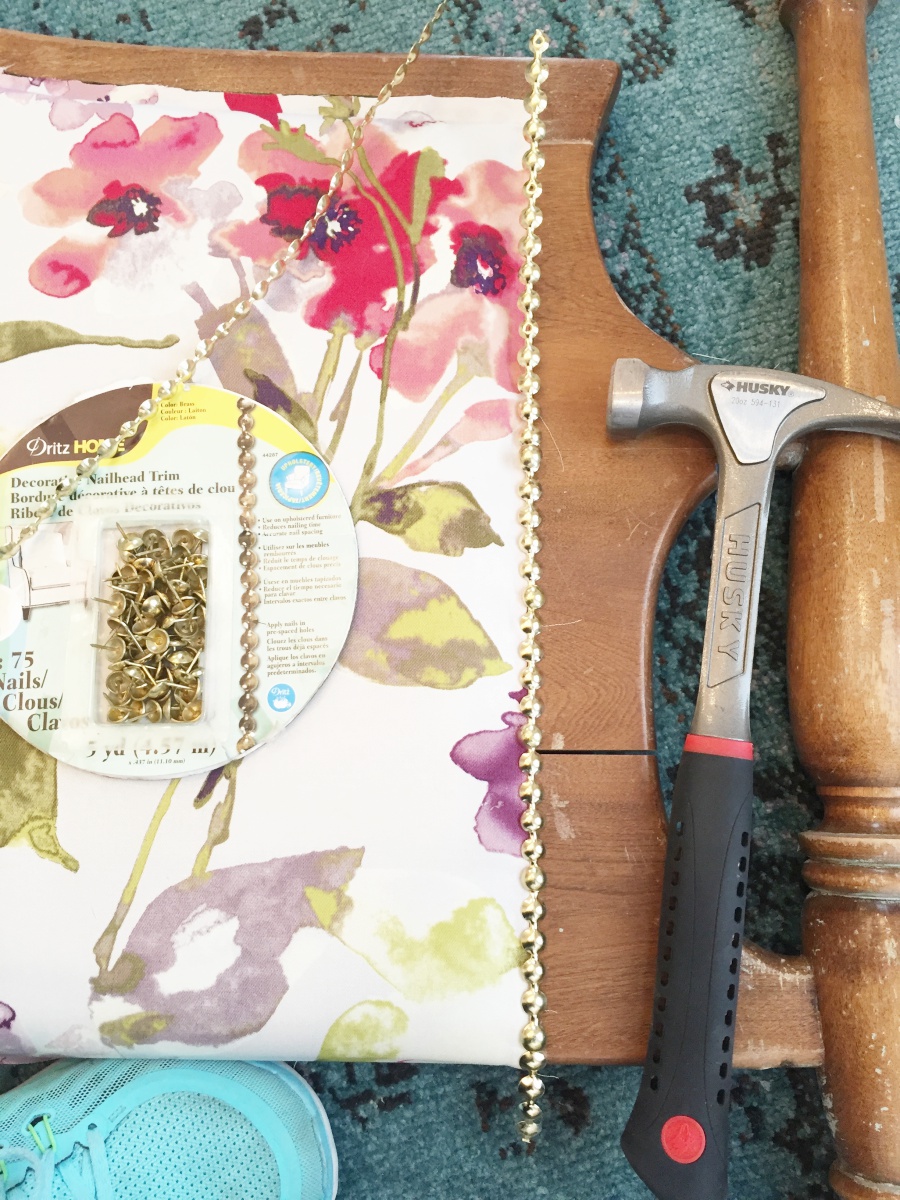
Step 13: Now that you’ve got the hang of it on the straight sides, follow the edge along the top. I started at the top center and worked my way out to the sides. It bends easily to curve with the lines. Now flip the headboard over and nail the excess trim to the back of the headboard.
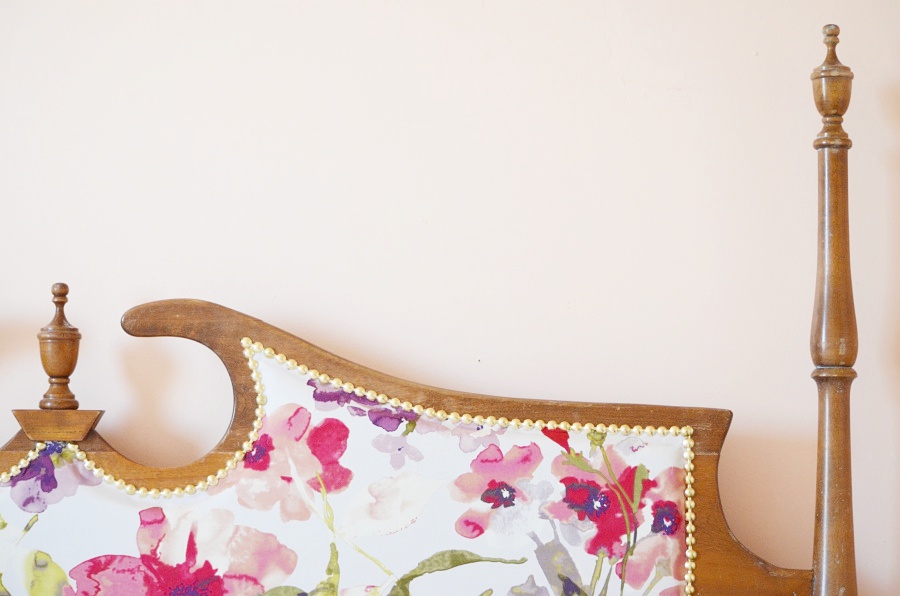
Step 14: Step back and admire all your hard work!
Shop the Supplies
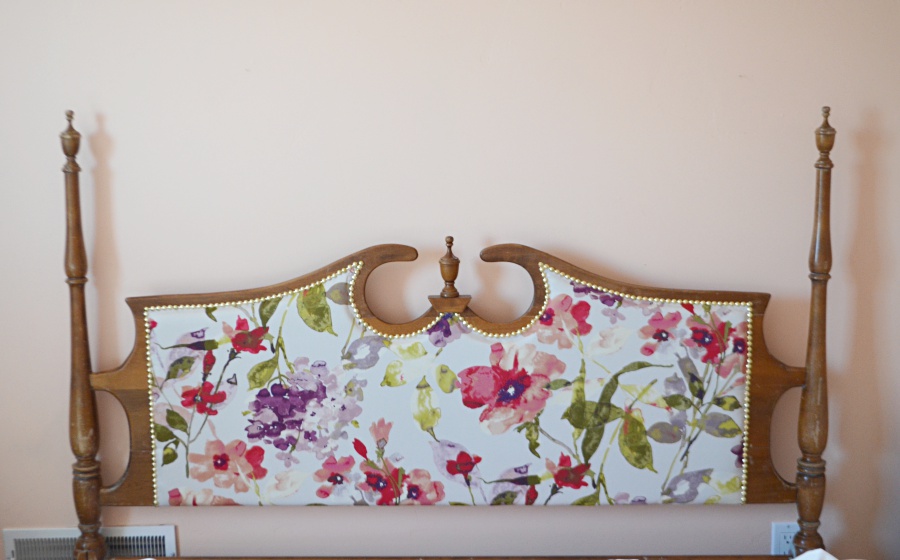
Now that the bed is fixed and the new fancy upholstered vintage headboard is complete I’m dying to get my little Remi’s room completed. I’ve got some exciting things in store for her room so be on the look out for the full room reveal as well as a couple more inexpensive DIY’s.
I sure hope you enjoyed this tutorial on upholstering a vintage headboard. I’d love to hear your comments or see your finished products! You can post them in the comments section or email me! And you can pin this project right to your projects board on pinterest and save it for later! If you’d like to see more DIY’s like this Upholstered vintage headboard tutorial feel free to subscribe to my blog to receive the latest post right to your email.
Shop the Look
*post contains some affiliate links*

 Add to favorites or read later

It looks even better in person! Nice job mysha. Remi’s room is my favorite.
Thank you kim! Miss having you guys around
I bow to you!!!?????? Seriously though, you are so creative Mysha!!! Wow ???????
That is amazing! And I love the fabric you chose!
thank you ashley
This is stunning Mysha! I loved it on your FB page but I loved the tutorial even more. Gorgeous!!
thanks girl
So creative + lovely Mysha!
Thanks so much Tana