DIY Grasscloth Barn Door
I shared part 1 of my master bathroom glow up last week and finishing it up is becoming really satisfying!
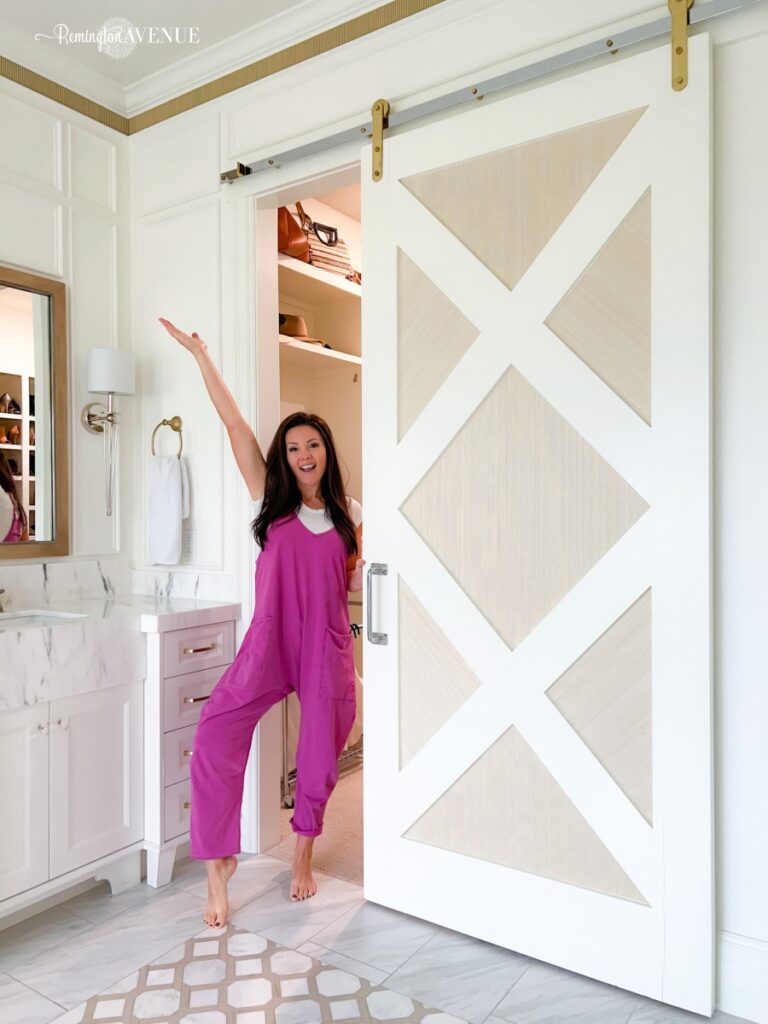
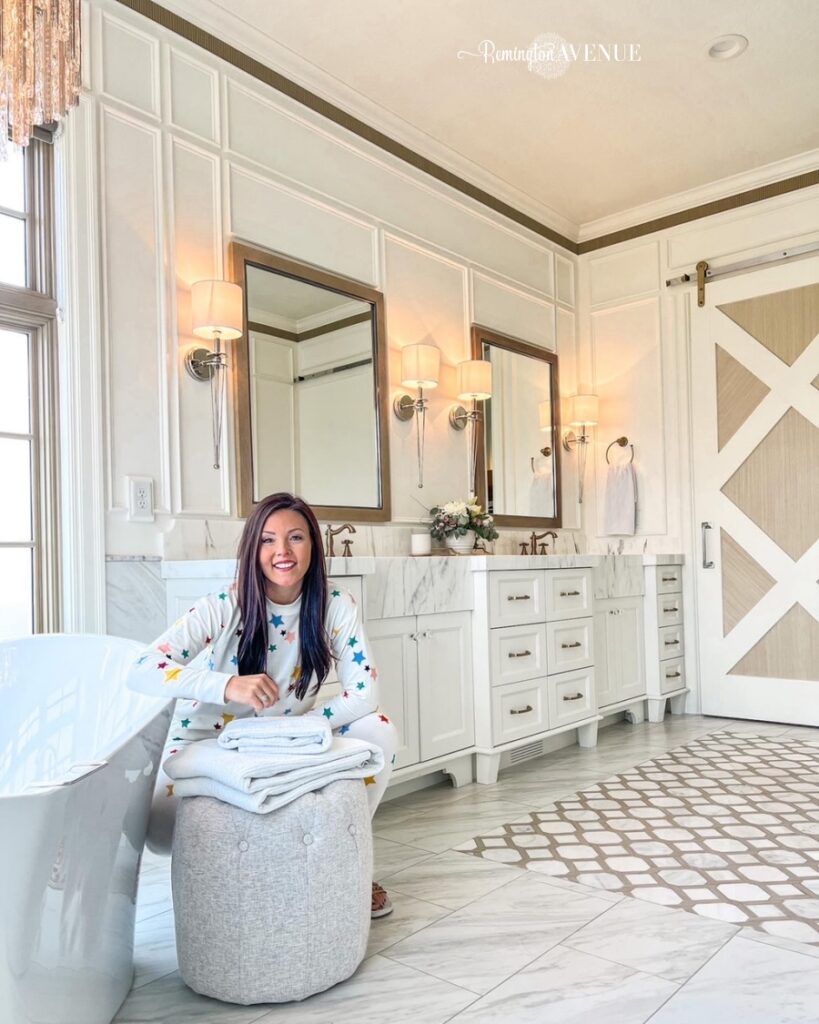
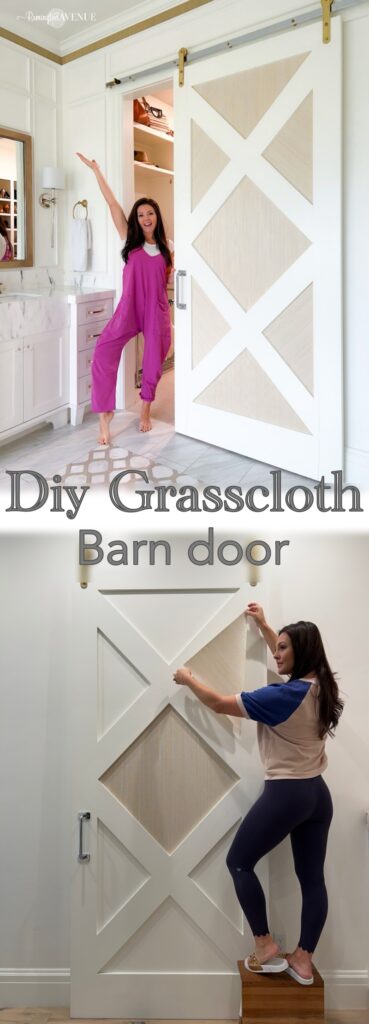
Simple details like wallpaper touches and molding additions have taken my master bathroom up a notch, but this DIY Grasscloth Barn Door is here to wrap everything up with a pretty bow.
To finish off my master bathroom glow up, I did two more smaller projects using grasscloth wallpaper.
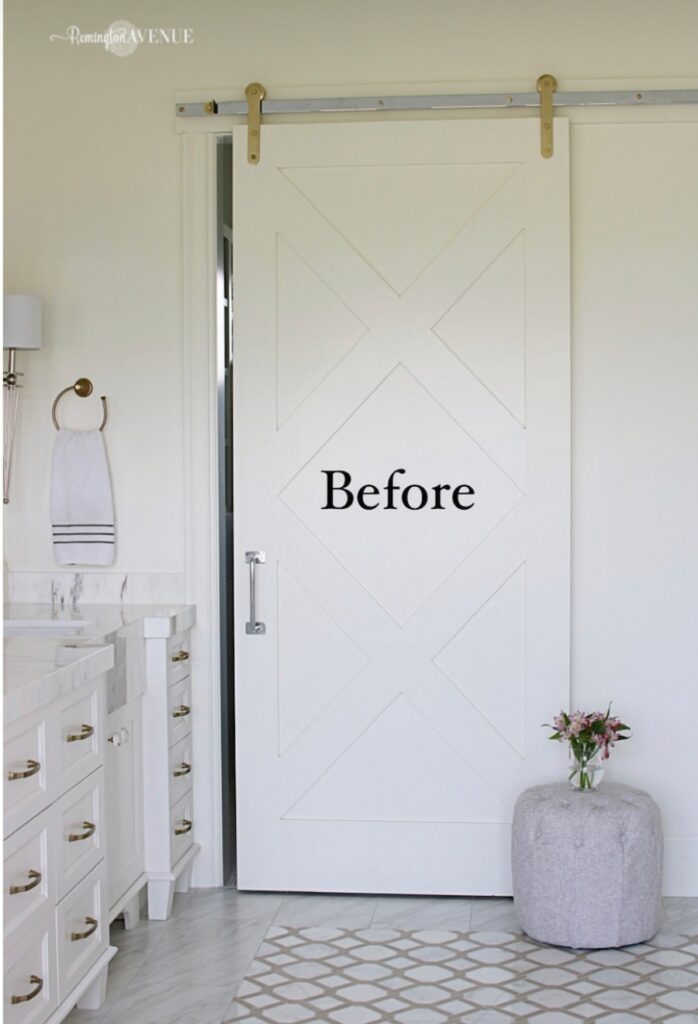
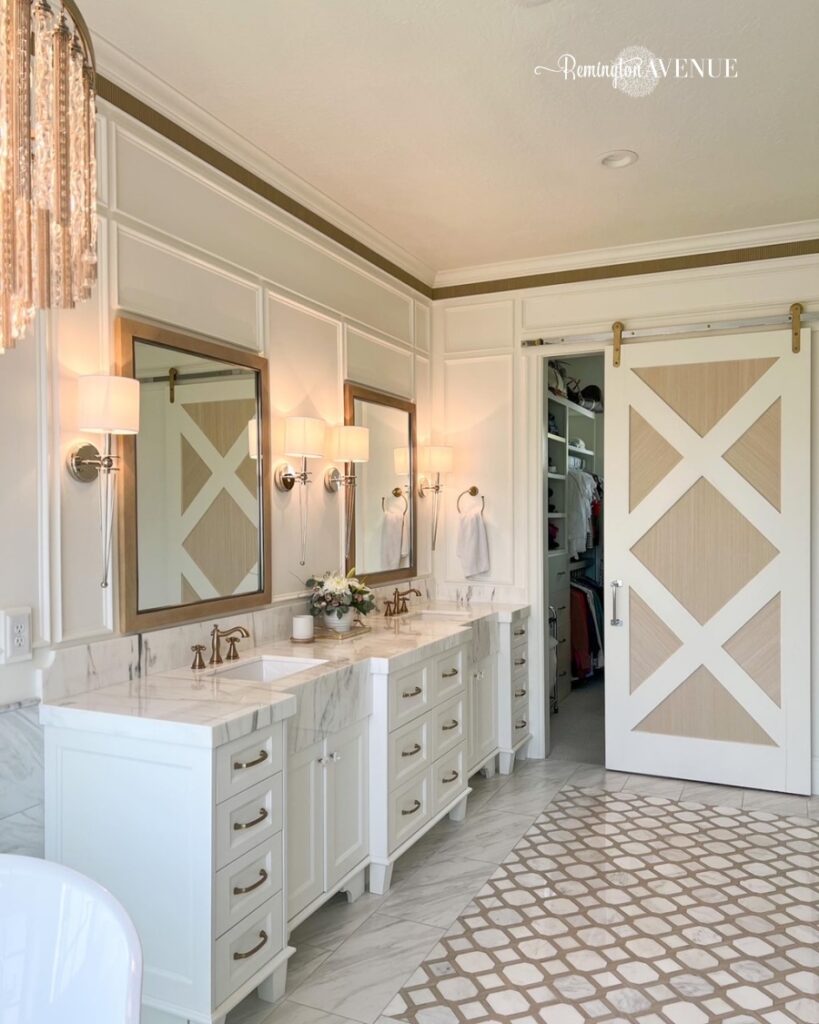
First, I spruced up the sliding “barn door” style door that separates my master closet from my master bathroom. This project is quick and can be used to refresh any door, not just sliding ones. And as unique as it looks, it’s pretty simple!
Here’s what you’ll need for both projects: scissors, smoother, razor blade, adhesive, grasscloth wallpaper.
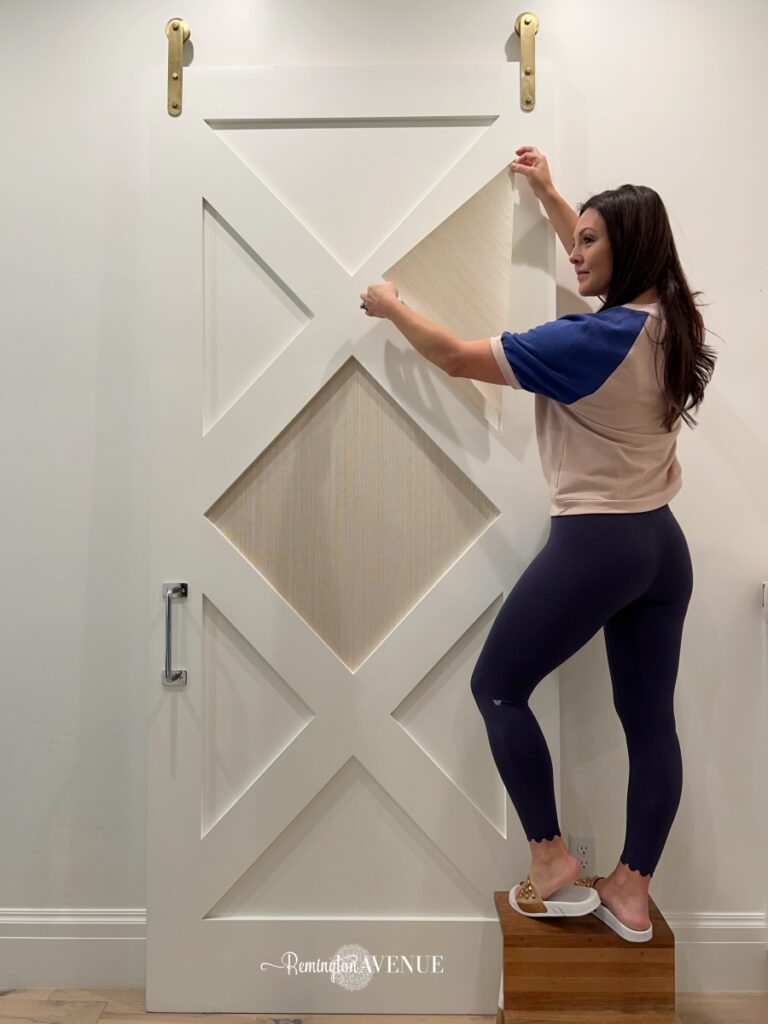
Steps for the door:
- Make a template with your wallpaper by folding it in the door groove.
- Cut it out and add wallpaper adhesive to the back.
- Stick it in place and smooth it out. Use a razor to cut the excess wallpaper.
- Repeat until it’s all done!
You can watch my full reel tutorial below, or click HERE.
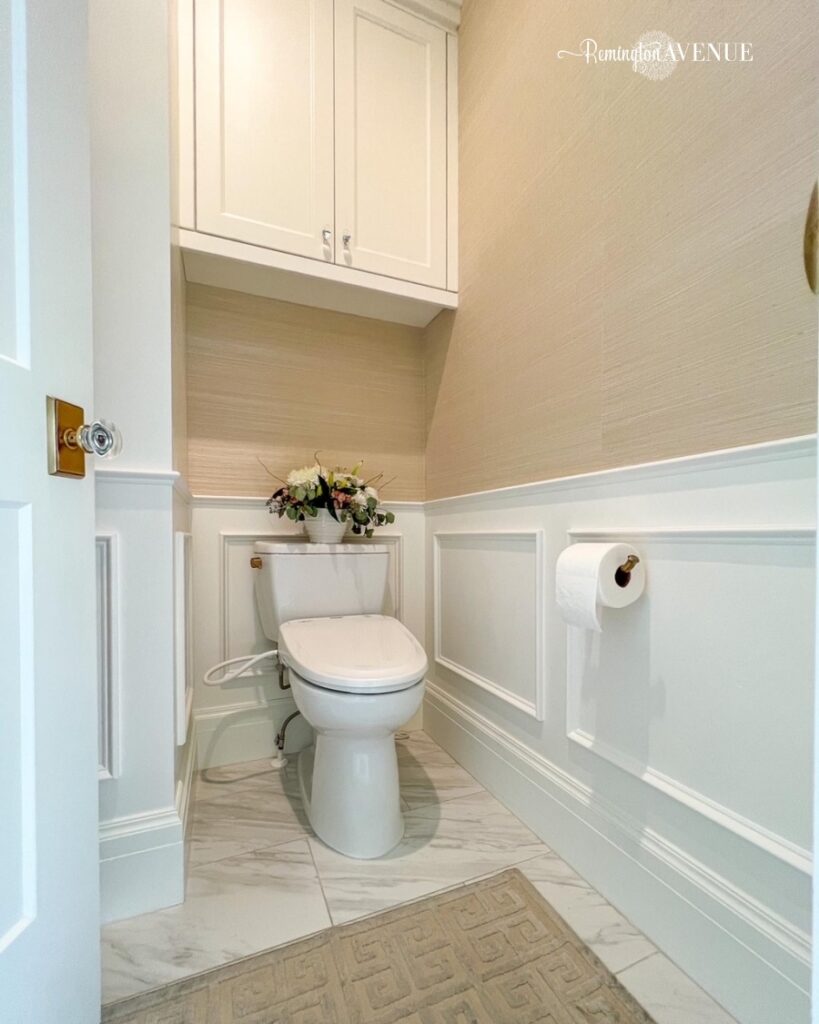
Then, I wrapped up the whole project in the water closet.
I started by drawing a level horizontal line all the way around the room. I wanted to keep the elegant spa-like feel, so I didn’t want to do a pattern which is why I went with the grasscloth. It’s nice because it the texture adds just enough interest to the walls. Grasscloth CAN be easier since there is no pattern to line up. But it’s also harder because you can’t get glue on the grasscloth side.
I did have a little trouble when it came time to apply the bigger pieces of grasscloth, especially when I had to go around the cabinets above the toilet, but once it was on the walls, it looked great! As I always say, try it and make adjustments – you’ve got this!
To go around the DIY Grasscloth Barn Door, I measured everything out and then I gave myself two inches of wiggle room around each side.
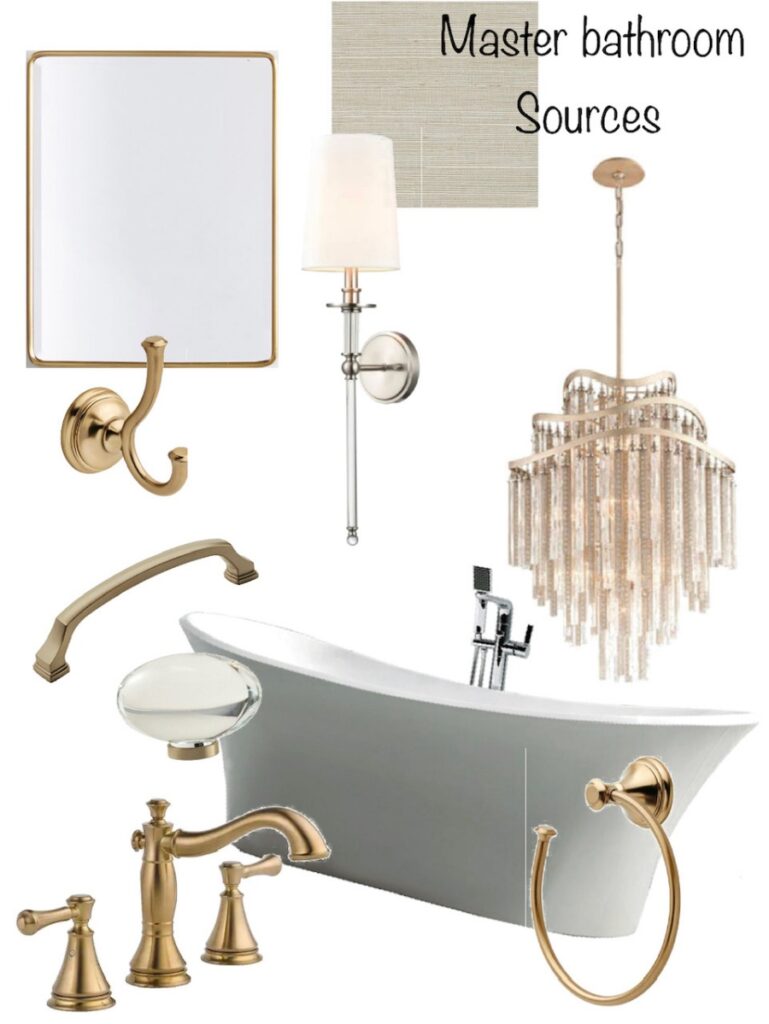
I applied this wallpaper using Roman wallpaper paste. The trick is to apply it, let it sit for about 3-5 minutes and then install. Then, use a smoothing tool to work out air bubbles and crinkles.
Once the wallpaper was up, the chair rail was next. Like always, I started with a cut list of my molding measurements. Remember with chair rails and crown molding, you cut the corners using the coping method. I explained more about that part 1 of this bathroom glow up, along with how I used my Dremel to cut it. Click HERE for that.
I applied my adhesive to the back of my chair rail and then started installing it. I used my level to make sure everything was straight and then my nail gun to secure the pieces. If you would like an indepth tutorial on how to install picture molding (like seen here) CLICK HERE FOR MY FULL TUTORIAL.
I didn’t stop with the chair rail though. Next, I took my cut list for the molding boxes and hammered those out. All of my boxes have a four inch gap, from the chair rail and from the corners. To make the install go faster, I drew out my boxes beforehand. And when I draw my lines I do an intersecting point so I can line everything up perfectly.

Once all of the molding pieces are installed, fill in the wall to molding cracks with caulk and then your nail holes and corners with wood filler. Before I caulked the top seams, I tapped it off so I wouldn’t get caulk on the grasscloth. Caulk, smooth it with your finger, and then peel the tape when wet. After a quick coat of paint, the room was finished, and so was my master bathroom glow up!
It really is amazing how little added touches can make such a difference! Isn’t it crazy how well the barn door plays off the floor pattern now?!I love a good glow up!


 Add to favorites or read later