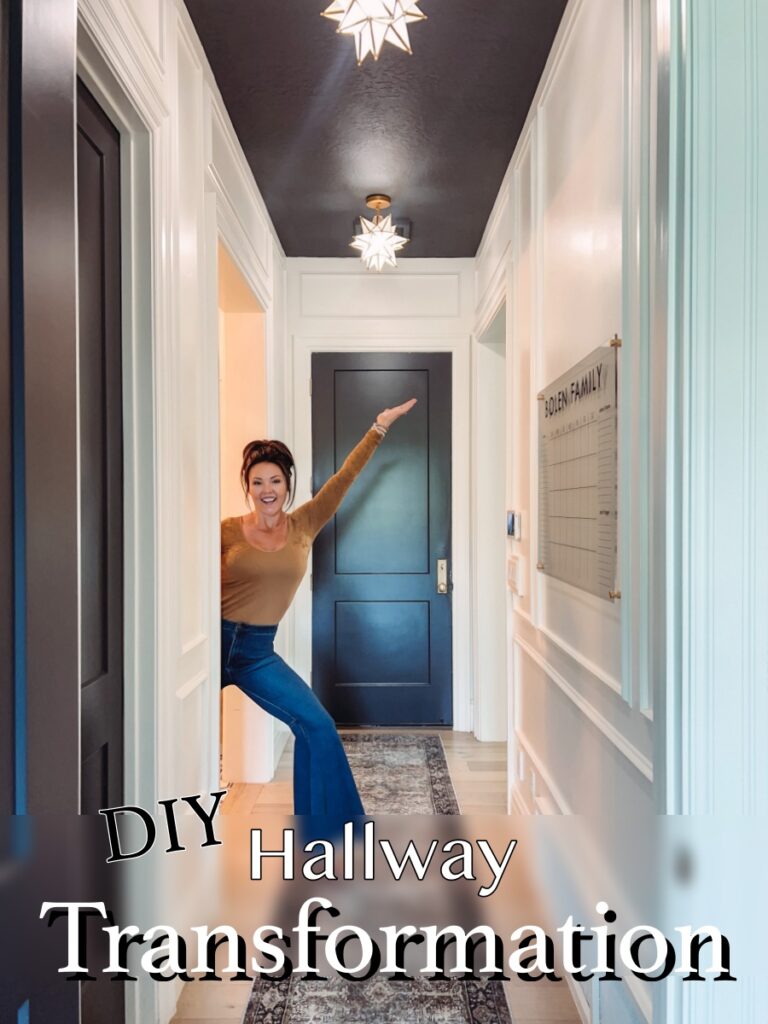
DIY Hallway Transformation
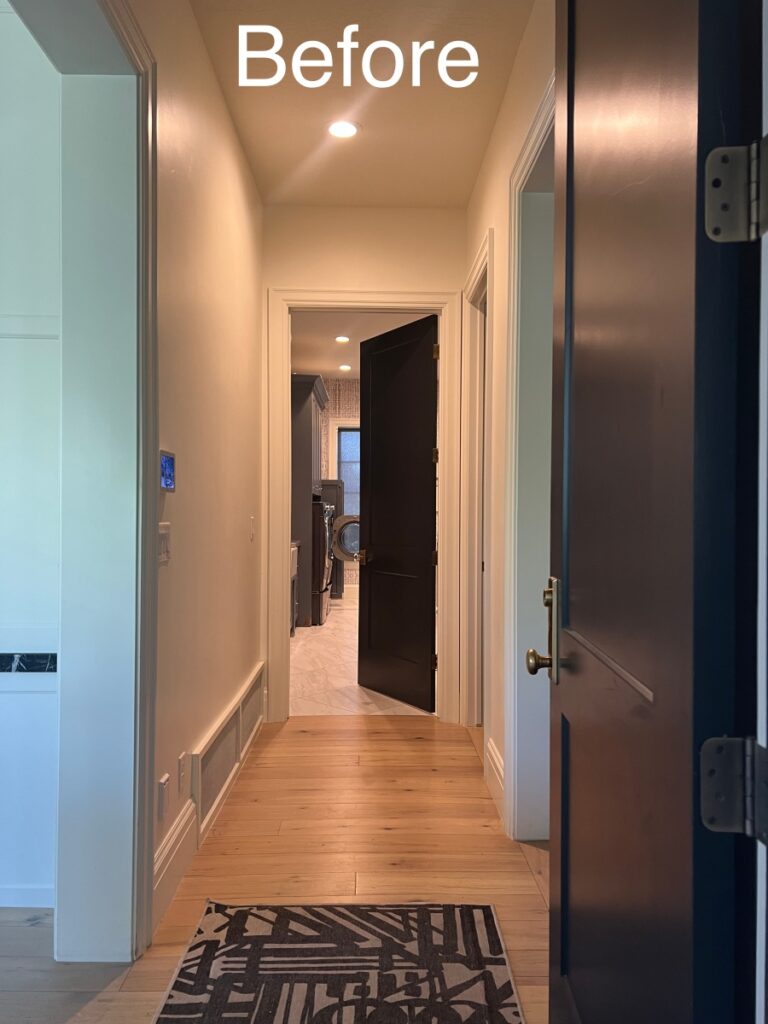
There’s something about having the majority of your house filled with interesting design elements that makes the not so designed spaces stand out even more. And that’s how I felt about this hallway leading from our garage. It is a small hallway, making this DIY hallway transformation pretty quick and simple!
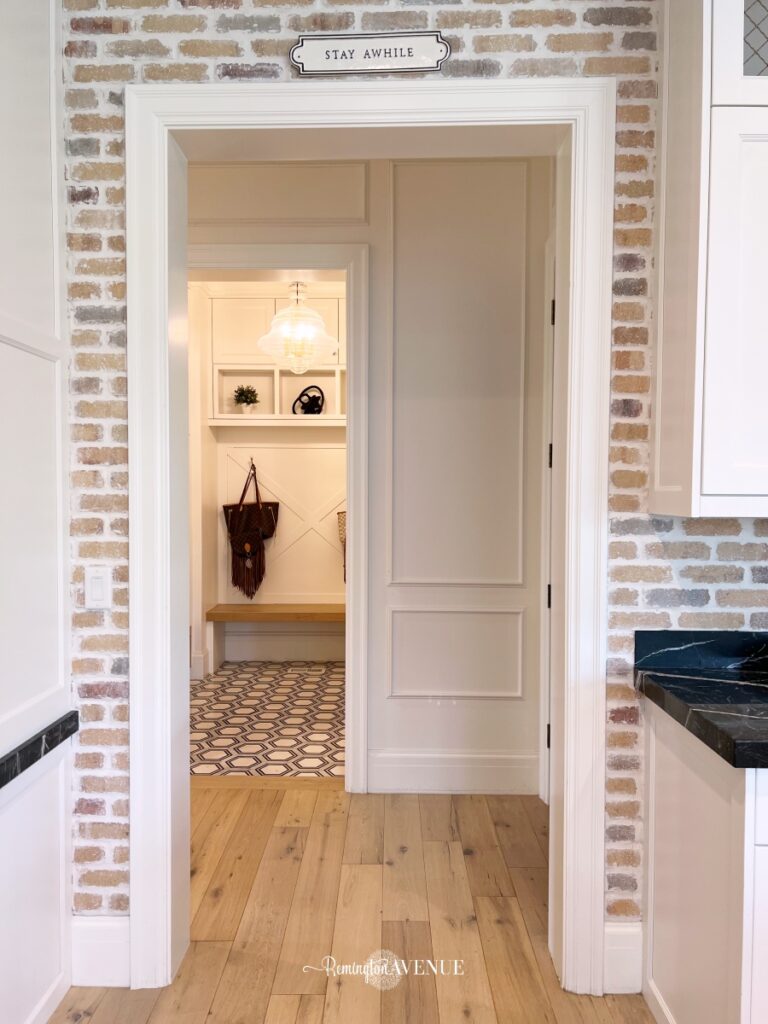
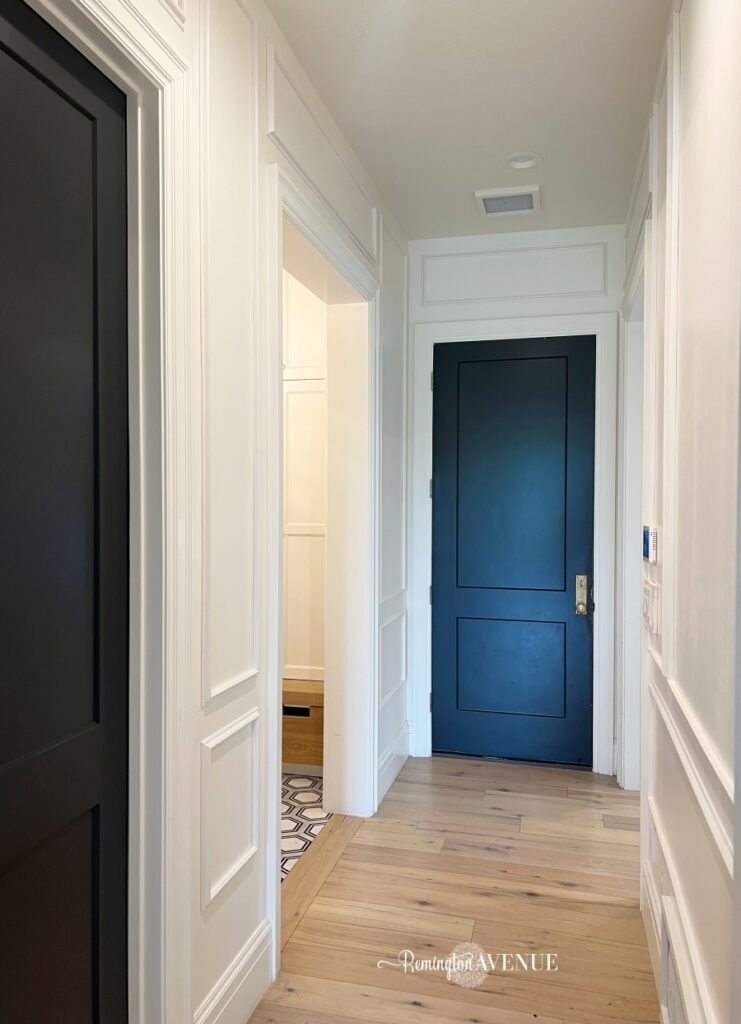
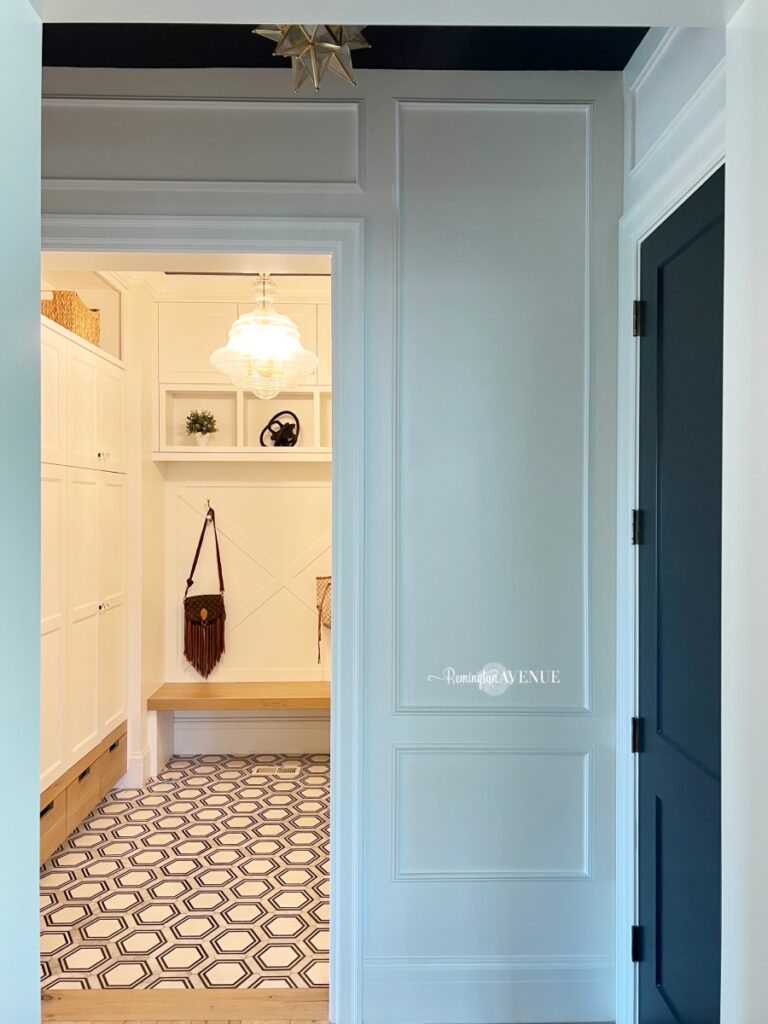
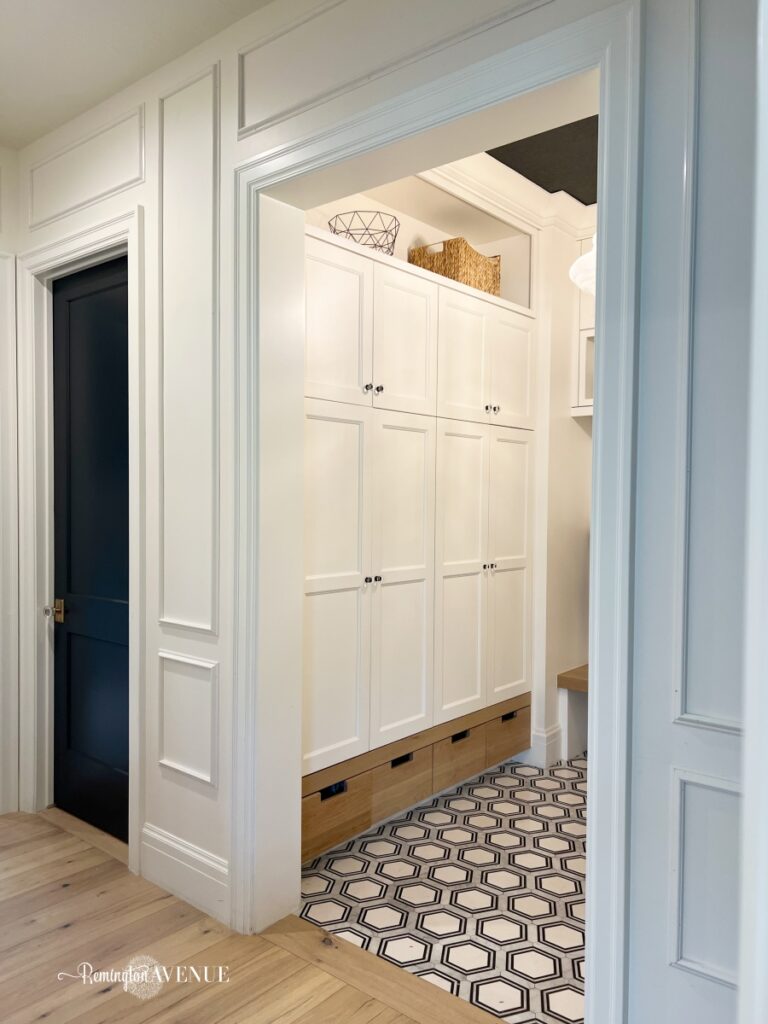
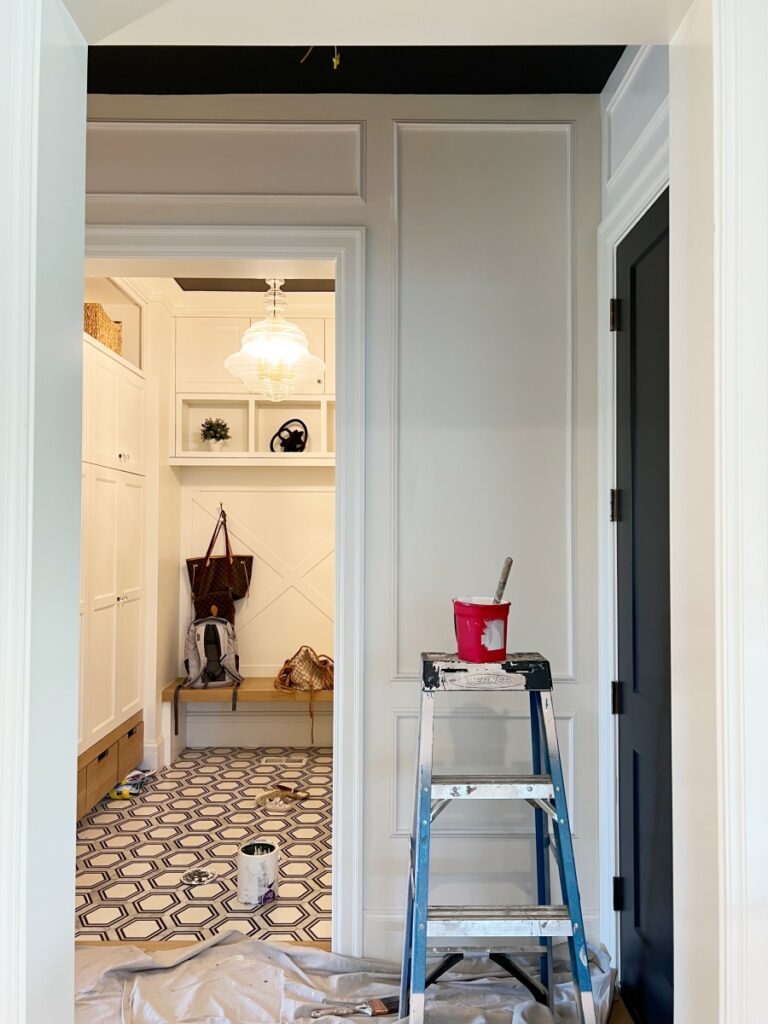
So when you come in from the garage, if you turn left, you go into my kitchen and if you go straight this hallway is your view. It was very plain and didn’t have any design elements going for it. Off of it are the mudroom, the powder room (which is still one of my favorite projects to date) the laundry room, and the kitchen, all of which have been custom designed and DIY-ed. So you can imagine, this hallway was looking a little unfinished.
DIY Hallway Transformation
Tools and supplies:
Benjamin Moore Simply White (semi gloss)
Benjamin Moore Cheating Heart (flat)
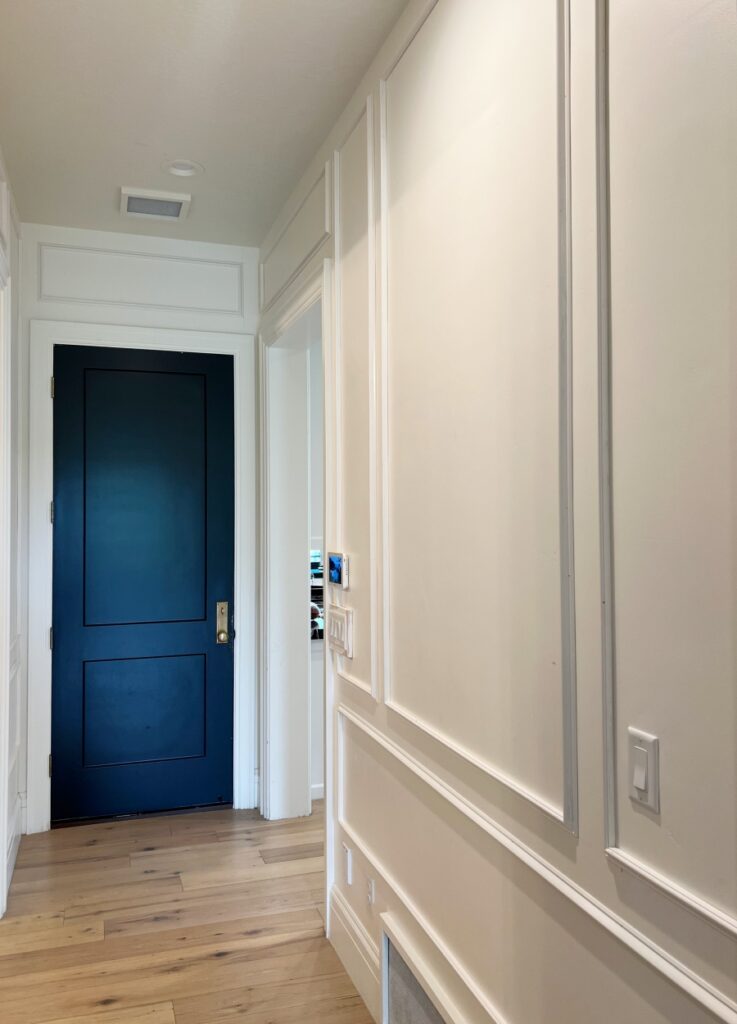
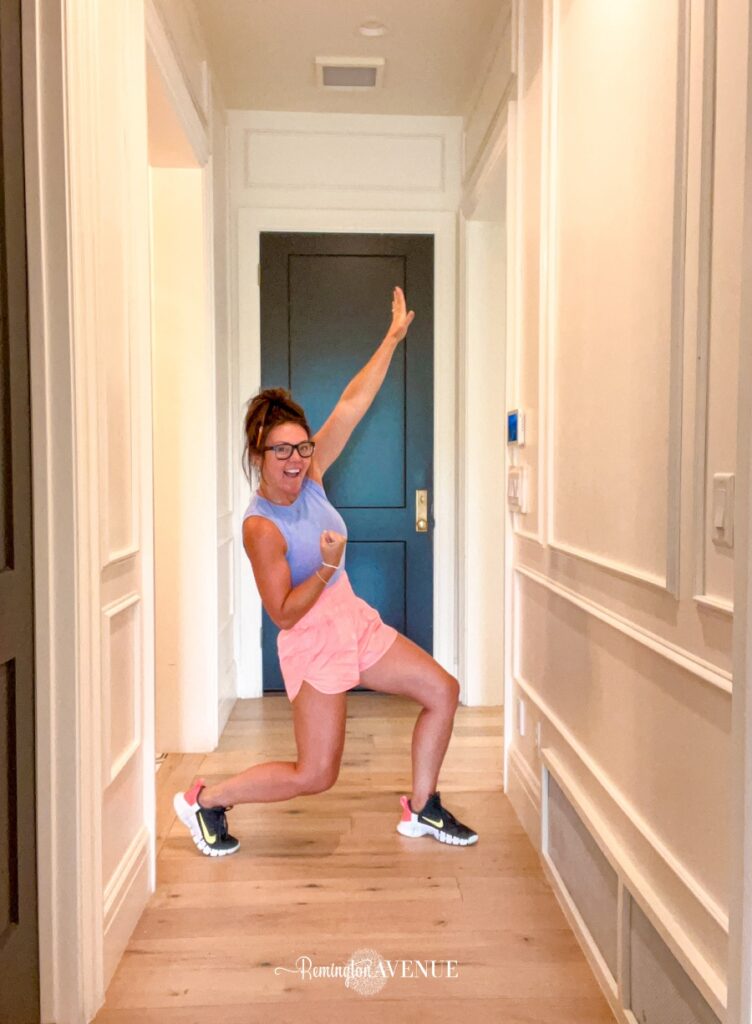
I started this project with the picture frame molding. And, I actually designed the whole molding layout on the wall around the functional piece of art I was going to be putting up. I did this in my living room too, putting picture frame molding around where I want the art to permanently live. It makes the art feel more purposeful and substantial.
If you’ve been around for a while you might remember when I did picture frame molding in the powder room off of this hallway. You can find an in-depth tutorial on that in this post.
A little tip I have so you don’t have to keep measuring everything out, is to find yourself a spacer! I just used a scrap piece of MDF.
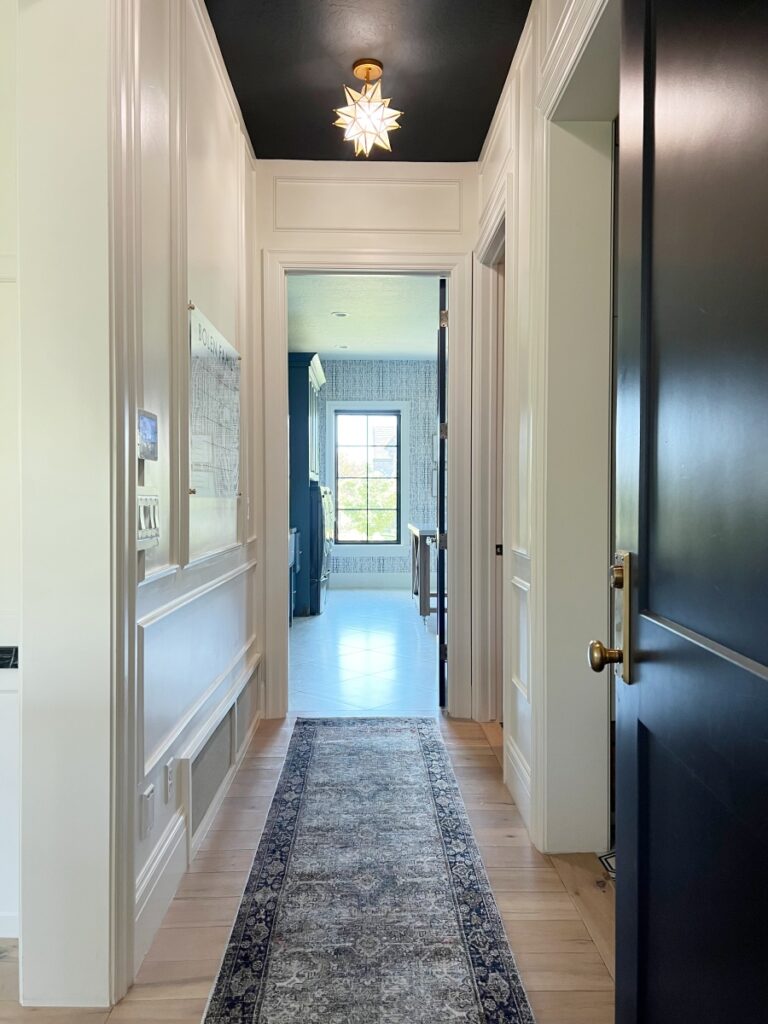
One common misconception that I see a lot with molding boxes is that the boxes are all supposed to be the same size. But it’s actually the spaces that are supposed to be the same size, which is why a spacer comes in handy! So in my project, the space between the box and the trim is the same size. No matter the size of the wall the box is going on. My box is created by 3.5” gaps on all 4 sides of the box. The lower boxes all stop at 3 ft up the wall. Then it’s a 3.5” space to start the upper box.
This is another project where I encased my light switch box to give the molding a place to resolve into. You can watch me do that in this reel.
If you’re intimidated by a saw, a project like this is a great place to use molding shears. They work great for slimmer trim profiles.
Don’t skip this step: Go back through and caulk all the cracks and fill the nail holes. As tedious as it is, it’s important to the overall finished look of the space.
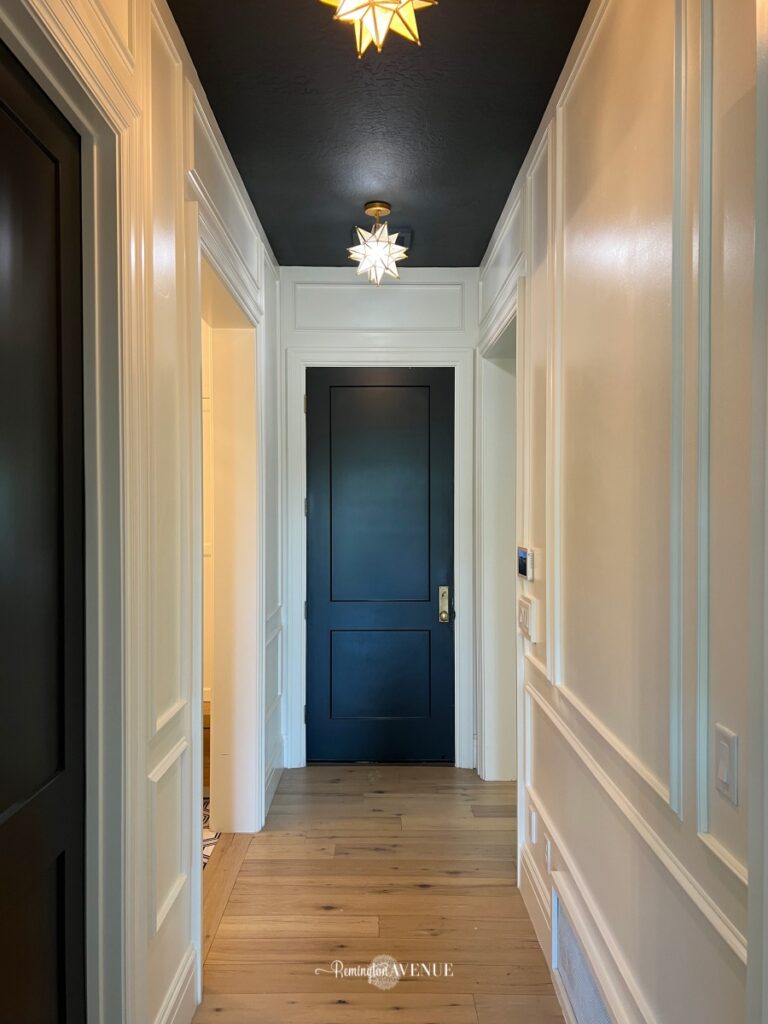
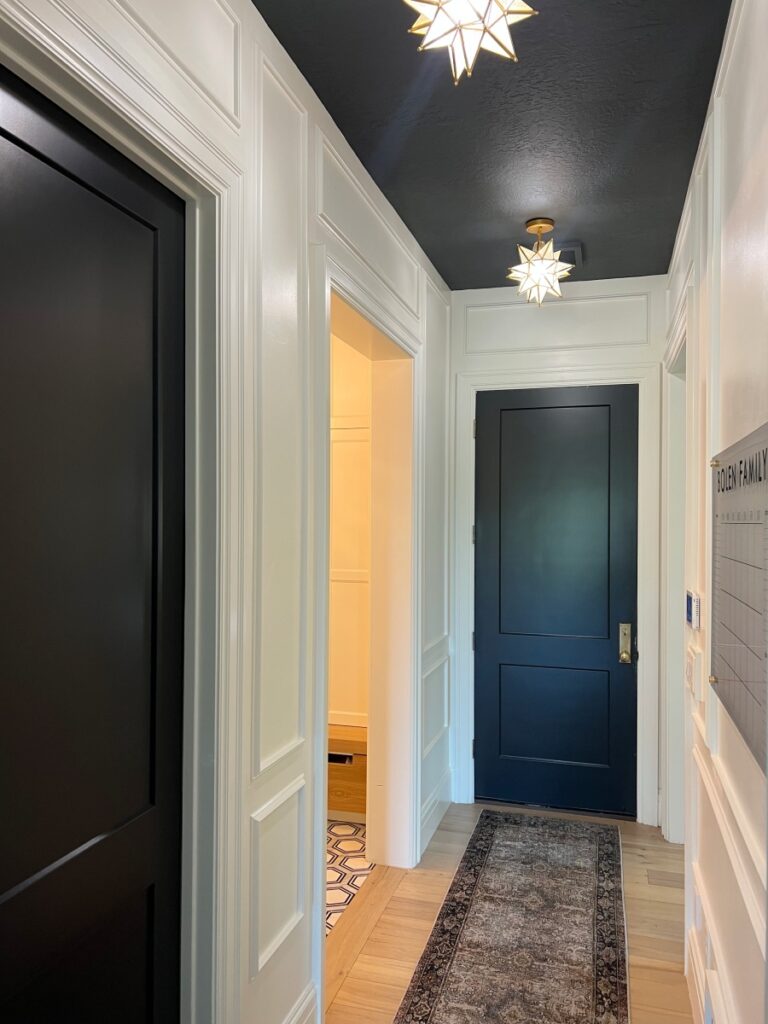
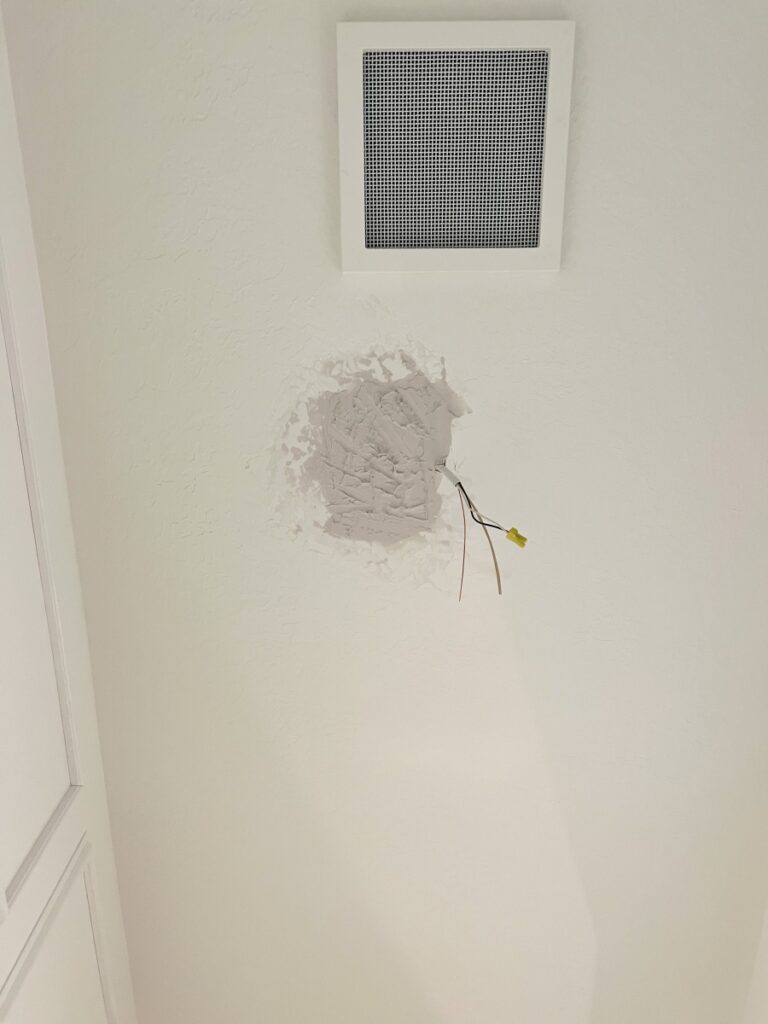
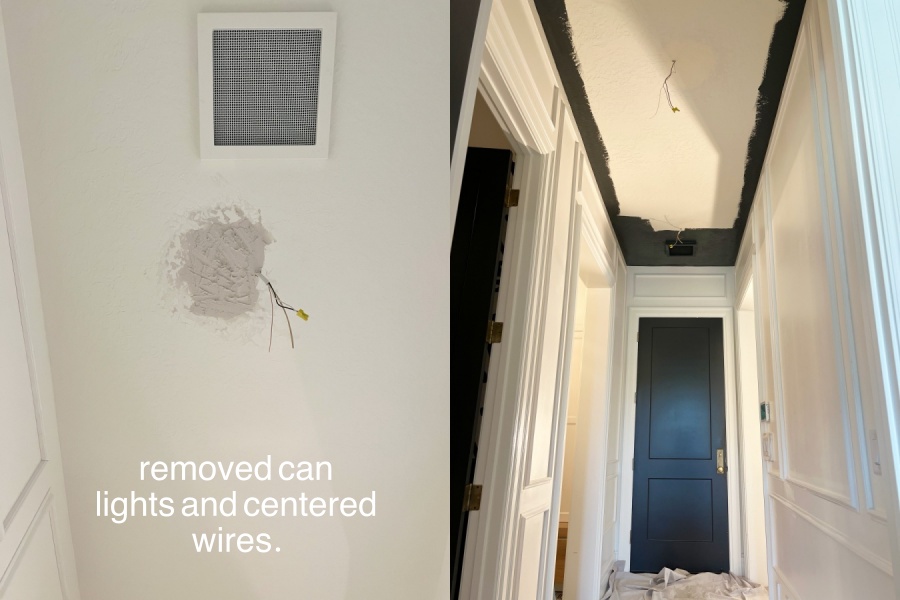
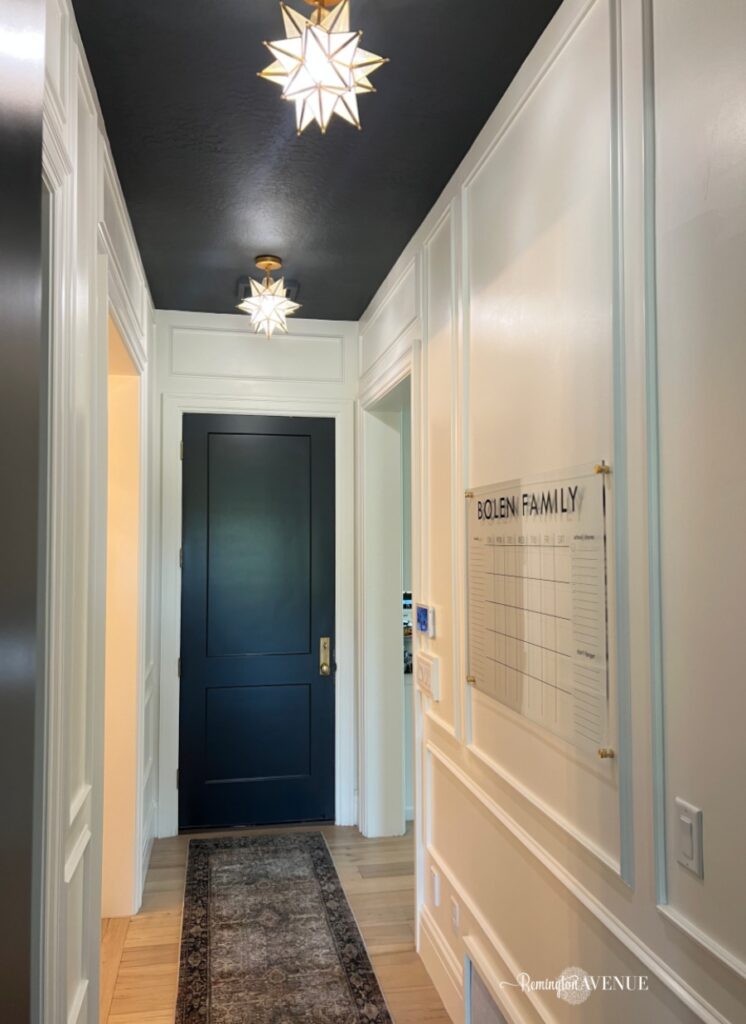
After the molding was up I decided to fix the problem that has driven me nuts since we moved in: the can lights not being centered in the hallway. The reason they couldn’t be centered was because there’s a joist that runs directly down the center of the hallway. But since I was replacing the can lights with pendant lights, we were able to patch them up. Then, we hang the new lights directly from the joist.
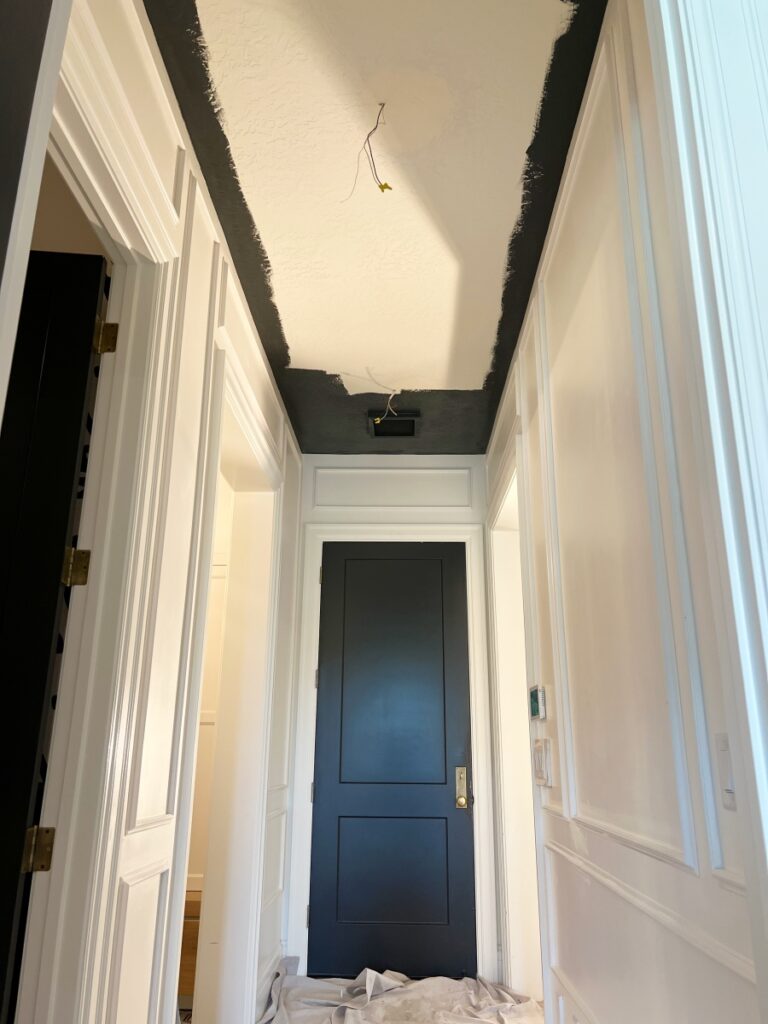
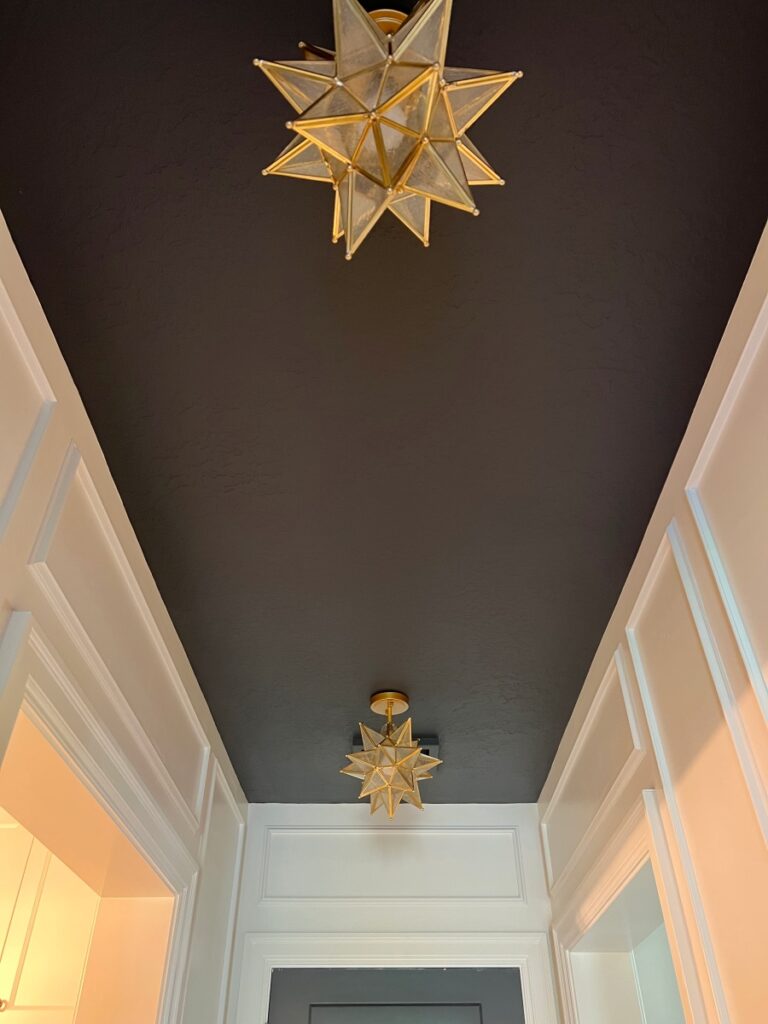
Before I hung the new lights though, I painted the ceiling! My advice when deciding to paint a room is to look at the adjoining rooms and how they tie in. My mudroom ceiling was already dark, so painting this ceiling dark to match that and the doors adds interest, but doesn’t make it too busy. I always use a flat paint on a ceiling unless you want reflection from the lights. The color I used is Cheating Heart by Benjamin Moore.
Then, some of you thought I was a little crazy, but I went over the Simply White by Benjamin Moore walls in eggshell with Simply White by Benjamin Moore in semi-gloss. I know, I know, but why paint it the same color but in a different finish you ask. Well, this is a high traffic area and dust tends to settle on molding. But dust also falls off and wipes down better with semi-gloss paint, so that’s where that decision came from. It may seem a little weird, but hopefully that makes more sense now.
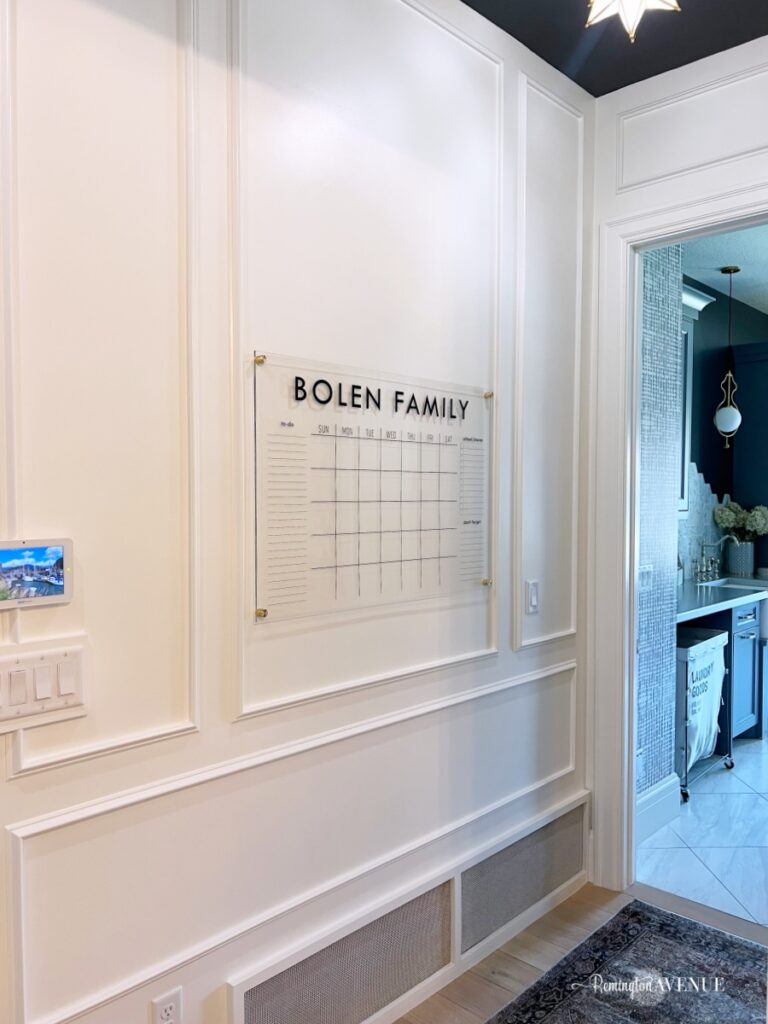
Once the paint had dried I hung up the main feature of this DIY hallway transformation: the Bolen command center, aka our family calendar! Things were starting to get a little crazy in this house, so this was much needed. It’s great, you can personalize it to your name and your family’s needs. And with that final piece, this DIY hallway transformation is complete!
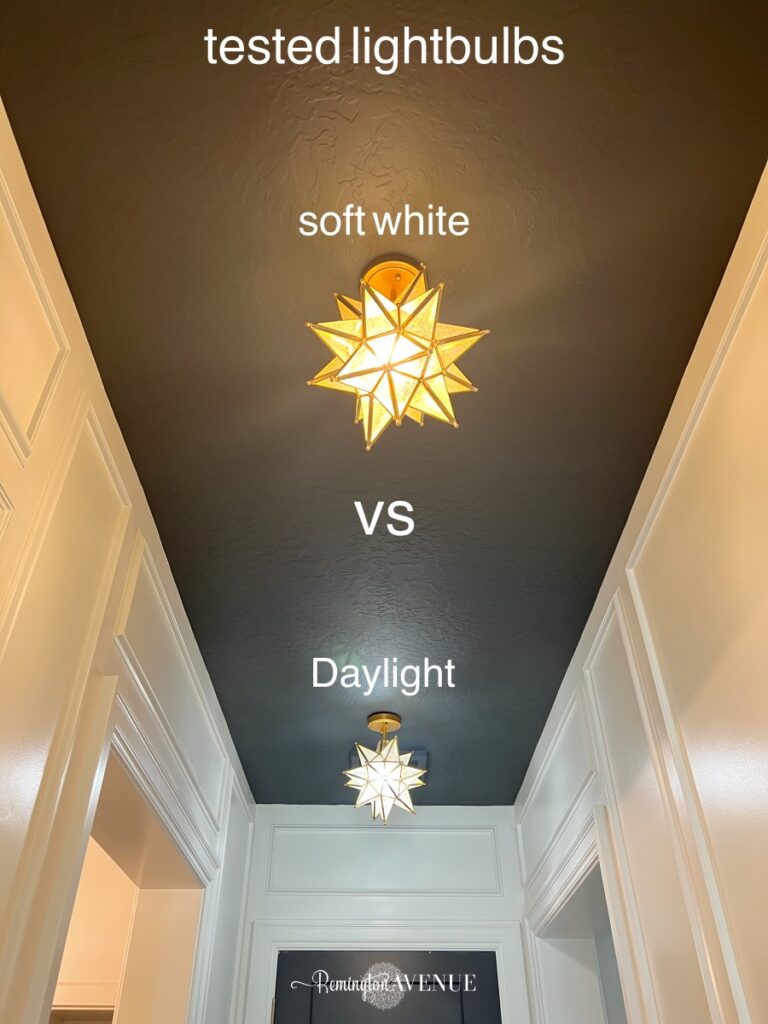
Tap the image to shop the star lights!
Scroll and tap to shop!


 Add to favorites or read later