How to Install Chair Rail and Wall Molding Step-by-Step Layout, Measurements, and Installation Guide)
One thing about me? I love a custom home. And I love to make it custom with little projects that make big impact! From adding wall molding in my previous bedroom or finishing a bathroom with wainscotting, there are so many unique ways to make a statement. So, I am excited to show you how to install chair rail and wall molding for any space. Read on for my step-by-step layout, measurements, and installation guide!
Start with a sketch! That’s one trick I think everyone should use. Sketch the look you are going for out on your phone before putting any physical marks on the wall. I originally thought I was going to do the sketch that had the three smaller boxes with the bottom rail staying the same height all throughout. But after looking at my sketch I realized that didn’t hold the visual weight the room needed (more on that to come).


So from there, I tested out one large square that would have followed the pattern of the stairs down through the whole room. But, that look wasn’t doing it for me either. So I finally decided on three full length boxes that would stay the same height throughout the room.
I loved this look. But, I knew once it was on the walls that the gap left beneath the farthest panel would draw everyones attention to the empty space, rather than draw the interest to the front of the room.
So then I chose to add a sort of “half chair rail” to the bottom of the panels throughout the rest of the room and it did the job perfectly! All through trial and error – and a sketch – I found my vision.
Ready? Let’s transform your space! Read on for a detailed guide of how to install chair rail and wall molding!
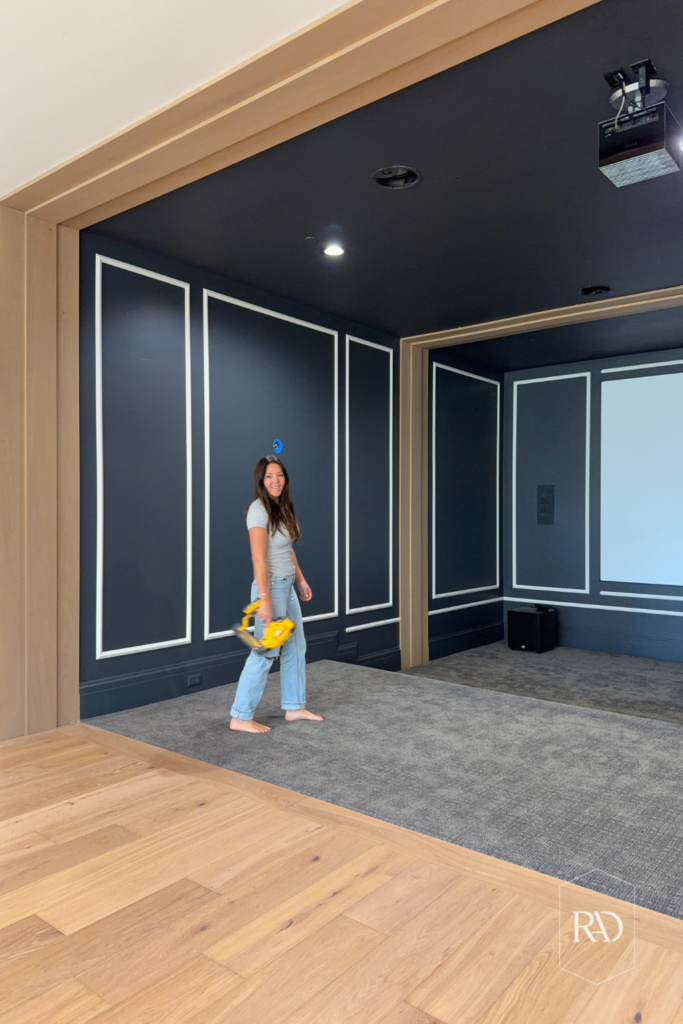
Step 1: Measure box size in relation to the overall size of the wall and the visual weight you are hoping to achieve. In the case of this theater room, I knew I was going to be adding wall paper for extra depth and texture. So, rather than do two panels of molding with a picture frame mold and a smaller chair rail panel underneath, I decided to do one large panel in a row of three. on one side of the oak separation, and then a single large square panel on the other side.

If you are using this step-by-step layout, measurements, and installation guide at home, you will have to decide what style you are going for, for yourself. This is the fun part!
Here is an example of a more modern vibe of wall molding! You can think outside the box (pun intended!)
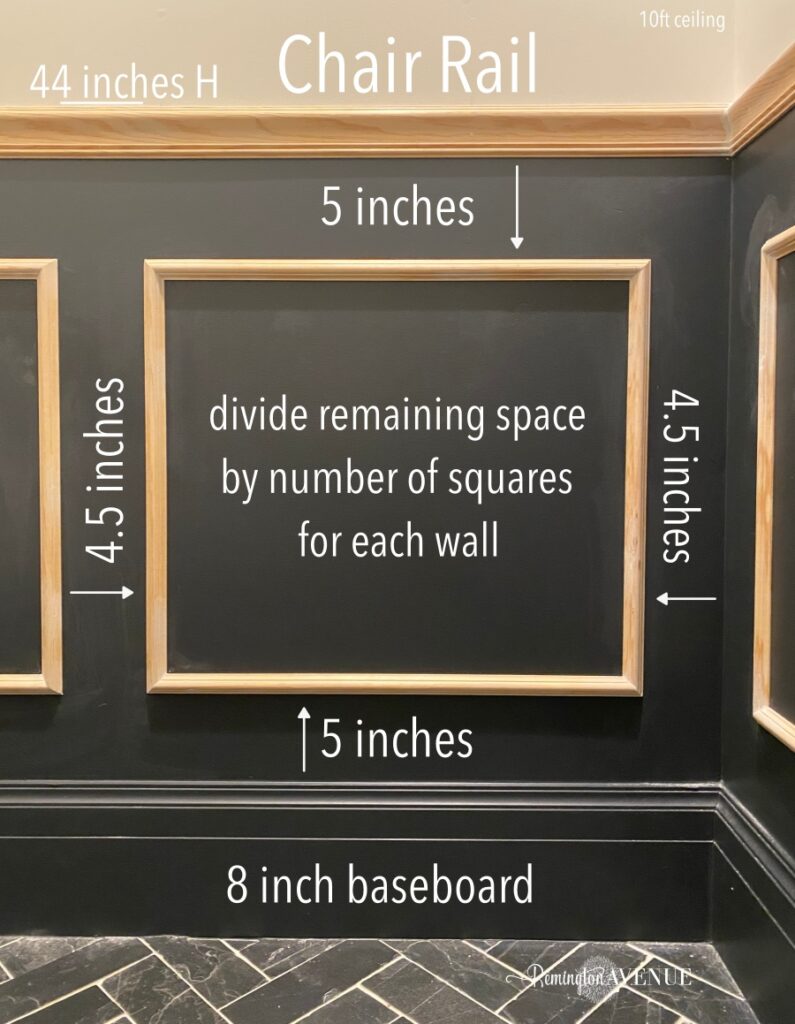
I’ve included a graphic of the two most common types of wall molding that work in tons of spaces. I personally have used these guidelines and they make it super helpful to visualize the molding in your space.

These graphics show the measurement for each panel, top and bottom, the number of rows you’ll need horizontally and vertically relative to the size of the room. Everything is measured in width by height with the assumption that you are using a 4 inch wall reveal or gap between each panel and a 4 inch baseboard. This is just a very general graphic. This will need to be adapted for rooms that are outside of the shown room sizes, for varying baseboard heights, and for unique styles. But this is a great starting point for most DIY’ers!

Another tip in this step is to use a 4 inch (or whatever size gap you are working with) block to measure and mark up comparative to the ceiling and floor rather than a level. Most ceilings are not fully level. So, it’s better to use the ceiling as a guide to give the appearance of straight lines than to “force” a straight line using a level. This may give the overall appearance that it is more uneven.
Below is a cheat sheet from when I worked on our powder room in the previous house!
Cutting a spacer board to use throughout the install of chair railing and wall molding is extremely helpful. This will ensure all your gaps stay the same width!
Step 2: Once you’ve marked and measured how much trim you are going to be using, you will need to buy the molding. This part requires some math! You need to purchase the length of molding while keeping in mind the length of scraps you will need. For example, if you need a 4 foot cut and a 3 foot cut, a 6 foot length would leave you with a foot short. If you get an 8 foot length, then you will have a foot left over. Always better to have extra in case of small mistakes. This will vary depending on the size of your project, so do some planning ahead!
Pro tip – you can order molding to be delivered rather than picking it up from the store, 8 feet is a big piece to try and fit into your car!
Step 3: Locate and mark the studs in your walls with a pencil. If you nail your molding directly into the drywall, it will not stay up. I swear by this stud finder.
Step 4: Measure the distance between the corners of your desired box shapes. From here, trim your pieces at a 45 degree angle. Since we’re cutting boxes, cutting at 45 degrees allows for a seamless connection with less extra trimming.
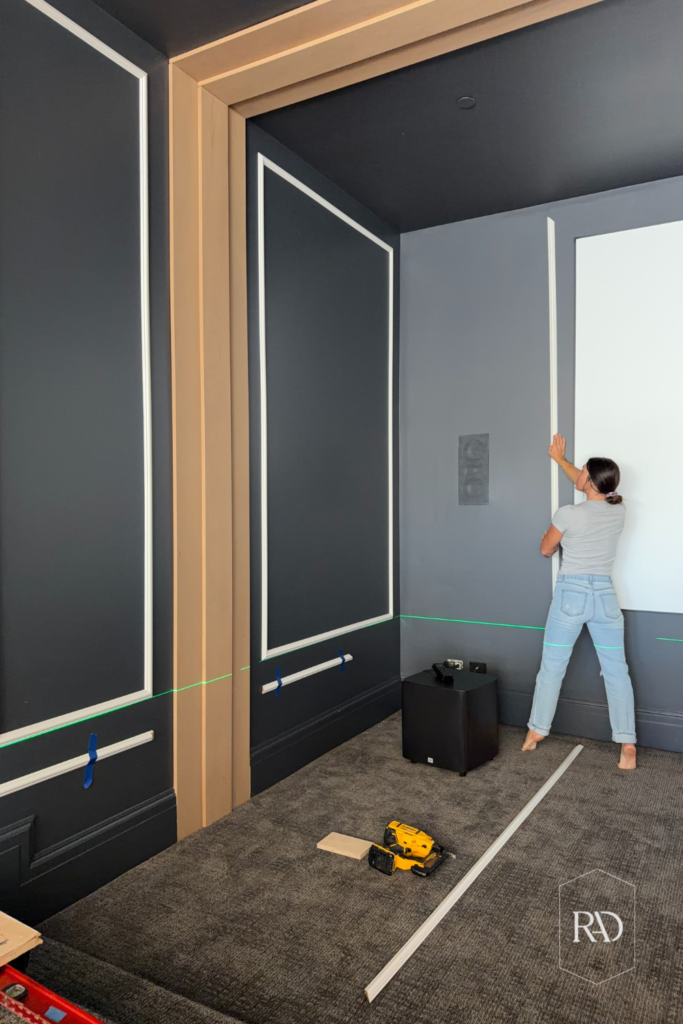
Step 5. Nail the molding into the studs. If you have a vertical piece of molding that doesn’t hit a stud, angle your nail gun about 30 degrees side to side and shoot the nails so they basically cross behind the drywall. This will ensure the molding has a good grab on the drywall.
Do you see your vision coming to life?
Step 6. Use a wood filler (I like Plastic wood) to fill corner gaps and the holes from your nails. Sand it down to ensure smooth corner transitions and that the holes disappear.
Step 7: Caulk the gaps between the trim and wall. This part is tedious, but makes an enormous difference in the finished product and longevity of your new DIY. With all the projects that I have to fill the gaps with caulk, I am always amazed by how much it makes an instant difference. It’s the point you stand back and go ‘that looks good!’
Step 8: Prime, paint, and admire your hard work! You did it!
Shop all you need to get started below:


Loved this step-by-step layout, measurements, and installation guide? For more DIY’s, project step by steps and tutorials, follow me on Pinterest!

 Add to favorites or read later