No Sag Construction Reupholstered Chairs
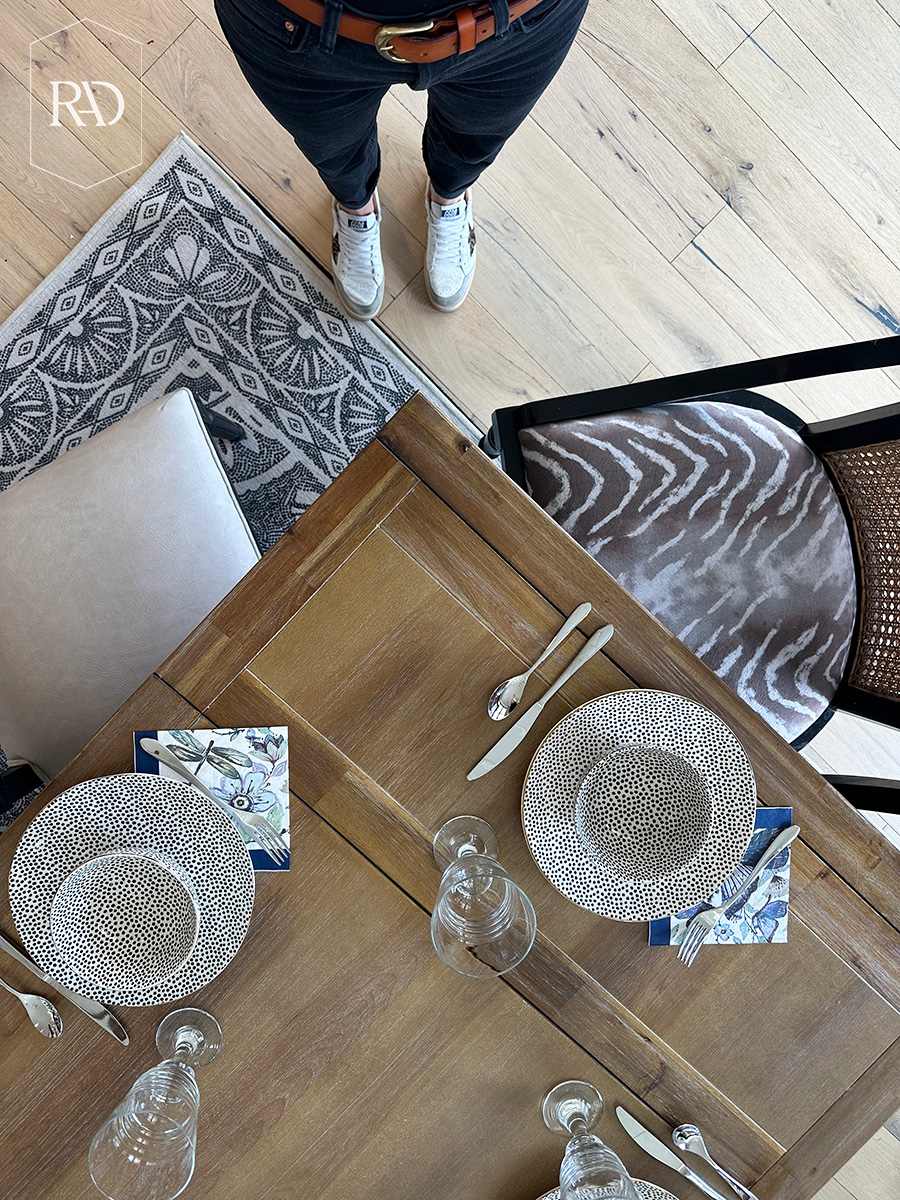
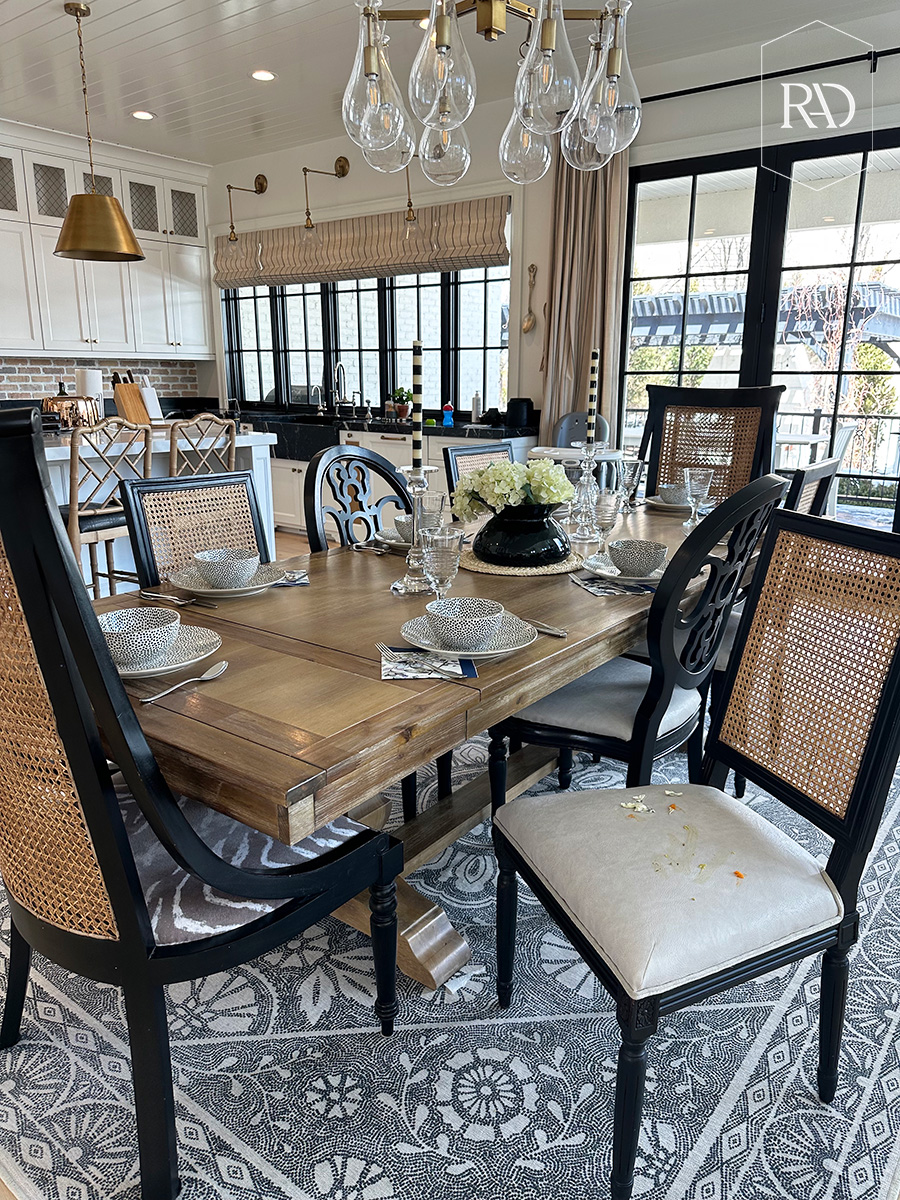
Raise your hand if you bought light colored, fabric dining chairs, let children use them, and now have gross stains everywhere. Well, I do! I was so tired of looking at the stains on my dining chairs so I decided to take matters into my own hands and reupholster them myself. And I’m so happy I did! It turned out to be easier than I thought and I kind of wish I did it sooner. Instead of getting all new chairs, I was able to breathe a whole new life into my existing ones for only about $60, which I love. These no sag construction reupholstered chairs are pretty much brand new, and so much easier to clean. Keep reading for a tutorial!
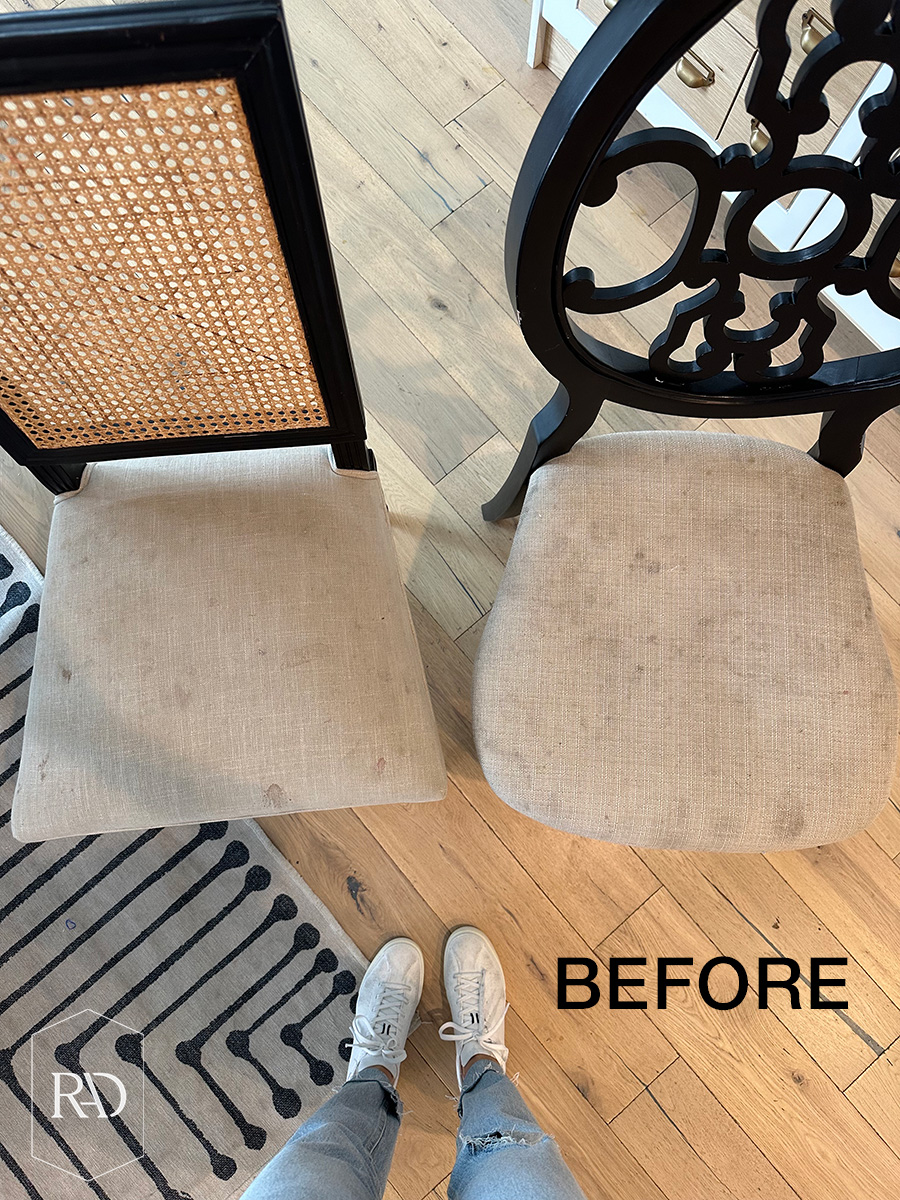
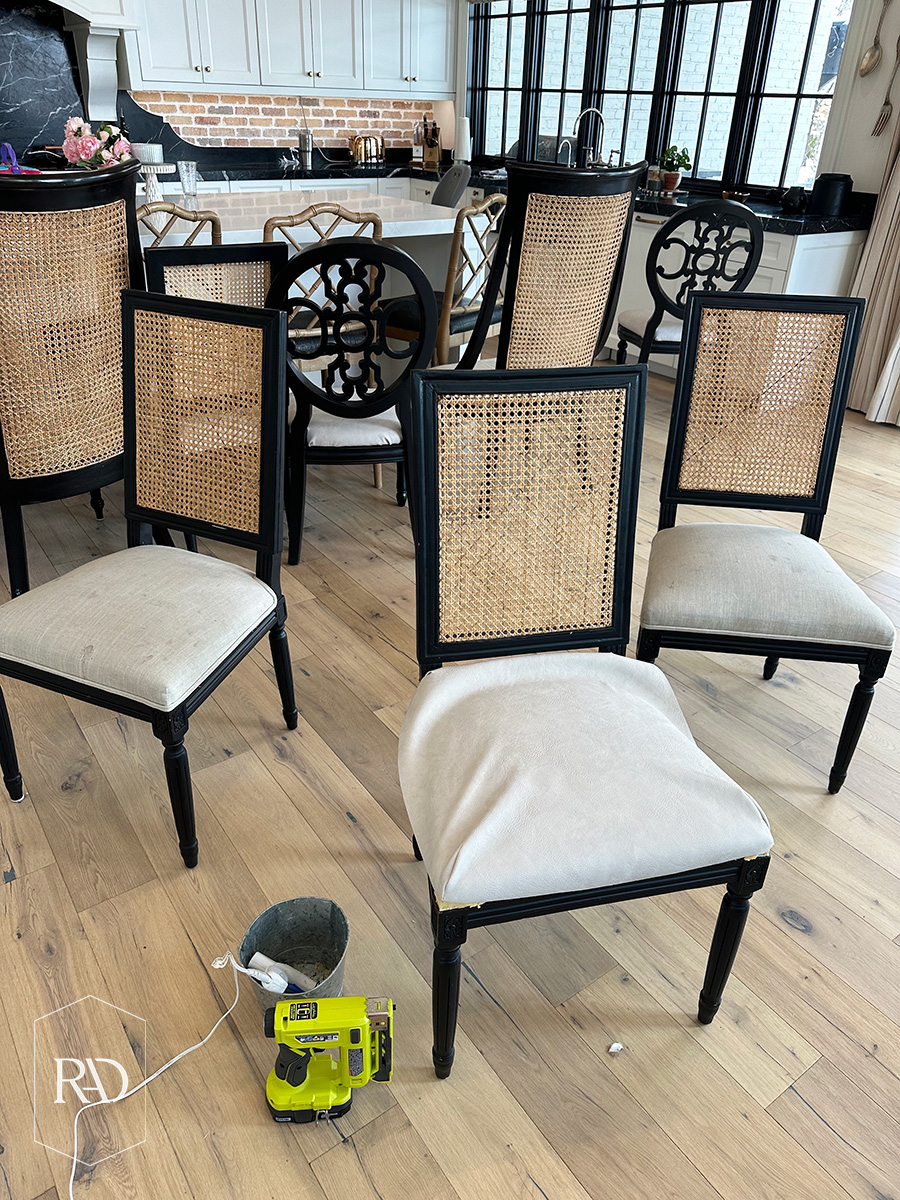
My dining chairs are a mix of three different styles of chairs for a total of eight chairs, and all of them needed to be recovered. I started with the ones I knew I could do. With the first chairs, the seat cushions come completely off, and I’ve done a similar project on barstools before. I’ll link that full tutorial HERE. Since I have done a similar project to this before, I just followed the steps that I know and it worked great!
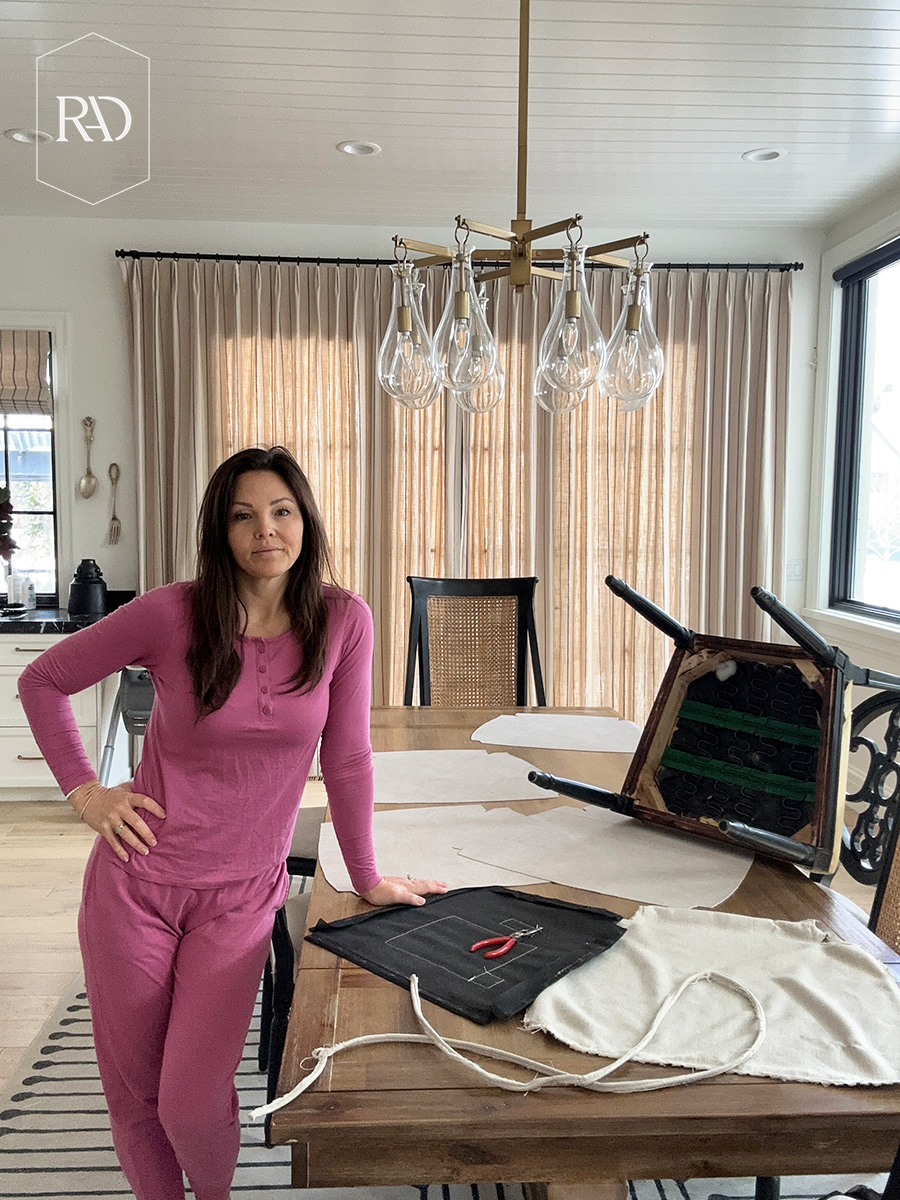
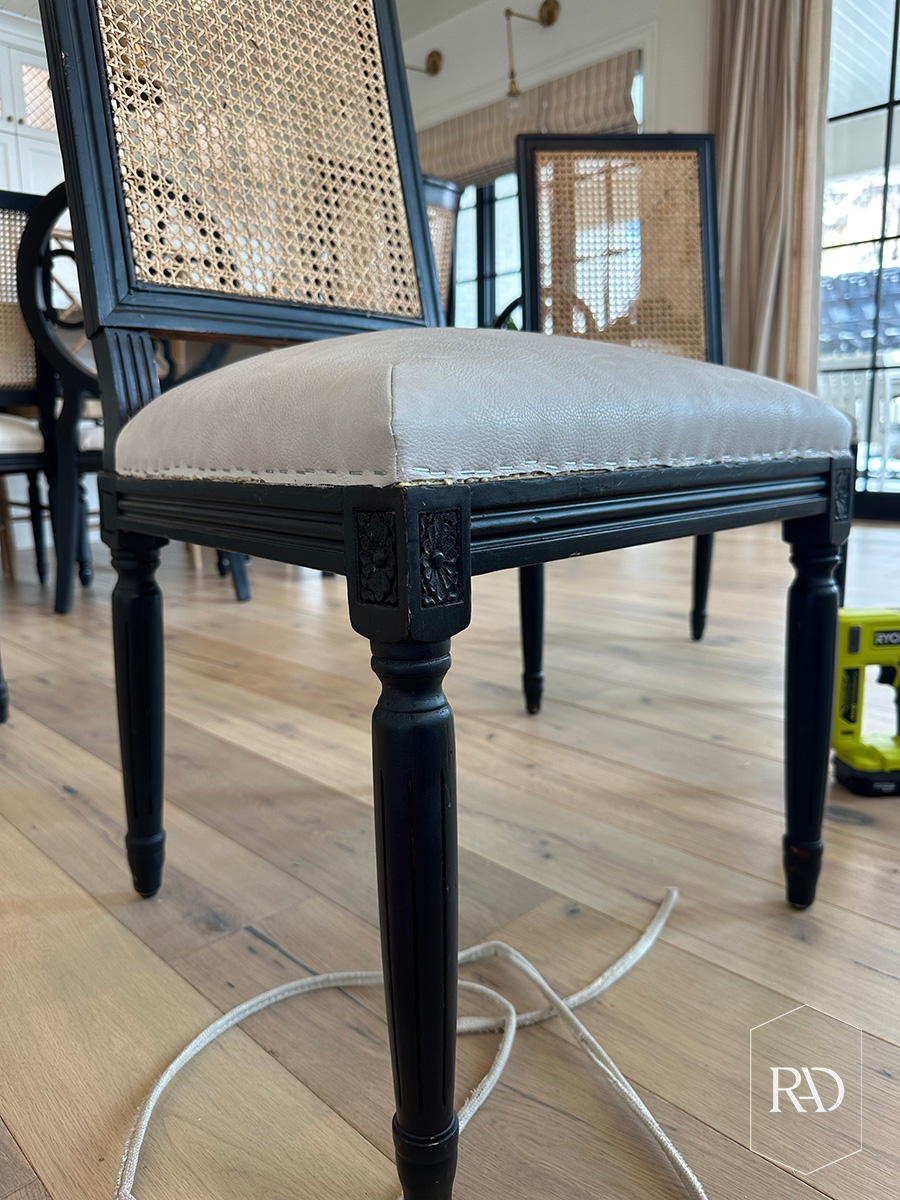
The rest of the chairs are no sag construction style, meaning they are made with sinuous springs and the fabric is stretched and stapled to the chair. The cushion does not come off the frame. And since these seats are not removable, there is a different, more involved method to reupholster them. Let’s get into the tutorial.
No Sag Construction Reupholstered Chairs
Supplies:
Screwdriver
Pliers
Fabric (I got mine from Joann’s)
Step 1:
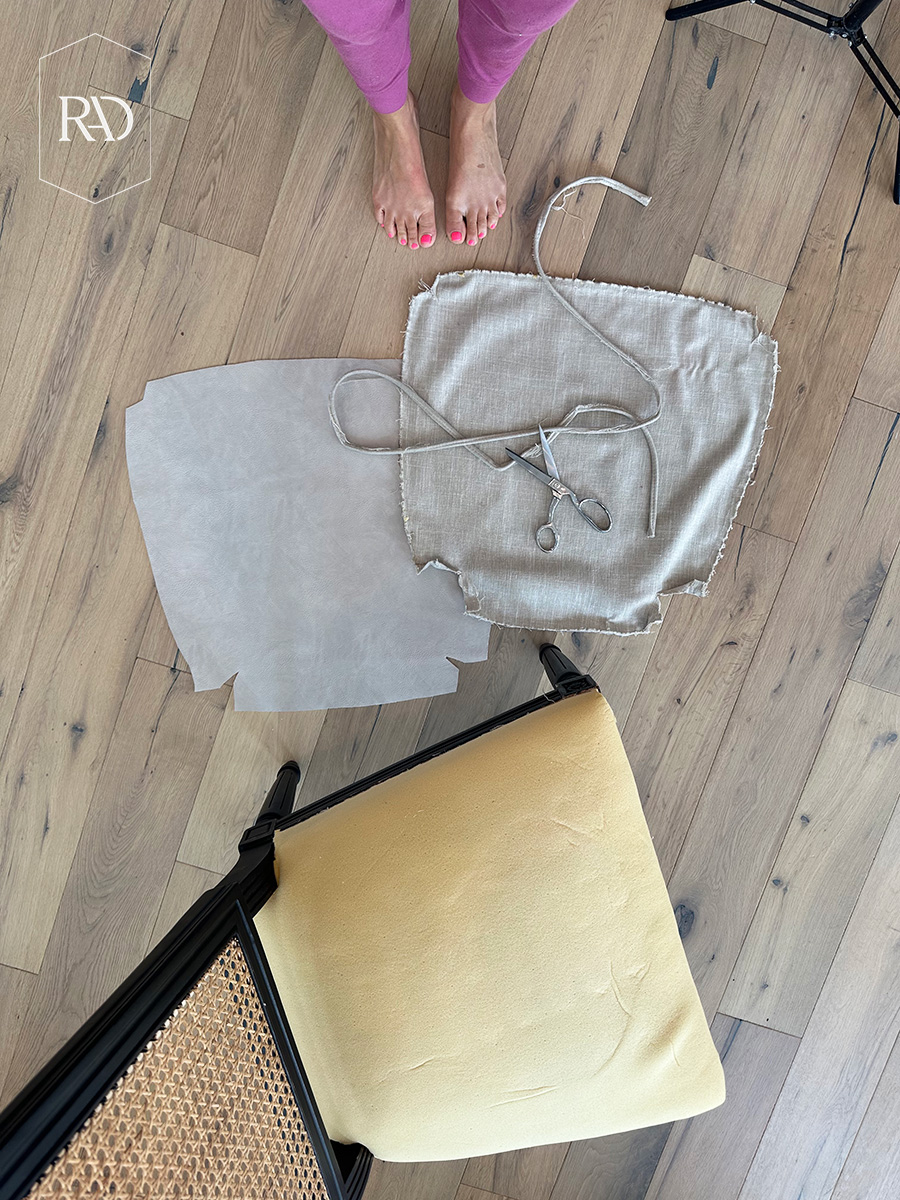
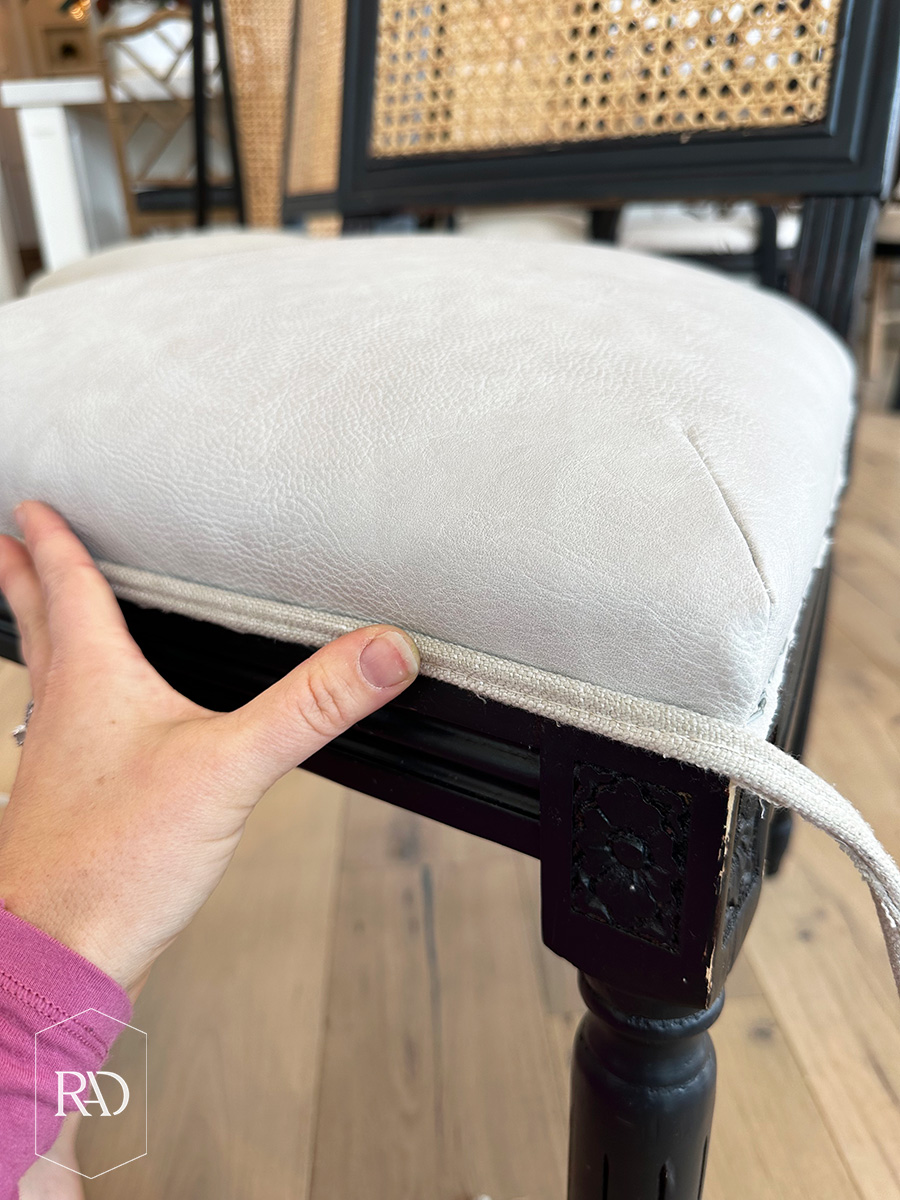
Start by removing the fabric trim piece – also known as welting – that goes around the edge of the seat and covers the staples. Save this piece to either reuse, or to use as a template for a new piece.
Step 2:
Take out the staples and carefully remove the seat fabric. You’ll use this as your pattern for your new fabric.
Step 3:
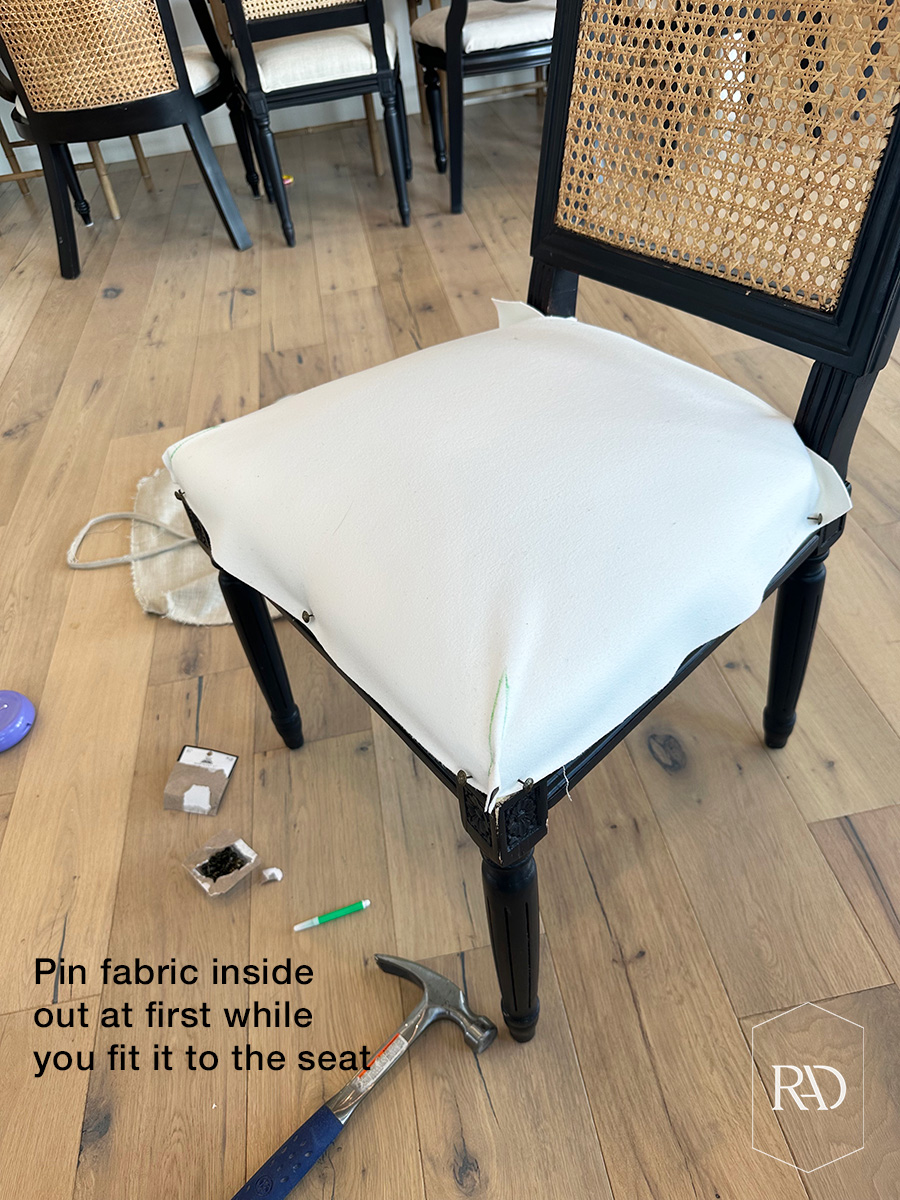
Cut your fabric using your pattern. And start to lay it over the seat and pin it in place to make sure it’ll fit how you want it to.
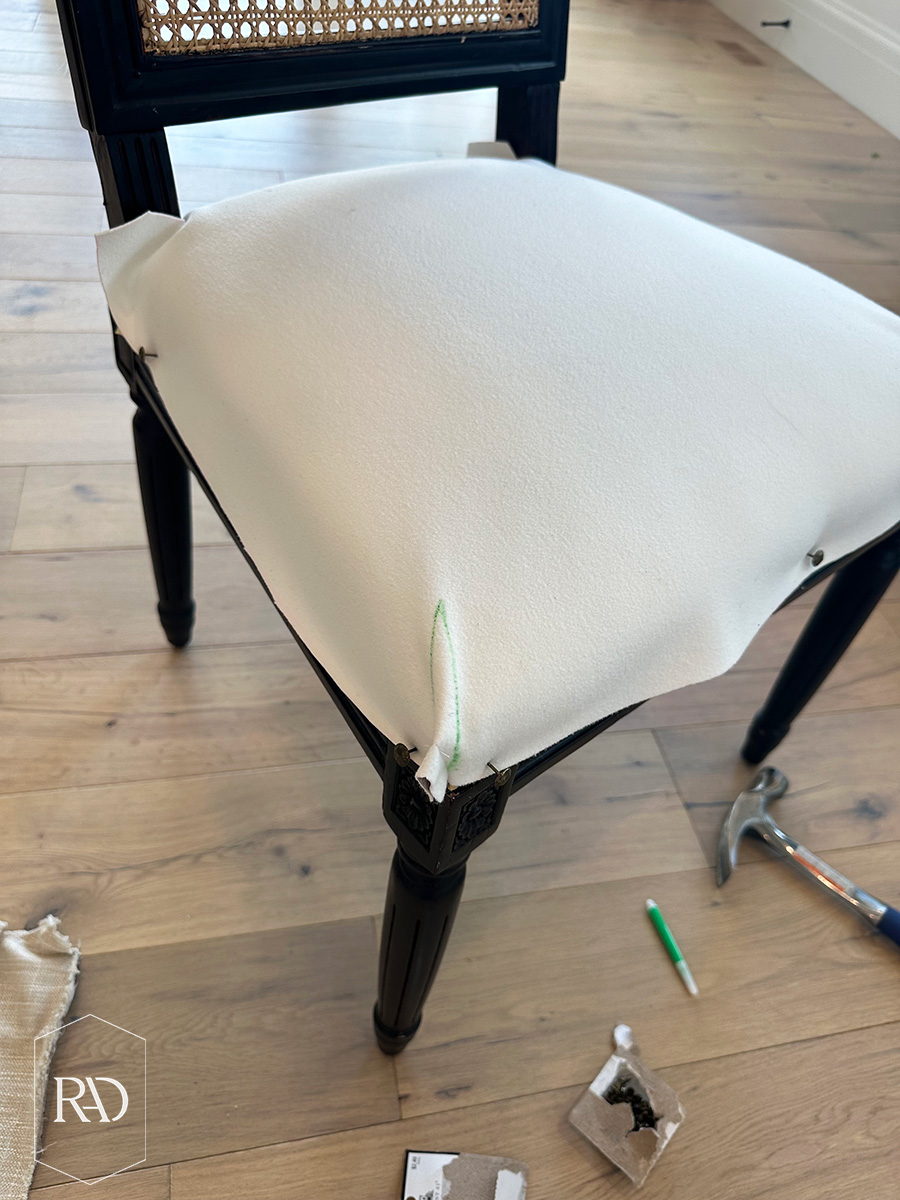
Step 4:
Sew the front corners. This type of seat did require minimal sewing in the 2 front corners of the cover.
I did run into a small hiccup when I went to install the new fabric. And that was, I realized the new fabric was not going to stretch and give in the same way the old fabric did. So I decided to create longer darts. you can see those drawn in green marker on the corners.
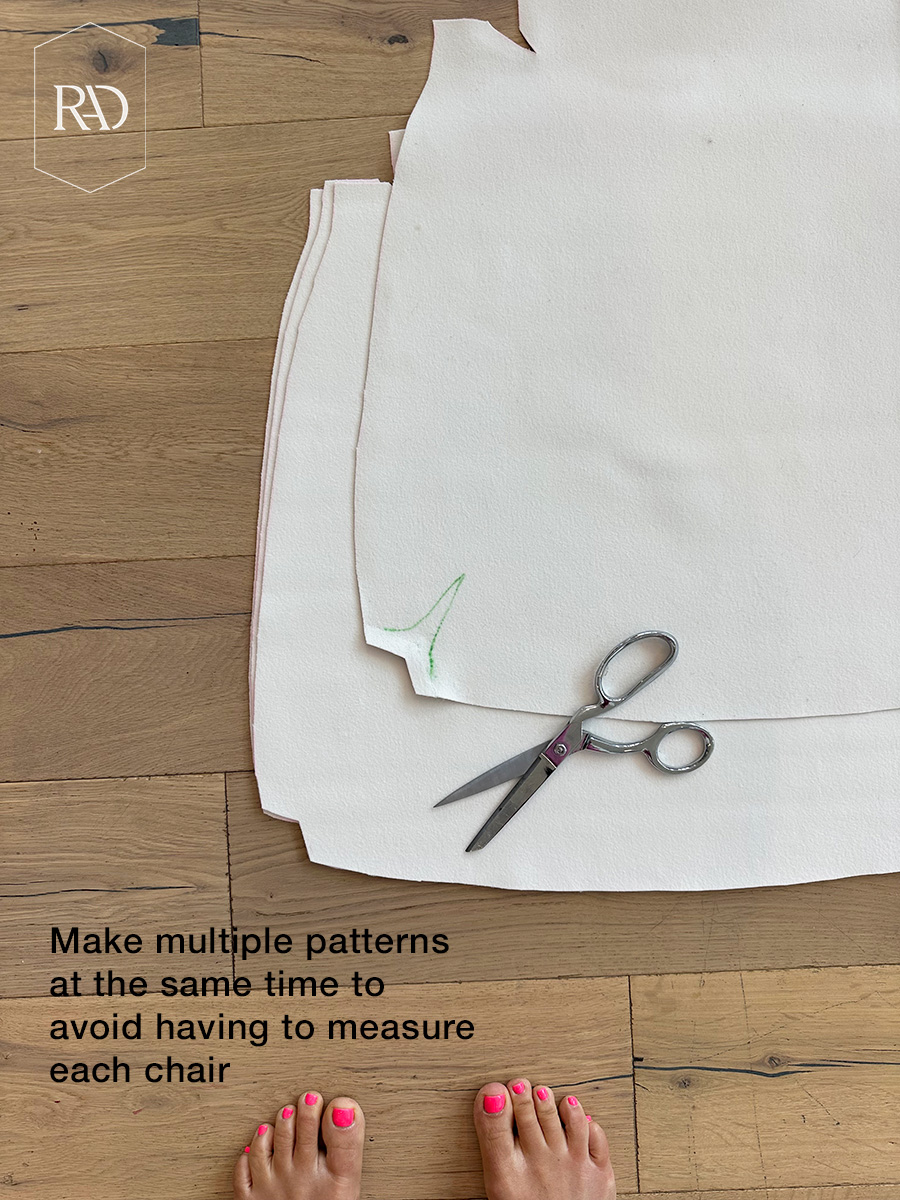
Step 5:
Once I was happy with how the fabric on the pattern was fitting over the seat. I created three more using that same pattern. This made it easy to create four seat identical covers instead of measuring out each one. I also left the existing fabric on all the other 3 chairs and recovered right over it… eliminating more work!
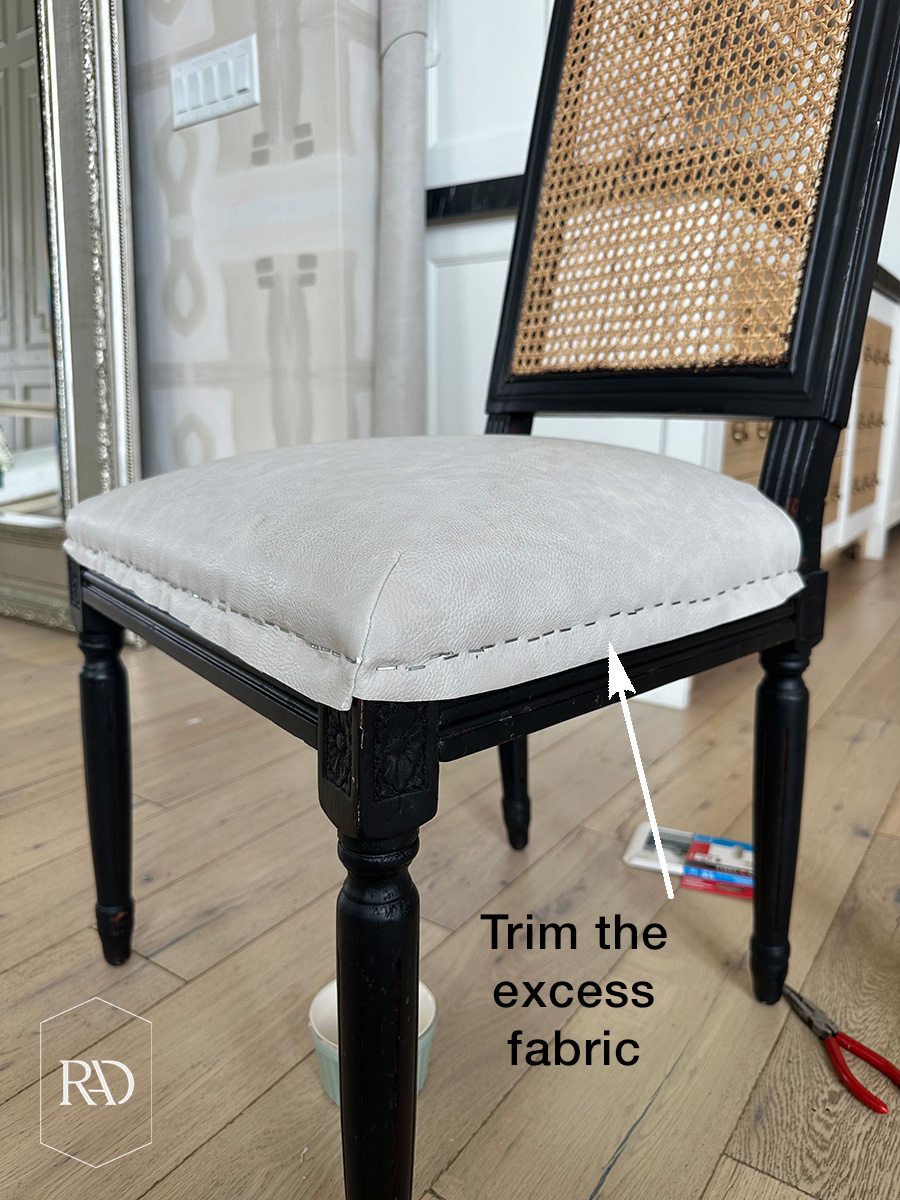
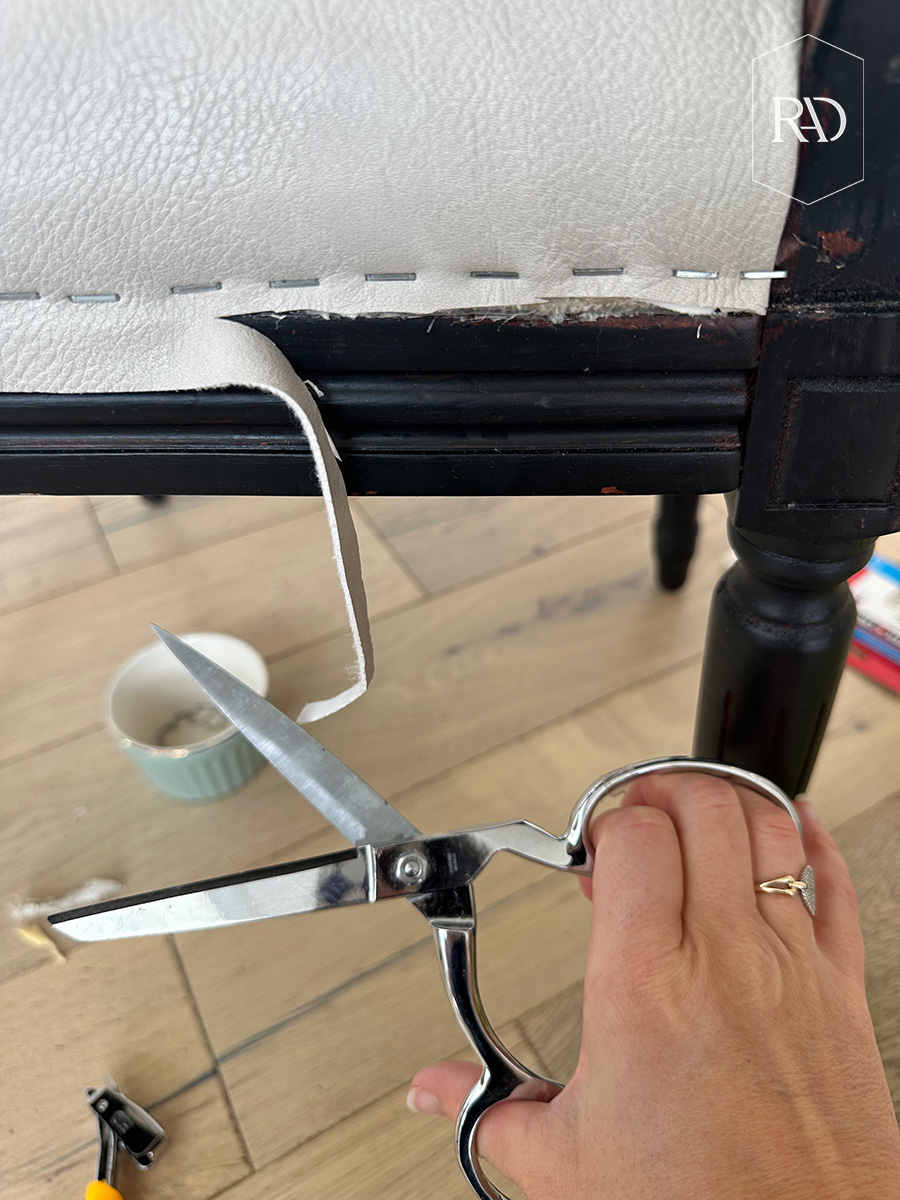
Step 6:
To secure your fabric, pull it really tight and staple it into place. You’ll use a lot of staples for this part in order to make sure the seat is covered and the fabric won’t budge.
Step 7:
Apply your welting. I just reused the one I removed in the beginning and it worked perfectly. The easiest way to attach it is to use a hot glue gun. Trust me, it’ll hold up.
Watch my tutorial below!
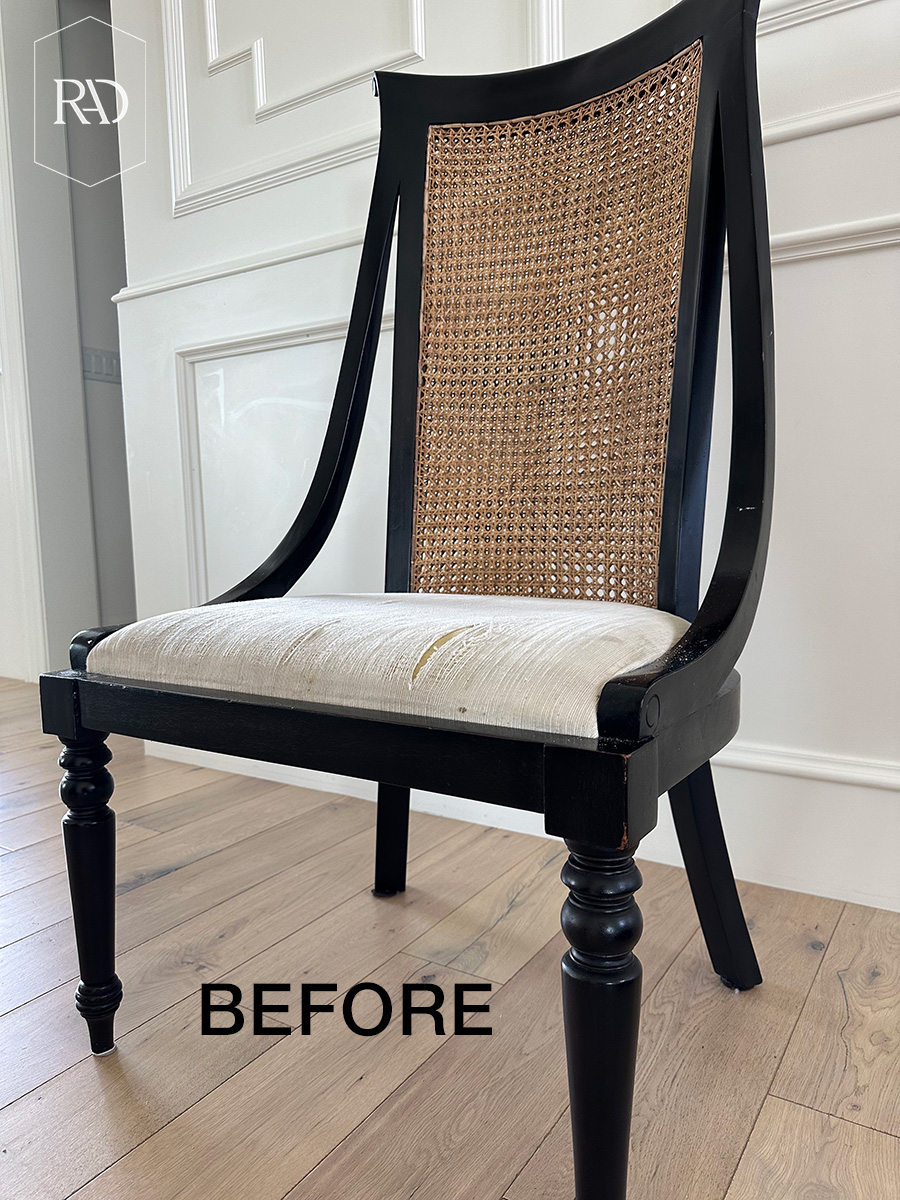
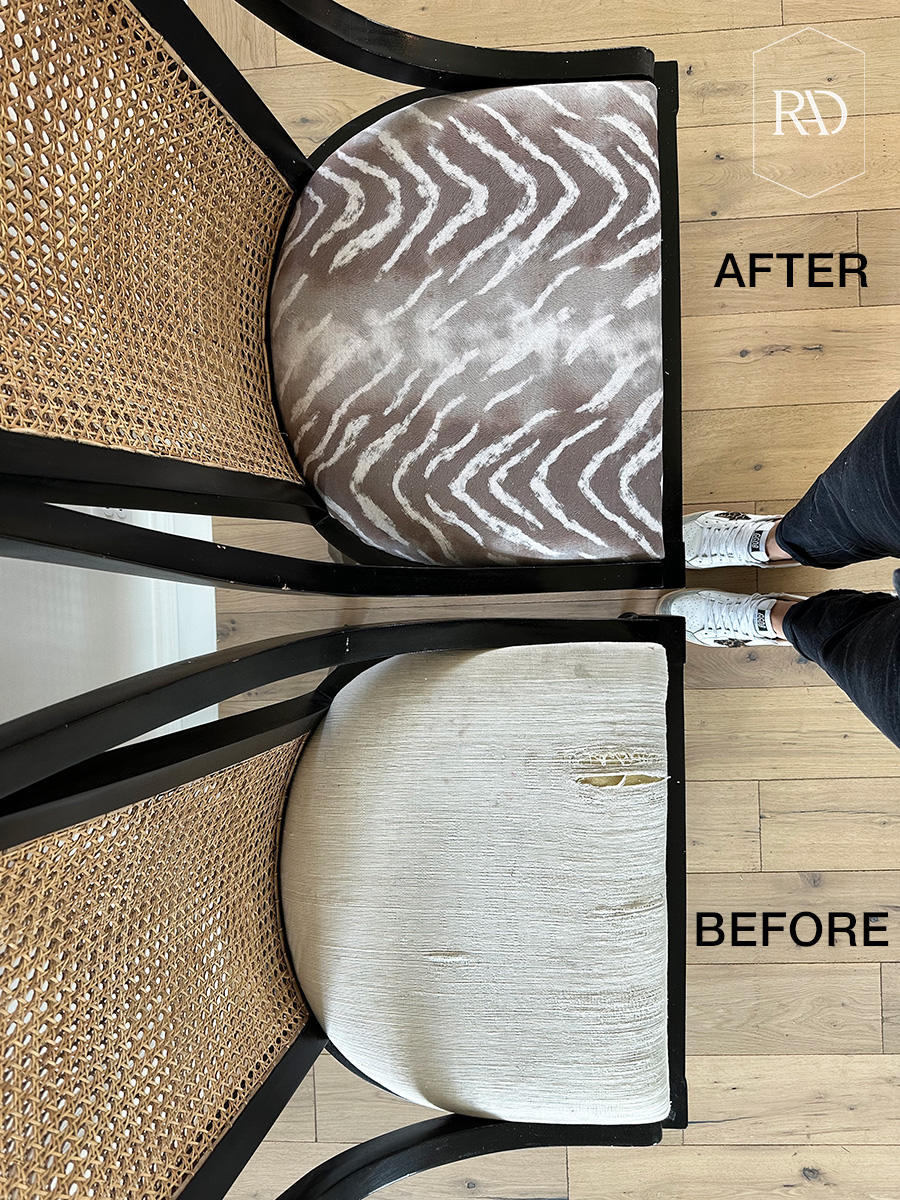
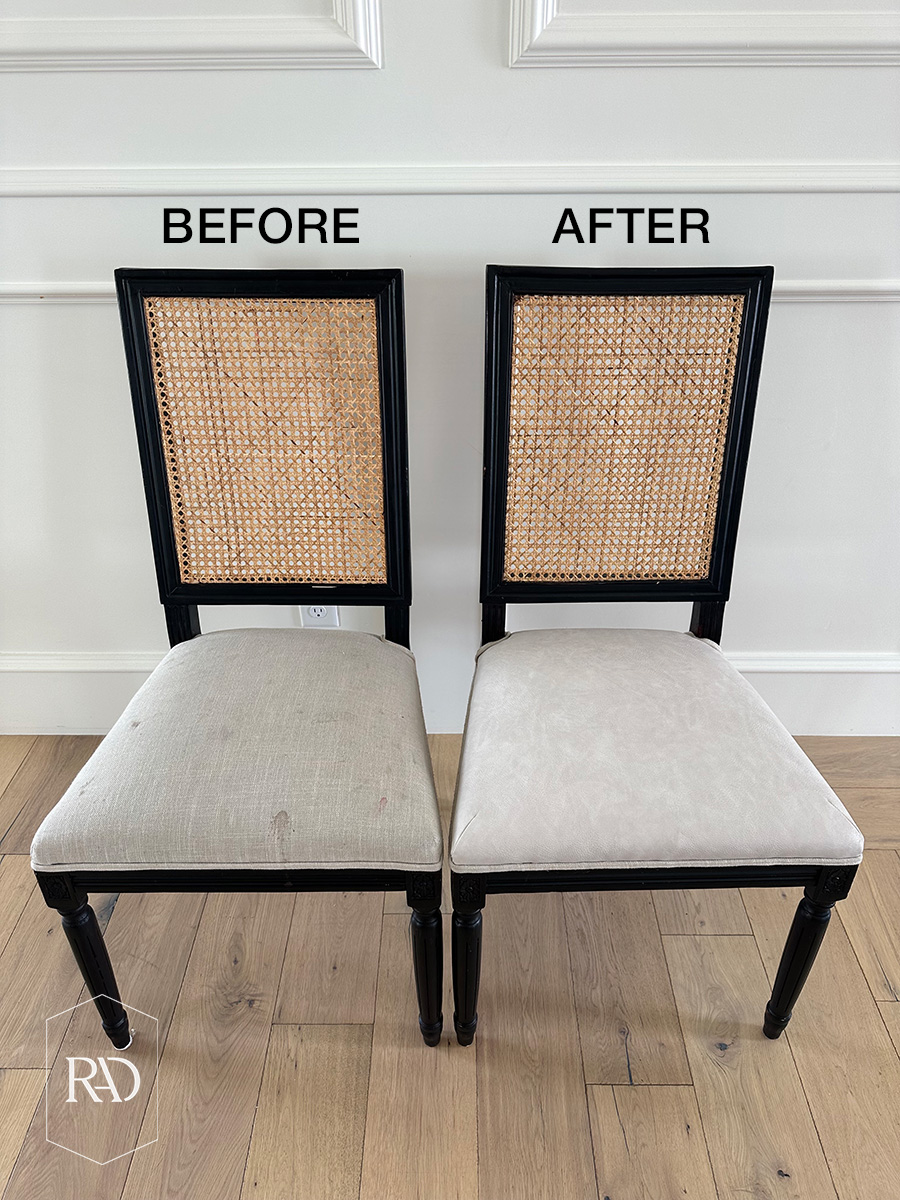
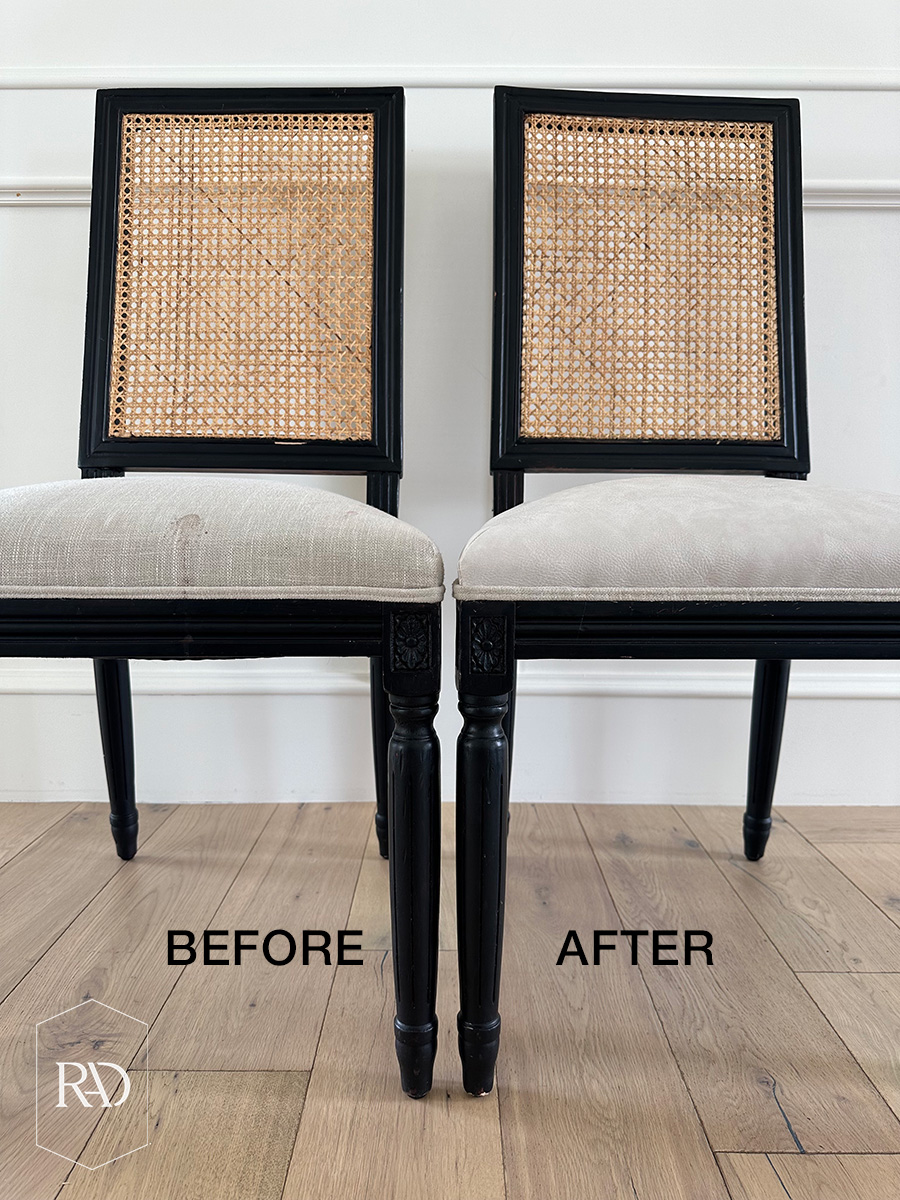
I am so happy with how these no sag construction reupholstered chairs turned out. They look brand new! And the best part is, I chose a vinyl fabric so clean up after meals or activities is a breeze. No more stained and ripped cushions at this table.

If you’ve been thinking about doing something like this, I say go for it! It might seem a little intimidating at first, but you just need to get started.

Shop the look below by tapping on the image!


 Add to favorites or read later