
Luxe Home Gym Makeover: Design Inspiration + Phase One
While we are slowly chipping away at projects for the house, and I wanted to switch focus and start on the gym. We love to work out. Strength training and lifting has been so great for my body and mental health, Chris loves a good lift session and even Vinny has started to use the gyms in our home. This space is it really a fantastic space but it needs some work. So, let’s take you along. This is our Luxe Home Gym Makeover: Design Inspiration + Phase One!
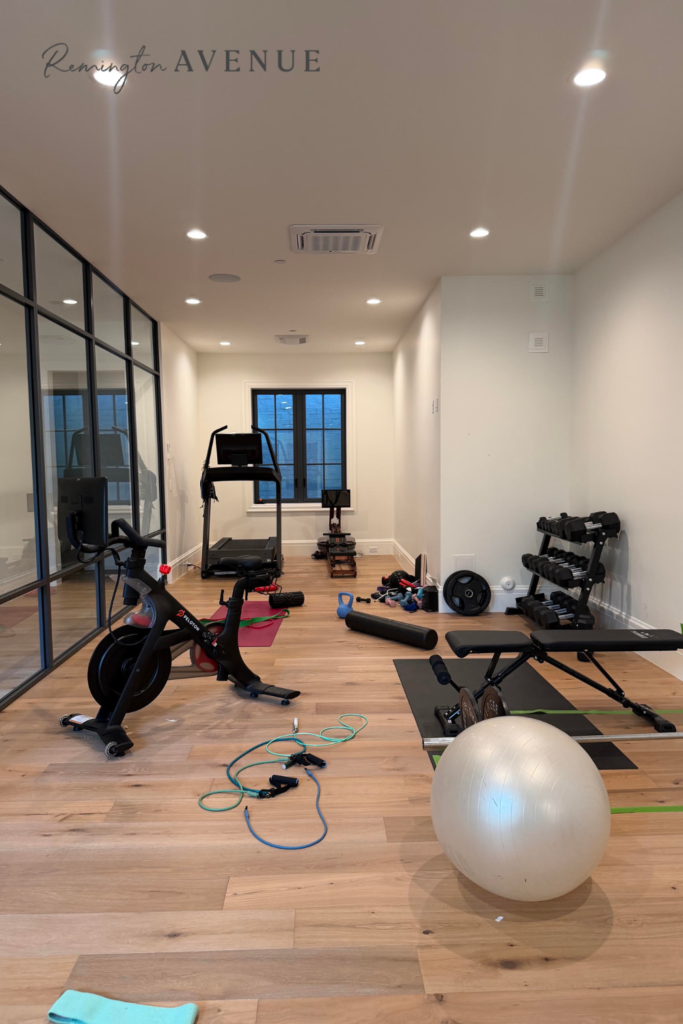
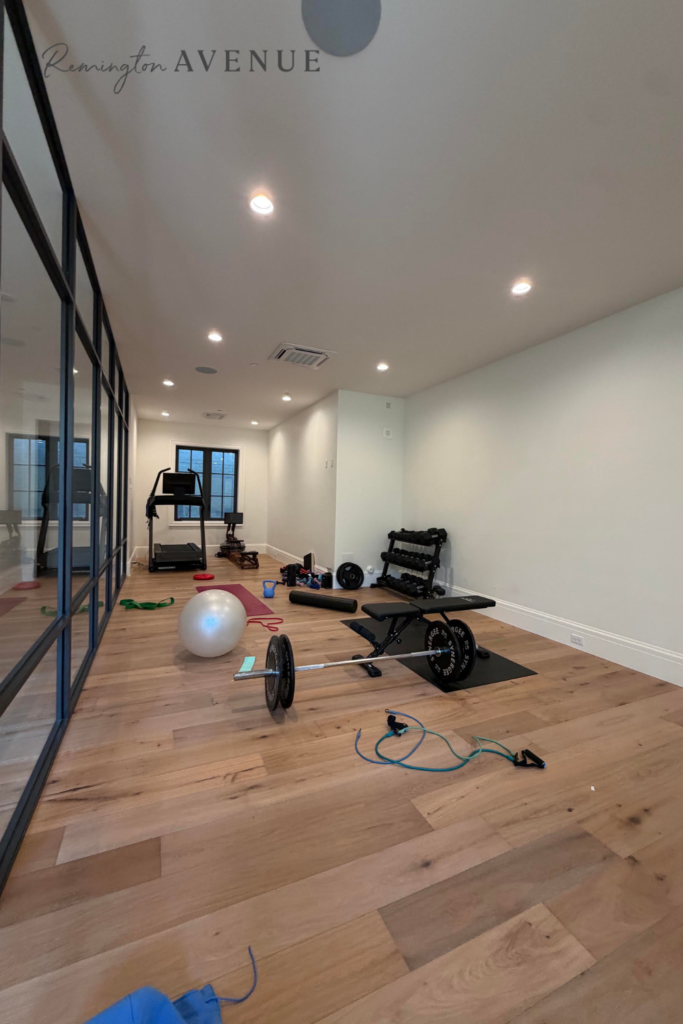
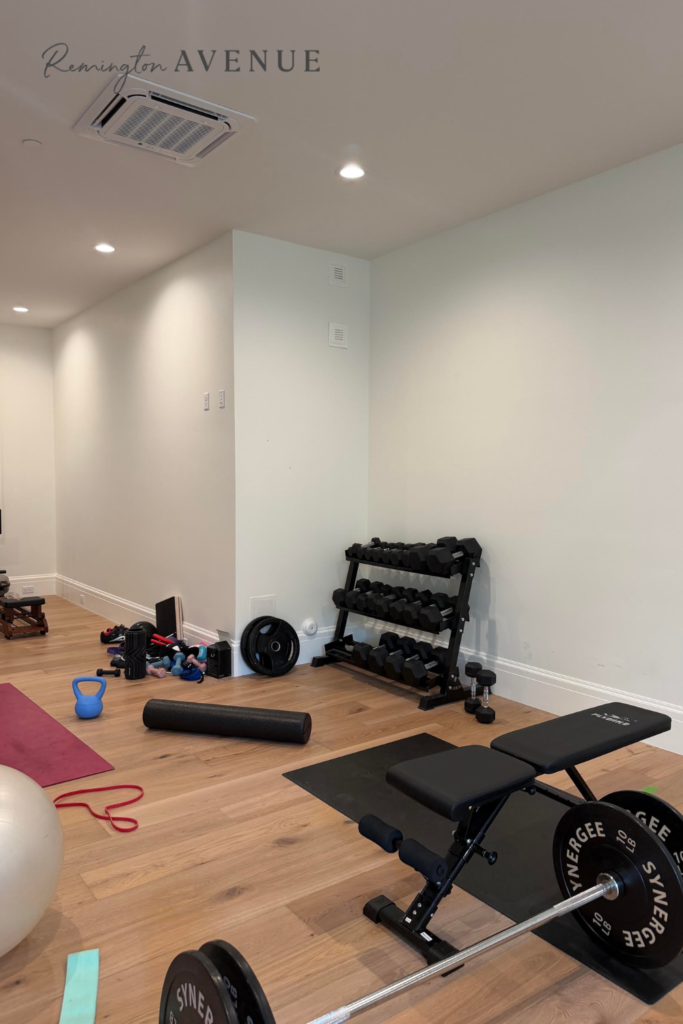
The before is looking a little rough.
Chris thinks I am nuts, but I think I have a great idea. He trusted me with our last home gym and loved it, so let’s do this thing!
This home gym really needs to flow with the rest of my house because it’s truly open to the rest of my house.
Most of the space is glass paneled walls and is everything is visible from the staircase. So yes, you’re going to be able to see everything inside, so let’s make it special.
With that said, I am thinking we add mirrors on the entire and make it look chic and cool. A little less punching bag, sweat gym…a little more zen, yoga studio vibes. Less metal, more organic – can you see it?
Stay until the end to see all of my inspo for this space!
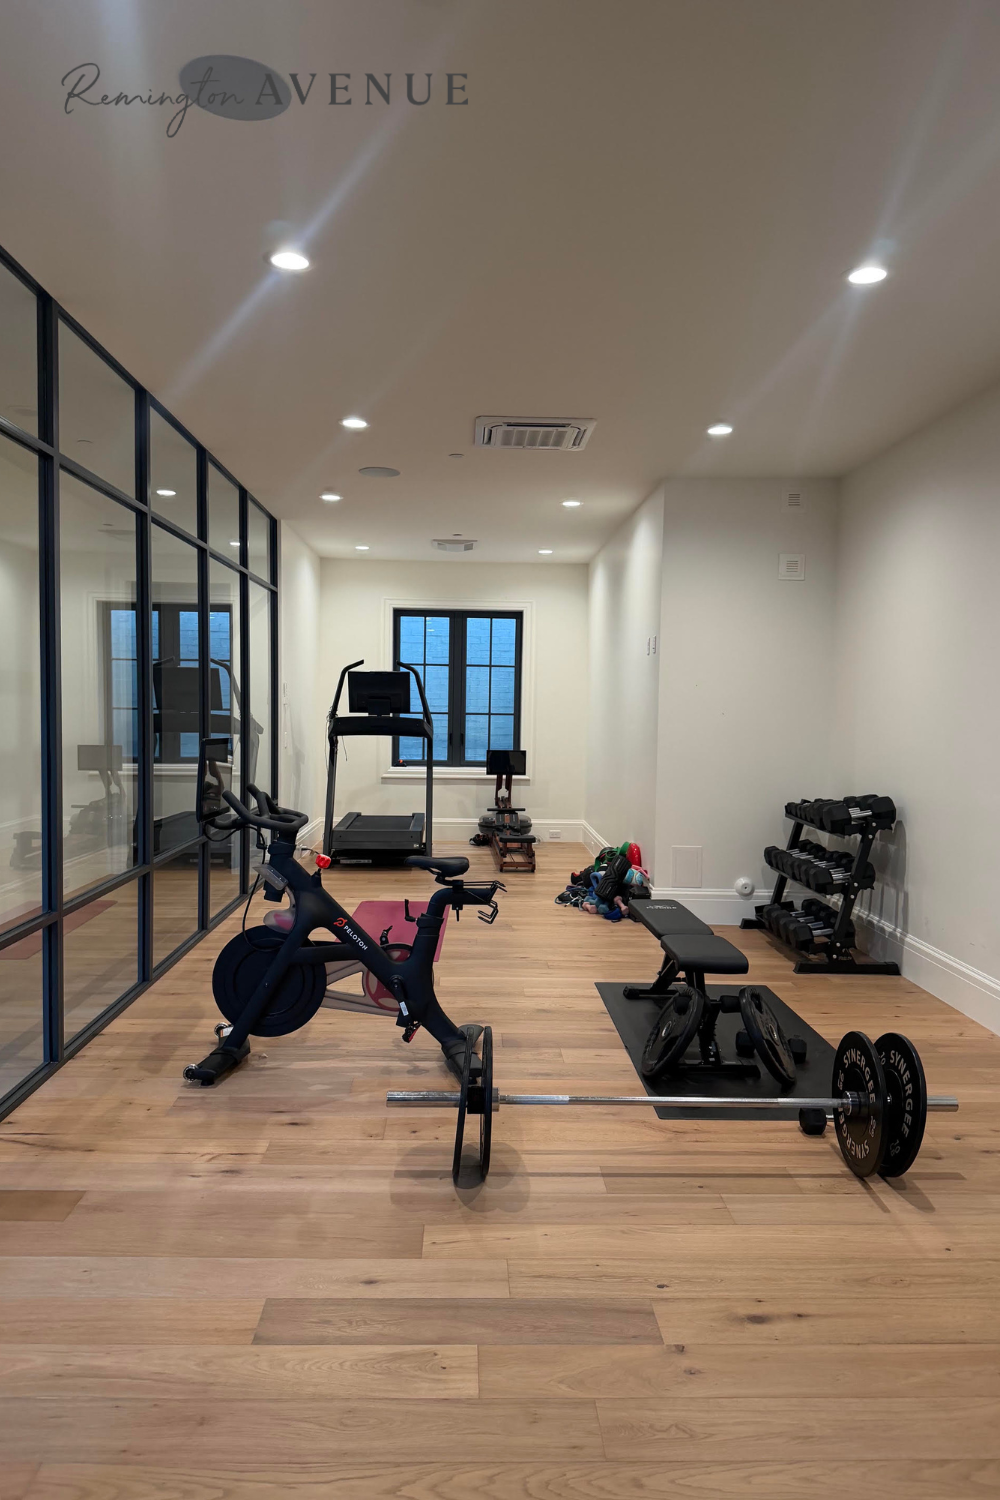
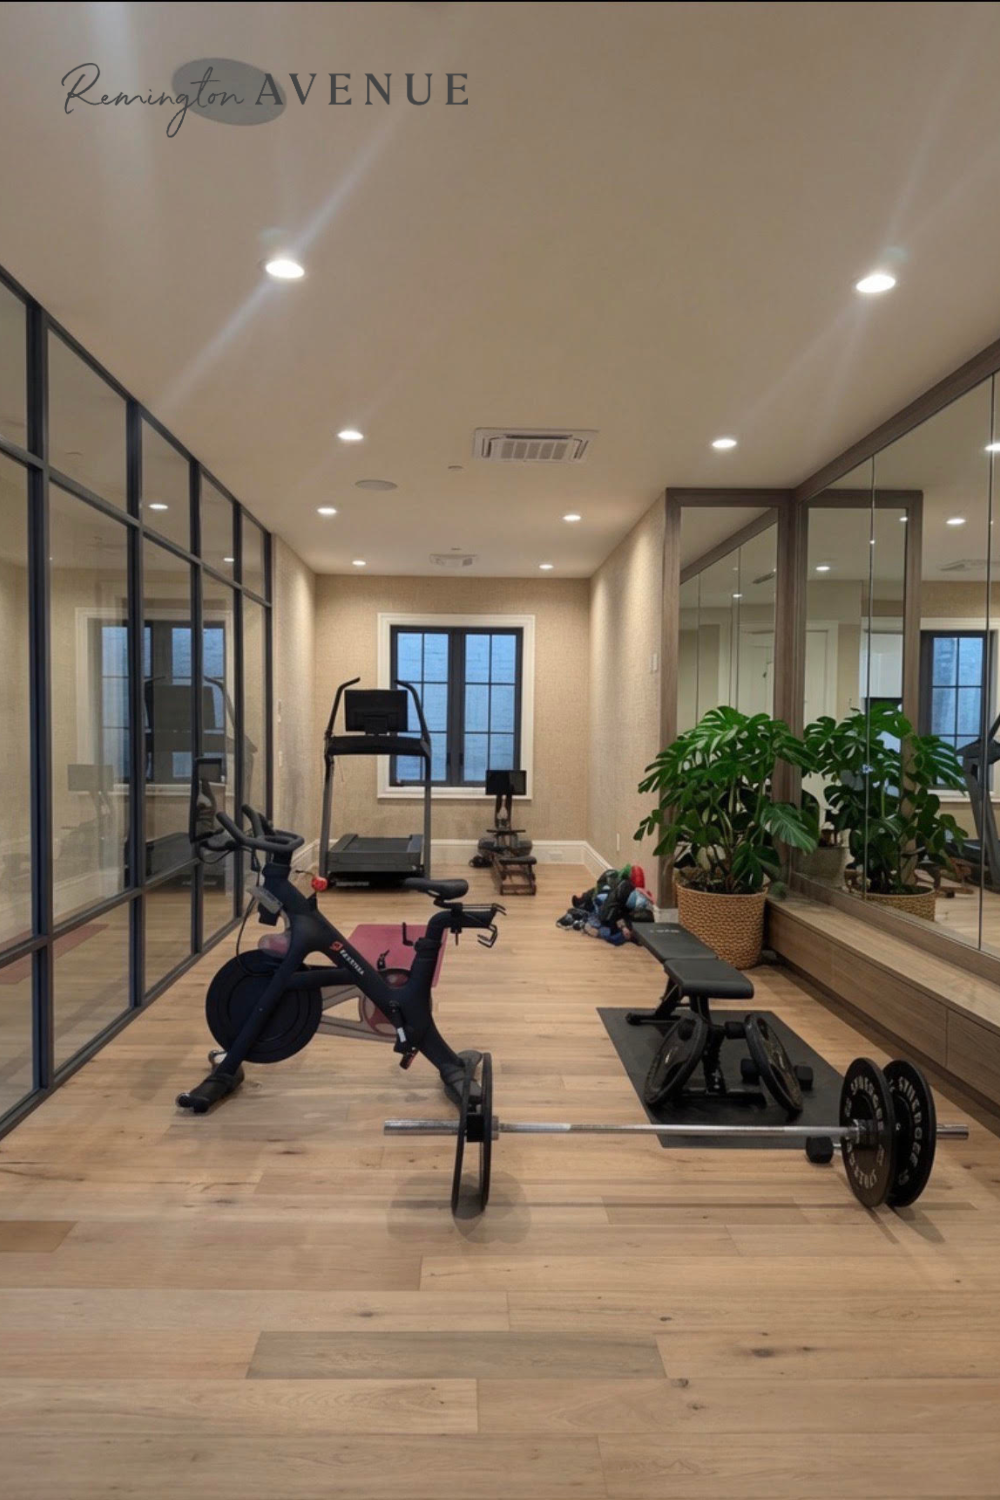
Step one: we start with a blank canvas. Removed all of the things…the bands, the weights the bells, the the storage for it all. This home gym is going to be epic!
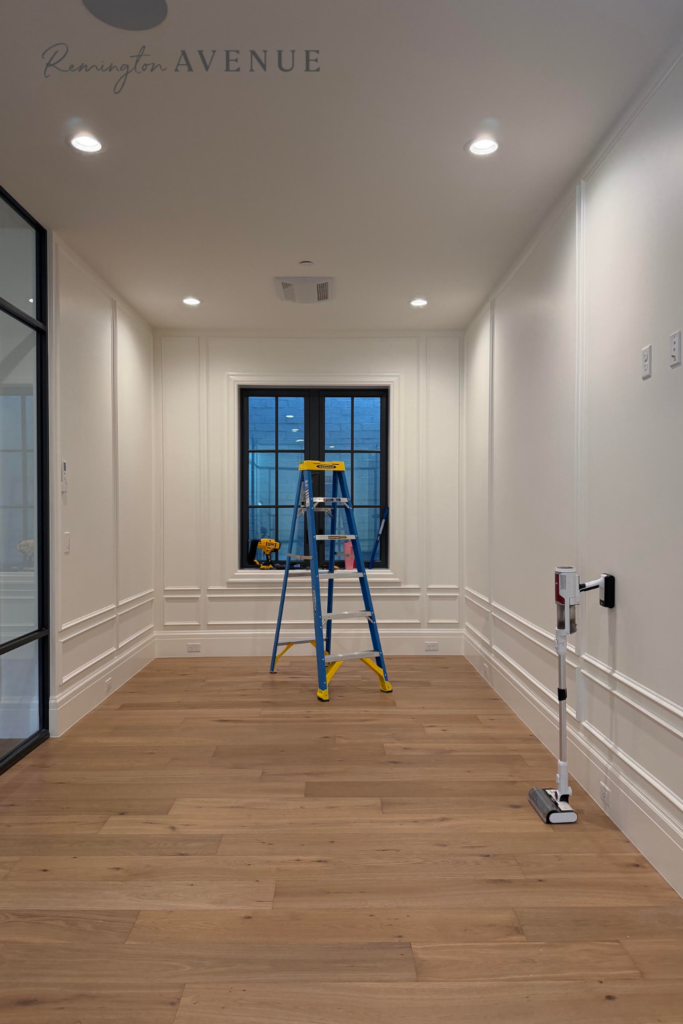
Step two: laser level, of course. The worst part of any project is the ‘mathing’ – laying out the trim, making sure it’s all even. Well, let’s just sat it takes way longer than you ever expect and it’s grueling. However, it’s what truly can transform a space and make it look super custom.
I swear by this laser level! I stopped buying the cheap ones because they were so hard to balance and never worked right. Best investment ever, and super accurate! Or go old school and use a pencil or chalk line – but adding the tape is key. YOU can do this too! The tape allows you to remove it as needed and fix mistakes easily. If you are new to trim, this is a great way to get an accurate visual of the end result without the commitment.
And hey, we all make mistakes so it’s worth a shot…
Which brings me to…when measuring, I assumed the window in the room was centered. Well, rookie mistake. It is a whole 3″ closer to one side of the room than the other. So the mapping and taping all worked until it didn’t and I was left with an uneven space. But instead of changing my entire design, I moved the tape over an inch to create a mirrored ‘box’ from the other side. Although the actual whole design isn’t ‘centered’, you can’t tell and would really have to look for it to be a call out.
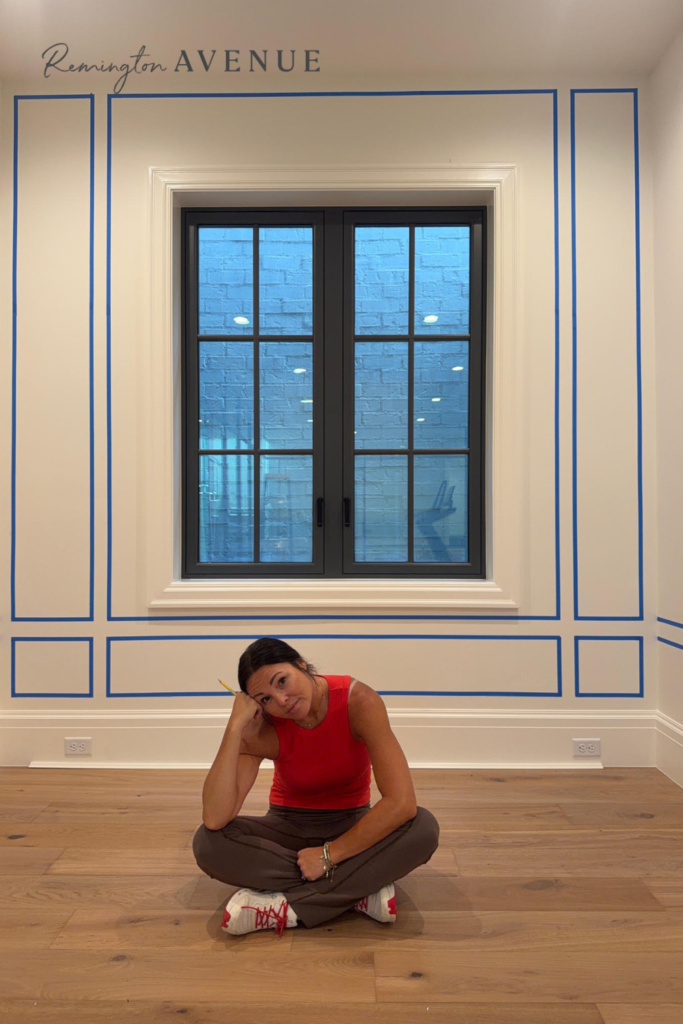
Whew, we’re good.
Next up was cutting and adding the molding. A very full day of cutting, made for a day of applying because all of my pieces were ready to go!
If you’re scared of the saw, I love these molding shears. They work really great and can cut all different angles. It makes for a nice clean cut!
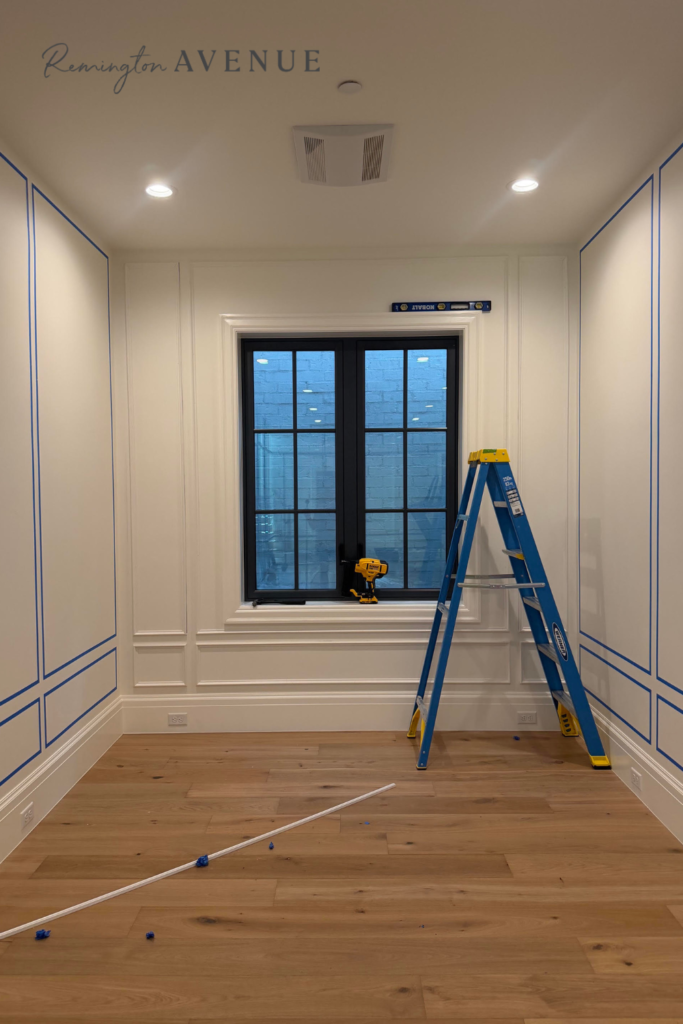
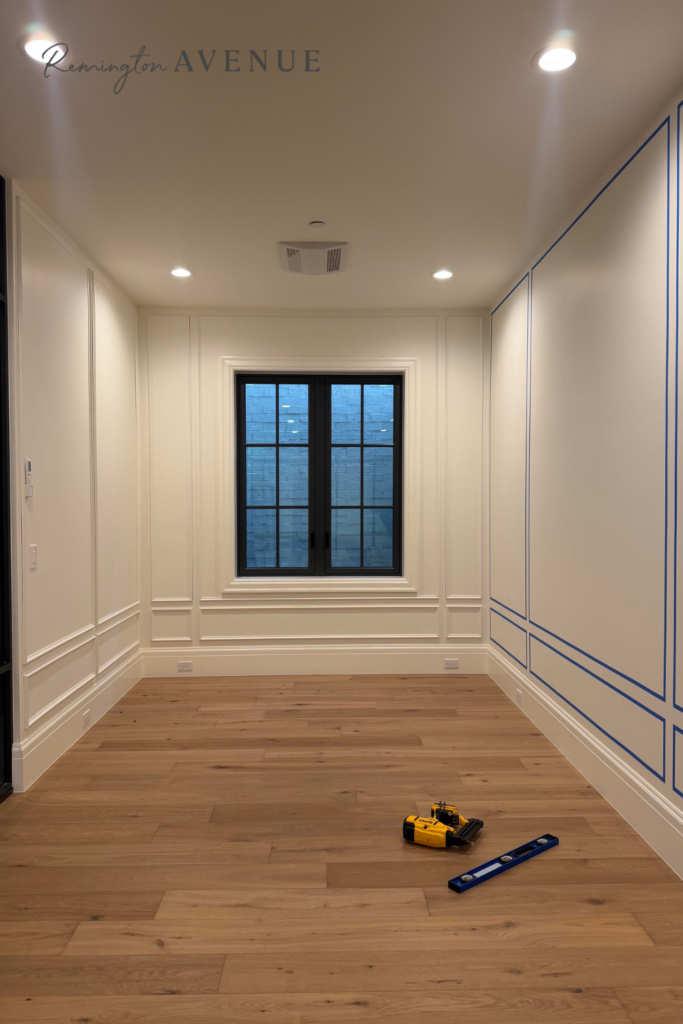
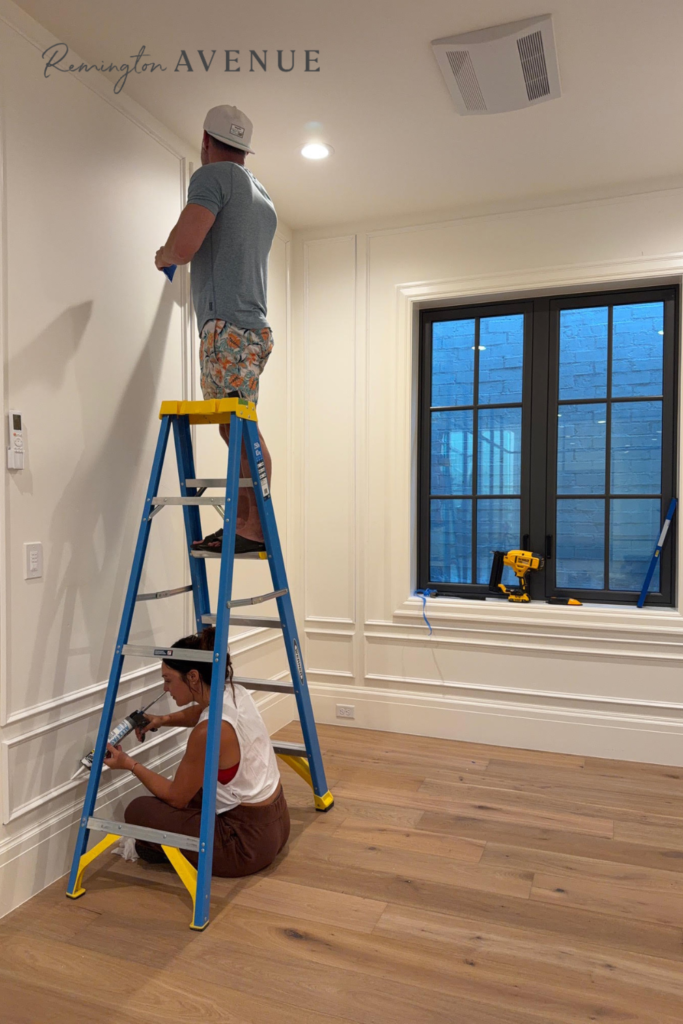
And now we install the molding! I use my hand level as a spacer and I don’t remove the tape to apply. The tape is the perfect guide to make sure you’re installing the molding exactly where you want it to go. my spaces are 2.5″ because my hand level is 2.5″ wide.
A note on balance when doing a full room of trim – even if one wall is smaller or shorter than the parallel wall, keep the box size that is side by side to the larger box the same as adjoining wall. This allows the eye to draw to the first two trim boxes and creates an even balance of the room sides.
Team effort, let’s caulk this molding!
As I mentioned before, I want this home gym to be warm, organic and feel like an extension of our home. . Adding in warm textures – like a faux grasscloth wallpaper. It was between 3 wipeable faux grasscloth options. One of them was definitely more vinyl – looking and wasn’t my fave.
People either love or hate grasscloth. I really wanted to bring in zen, spa vibes so the grasscloth was almost a given. What would you have chosen?
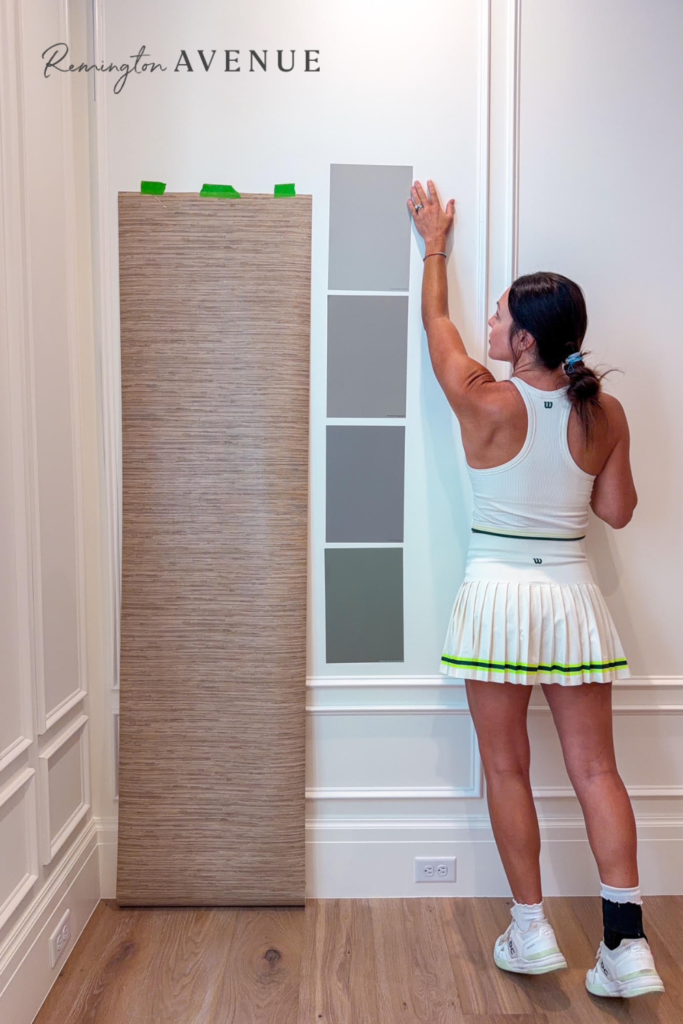
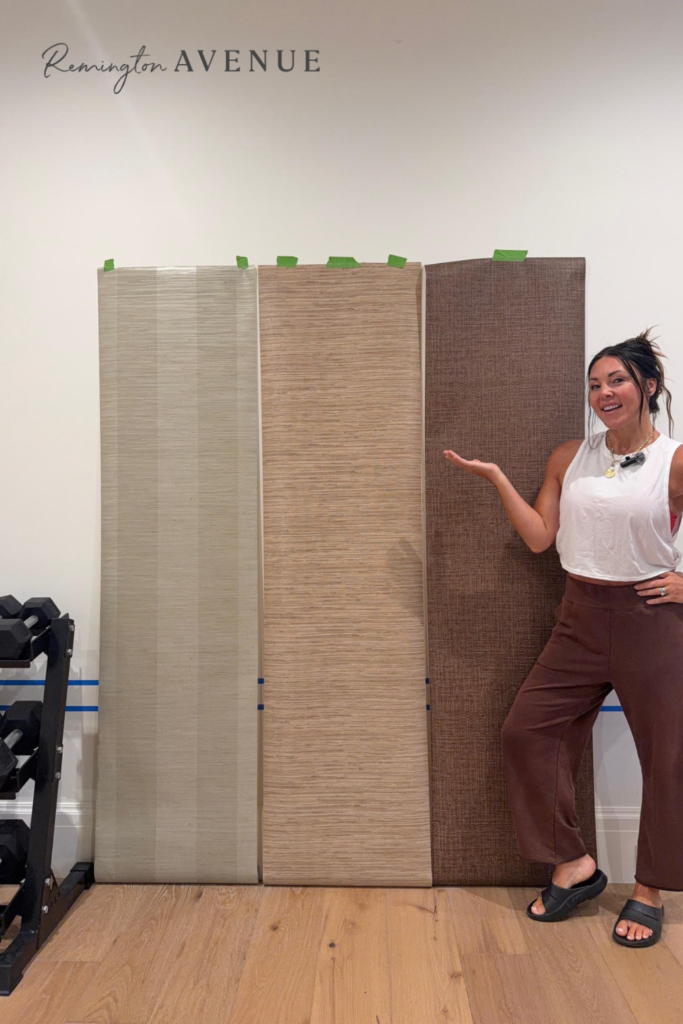
I decided on the middle option – so now it’s picking a paint color. And making sure I like it with the light on and off and in natural light and dim light. We ended up loving Sherwin-Williams Pewter Tankard – it’s a stunning, versatile color that is going to give off major spa vibes in all the best ways.
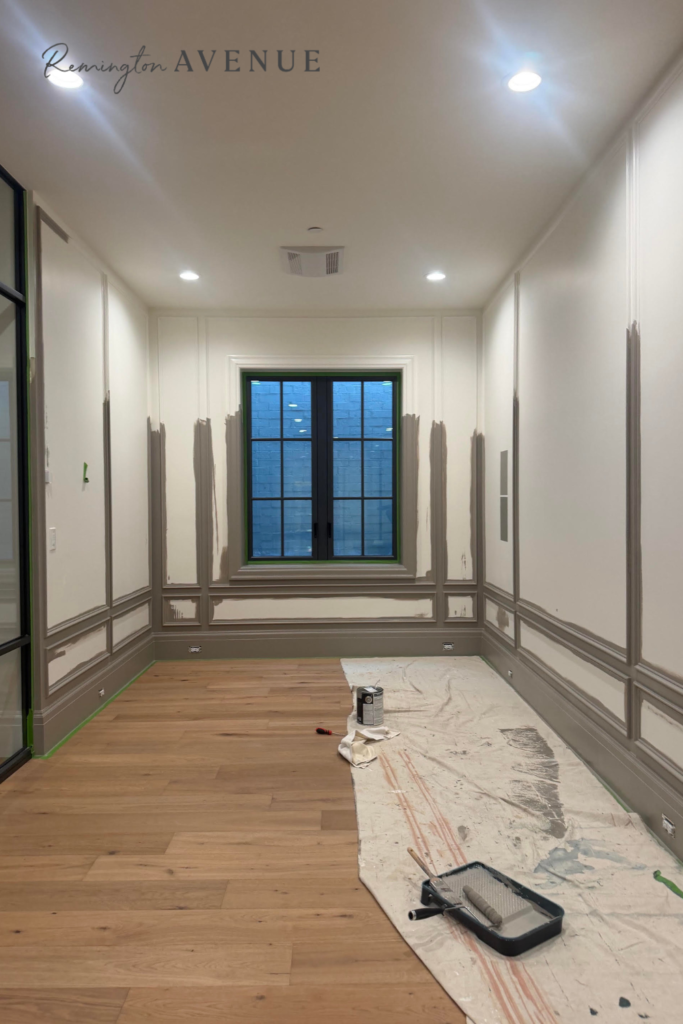
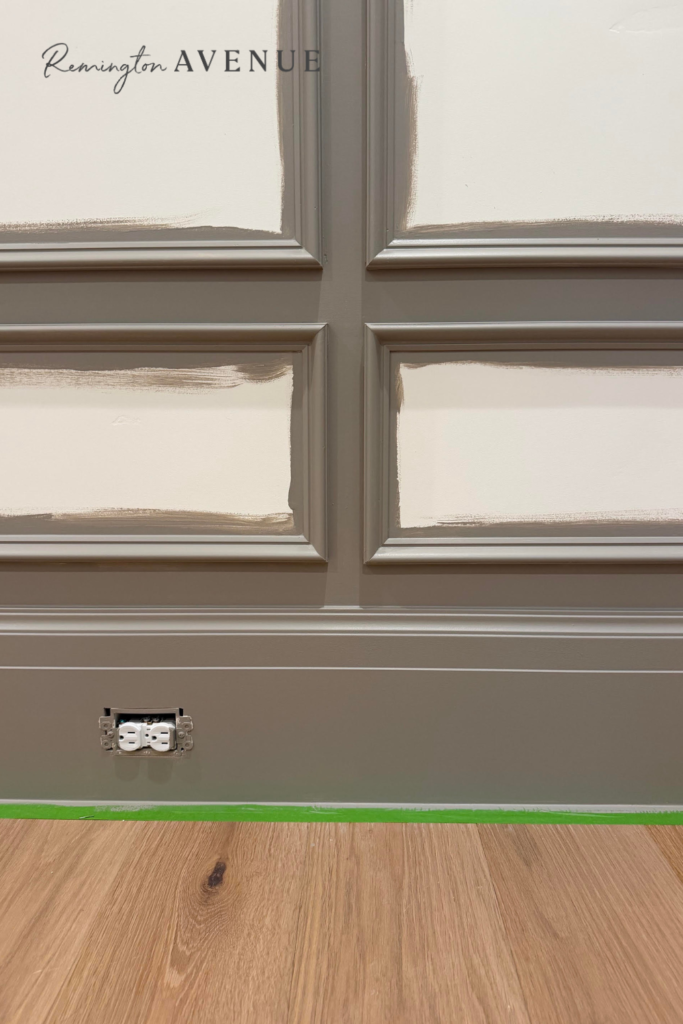
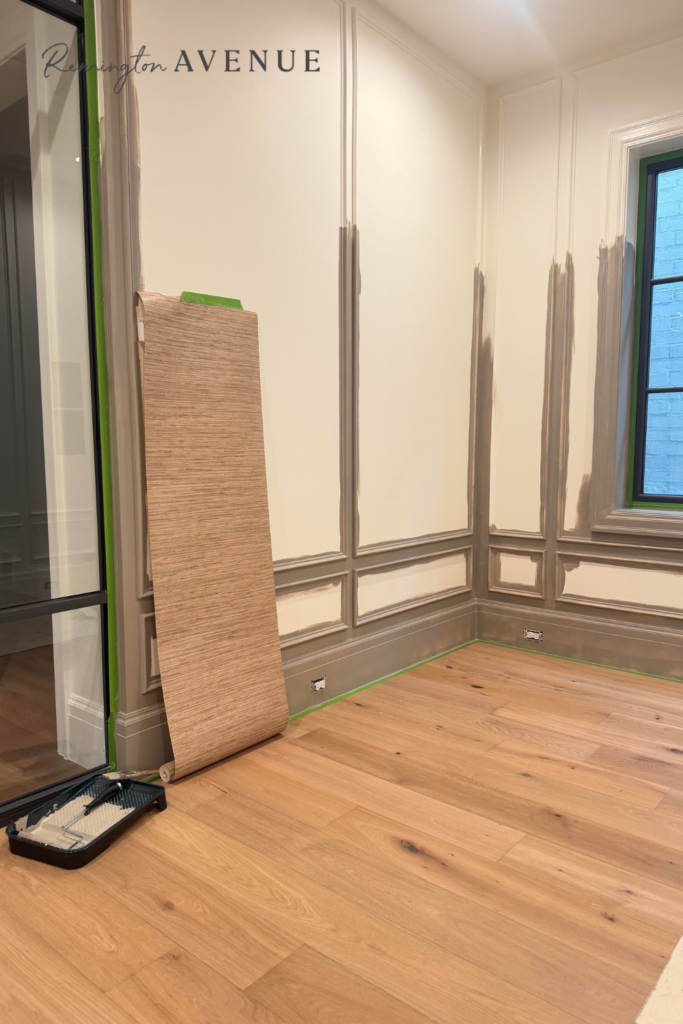
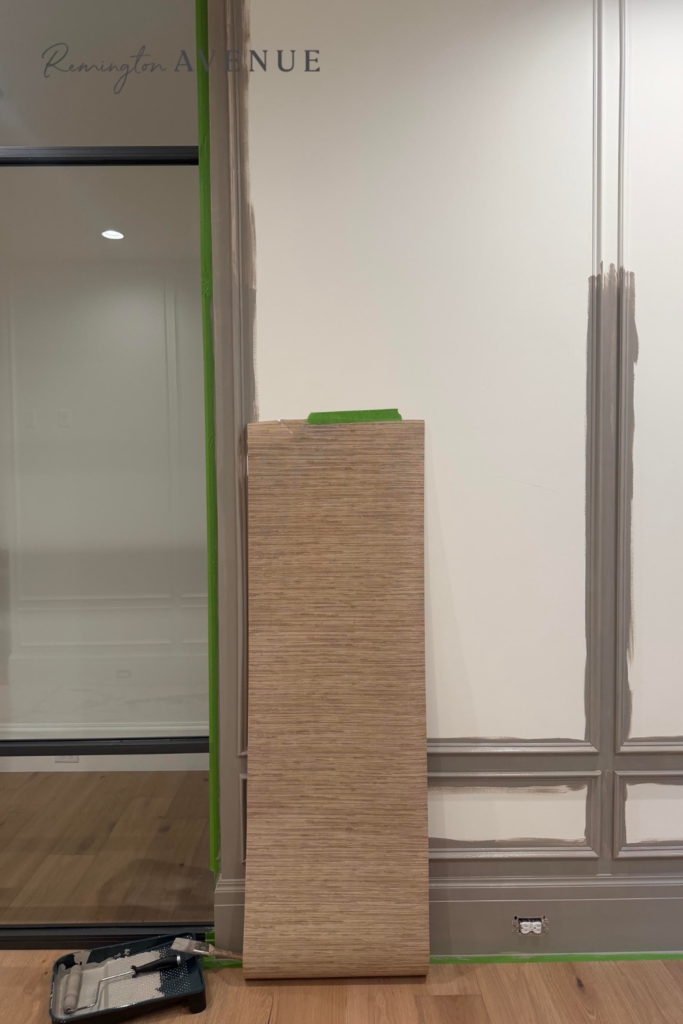
Still so much to do but loving how everything is coming together!
Shop everything needed for this home gym glow up here:

In case you want to see inside my head, here is the full inspo for what I want to do with this space:
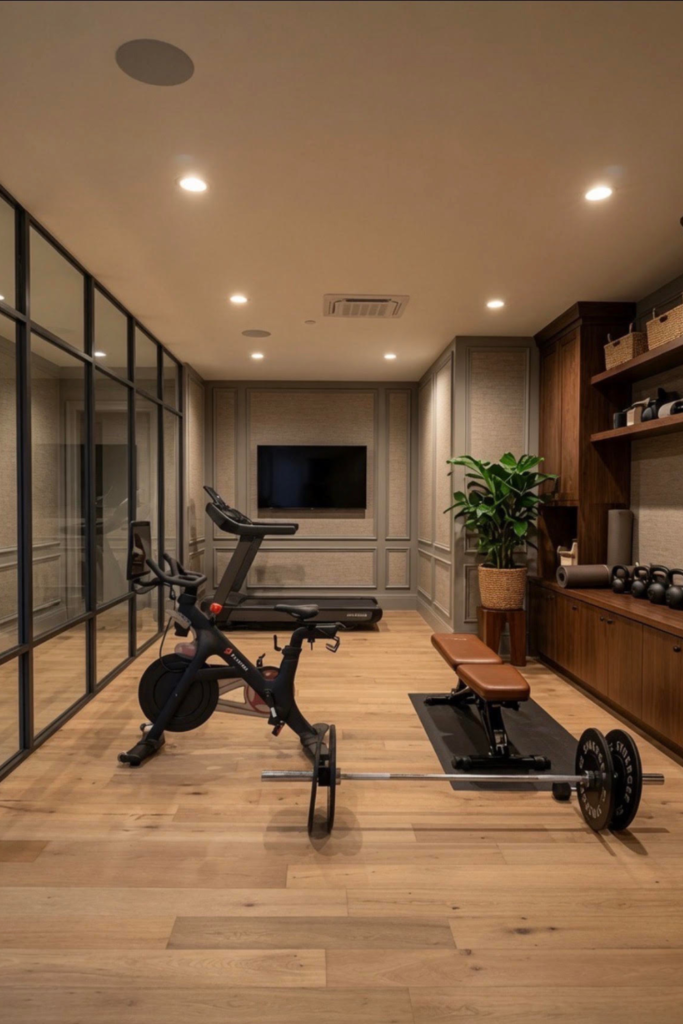
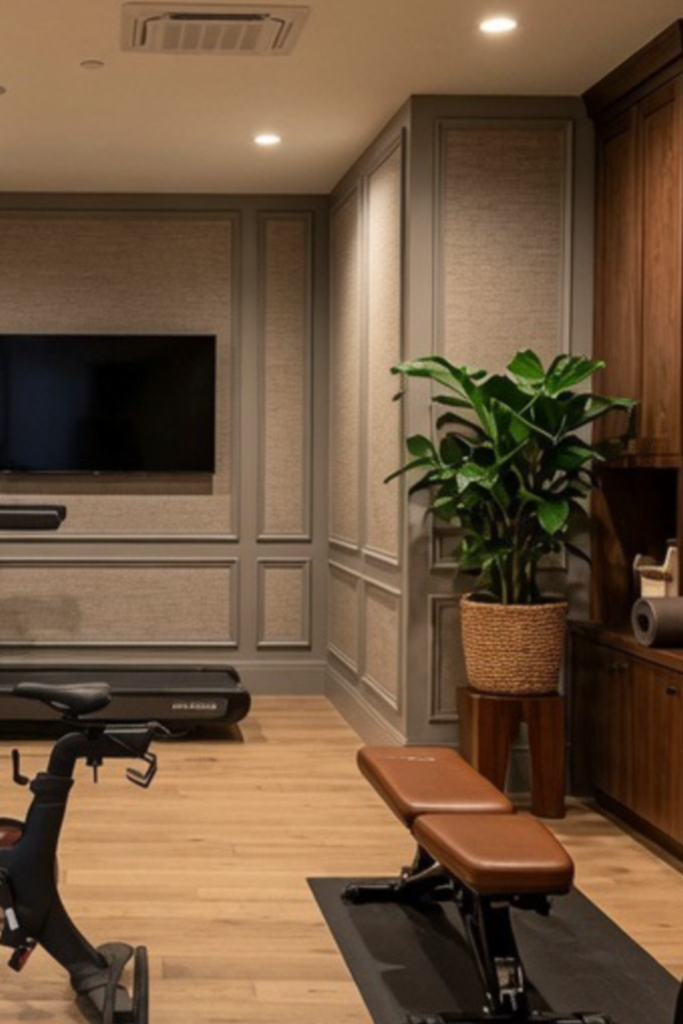
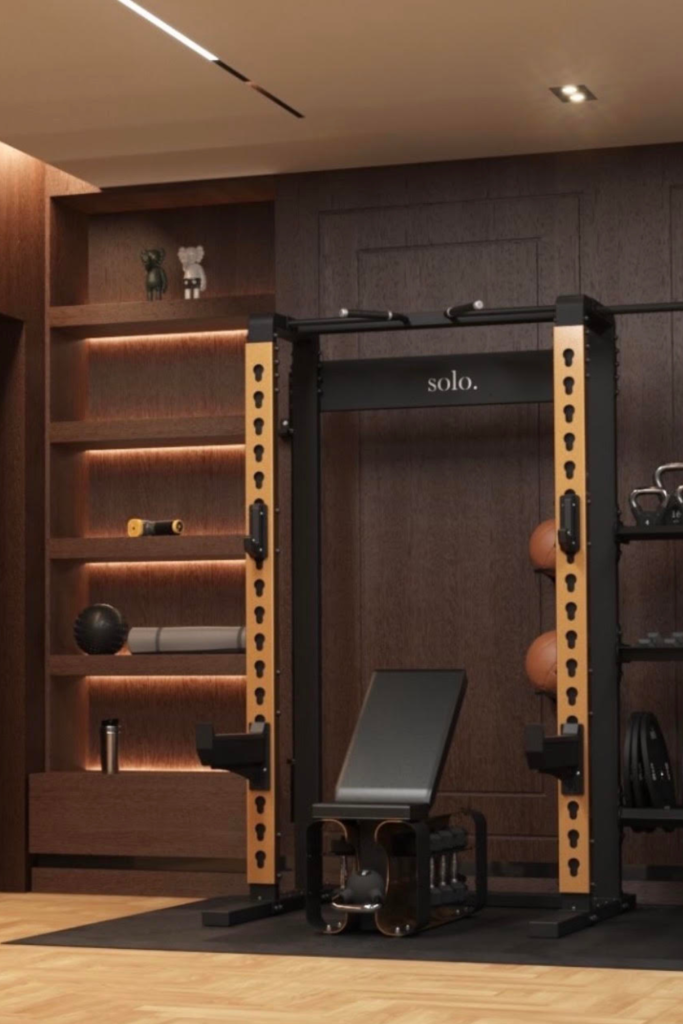
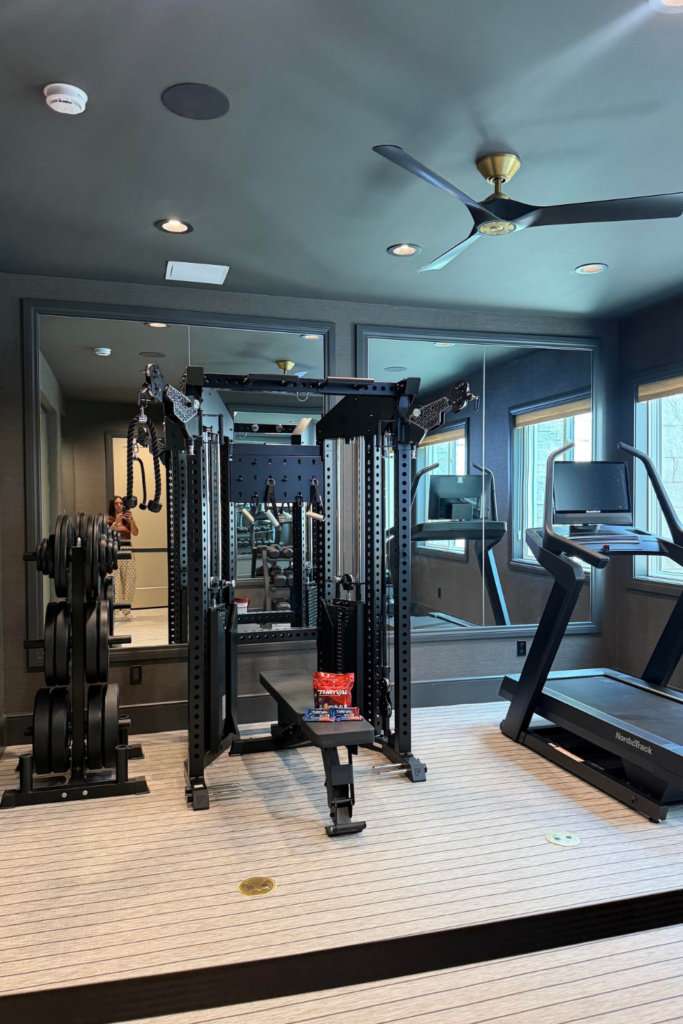
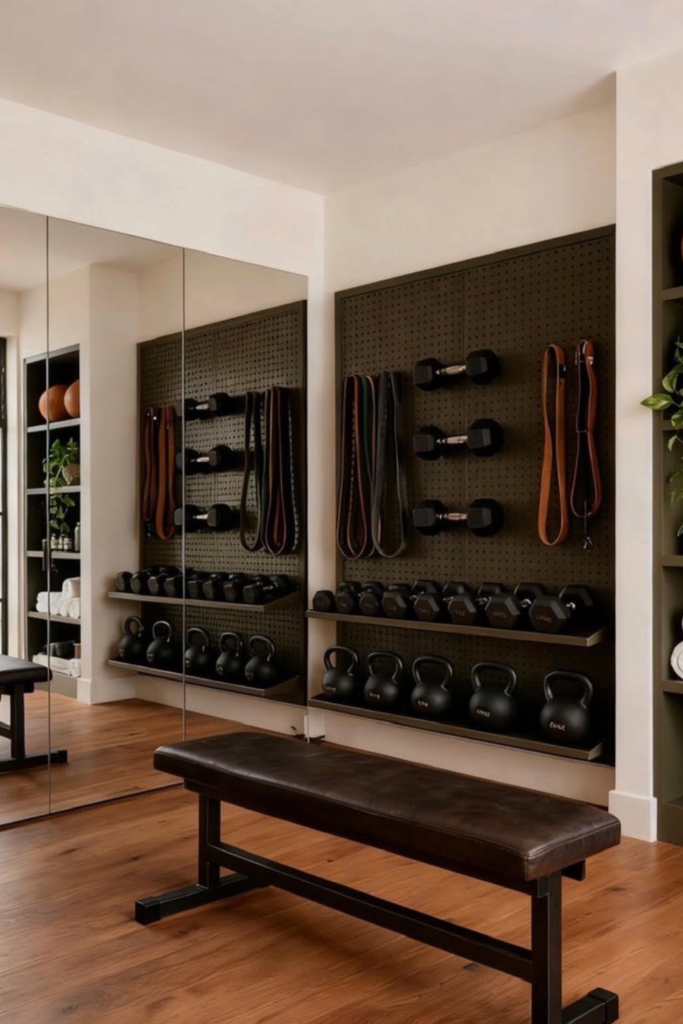
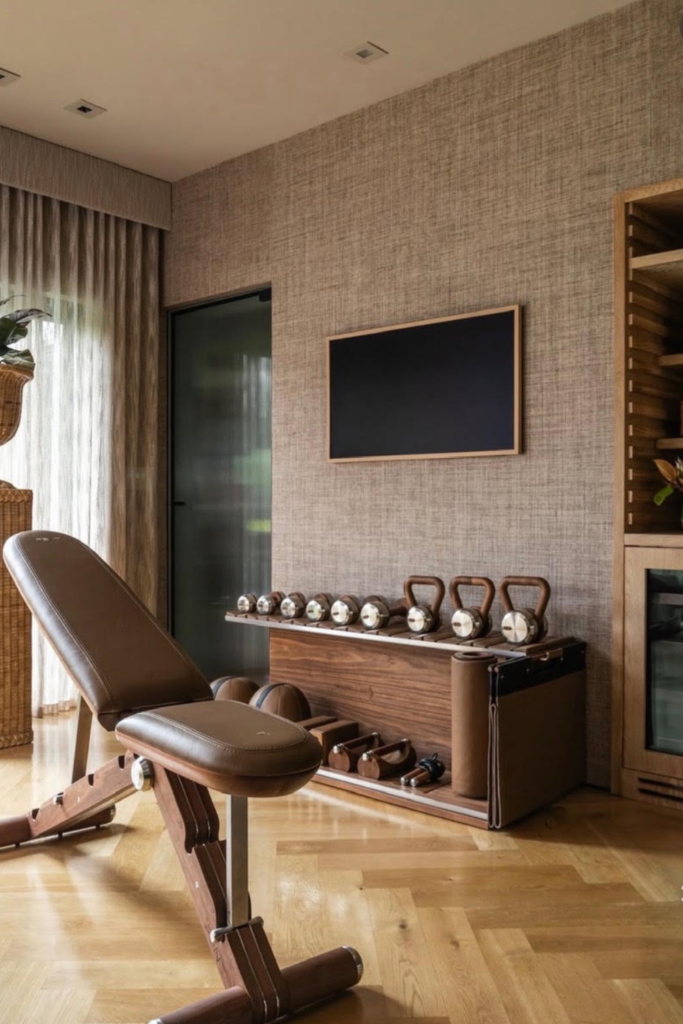
Follow along for the whole Luxe Home Gym Makeover: Design Inspiration + Phase One process here! So much more to come, so stay tuned for phase two!

 Add to favorites or read later
What are the dimensions of your gym?