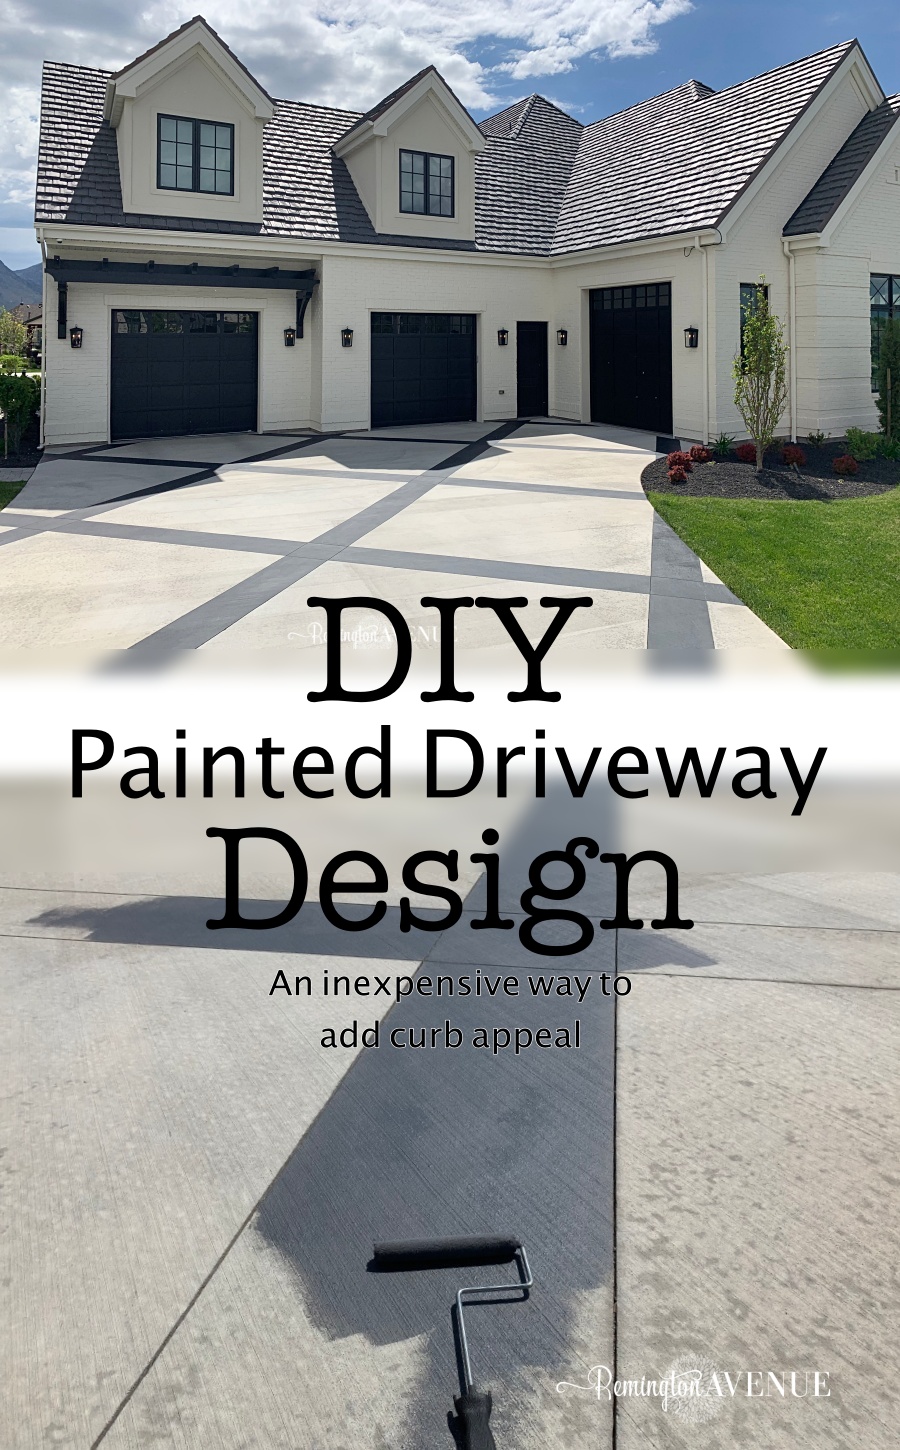
Adding Curb Appeal with a Painted Driveway
Ever thought about adding curb appeal with a painted driveway? Talk about a major wow factor! I painted my driveway with a lattice design, but really the options are endless. Read on as I share the full tutorial and products I used to achieve this look.
Those of you who have followed along my entire building process know I’m not afraid of taking a risk and doing something totally out of the norm. To back up just a bit, our original landscaping plans (Click here to see) had the same lattice design BUT it was supposed to be done with pavers. By the time we finished building and landscaping our yard, we had maxed out our budget and the driveway pavers got cut.
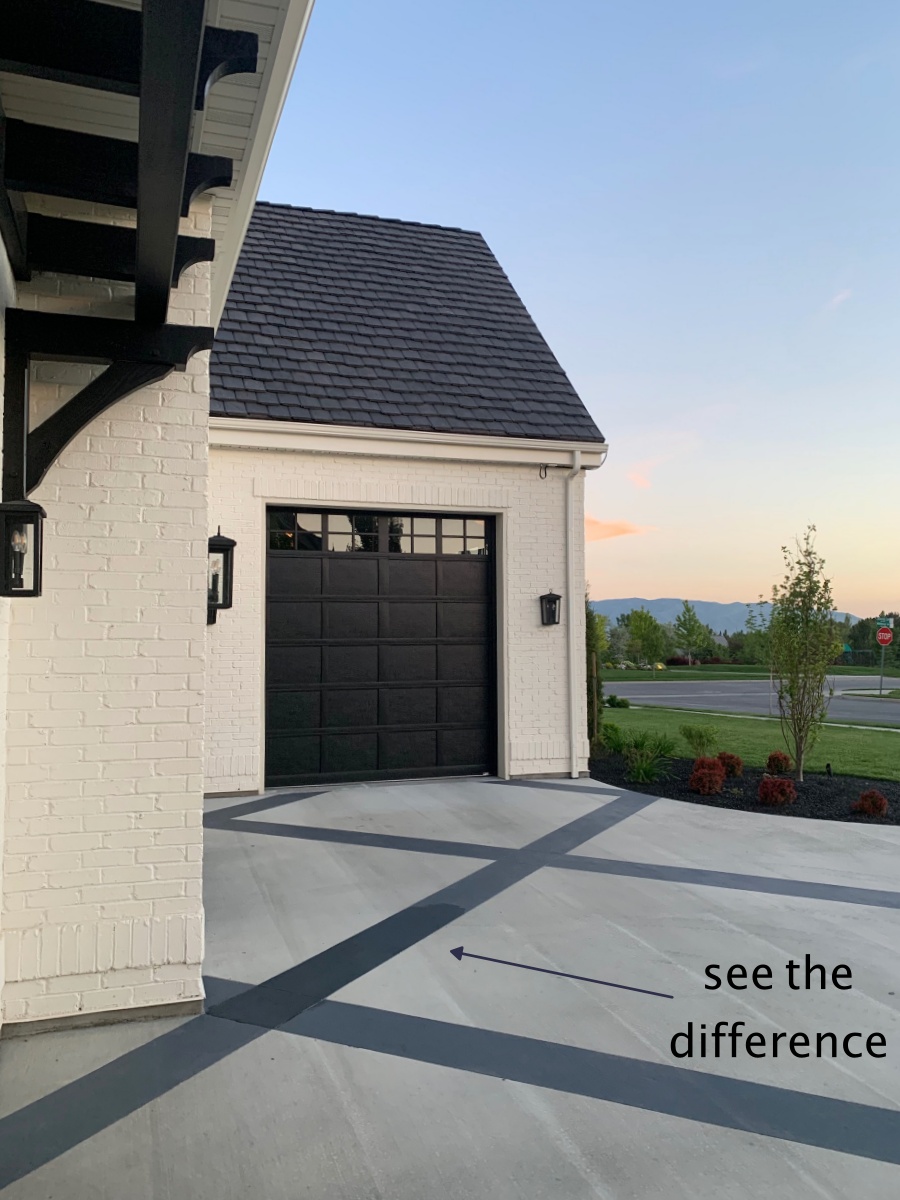
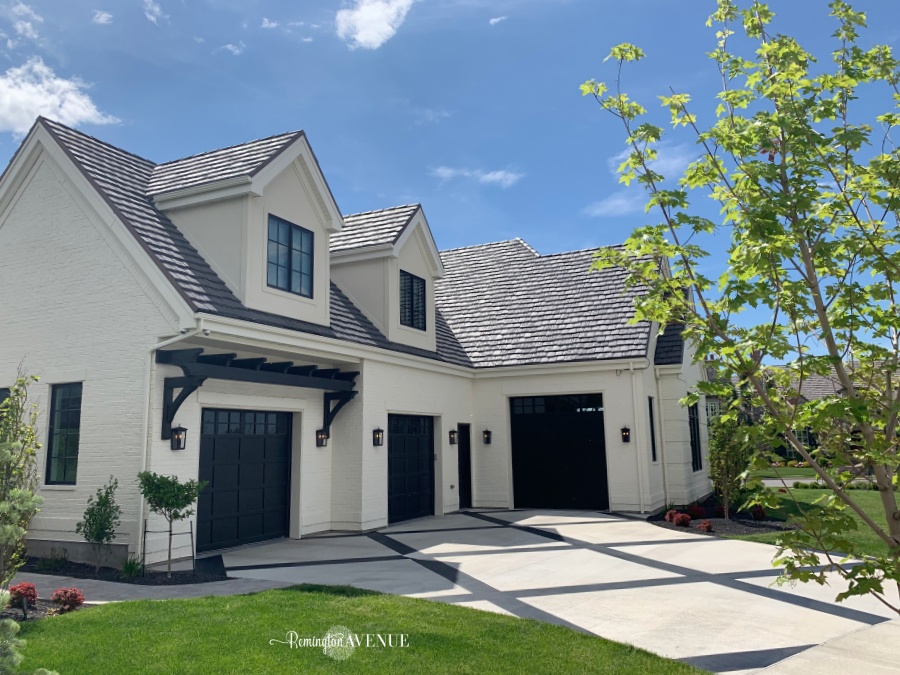
I had my contractor pour the driveway in one solid piece. Then they went back and created the original lattice design using a soft cut concrete saw. It wasn’t as pretty as the pavers, but it still gave it some interest. The saw lines also act as the expansion joints that prevent cracks. win win. Each lattice line measures 18″ wide and the unpainted squares are 120″ wide for reference. Your layout should be adjusted to be proportionate to your space. I have been planning to paint/stain the lattice design since it was created and I ‘m so happy I did.

I used Seal Krete epoxy paint to do the entire driveway project. I actually used this same product when I stenciled my bathroom tile to mimic a cement tile look. Click Here to see how that project turned out. The Seal Krete paint is super durable and made especially for concrete and garage floors. Half a can was leftover from my tile painting project, so I went ahead and used the same charcoal color on my driveway. It was the perfect gray color for my bathroom, but outside on my driveway it was pulling a little too blue. After testing the midnight black color, it seemed just a tad too stark, so I ended up mixing 1 part charcoal to 2 parts midnight black for the perfect charcoal gray. You can purchase the Seal Krete in a premixed gray or have it tinted to the perfect color for your project.
Shop my Paint & supplies Below

How to paint your driveway to add curb appeal
- Lay out your design– Use a soft cut concrete saw or Frog tape to lay out the intended design. You do not have to have the saw lines in your driveway to achieve this look.
- Prep concrete surface– Clean any dirt, dust ,oil, wax, and grease off the driveway. You may need an oil stain remover. I did not have to do anything but sweep my driveway since it was poured less than a year ago.
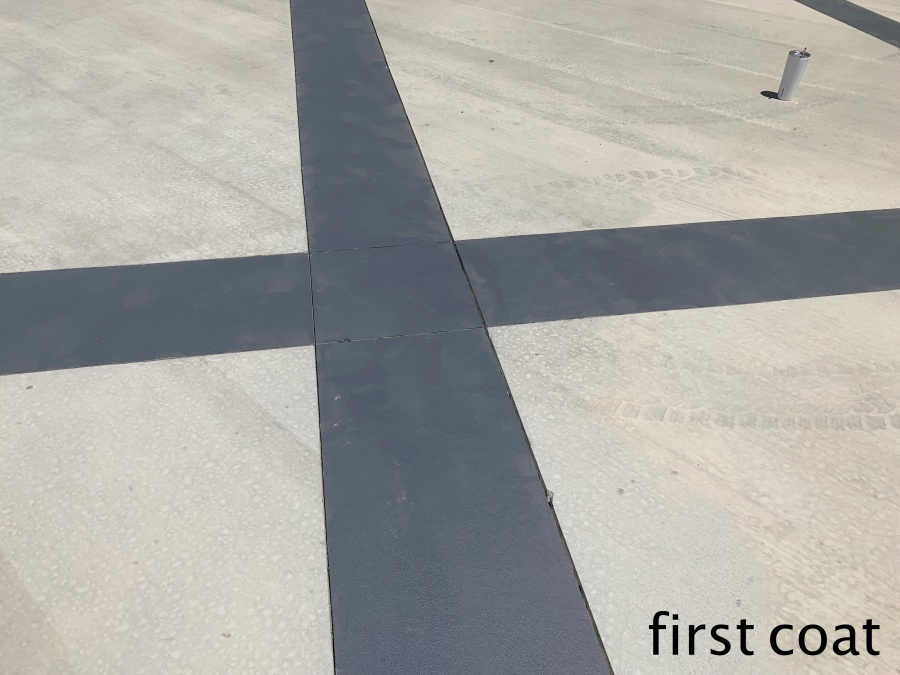
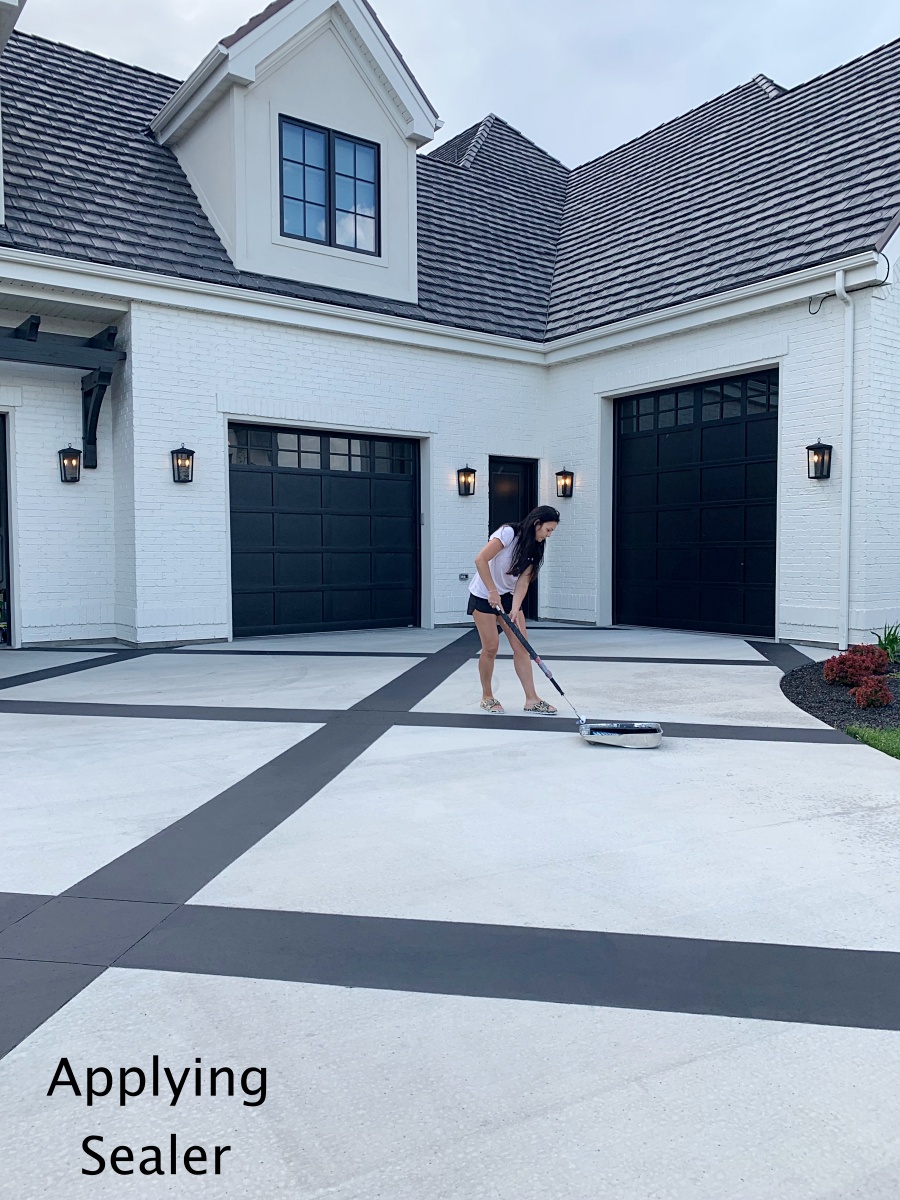
- Roll on the Epoxy paint- I used a 3/8 nap roller and hand rolled the paint onto my driveway. You could use an extension handle, but I felt it was more precise just using my hand. I applied 2 coats of the epoxy paint and let it dry for 24 hours.

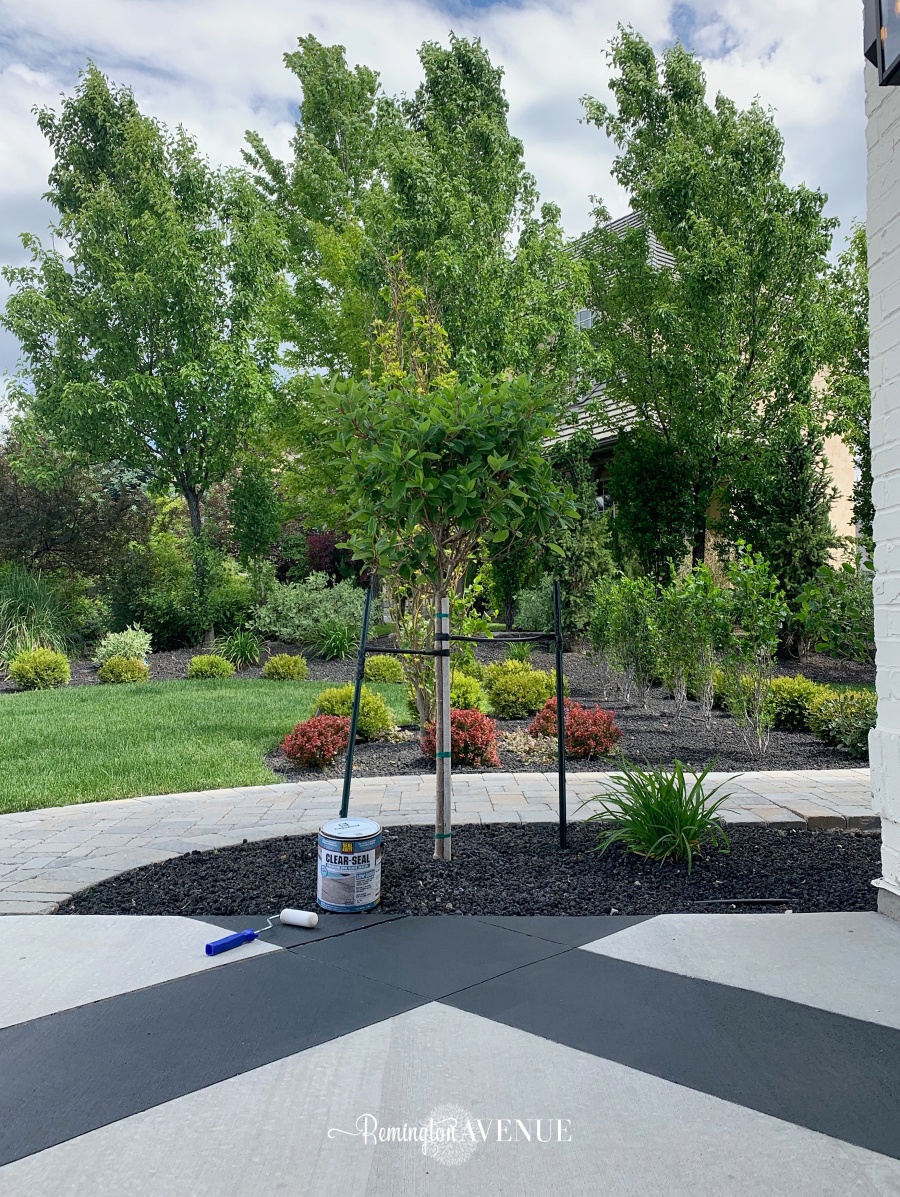
- Apply Epoxy sealer – I used a foam roller to apply the sealer. I found it worked better and created a more even application. I added the extension pole to my roller when applying the sealer. I applied 2 coats of the sealer and let it cure for 24 hours. The instructions on the back of the sealer say not to allow any car traffic for 5 days. I let it cure for 4 days, but I did drive on it the 5th day. There was no damage. It also rained on the 3rd day of curing and there wasn’t any issues.
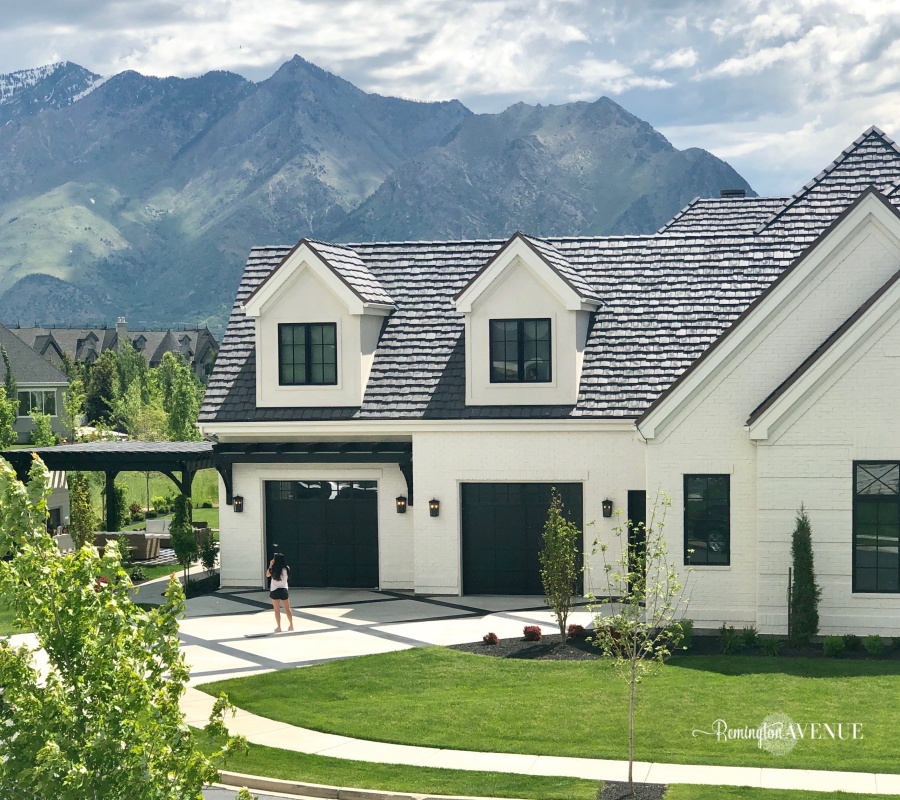
This entire project cost me $60 and took about 2 days (including dry time) to complete. The painted driveway adds so much curb appeal and really compliments the style of my home. If you take on this project at your own home, be sure to tag me in stories and posts on Instagram @remingtonavenue. I’d love to share! All Supplies linked below.

 Add to favorites or read later
I love this look. I have been planning to do something similar around my pool with a dark and light contrast but I think you’ve changed my mind to just do the dark lattice lines which would be a lot easier. I would love to know more about the dimensions of your layout. How wide are the painted lines and what is the size of the unpainted square?
Hi Jobie,
my lattice lines are 18″ wide and the squares are 120″.Your layout should be proportionate to your space though.
Looks amazing! Hoping to replicate in a much smaller scale in the near future! ❤️❤️❤️
Cant wait to see. tag me in a pic @remingtonavneue
I am in love with this❤️ You are so talented and quite the go getter. Thank you for sharing
It looks stunning!
This is… BEYOND! Our driveway is on our project list of our ranch style renovation and this such an incredible idea. Great job! It looks amazing!
lulu thank you so much. please tag me in a pic if you follow my tutorial. Id love to share. @remingtonavenue on instagram
Simply amazing! Wish I had a percentage of your talent ?
Love this. Working on doing my driveway in the near future. Like you i wanted pavers but the cost exceeds my budget. Was thinking of a mix of concrete and pavers but this is more budget friendly anf your driveway looks so lovely. Will definitely do it your way. Thanks for the inspiration.
Cant wait to see. Tag me in a pic @remingtonavenue on instagram.
End result looks AMAZING!! I love your creative energy and impeccable design instinct! Thanks for inspiring us!
Well thank you!
Looks fantastic!!
Awesome!! so I can cut out a design myself with a soft cut concrete saw? My cement is currently all one solid piece
Yes you can