
DIY Custom Outdoor Wood Swings
There’s something about a backyard swing that instantly makes an outdoor space feel more fun, and these DIY custom outdoor wood swings were the perfect finishing touch for ours. I wanted something simple, beautiful, and custom-looking without paying the custom price tag – so, we made them ourselves! It was a family affair and now Juni is fully equipped for her next solo DIY! Kidding of course.
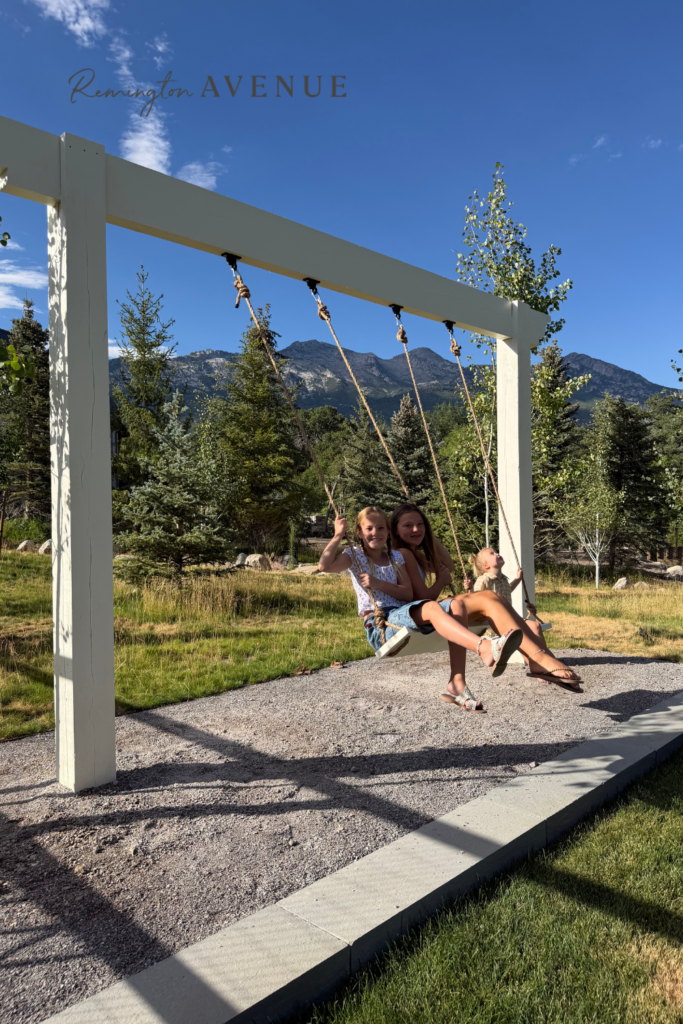
This is creating real childhood joy, right here!


The best part? This is one of those DIY projects that looks much more complicated than it actually is.
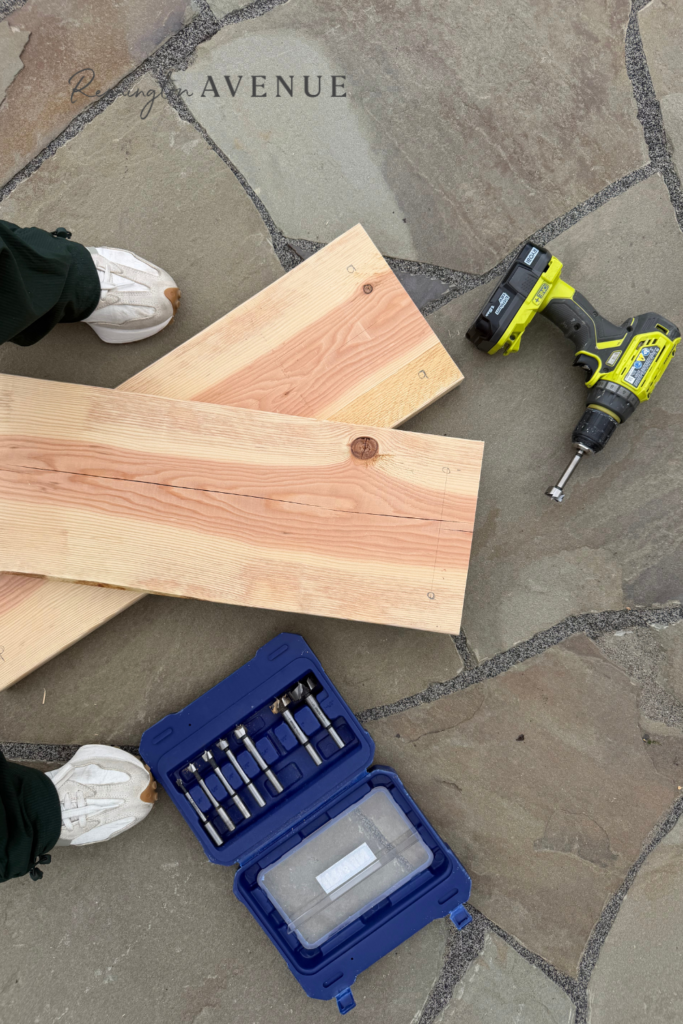
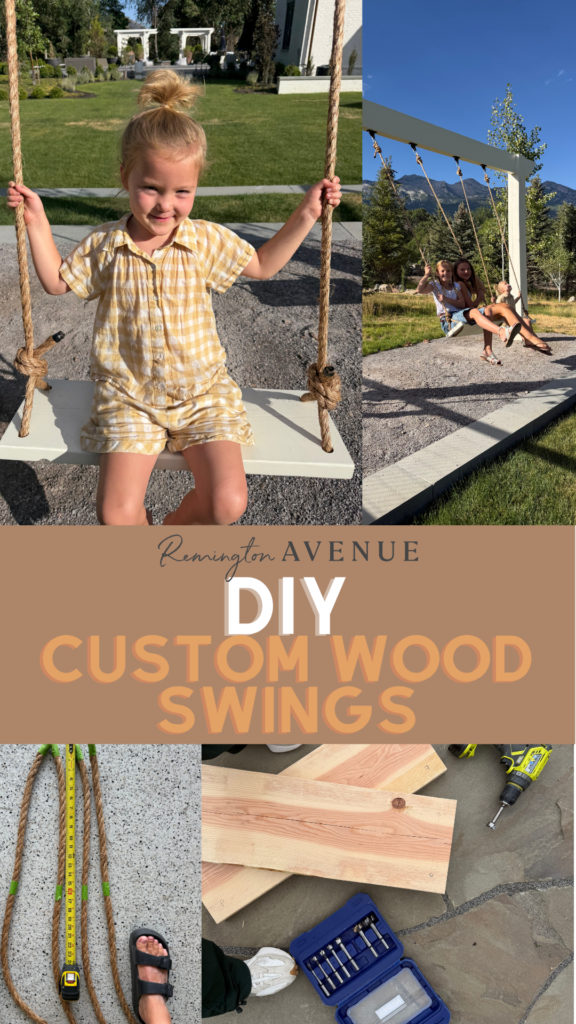
We started with solid wood boards cut to the size we wanted for each swing seat. Once everything was cut for the wood swings, we measured and drilled four holes – one near each corner – for the rope. Taking the time to measure carefully here is key. You want the swing to hang nice and level when you’re finished.
Hot tip: use forstner bits to make a clean hole without any splinters or loose wood that would cut up clothing. They pop right onto your drill! Super easy.
From here, sand your wood! Go for 150 grit and then a 250 grit to get that super smooth finish.
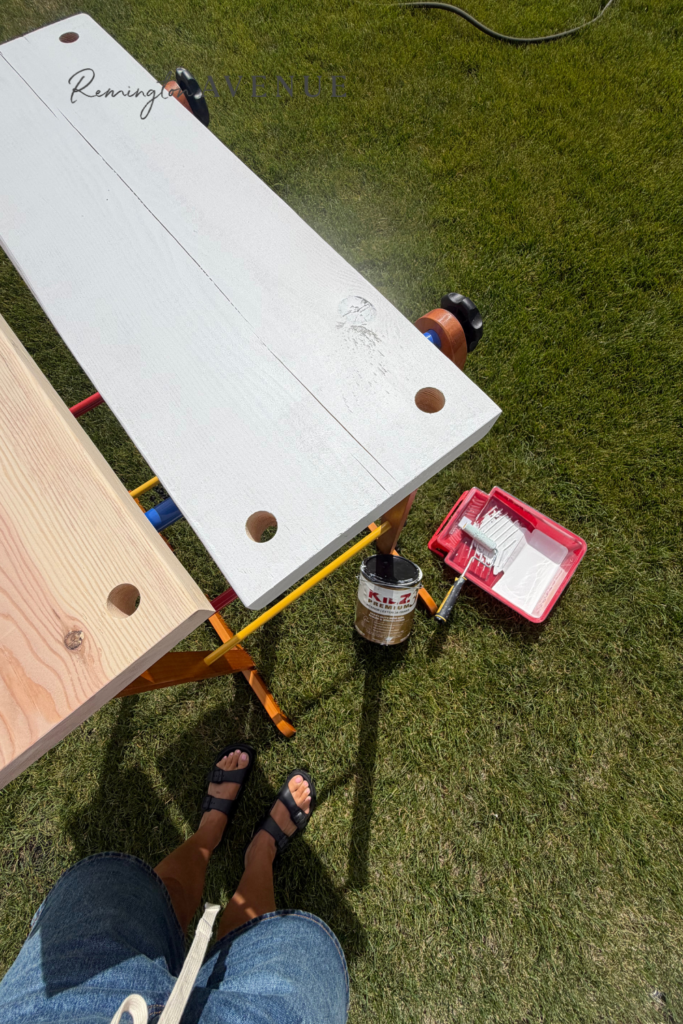
Before adding the rope, I primed and painted the wood to coordinate with the rest of our outdoor space. Use a primer that is exterior so it blocks the tannins from leaking through the paint. You could also stain the wood if you want a more natural look. Either way, make sure you choose a finish that can stand up to outdoor weather and accents your space well.
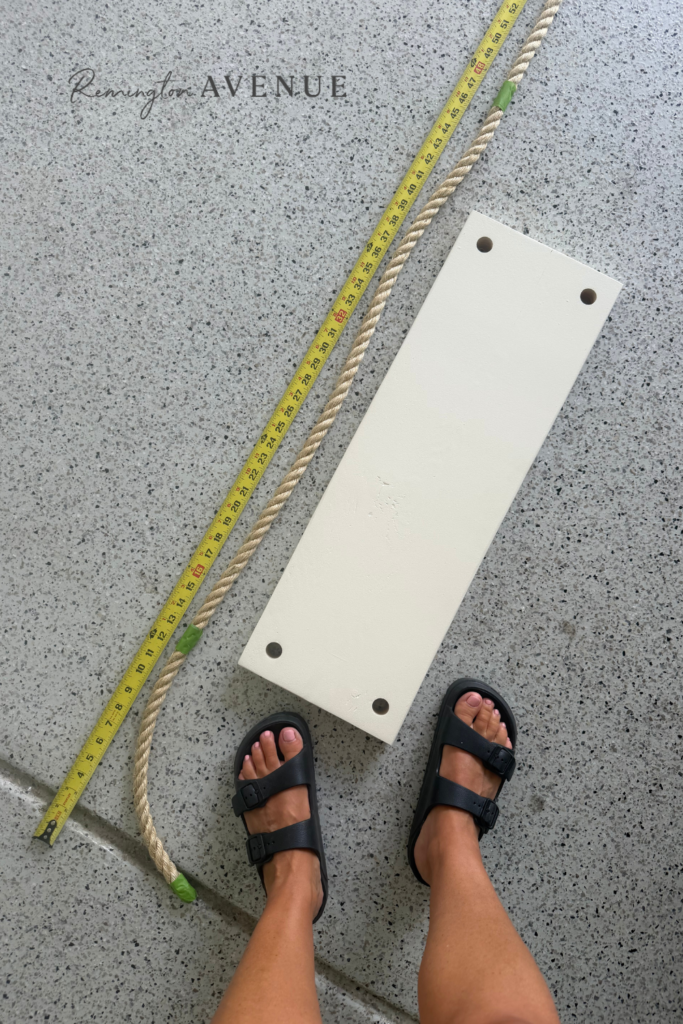
Next, we threaded thick outdoor rope through each hole and tied SUPER secure knots underneath the wood seat. Let me tell you knot tying? Not for the meek!!!! Keep trying, you’ve got this.
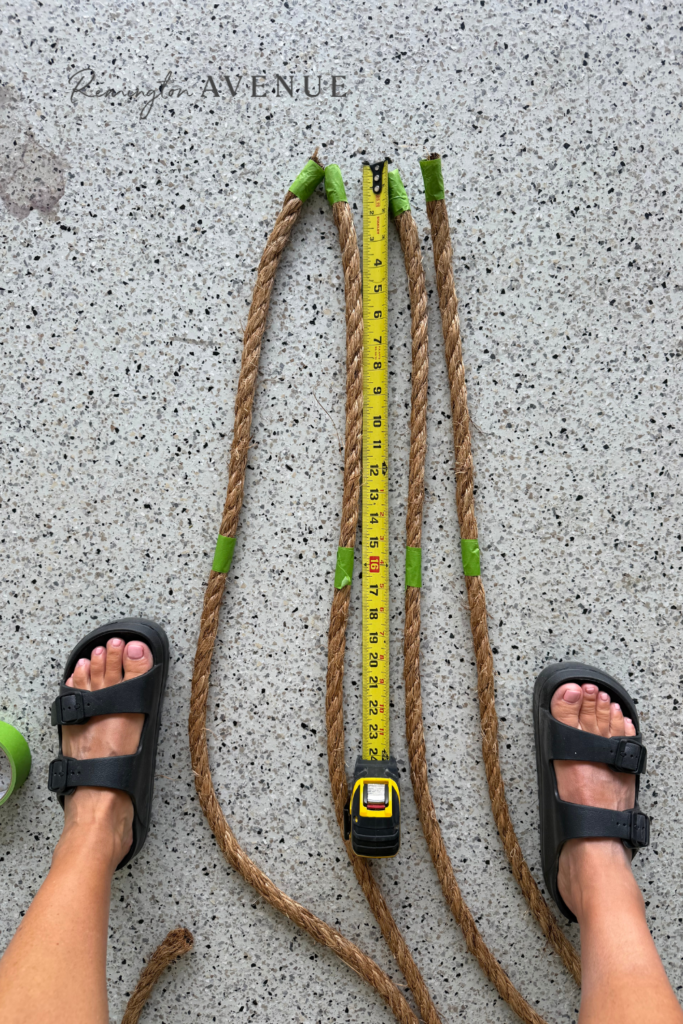

The chunky rope on these wood swings is probably my favorite detail because it gives such a beautiful, substantial look while keeping the design simple.
Tape up the ends of the rope and then use gorilla glue on the ends – this helps keep all the fibers together. Simply remove the tape when the glue is dry!
To hang the wood swings, we used heavy – duty swing hardware secured into the overhead beam and attached the ropes with metal connectors. From there, we adjusted each side until the seats were level and sitting at the perfect height for little feet!
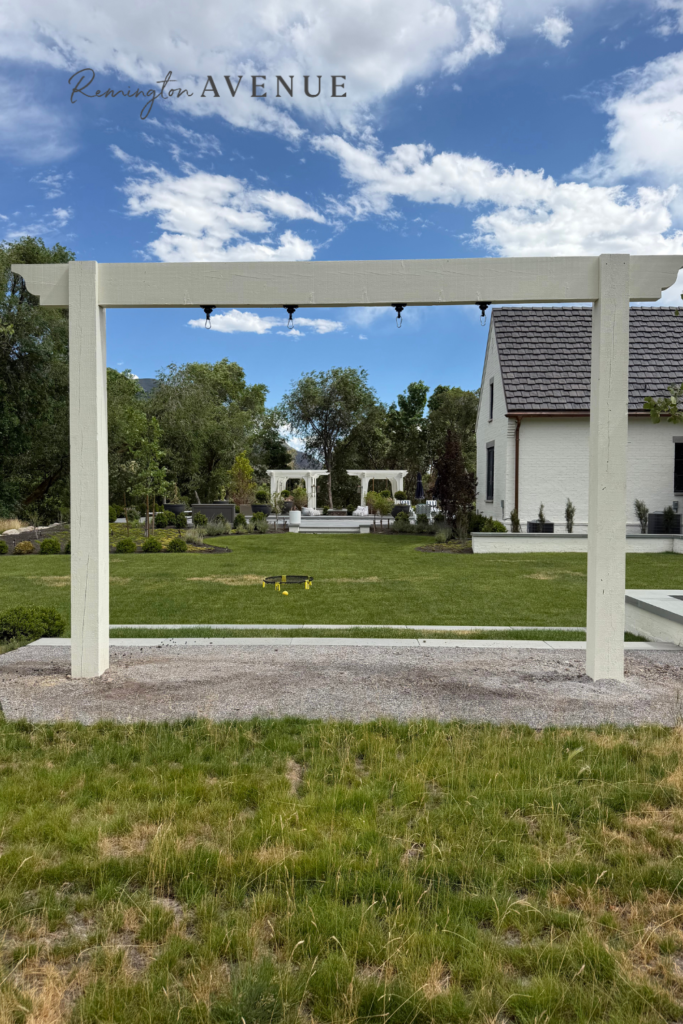
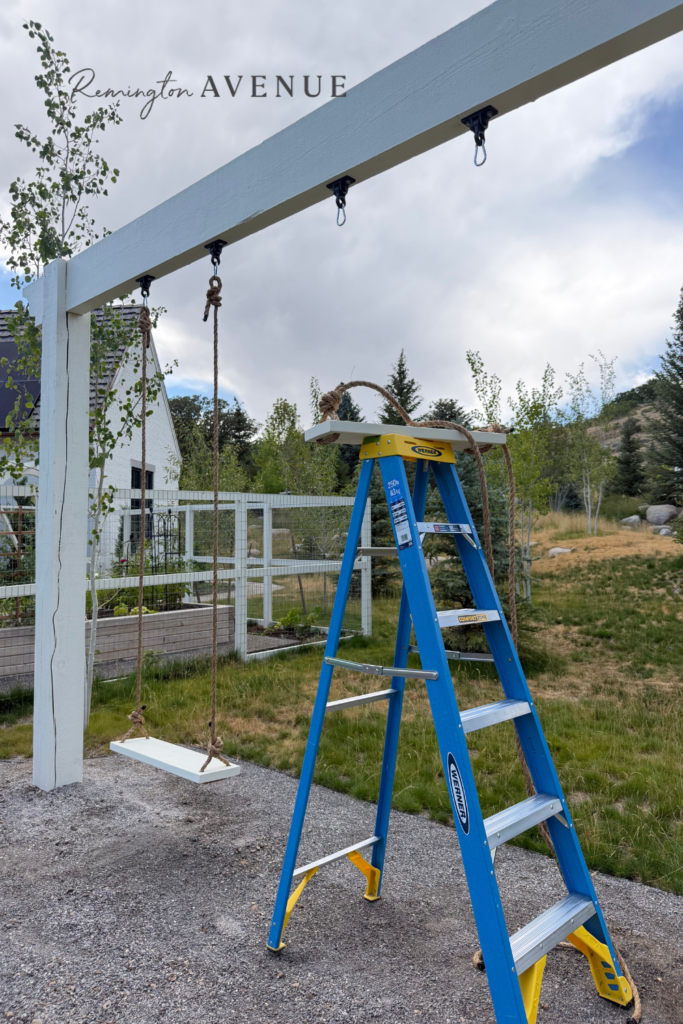
And that’s it!
These DIY outdoor wood swings add so much character and charm to our backyard! And they give the kids another spot to play and hang out. I especially love when a DIY can be functional and become part of the overall design. Bonus is when it brings the family all together.
If your outdoor space needs a little something special, this is such a fun weekend project with a major custom payoff.
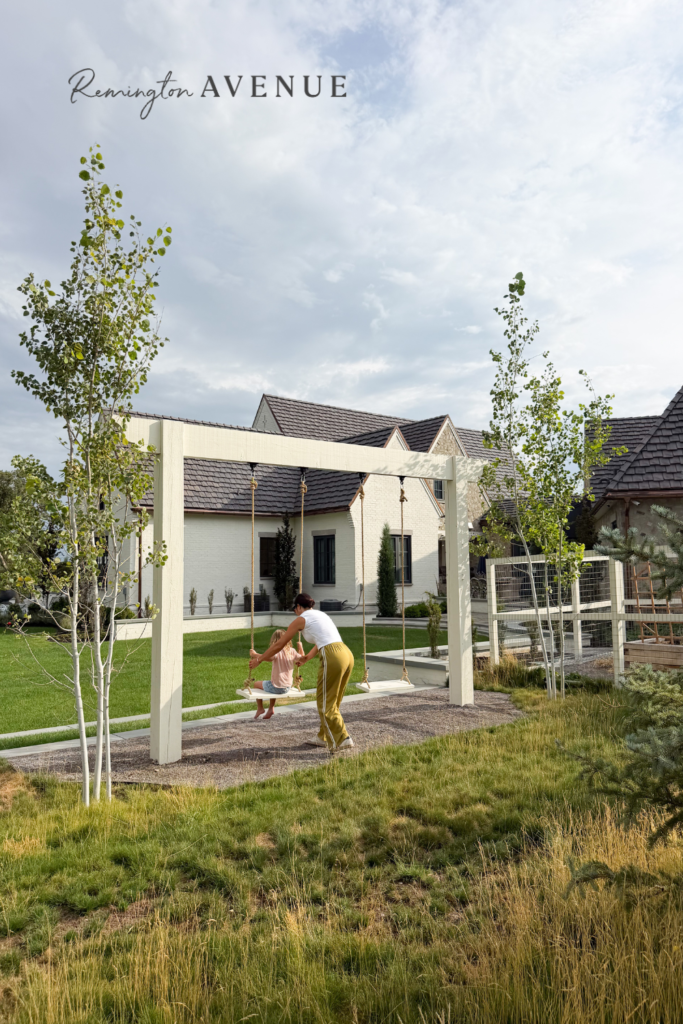
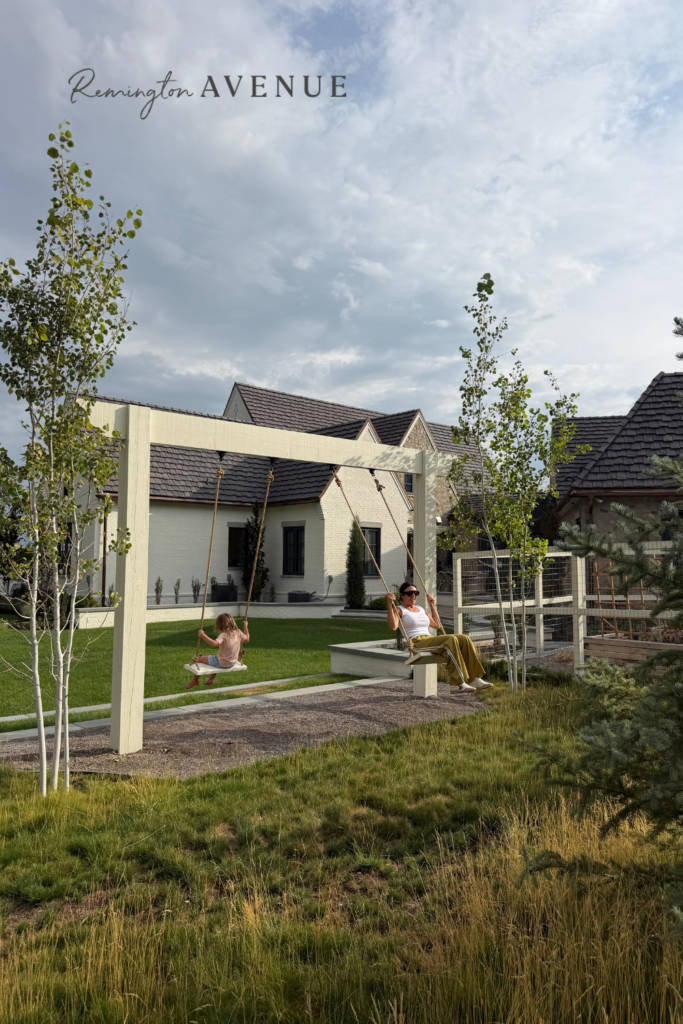
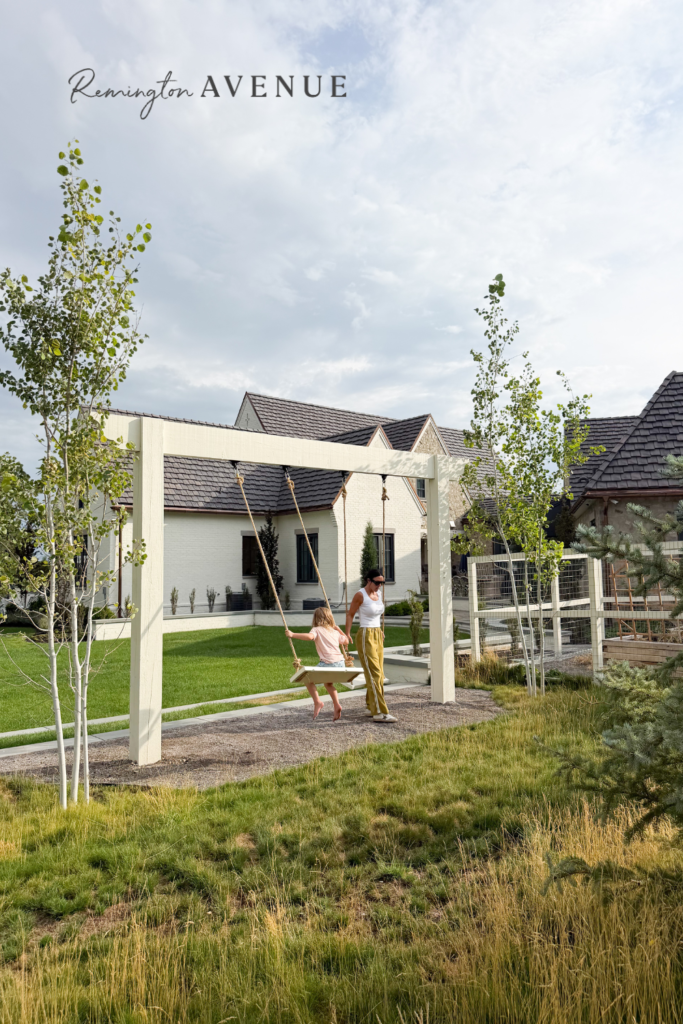
And to really bring some joy to your outdoor space, look no further than this adult version! Joy, activated.
Shop my favorite tools for the best DIY tricks below:

For more outdoor projects at the new house, click here!

 Add to favorites or read later
This looks like a project I wanted to do at our cabin since our grandchildren were a lot younger now they are both taller (than me but everyone is). Still going to make one for me especially since our cabin is right along the river berm. Thank you for this article.
These look so good hanging from the beam — and the chunky rope detail is perfect. One tip if you’re drilling the four corner holes for rope with a metric bit set: a common outdoor rope diameter is about 3/4 inch (~19 mm) or 5/8 inch (~16 mm), so you want a Forstner a little larger than the rope so it slides without chewing the wood. For 3/4″ rope, a 20–22 mm Forstner works; for 5/8″ rope, 17–18 mm is usually enough. This mm to inches drill bit chart helps match Forstner sizes when your set is the other system.