DIY Roman Clay Ceiling
My first go at a DIY Roman clay ceiling was this past August in the entryway of the new house. I learned a lot during the process and I wanted to revisit it with you and share because months later…I still love it!


The entryway is, of course a huge part of a home remodel. It’s the ‘welcome’ to your home and the very first impression. I knew the work we had done on the flooring and ceiling was special. And now the space just needed…something. I had been dreaming of adding visual interest to the ceiling by plastering on Roman clay, so I figured, ‘let’s go for it!’. The entryway was screaming for texture.
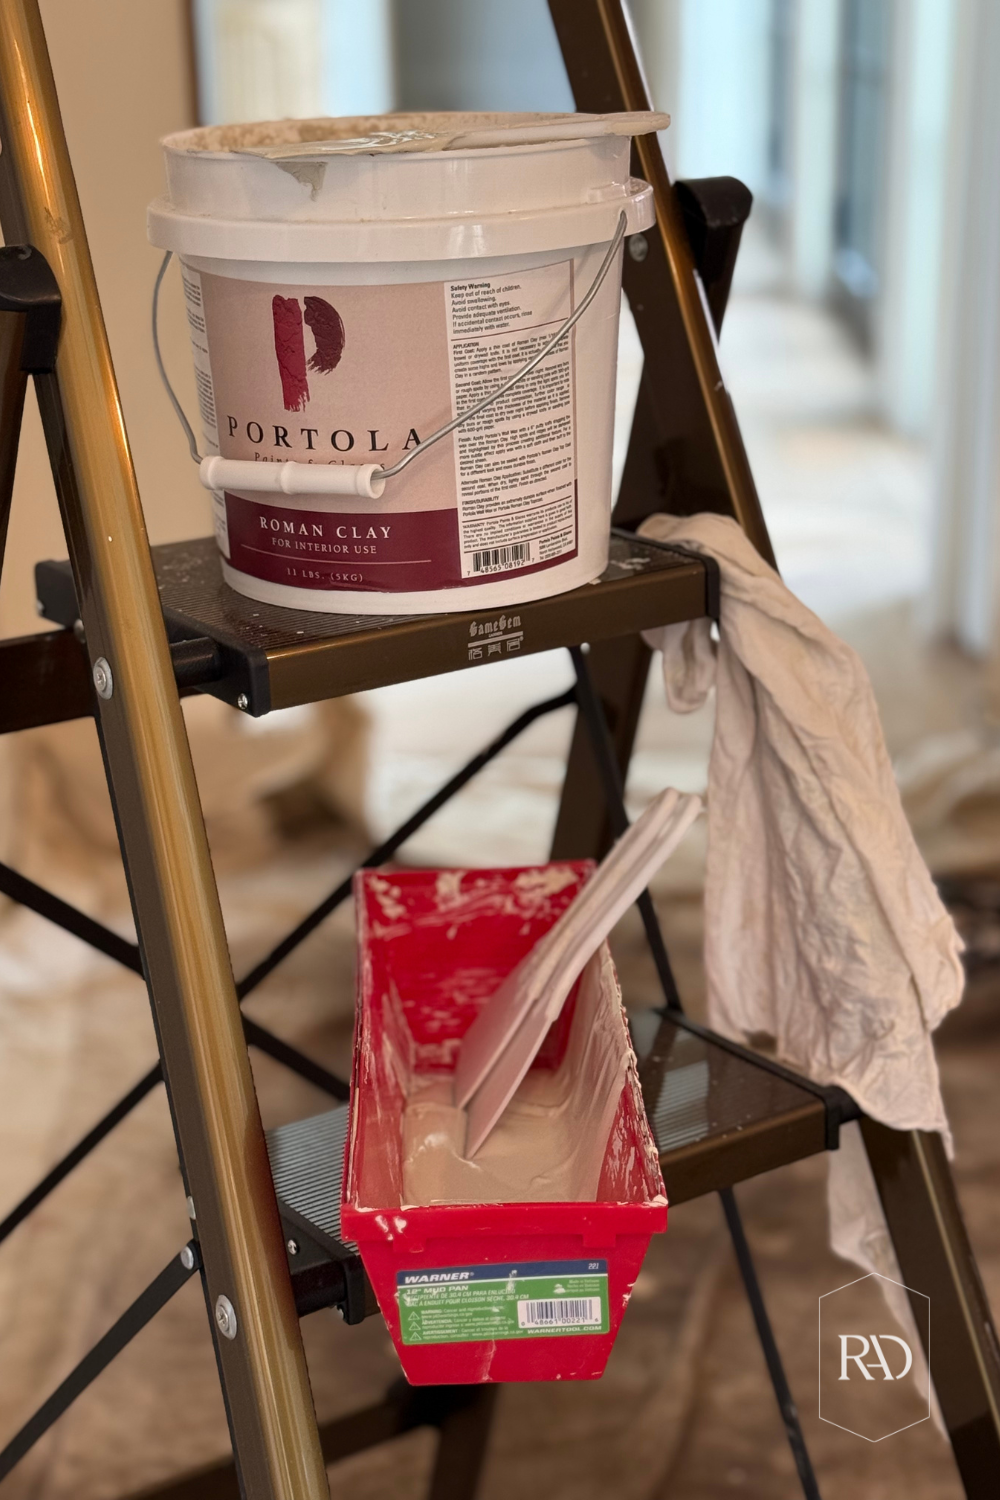
I started out by deciding on the clay color, and landed with the Portola Roman Clay in color ‘Patagonia’. My biggest tip for any painting or texturing project: never select a paint color without considering the natural light and directional light of a space. If I had gone darker, it would have been a completely different outcome and felt very cavernous.

Once we had the floor tile and overhead lighting installed, it was time to get to work. I covered the pieces to keep them tidy [ good thing I did, because whew, this was messy! ].
All the details on my entry way tile mosaic details, are shared here.
I first tried to apply the clay with a wider trou but quickly switched to a more narrow option to be able to move with the curves of the ceiling. I ended up liking the larger – plastic – option in the end, because they were more pliable and left a softer stroke. The metal trou showed more of the stroke outline – where it began and ended. It also left gray marks everywhere SO TRUST ME- GO PLASTIC.
Second tip – and this is a big one – is to apply with longer strokes. The shorter strokes left more of a chaotic look. I was able to even it out with the second coat, thank goodness, but it’s something I wish I would have known from the beginning.
After the first coat, I was questioning my entire vision. My shoulder had never seen such a workout, but I knew once the second coat was added, I was going to be able to see the full potential of what a roman clay ‘vibe’ can be. So if the first coat looks splotchy, trust me…keep going.
For the entire process I had to THREE coats of the Roman clay and sand down the high points in between the coats to make sure everything was nice and smooth. This way the second coat went on evenly and ‘matched’ the first.
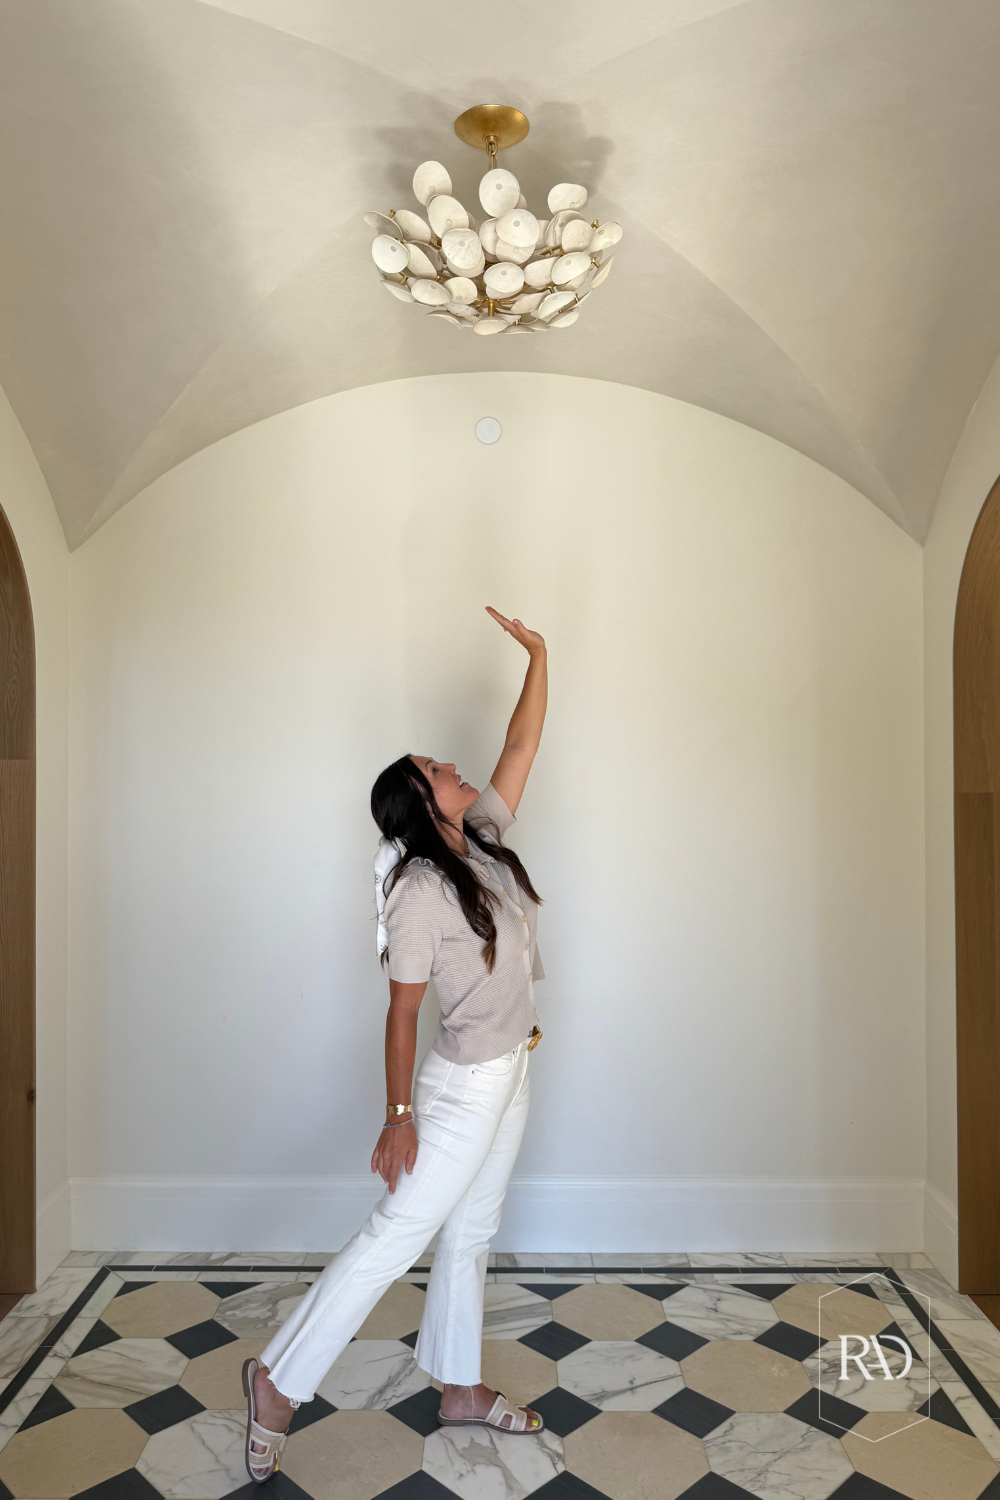
I finished the ceiling with one final sanding in a circular motion. That final sanding changed everything.
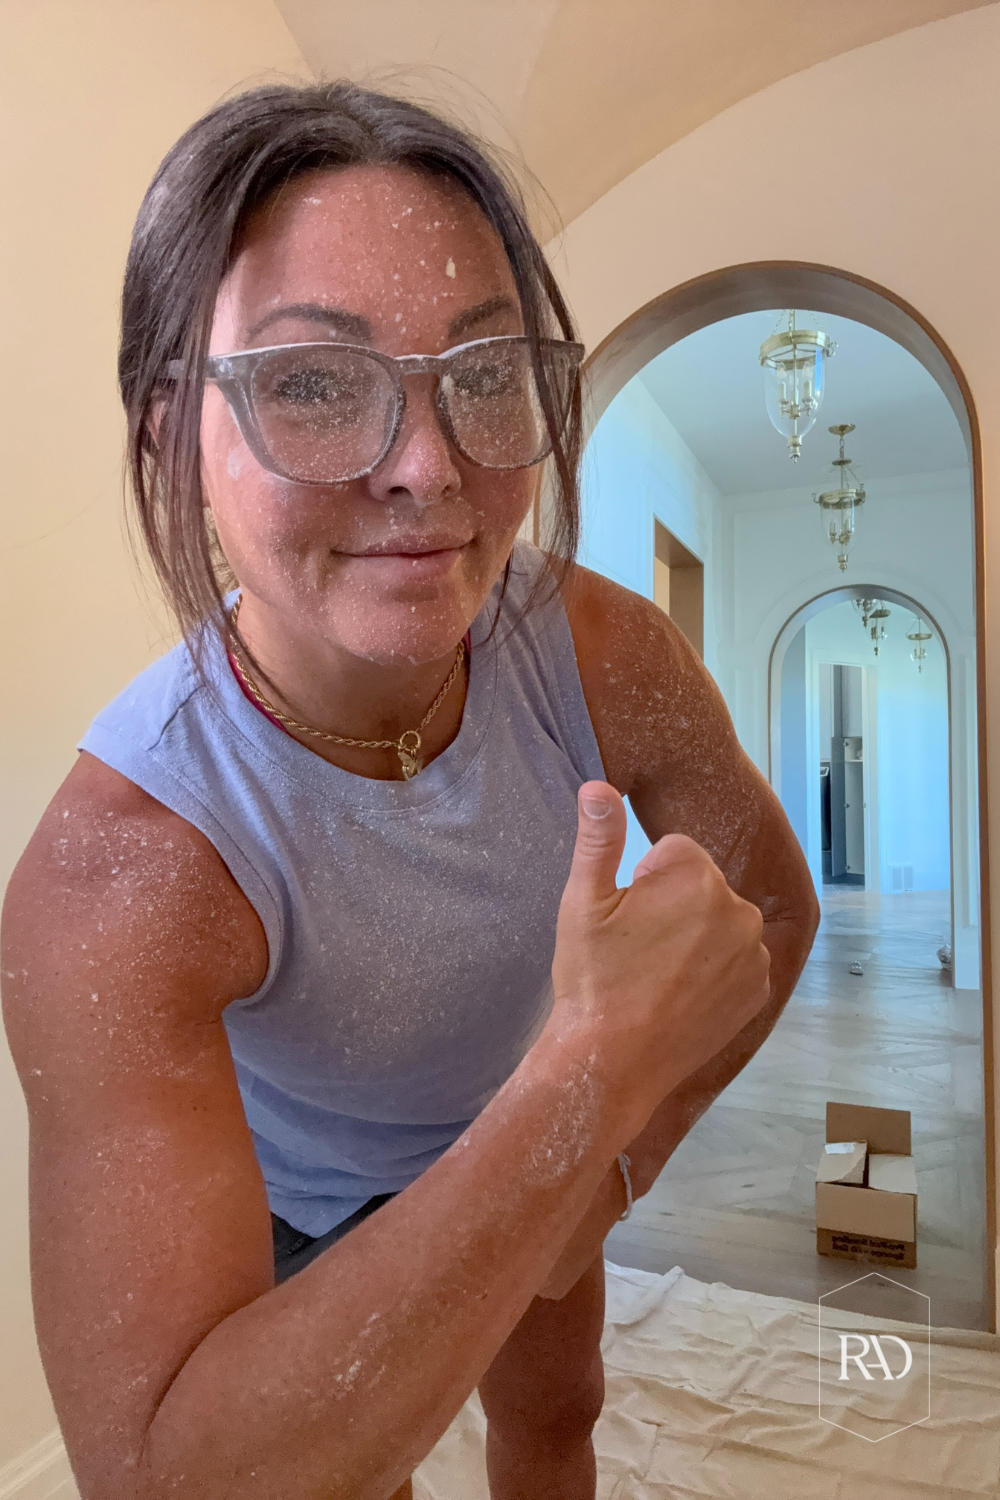
In all honestly, If you’re a perfectionist this roman clay project may not be for you. It took days of tedious work but the end result was so worth it!


Once the ceiling was completed, I installed the wall sconces and adding the finishing details. I decided on this large tapestry for the entryway table centerpiece and it’s the perfect, unique addition to the space. It is truly stunning.
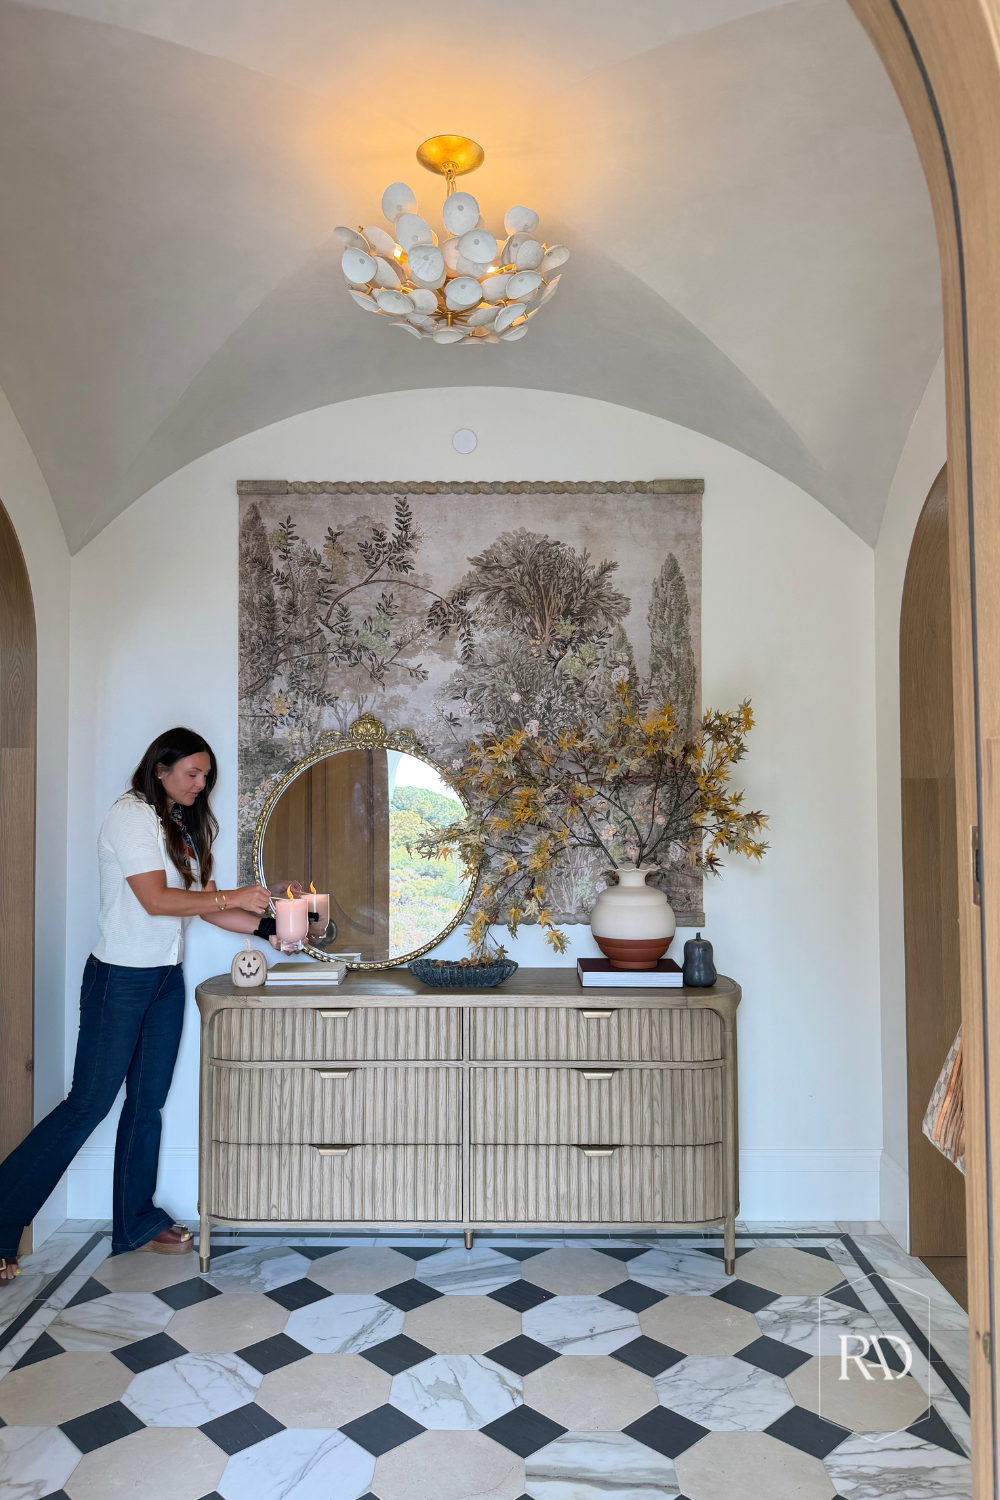
So happy with this welcoming space – and glad I stuck it out, dead arm and all!
Shop My Entryway Details Below

Would you try a DIY Roman clay ceiling or wall in your home?

 Add to favorites or read later
OH MY GOD!! That looks absolutely gorgeous. And, once again as with all you do, the magic ingredient is taste, taste and more taste. Congratulations…and enjoy!
Stunning and inspirational! Thank you for sharing.
I’d love to see the Roman Clay on our powder room walls
You executed the design to perfection!