
How I Turned a $30 Thrift Find into a Family Heirloom
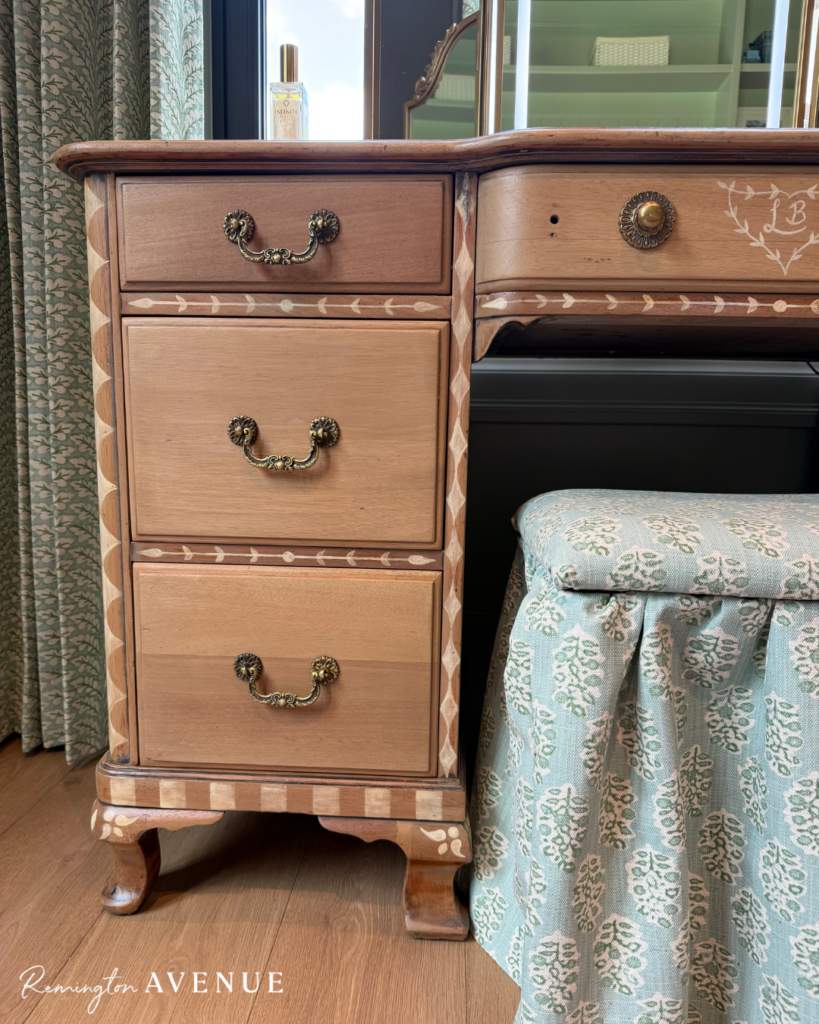
While planning Lou’s room remodel, I spent hours searching for the perfect dresser. I knew I wanted something timeless with plenty of ‘Lou-level’ character. But after all that searching, I just couldn’t find anything that matched my vision…so I decided to make it myself. This is how I turned a $30 thrift find into a family heirloom.
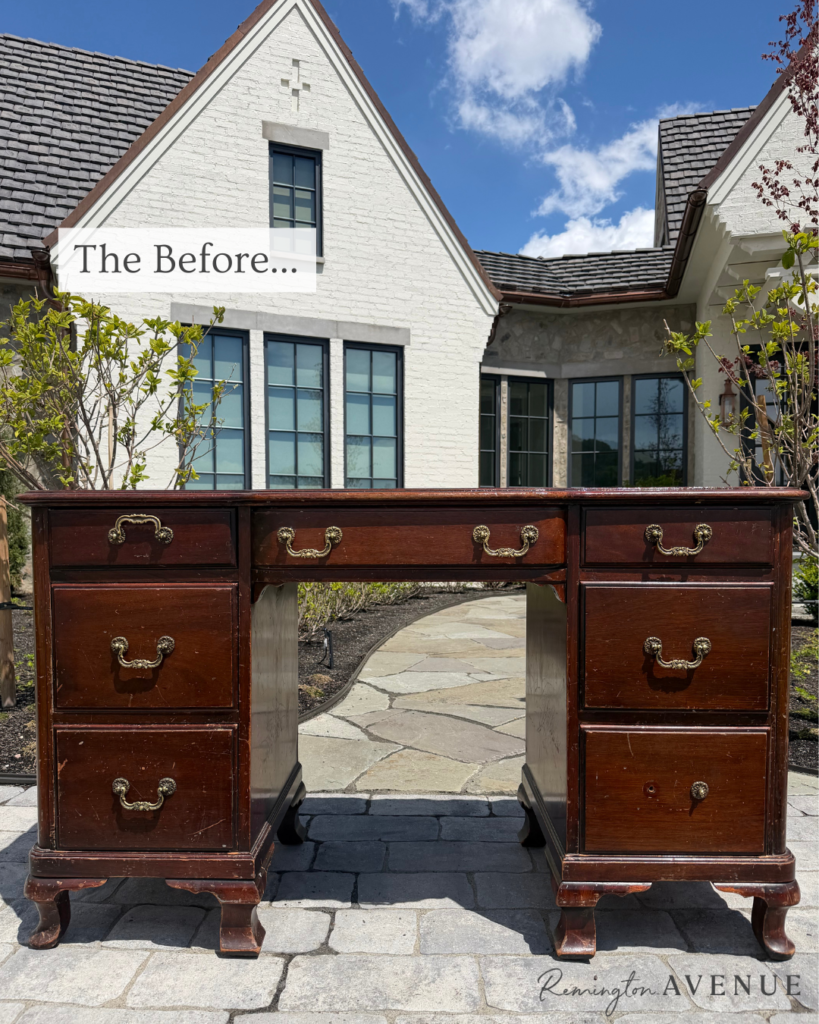
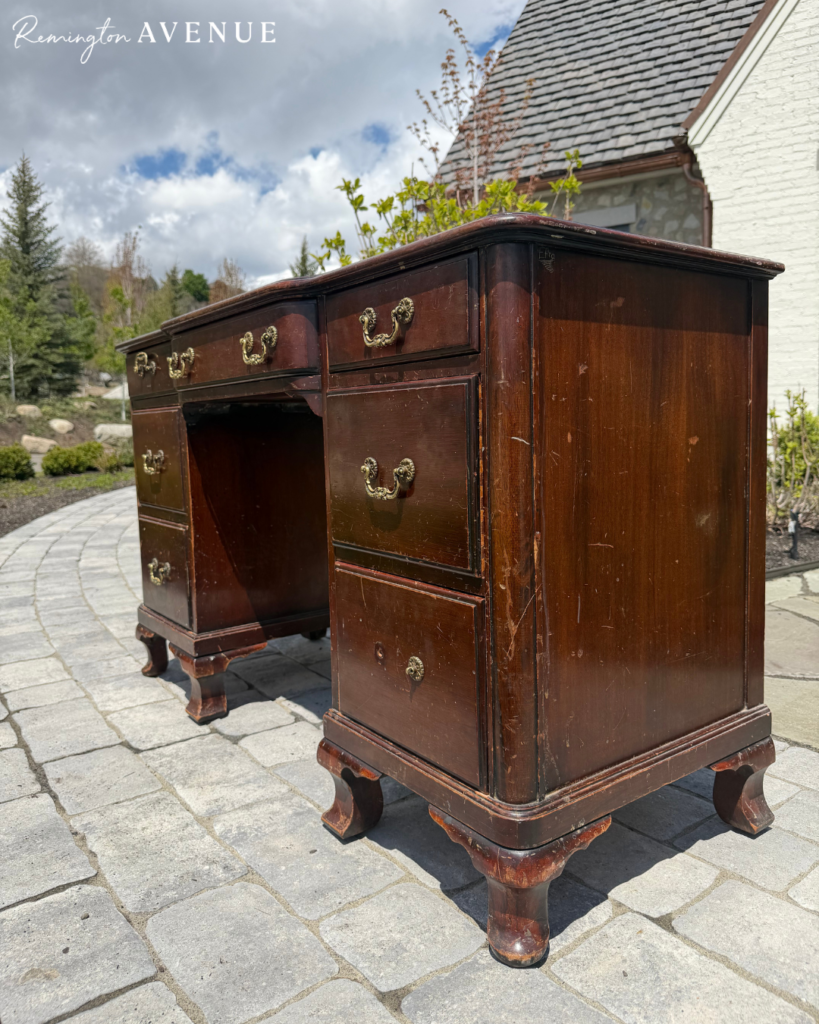
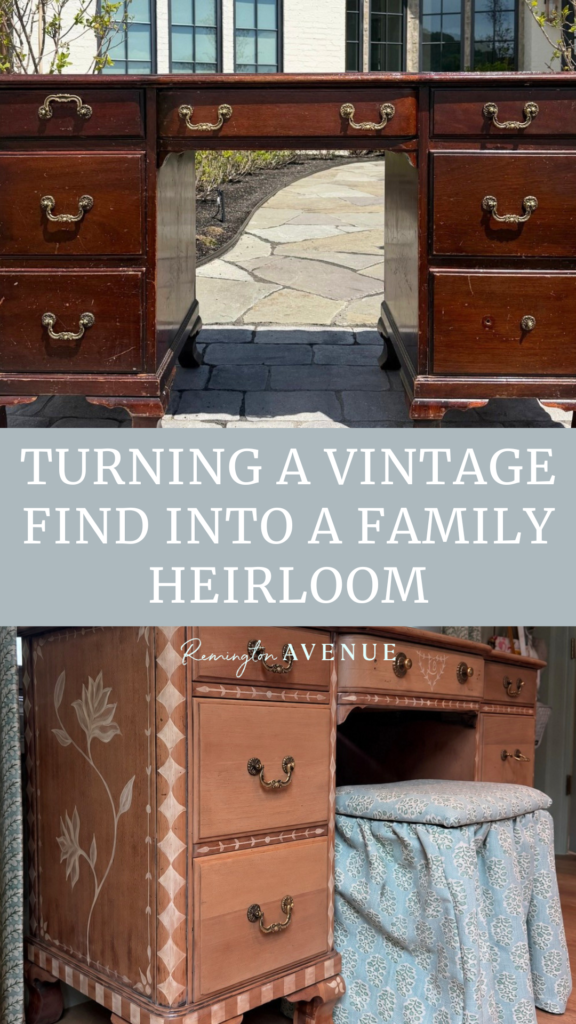
I found this dresser on Facebook Marketplace for $30. It was pretty beat up and had a few broken handles, but I knew it was just waiting to be given a new life.
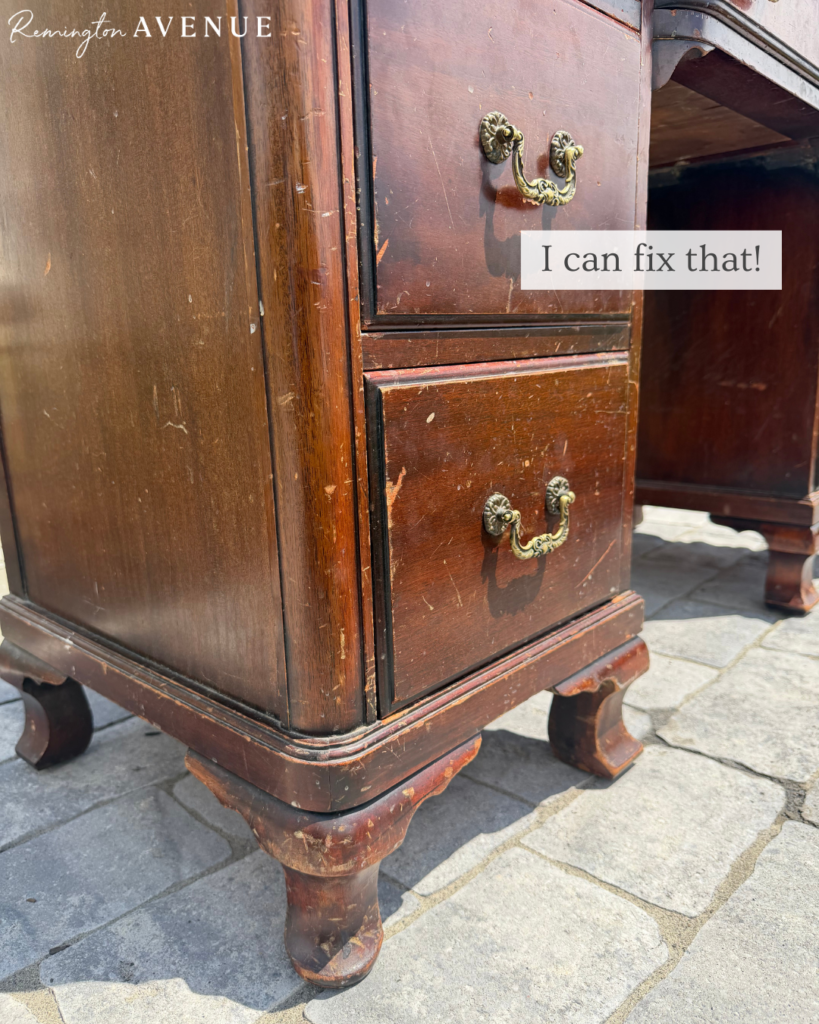
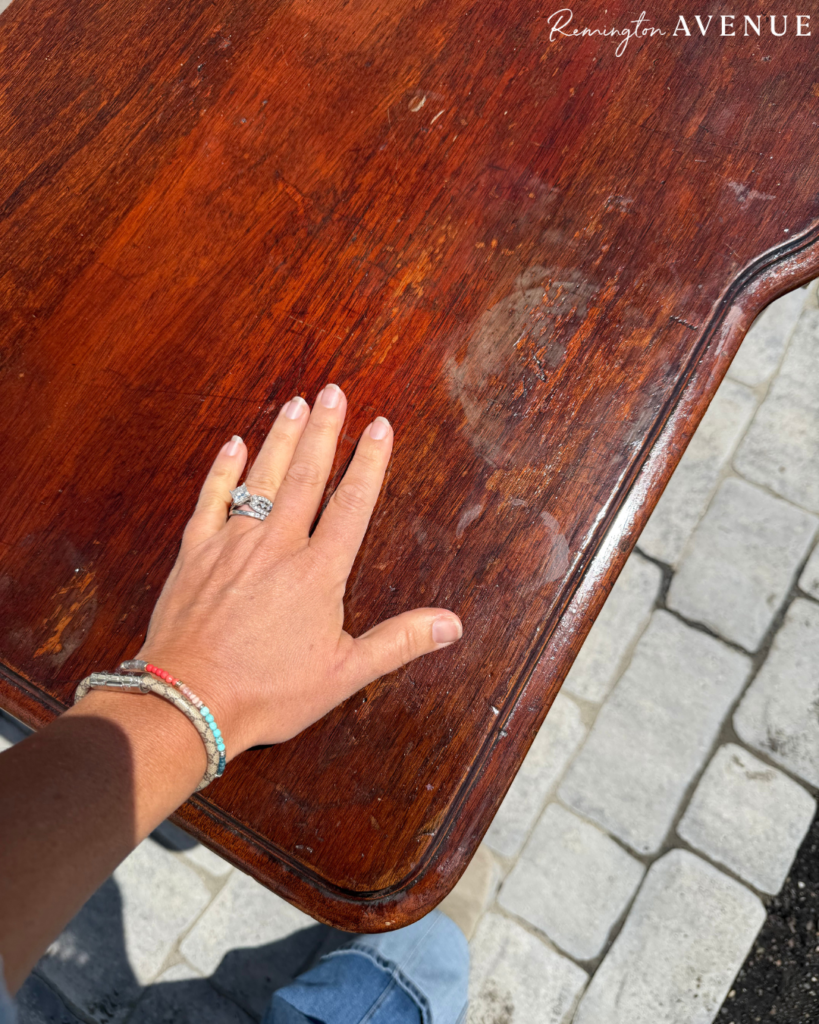
It was originally a deep cherry red, but the finish was chipped and heavily scratched. So, I decided to start with a fresh base. I began by using a heat gun to soften and scrape off the shellac topcoat. It definitely took plenty of elbow grease, but a heat gun made the process so much easier. From here, I sanded it down, starting with 100-grit sandpaper and working my way up to 250 grit.
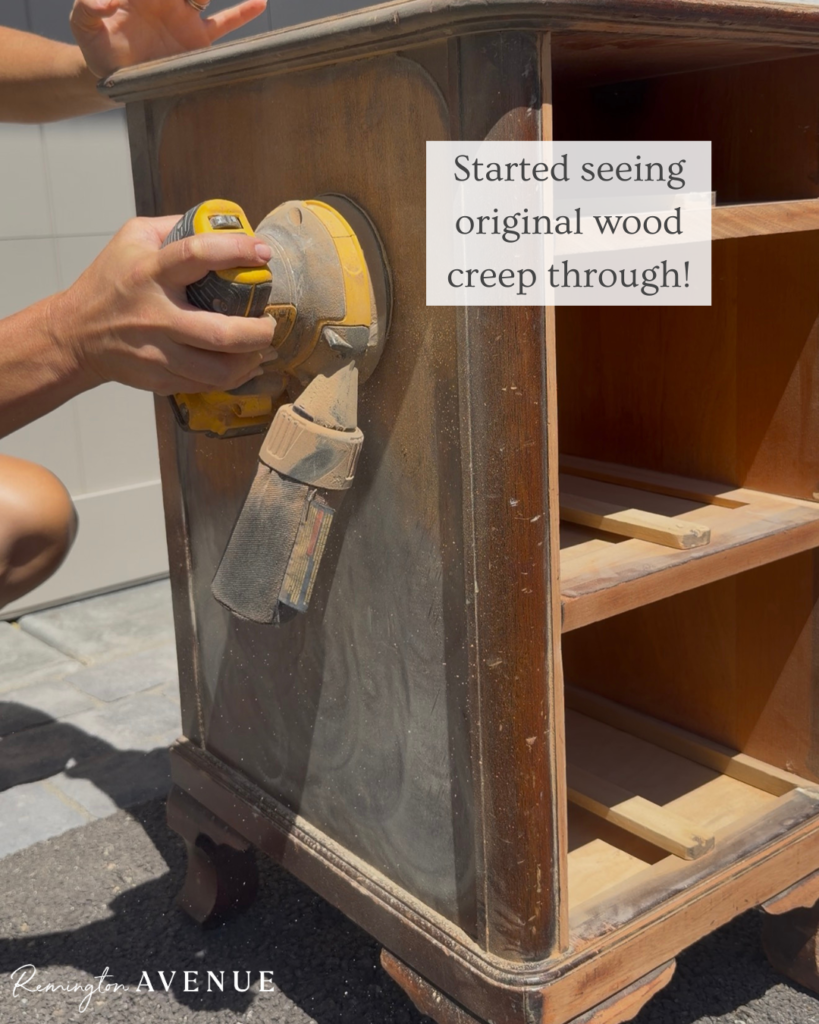
Through this process, I revealed the beautiful original wood underneath. For the small cracks that still held onto the original finish, I used good old acetone to scrub away the remaining seal.
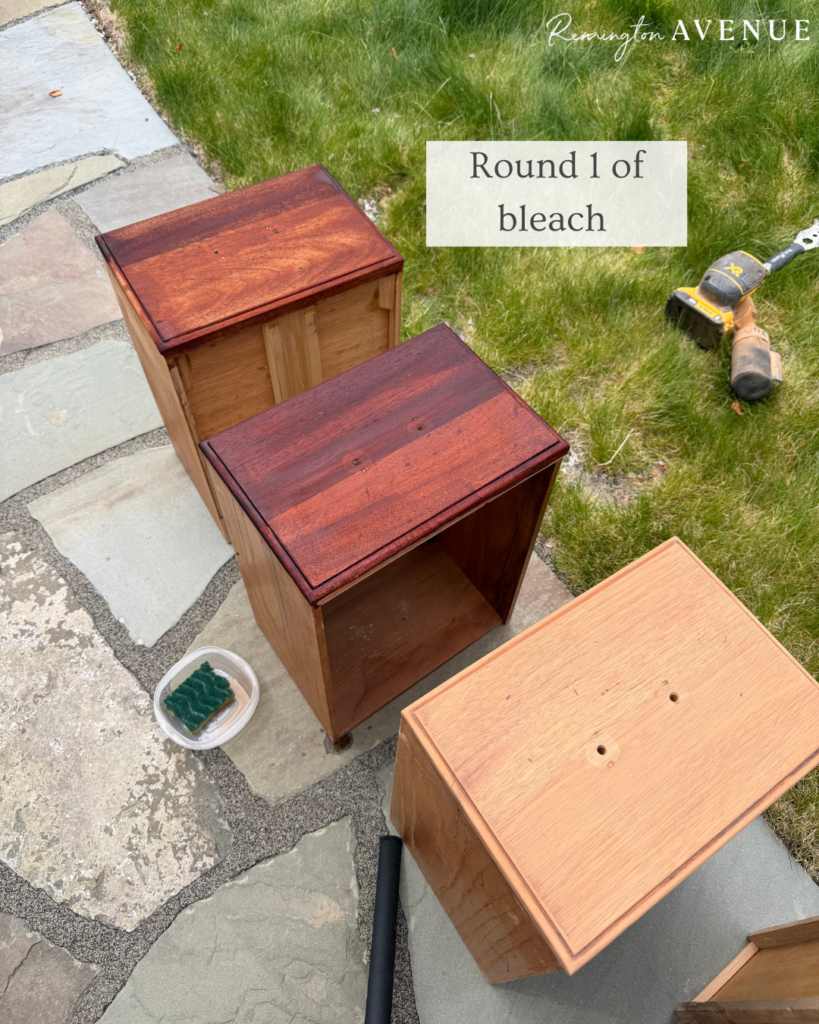
I wanted to lighten the wood a little more, so I did three rounds of this Zinsser bleach kit. I then let it sit in the sun all day to really let the bleach do the heavy lifting. This was a whole three day process. I bleached in the morning, then let it sit in the sun all day, three times through. It was tedious, but so worth it.
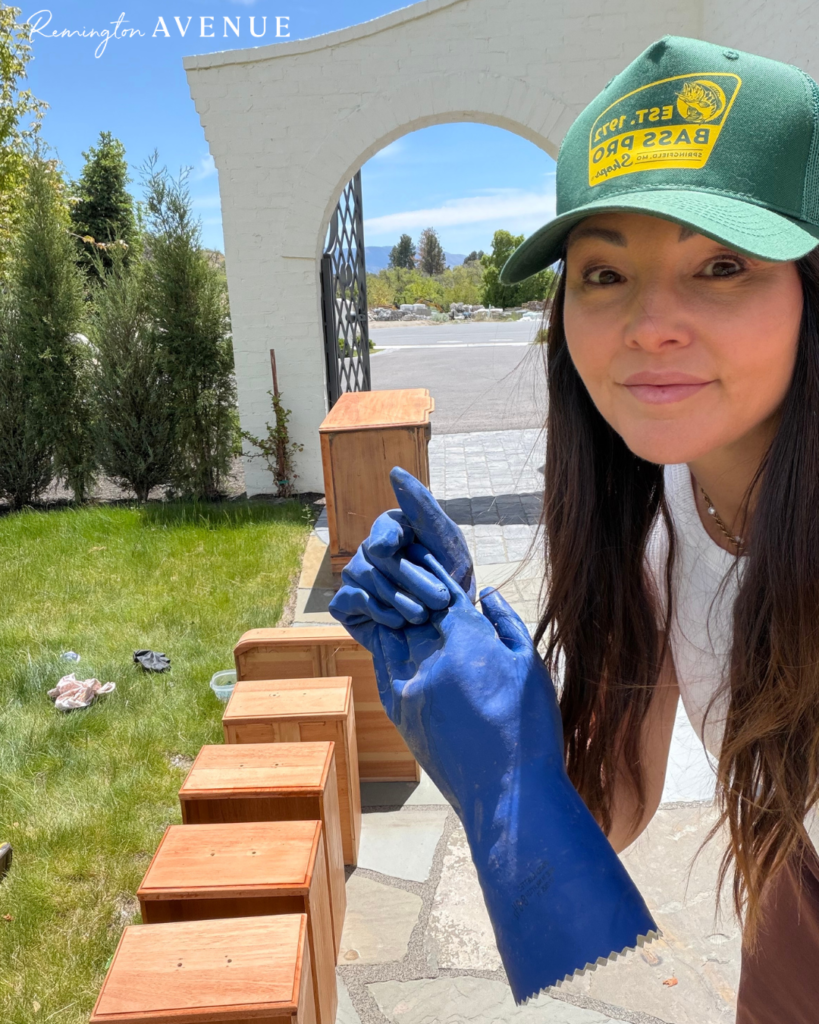
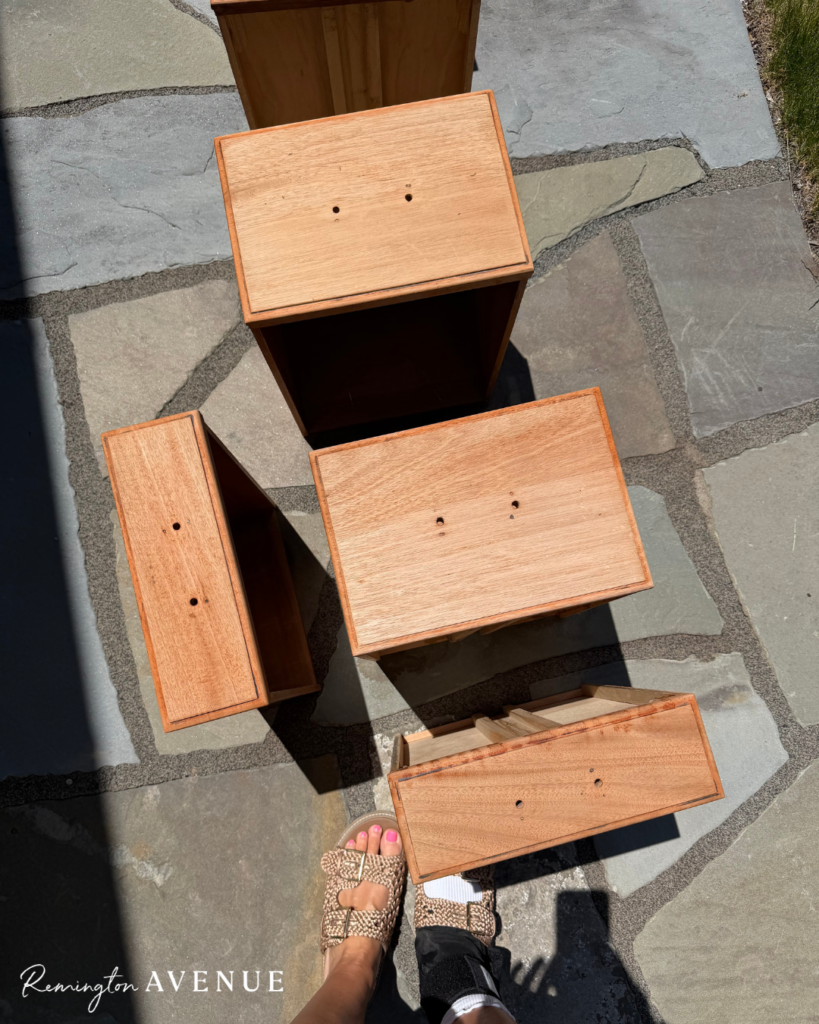
This dresser is definitely one that tested my patience!
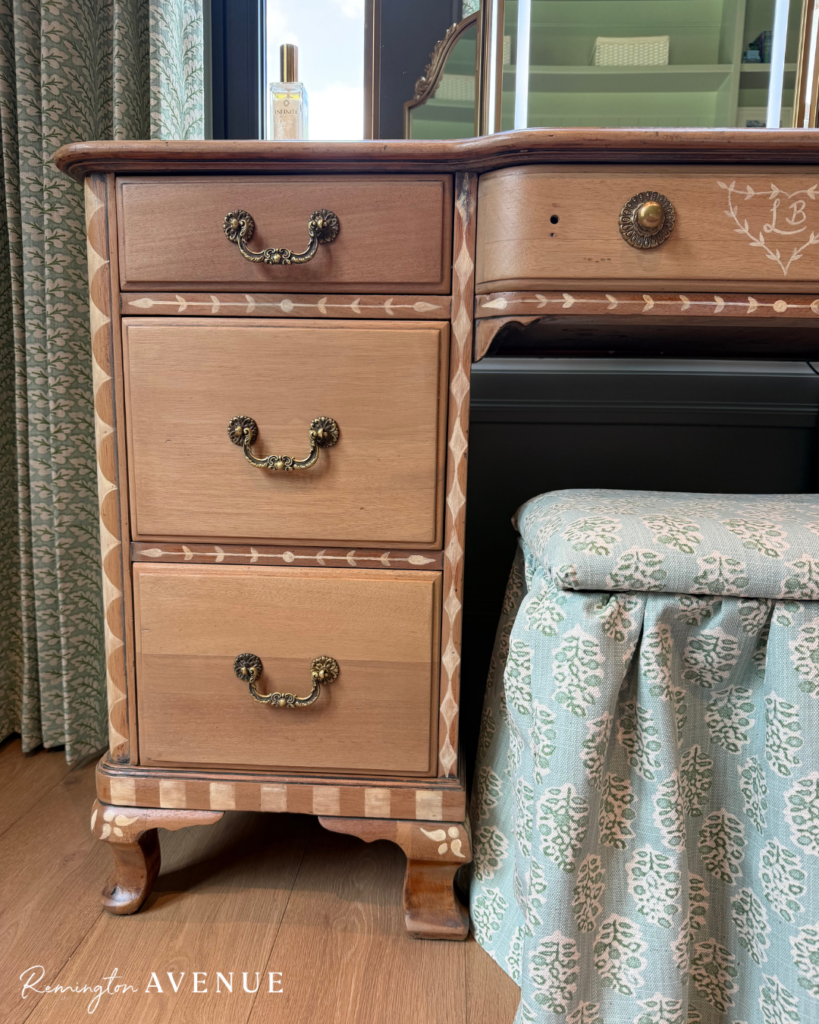
Once I reinstalled the original handles, I replaced the broken pulls on the main drawer with these beautiful knobs. I love how well they match the original hardware. Luckily, I didn’t have to drill any new holes for the pulls. But with the placement, it did leave one unused hole on the outside of each knob. I considered filling them, but because there’s already some natural wear throughout the piece, the holes are actually pretty hard to notice. So, I decided to leave them – ‘nobody’s gonna know.’
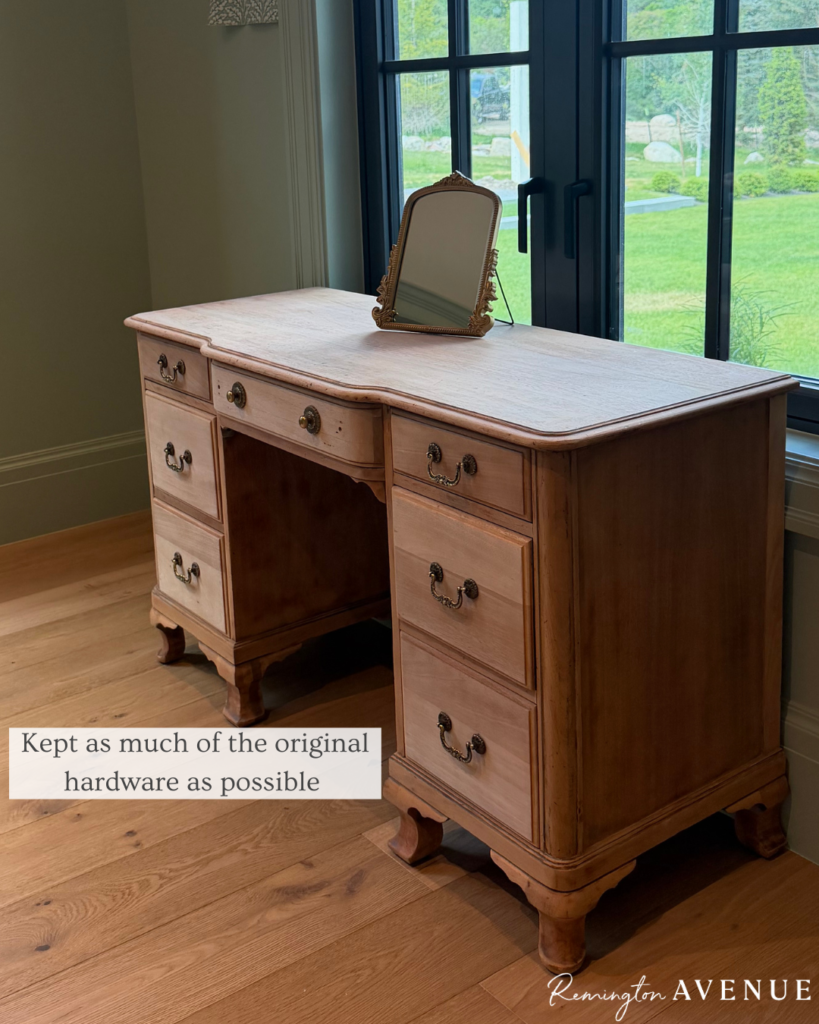
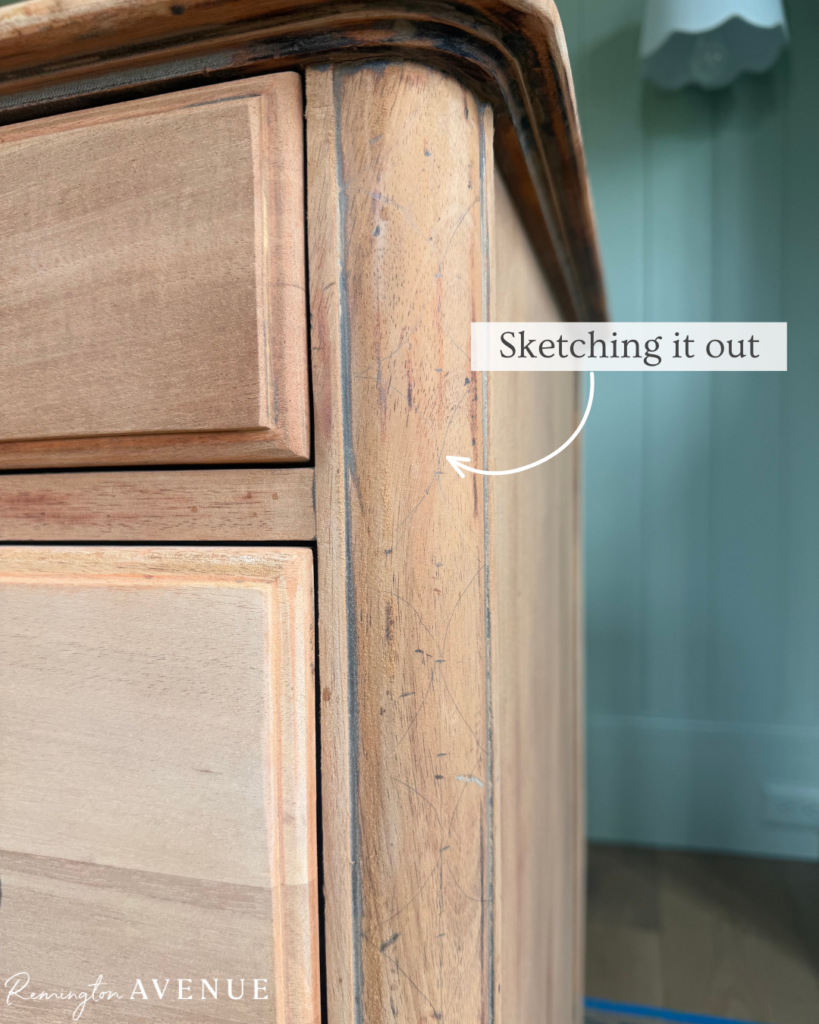
We could have stopped there. But once I saw the dresser in Lou’s room, I knew it needed a little something extra. I had some leftover chalk paint that had dried up, but luckily you can easily rehydrate paint by adding a little water. From here, I diluted it even further to create a softer, more transparent look. I got to work sketching a simple guide in pencil, then let my creativity take over. This ended up being such a fun little project and a creative outlet that got me even more excited to finish Lou’s room.
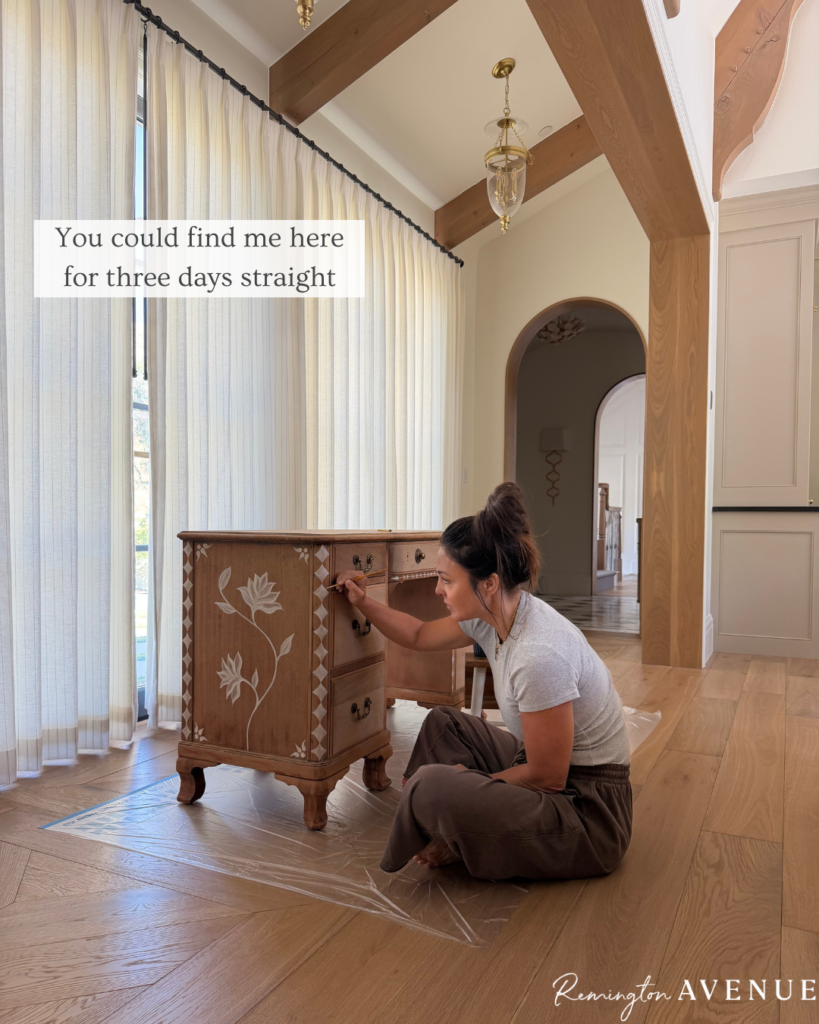
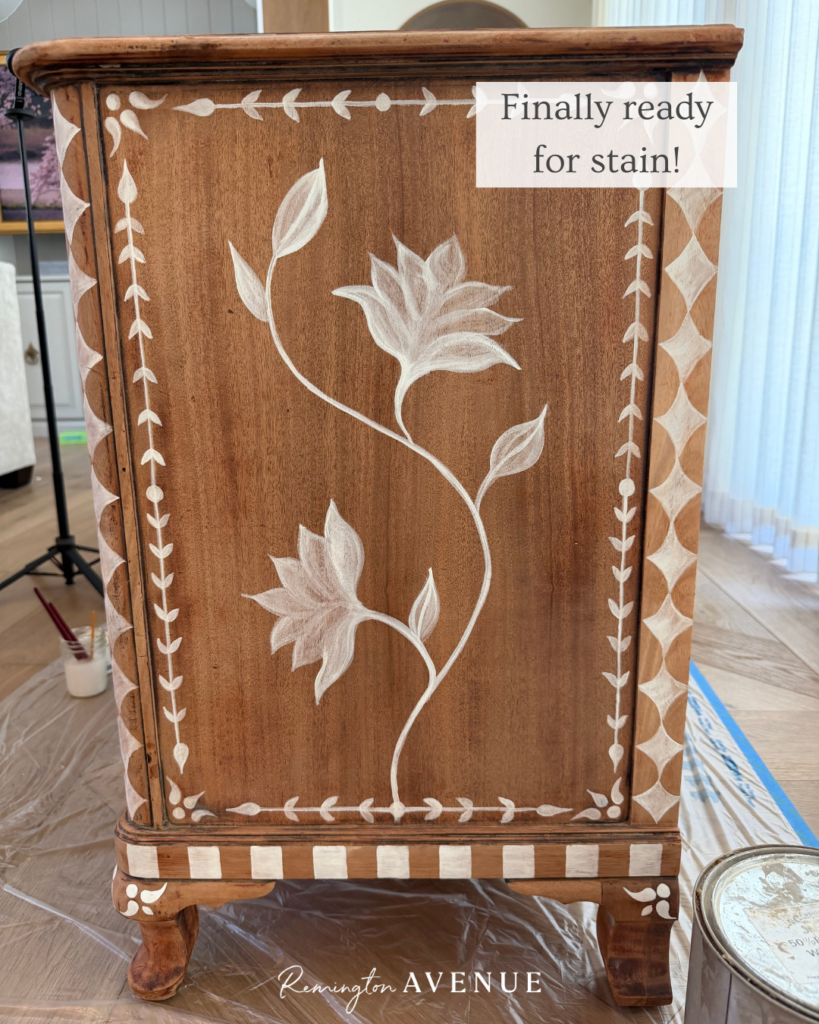
I spent a few days making sure all of the details felt just right. I wanted this dresser to feel custom without taking away from the rest of the room. The diluted paint was perfect for adding intricate detail without feeling too bold or distracting.
Then it was time for the final step: a custom stain.
I originally created this stain while in our last home. We wanted the perfect balance of warmth and depth, and after finally finding the right color, I knew it would be the finishing touch this dresser needed. I still use this color anytime I’m working with wood that pulls a little red, and since this dresser was originally a cherry red, it made a big difference. I was a little nervous about how it would change the painted details, but I ended up loving the finished look even more. Find my custom stain mix from this past project!
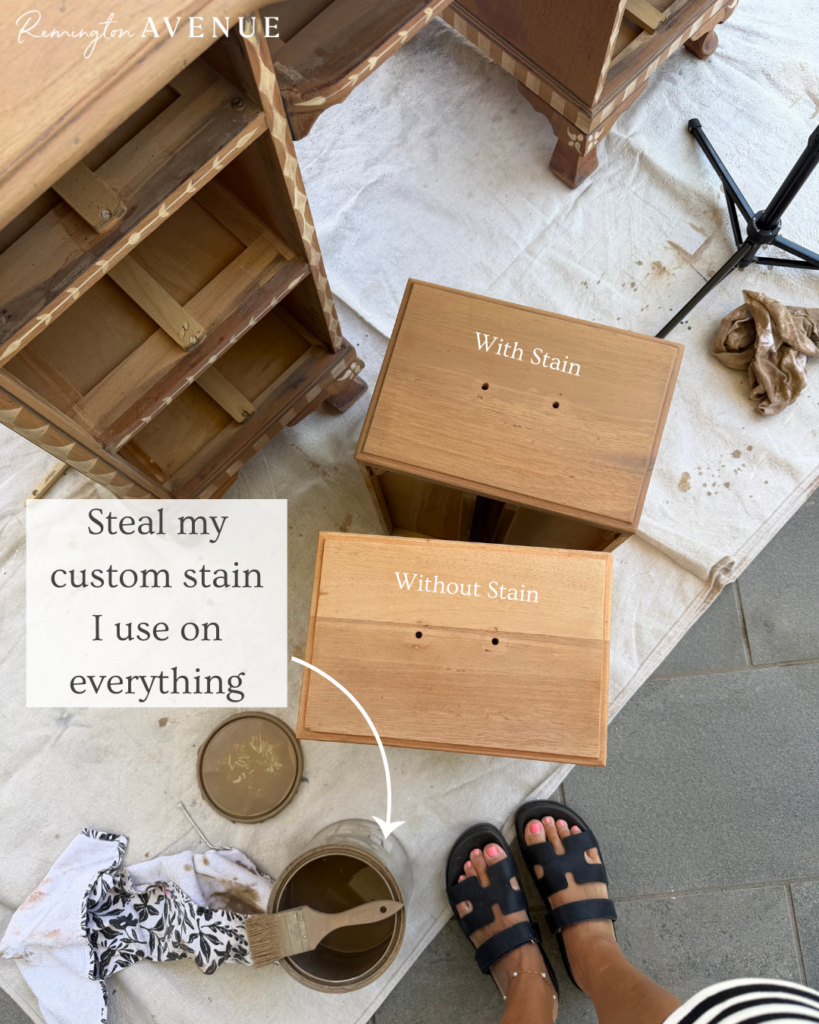
Once the stain was set in, I added a clear top coat to protect all that work from any scratches or stains. Since this dresser is going to be in a 10 year old girls bedroom, this step is a necessity.
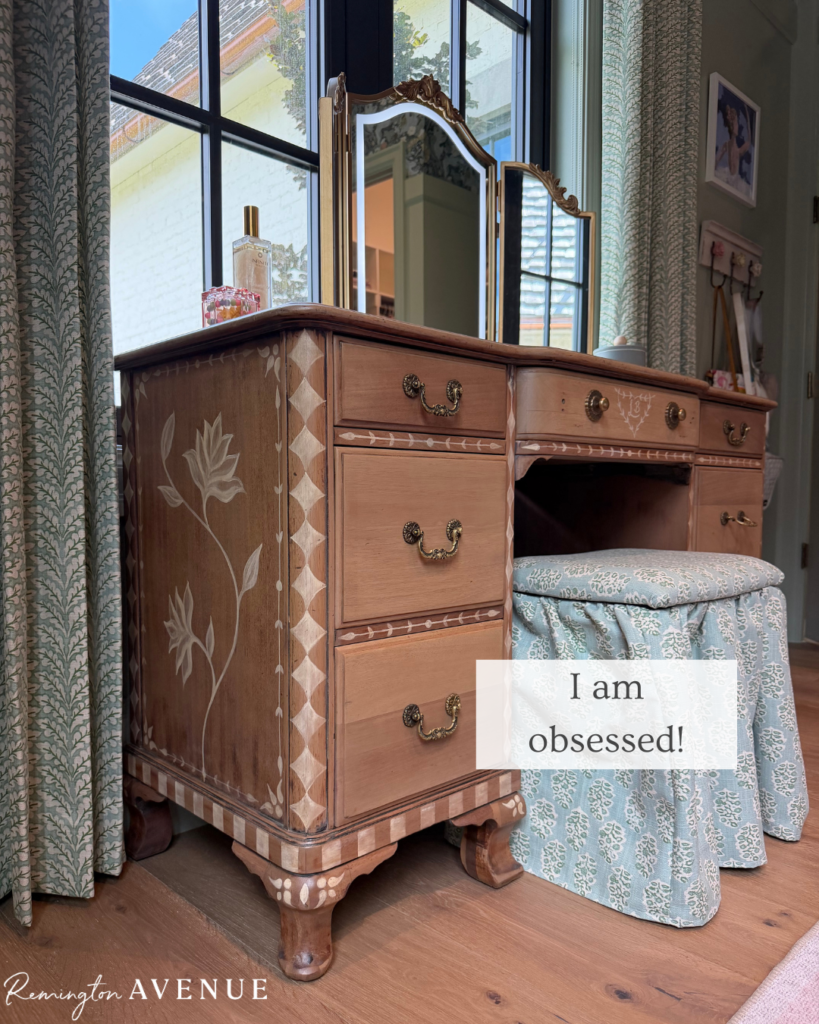
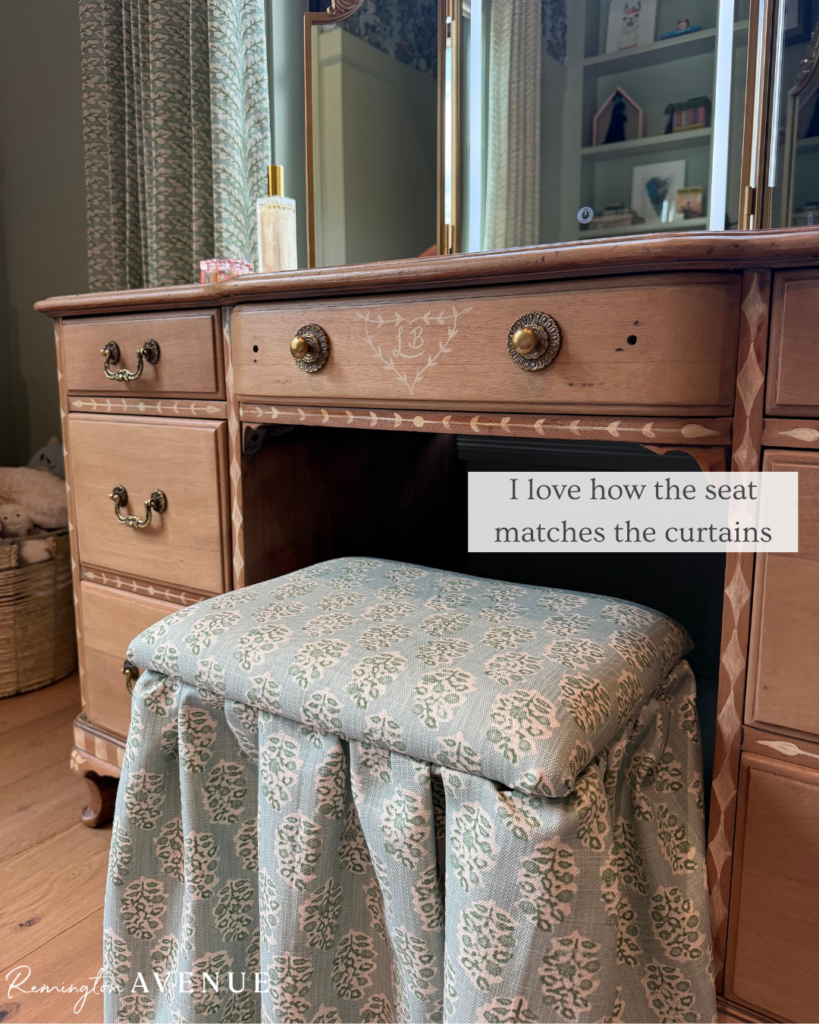
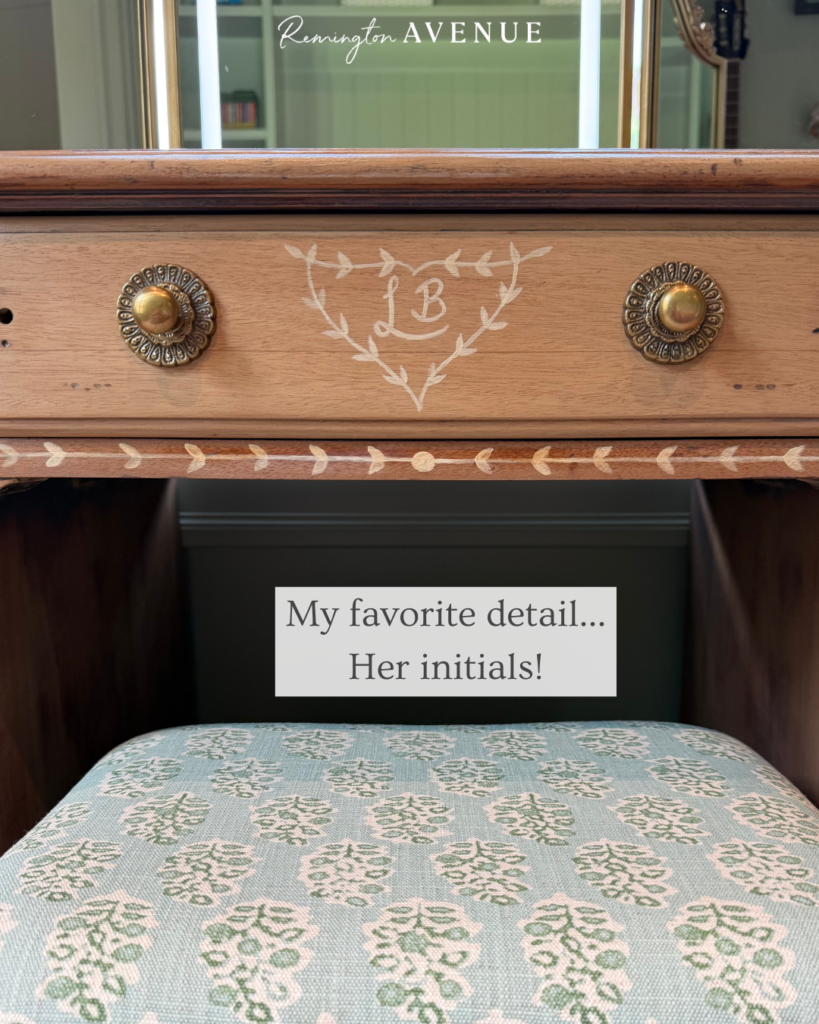
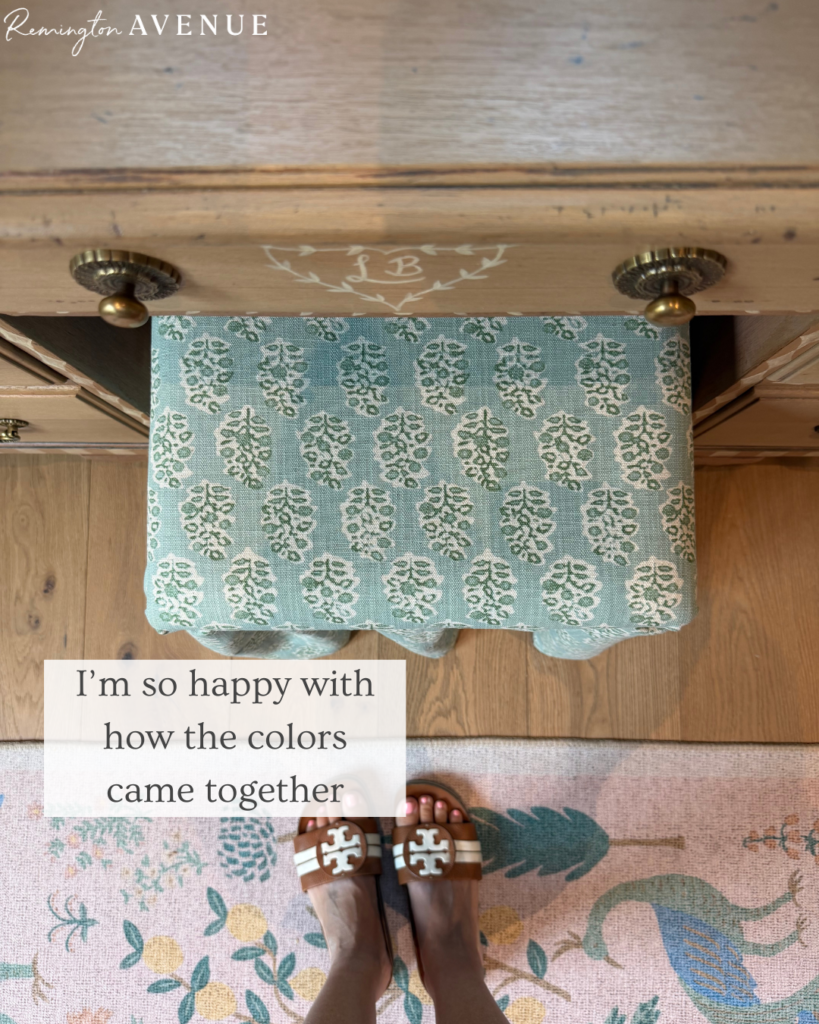
Now it needed one last thing, a custom stool! I wanted something feminine that matched the scheme of the room, and of course, nowhere I searched had the still I pictured in my head! So instead, I found this perfect stool at a garage sale for $2. I did my own upholstering with a cushion and a staple gun, and then sewed a skirt for the cutest finishing detail. I used fabric from a curtain I almost chose for Lou’s windows, and the color matched the rest of the room so well. So glad I still was able to use this beautiful fabric in her room!
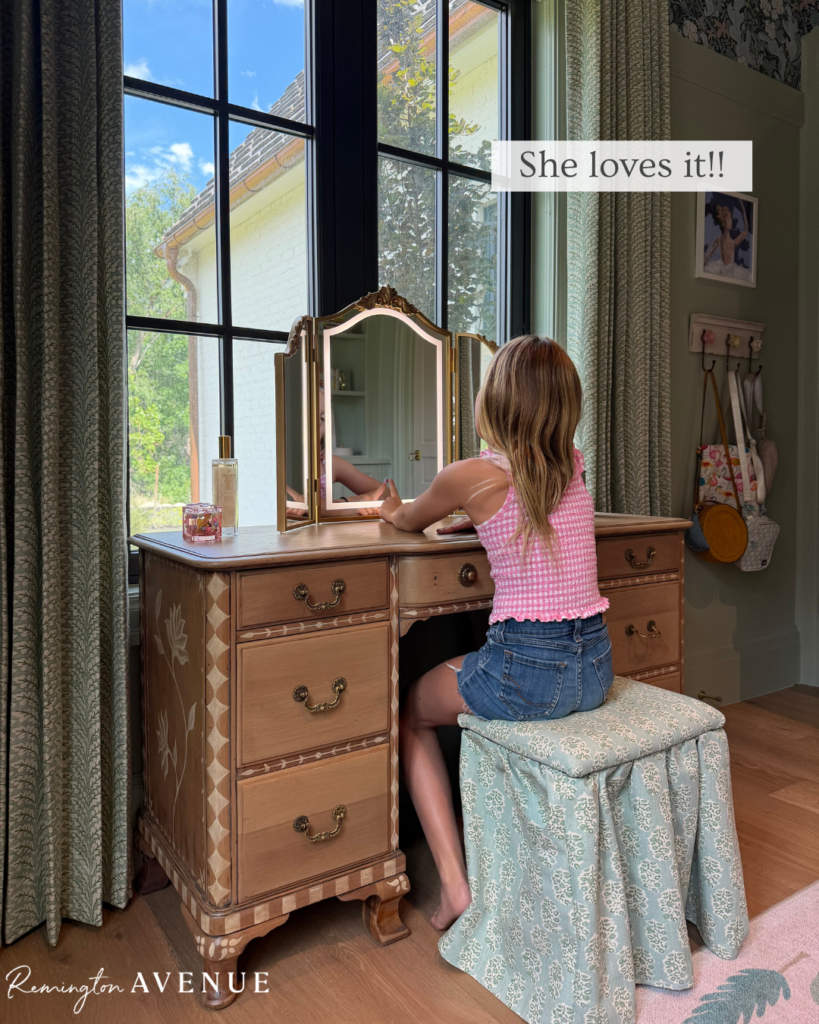

Shop this look here
This mirror was such a good ‘look for less’ find and the added lighting feature makes it a total steal!
If you want to see more of how how I turned a $30 thrift find into a family heirloom, here are a few videos that show the process from start to finish:
Part One // Part Two // and THE Reveal!
This is your reminder that if you can’t find something that fits your vision, you can make it!

 Add to favorites or read later
Mysha, you amaze me. That is just lovely – and, truly, one of a kind! (Enjoy it, Lou; you’re a lucky girl!)