
How to Make a Bulletin Board From an Old Frame
If you caught my stories a couple weeks ago, you saw me turn an old thrifted frame into a bulletin board for my daughter’s room, and so many of you asked for the how-to. So here it is, my How to Make a Bulletin Board From an Old Frame – a step by step guide!
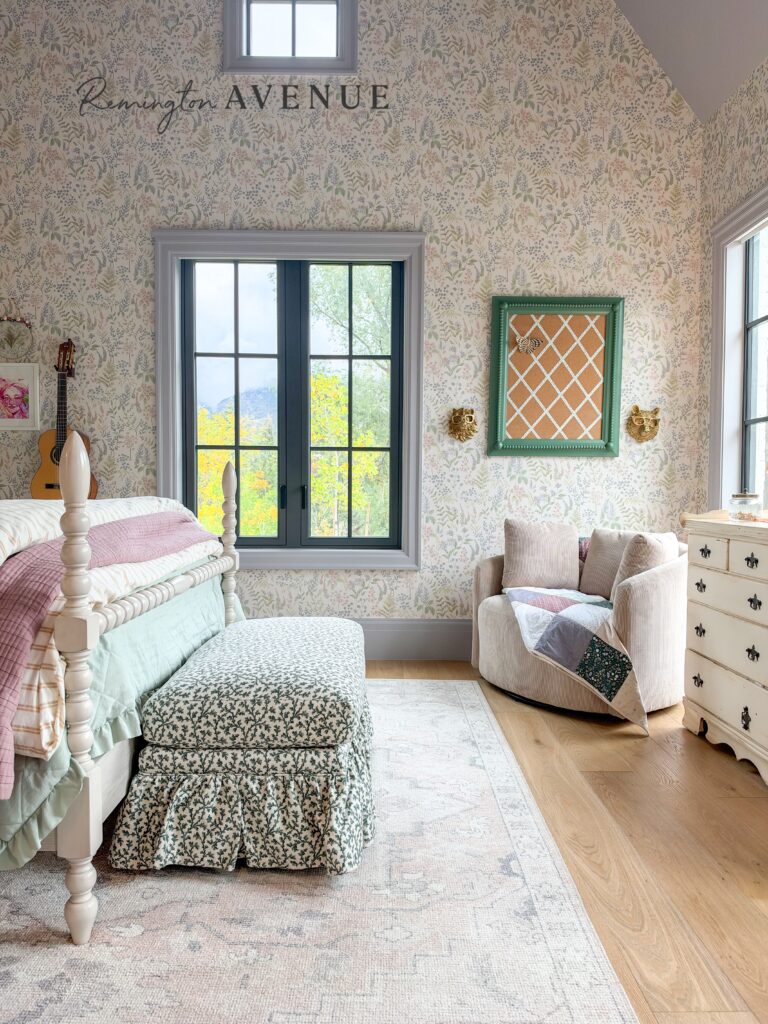
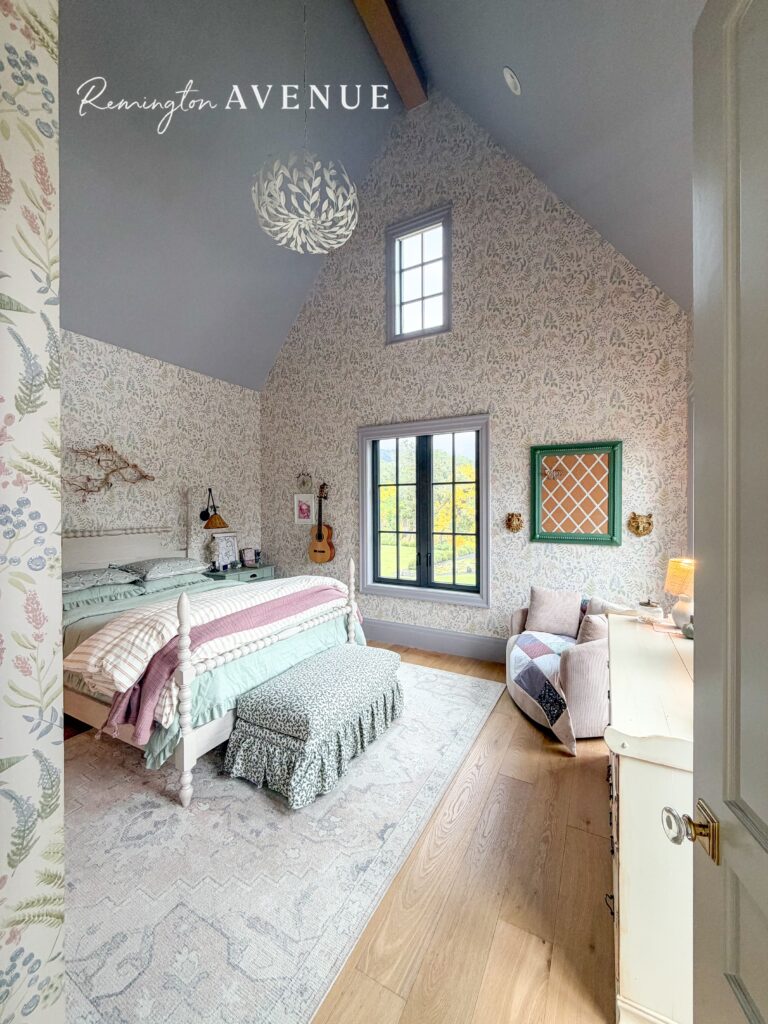
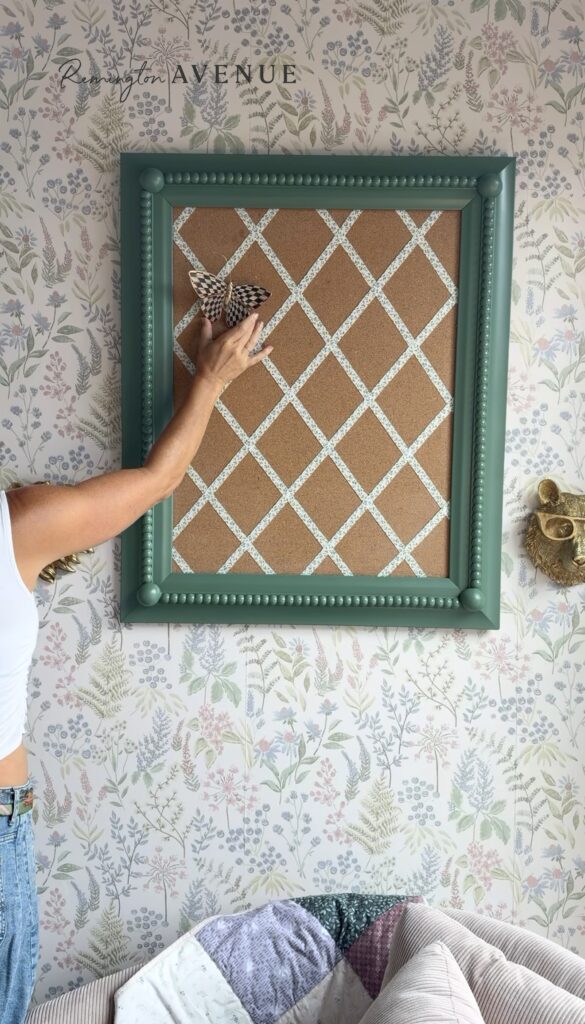
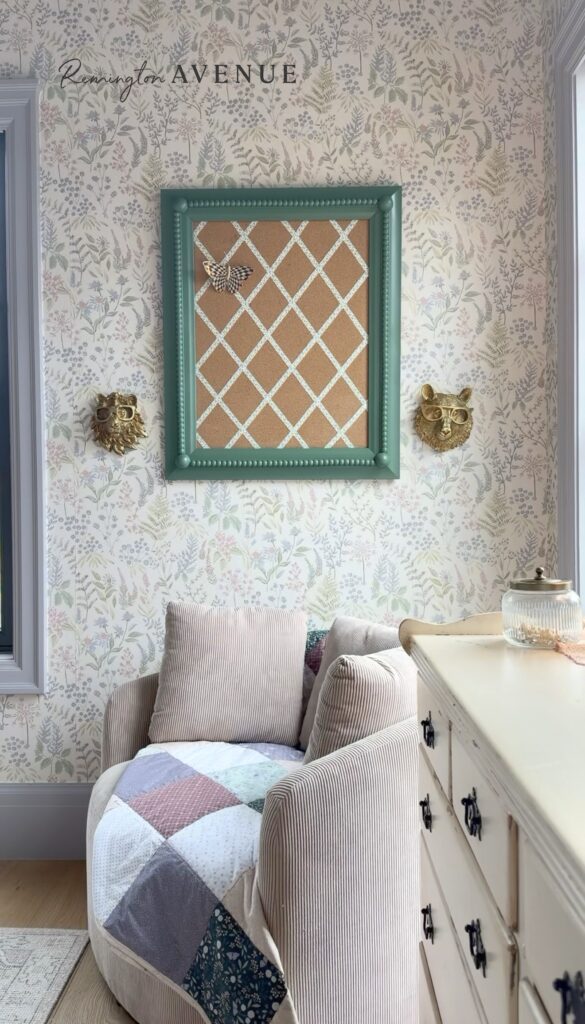
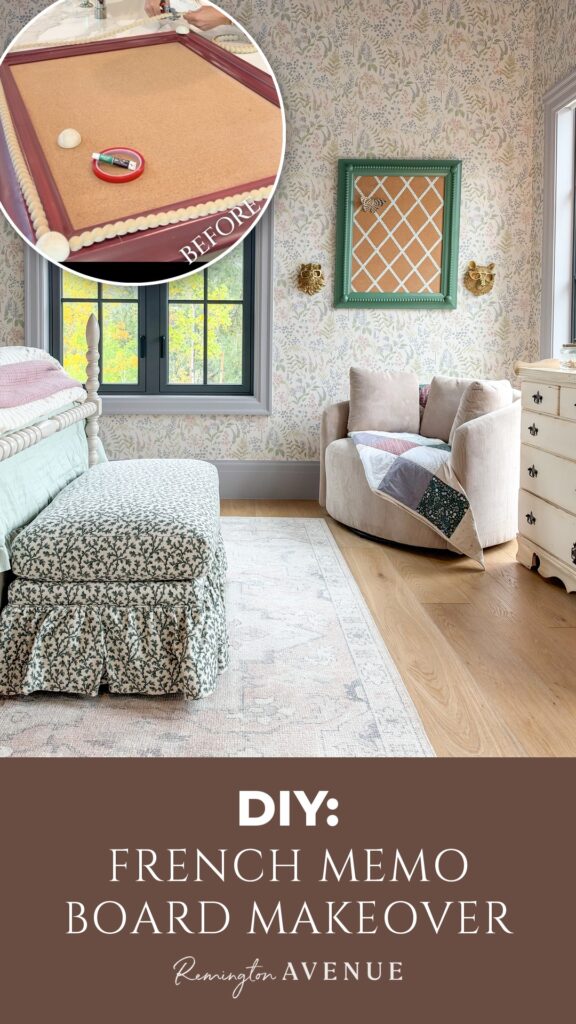
She needed a spot for her photos, notes and all the little treasures that otherwise end up all over her dresser. A plain cork board just wasn’t going to cut it in her room (hello, green botanical wallpaper!), so I grabbed an old frame, added some wood bead trim, and gave the whole thing a fresh coat of green. It took one afternoon, cost very little, and it looks like something you’d find in a boutique.
If DIY isn’t your thing, no judgment at all. I rounded up my favorite ready – made bulletin boards at the end of this post.
What you’ll need
- An old picture frame (thrift stores and garage sales are gold for these, the chunkier the better)
- A cork board or cork roll cut to fit the opening
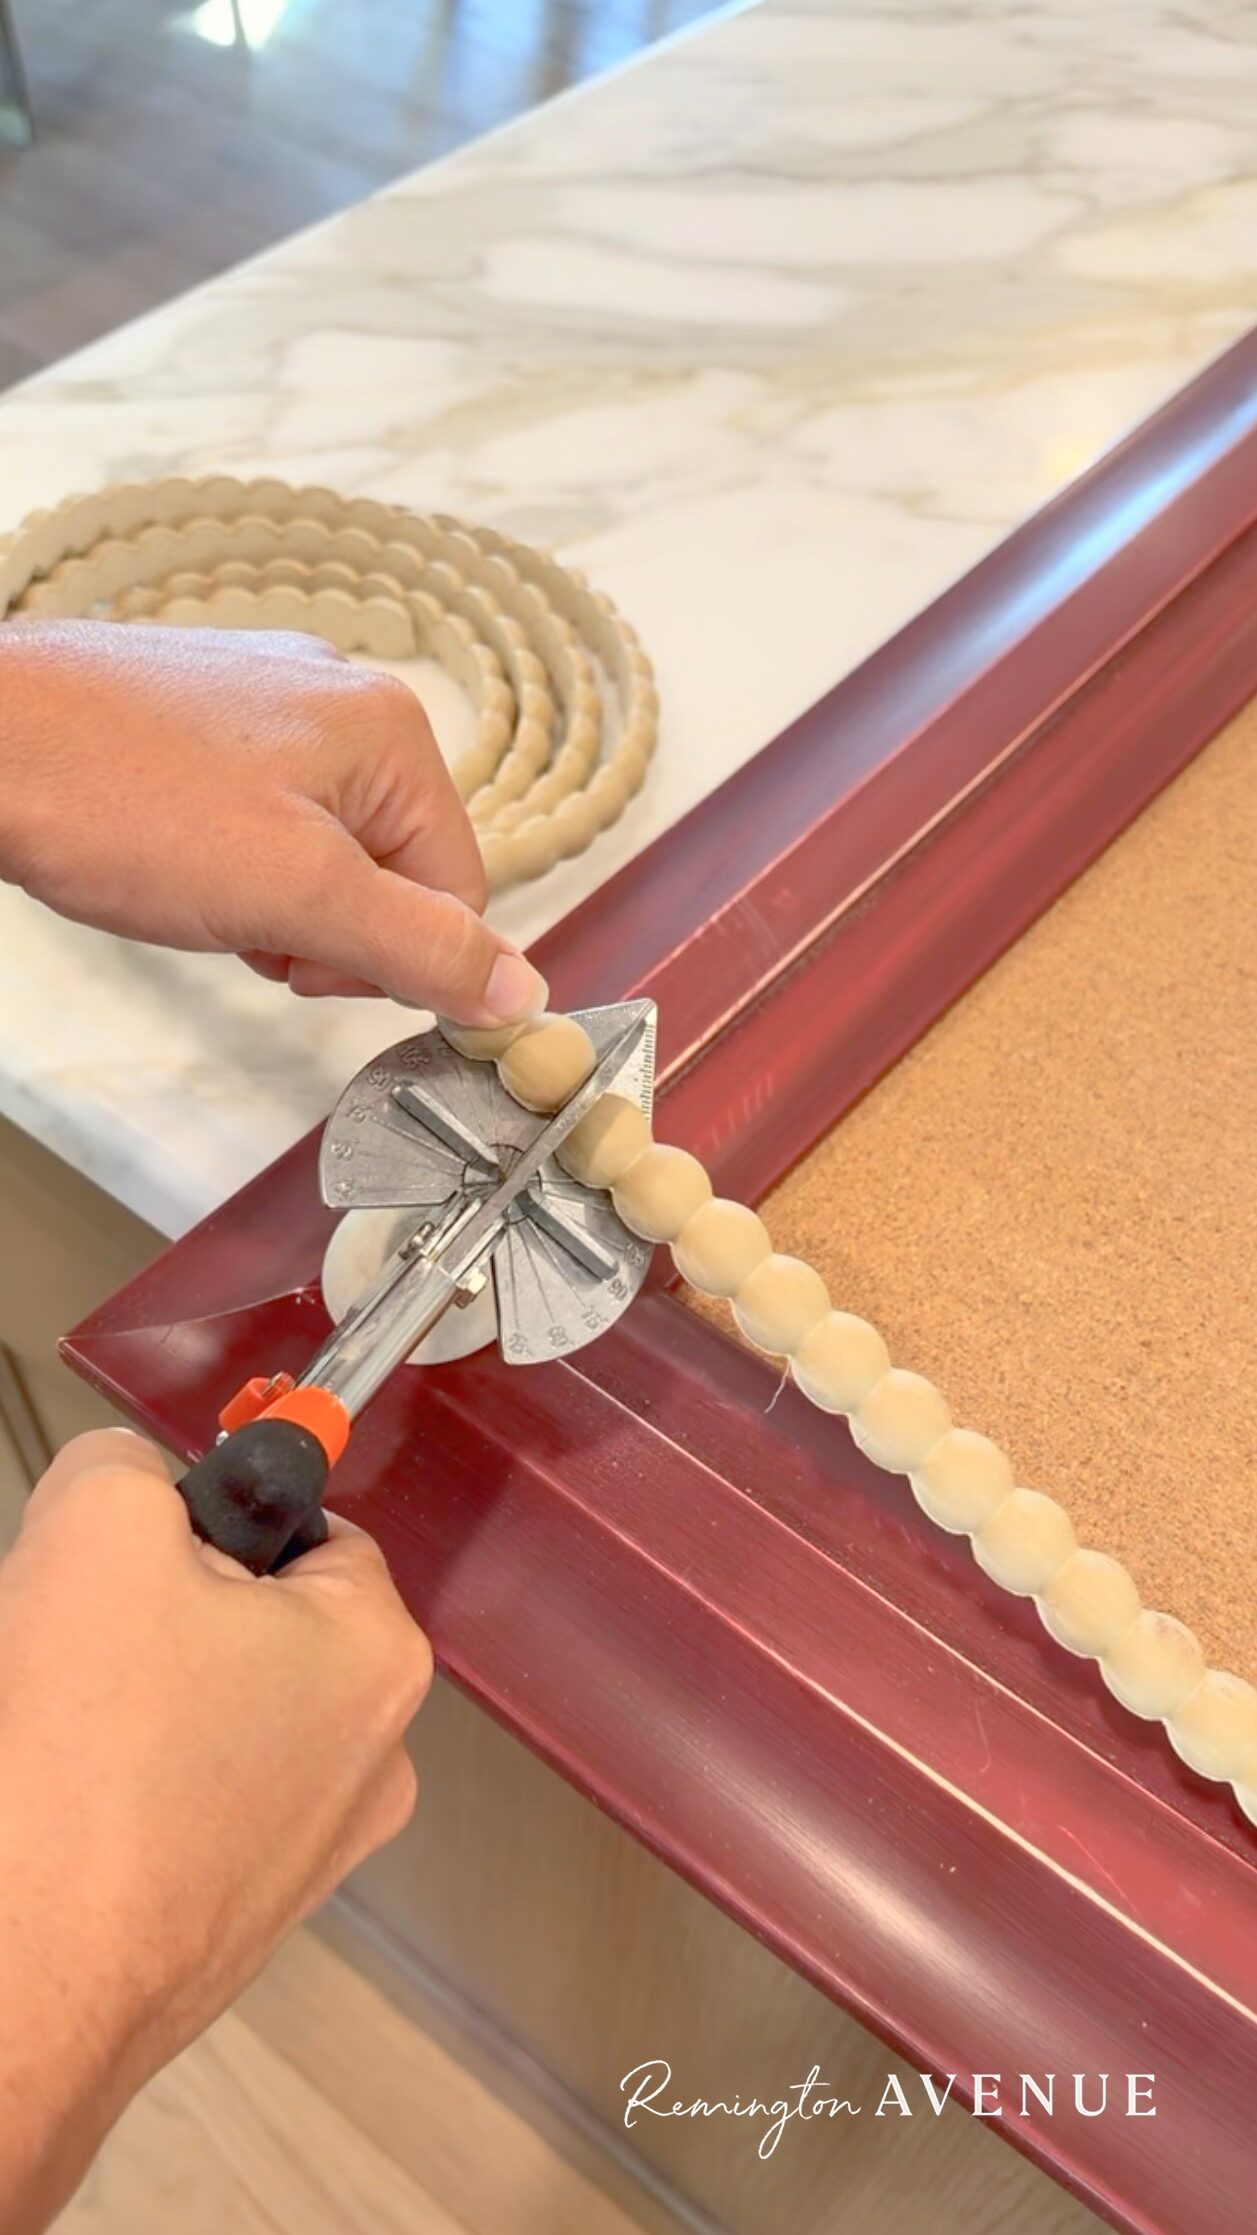
- Wood bead trim (it usually comes in a roll)
- 4 large round wood beads or wood balls for the corners
- A miter or trim cutter for clean angled cuts
- Wood glue or a hot glue gun
- Spray primer, if your frame is shiny or dark
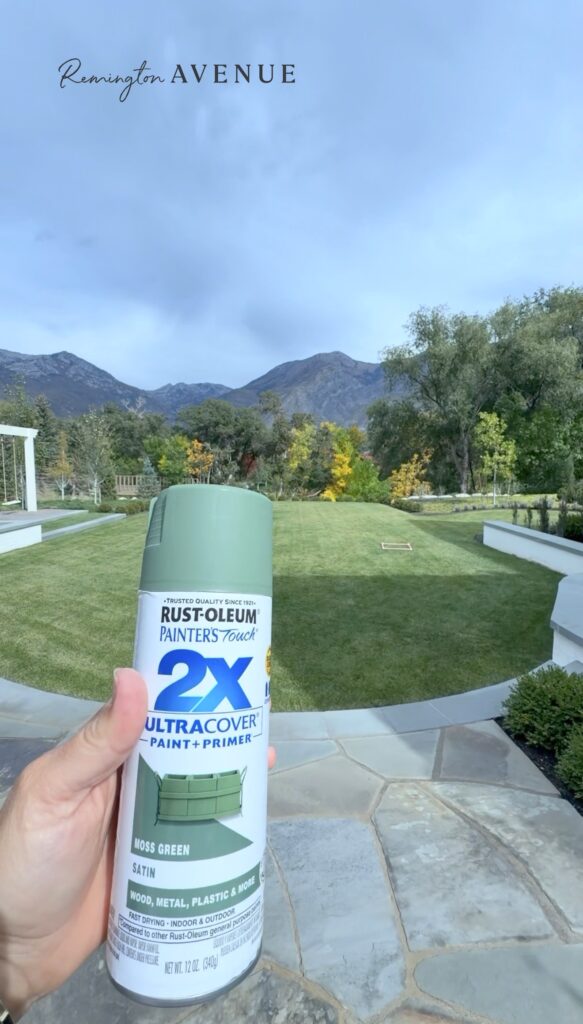
- Spray paint in your color (I went with green!)
- A drop cloth
- A tripod or camera stand (trust me on this one)
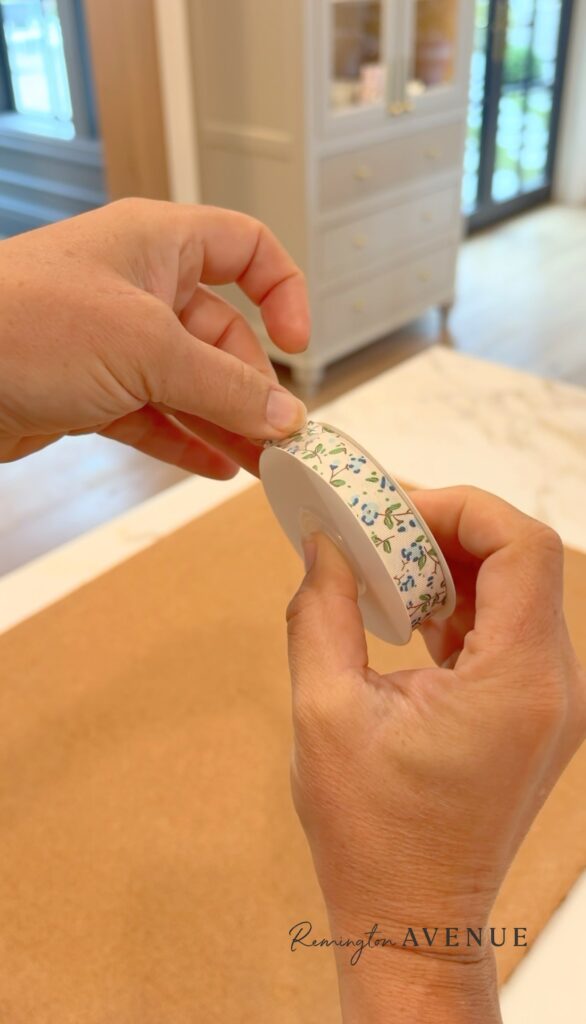
- Push pins in a coordinating color
How to make this bulletin board DIY:
- Prep the frame. Pop out the glass and backing, then wipe the frame down so the paint and glue stick. If the finish is glossy, give it a quick scuff with fine sandpaper.
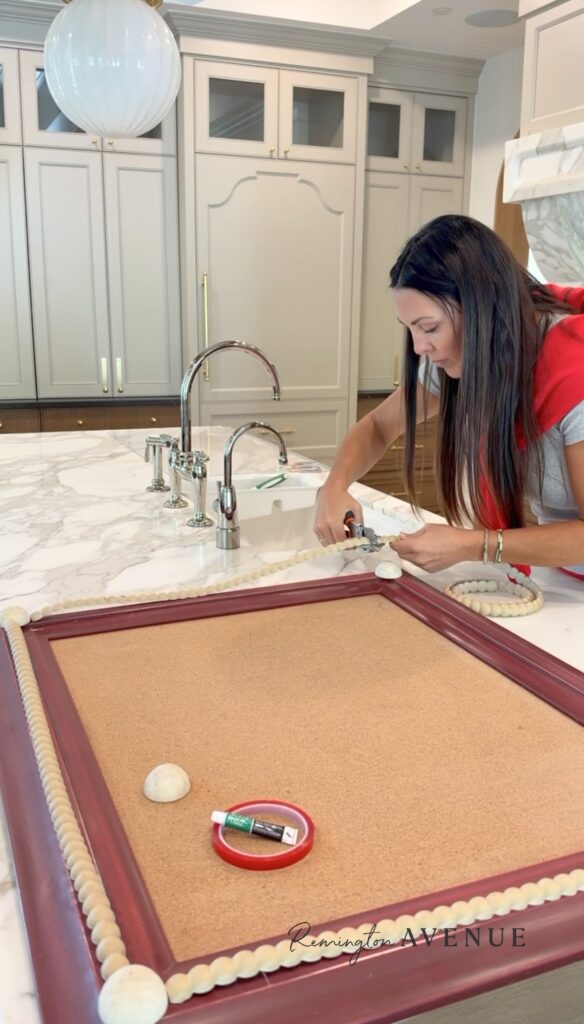
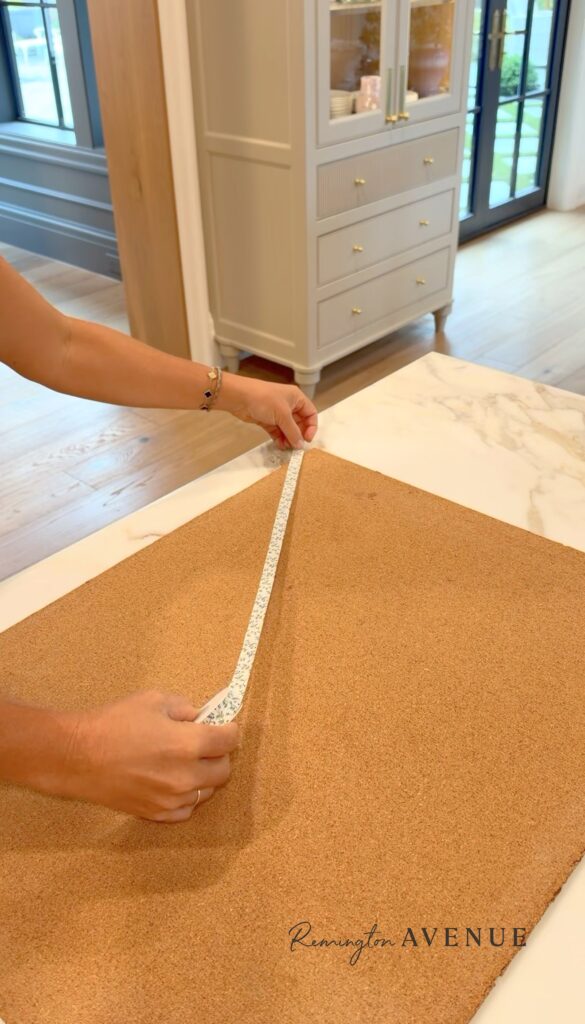
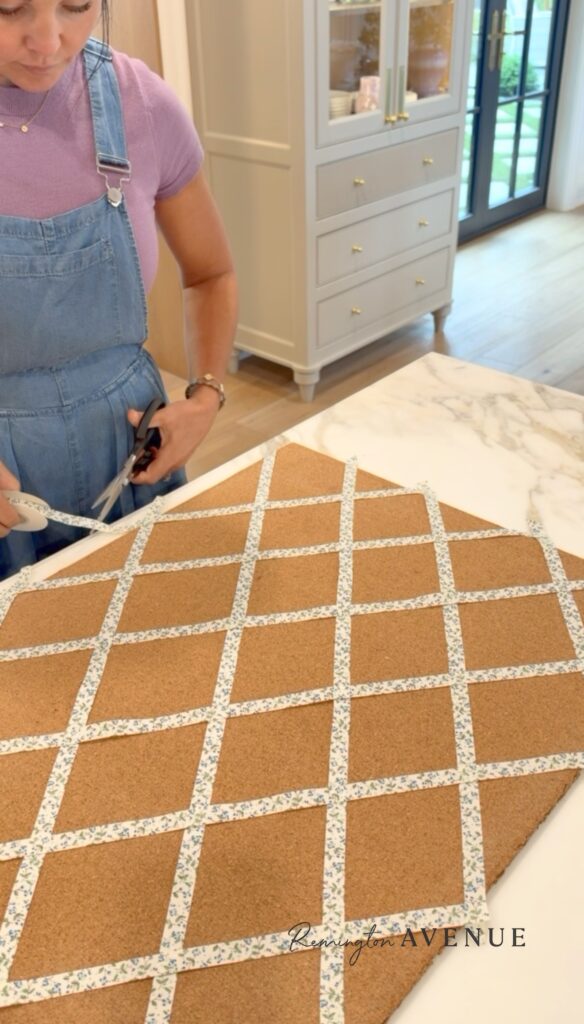
- Add the cork. Cut your cork to the size of the backing and set it into the frame where the glass used to be. A little glue around the edges keeps it from shifting.
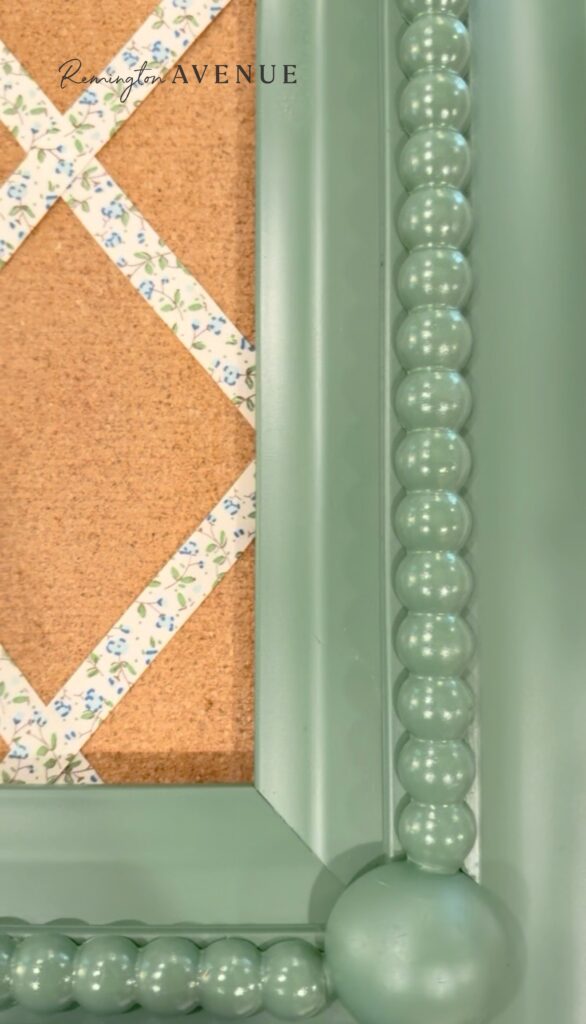
- Measure and cut the bead trim. Lay the trim along the inside edge of the frame, one side at a time. Use the trim cutter to snip each piece right between two beads so the ends look finished.
- Glue it down. Run a thin line of wood glue or hot glue along the frame and press the trim in place. Work slowly and keep it straight. Painter’s tape can hold it while it dries.
- Add the corner beads. Glue one large wood ball in each corner where the trim pieces meet. This hides the seams and is honestly my favorite detail.
- Tape off the cork. Cover the cork with paper and painter’s tape so it stays clean while you paint.
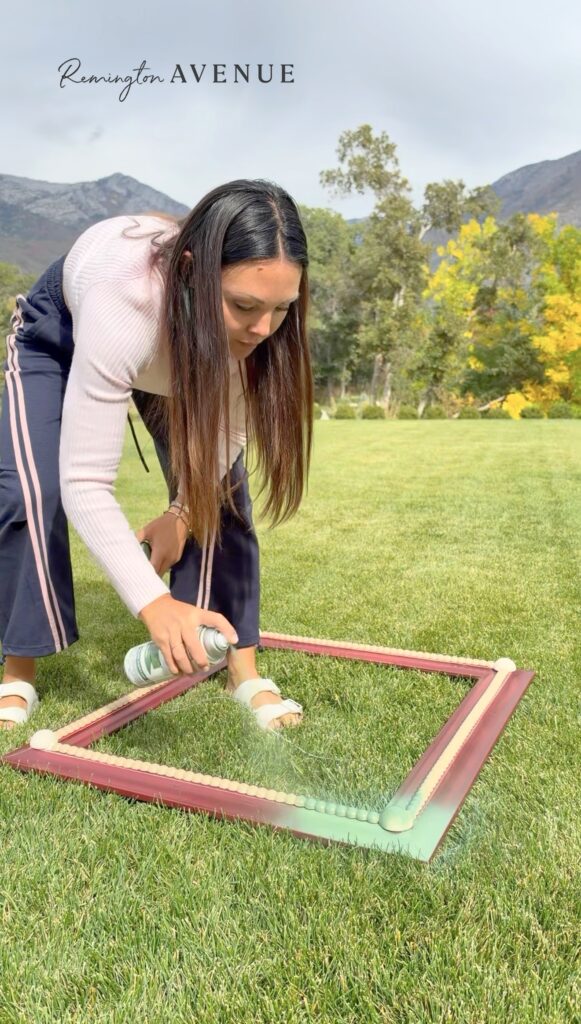
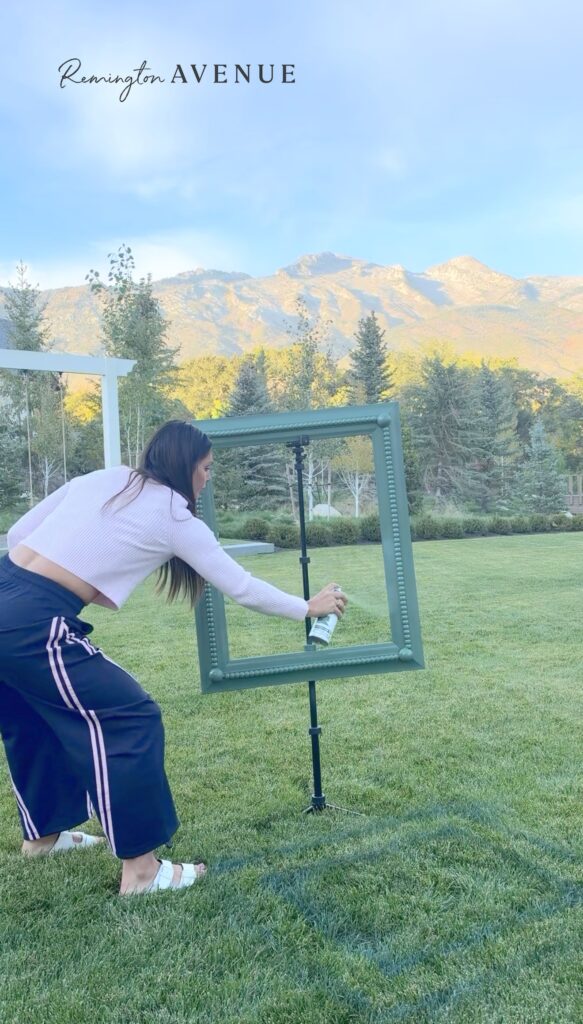
- Spray paint. Here’s my little secret: a camera tripod makes the perfect spray painting stand! Set the frame on it outside, prime if needed, then spray light, even coats. Let each coat dry before the next. Two to three coats should do it.
- Let it cure and hang it up. Give it a full day to dry, peel off the tape, hang it, and let your little one fill it up with clippings, momentos and more!
My go-to pro tips for this bulletin board DIY:
- Test your color first. I went back and forth on the green and was so nervous it wouldn’t be the right shade! Spray a scrap piece or the back of the frame and hold it up in the room before you commit.
- Pick a frame with a wide, flat edge. It gives the bead trim more room to sit flat.
- Make it theirs. Let your kids pick the color, the pins, even a fabric to wrap the cork in. She loves that she helped choose hers.
- Style it. Clip on photos, ribbons, ticket stubs, and little notes. It becomes their own little memory wall.
Rather shop it? My favorite ready-made boards
No time for a DIY? These are all so cute and would look adorable in a kid’s room, dorm, or office nook:
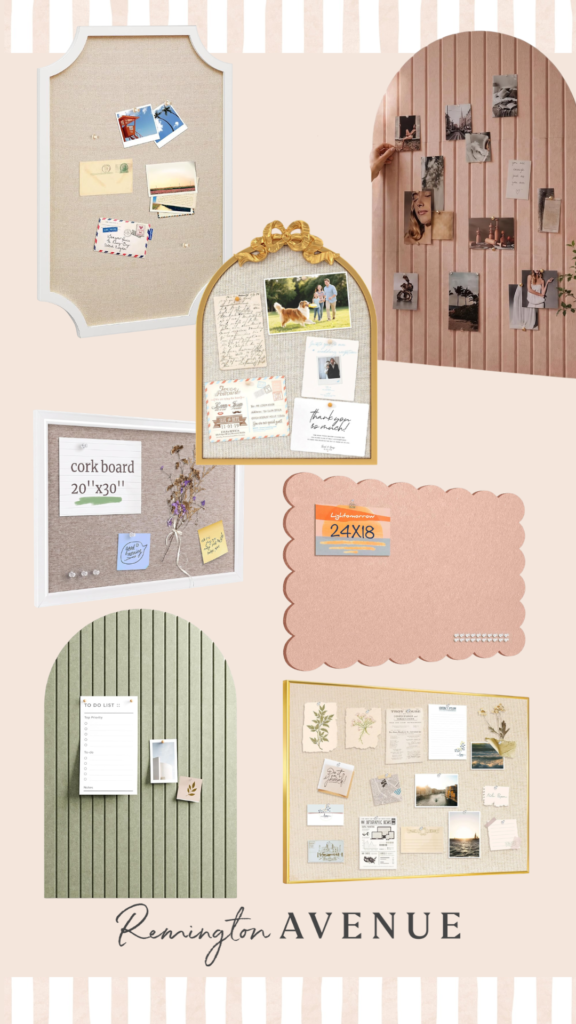
Scalloped Edge Cork Board // Arched Felt Bulletin Board // Linen Cork Board with Gold Bow // Scalloped Bulletin Board // Linen Bulletin Board // White Linen Cork Board // Blush Arched Board
That’s a wrap!
This was one of those quick projects that made a big difference in her room, and she uses it every single day. If you make your own, tag me @remingtonavenue so I can see it! And if you want to watch the whole process, the full tutorial is saved in my DIY bulletin board highlight on Instagram.
For more in Remi’s room, check out this reveal!

 Add to favorites or read later