Monogram Fun
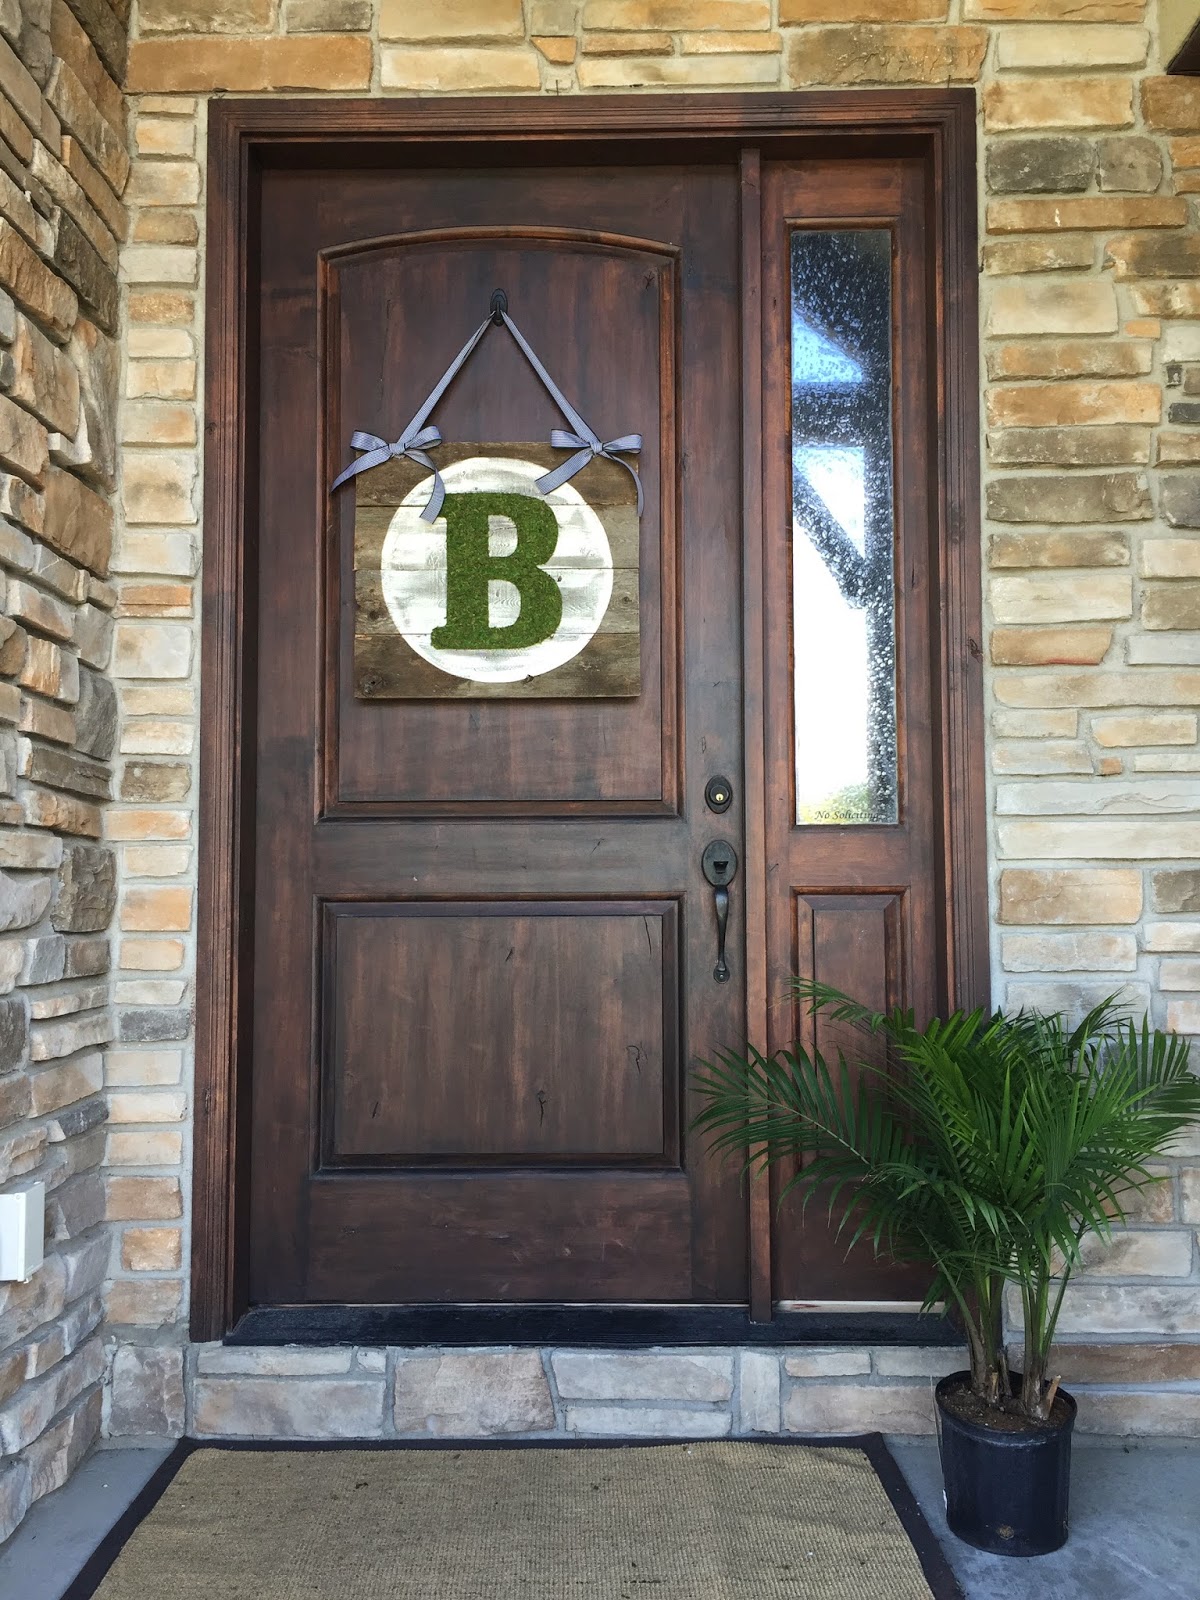
I’ve had super tunnel vision when it comes revamping my interior since we moved in! After 3 months of living here, I decided it was high time to pay some attention to my exterior. At a minimum I figured I should at least create a welcome entrance for my visitors or they might mistakenly think this home has been abandon haha!
MONOGRAMMED PALLET SIGN TUTORIAL
Supplies:
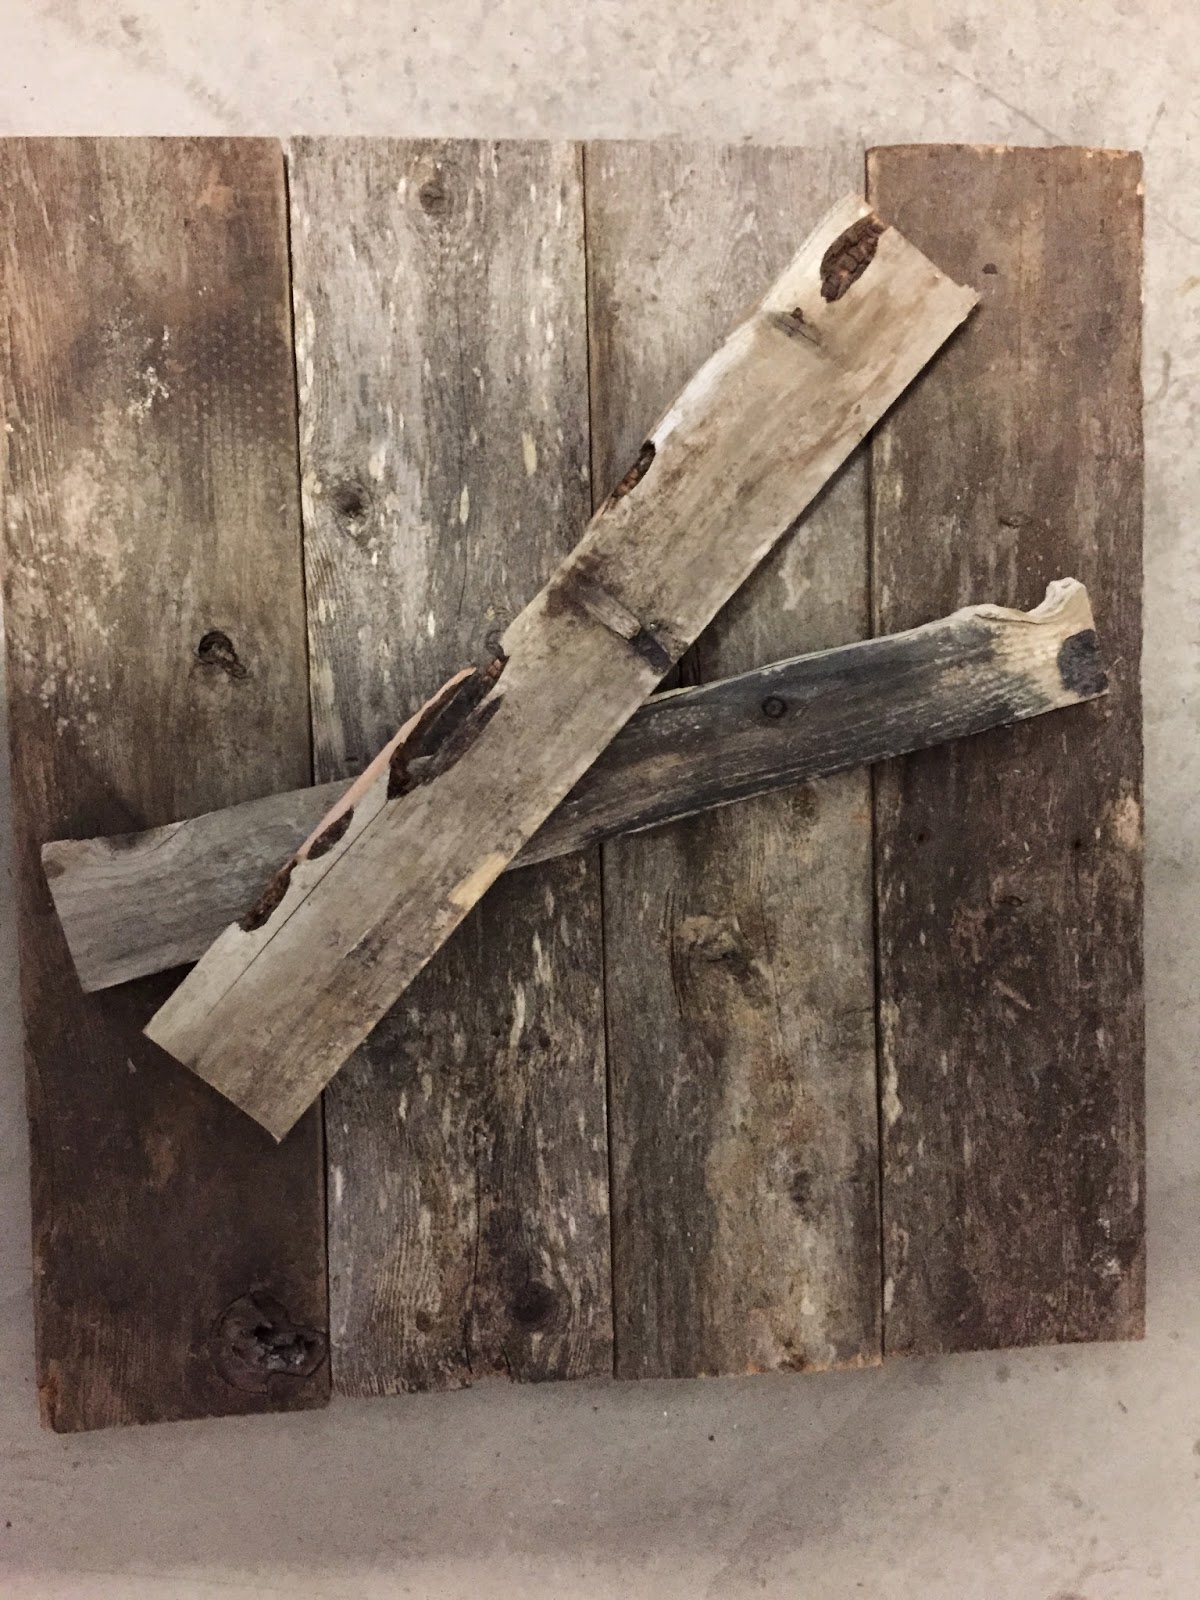
Pallet wood or reclaimed boards of any kind. Mine was old fencing.
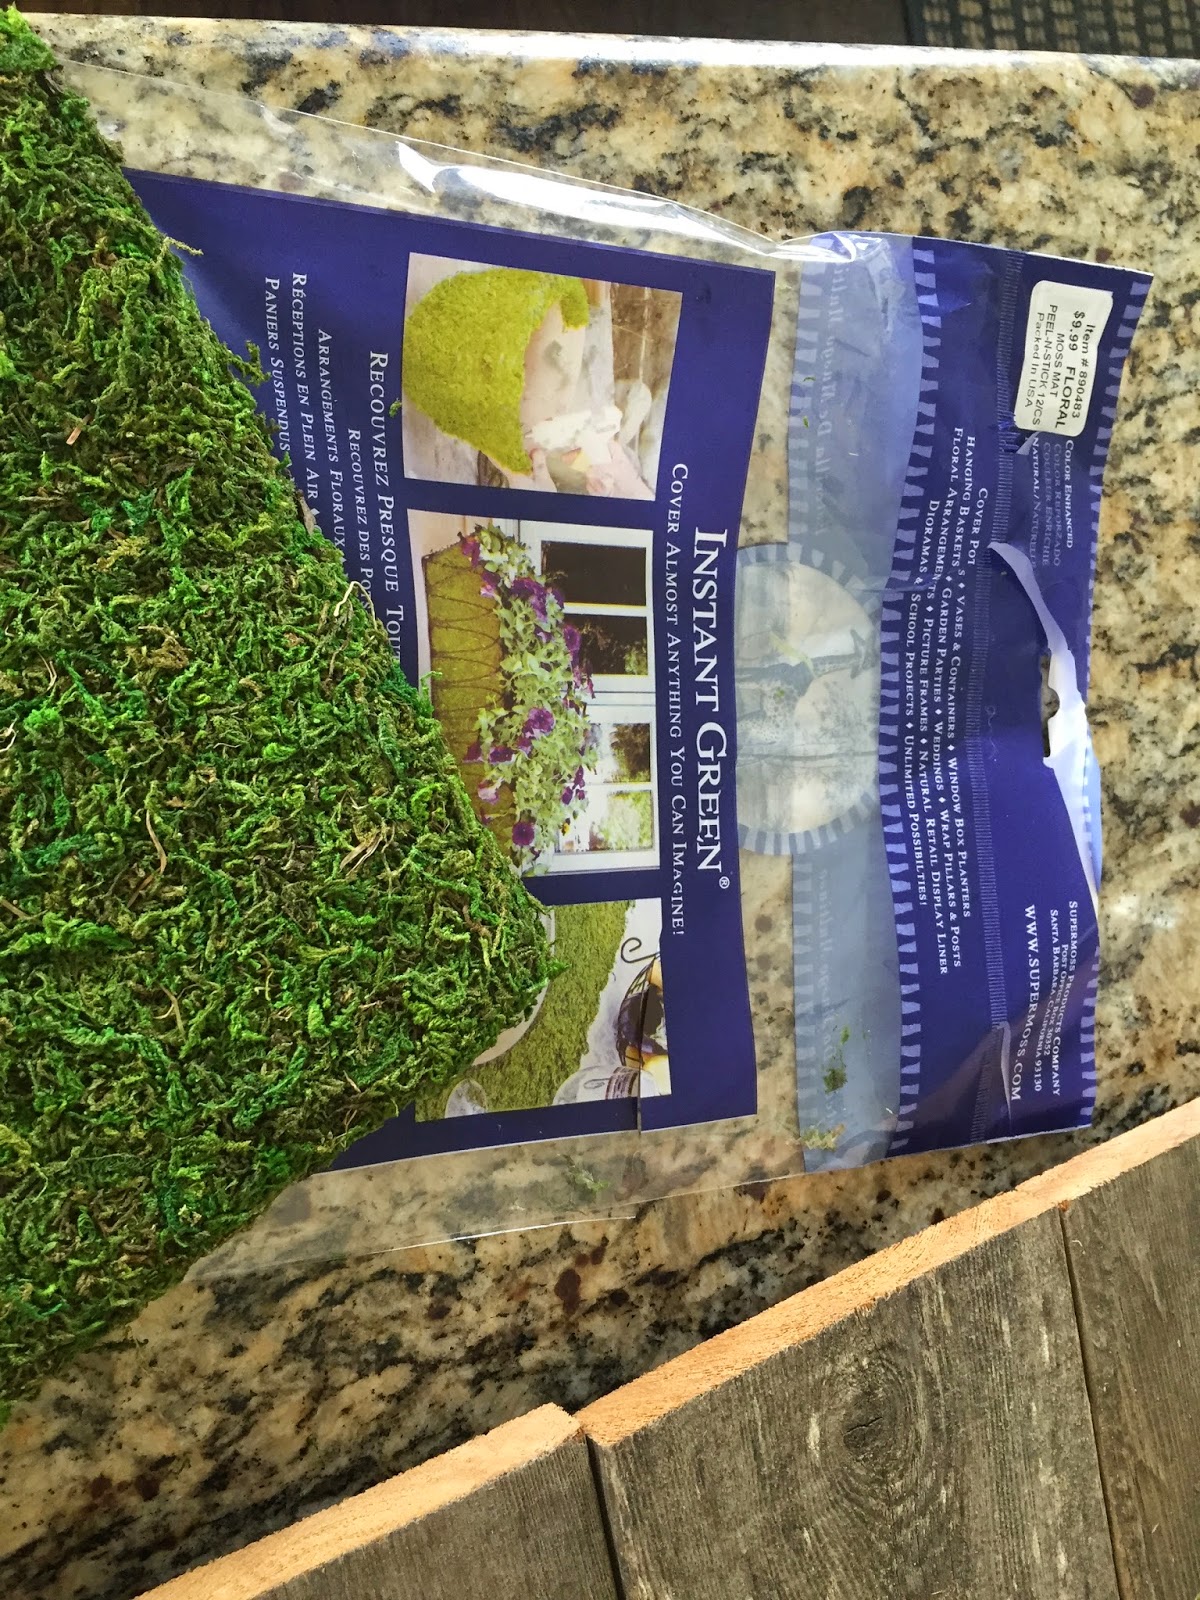
1 bag of Insta Green Moss ( purchased mine at hobby lobby for $5.99 with 40% coupon) Its a flat piece of moss that has adhesive on the back side.
Just a bit of old white chalk paint or any color to your liking
A stencil for your Last name initial
2″ ribbon or thicker design and pattern of your liking
A few nails, a hammer, and a saw
Step 1: Measure and cut your boards. If you are using pallet wood and want a large sign you could use boards as they are. Since I used old fencing my boards were all 6ft long so I divided into 3 equal parts of 24inches and marked for cutting.
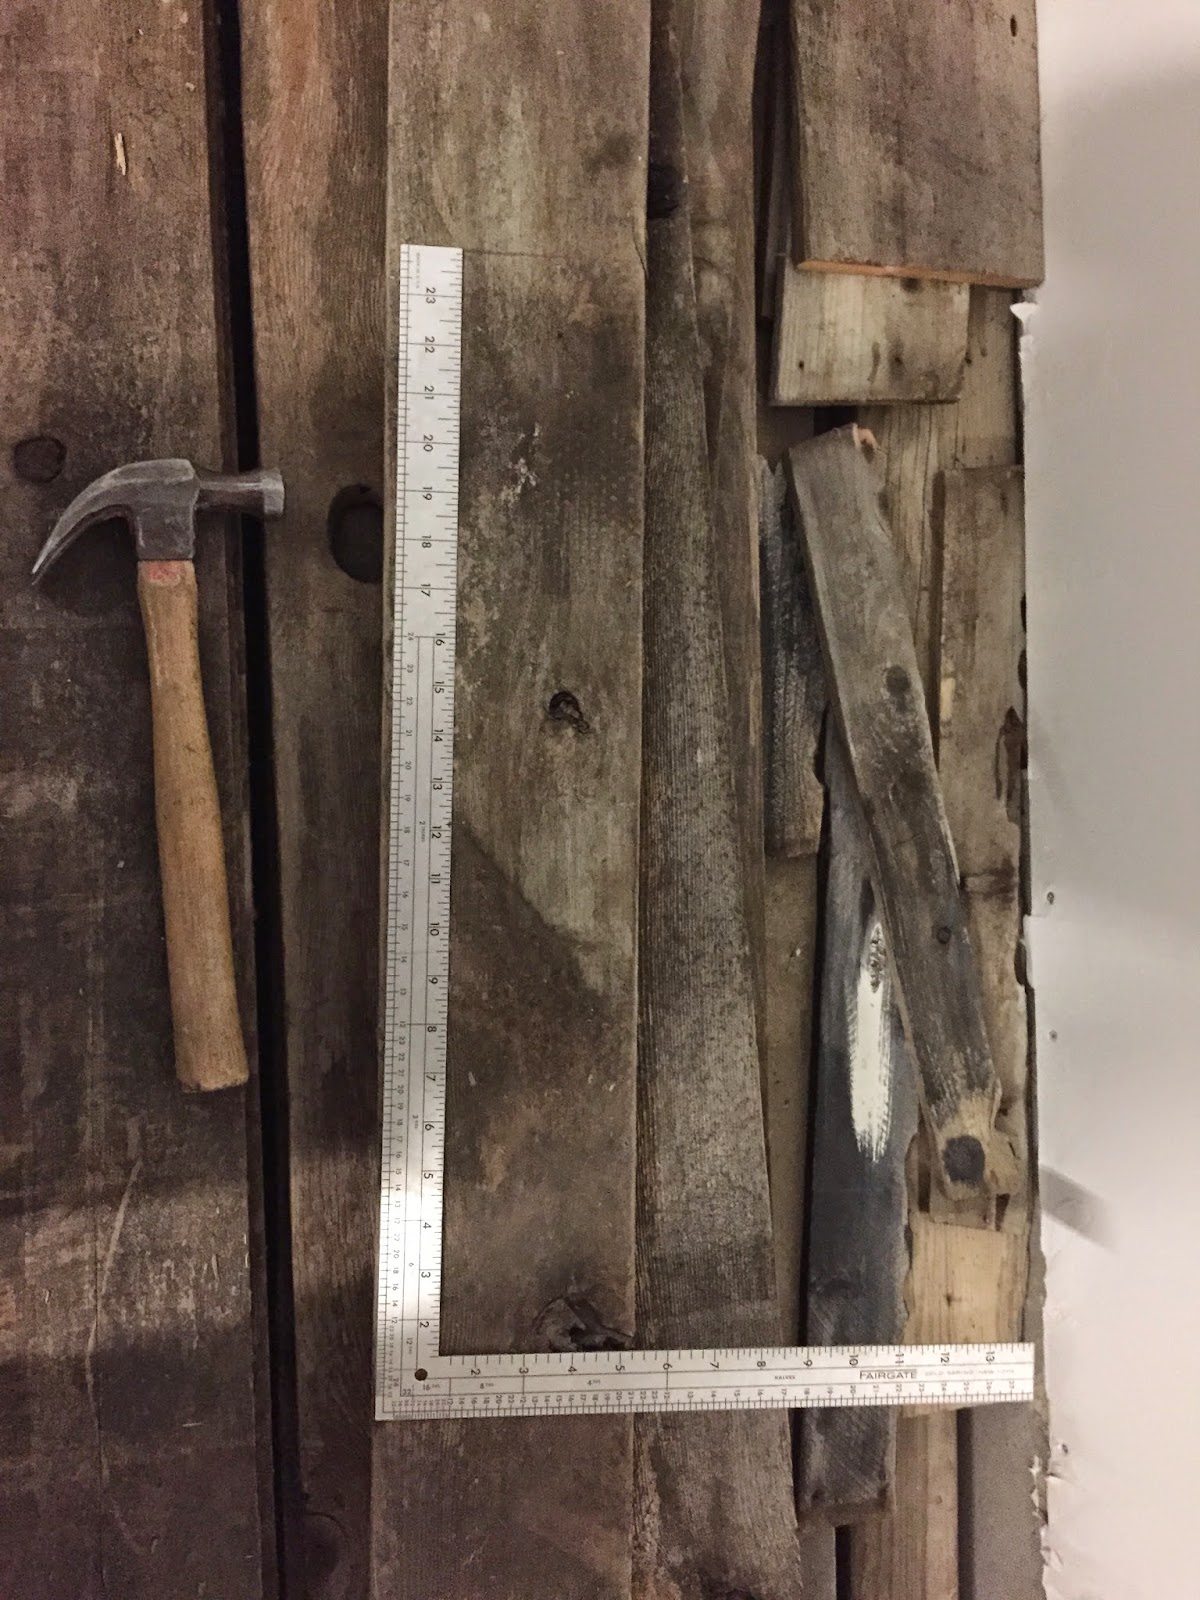
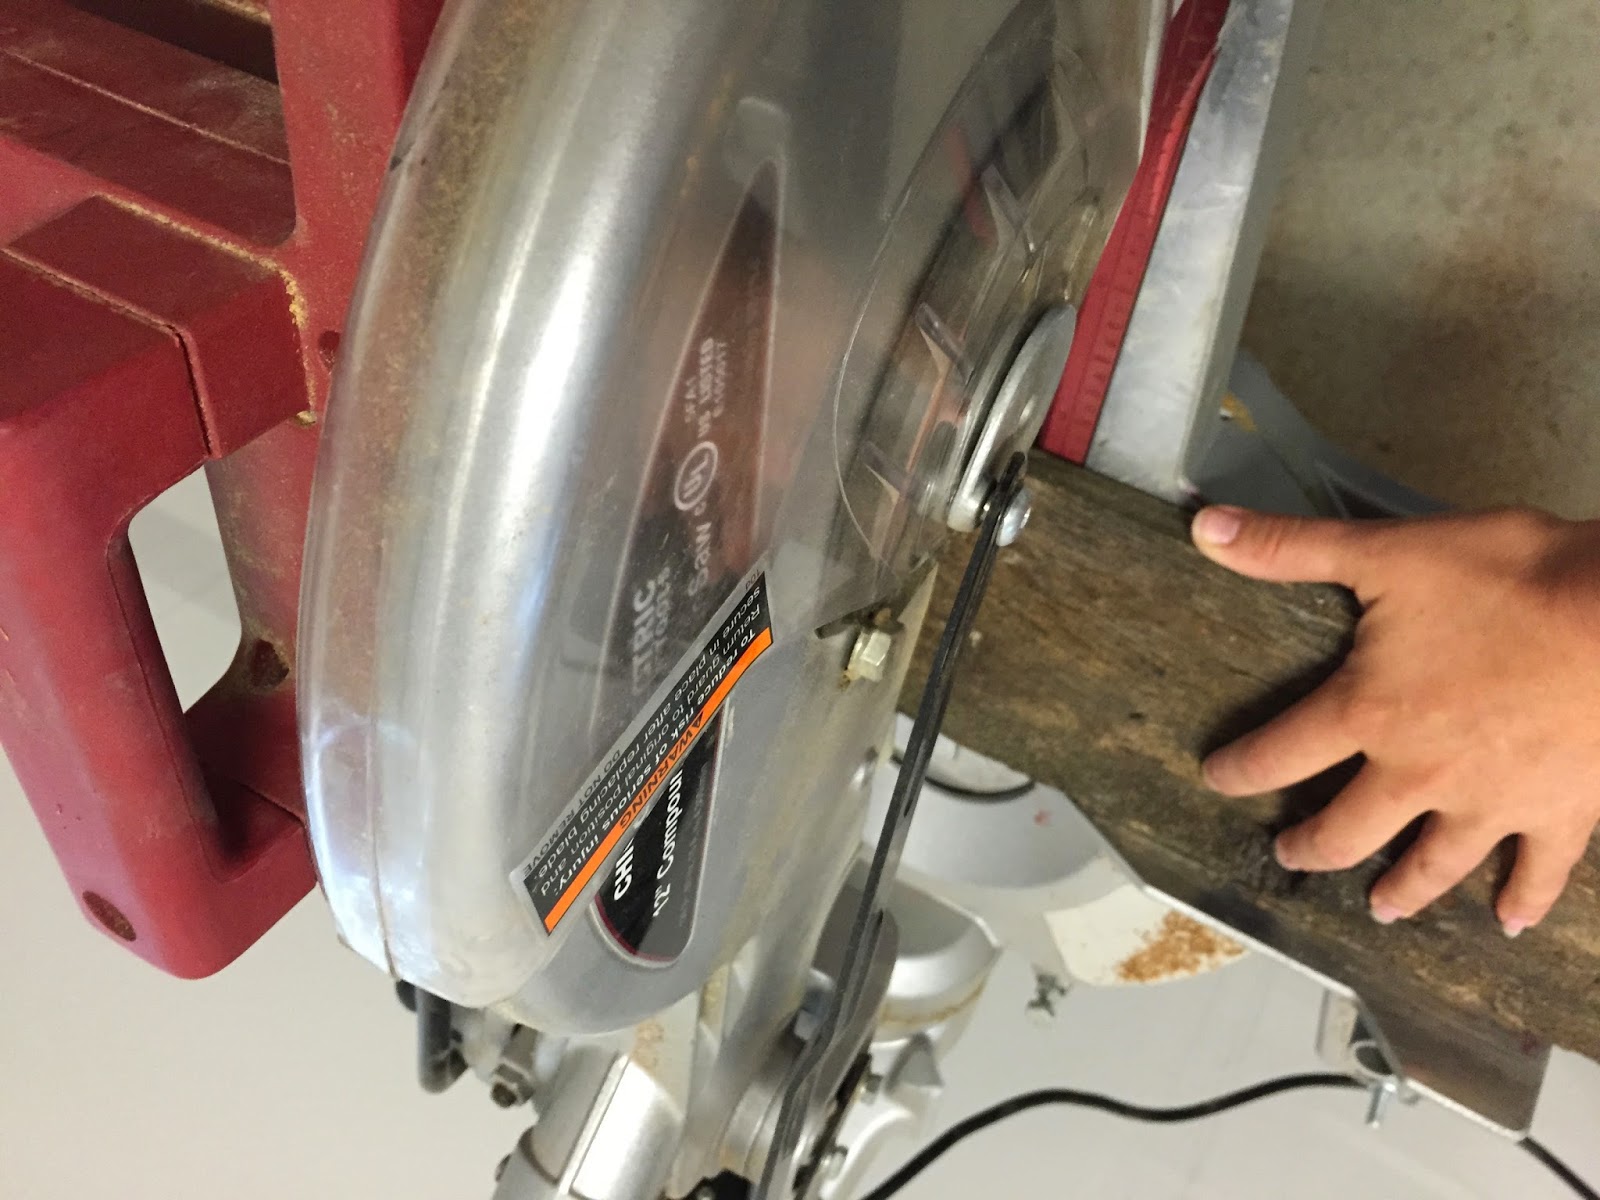
Step 2: Cut boards and line up until you have the desired size. I used 4 for mine to make a square shape, but cut 5 pieces. You will need the 5th for the back. If you don’t own a saw Home Depot will cut your wood for $.40 a cut.
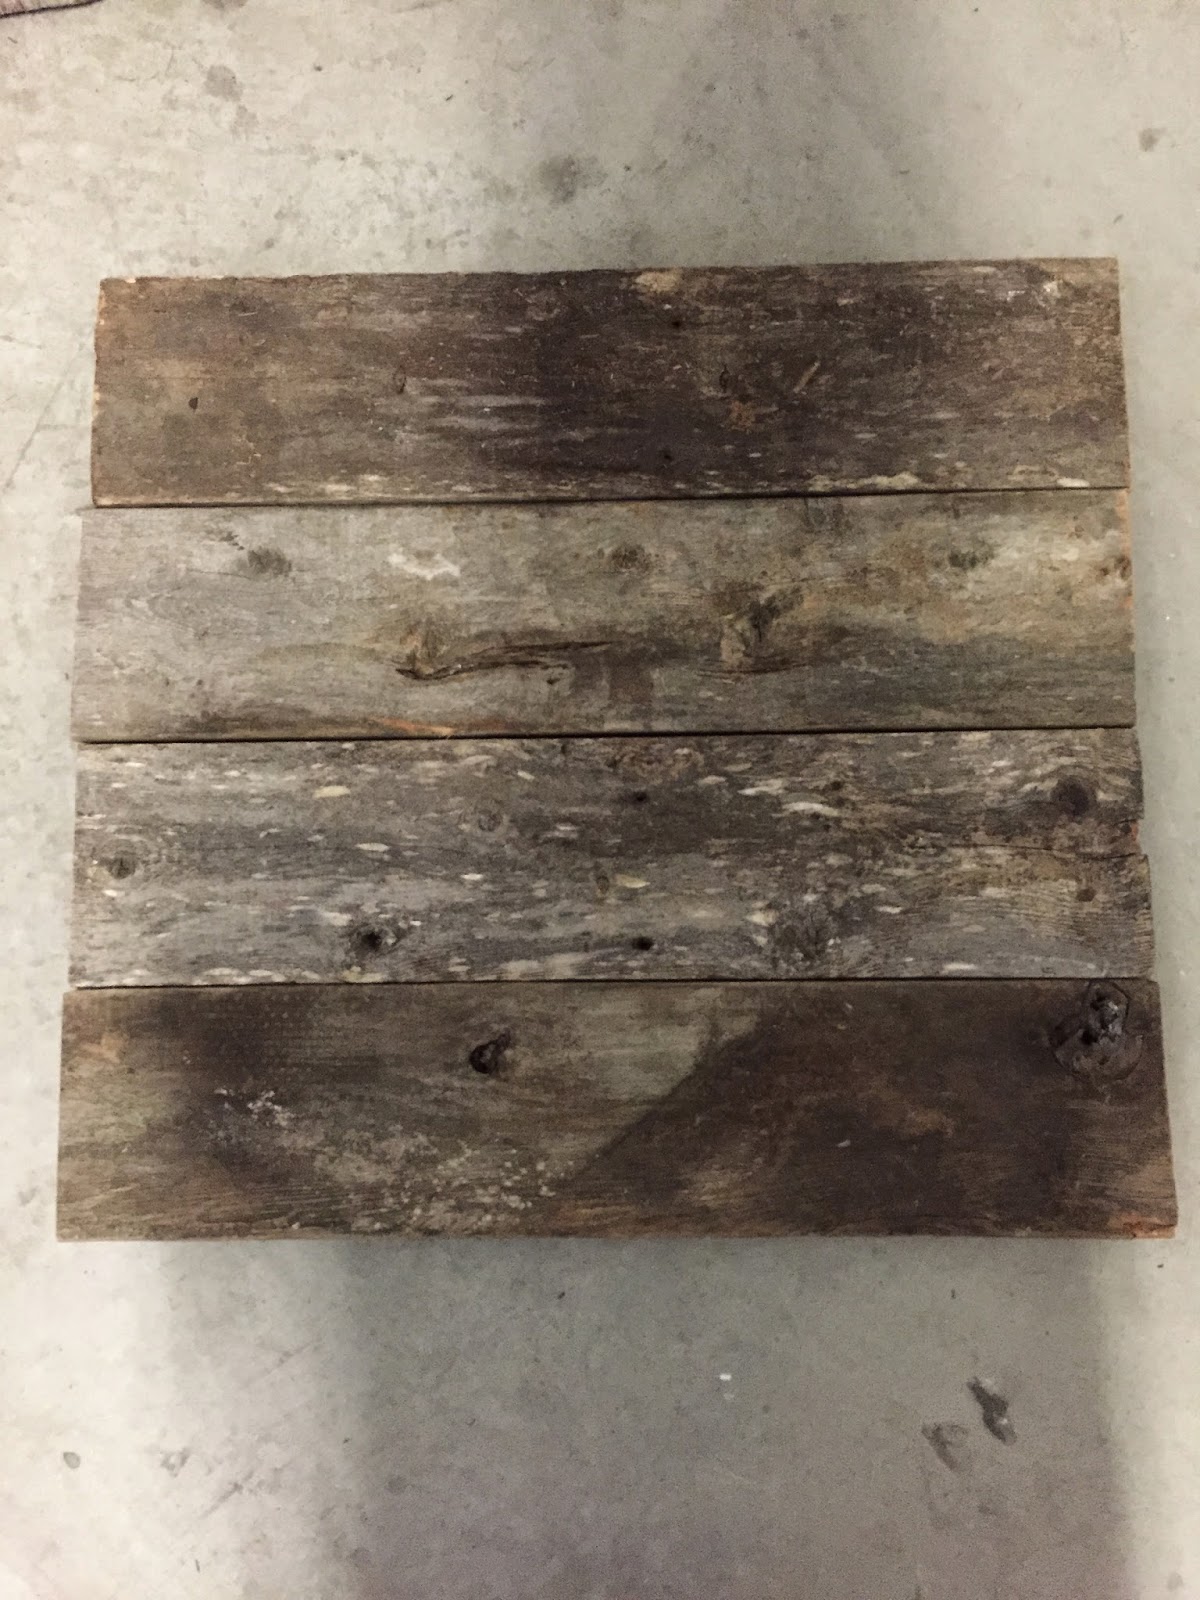
Step 3: Cut the 5th board in half lengthwise. Line the 2 halves up opposite way as the other boards. Nail the 2 skinny boards into each plank so that the nail heads show on the back but not the front. You will use a total of 8 nails, 4 in each skinny board. This creates the support and holds the boards in place to create your sign.
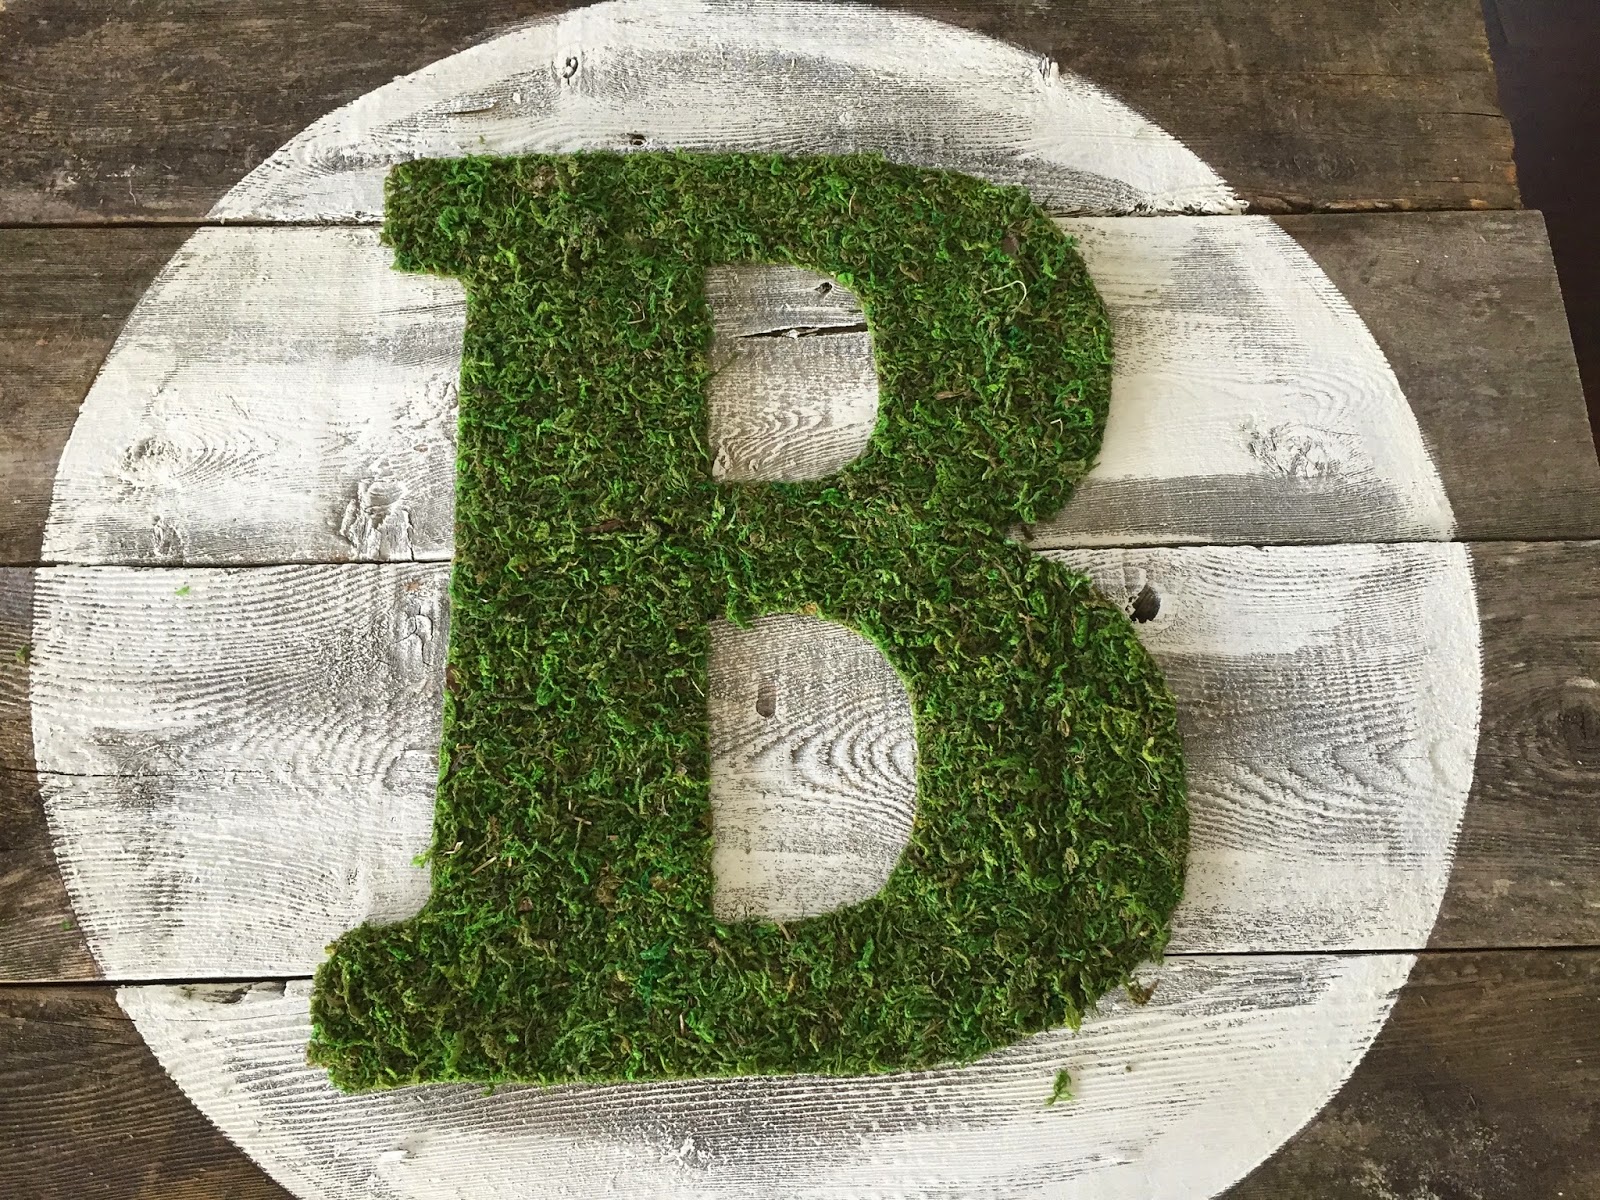
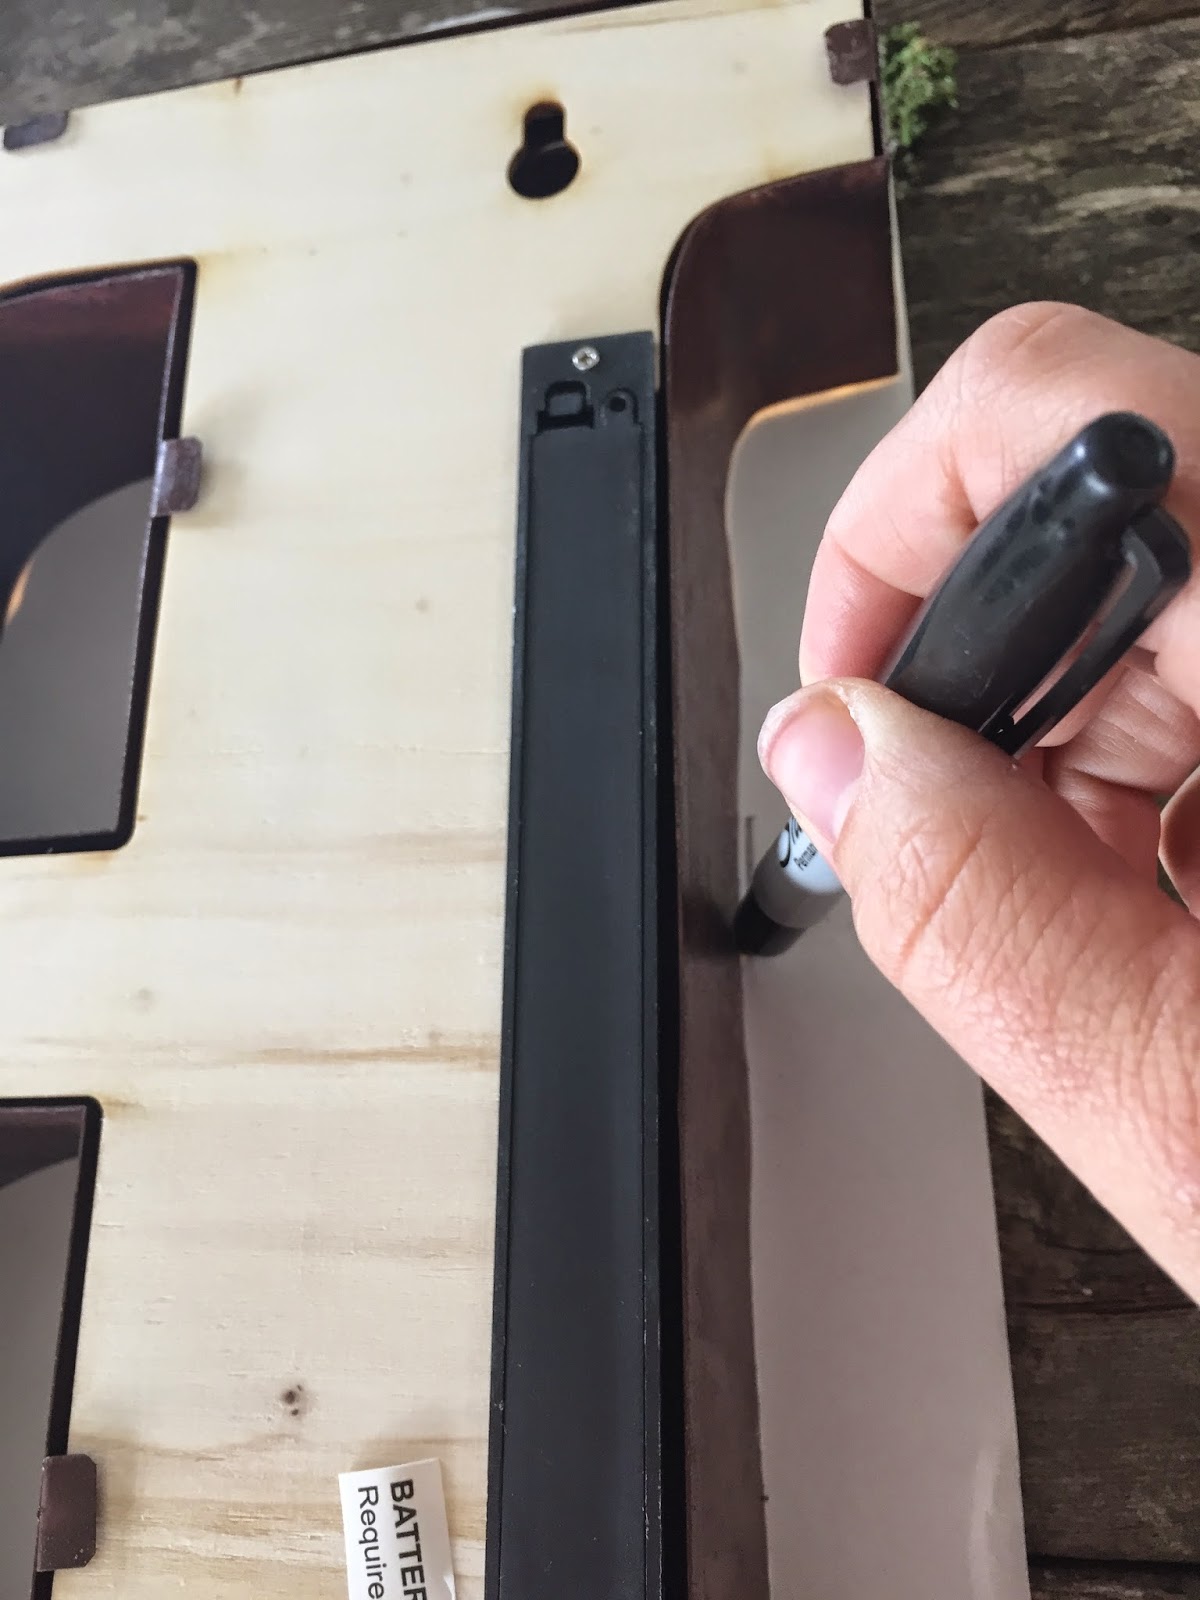
Step 4: Get your back of moss and whatever you are using for your initial stencil. I used this lighted B because it was the perfect size, but you could print something online.

Step 5: Trace the letter or stencil on the back side of the moss (adhesive side up). Make sure to turn your letter around also!

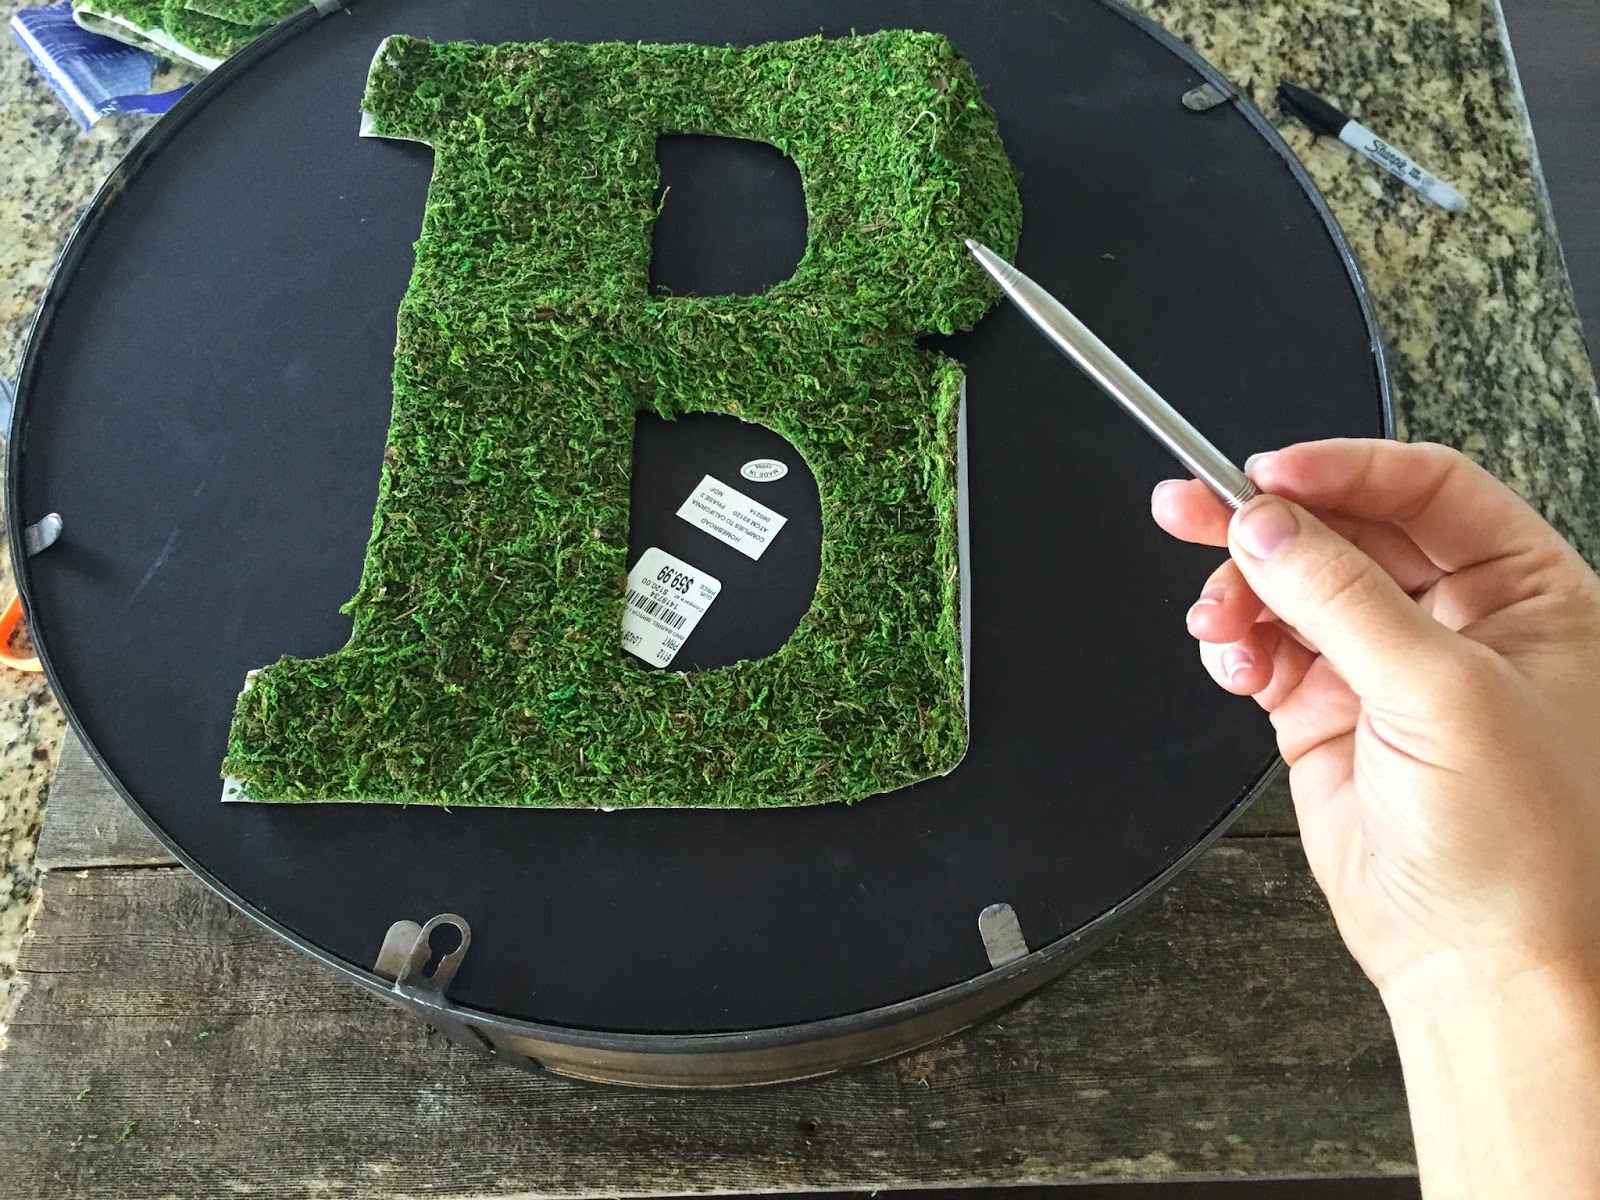
Step 6: Cut the newly traced letter out of the moss. and find a circular item to trace that is larger than the letter. I used a mirror that hangs in my house, but you could use a compass if your prefer. Then line the circular item in the center of the sign and trace lightly with a pen.
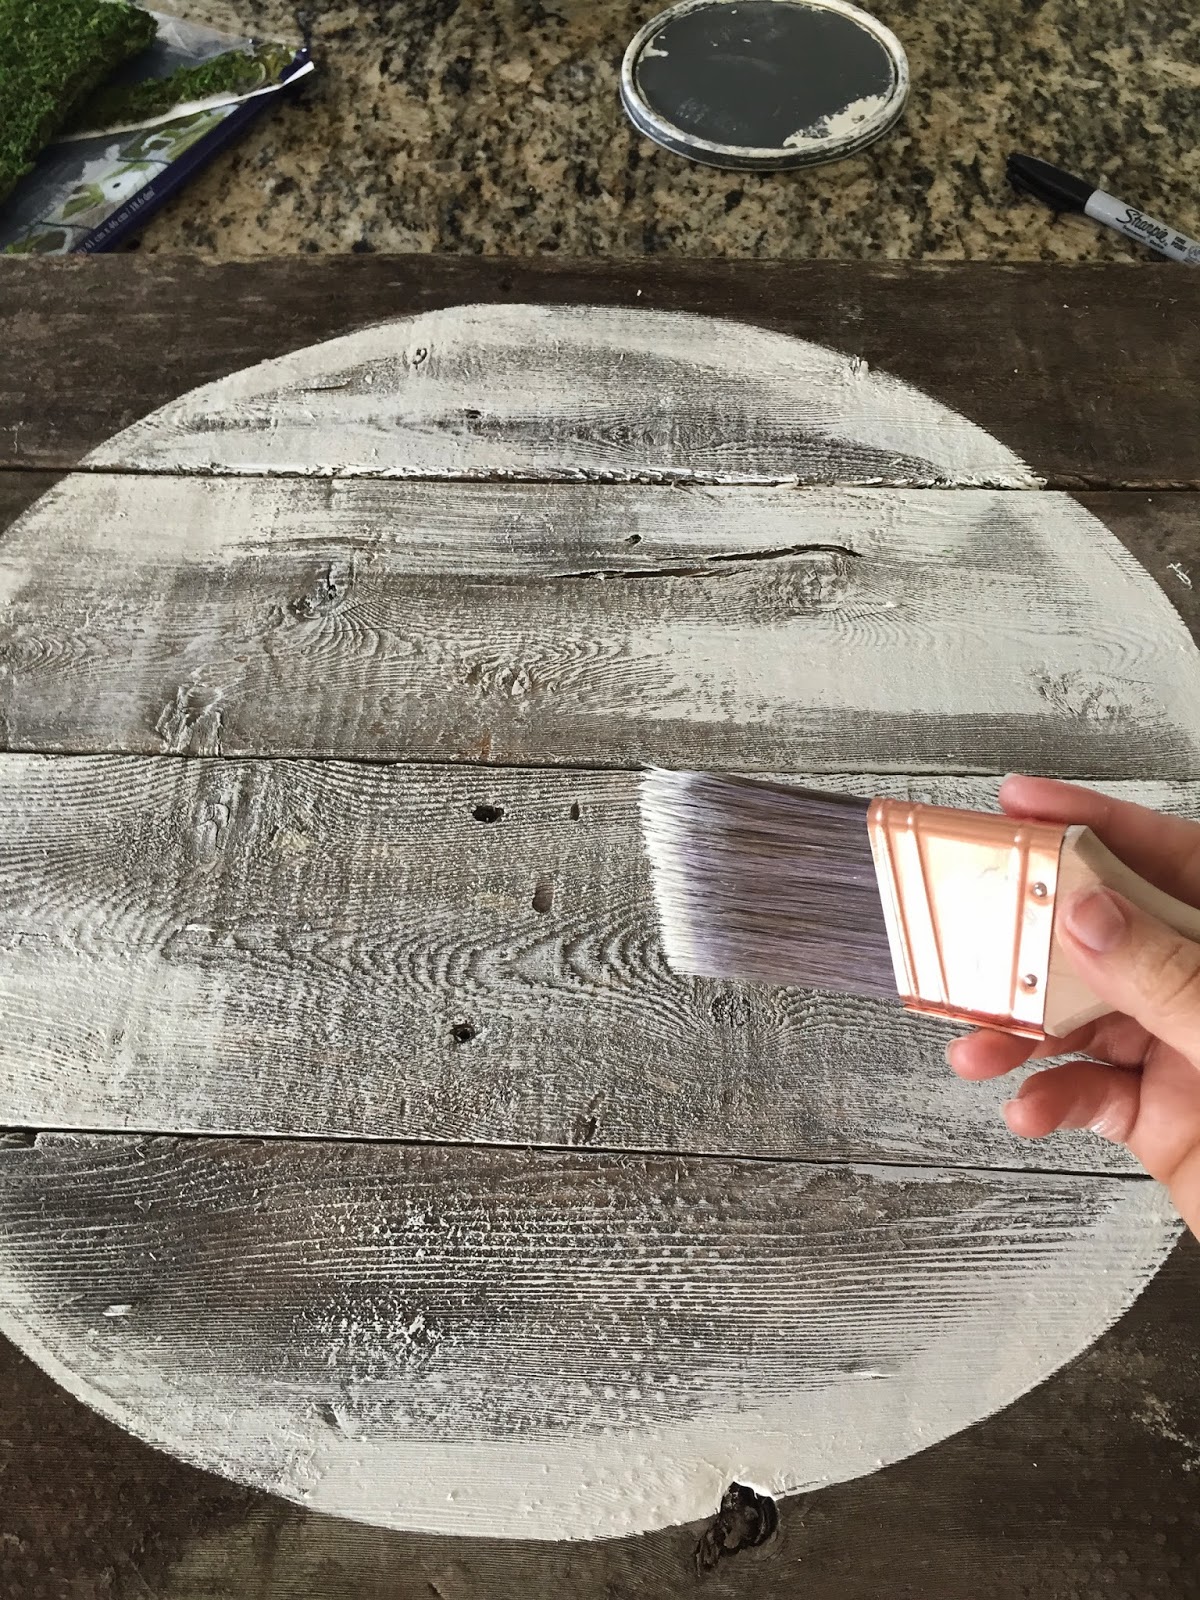
Step 7: Remove the circular item and paint around the edge of the circle making sure not to go outside of the marking. Then fill in with the paint using horizontal brush strokes to follow the grain of the wood. I dry brushed mine, but you could fill it in sold white if you wanted.
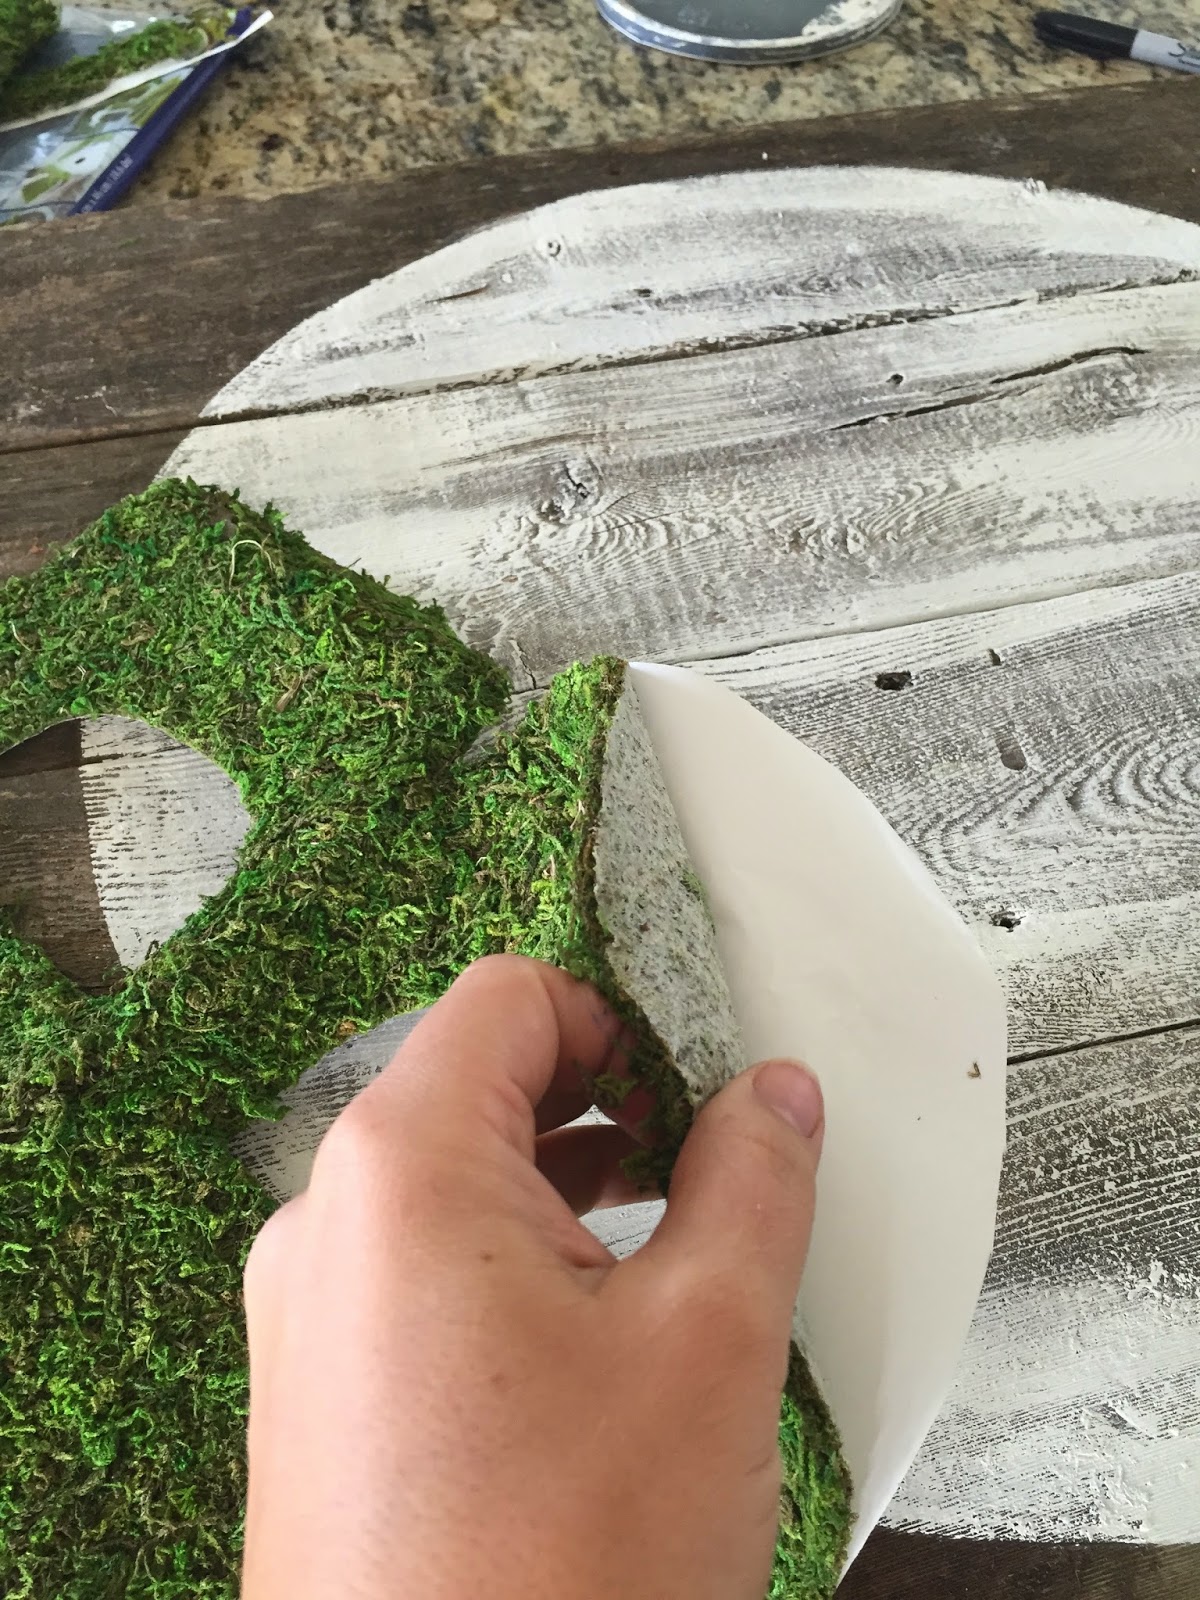
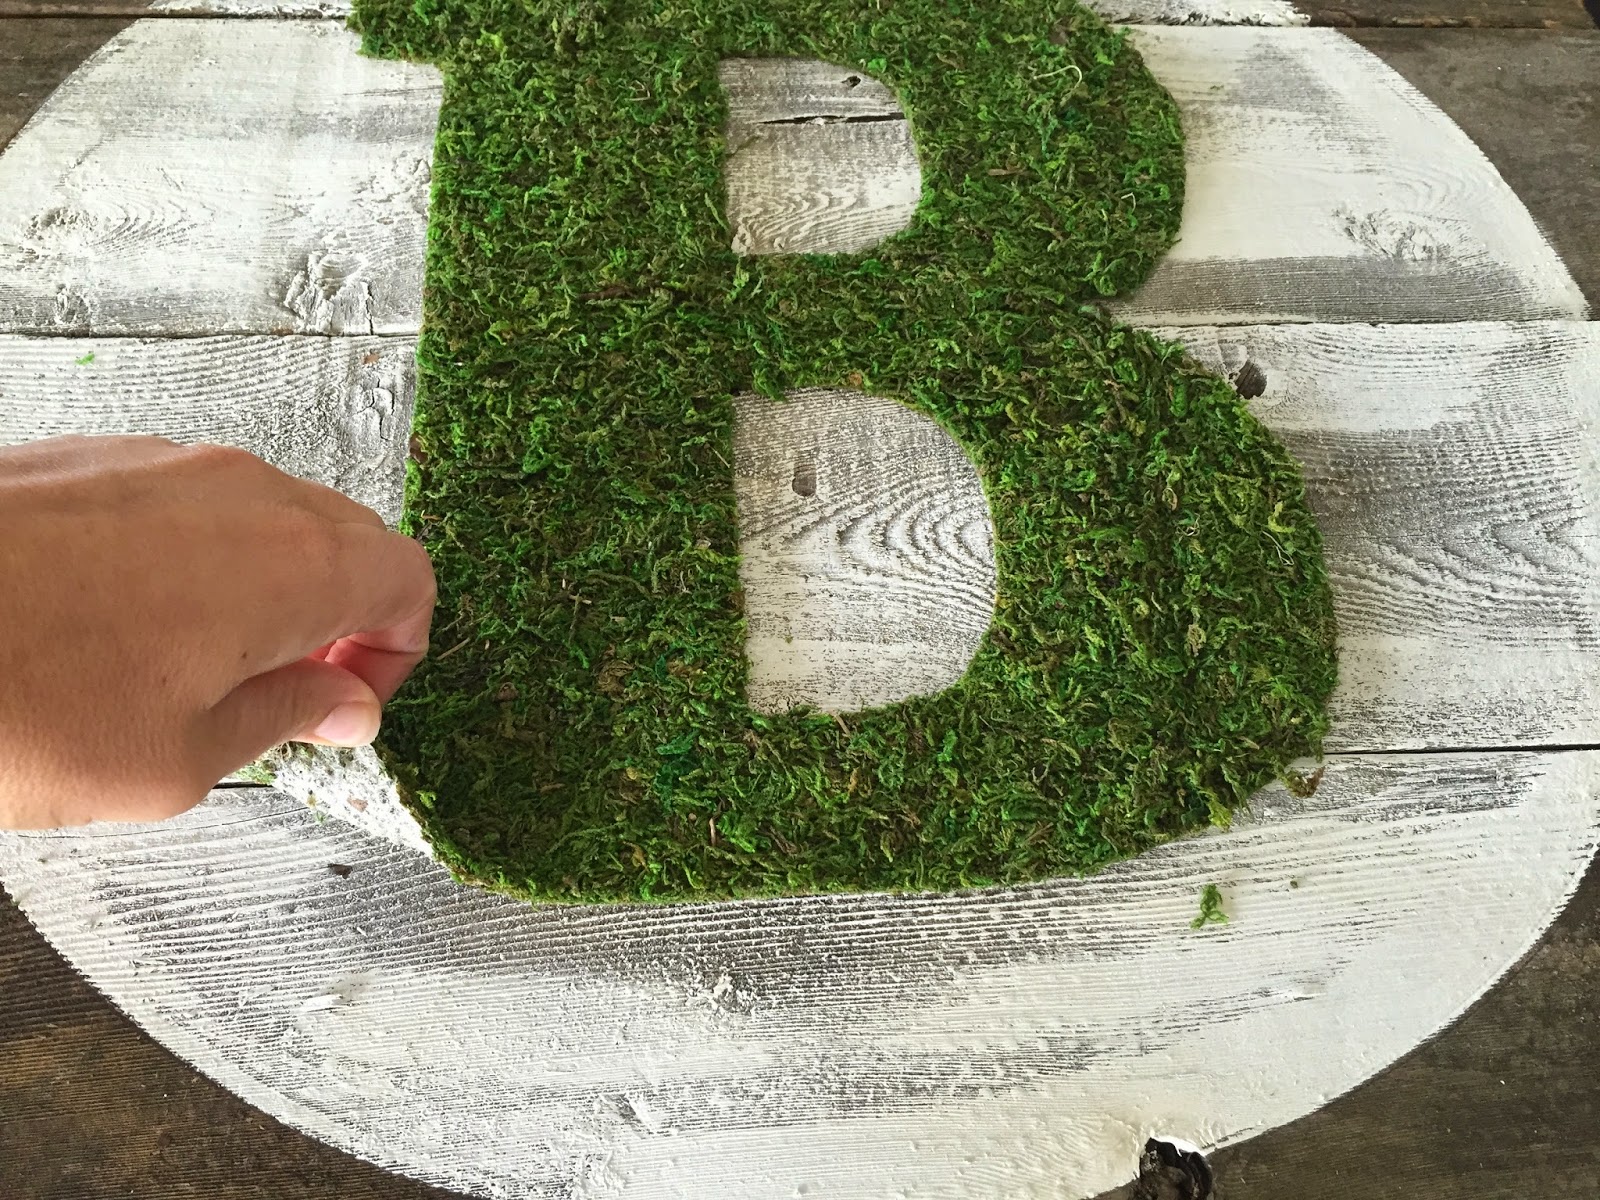
Step 8: Peel the sticker paper off the moss letter and center it in the middle of the circle. I eyeballed it. Push down and make sure it sticks flat.
Step 9: Almost done now. Take the ribbon you picked out and cut to the desired length. Nail each side to the front of the board.
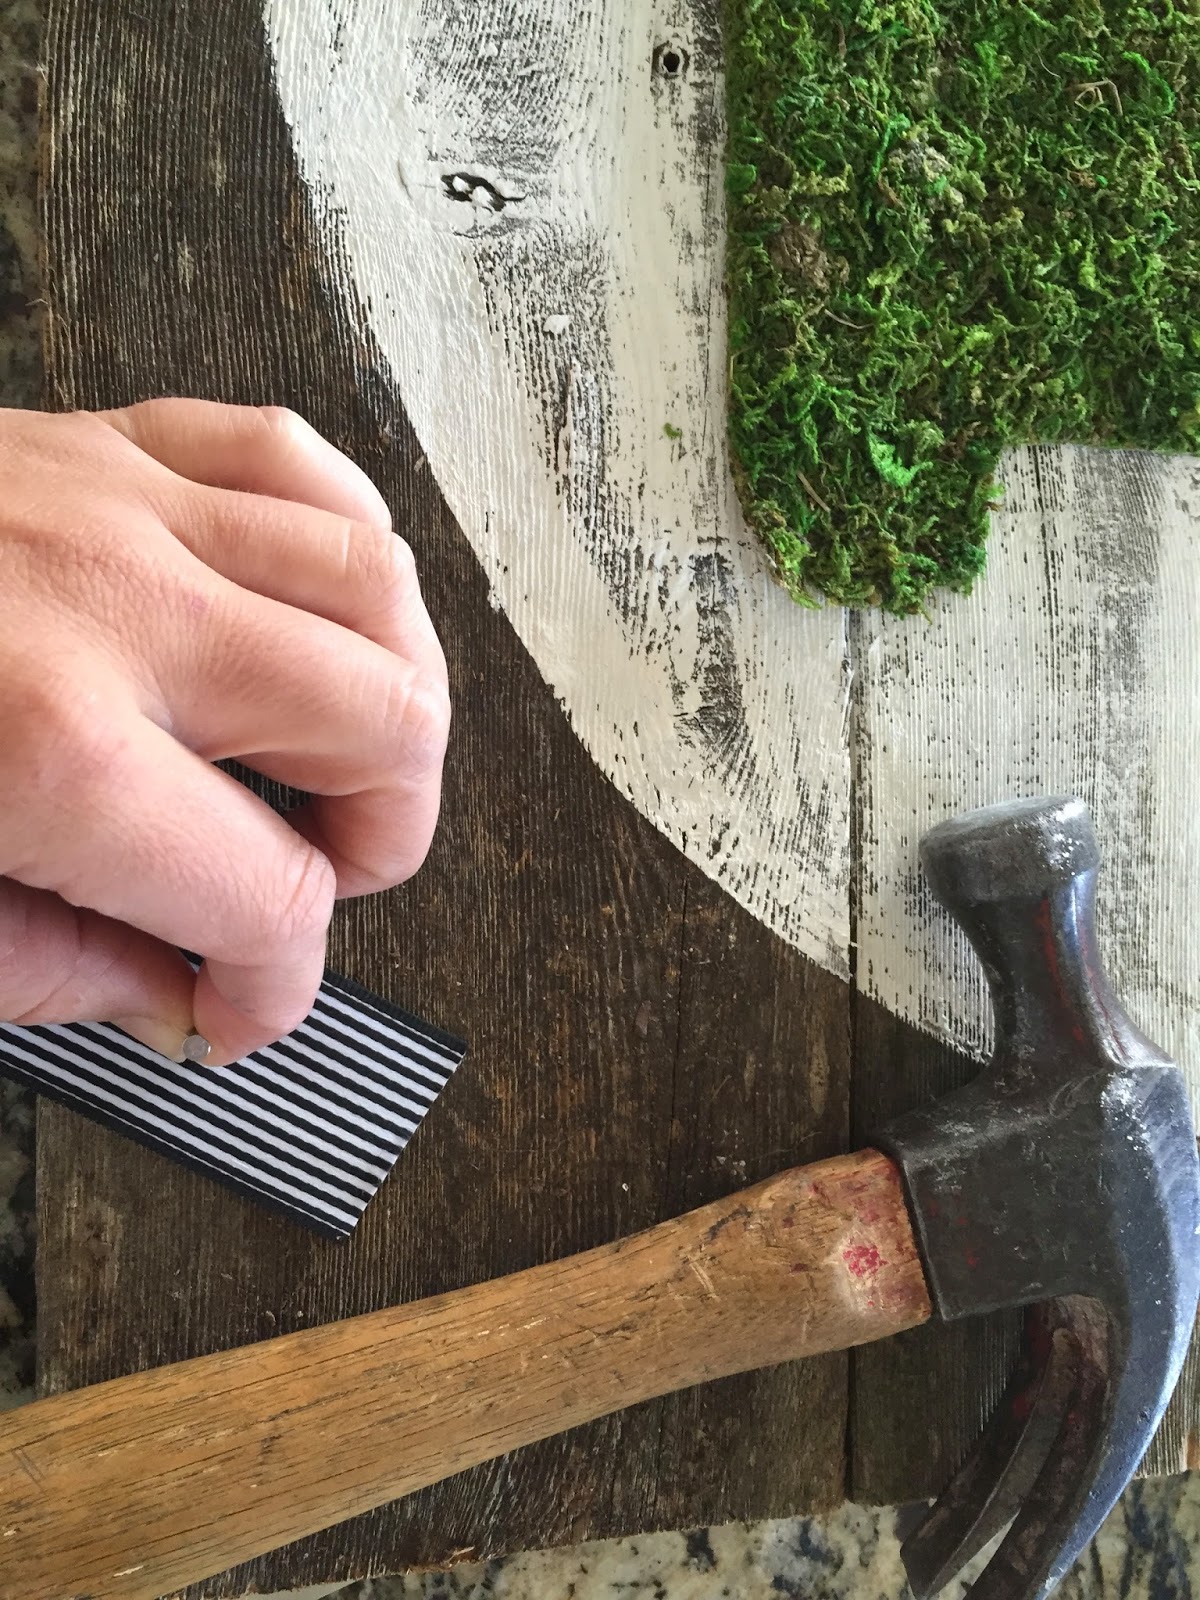
Step 10: Tie 2 bows using the same length ribbon for both. Adhere with a tack in the back so you can’t see.

Step 11: Hang and enjoy your unique door decor!!
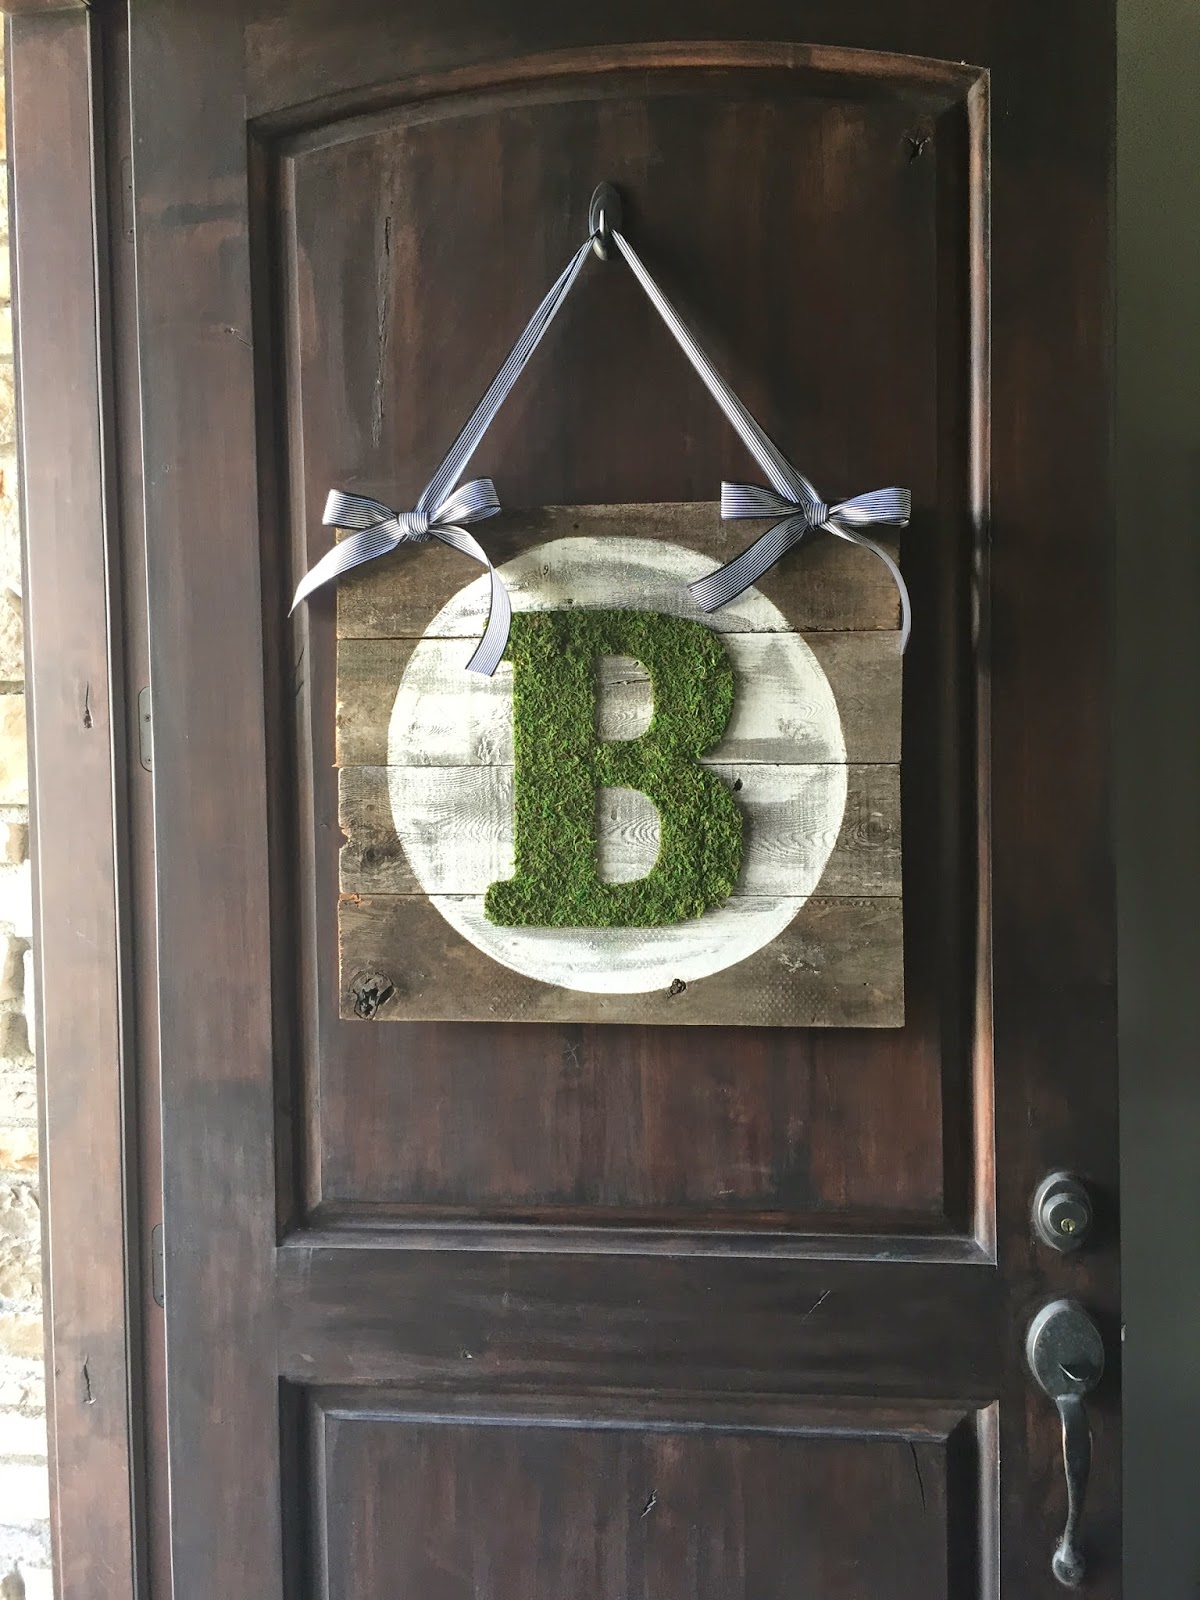

 Add to favorites or read later
One Comment
Comments are closed.