Peel & Stick Marble Tile Backsplash
This is a sponsored post written by me on behalf of Floor & Decor. All opinions are 100% mine.
Peel & Stick tile…is it as good as it sounds? My answer is emphatically YES! I’m answering all your questions about this Peel & Stick Marble Tile Backsplash and even sharing a full tutorial on how to install it. Get ready to have your mind blown!
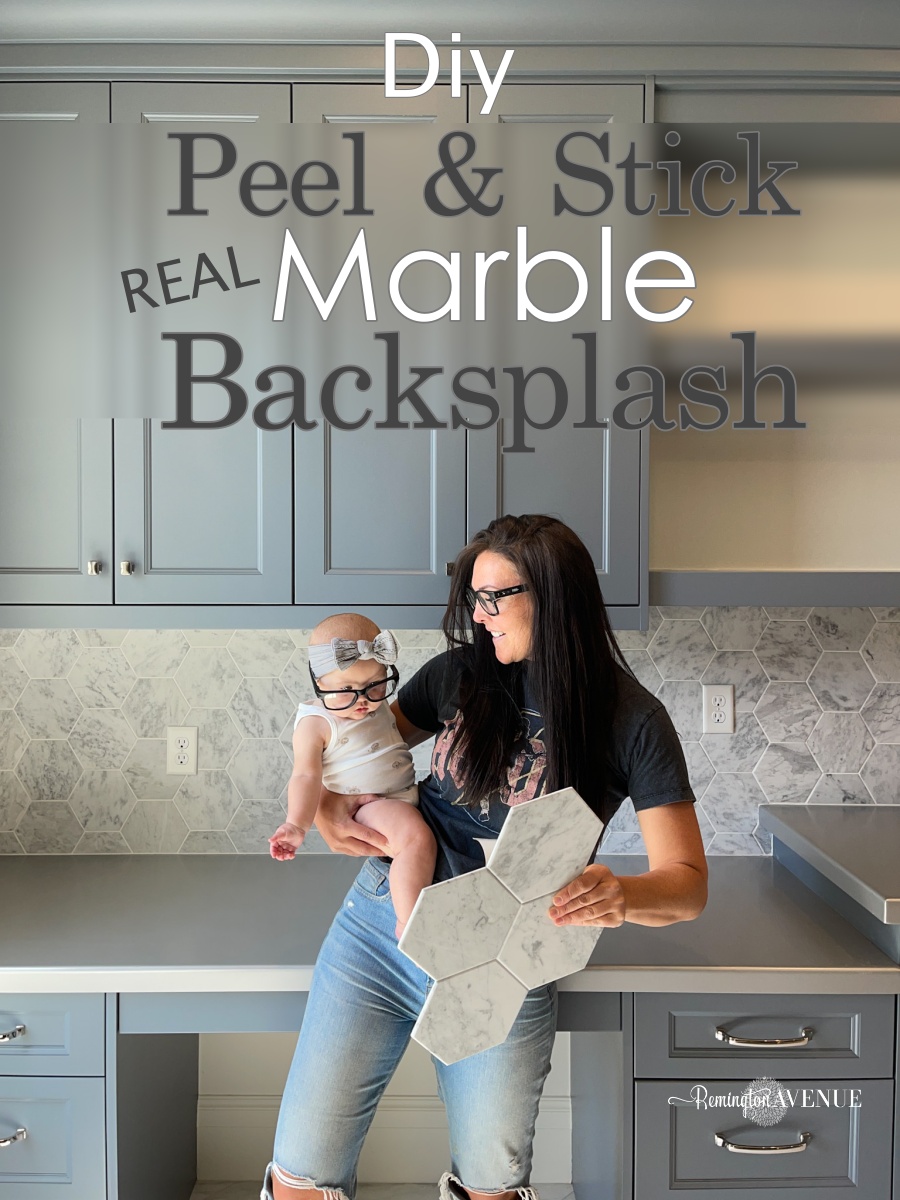
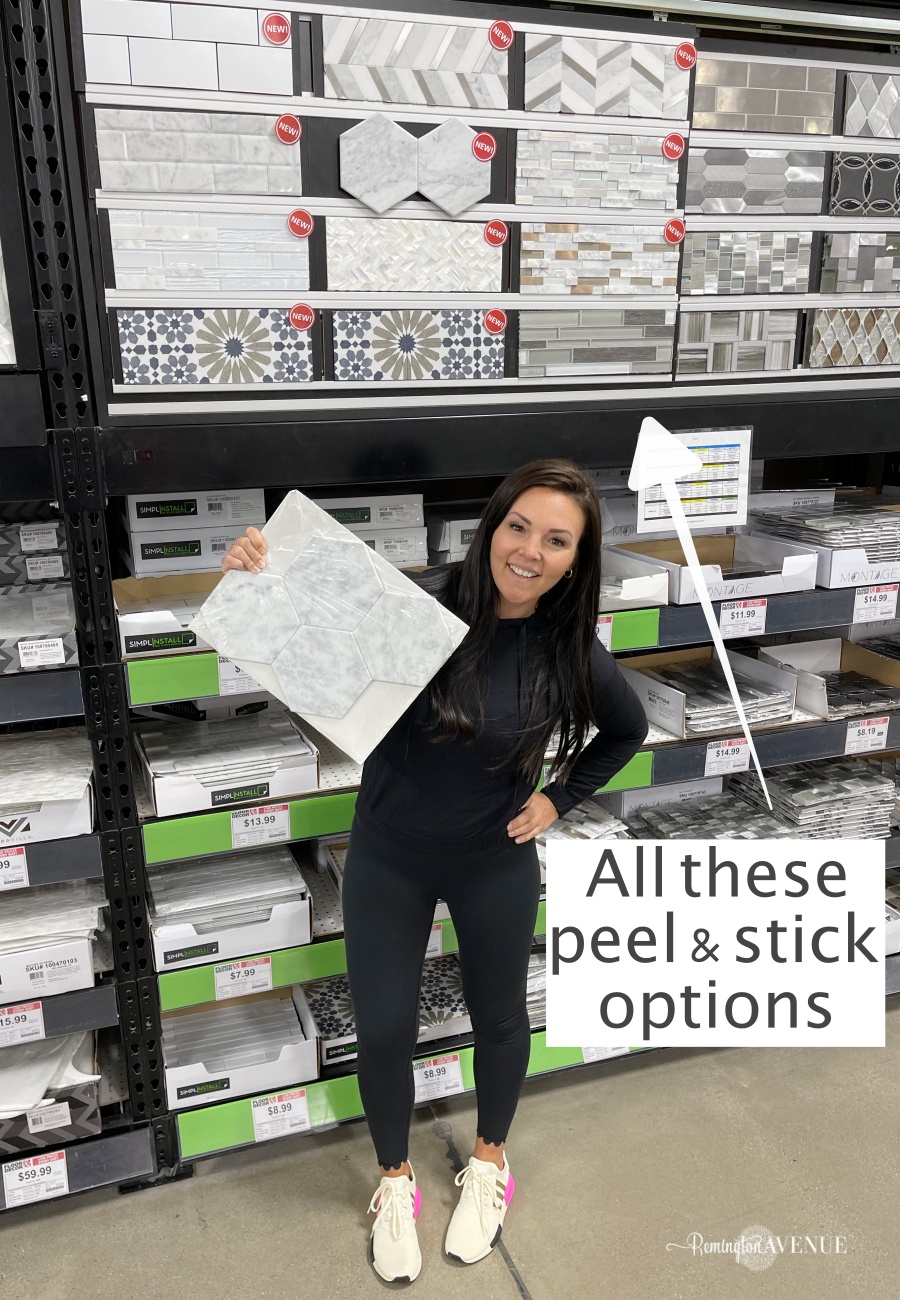
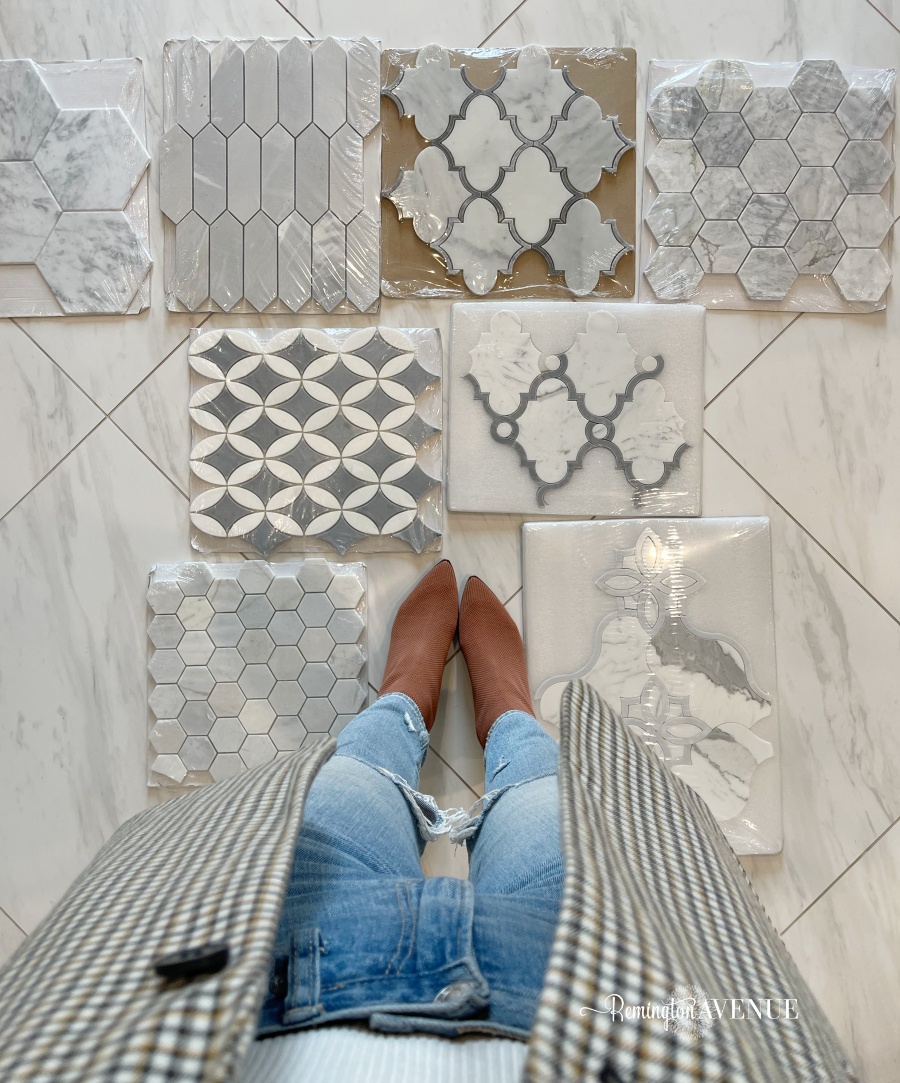
For my first BIG tile project, I was so excited to find this beautiful Bianca marble Hex tile at Floor & Decor. I actually picked up several marble mosaic samples for my laundry room backsplash, only to discover that this one had a peel & stick backing! My original plan was to purchase this Muscle Bound adhesive tile mat to apply to my wall, turning any tile option into a glorified sticker, but when I discovered a peel & stick section of tile options that already had this adhesive on the back, I jumped all over it!
Peel & Stick Tile Backsplash Tutorial
- Wipe down your surface making sure there is no dust, dirt, food, or grease on the wall. Use a degreaser to clean surface especially if applying kitchen backsplash.
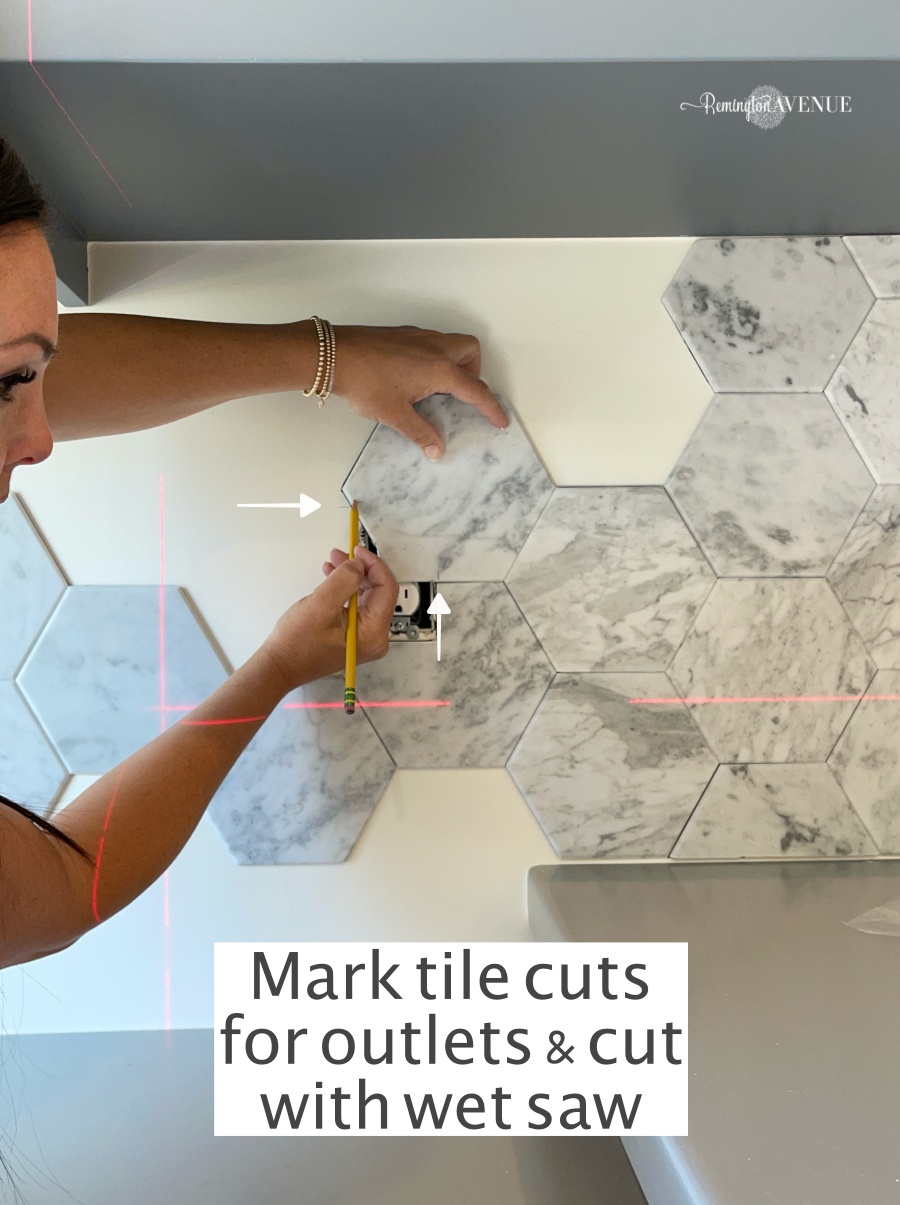
- Use a laser level to keep your pattern from sagging. This will also ensure that each hex tile will fit together with no weird gaps or spaces between.
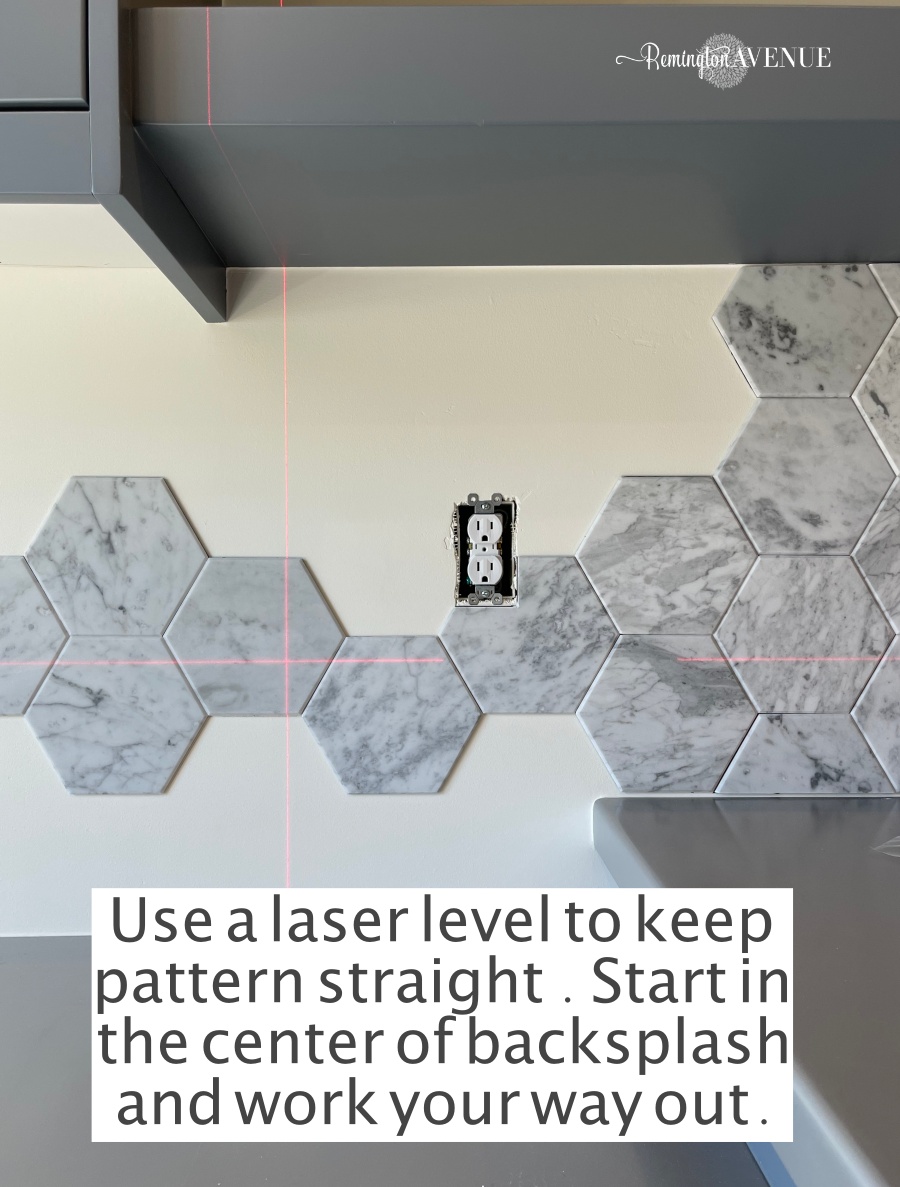
- Mark a line directly in the middle of the wall about the countertop. This is where you will center the first tile to start the backsplash installation. This ensures the project looks even when you get to the backsplash end at a cabinet or countertop line.
- Peel the backing of the tile and stick it to the wall! Tip: For this Peel & Stick Marble Tile Backsplash, or any project…the adhesive backing is very sticky, so make sure your placement is correct the first time. Once its stuck to the wall, it’s very difficult to remove or adjust!
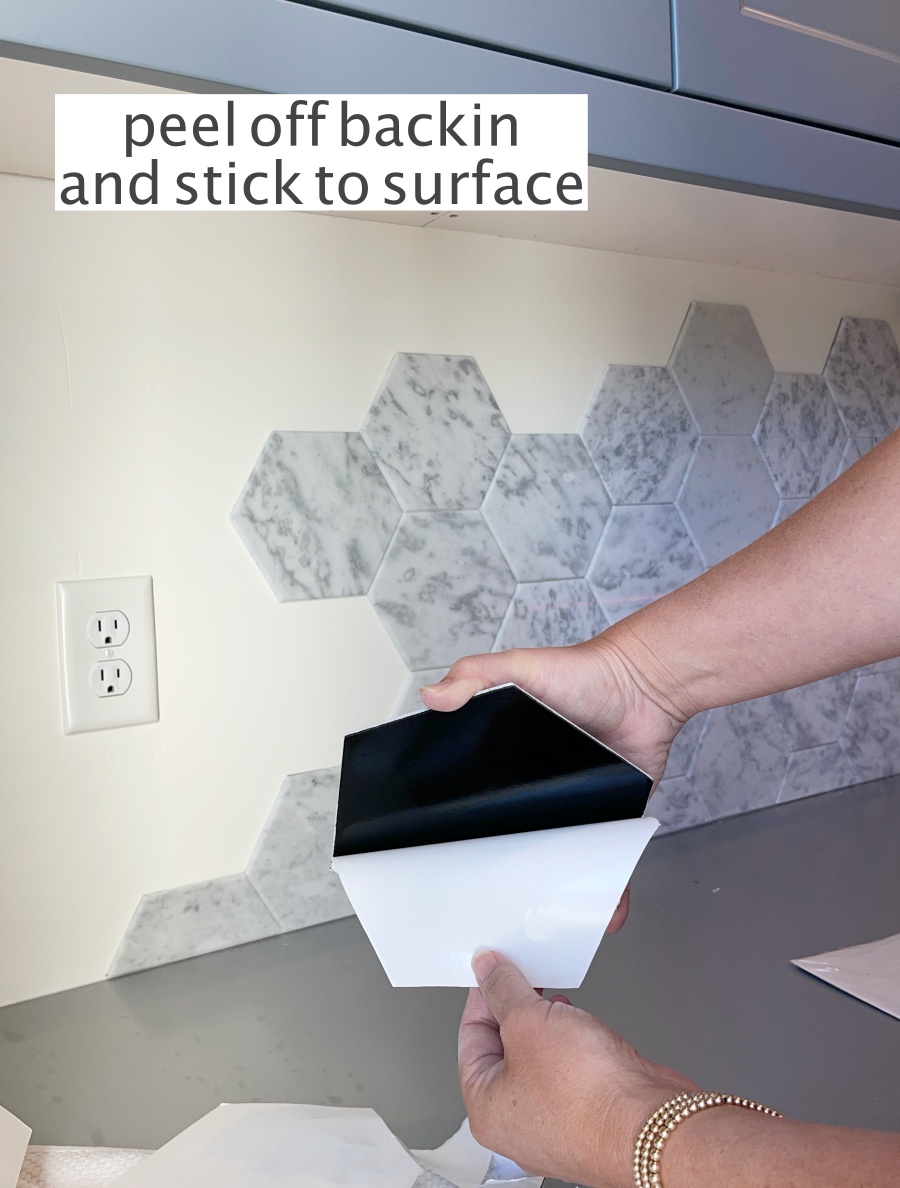
-
Apply pressure to ensure maximum adhesion.
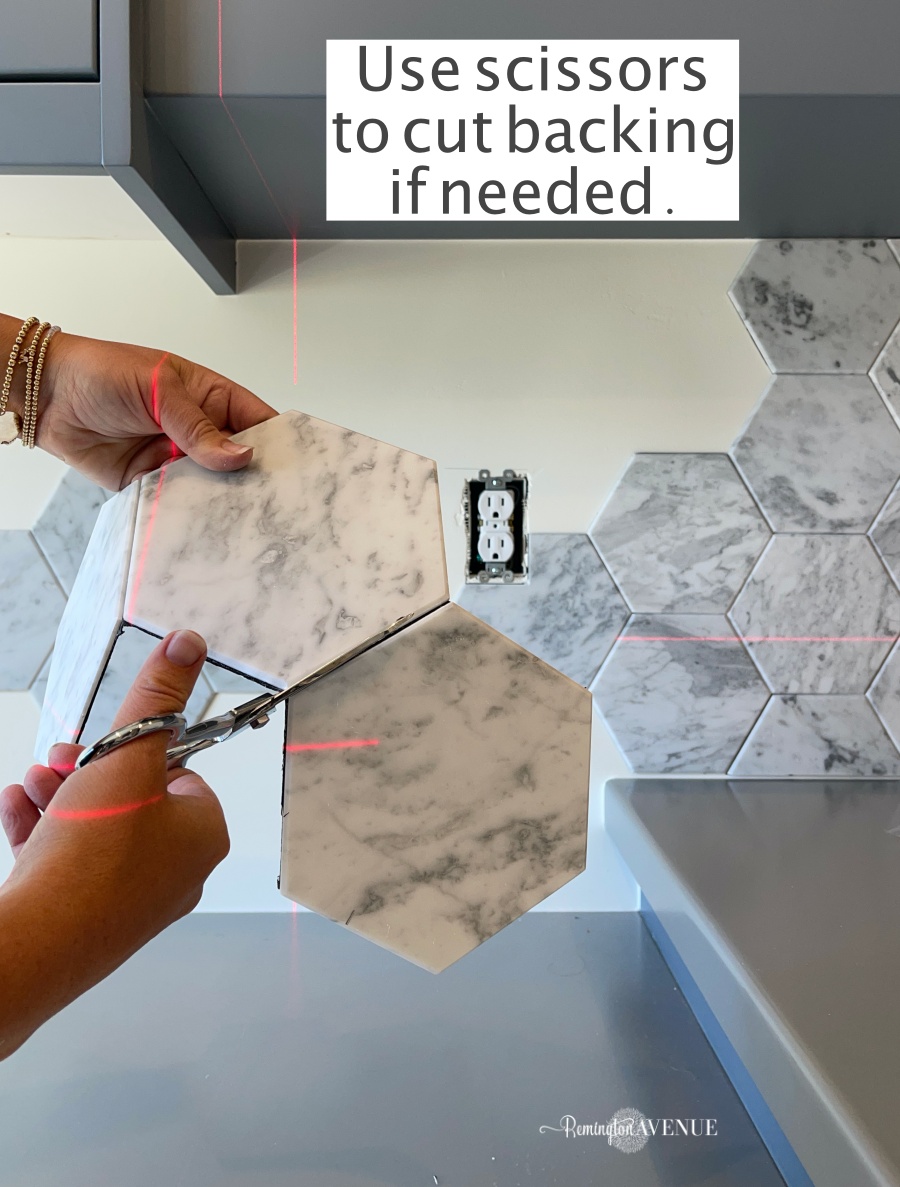
- This particular hex tile came in sets of 4 tiles together. In some instances I only needed one or two tiles at a time. You can easily cut the tiles apart with scissors or a utility knife! So simple, right?
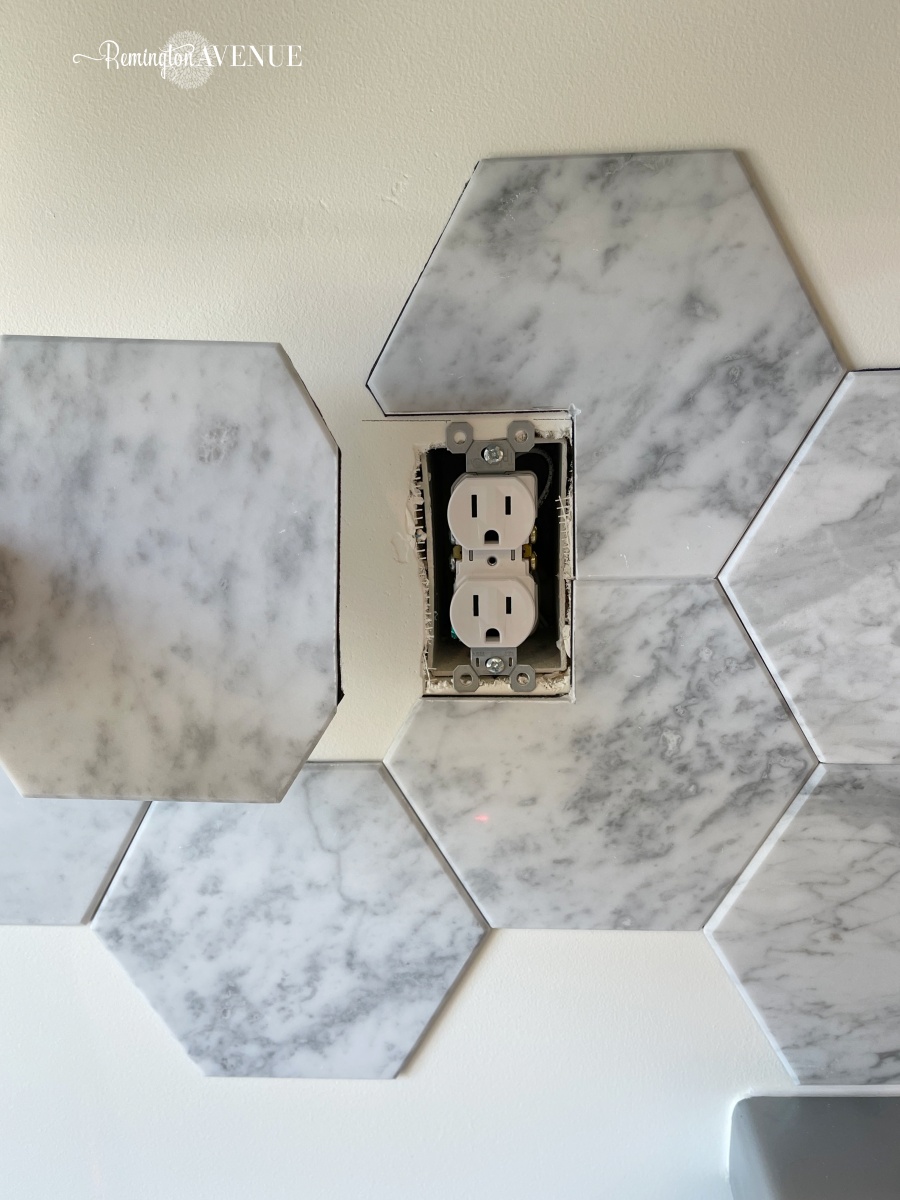
- I used a tile saw to cut my tiles to size and around outlets. Remember a wet saw uses a diamond blade that actually grinds the tile or stone down using friction force. I say this because the blade really can’t cut you, making this such a great saw for beginners.
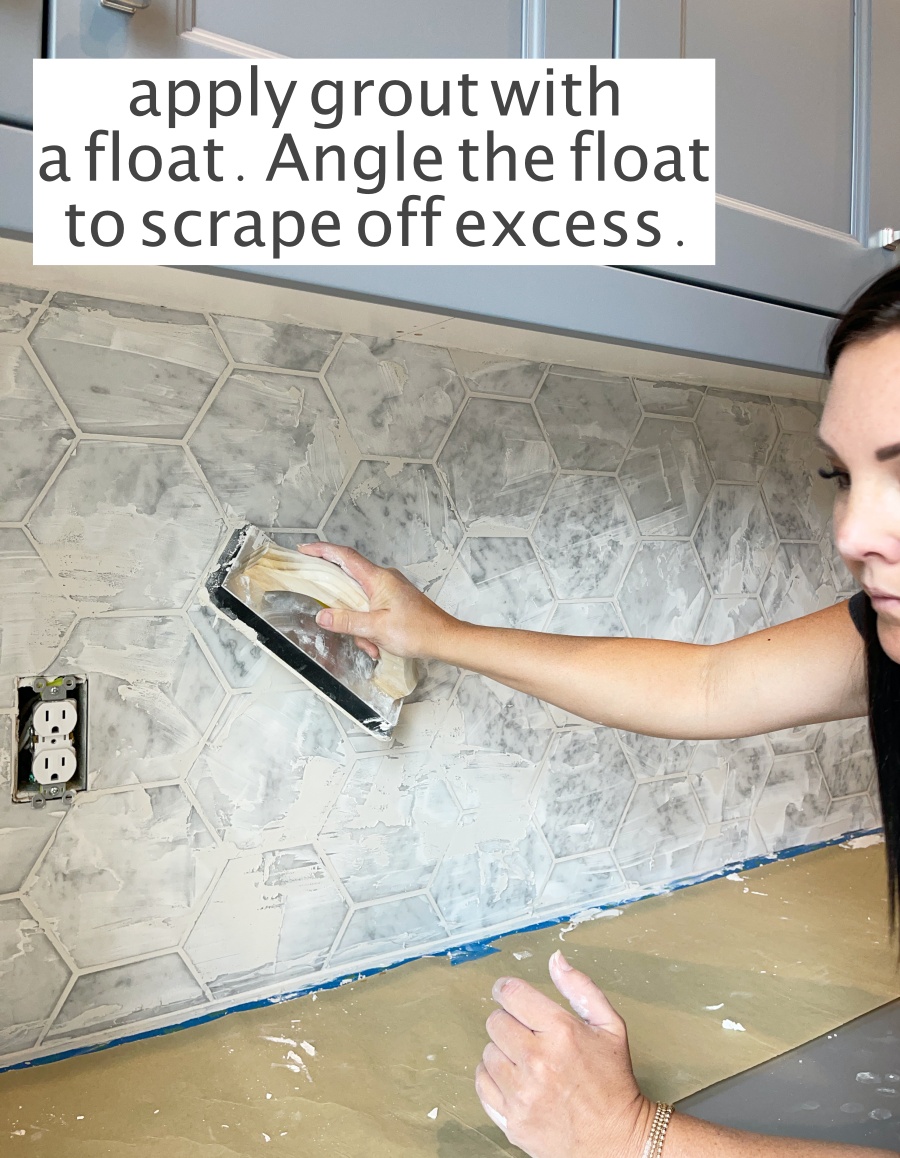
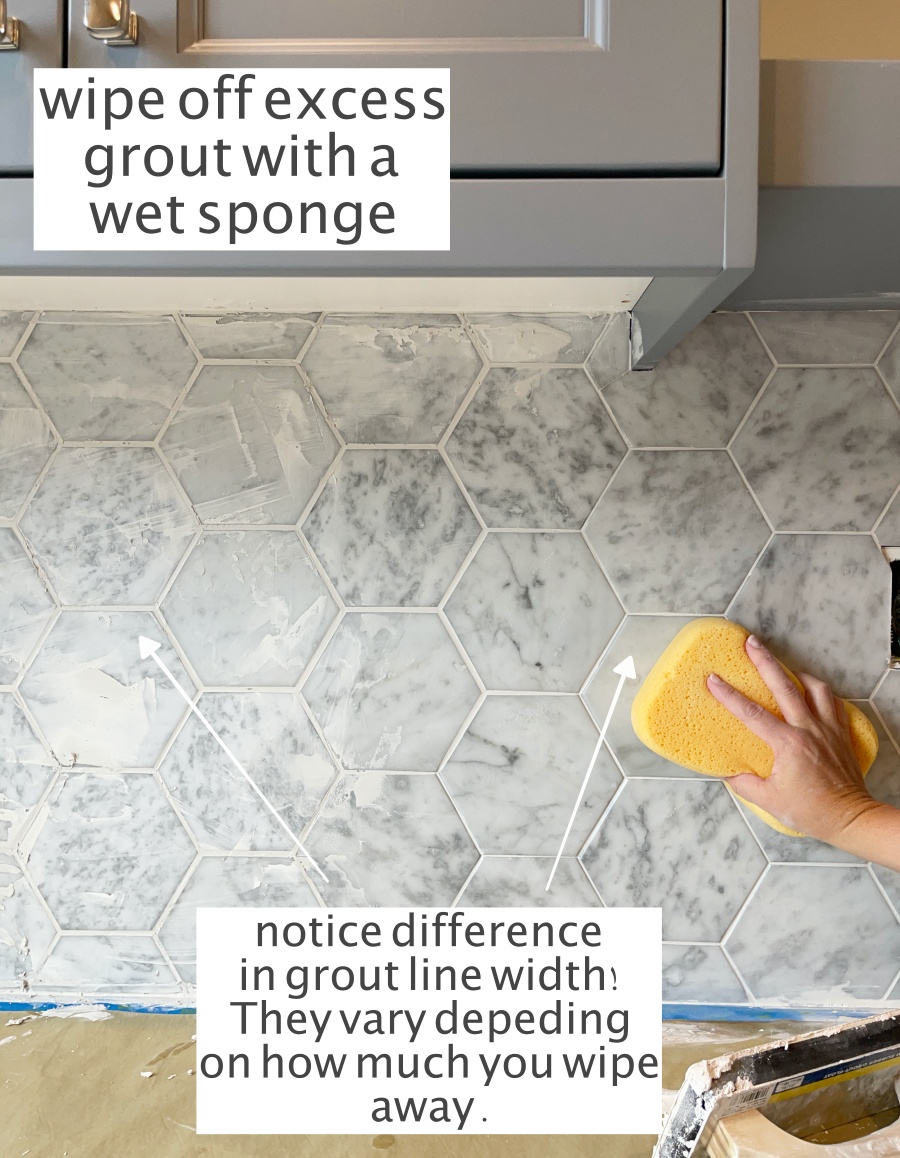
- Once all your tiles are on the wall, you will need to grout. I used this white grout. Use a floater to apply the grout, smearing it into all the lines. Angle the floater to scrape off excess and let it dry for about 15 min. Then wipe it down with a wet sponge until you’ve reached the desired look.
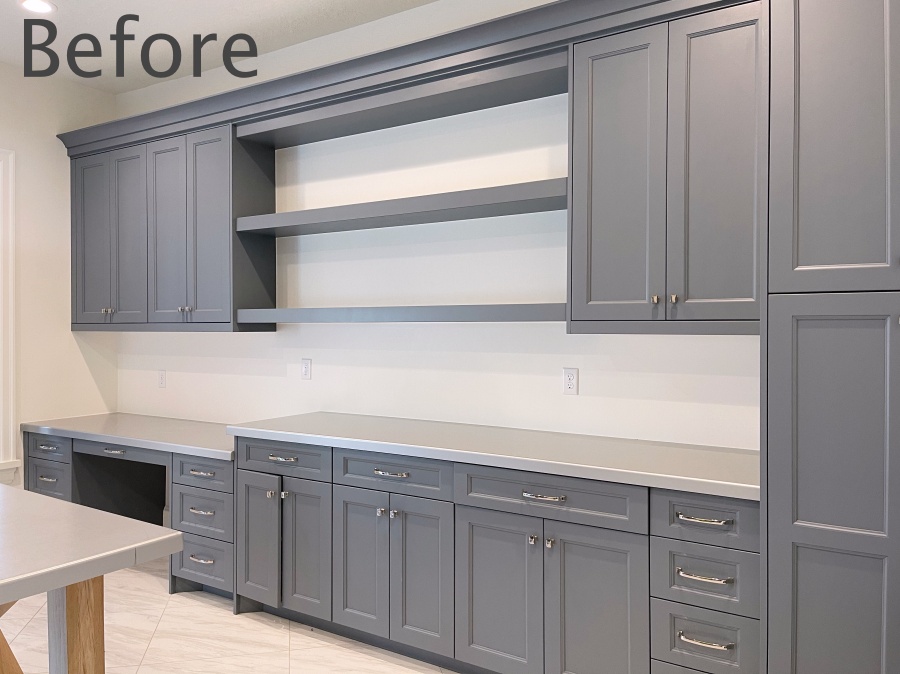
The addition of this gorgeous hexagon tile backsplash has made a huge difference! I’m not done yet though!

All Your Peel & Stick Tile Questions Answered:
Any wall prep?
Just make sure your wall is really clean and free of dust, dirt, or grease.
How does the cost compare to regular tile?
It’s very similar. My whole backsplash cost me $750 including the other side not shown here.
Can you tile over existing tile with peel and stick tile?
Yes, but the surface will need to me mostly level. Meaning the more grout lines, or textured the original tile has, the less it will adhere. You will also need to address the new thickness change on the wall and use a finishing piece on exposed ends to discuss the doubled up surface.
Can you use Peel & Stick tile on floors?
Yes, but only certain varieties. It should specify what application each tile is meant for. Here is a link to a peel & stick vinyl meant for floors, while my marble hex is only meant for walls.
Are peel & stick tiles waterproof and heat resistant?
Yes, technically they say you can use these tiles in bathrooms, showers, kitchens, laundry rooms, or anywhere indoors. I think they are best suited for backsplashes (my opinion) but you can use them on shower walls too. You will need to make sure you waterproof by properly grouting and caulking before sealing the tile. Here is a list of ideal surfaces for peel & stick tiles:
What do you think of Floor and Decor products?
All in all, I am loving how this Peel & Stick Marble Tile Backsplash has transformed this space!

 Add to favorites or read later
WOW!!!!! That is absolutely AMAZING! Had no idea about peel and sticks so nice as this! Whoo hoo!!!! Looks GREAT!
Need your opinion if this could be used on a stucco exterior wall? I need to install a tile backsplash behind an outdoor kitchen/grill in an enclosed pool cage in a hot humid southern state. Was just going to just use same granite as counter but tile is much more visually interesting and I could do it myself. Thoughts on stucco since its a rough concrete surface? LOVE your work!!!
If the surface isn’t very smooth, I don’t think it would stick. You will prob need to install traditional tile