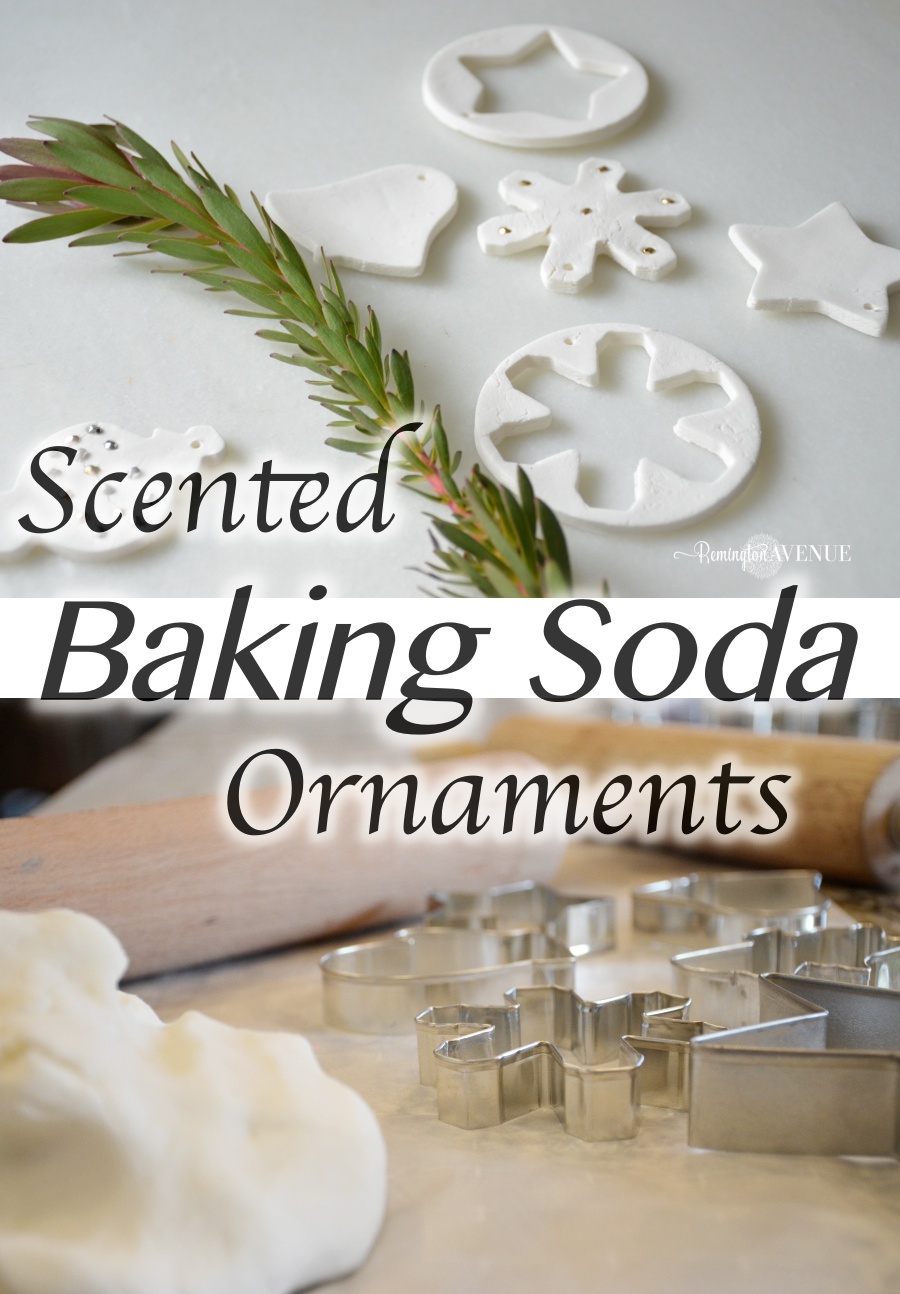
Scented Baking Soda Dough Ornaments
Each year when I set up the Christmas Tree my children get so excited. They love helping me hang the ornaments and string the garland. The excitement usually lasts for about 10 minutes once we actually start and then they get bored and Mom gets to work on the perfect tree. Click HERE to see my full Christmas home tour. I am pretty particular about my christmas decor, one could say a bit OCD even! I have never been one to hang homemade kid crafts or do the whole kid tree thing. However, my kids are getting a bit older now and expressing more interest in helping. At least my oldest child anyway. Read on I share the perfect marriage between a beautiful tree and creating memorable holiday moments with your kids.
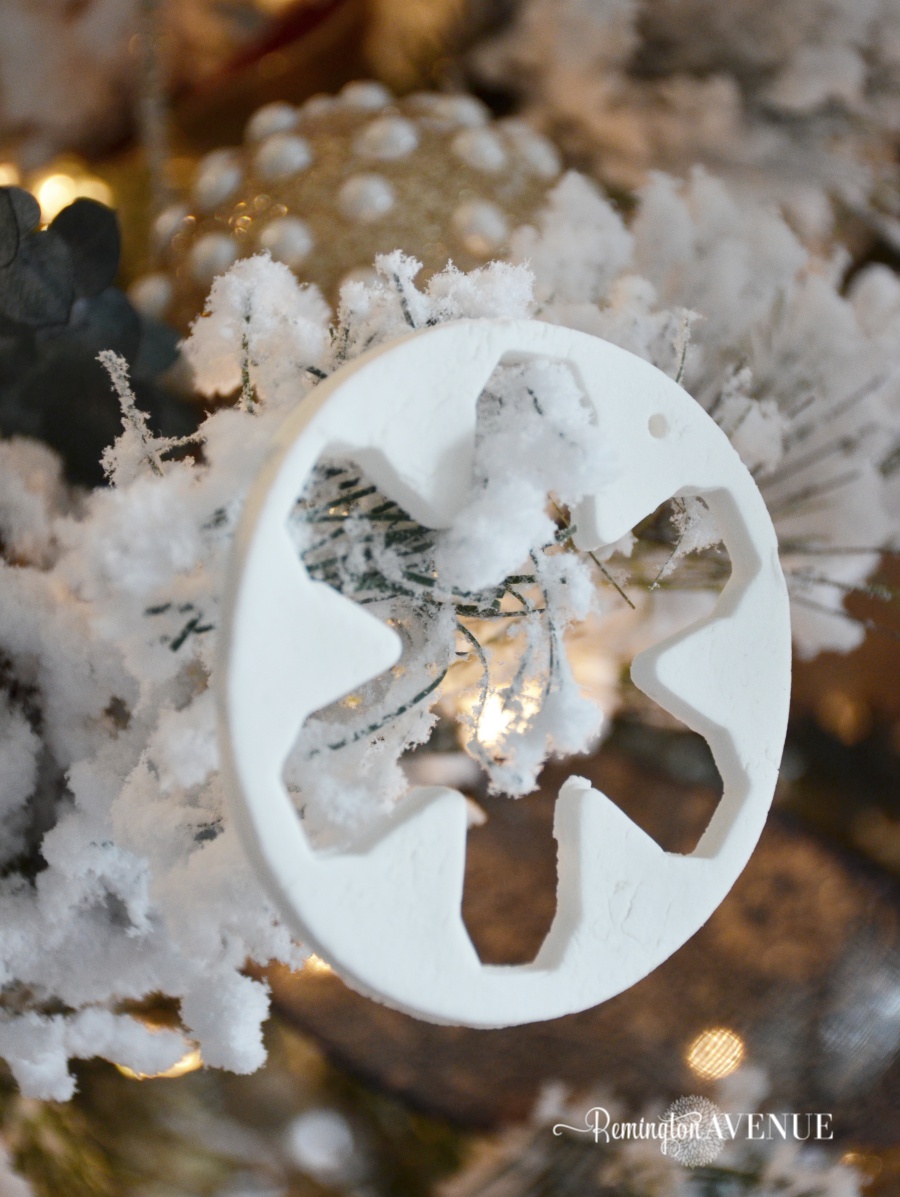
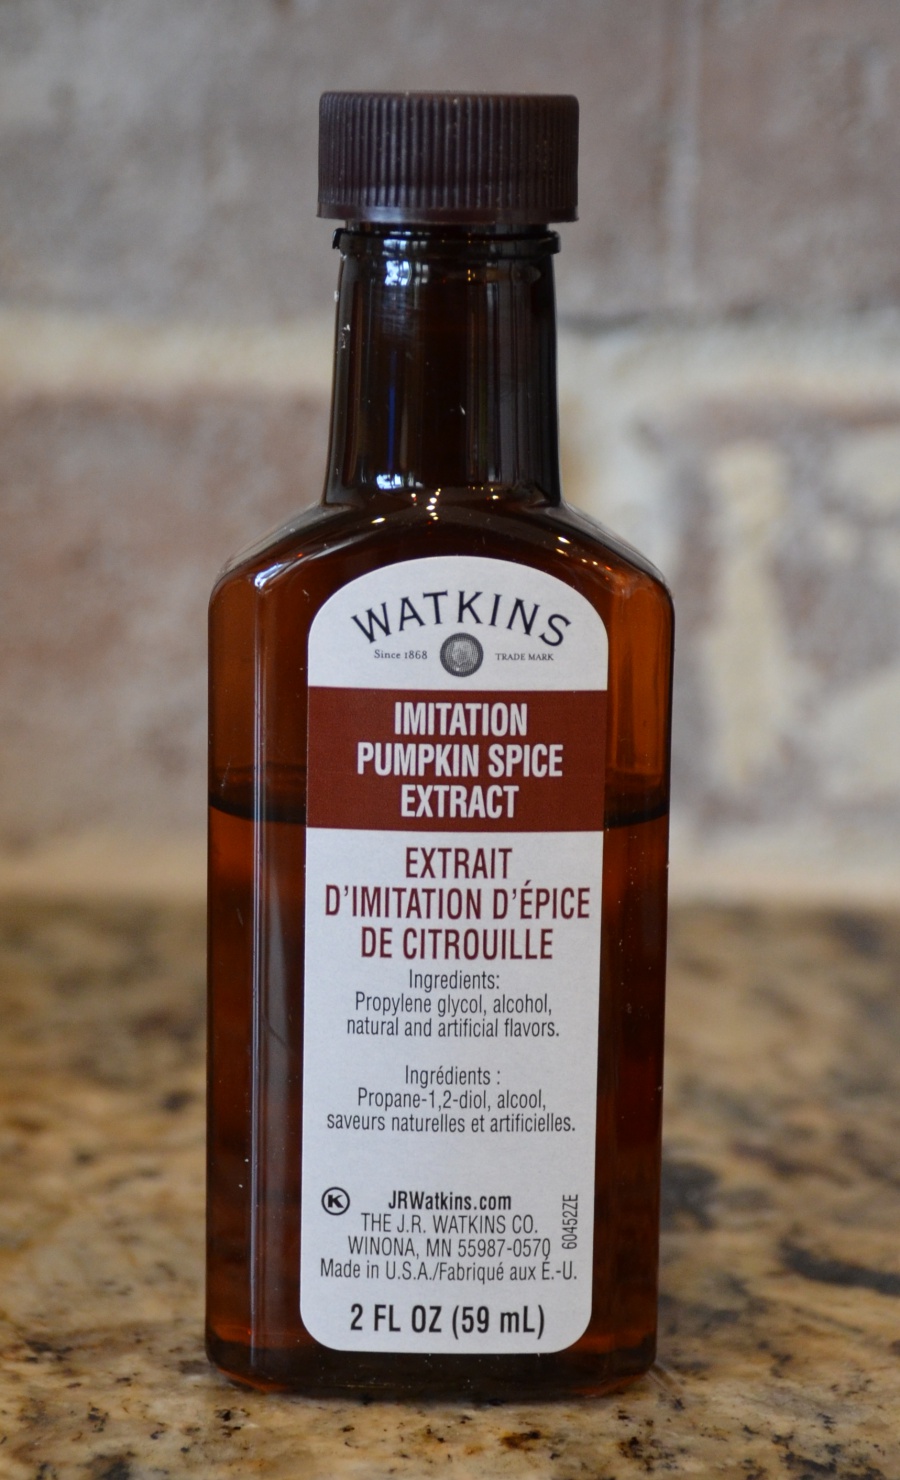
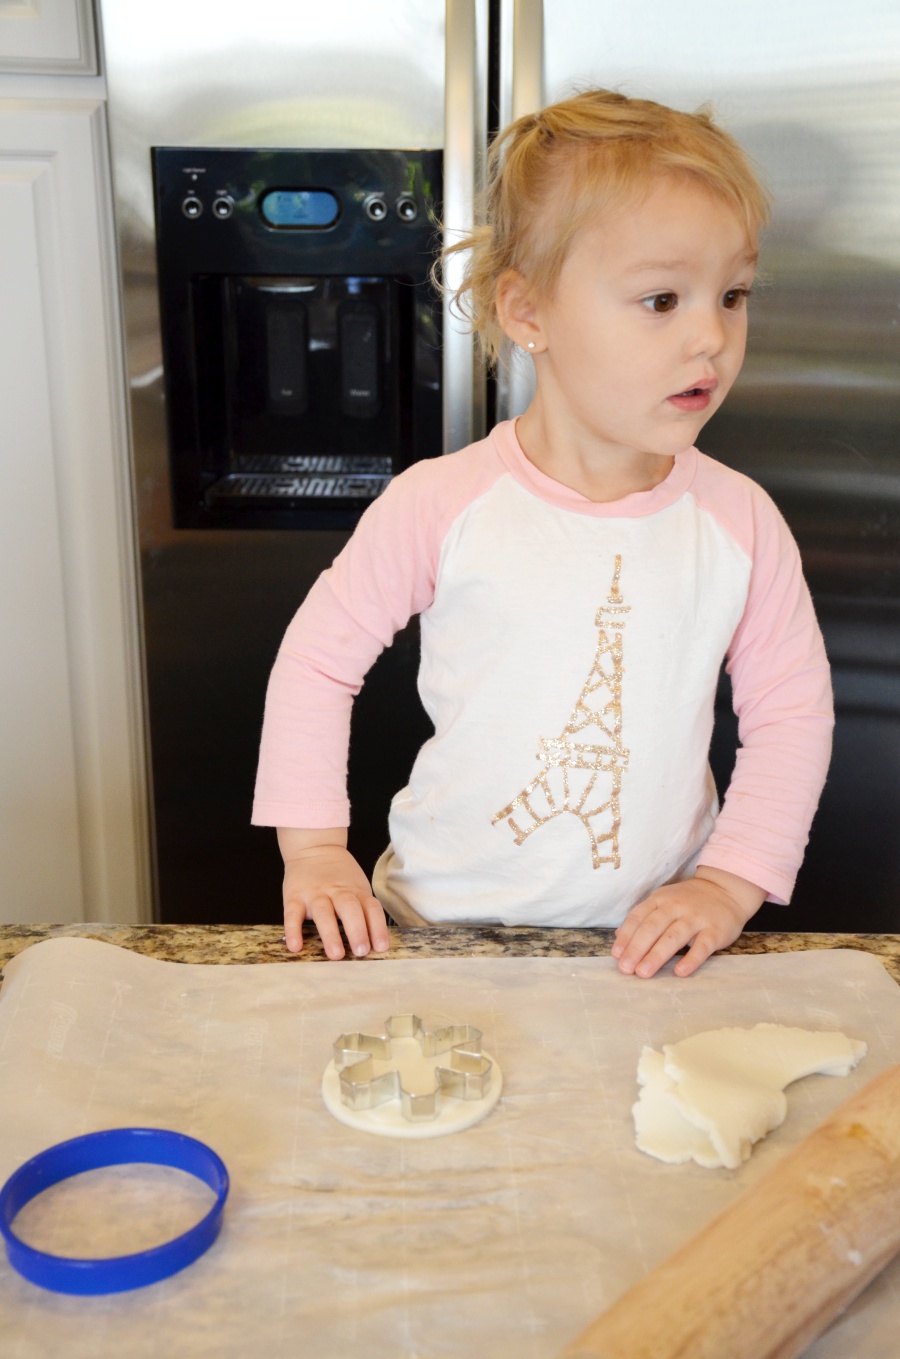
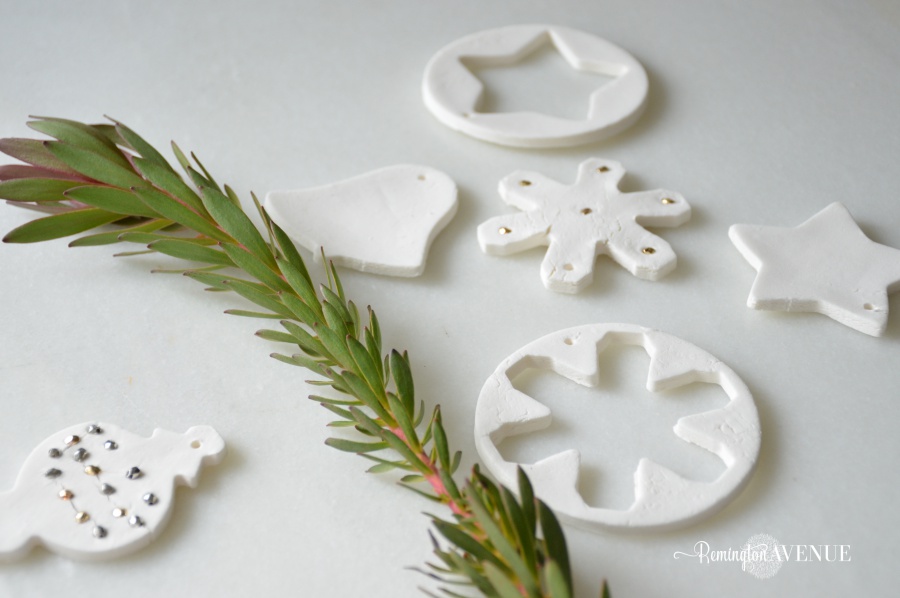
Originally I thought of making the salt dough ornaments I once made as a child, but I came across a recipe for baking soda dough. The perfect solution! This baking soda dough drys smoother and the color is much whiter than salt dough. These simple white ornaments seemed to be the perfect addition to my tree. The kids get to put their touch on the tree and it blends perfectly with my decor. We can make a new batch each year and change up the shapes and embellishments to match! That’s what ya call a win win! Since baking soda doesn’t smell that great, I added some pumpkin spice extract. The aroma is amazing and totally adds to the holiday ambiance.
Recipe
2 cups Baking Soda
1 cup Corn Starch
1 and a 1/4 cups of water
Several drops of Cinnamon Oil Flavour OR pumpkin spice extract
Step 1
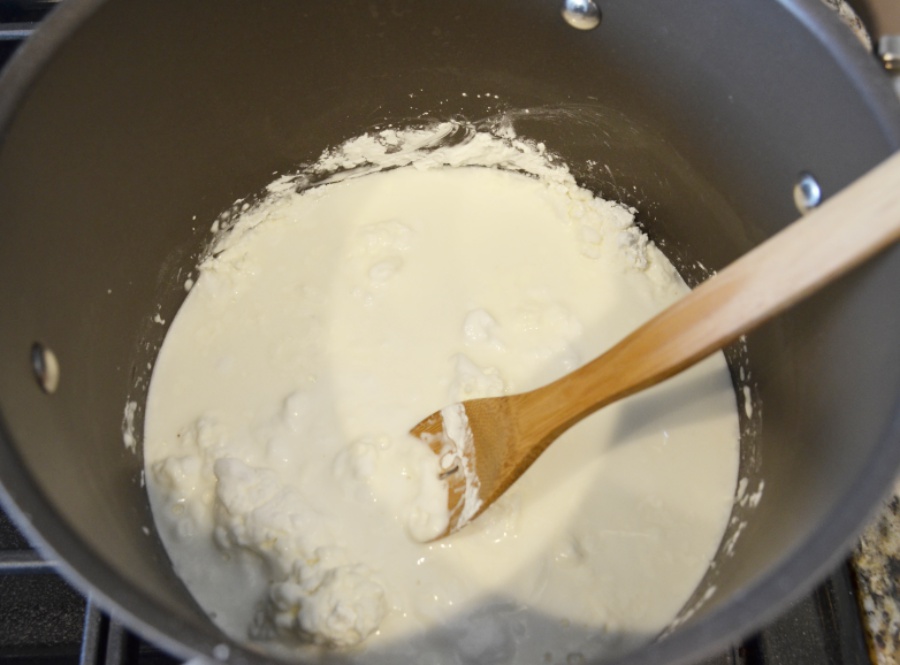
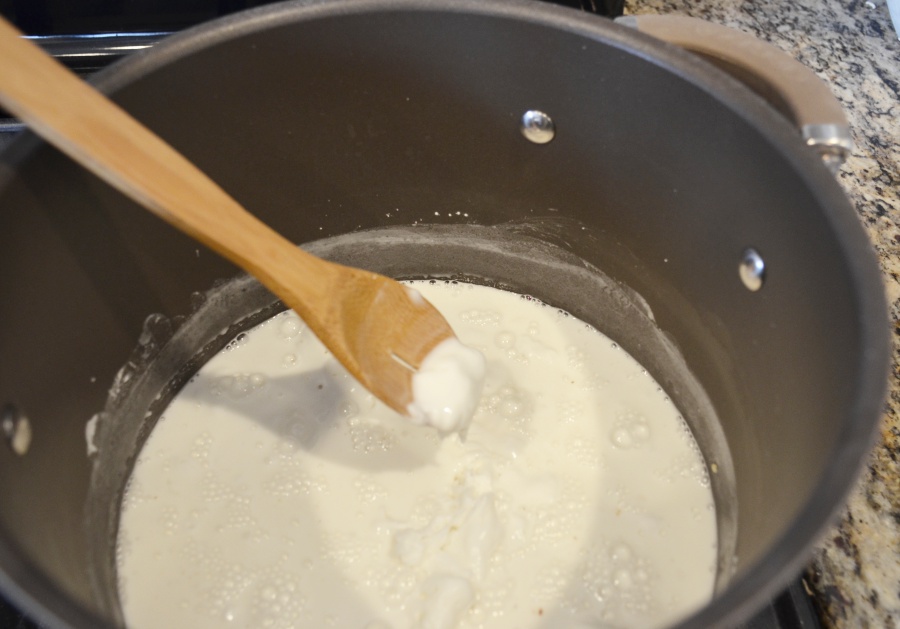
Mix Baking Soda, Corn Starch and water in a big pot over Medium heat.
Step 2
Keep mixing for about a minute… it should like this.
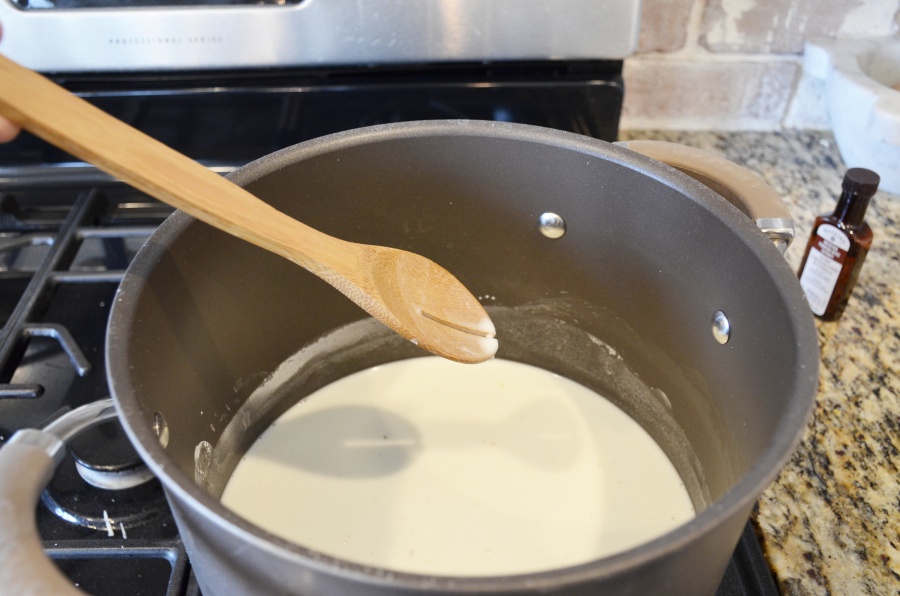
At this point add 2 tablespoons of Pumpkin pie extract to the pot.
Step 3
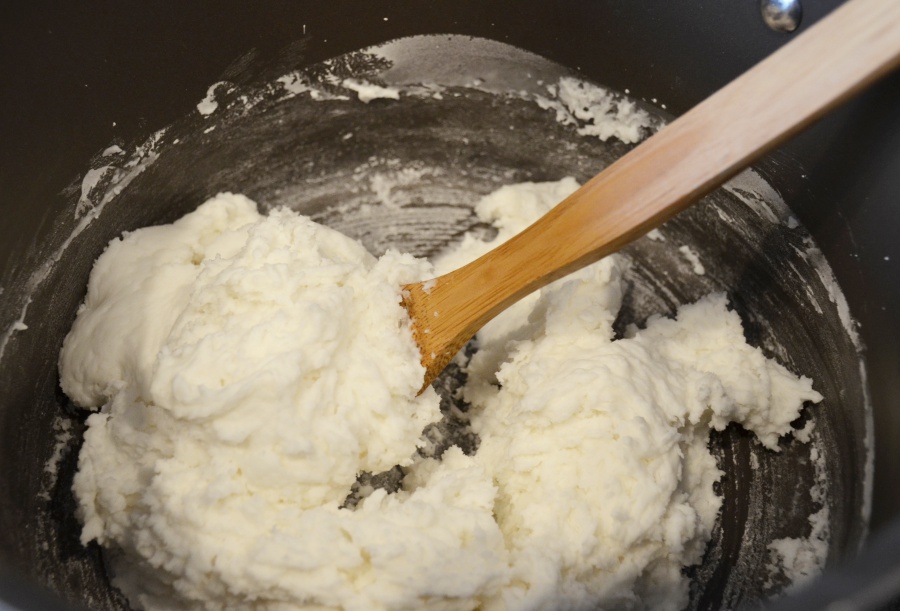
Keep mixing, making sure to scrape the sides of the pot. It should start to boil and bubble at this point.
Step 4
Keep mixing. The whole process only takes about 5 minutes. In the end, you should have a ball of hot dough.
Step 5
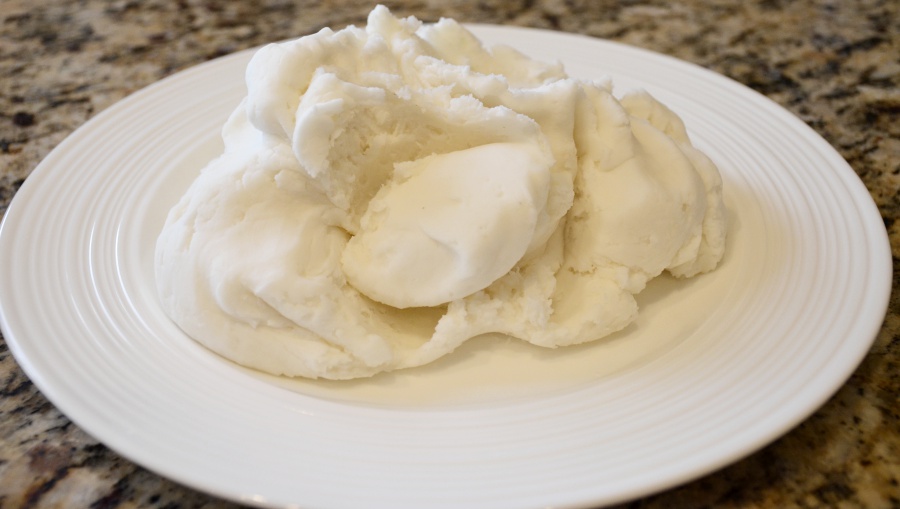
Remove dough from the pot and let it cool on a plate or in a bowl.
Step 6
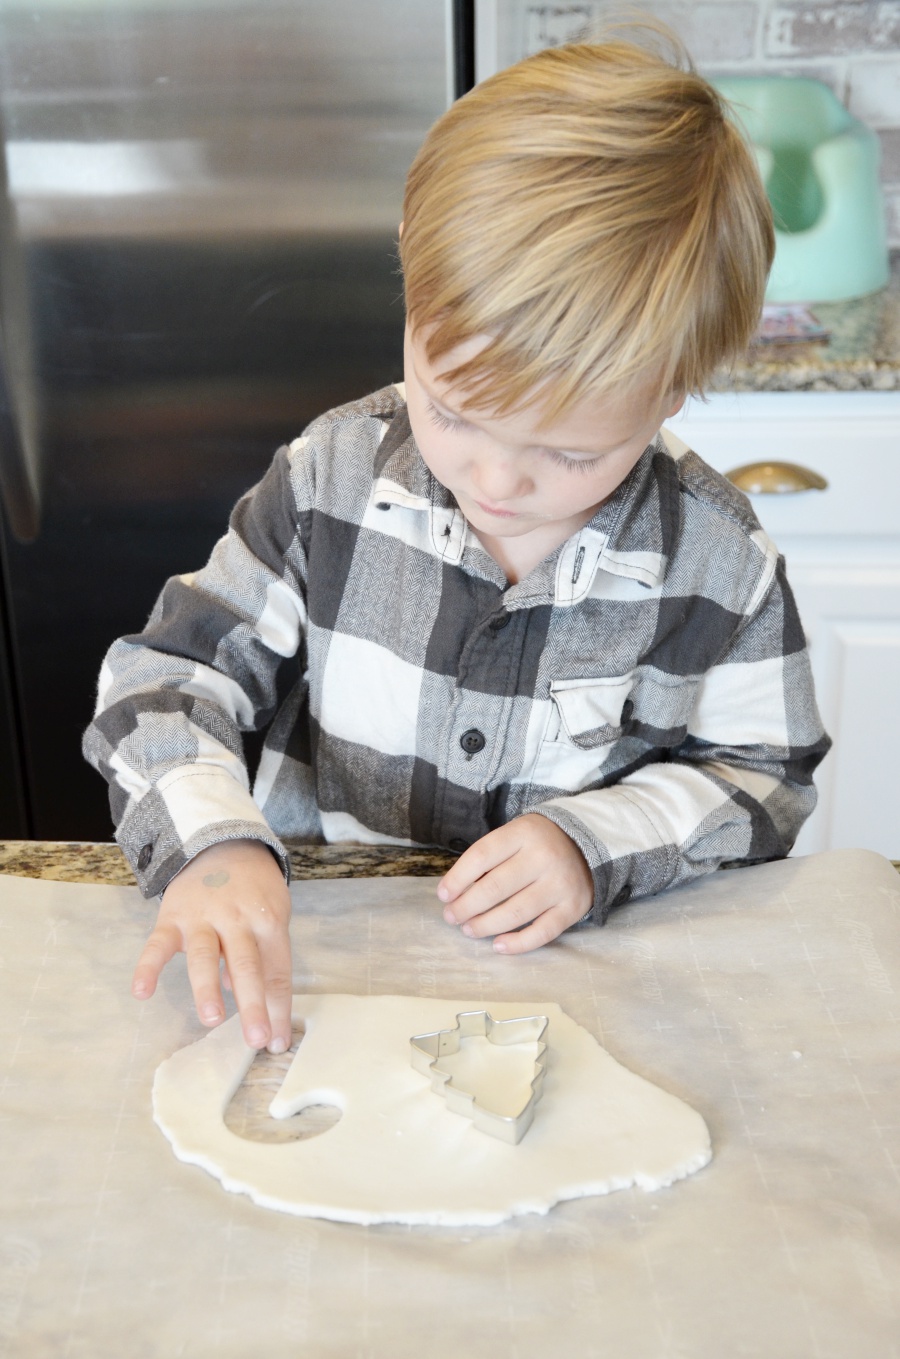
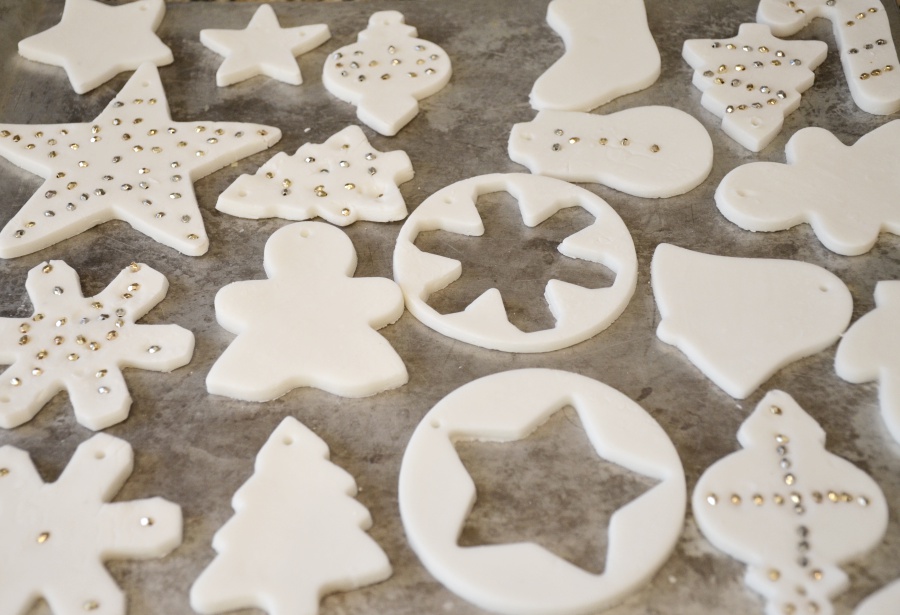
Once the dough is cooled, roll it out. Use cookie cutters to make your ornaments. This is the fun part!

Step 7
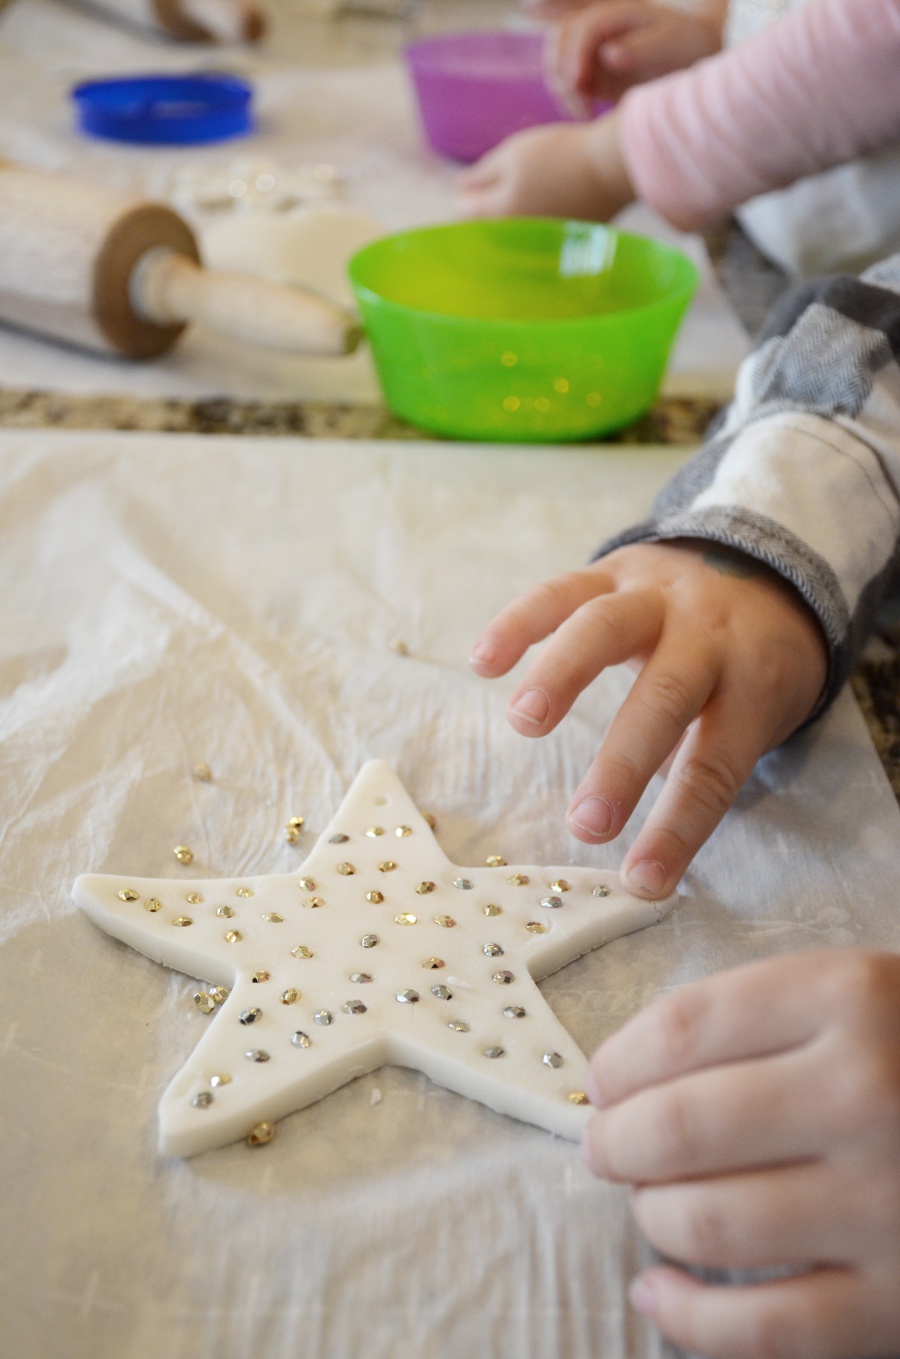
Add embellishments (optional). I purchased some silver and gold beads from the craft store. Another idea would be to paint them.
Step 8
Let dry and you’re done!
Extra tips to read before making these ornaments.
- LET THE DOUGH COOL. Hot dough expands. If you try to use the dough while it is warm, you are going to have a much harder time trying to cut out the shapes.
- You will find the edges of the dough become crusty as it sits. Don’t panic. Just knead it into the batch and carry on.
- I rolled the dough out on parchment paper, but it made creases on the back side of the ornaments. Next time I will roll them out directly on the counter.
- When you let your ornaments dry, in order to avoid having wrinkled wax or parchment paper marks/lines on the backs of them (as the moisture from the dough will cause those types of paper to wrinkle), lay them out to dry on cookie trays. Usually it takes a minimum of 2-3 days for them to fully dry. Some people bake them in the oven to help them dry faster. I don’t do this because I don’t want to chance burning them or changing their color.
- After a day of drying, flip them over to allow the back sides of the ornaments to dry and flatten out. The side laying on the surface will be moist so you need to flip it so that the underside can dry as well.
- Puncture your holes in the ornaments BEFORE they are dry. Yes I had to write that.
- This recipe will yield you approximately two, 10″ x 15″ cookie trays worth of ornaments.
- If you add beads or embellishments, push them in the dough right away. If the dough drys at all after cutting them, the beads will not hold and the dough will crack.


 Add to favorites or read later