Shelf Styling
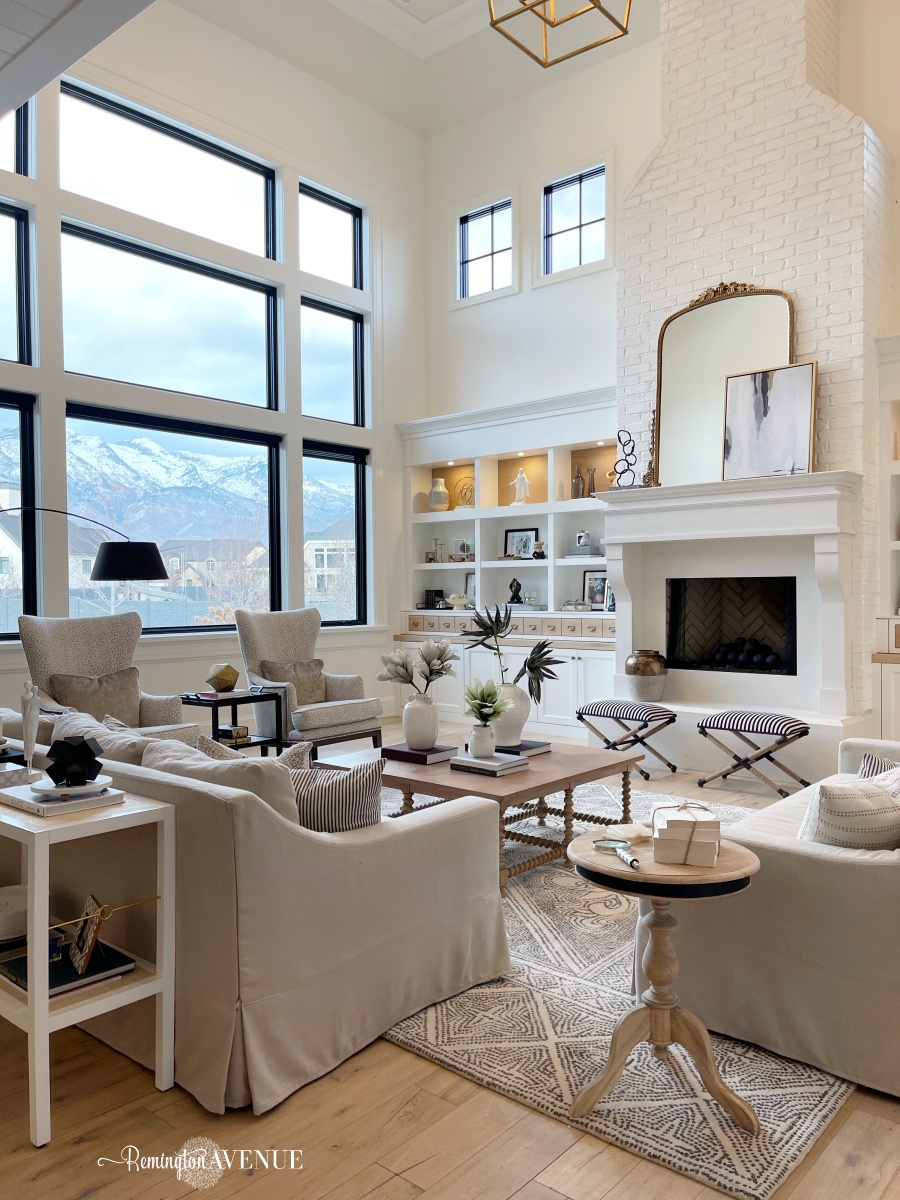
A super simple way to update your home is re-styling your shelves. It may seem almost obvious, but a movement of pieces or addition of seasonal items can transform a room! So I am sharing my tips and tricks for shelf styling in your home.
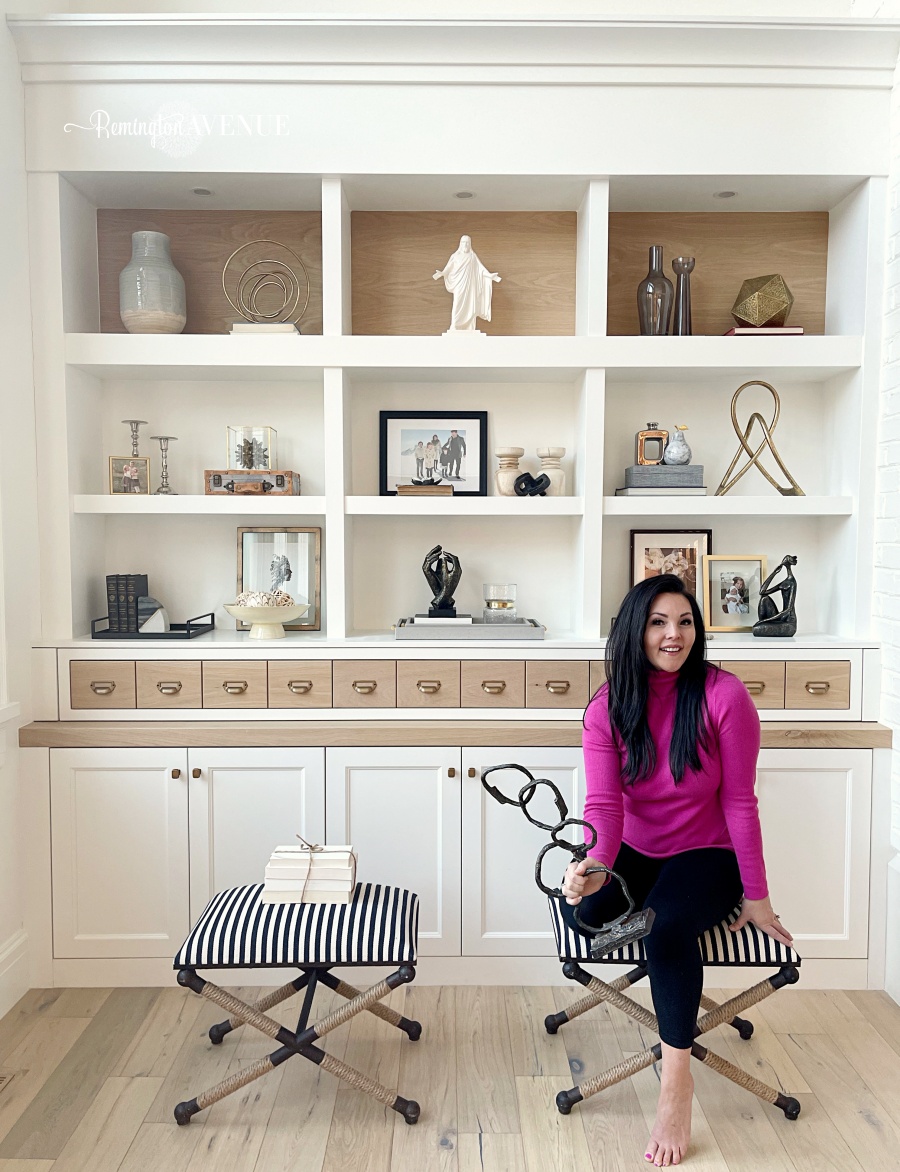
My hopes from this is that you guys can take away a formula and go make the shelves of your dreams in your own home!
Shelf styling can seem intimidating, but have fun with it and take it to a personal level! It is such a great way to incorporate character and style into a room!
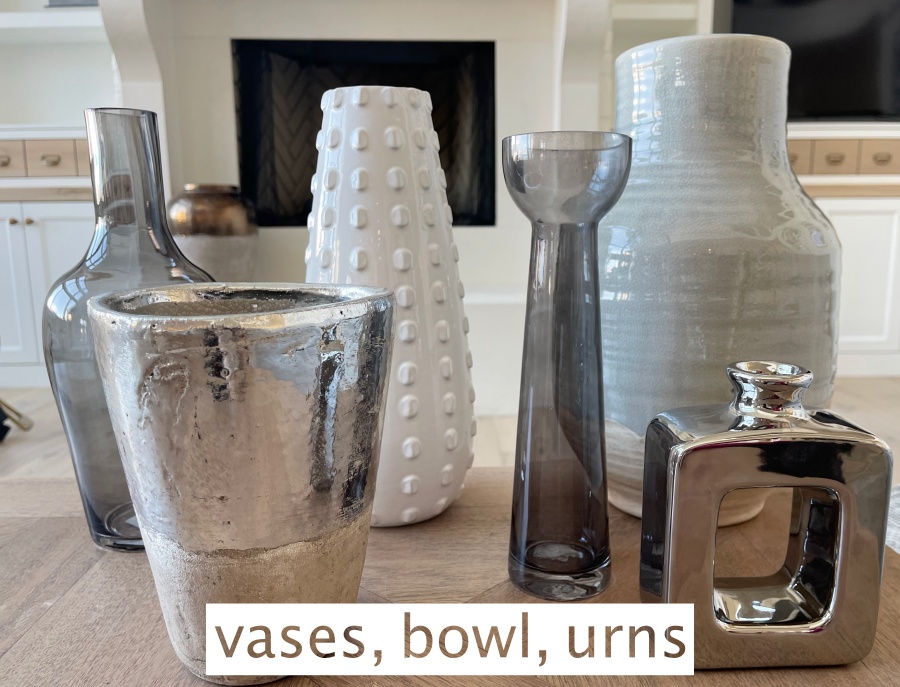
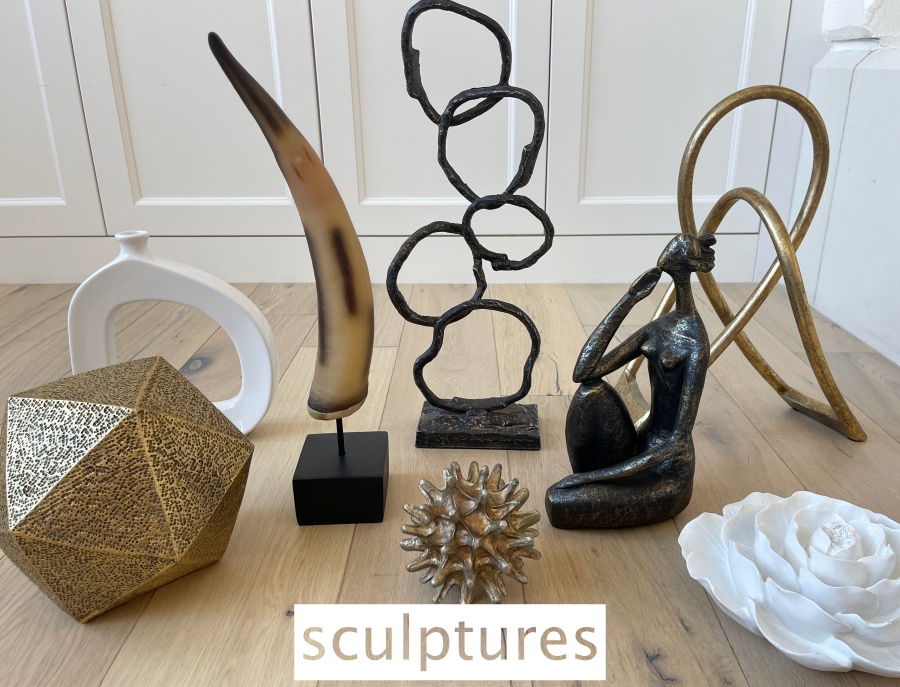
I would say the first thing to do would be to separate and lay out all of your decor in categories, like I did. That way you know what you have to work with. These are my categories:
- Candlesticks/vessels
- Vases & urns
- Sculptural/artistic details
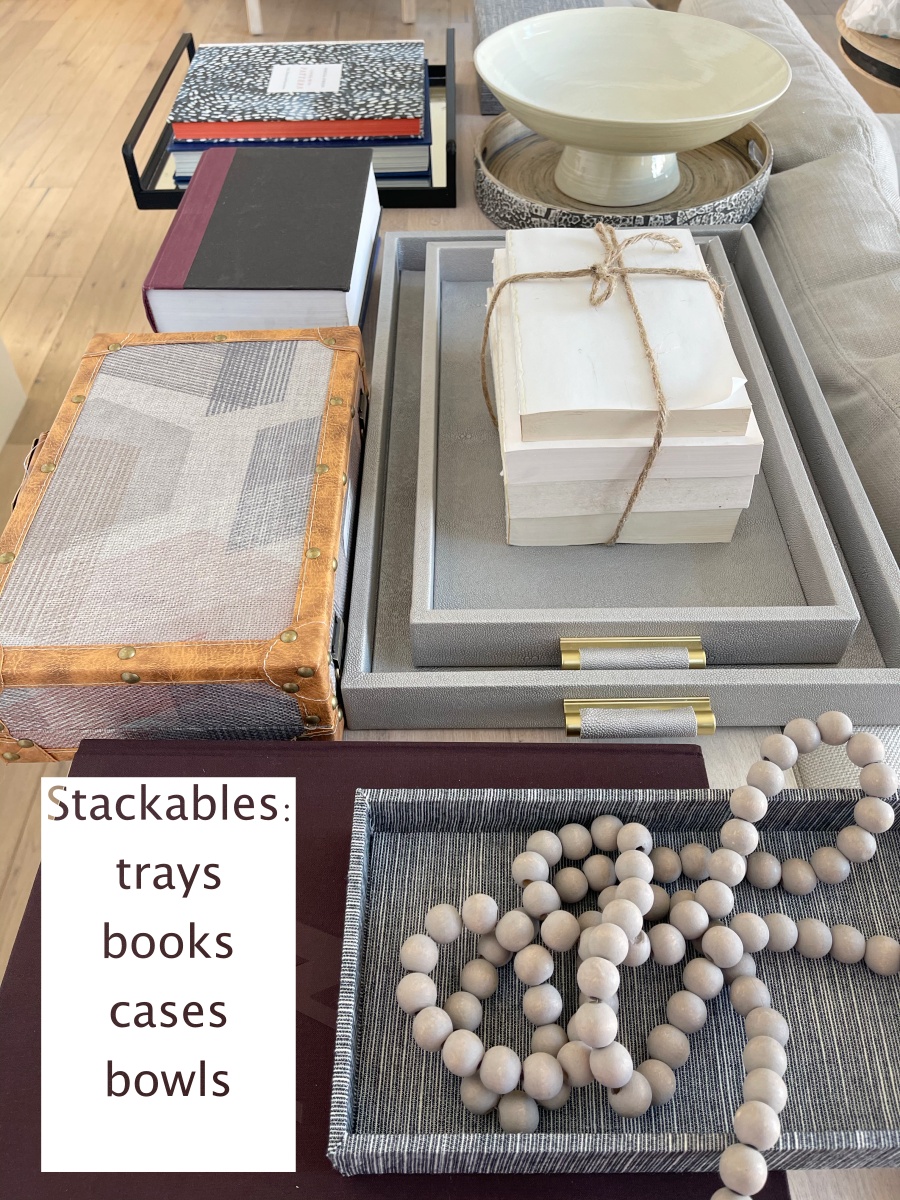
- Base layers: trays, books, etc
- Back layers: art, frames, photos
Once that’s done, let’s get to styling! Here are some of my tips for styling your shelves:
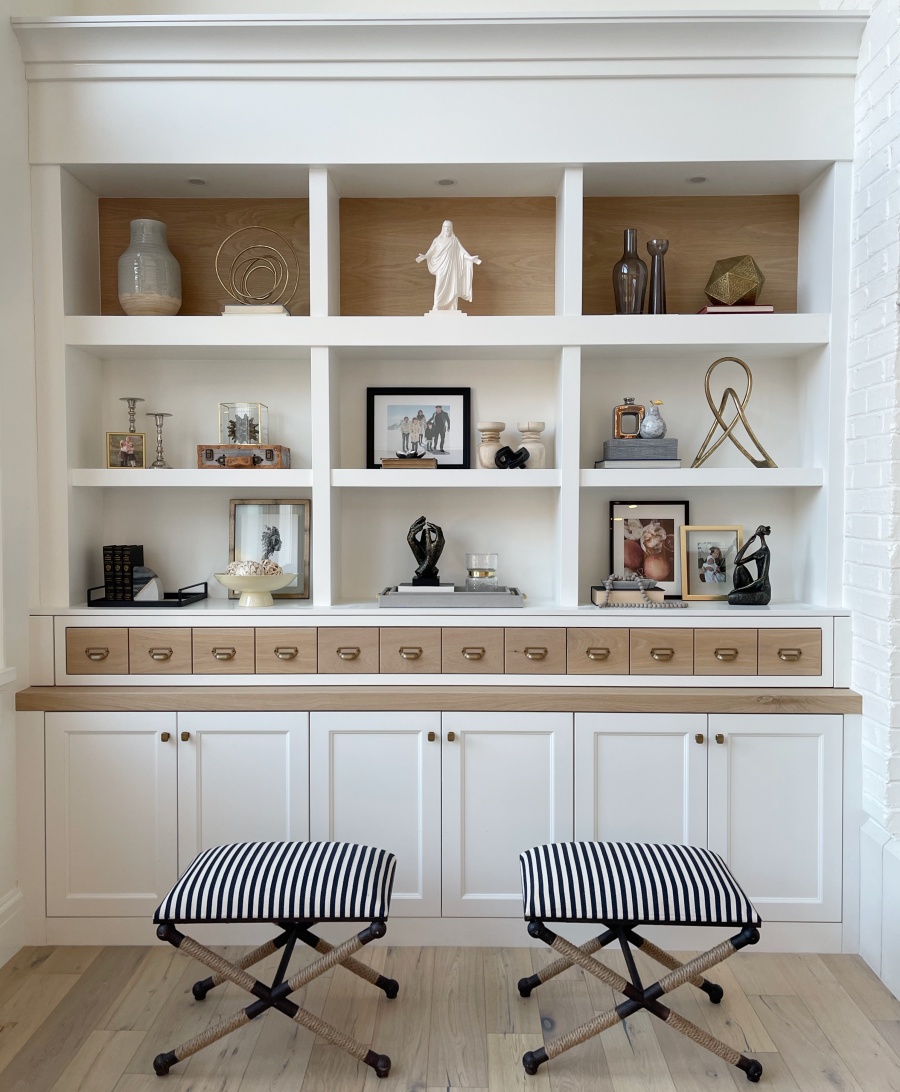
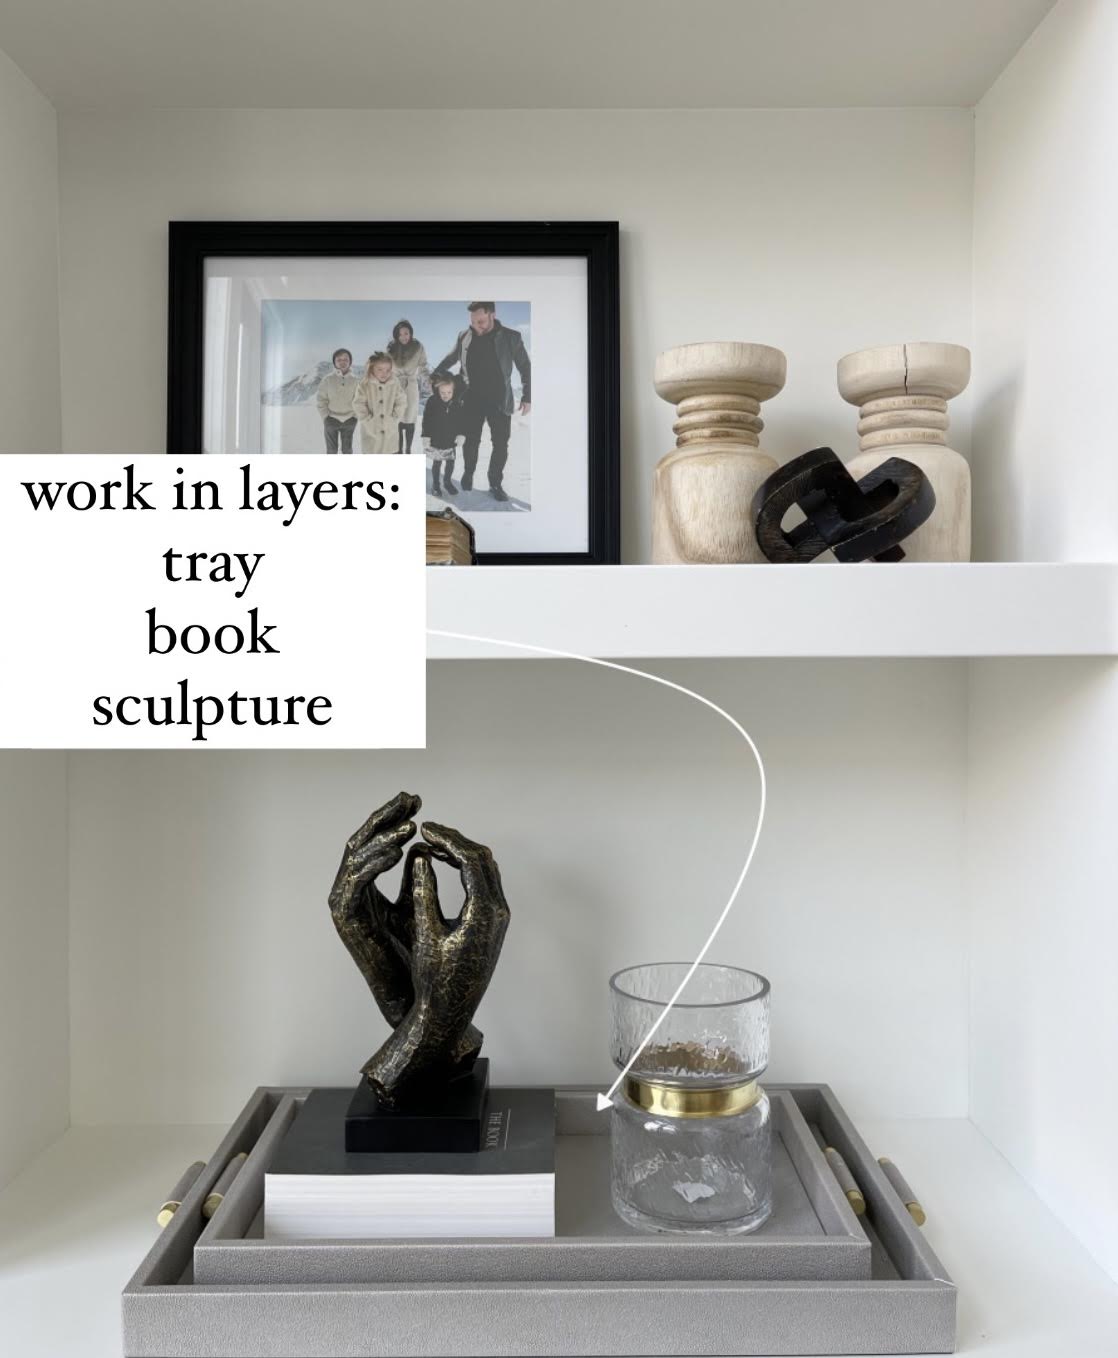
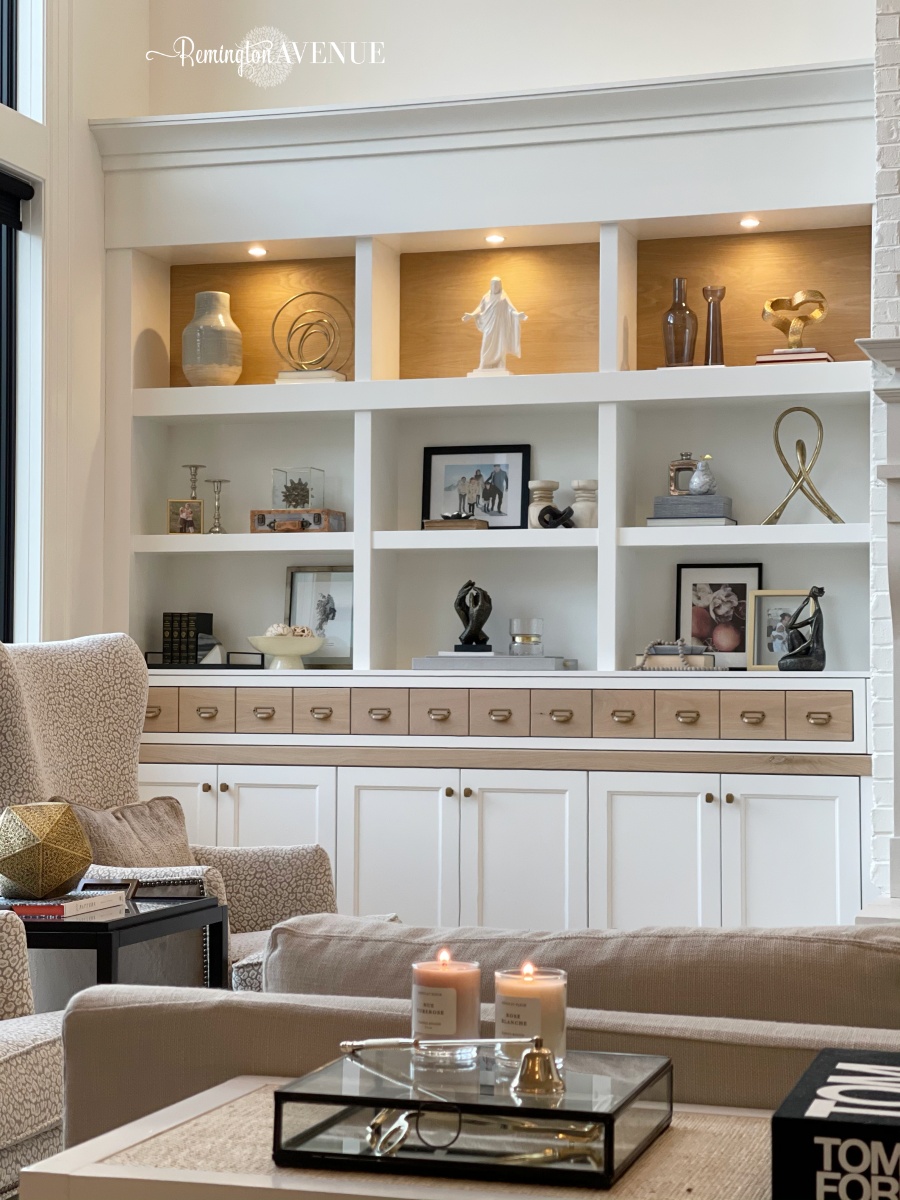
- In terms of styling shelves, you want to create different heights visually: We’re gonna start with the first layer, or the base layer, and that is stacking. A great way to achieve a really great lived in or eclectic look is to use a variety of stacking elements in multiple colors, heights, prints and textures, such as books, trays, boxes, cake stands, bowls, etc. You’ll notice I used a mix of neutrals in different materials.
- Create visual triangles: I like to start in the most impactful spot with my favorite items, which is for me, the center bottom cubby on my shelf. Start with your base layers and work in color triangles. I just grabbed a couple of objects that have similar colors, and just spaced them out to create a visual triangle. Triangles are pleasing to the eye because they create “balance.”
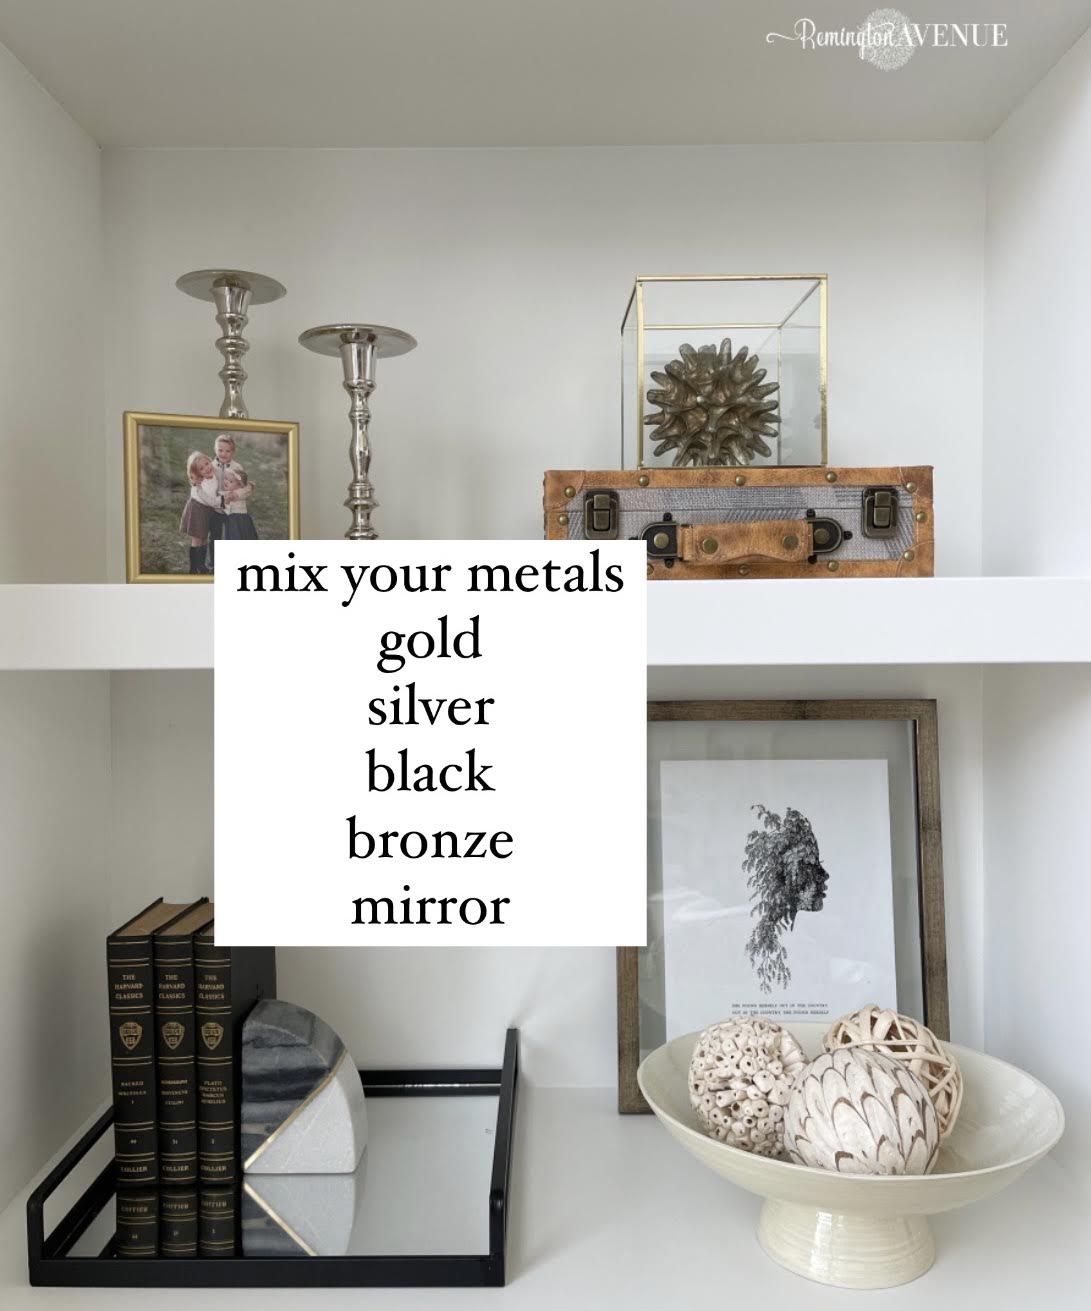
- Balance it out: Then I am going to place a decorative, larger object anytime I have something smaller. Large organic shapes look great next to stacked geometric shapes.
Since I have three rows of shelves, I can easily work in triangles and use sort of the same formula of stacked objects next to larger objects on a few of the shelves. And then I put my family photo in the middle center shelf because it is the most important to me. And I can create another triangle off of that. So it’s balanced, but all a little bit different.
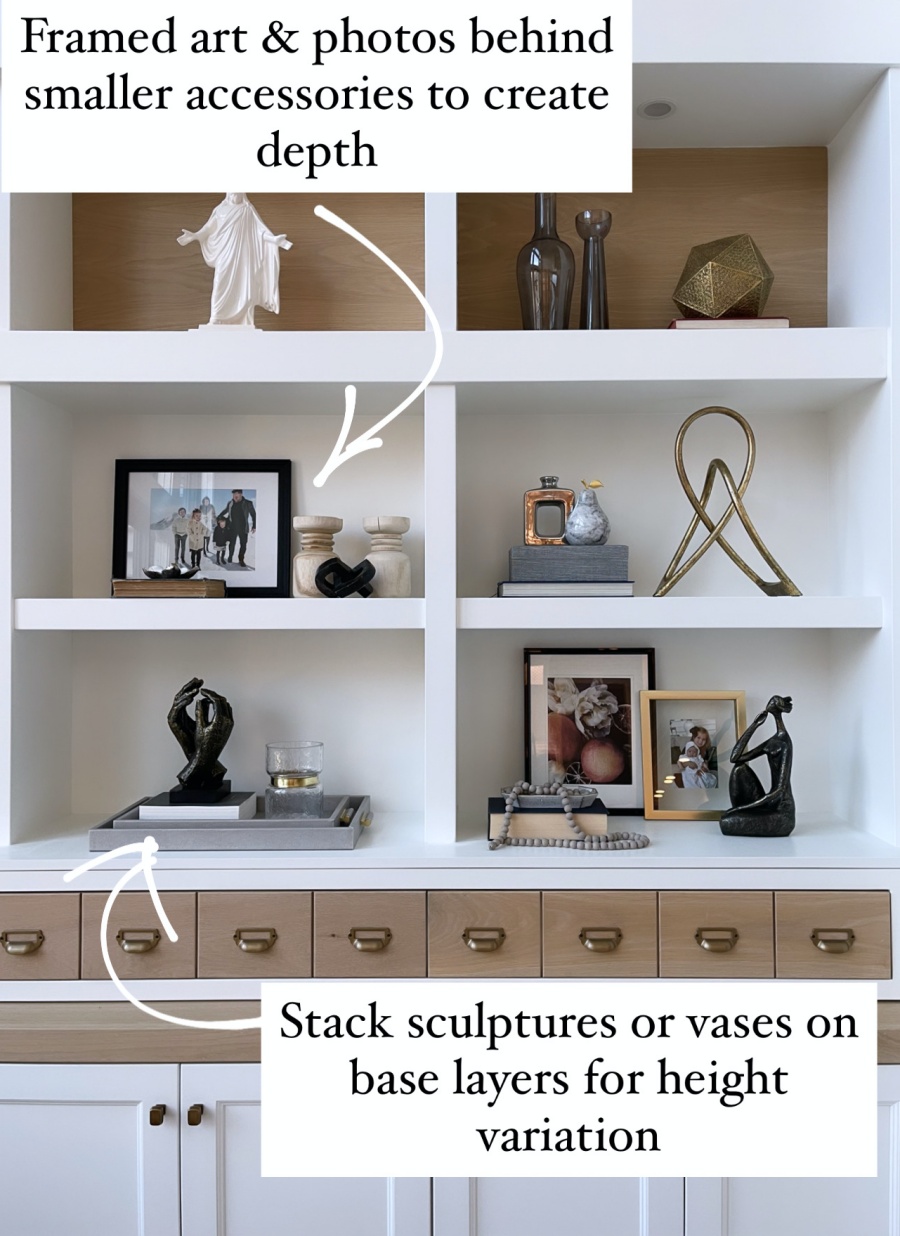
Next! Add depth: One thing I definitely wanted to incorporate this time was more photos of our family, so I got a variety of different frames and finishes. You can fill them with personal family photos, cool prints, art prints, or even a wallpaper sample like I did. Stack art and photos behind other objects to create depth and add something more visually appealing than just the back of the shelf. You can even stack two sizes of frames together on one shelf.
- Add books in vertically and horizontally and place smaller organic shapes in front of the frames.
- Add smaller decorative items such as filler balls and beads for texture and scale.
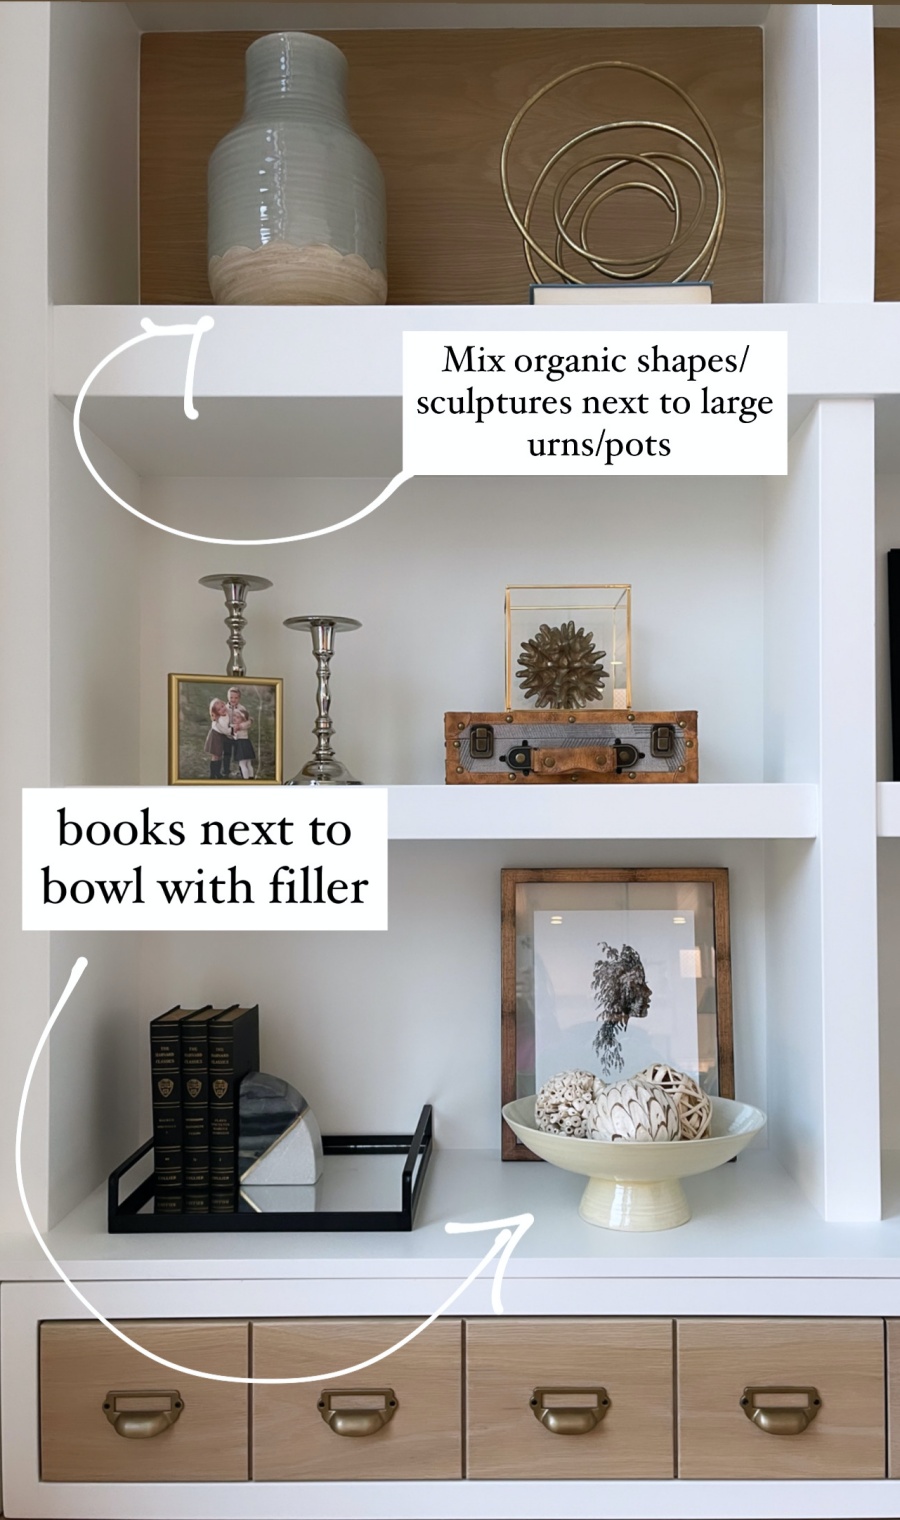
- Stack sculptures or vases on base layers for added height variation. You’ll see I added organic shapes and sculptures next to large urns and pots and books next to the bowl with the filler.
There are so many fun, unique ways to style shelving in your home, and the best way to incorporate your favorite decor. For more on simple styling, follow along on Pinterest or sign up to receive updates on the blog!

 Add to favorites or read later