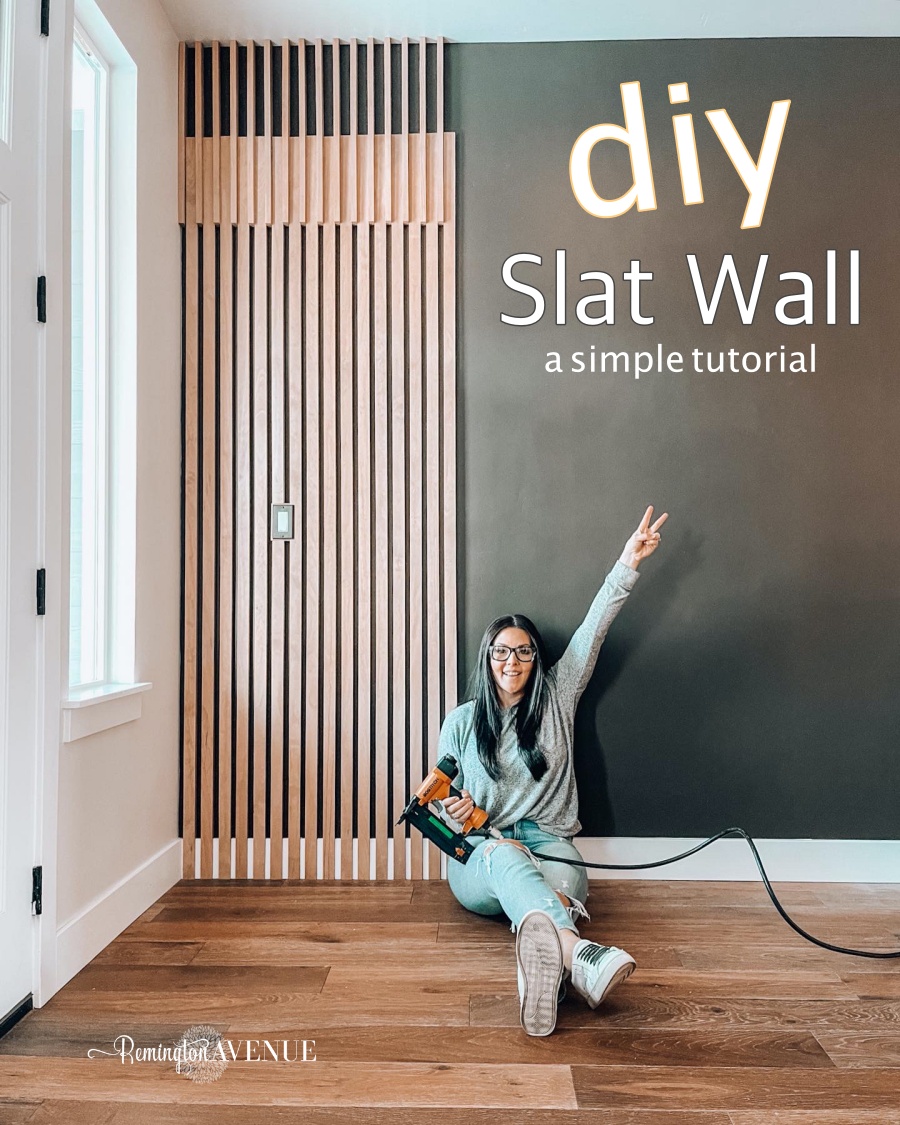
DIY Midcentury Modern Slat Wall Tutorial
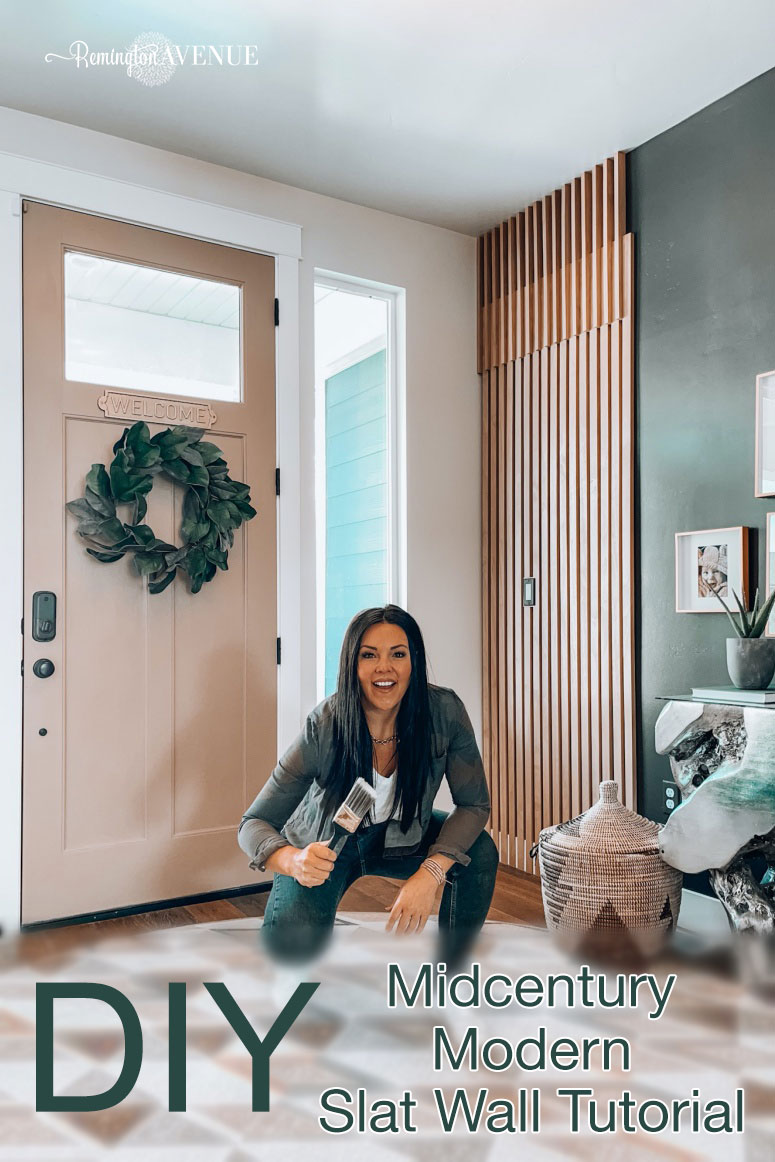
If you’ve been here a while, you know I love a good entryway moment! And this DIY Midcentury Modern Slat Wall Tutorial is a statement maker!
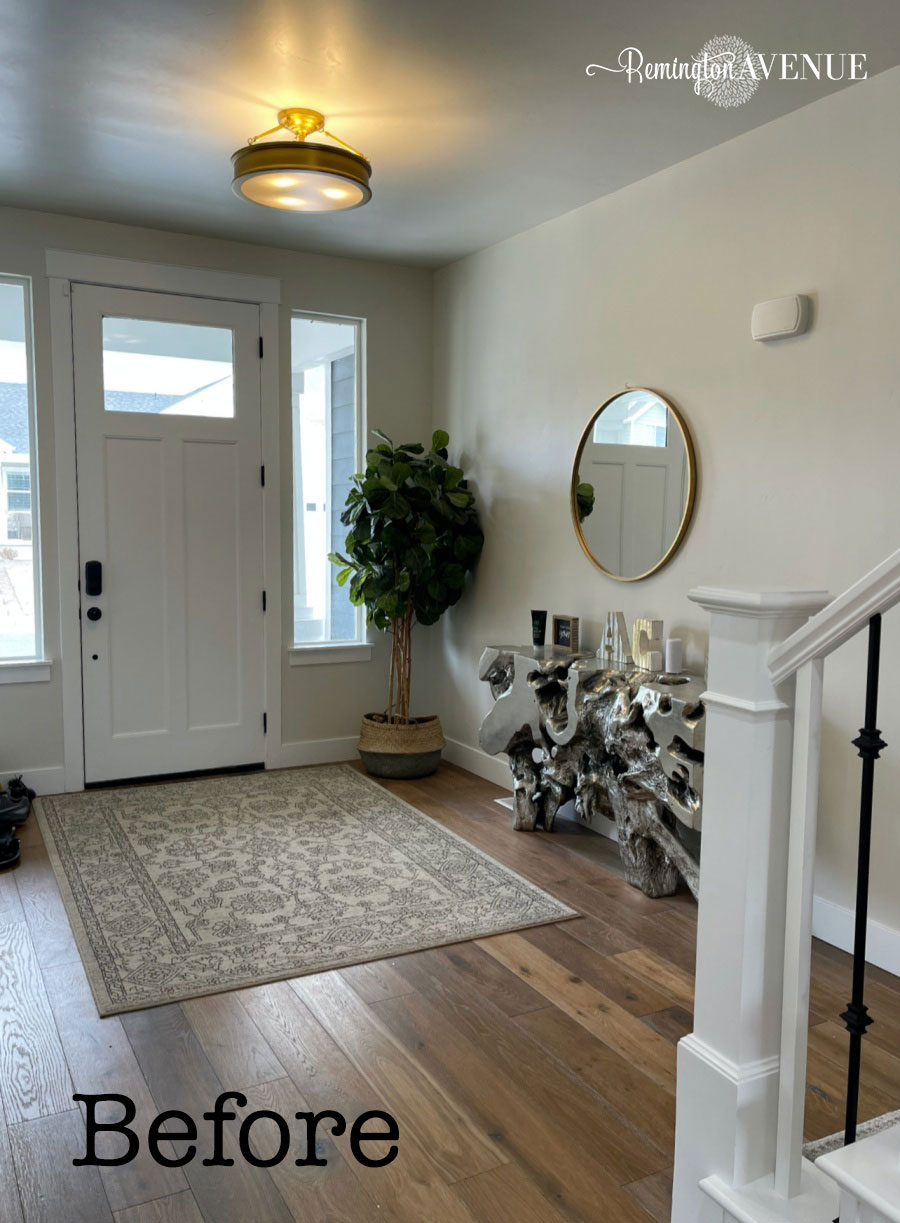
Updating my sister’s space has been so fun and gratifying because we get to work together on these projects and I just love spending time with her!
I had a vision for a unique slat wall, the super cool ones you see in hotels that look very intricate and something you could never pull off yourself…until now!!
I started by prepping and staining the boards for install the night before. To prep them I did one coat of wood conditioner. From here, one coat of custom stain, and one coat of pecan stain.
Before officially starting I placed the slats on the wall to get an idea of the look, but I didn’t like how they stuck out a little bit further than the base board. I wanted the slats to go to the floor. Plus I wanted it to look even more detailed by weaving the baseboard into the slats. These are all the thoughts that go on inside my head, lol.
So I took off that piece of baseboard and saved it to bring back in once the slats were done. So when it’s done it’s going to look like the baseboards are woven right through the wood slats!
Let’s jump into getting these wood slats on the wall for this DIY Midcentury Modern Slat Wall Tutorial!
I used a piece of the same board I used for the slats and turned it on it’s side for a spacer. So the gap between each slat is the width of the small side of the board. I started at the bottom and put a nail in the wood slat. And then ran the spacer all the way up, placing nails with my nail gun as I went. When nailing, I used the criss cross technique with my nail gun where I place two angled so they overlap in the wall.
My main obstacle for this DIY Midcentury Modern Slat Wall Tutorial was the light switch.
To tackle this, I am going to be framing all around it like I did in my bedroom. So that it runs right into the wood planks. I used those folding spacers to securely extend and mount the outlet away from the wall.
See a full tutorial on the box outlet here.
It actually worked out perfectly because one of the slats actually makes the fourth side of my box! So I only needed to make a 3 sided box! Once my box was done, I secured the pulled out outlet into place and then secured the box into its position. Then it’s good to go!
P.S.: I’m not a certified electrician, but I also did not mess with any wires!

Once I got around the light switch the rest went up very quickly!
The wall was looking good and I probably could’ve left it as it was with just the longer slats, but I knew I wanted to Mysha-fy it!
So once all the long vertical slats were done, I took the smaller slats and turned them on their sides and placed them into the spaces between the larger ones. You want to gently hammered them up so they start at the ceiling. Because they are the same size as the spacer I used, they fit perfectly into the spaces between the long slats!
Next I went through and filled the nail holes, which is so soothing to me, anyone else? I used this wood filler. It’s natural, stainable, and paintable. I filled all the nail holes with this and didn’t have to stain over them! It was a perfect match!
From here, we want to fill in all the gaps at the bottom where the baseboard was. I used my original piece of baseboard for this. Using a few pieces of wood and a clamp, I made a stop block for my table saw so that way I can make the same sized cut over and over again without measuring! I also used this method for cutting my short slats.
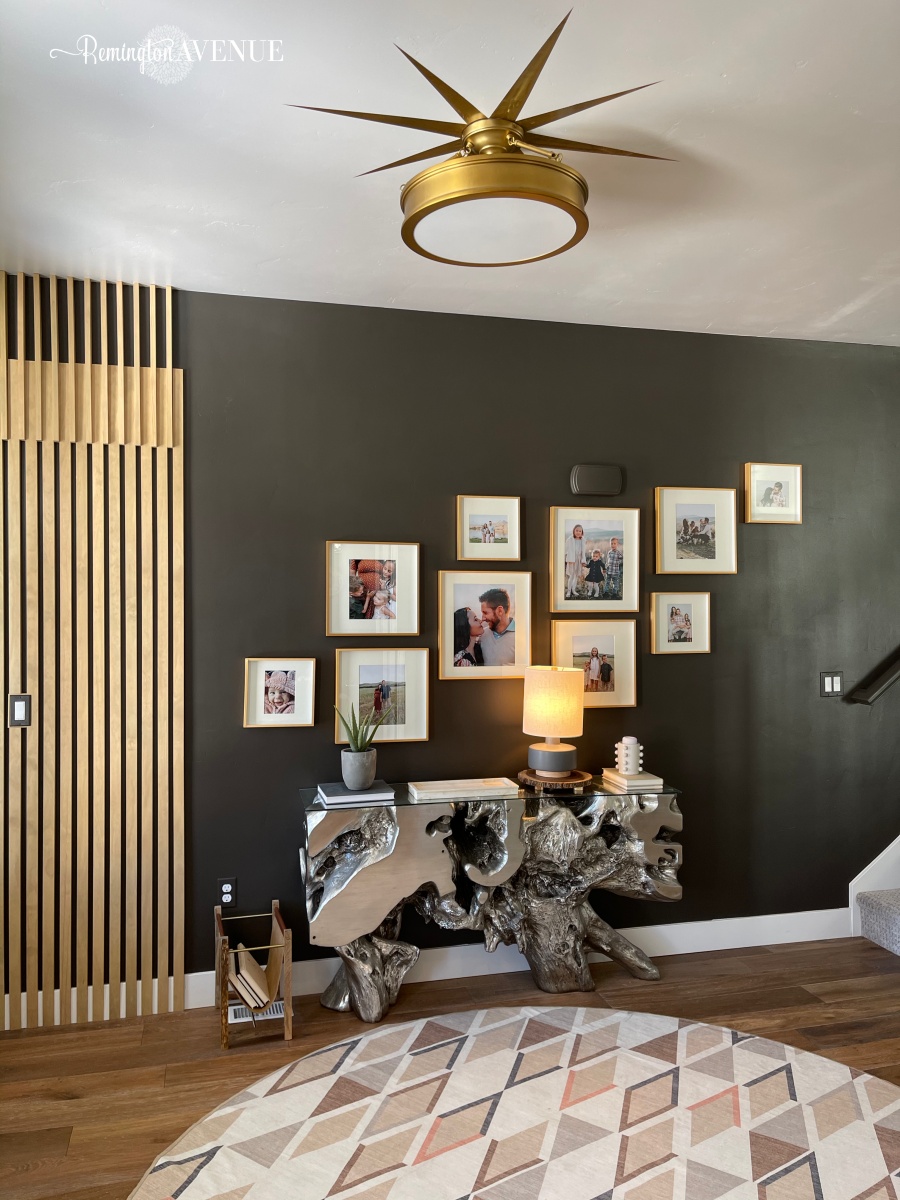
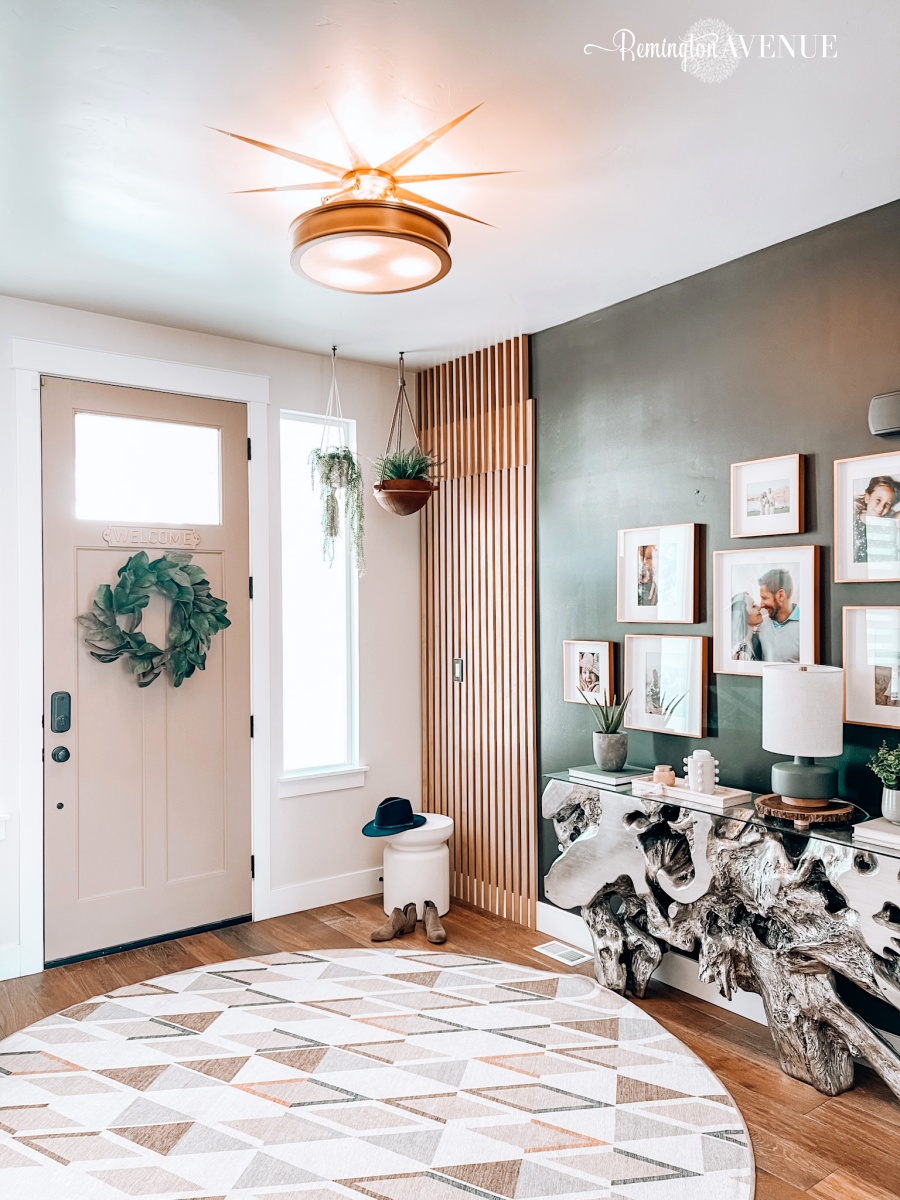
Viola! The slat wall is done! This was a really fun project, and to finish it off, we just need to style with all the fun details! Stay tuned!
Shop My Tools

 Add to favorites or read later
Love so much I am going to attempt this in my circular entryway… hope it works on a curved wall! Would you mind sharing the type of wood and size you used?
Thanks!!
select pine 1×2