How to Create a Cozy & Slightly Spooky Fall Porch
I wasn’t even sure I was going to do a fall porch this year. Between my thumb injury, my husband’s surgery, and life just being a lot right now, it almost didn’t happen. But my kids were disappointed, and honestly, so were you guys. And truthfully, I love creating a cozy fall porch just as much as you love seeing it.

So I went to the pumpkin patch, filled up the back of my car with pumpkins, and got to work. I am so glad I did because this Spooky Fall Porch turned out to be one of my favorites yet. I love how it turned out: warm golden doorway, layered pumpkins, natural branches, witch hats, crows, and a soft glow of purple light.
Here is exactly how I created this cozy, slightly spooky fall porch step by step.
Materials
You can find all the materials I purchased on my Amazon list here.
- Assorted pumpkins (real and faux) in a mix of colors, shapes, and sizes
- Fall leafy wreath for the door
- One or two large planters or urns for mums or other fall flowers
- Basket for added texture
- Faux crows or plastic ravens
- Witch hats
- Long natural branches (I collected mine from the wooded area behind my house)
- Orange and/or purple string lights
- Black cauldron-style pot
- Small fall accents such as broomsticks, skull props, and mini pumpkins
- Black light spotlight
- Ten-foot-tall skeleton (optional but fun)
Tools
- Zip ties, floral wire, or clear fishing line
- Removable outdoor hooks (Command)
- Garden shears or mini chainsaw
Directions
Step 1: Build Your Tree Arch

I started with the natural branches because I wanted a half arch that felt like a crooked tree leaning over the doorway. It gives that slightly eerie, storybook look that every Spooky Fall Porch needs.
To anchor the branches, I dug a small hole in my planter box and packed large boulders around the base. In the past, I have also used a freestanding planter filled with rocks, dirt, or sandbags (see my DIY faux fall tree tutorial for reference). Once the main branches were in place, I zip-tied a few smaller ones overhead to complete the shape of the arch.
Step 2: Add Lights and Texture
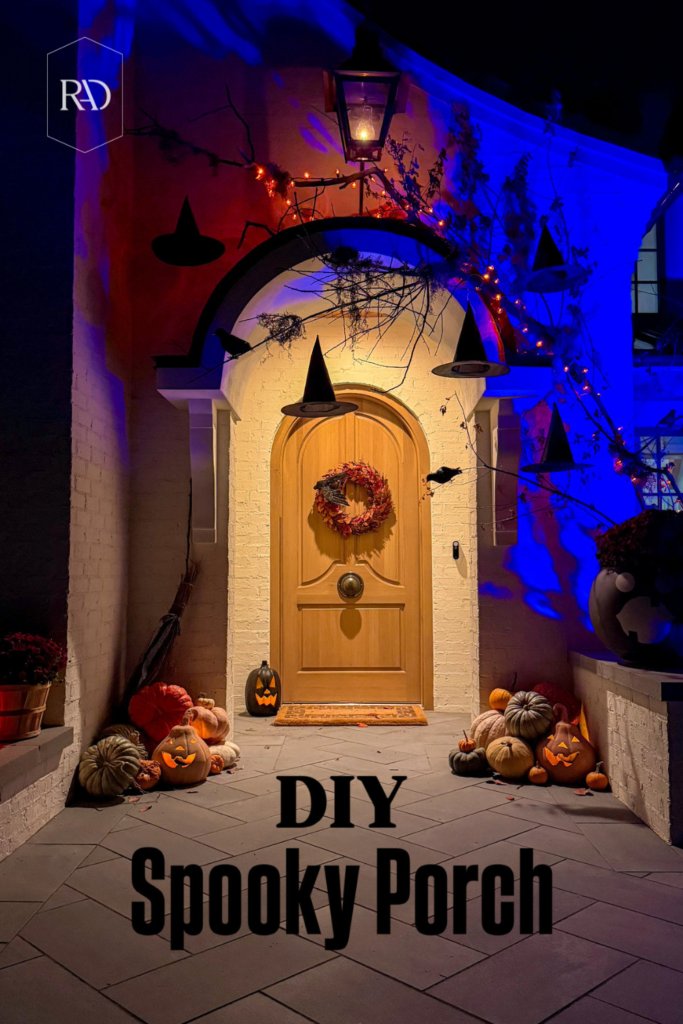
Next came the magic of stringing orange lights through the branches and hanging wisps of Spanish moss to make it look like an old haunted tree. I hung witch hats from clear fishing line at different heights and attached a few faux crows using hot glue. Floral wire works too if you want to reuse them later.
This step completely transformed the space from a simple doorway into a spooky porch scene that glows beautifully at night.
Step 3: Style the Doorway
For the door, I hung a fall wreath using a Command hook. Pick one that sets the tone for your color palette. Mine tied in perfectly with the golden mums and pumpkin tones.

I added my old witch broom, a few skulls, faux jack-o’-lanterns, and a black cauldron I painted in a previous year’s project. These small Halloween touches give personality to your Spooky Fall Porch without feeling over the top.
Step 4: Layer the Pumpkins

This is always my favorite part, arranging pumpkins. I created three or four clusters along the stairs and by the doorway, mixing real and faux ones for variety. Odd-number groupings usually look the most natural. Play around with placement until you love the look, then add smaller accents like mini pumpkins or skulls to tie everything together.
You can even fill in with some painted pumpkins!
Step 5: Finish with Fall Flowers
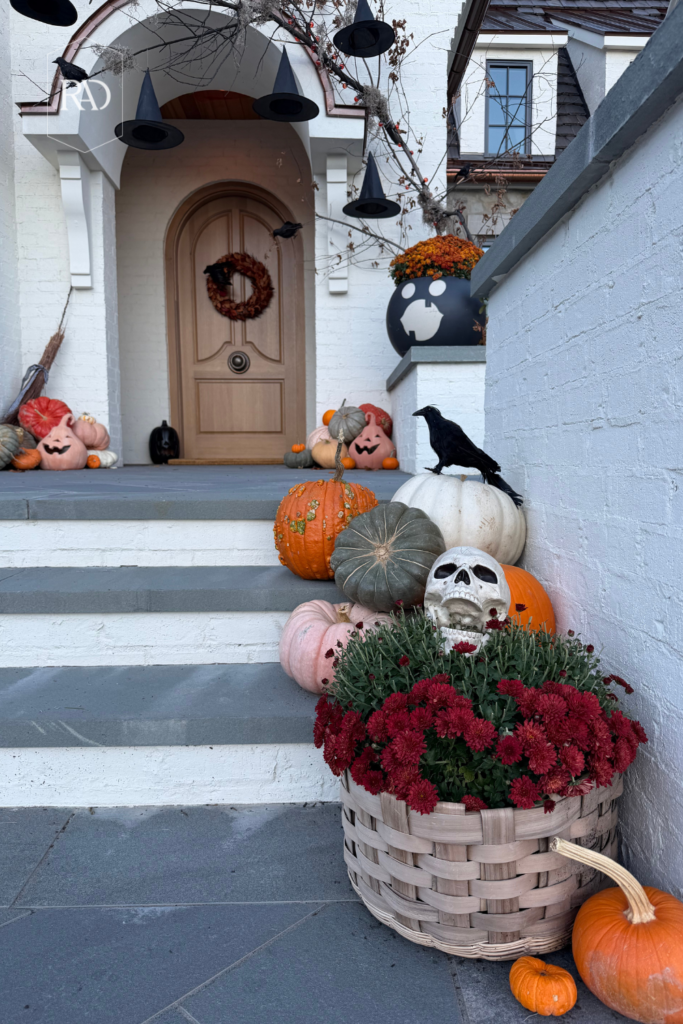
No Spooky Fall Porch is complete without flowers. Mums are my go-to choice because they come in deep fall colors and fill large urns perfectly. I tucked mine between the pumpkins and added a few smaller blooms for balance.
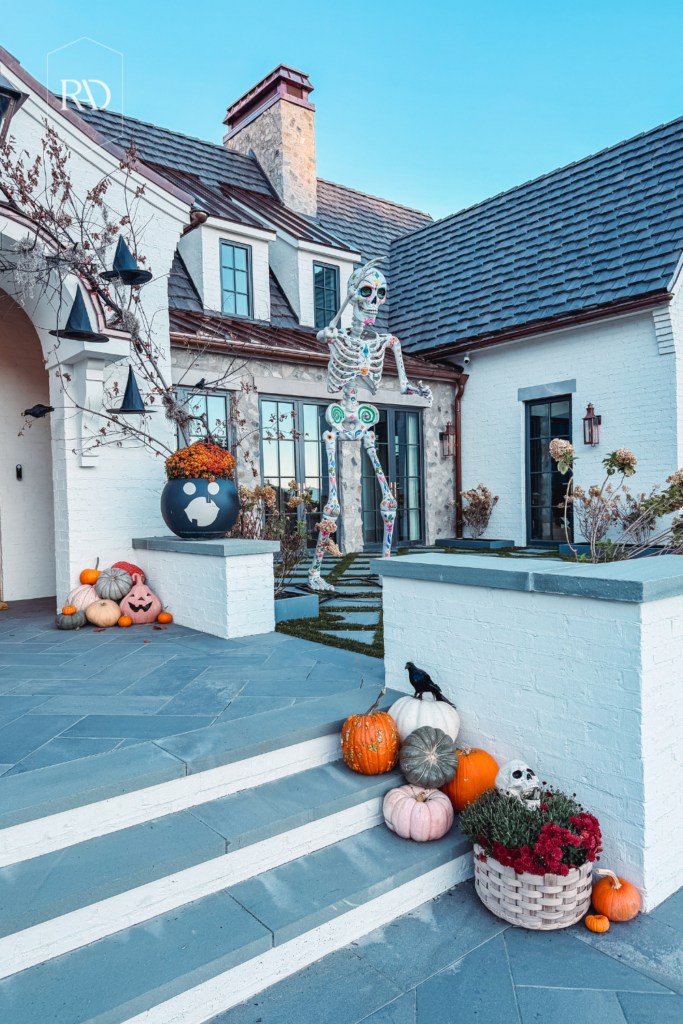
And of course, we had to bring out our giant painted skeleton. He is practically part of the family at this point.
Finished Look
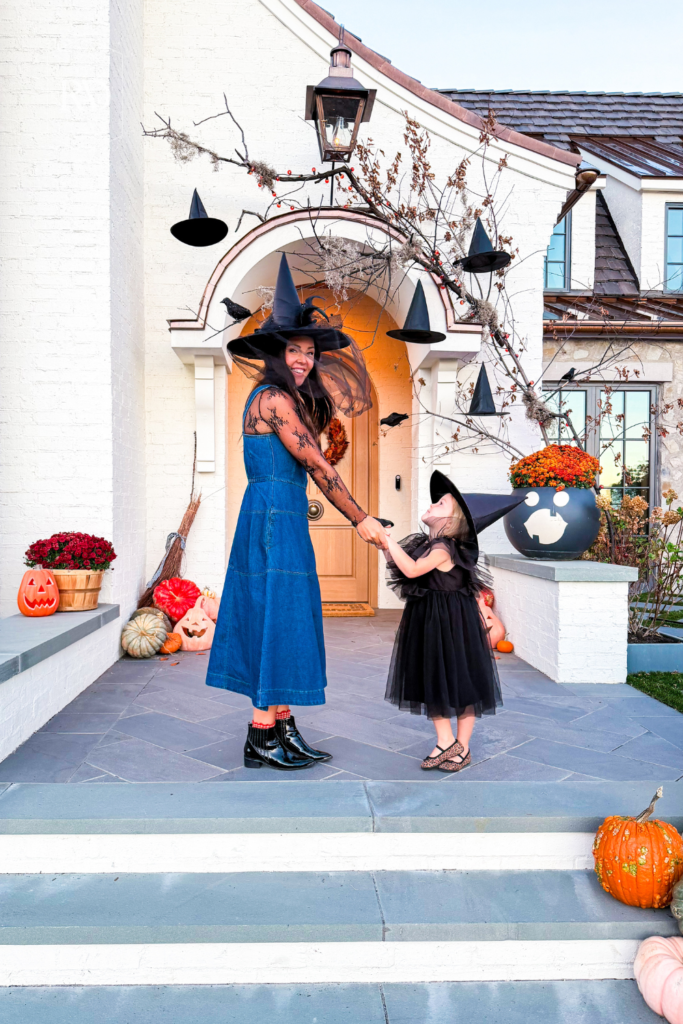
Even with everything going on this season, I am so happy I made time to decorate. This year’s Spooky Fall Porch feels warm, whimsical, and just eerie enough to make my kids squeal when the lights come on at night.
If you are looking for an easy weekend project, this one is for you. You do not need much, just creativity, a pile of pumpkins, and a few spooky touches to make your porch feel like fall magic!
For more porch ideas check out my Fall Porch Roundup

 Add to favorites or read later