DIY IKEA Hack Homework Station
I like when I work on projects at my sister Alyse’s house because I get to bring her into my world a bit. This DIY IKEA hack homework station is definitely one of my favorite projects to date!
This is the perfect project to get ready for a productive new year! My sister’s loft area is for her kids and I wanted it to be a hang out spot equip for all things kid; homework, crafting, watching tv, gaming, and lounging. The first project I did to transform this unused loft space was the DIY board and batten, and you can find the tutorial on that by clicking HERE.

I was a little intimidated by this project, But if you want to learn something new, there always has to be a first time.
I’ve gotten questions on how I know how to do certain things or what materials I need and I want to say, I learn the same way you do. Just like you watch me on Instagram and read my blog, I watch other people on Instagram or YouTube, or I read a blog.
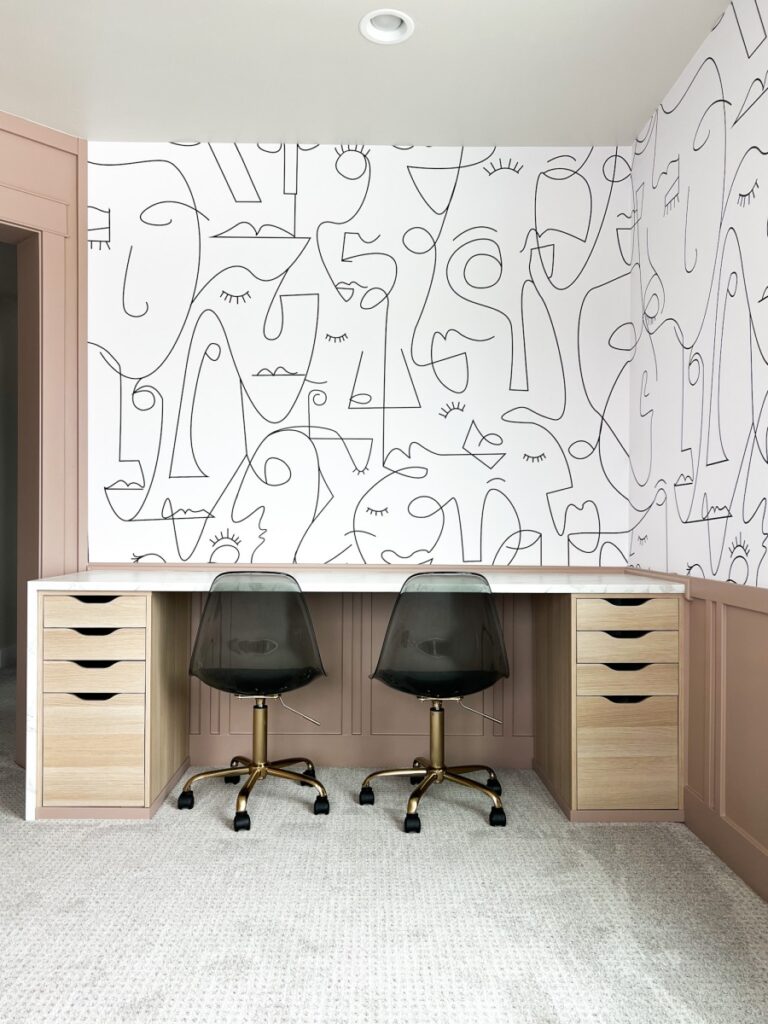
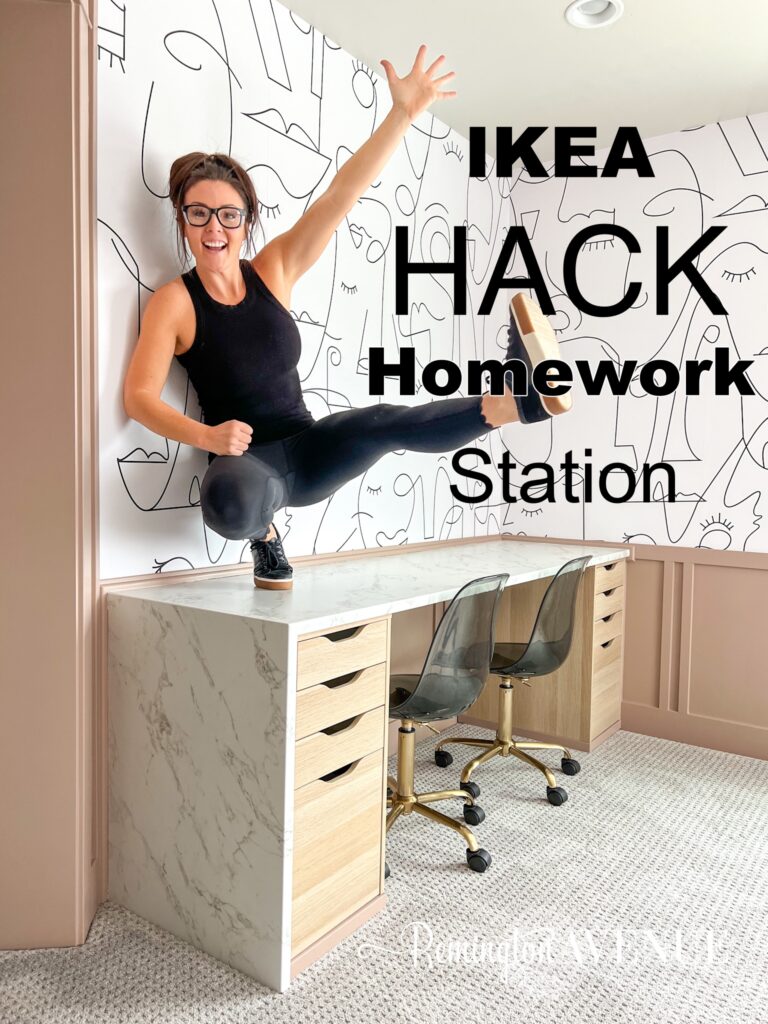
Don’t you just love this playful wallpaper. It’s from Wall Blush & its called Face It. I think the hardest part about hanging wallpaper is hanging the first panel and making sure it’s level. My panels measured 24.5 inches wide, so I subtracted an inch and measured a level line going down the wall. I peeled the backing down about a foot from the top and lined it up with the level line draw on the wall.
You want to peel the backing as you go and smooth out the air bubbles. Once applied, use a straightedge and a razor to cut the excess paper away. With my second panel, I overlapped it on the first one by ½”. Every brand is different, so some of them you line them right up against each other and then others you overlap.
Make sure to pay attention to that when it’s time to install!

In all honesty, peel and stick wallpaper is my least favorite to hang because you cannot manipulate it on the wall. Once it’s stuck you have to unstick the whole sheet to work out bubbles. We found that lining up the wallpaper before peeling and marking the overlap helped. And corners suck. My tip is to cut the bottom of the paper where it goes into the corner and overlap the paper if needed. Keep in mind, most corners are not straight.
Tip: The busier the wallpaper and the more color, the easier it is to install. This is probably one of the hardest wallpapers I’ve had to install.
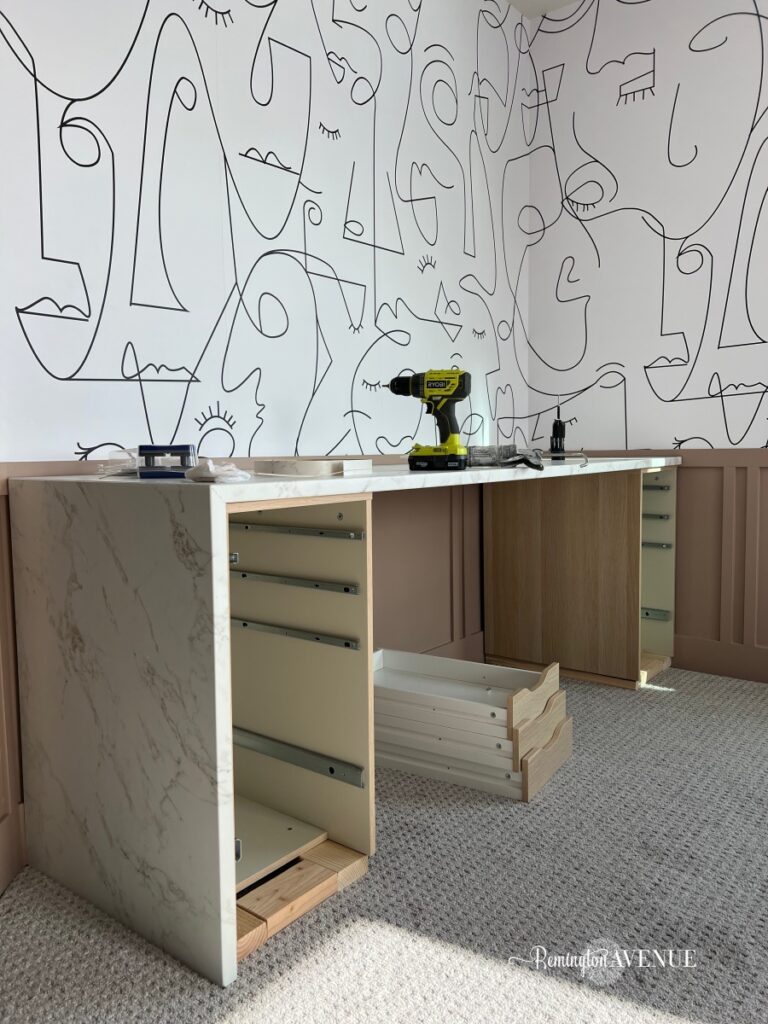
The DIY Ikea Homework Station Hack:
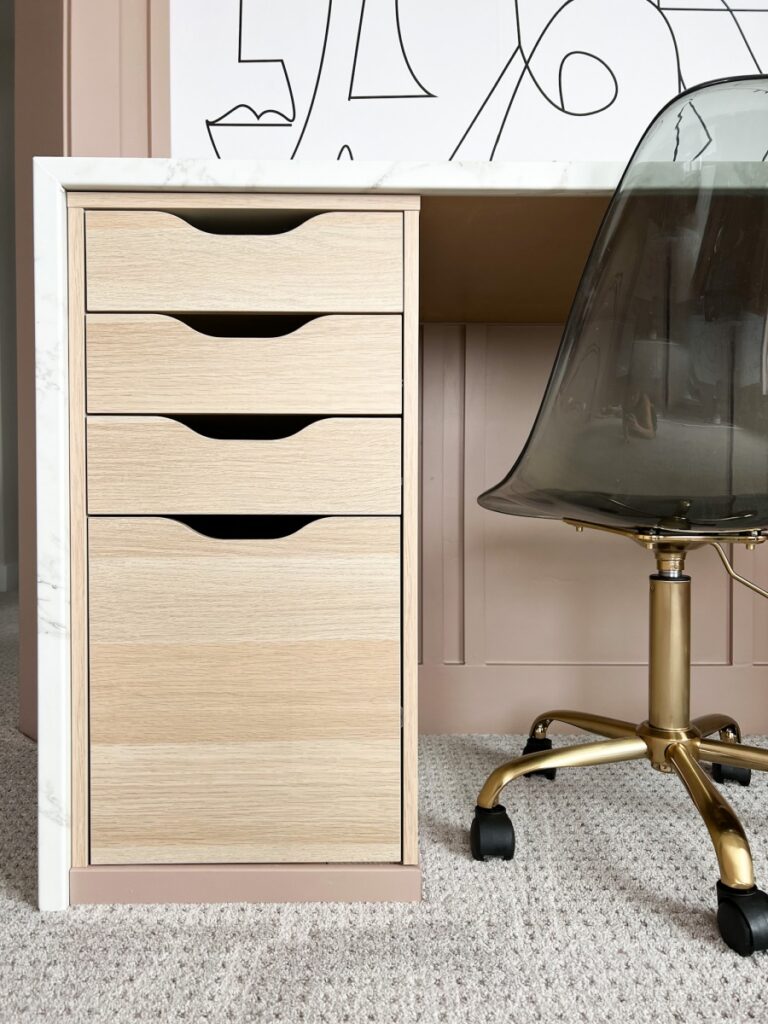
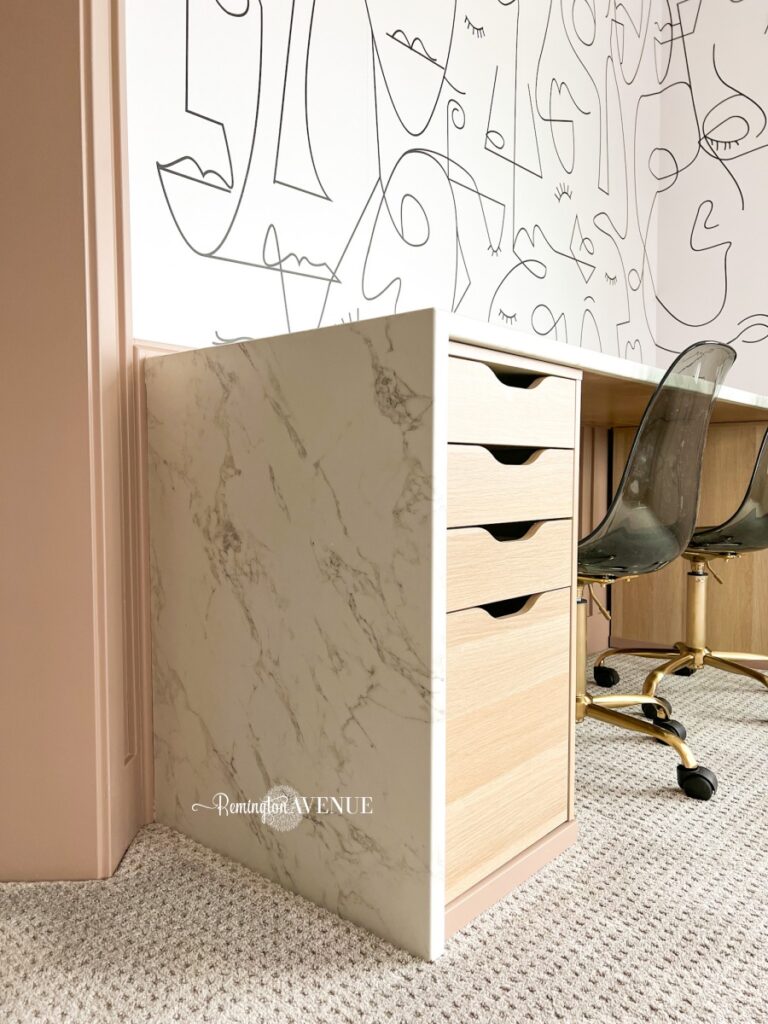
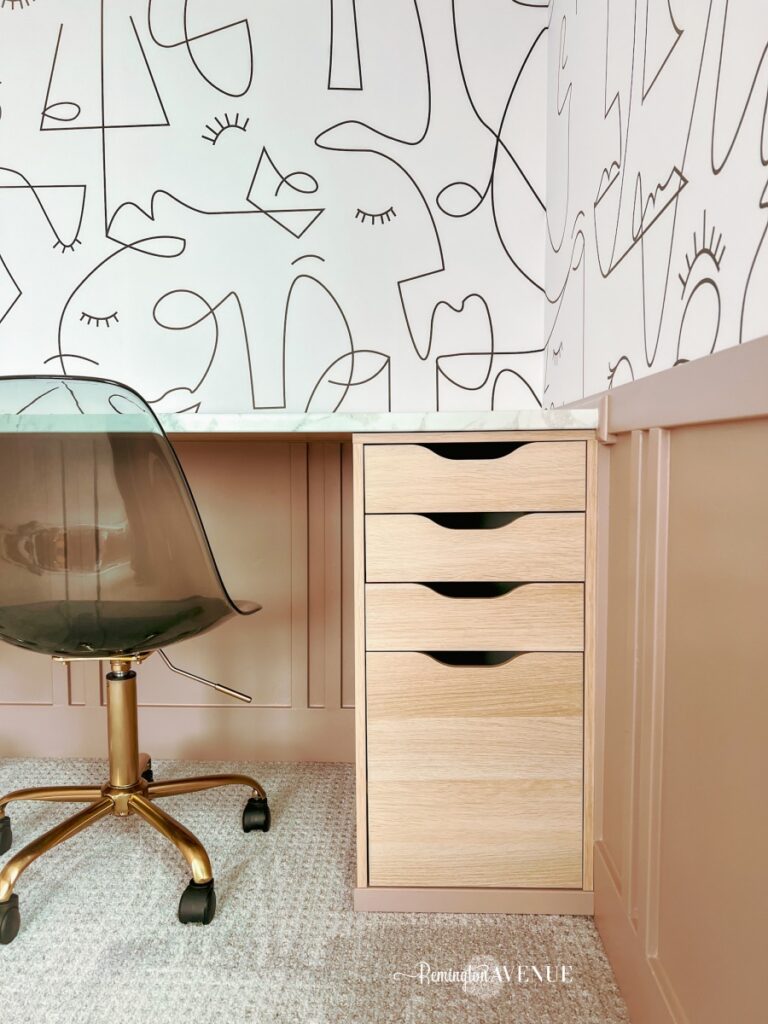
I wanted to create a functional homework station that was simple, but felt custom to the space. This hack uses the Ikea Alex Drawers as bases on either side of the desk with a waterfall countertop across the top and down the side, as well as some trim details here and there.
Step 1:
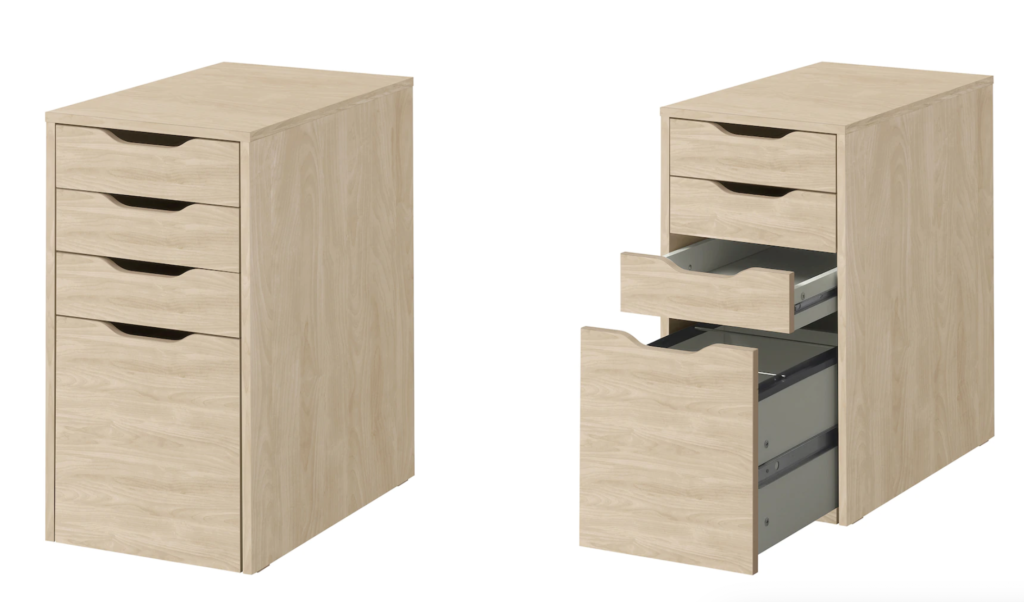
First up! You want to build the Ikea drawer units. Like all Ikea furniture, the Alex Drawers come in pieces that need to be assembled. Start there!
Step 2:
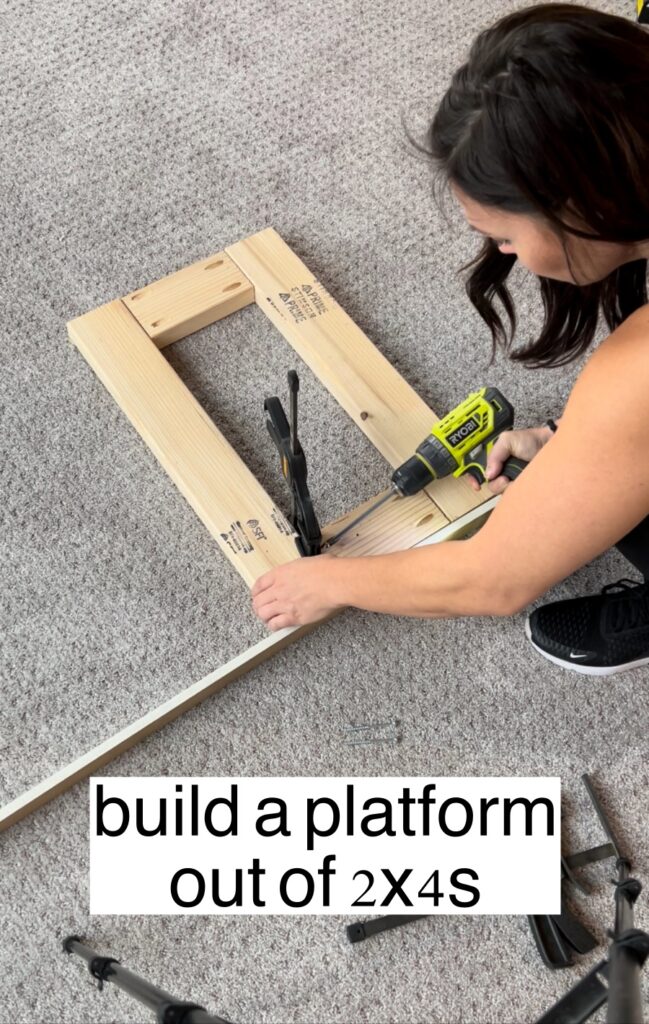
Build the platforms for the drawers. These will lift them off the ground a little to make the counter height taller. It also makes the bottom drawer more functional on carpet! I made mine out of 2x4s. I just put together boxes and made them slightly smaller than the drawer unit. And that is just because I knew I wanted to add trim around the bottom.
Step 3:
Attach the platforms to the cabinets and secure the cabinets to the floor and the wall.
Step 4:
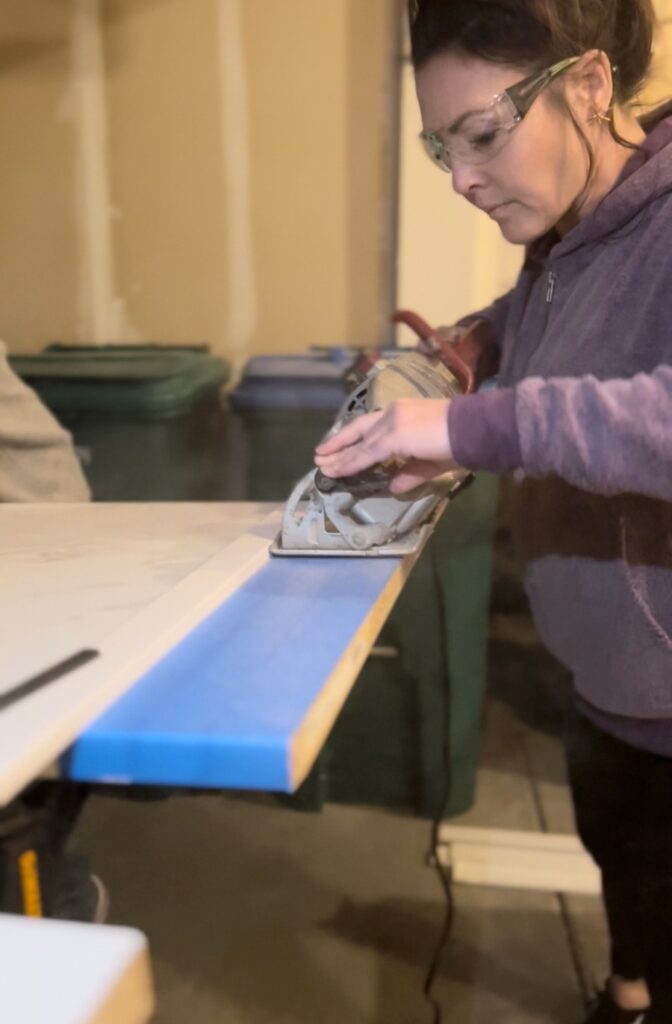
Measure and cut your countertop for your DIY IKEA hack homework station!
I needed a countertop for this workstation area and I wanted to find one that was durable and inexpensive and I ended up going with THIS prefabricated laminate, which was relatively easy to cut myself. I made a makeshift jig with clamps and scraps to keep everything lined up straight. This was my first time cutting a laminate countertop… well any countertop for that matter!
A great tip is to tape the top of the countertop to keep the laminate from chipping on the top when cutting. I made a beveled edge on one side because I knew I was going to give it the waterfall look and wanted the edges to blend seamlessly.
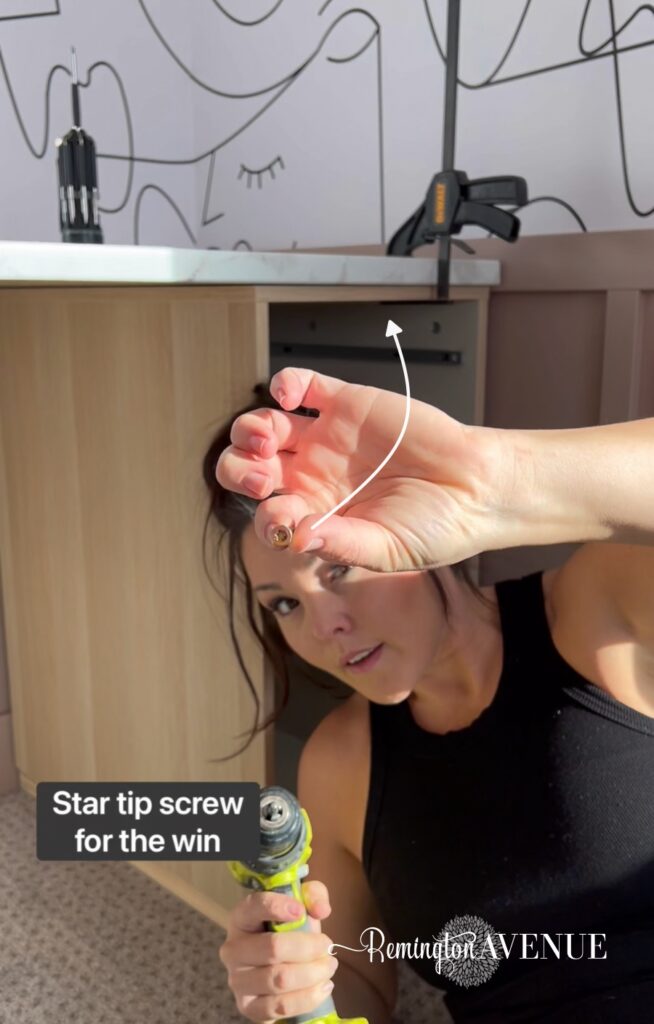
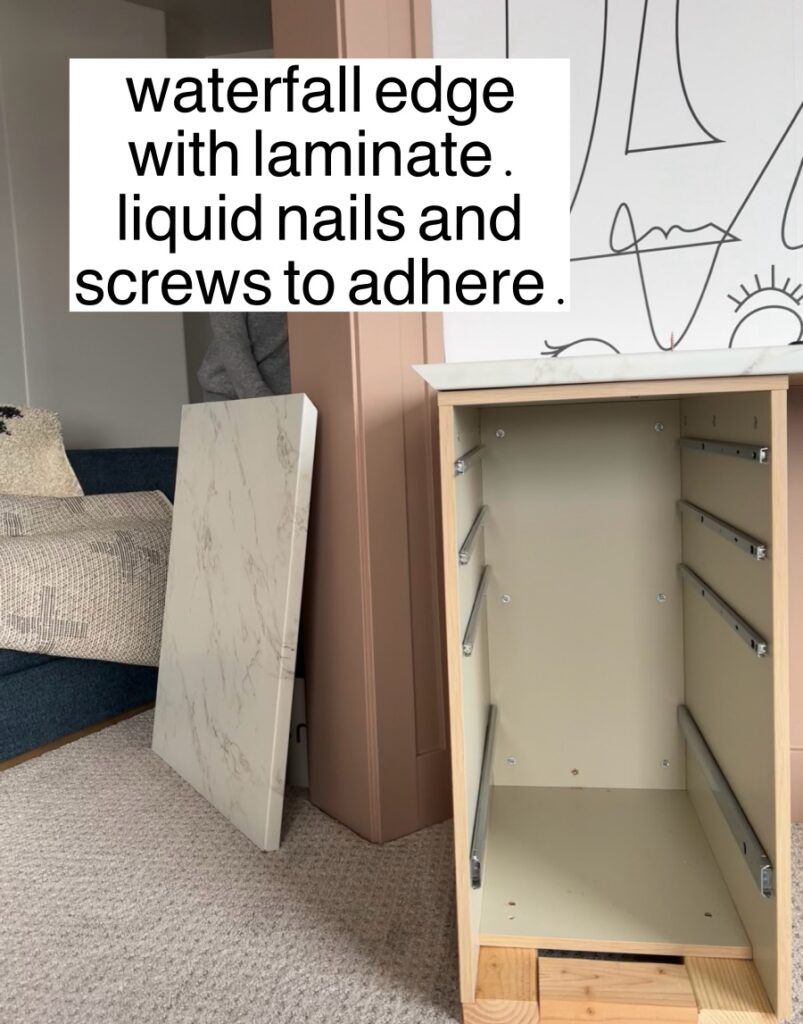
Step 5:
From here, attach the countertop to the bases. I clamped it into place and then used star tips screws to attach it to the bases. To attach the waterfall piece, I used liquid nails and screws to adhere it to the side of the set of drawers.
Step 6:
Add the finishing trim pieces to fill any gaps and take this project to a whole new level!
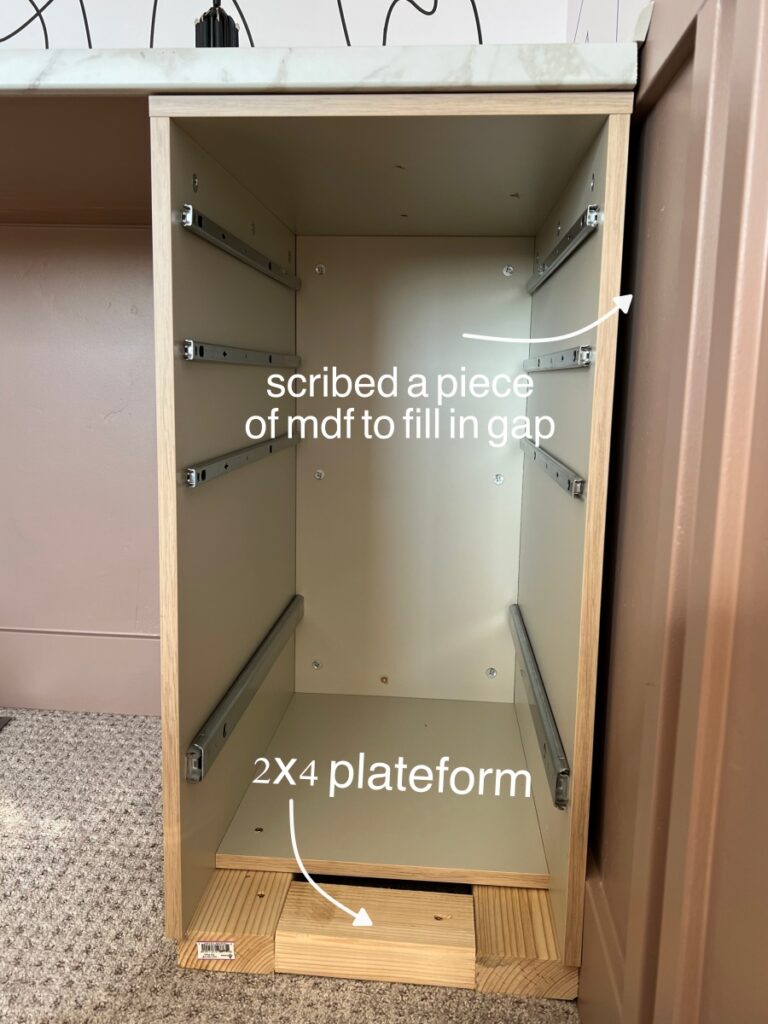

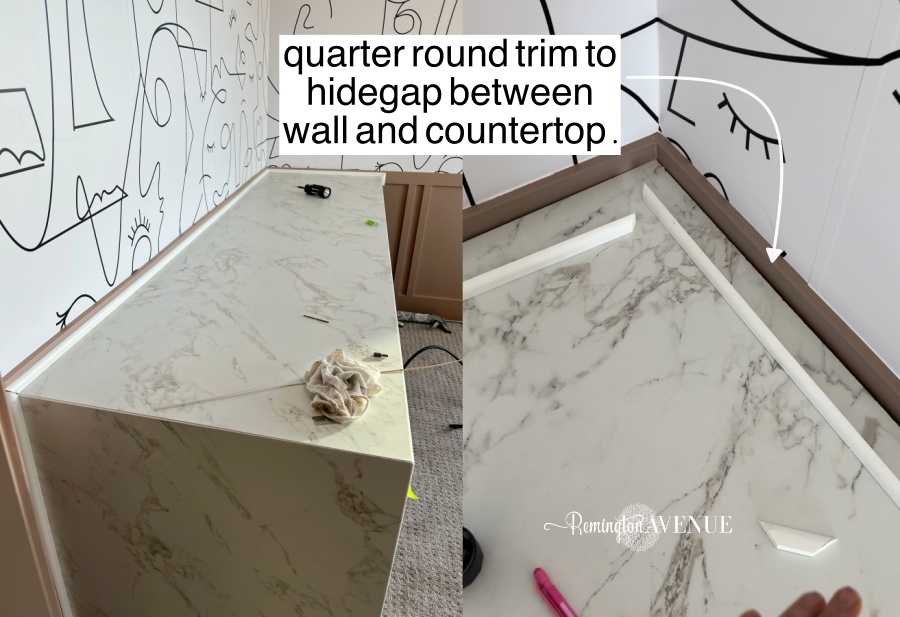
I added trim along the bottom under the drawer units to hide the sides of the platform I built. I used ½” x 1 ½” primed MDF trim for this. To hide any gaps between the countertop and the wall, I added quarter round trim. I also used this along the side of the waterfall portion of the counter and the wall. I scribed a piece of MDF to fill in the gap between the set of drawers on the other side of the desk and the wall.
Once all the gaps were covered, I painted all of the trim pieces to match the wall trim, and boom! The hack – transformation is complete!
I can’t wait to share how the rest of the room turned out! I’ll be posting the full room tour with source links next week!

 Add to favorites or read later
Absolutely fabulous DIY. Where is that wallpaper from? It is amazing!