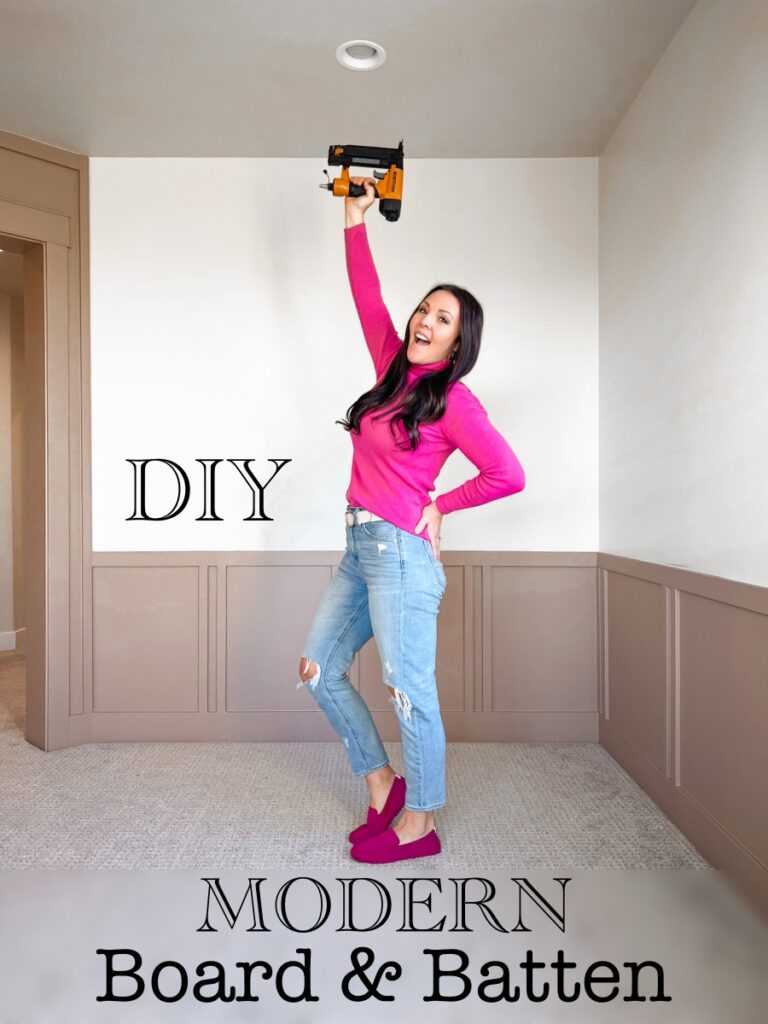
DIY Modern Board and Batten Tutorial
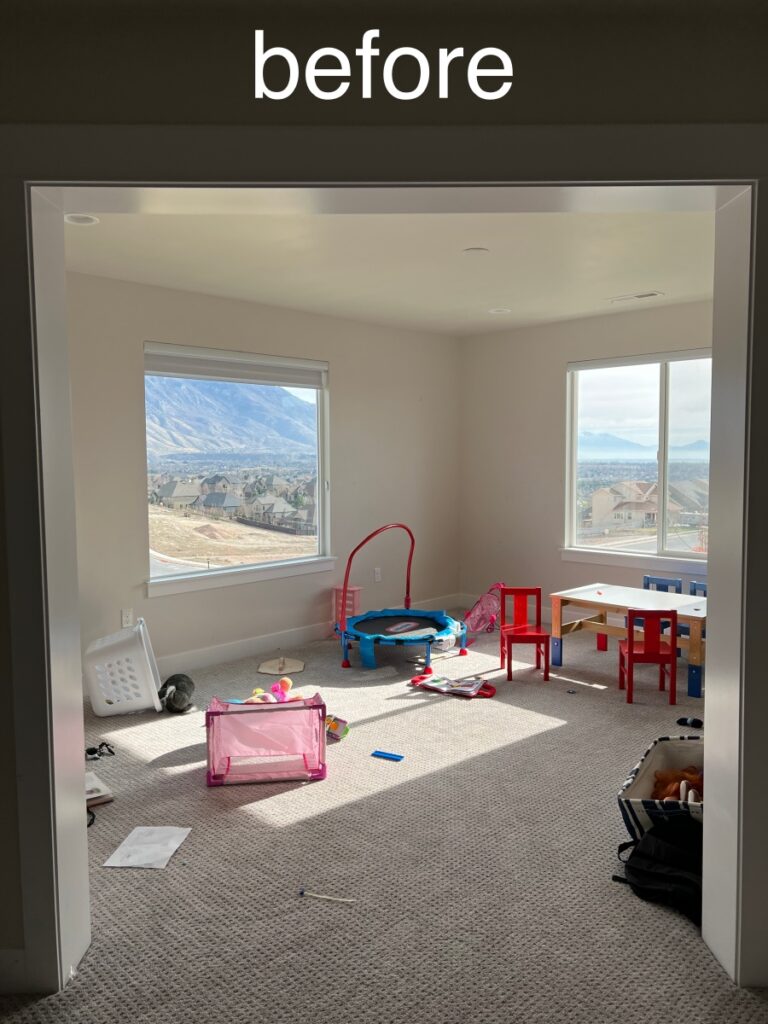
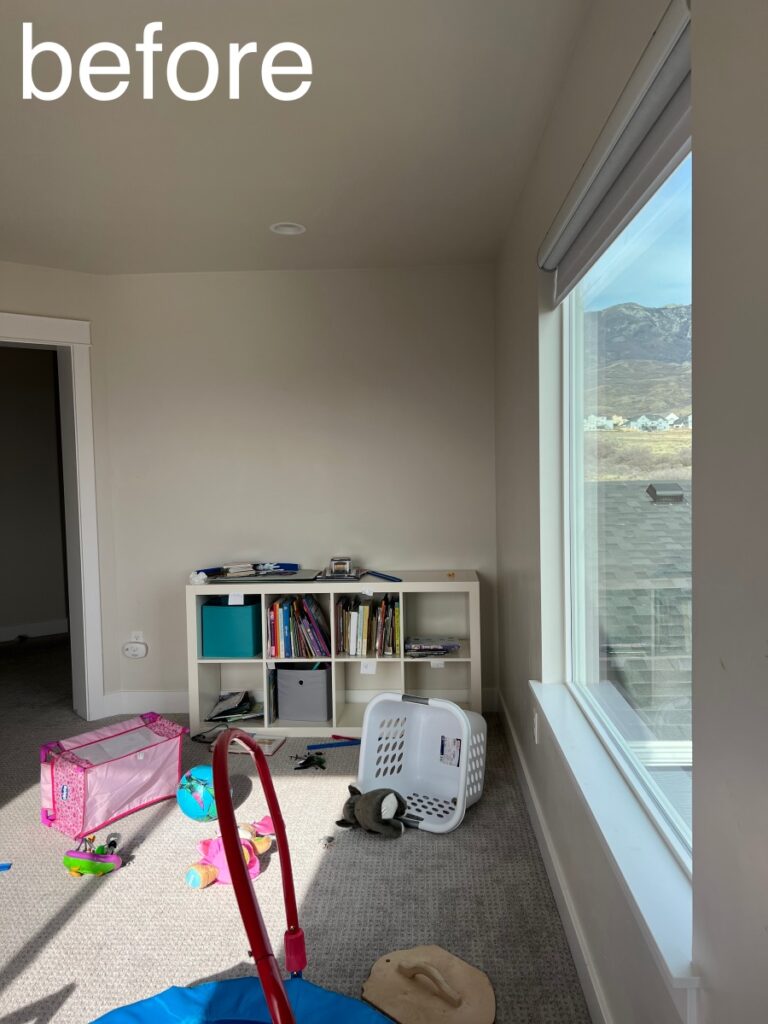
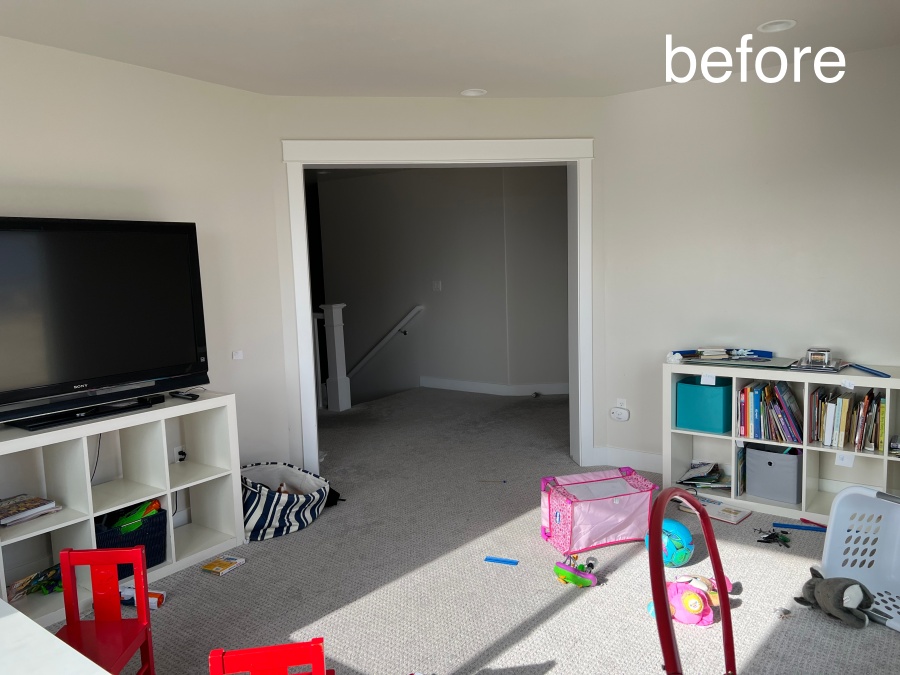
My next big project is my sister’s loft area on the second floor of her home which is where I am doing this DIY Modern Board and Batten Tutorial!

It wasn’t really serving much of a purpose right now, so we wanted to change that. If you remember, this year I have redone a few of the spaces in her house. It started with her dining room, which featured a fun Mid-Century Modern Accent Wall. Her Entryway Makeover had a DIY Slat Wall Tutorial that could compete with any luxury hotel lobby installation. And then I rounded out her main floor with her Living Room Reveal. I also did her son’s room, which you can see on my Instagram! So hopefully by looking at some of those previous projects you can get a sense of her style.
The beginning of this project started with what I call a “happy accident.” Home Depot was out of the trim I was originally looking for, so I ended up going with a trim that I didn’t plan for. I had to do a bit of a redesign on the fly, but I actually think it turned out better than I had planned.
Supply list:
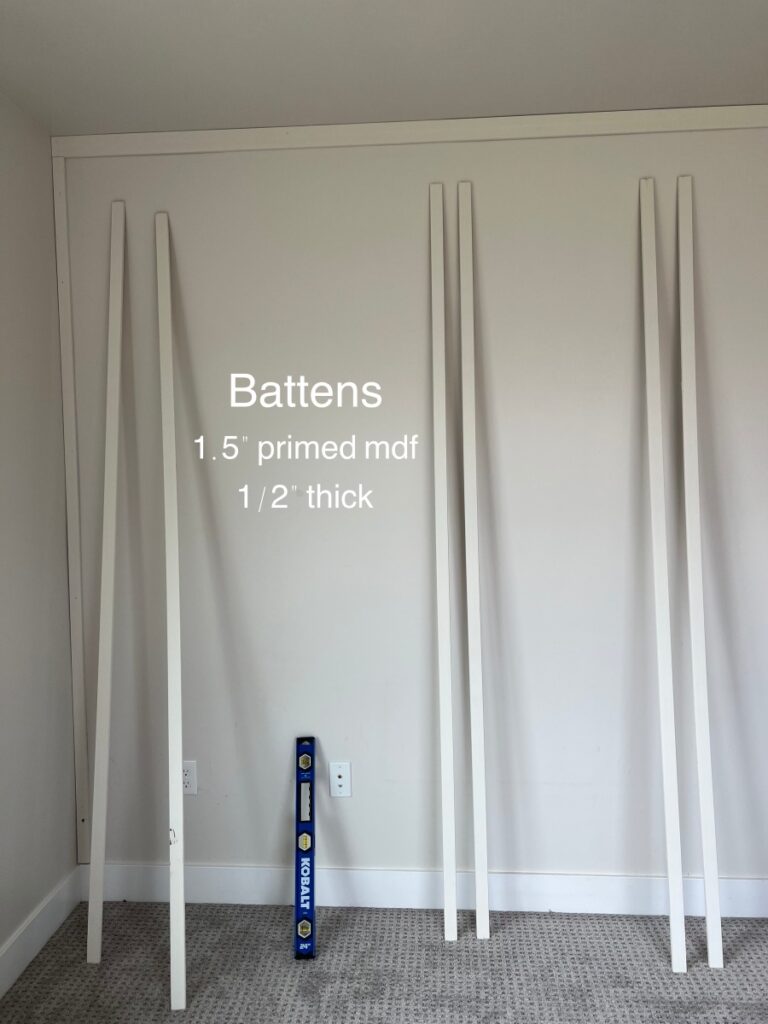
- 1/2 in. x 3 in. x 8 ft. Primed MDF Board
- 1/2 in. x 1-1/2 in. x 8 ft. Primed MDF Board
- nail gun + nails
- paintable caulk
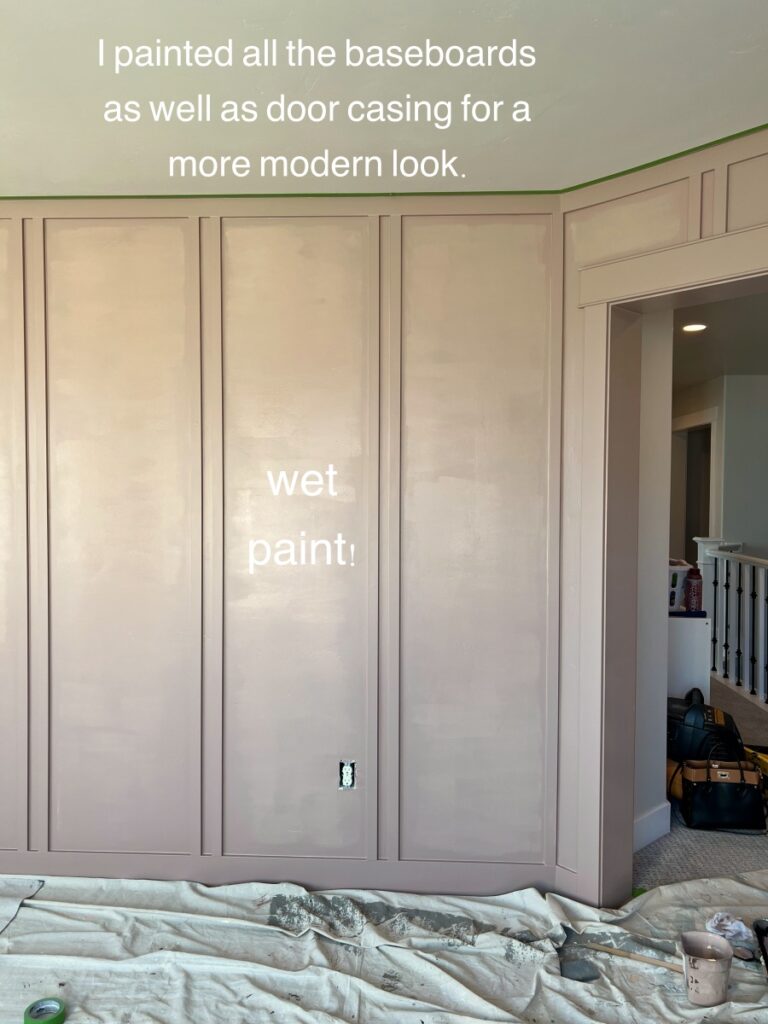
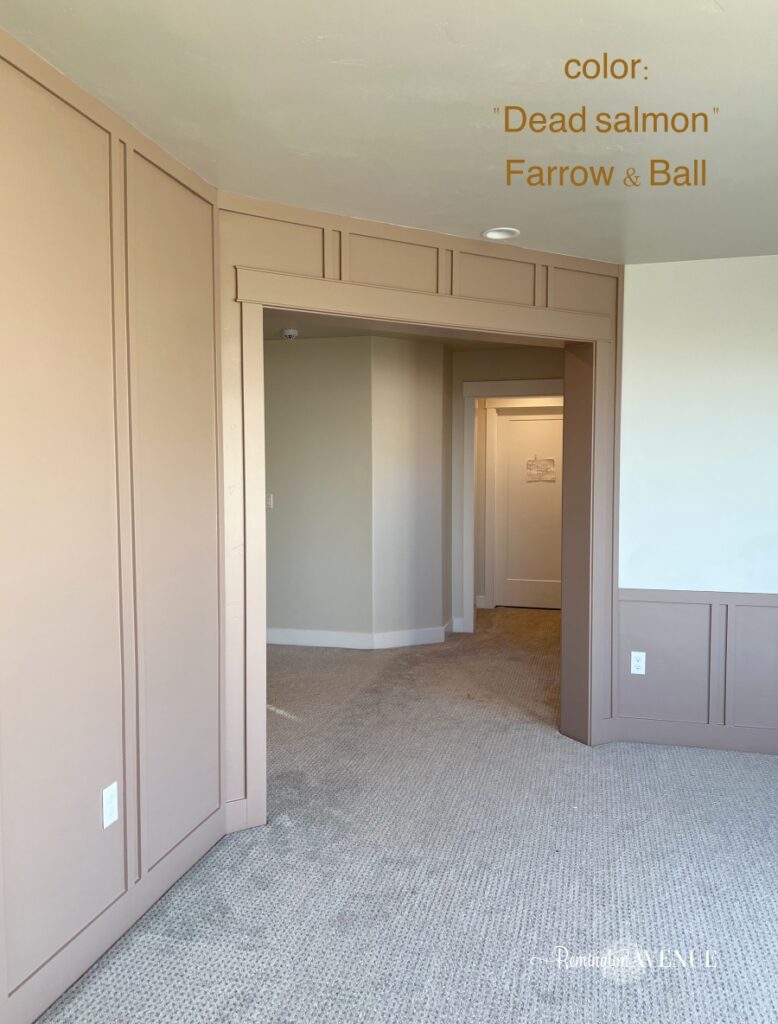
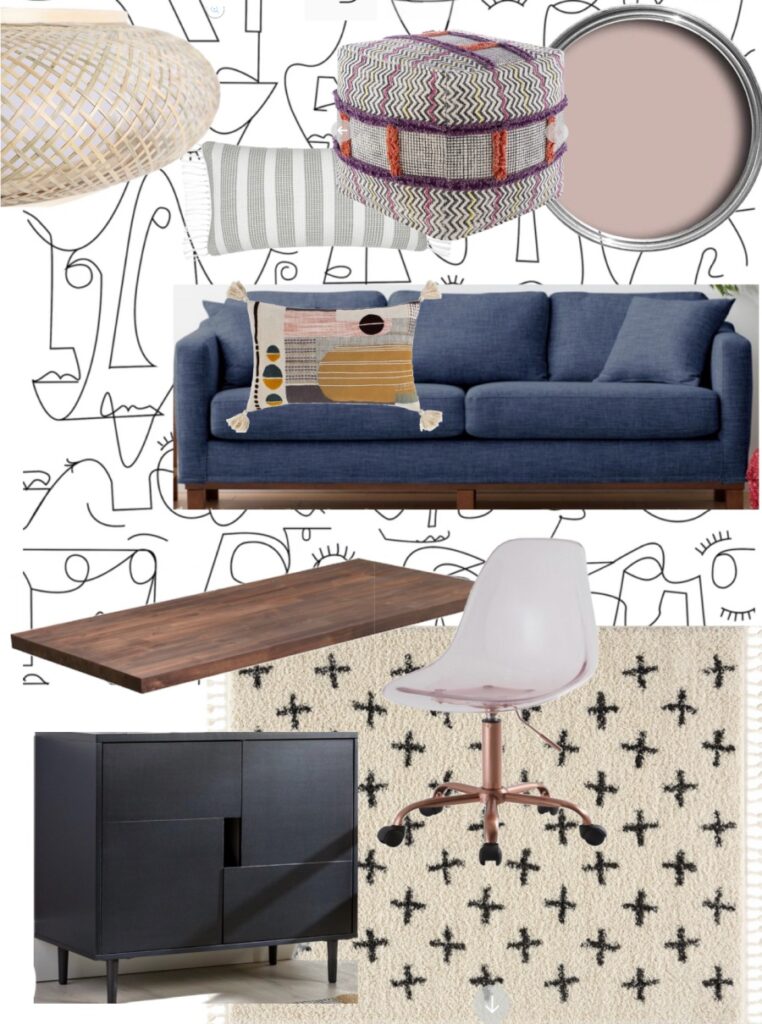
- Paint color: Dead Salmon by Farrow & Ball
- paint sprayer or roller + brushes
- wood filler (this is my favorite)
- sand paper + sander
- painters tape (this is the only kind I use)
- measuring tape + pencil

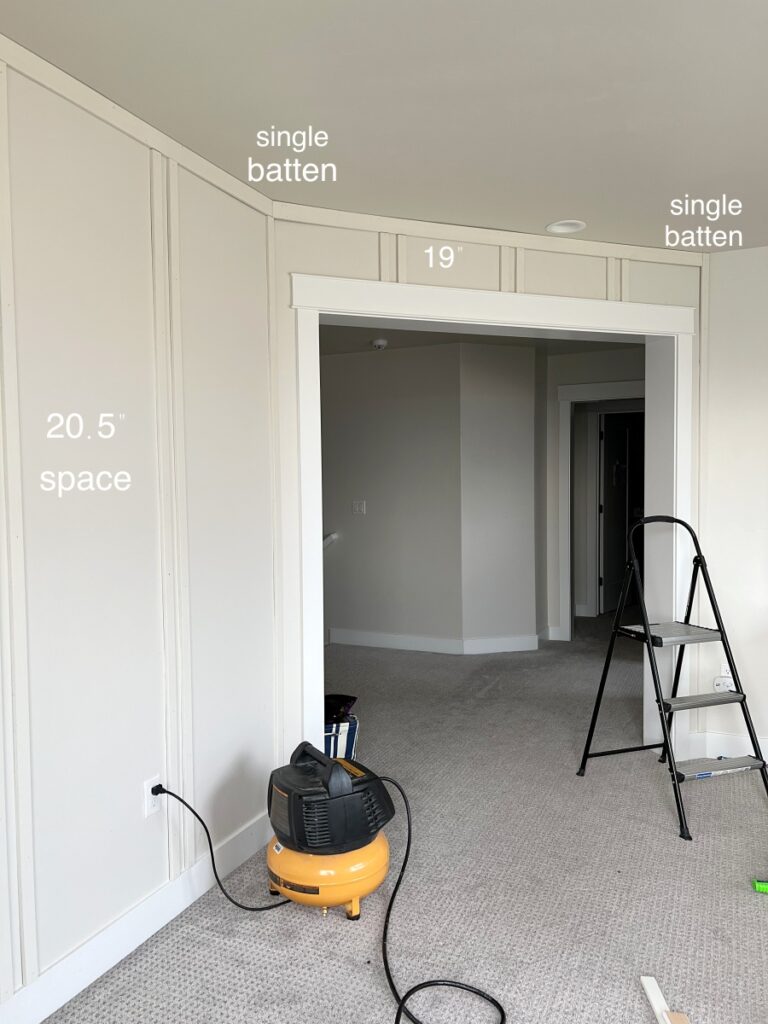
How to measure for board and batten on each wall (this is the trickiest part):
Take your total wall length and divide that by the approximate spacing you would like between the battens. That number will be how many spaces you have on your wall.
From here, add 1 to your number of spaces to get the number of battens on the wall. Now multiply your batten width by the number of battens. Subtract that number from your total wall length. Divide that number by the number of spaces you calculated earlier, and THAT number will be your exact spacing between each batten. Lots of math, I know, but so worth it!
Now when you are doing a double batten design like mine, I took the total measurement of the two battens plus the space in between as the batten size.
Example: Each batten measures 1-1/2″ (x2) plus the gap is another 1-1/2″= Total batten size for math = 4-1/2″.
For example:
100″ (total wall length) / 20″ (approximate spacing) = 5 (spaces)
5 (spaces) + 1 = 6 (battens)
4″ (batten width) x 6 (battens) = 24″ (total batten width)
100″ (total wall length) – 24″ (total batten width) = 76″ (wall length minus the battens)
76″ (wall length minus the battens) / 5 (spaces) = 15.2″ (spacing between each batten)
If you’re doing multiple walls, the spacing will vary slightly on each wall, but it won’t be noticeable. My spacing fluctuated from about 18″-20 1/2″.
Before we get started, a question I get every time I install trim is, “Are these walls textured?”
My sister’s walls are slightly textured just like mine so every once in a while you’ll have a random textured spot. But overall, they are pretty flat, which makes this project a lot easier.
When it comes to your own house, you have to make a decision of whether or not you’re ok with the texture for yourself. If you don’t like the texture or aren’t ok with it, you can either skim coat it or install board backing. Or you can say “you know what, I don’t mind the texture.” It’s your house, so it’s your decision!
The steps for this DIY Modern Board and Batten Tutorial:
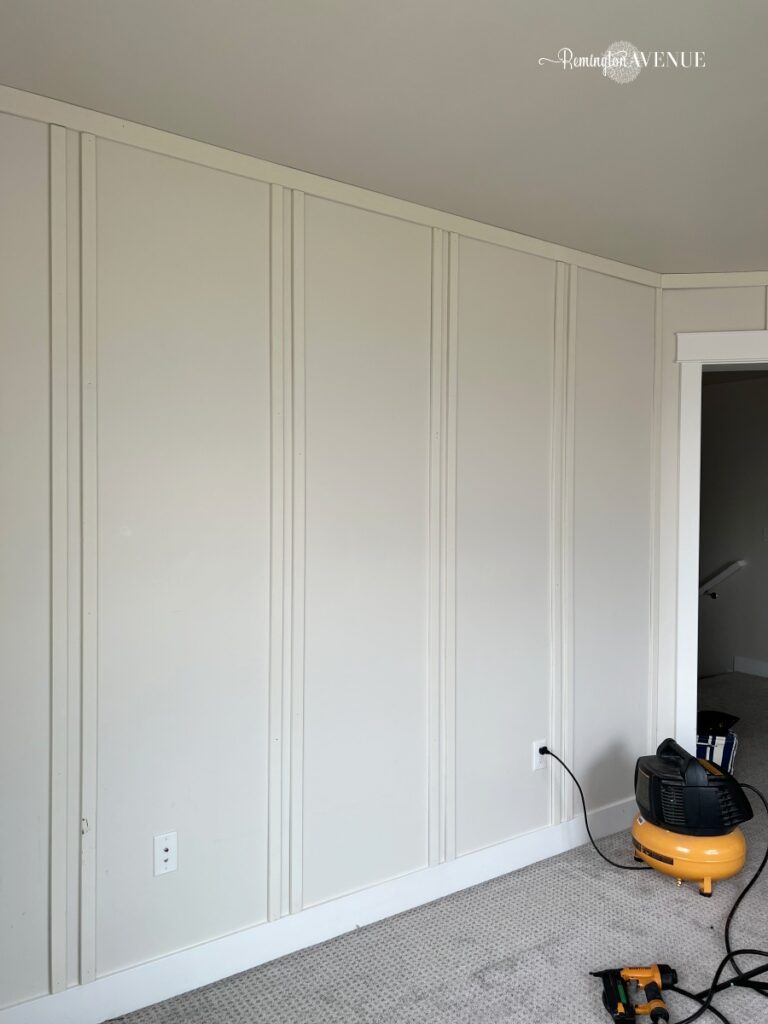
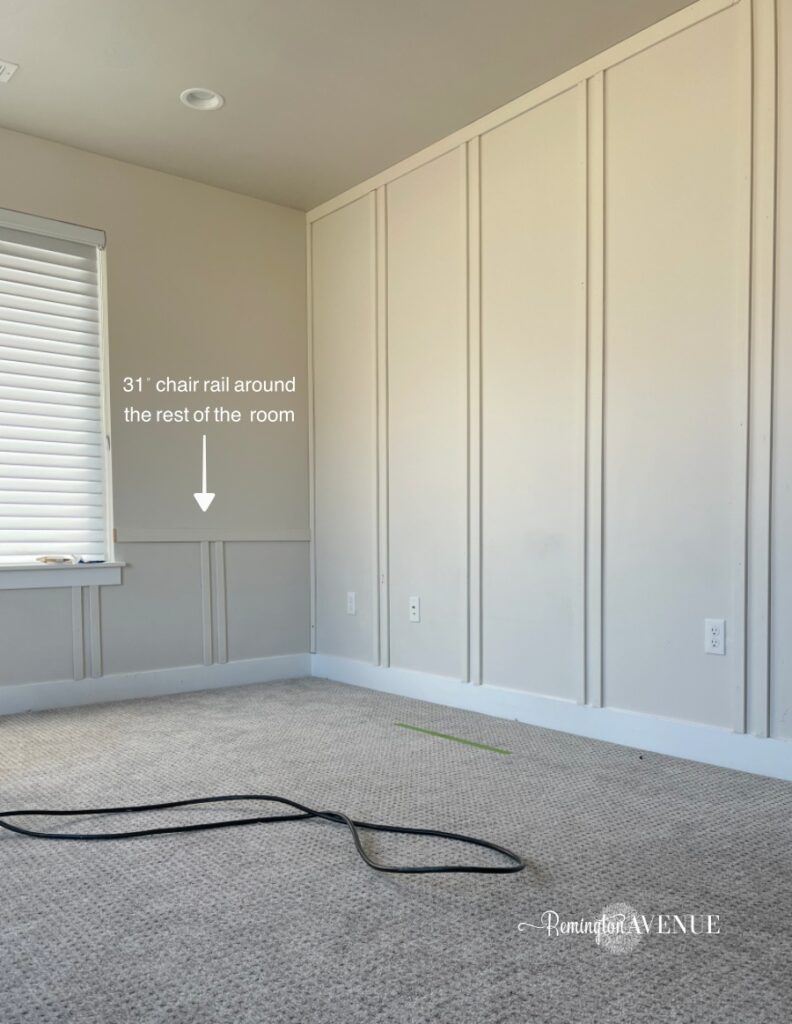
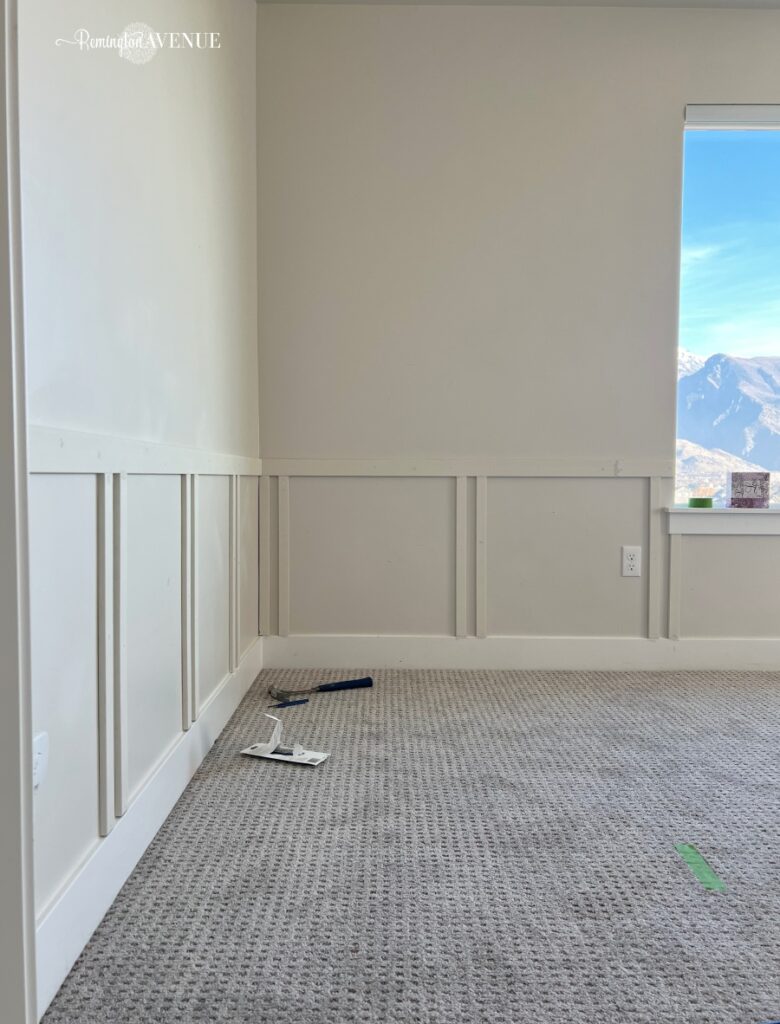
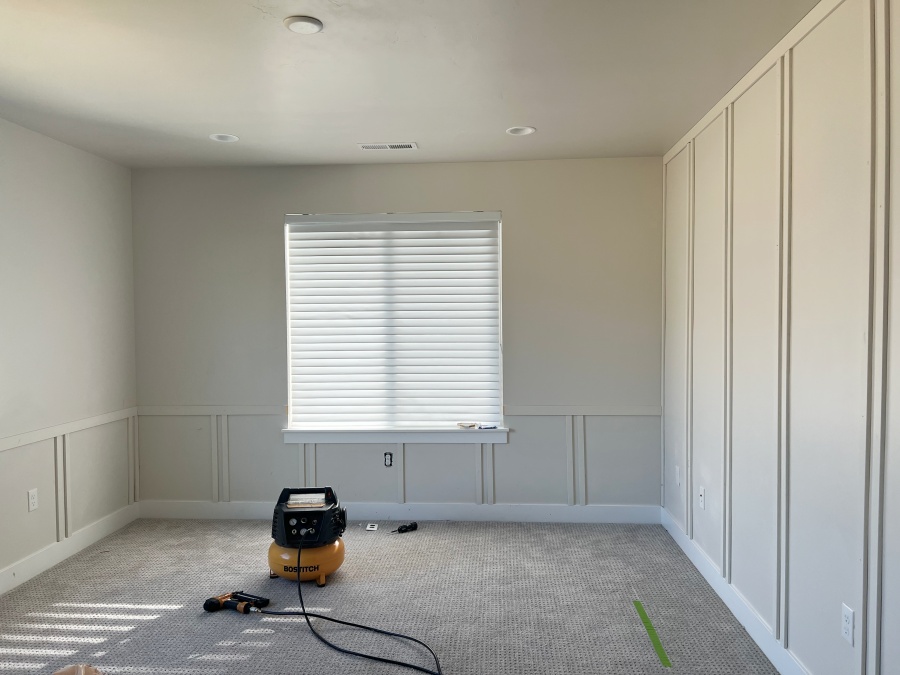
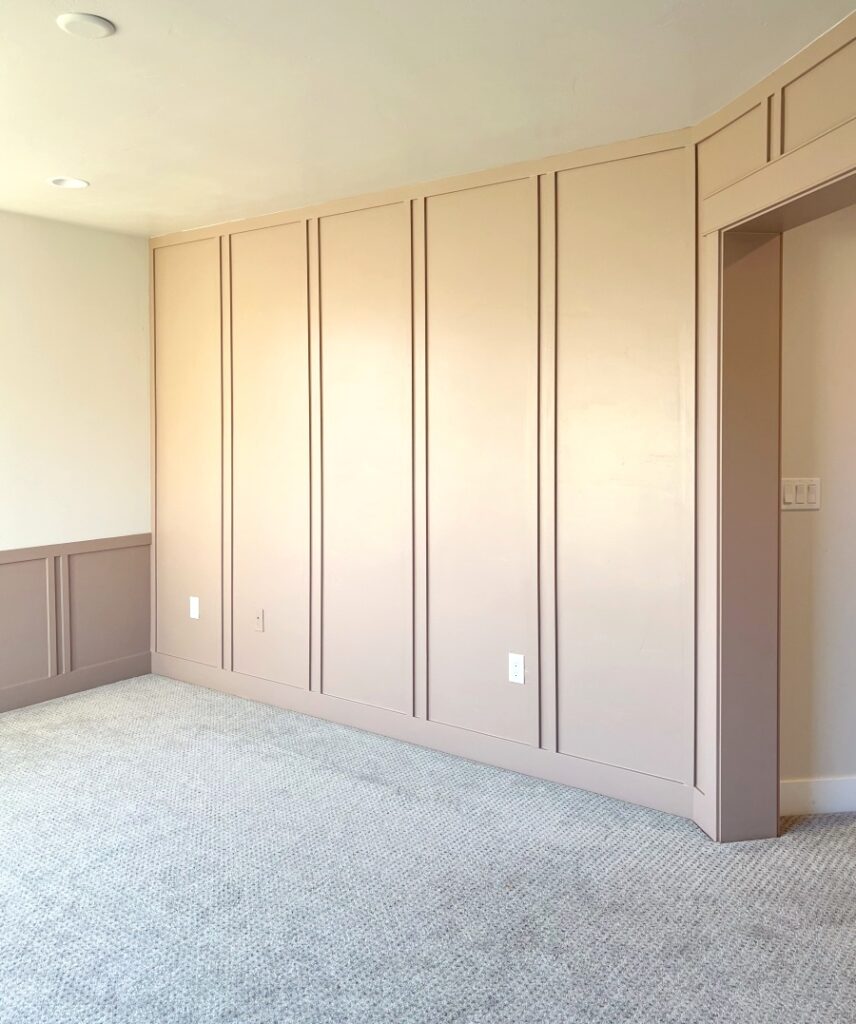
I started with cutting and installing the longer pieces of trim around the ceiling. Then I installed the long vertical pieces. The header (ceiling board) & chair rail on top of the design is 1/2″x3″ mdf and baseboard is 1/2″x 4″. Each vertical batten runs flush with ceiling board, chair rail, and baseboard and joints.
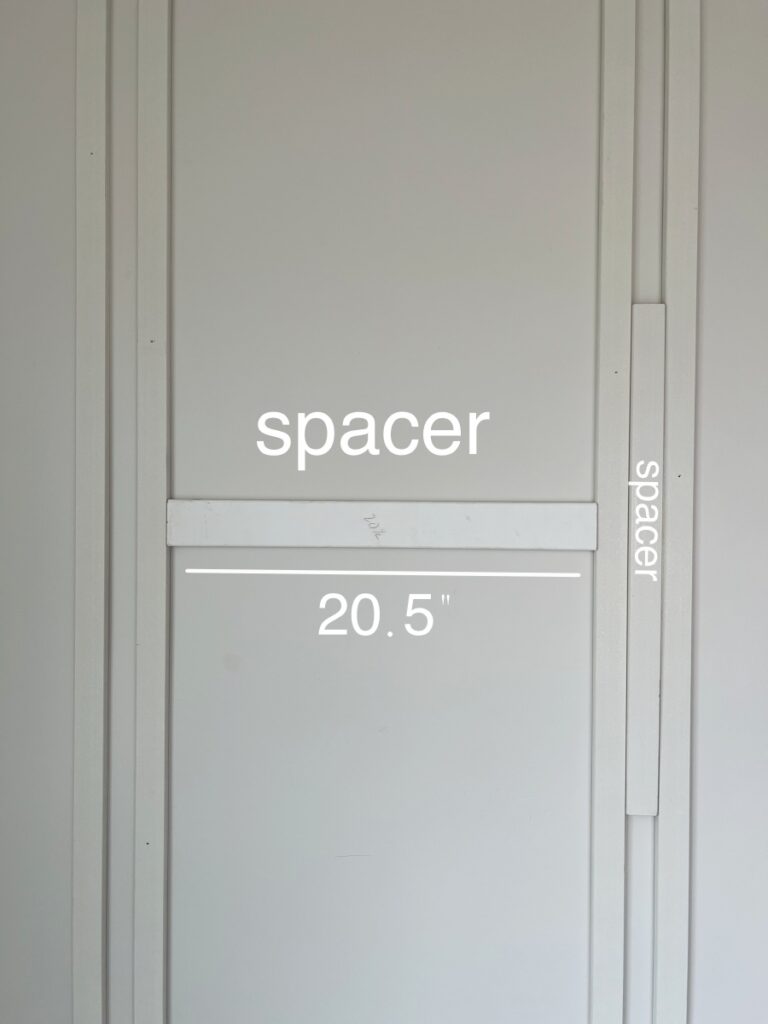
Tip: Always make a spacer for equally spaced gaps if you can! It makes things go so much more smoothly.
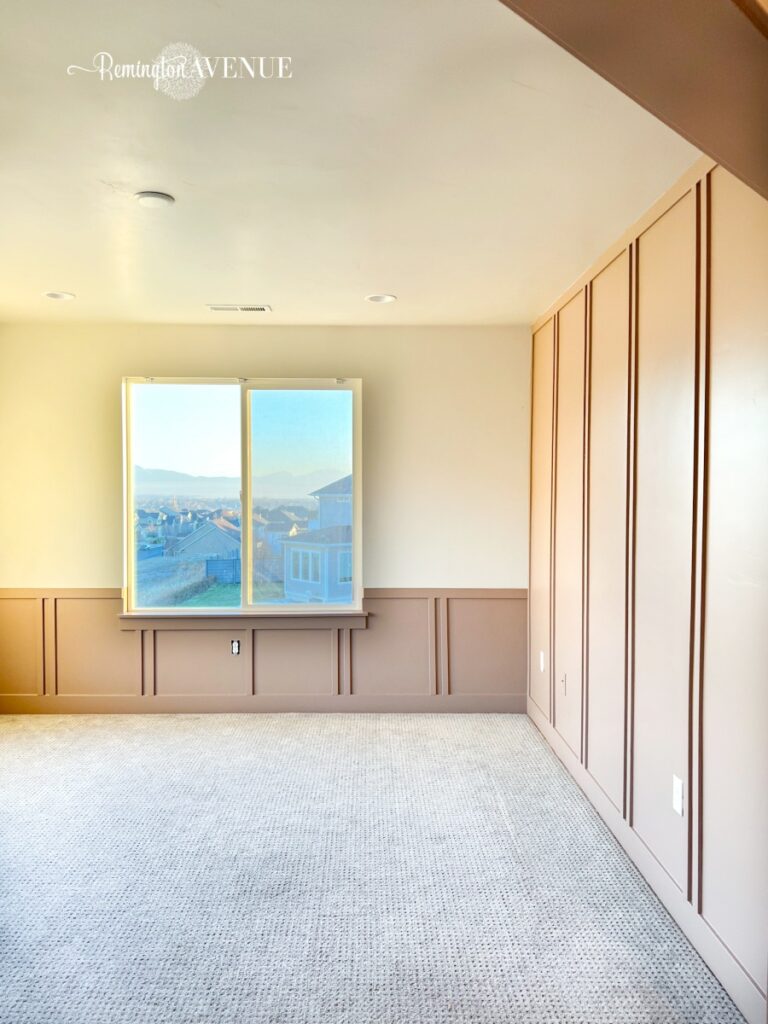
On the walls the chair rail will go on, her ceilings are just under 8ft and I installed the chair rail at 31.” As always, I used a mitered joint to disguise any seams between longer pieces.
After it was all installed came my least favorite part, which is patching the holes. I use this plastic wood filler. Even though I hate patching I find that in the end, patching is what separates a DIY from a pro job, so it is always a must-do.
Occasionally you’ll have a nail that doesn’t go in all of the way, but you can’t just patch over it. That won’t work. Good thing that is what a nail set and a hammer are for!
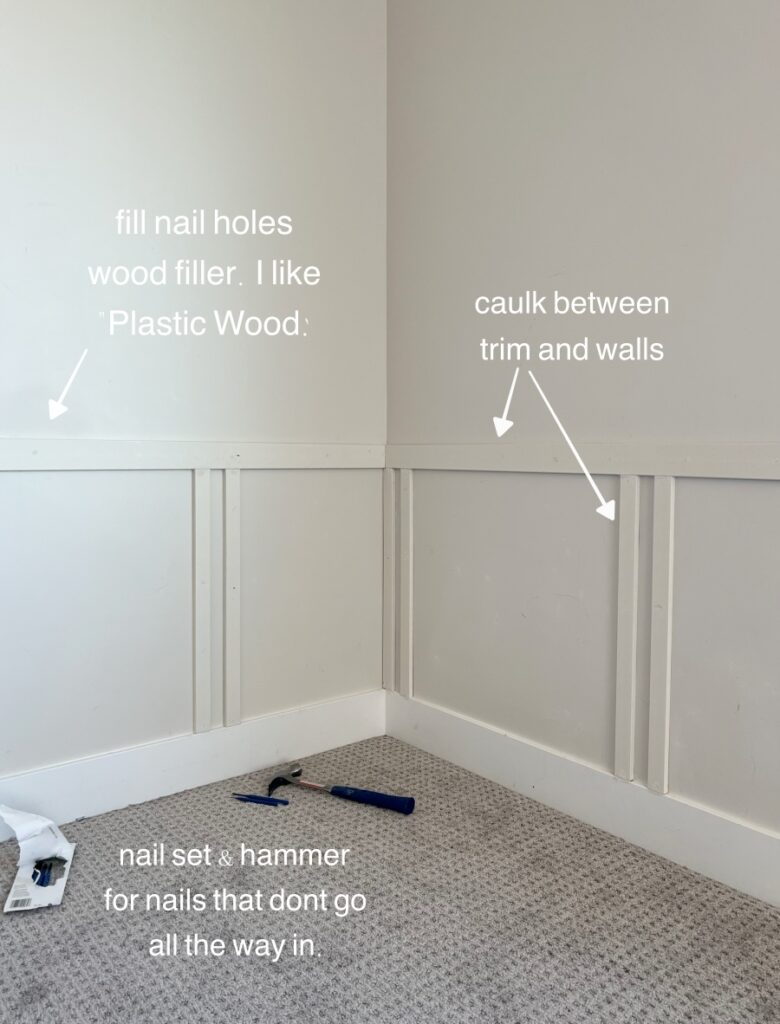
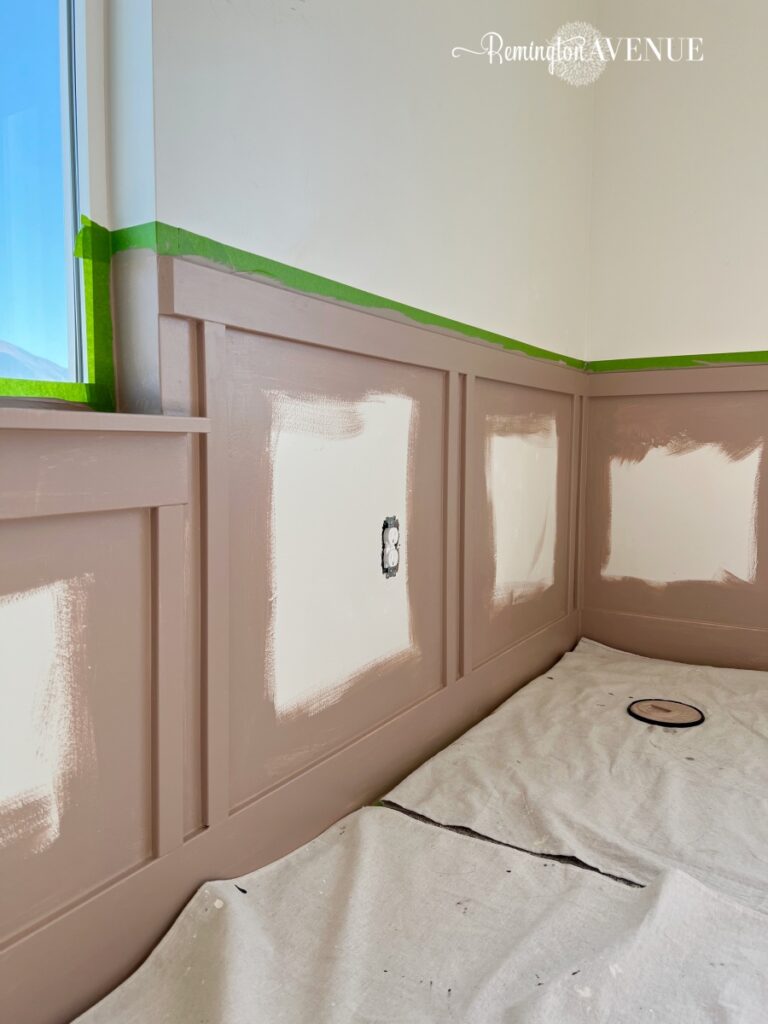
After the patching and sanding comes the caulking, which is the final step before painting! Which is the really fun part!
When it came to painting, I think I surprised everyone with the mauve-pink color I chose! And I kid you not, the paint name is Dead Salmon by Farrow & Ball. I debated back and forth about whether to paint the trim and the casing, but I ultimately decided to paint it all! So along with taping the walls, I also taped along the carpet, getting as close to the baseboard as possible and then shoving it as far down as I could.
For this DIY Modern Board and Batten Tutorial specifically, I couldn’t install trim around the window because they have roller blinds that come all the way down. But I did tape in at the height of the chair rail to prep it for paint which will give it the appearance of molding.
Here are a few painting tips for any project:
Use an angled brush first. And you’re always going to cut in with it before you come back with the roller.
Another tip I have is to feather the paint out once you cut in so that way you don’t get any ledges when you come back through with the roller.
Then comes the best part, it’s time to pull the tape! Always pull the tape at an angle and when it’s wet so it doesn’t peel.
Soooo satisfying, am I right?

 Add to favorites or read later
Thank you so much for the fine details! It sure helps the amateur in me!!
You didn’t post what kind of cutting tool/saw you used on the Supplies List
Sorry I’m a beginner.