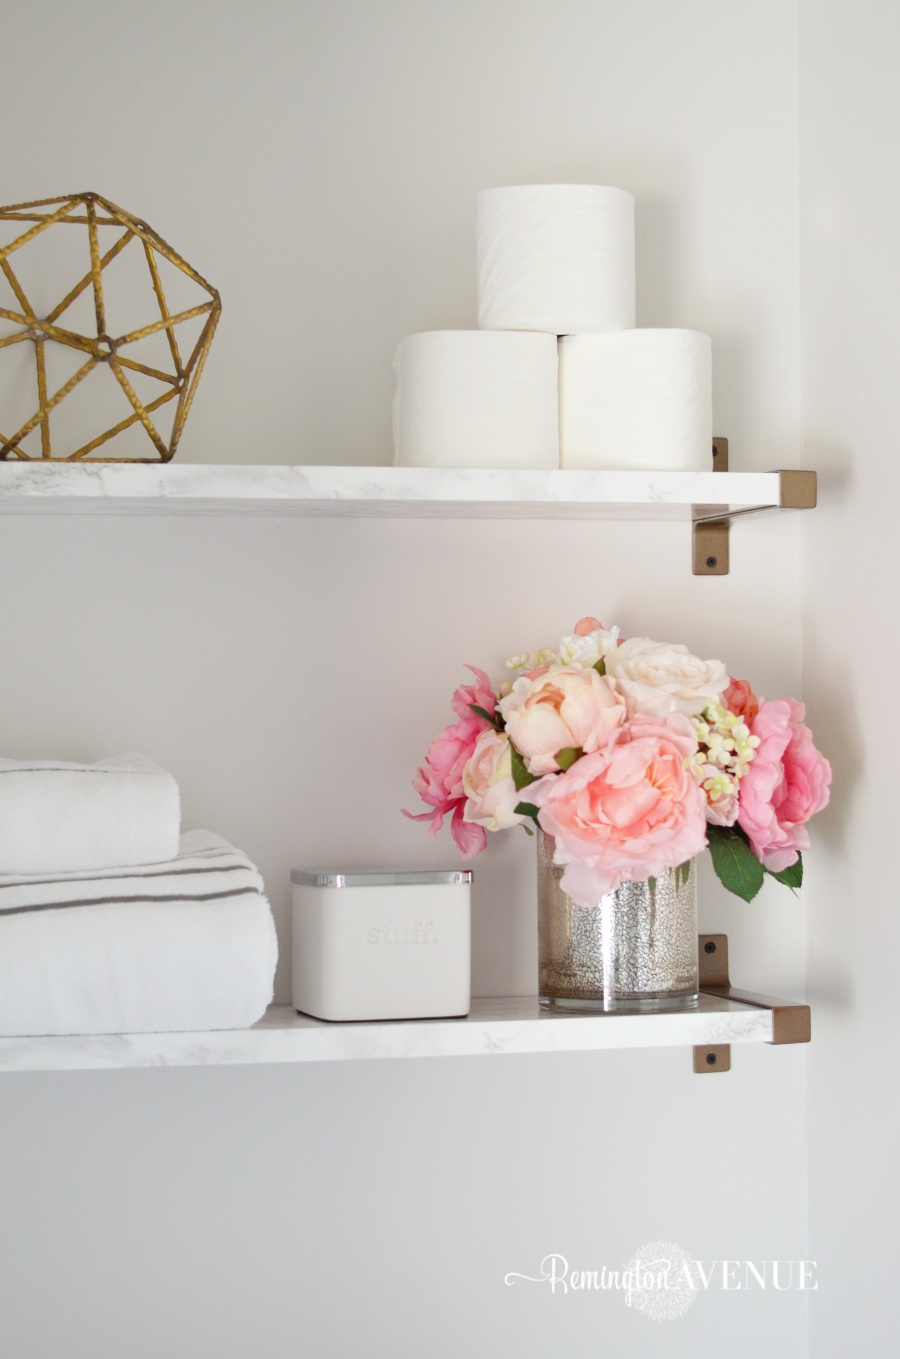
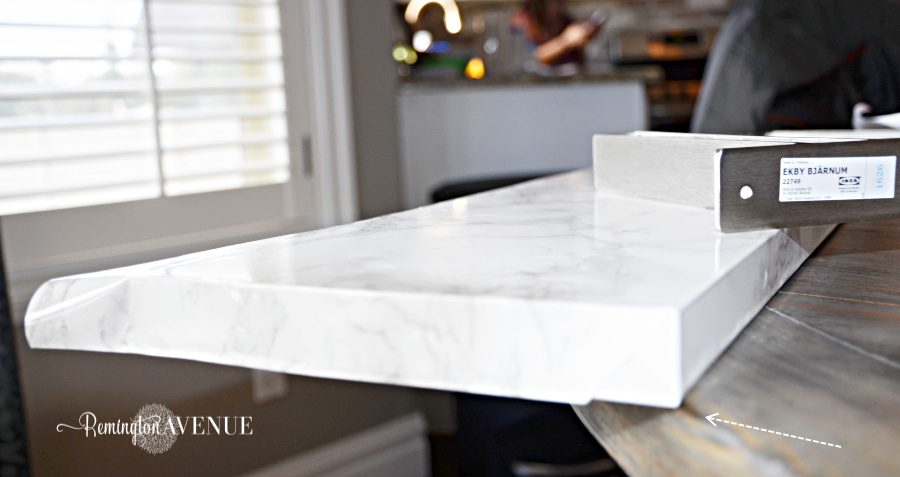
DIY Marble Shelving
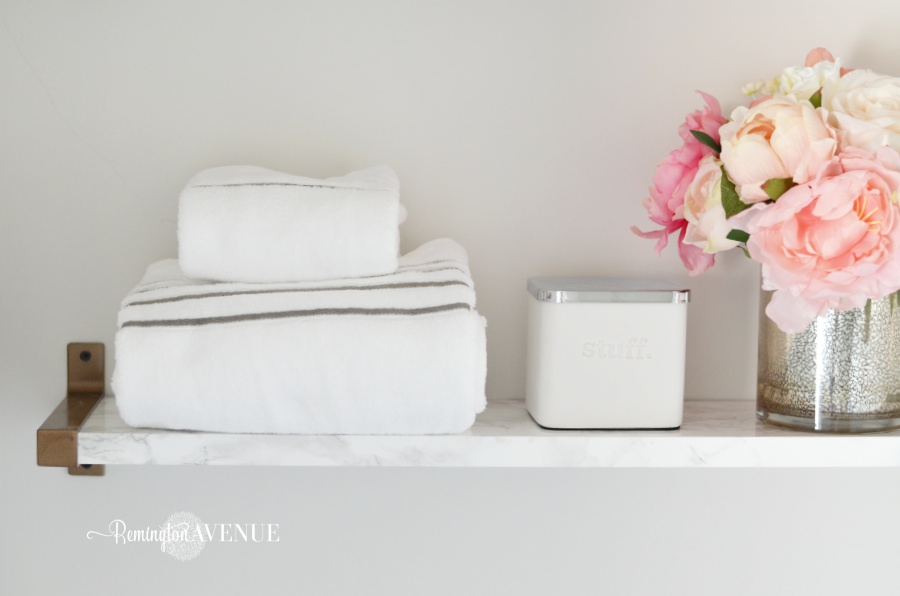
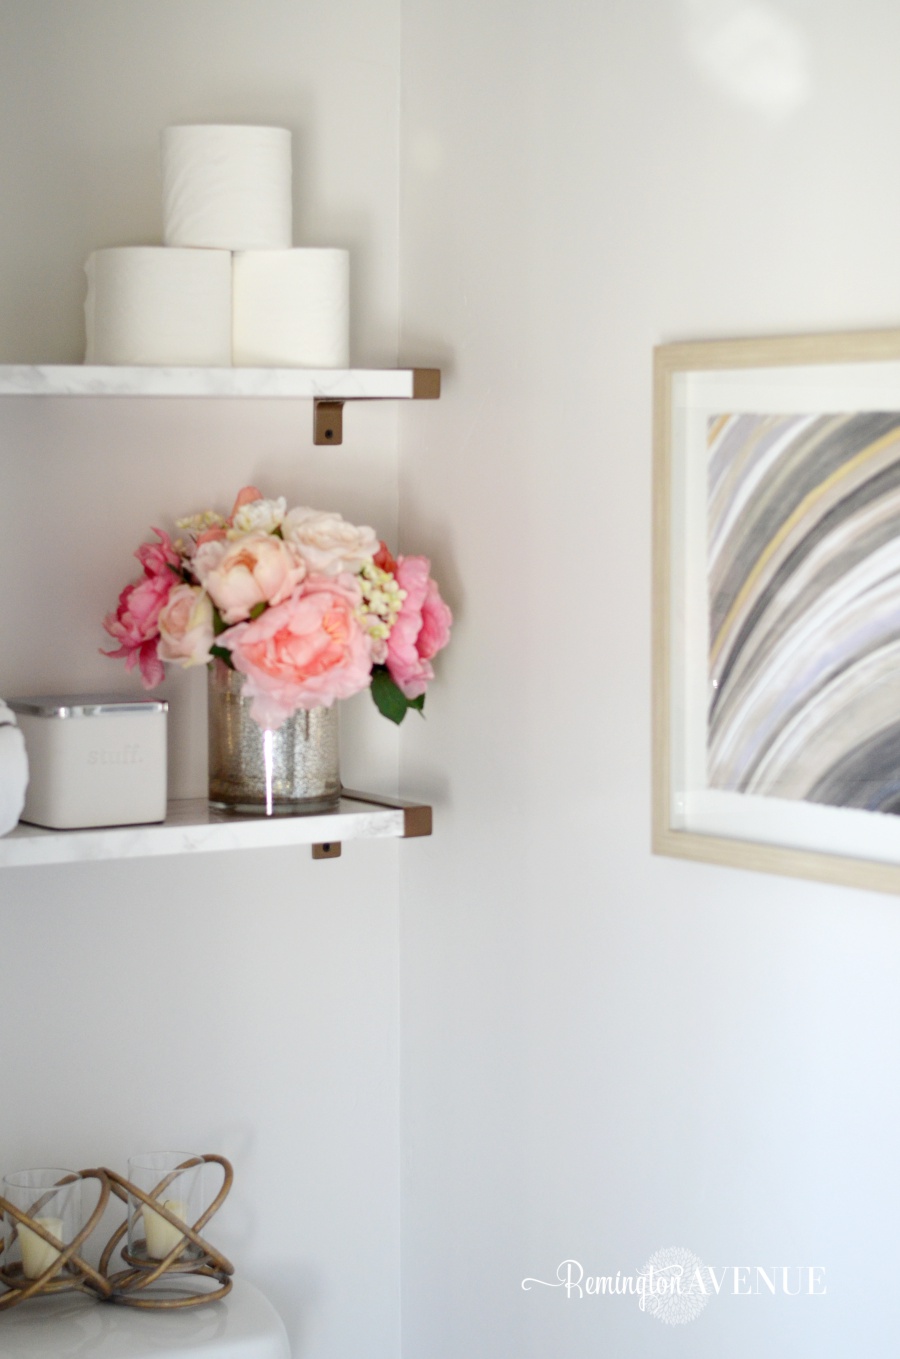
Hello Hello my friends! As promised back when I finished my Master bathroom renovation, I have for you the full tutorial on how I made these DIY marble shelves. So I’ll let you in on a little secret… they aren’t made of real marble! I know…you can’t even tell! Read on as I share my step by step instructions on how to create these marble DIY shelves.
Supplies: (all supplies are linked below for your convienence)
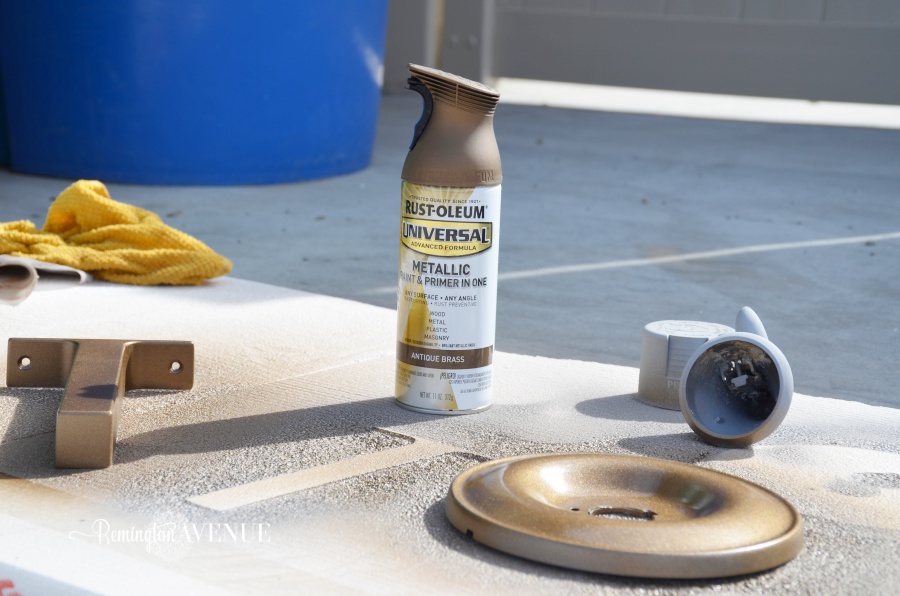
Rust- Oleum Antique Bronze spray paint
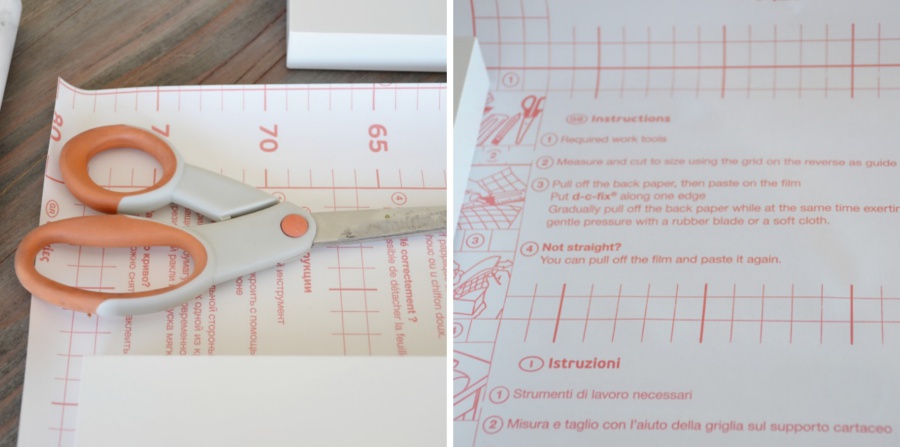
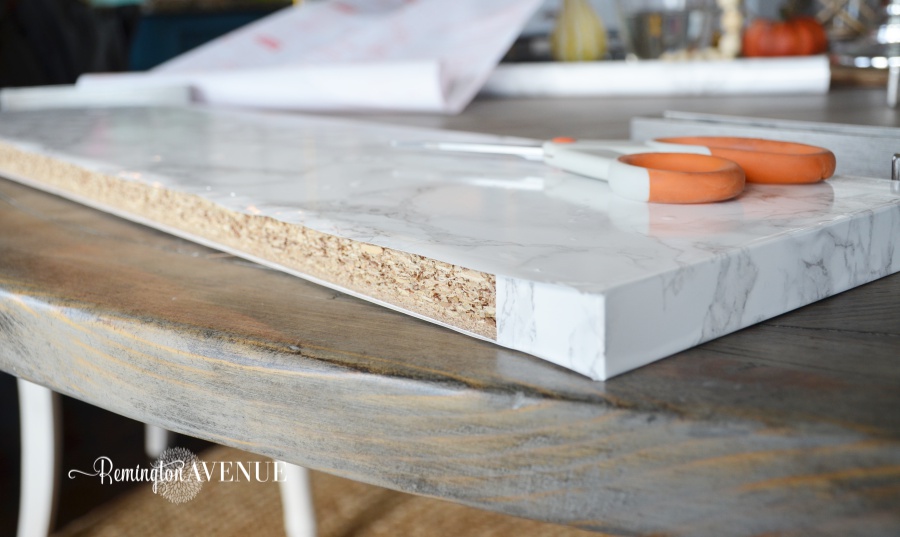
Scissors
Shop the Supplies (Click on image)

Tutorial:
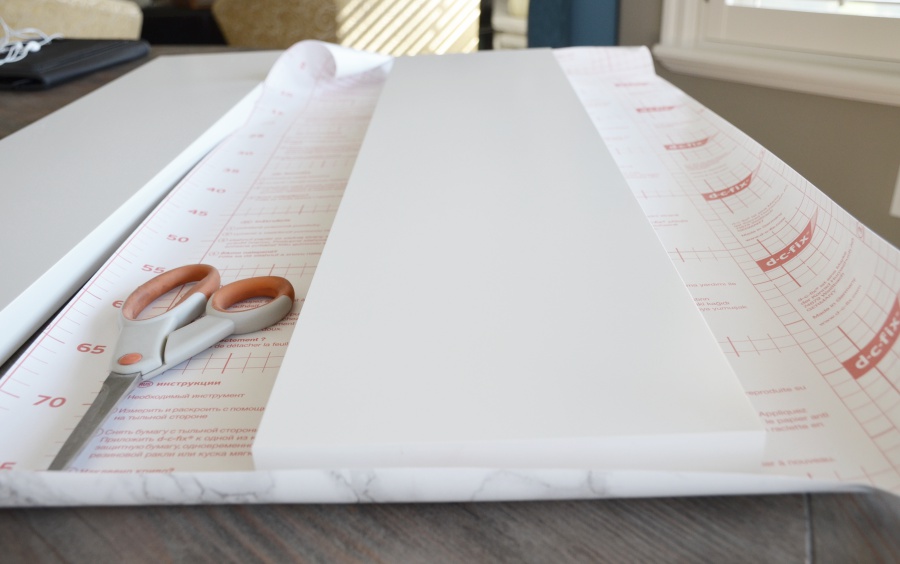
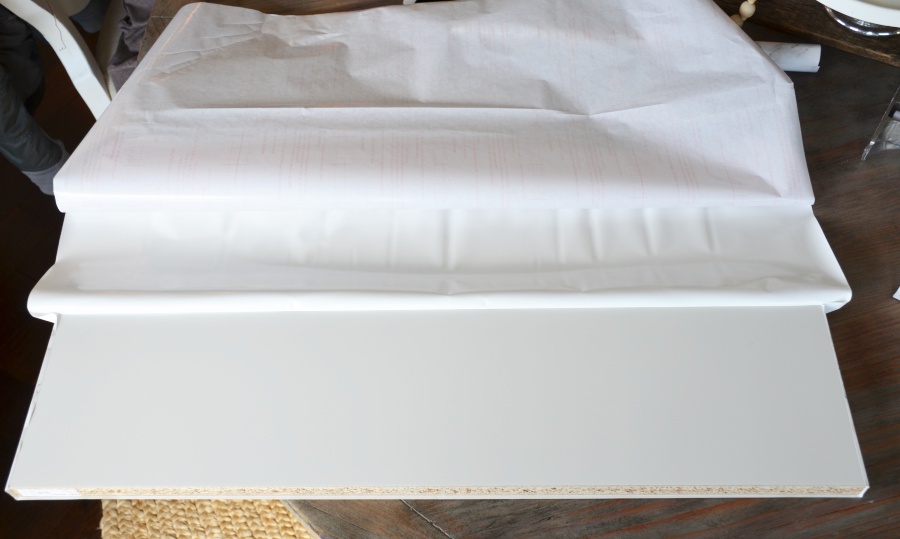
Step 1: Apply the marble contact paper to the shelving. Unroll the marble contact paper face down and place the shelve on top. The grid is helpful on the back of the paper to make sure the shelf is square with the paper. Cut the paper leaving enough on both ends to cover the sides of the shelf. Approx. 1″.
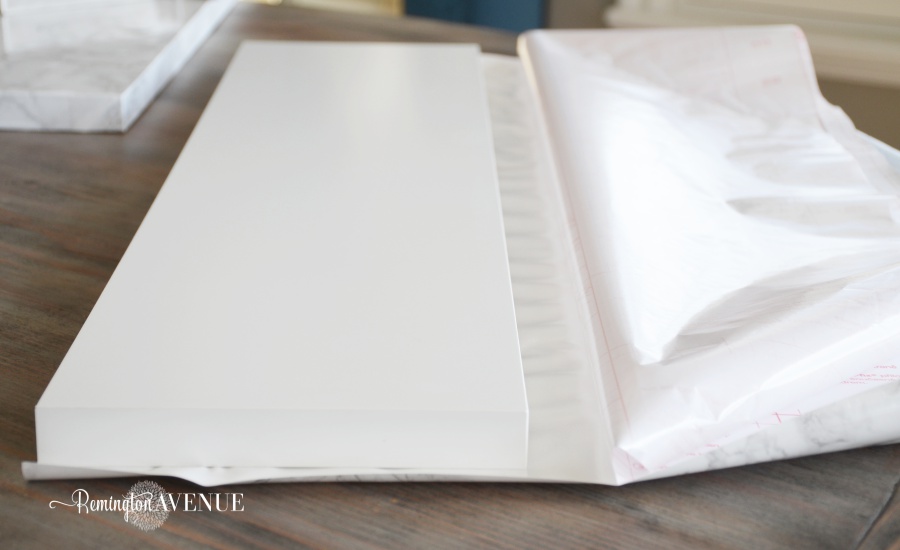
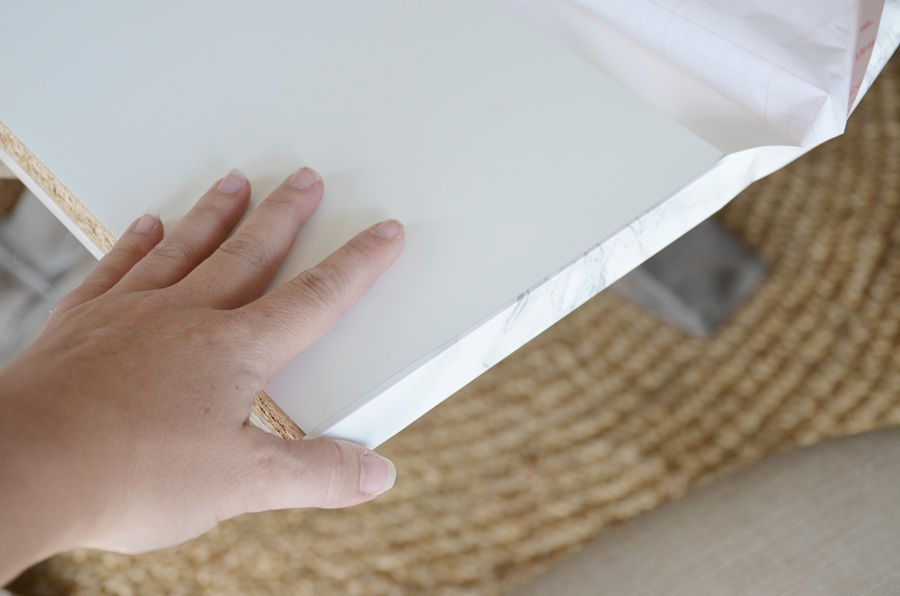
Step 2: Once the contact paper is cut, peel away half of the backing, just enough to stick to one side of the shelf. Adhere the first side. The most tricky part of this whole process is making sure to keep air bubbles from forming. It will be impossible to keep them all out, but most of them should work their way out while smoothing it with the shelf bracket as shown in step 5.
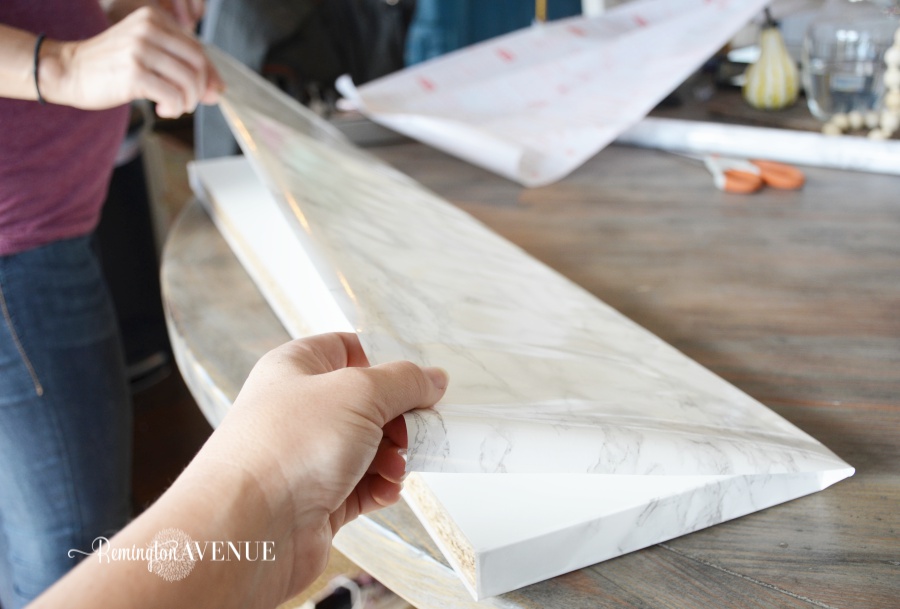
Step 3: Fold up the contact paper to cover the sides of the shelf. Remove air bubbles along the way.
Step 4: Using the same tecnique as step 2, peel away the contact paper backing and smooth the contact paper to the other side of the shelf. I recruited my sister who was in town to help me. Having an extra set of hands helped ensure a smoother finish!
Step 5: Smooth out any air bubbles using the front side of the shelf bracket.
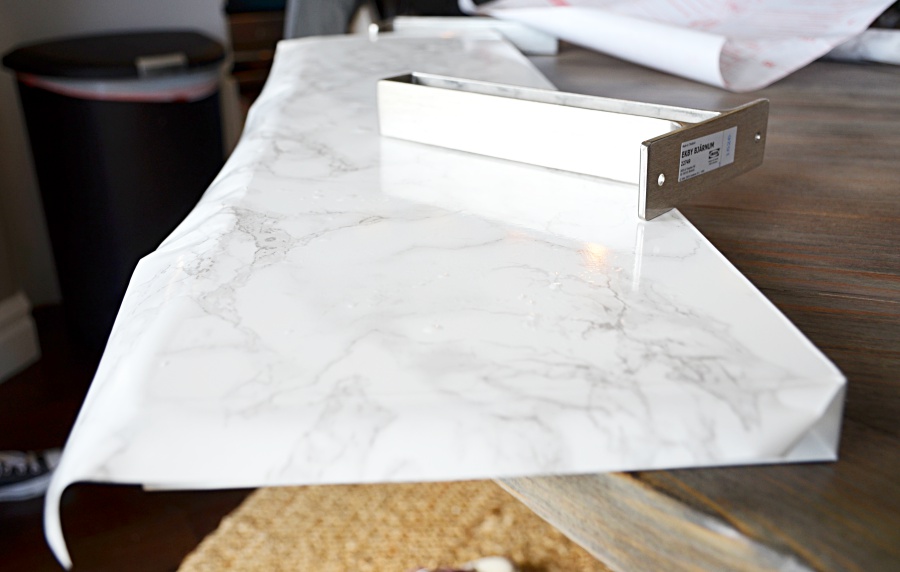
Step 6: Fold the sides of the contact paper as if you were wrapping a present. They don’t have to be perfect because the ends will be covered by the shelf brackets.
Step 7: Trim the excess contact paper from the back of the shelf. This side will butt up to the wall.
Step 8: Spray painted the hardware with your chosen color. I used Rustoleum Antique Bronze Spray paint just like I did when I painted my bathroom shower fixtures (HERE). I sprayed them with 1 coat of primer, 2 coats of the bronze paint, and one coat of the clear Laquer paint. Click on the link for my bathroom shower fixtures for a more in depth tutorial on how to spray paint metal.
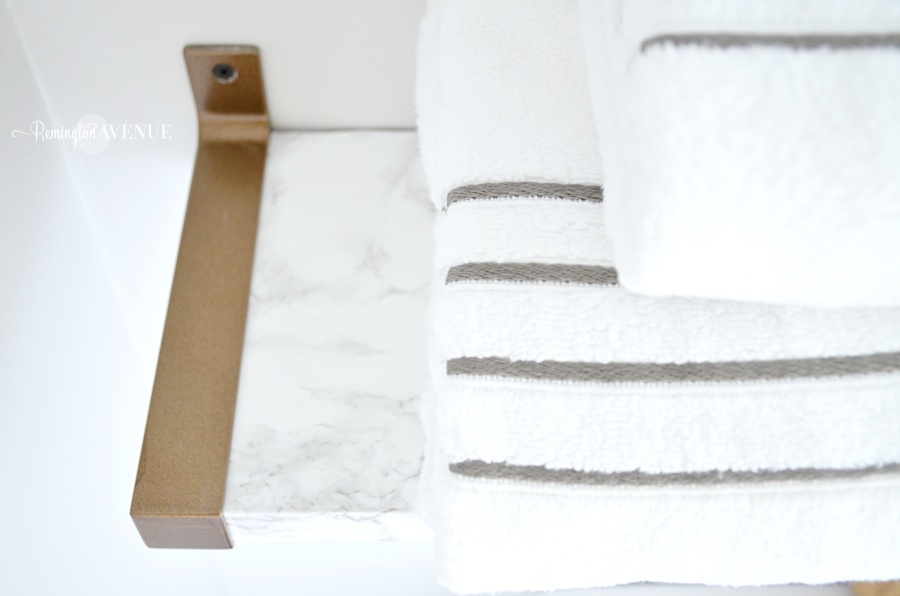
Step 9: Once the shelving brackets are dry (I waited 24 hours), hang the shelves following the Ikea instructions included. Here’s how they turned out! I think Ill go back and paint the screws too!
Shop the supplies
My sister in law came over to see my bathroom remodel and she asked me where I got the marble shelves! She couldn’t even tell it was contact paper…thought it was the real deal! That’s when you know you got a good DIY!
I hope you found my DIY marble shelving tutorial helpful! If you did, please help me by pinning the images on your pinterest page! Don’t forget to check out the whole master bathroom remodel (HERE), and you can subscribe to my blog at the top of this page to receive more diy projects just like this right to your inbox.

*Affiliate links make this blog possible

 Add to favorites or read later
This is fabulous! I love having the look, not the weight of marble shelving (nor the expense). LOVE IT!!!
Thank you Tana. Hope your doing will
Love this DIY. I have tried to use contact paper on a few projects before and always struggle with air bubbles, I will have to try your method for smoothing them out. Thanks for the share, especially where to get the supplies.
If there’s a small air bubble you just can’t get out, make a tiny hole with a straight pin and work the air out. You can’t see it, especially if there’s a design like this marble has.
great pointer! Did you make them?
How many shelves will one roll of the marble adhesive cover?
The marble contact paper comes in different sizes I believe. I only used one roll and had extras for the 2 shelves I did. Hope that helps