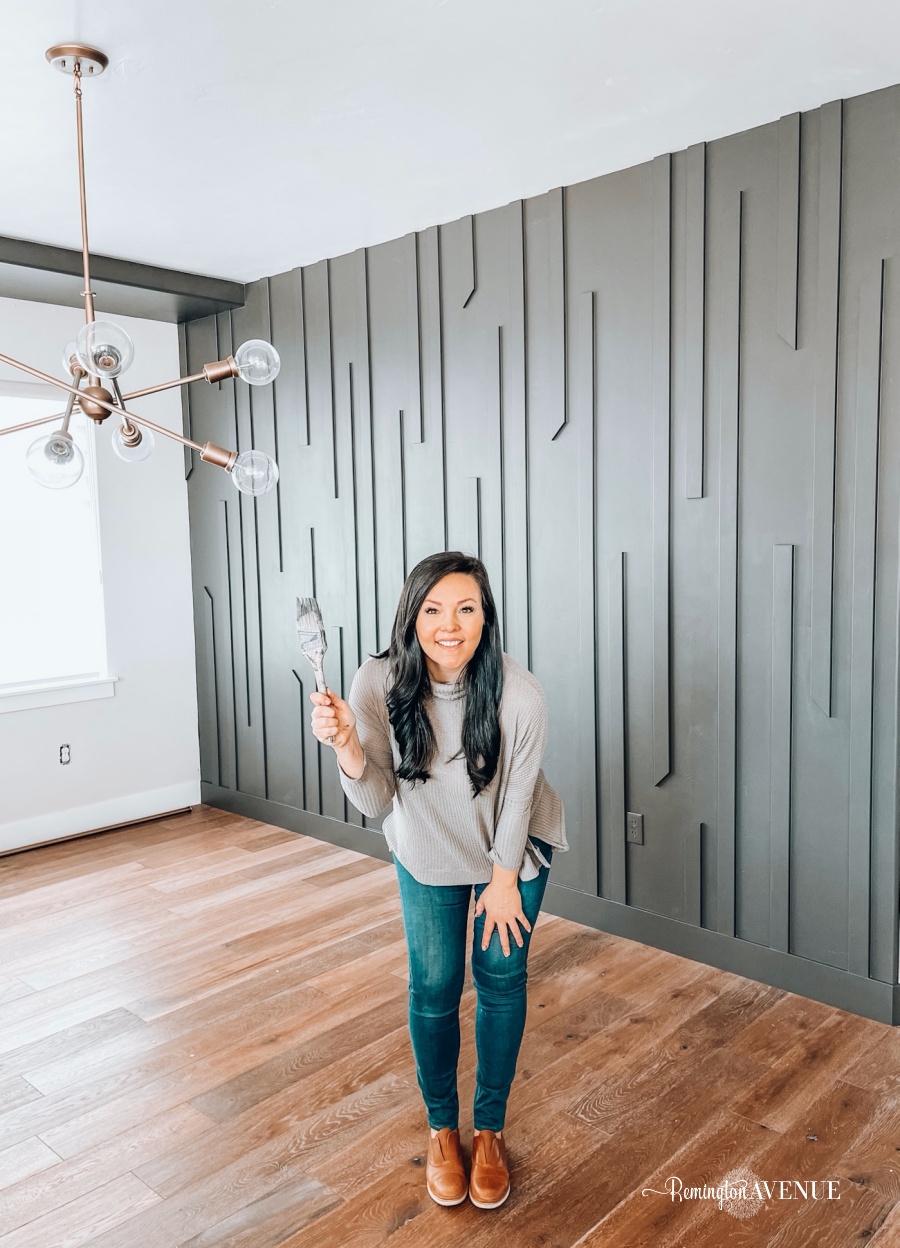
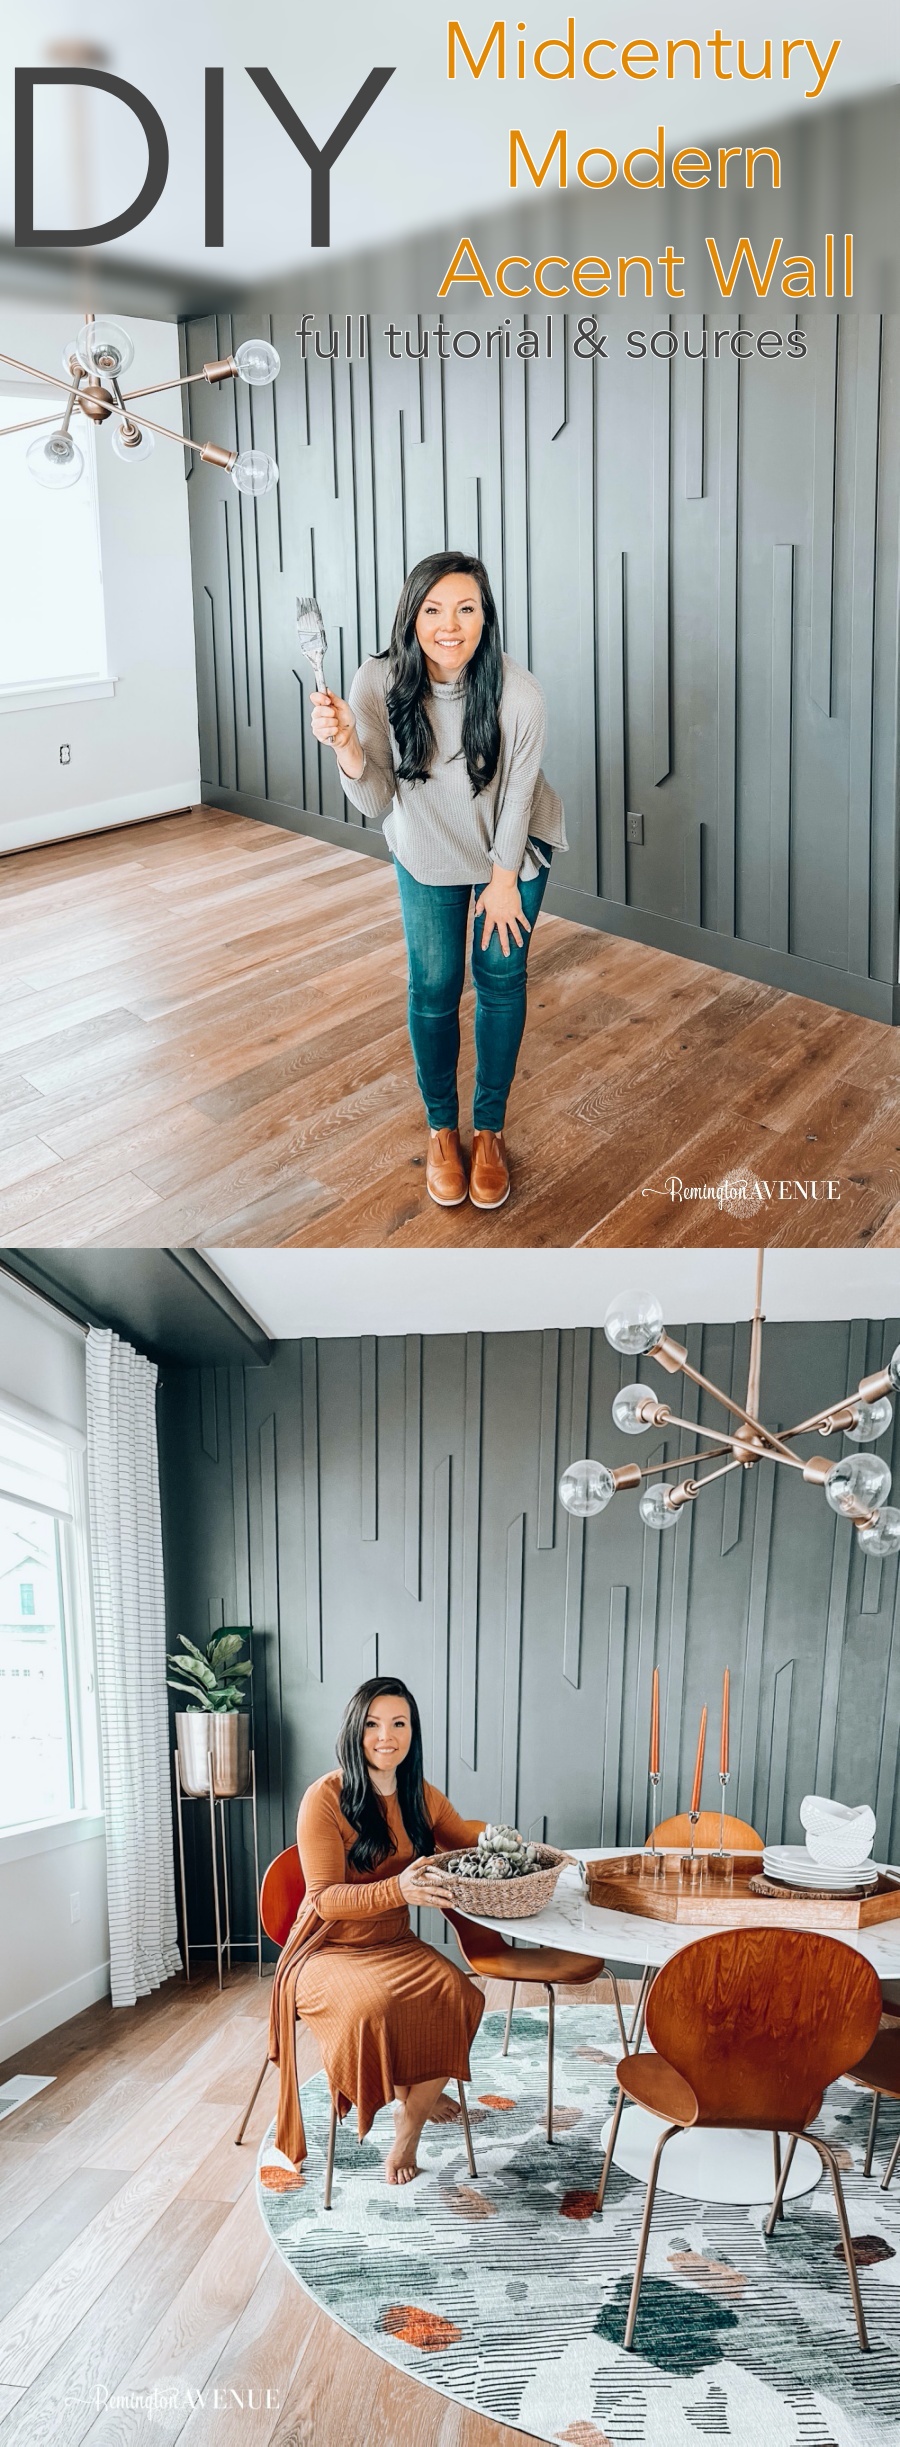
DIY Modern MidCentury Accent Wall
I am having so much fun letting my creativity go wild with all these DIY accent walls lately! Most recently I finished a really fun Modern MidCentury Accent Wall for my sister’s house and we are in love.
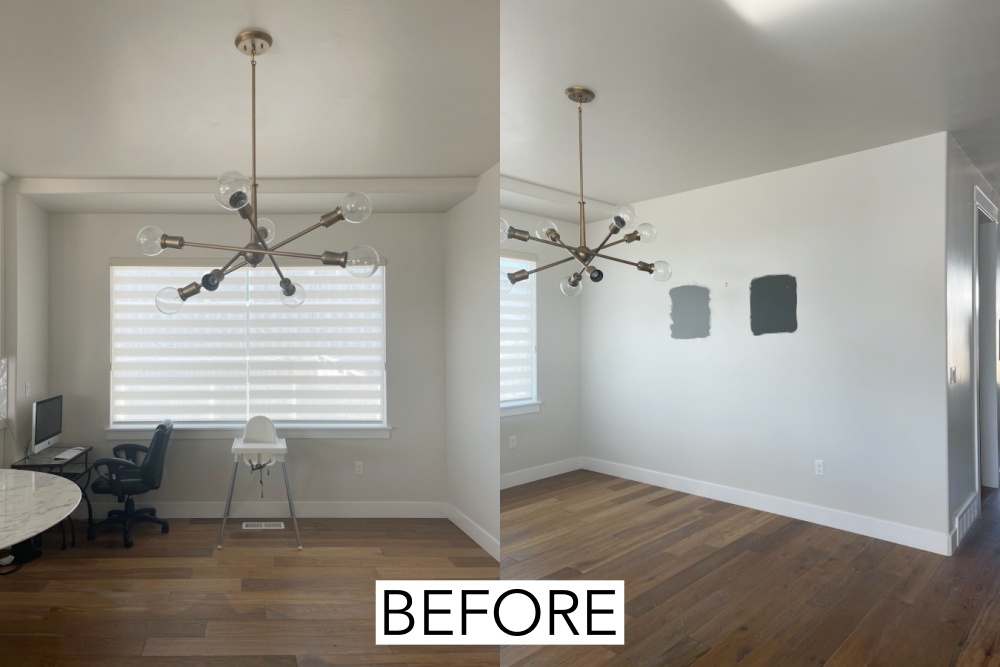
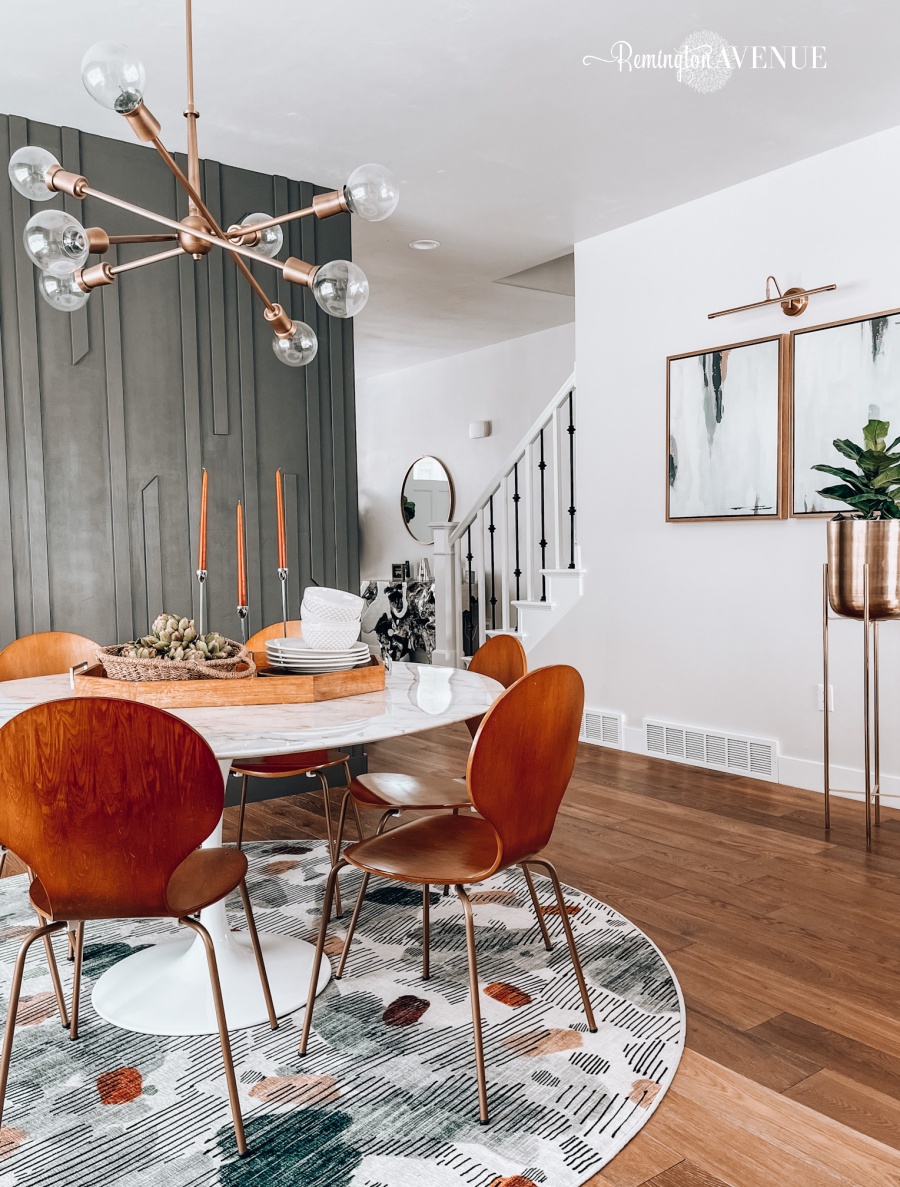
I actually transformed her entire dining space, wanna see?
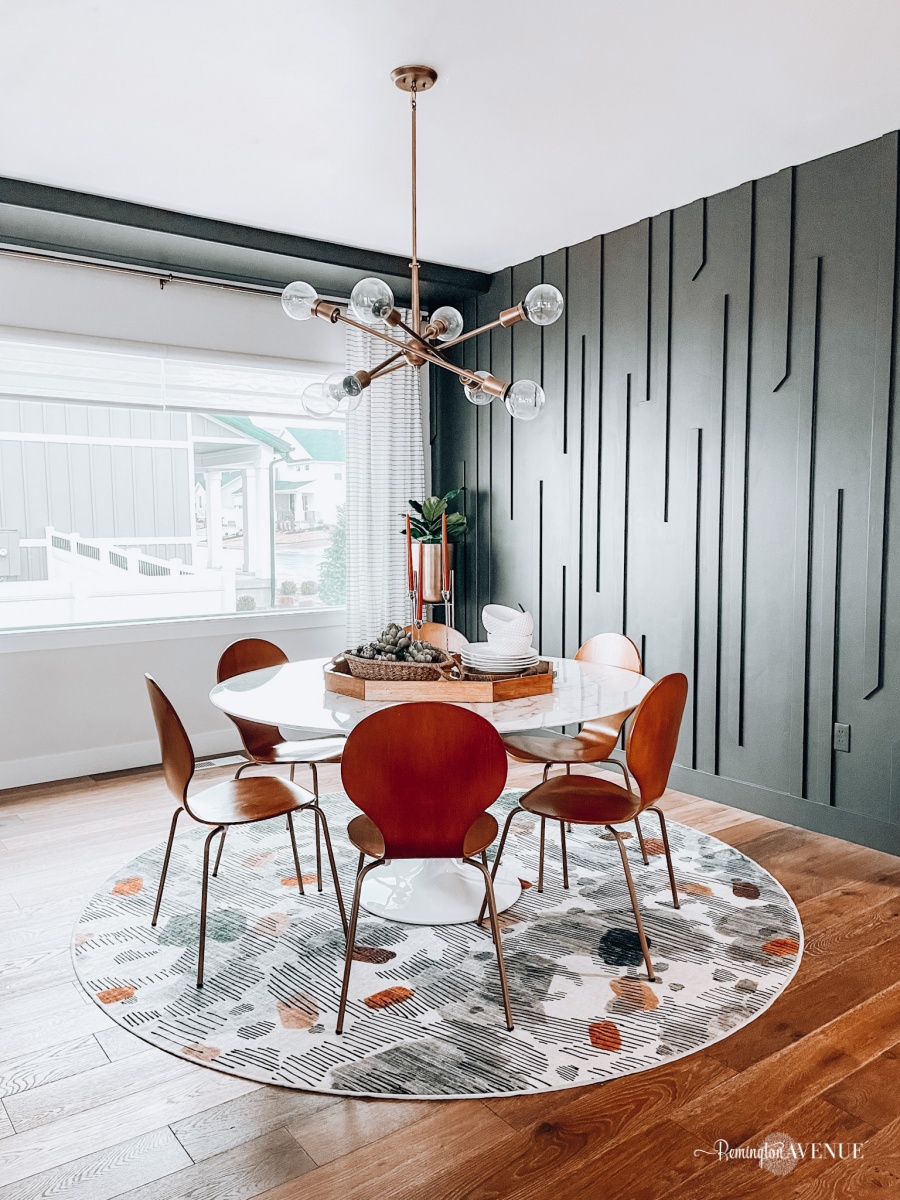
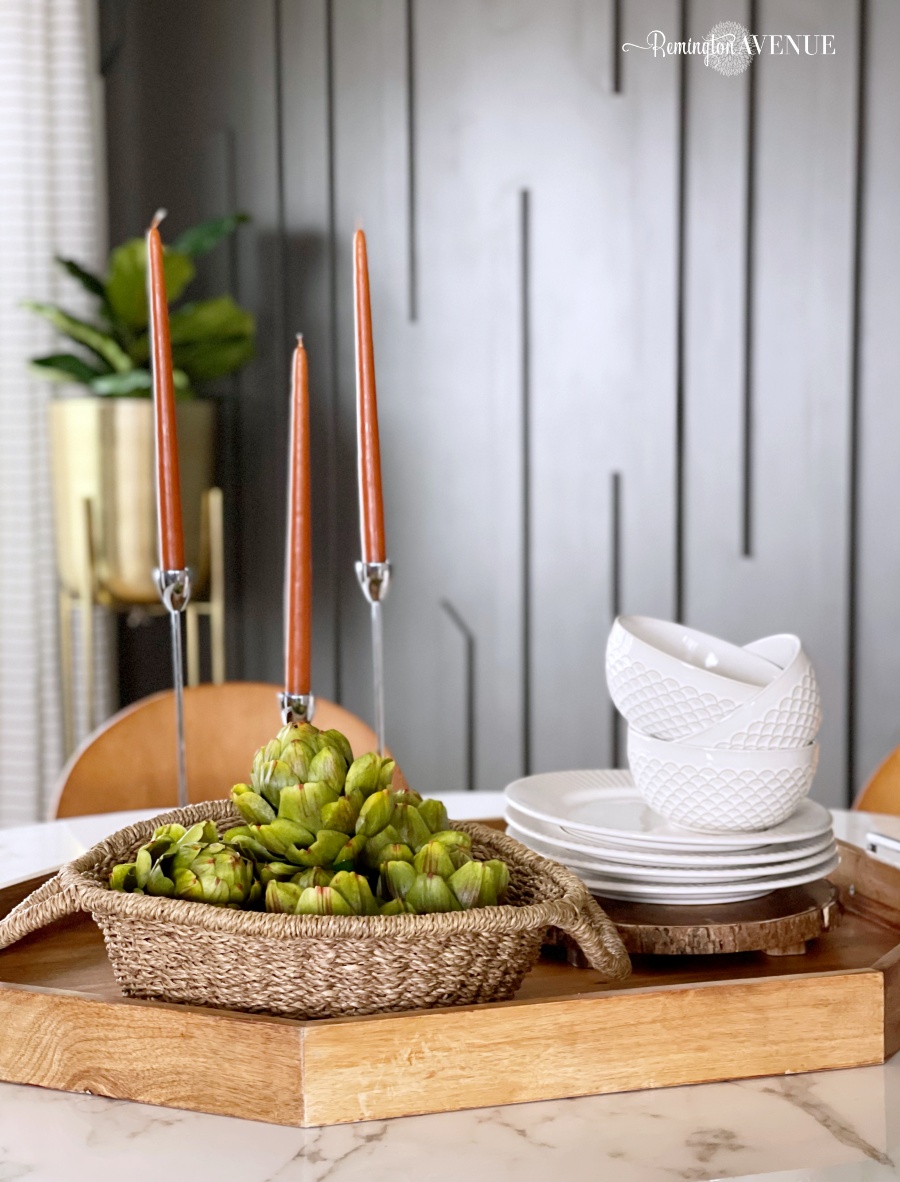
The star of this room is definitely this one-of-a kind linear accent wall, but I have linked all of the room sources below with discount codes and all!
Click on the image below to shop sources
marble acrylic table|modern dining chairs| washable round rug| Brass chandelier| plant stands| Brass adjustable drapery rod| striped Drapes| Art by Christie Adelle

As I was dreaming up this wall design, I really wanted to create something that was easily replicated even for a new DIYer. Yes it still requires a nail gun and saw. But, there are no tricky cuts or angles to worry about. The wall color is ‘Black Fox’ by Sherwin Williams. It’s a beautiful gray, but it does have some brownish purple undertones. So before you commit to this color, try it on your wall first! I think it looks stunning paired with her somewhat orangey wood floors.
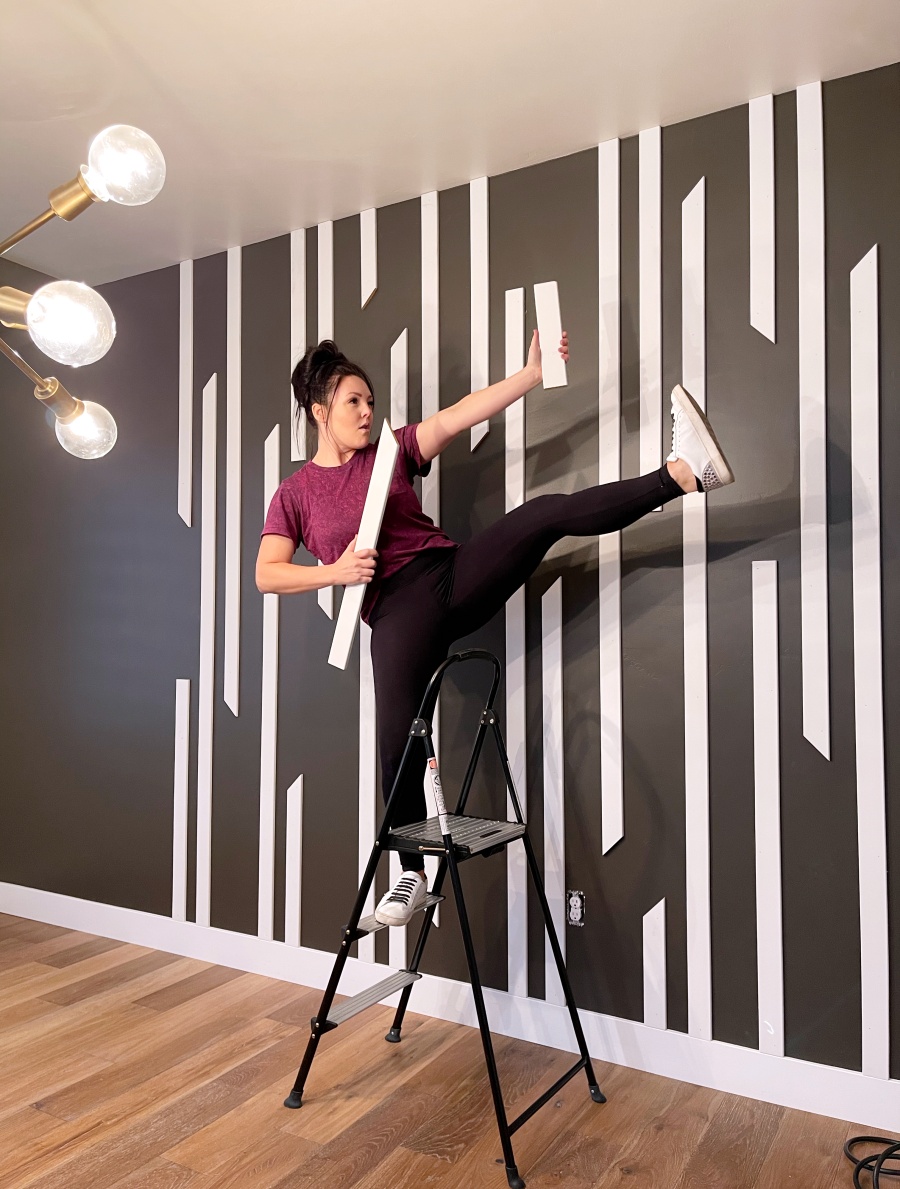
This DIY Modern MidCentury Accent Wall Tutorial is super easy, and my sister, who has never used a saw, was able to do it. So proud of her! Now, let’s get to work!
DIY Modern Midcentury Accent Wall Tutorial:
I started by painting the whole wall gray. That way I don’t have to worry about going around the molding.
After my wall is painted and dried, we are ready to start working with our cuts of MDF trim!
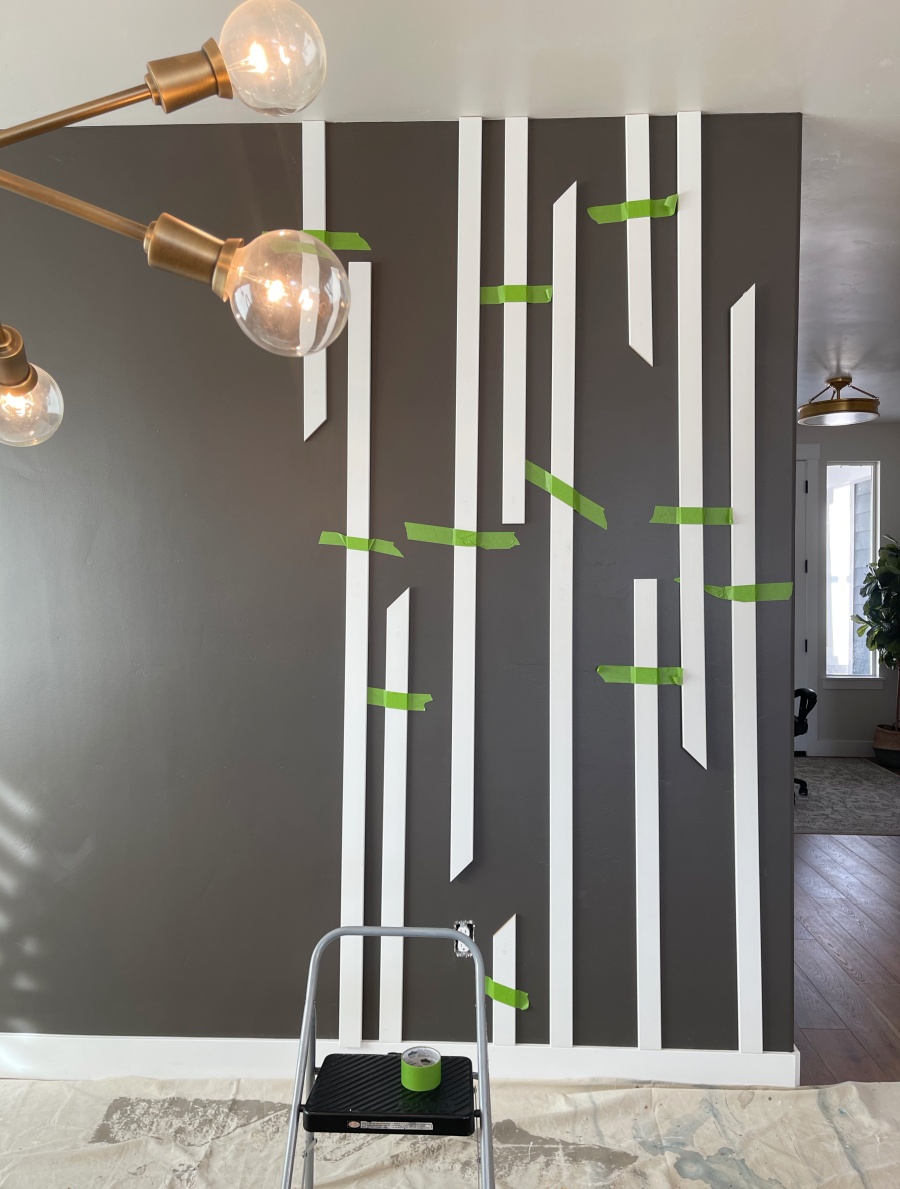
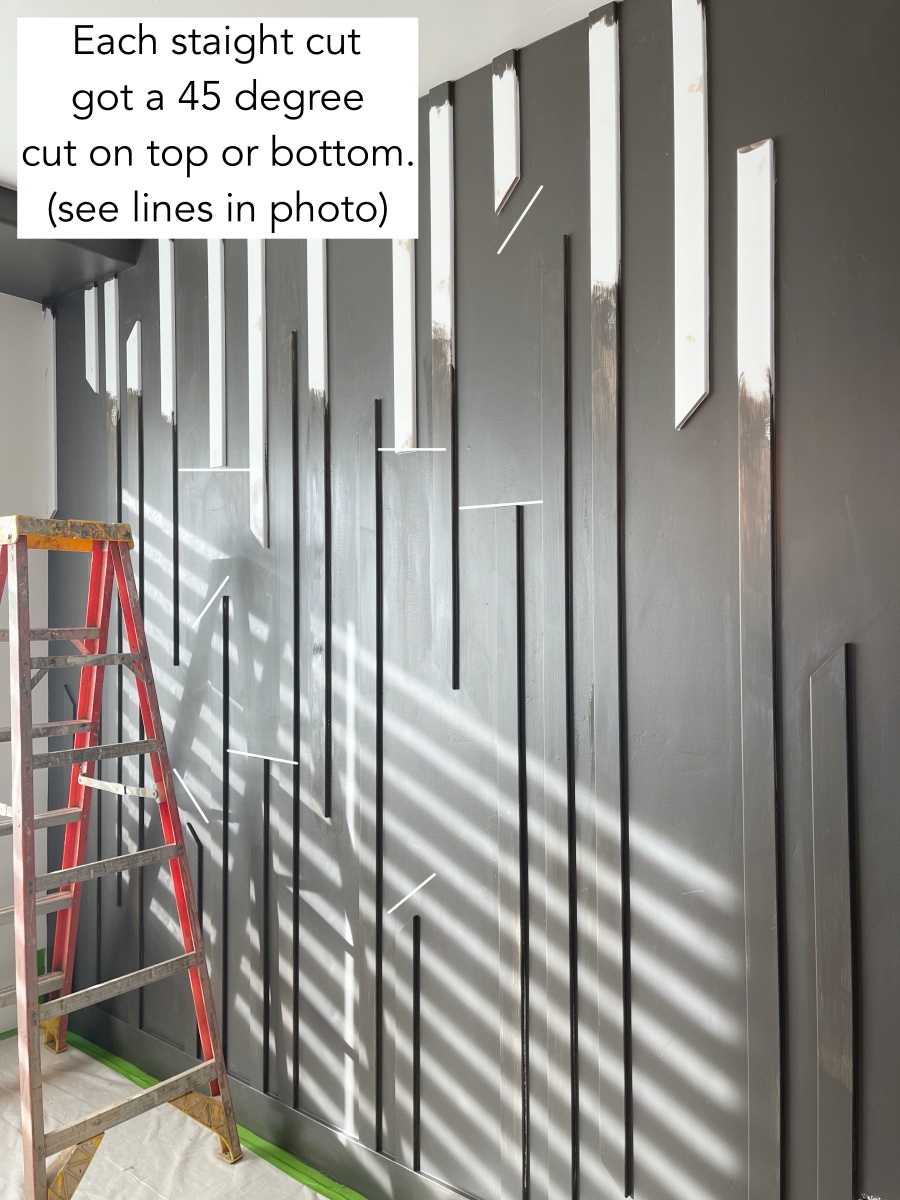
This wall is going to look so cool! And the reason I say it could be duplicated by a beginner, is because it’s all straight cuts and those clean 45 degree angles. No joints, no corner wraps, no weird angles [you’ve got this!]. Each straight cut got 45 degree cut on top or bottom. I added different lengths to keep things abstract. Again, this is all what works with your look and creativity. Go with what you love and what you envision!
***When cutting, keep in mind your blade will take out ⅛”, so account for that when you make your cut!
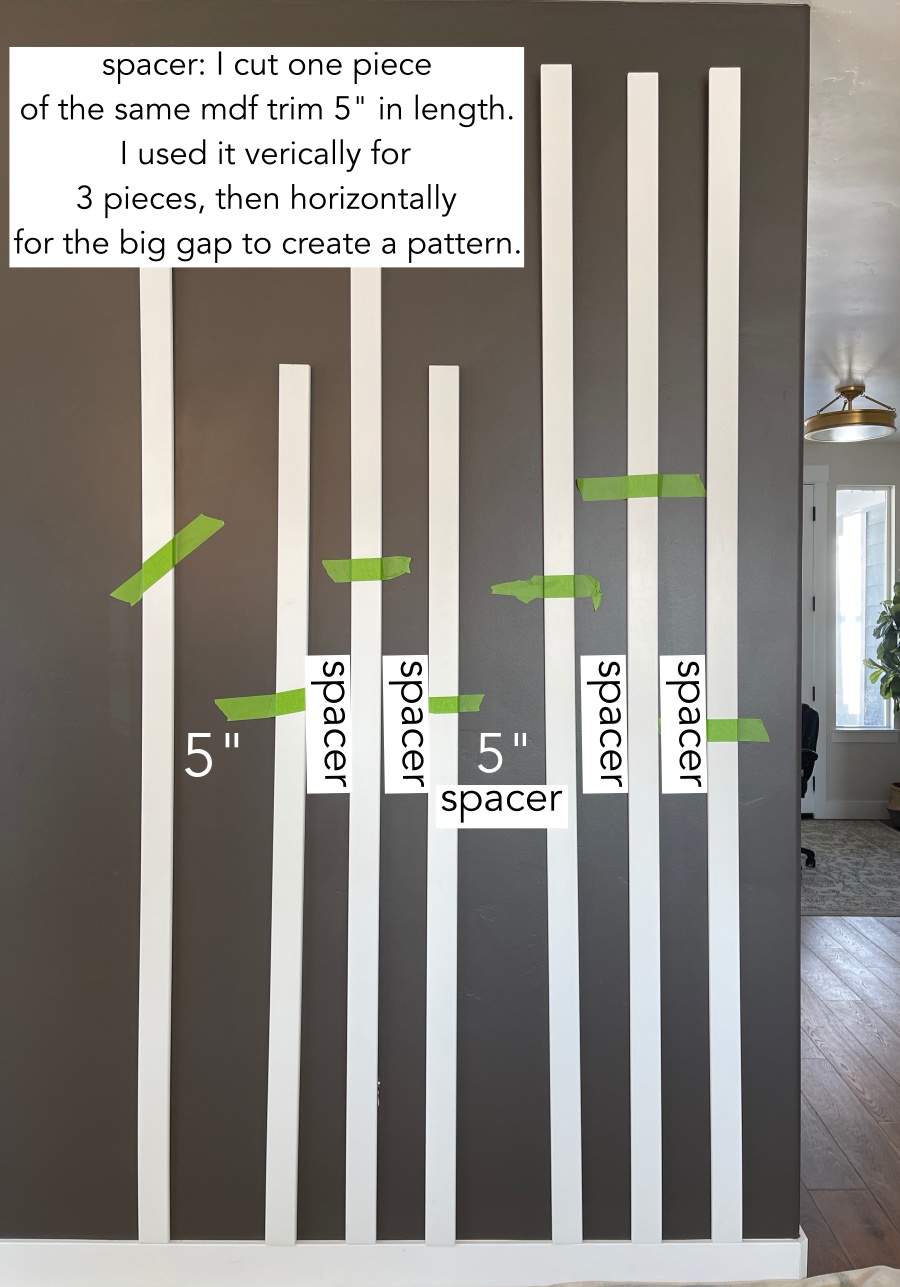
Math is not my forte, so a lot of times I will end up taping out my design so I can get the visual of the math on the paper. It is a huge help and it really allows you to be precise!
Before I secure my first piece of trim for this Modern Midcentury Accent Wall, I am going to take some adhesive and lightly add to each piece of trim. I like the Loctite Heavy Duty because it grabs to the wall quickly and it doesn’t slide around. So we’re going to back it with adhesive – this really allows you to be certain things are straight and secure while working through it all.
Now I’m going to take my first piece and start it 2.5 inches off of the corner. I’ve got my line drawn on there and I am ready to space these out!
And I carefully place it on the wall! Once I know it’s level, I take my nail gun and put in the nails one above the other so they are angled and will cross each other in the wall. Because this is a linear pattern I know I won’t hit studs all the way across, so this secures the molding to the wall. Pretty simple! And you can really get as creative as you want!
Since we know the first piece it level, I am going to take my spacer – which is the same width as the trim I’m using – to place between each piece and space out the rest of this design pattern. This is so much easier and faster than measuring between every piece!
Once you have all of your pieces attached to the wall, go back through and fill all of the nail holes with wood filler. From here, I am going to come back through my orbital sander and just go to town. This cleans up anything that needs to be smoothed out with that wood filler.
You want to take your caulk gun to the corners of each piece of MDF trim where it lines up to the wall and fill in so you have a clean, connected space to the wall.
I always get a lot of questions about caulk. My favorite is the Alex Flex Premium molding and trim sealant. It is truly the best!
Tools I Use
To create this Modern midcentury accent wall, I used Primed MDF Casing Moulding. Click HERE for exact material.
After that, I went back through and painted all of the trim pieces the same color as the accent wall. And now I have my artist brush out because I couldn’t get every spot on the side with my angled brush!
The grey color I used on this DIY Modern MidCentury Accent Wall was Black Fox by Sherman Williams, and it pulls a little bit purple in her space because of the orange undertones in her hardwood flooring. I carried the color across the soffit over the window to bring the space together and I love it!
A good accent wall is such a great way to make a space look fresh and custom – and you can really do anything your mind dreams up!
From wallpaper to molding, there are so many simple ways to create a truly unique accent wall! Happy accent – wall creating!

 Add to favorites or read later
Can you link the wood trim that you used? Thanks!
Yes I just added it to the post
How many coats of paint did you use for the wall and then the trim?
2 coats