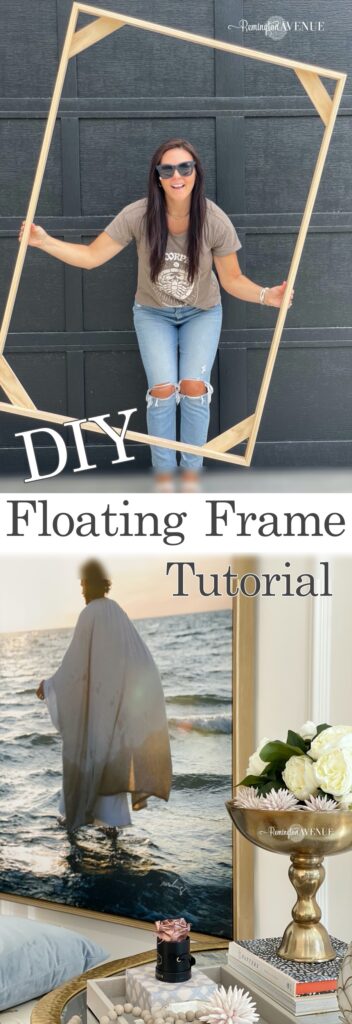
DIY Oversized Floating Frame
How expensive is custom framing for oversized art…the answer? So expensive. So I set out to build my own fancy DIY Oversized Floating Frame on a budget.
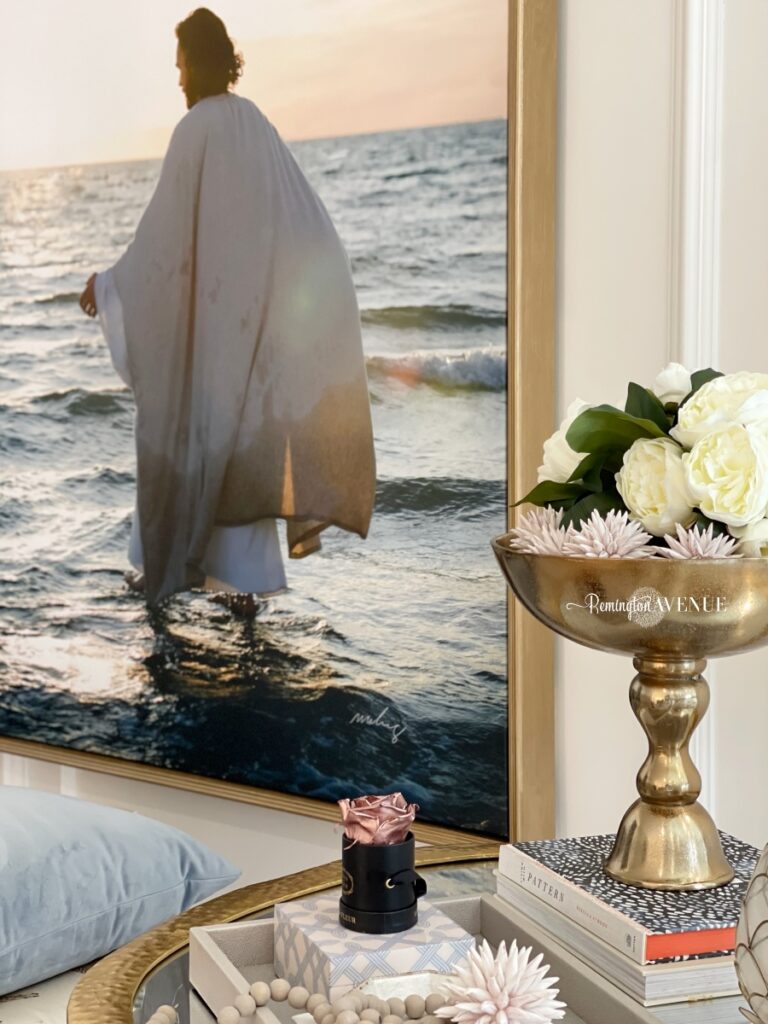
I have had this gorgeous canvas hanging on my walls for 2 years. I’ve always had full intentions of getting it framed right after I purchased it, but I quickly found out the price tag would be around $700 for what I wanted. I finally got the motivation to build my own, and I am so excited with how it turned out. The total cost for my project was $30 (and that’s with lumber priced sky high right now).
floating framing supplies:
40×60 canvas (or whatever size art you are framing)
(4) 1x3x6 pine boards (actual measurements of these boards are 0.75×2.5×6)
gold paint or wood stain
Nail gun & miter saw
DIY oversized floating frame tutorial
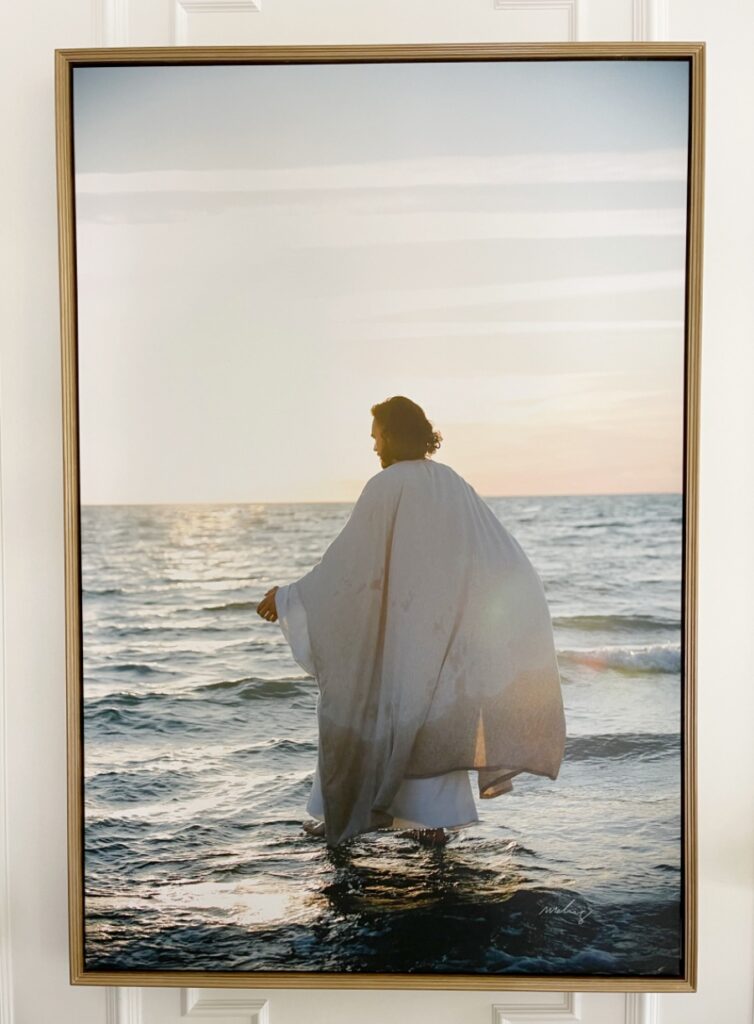
Note: If you are looking for this art, you can find it at Reflections of Christ. It’s called “walking on water”
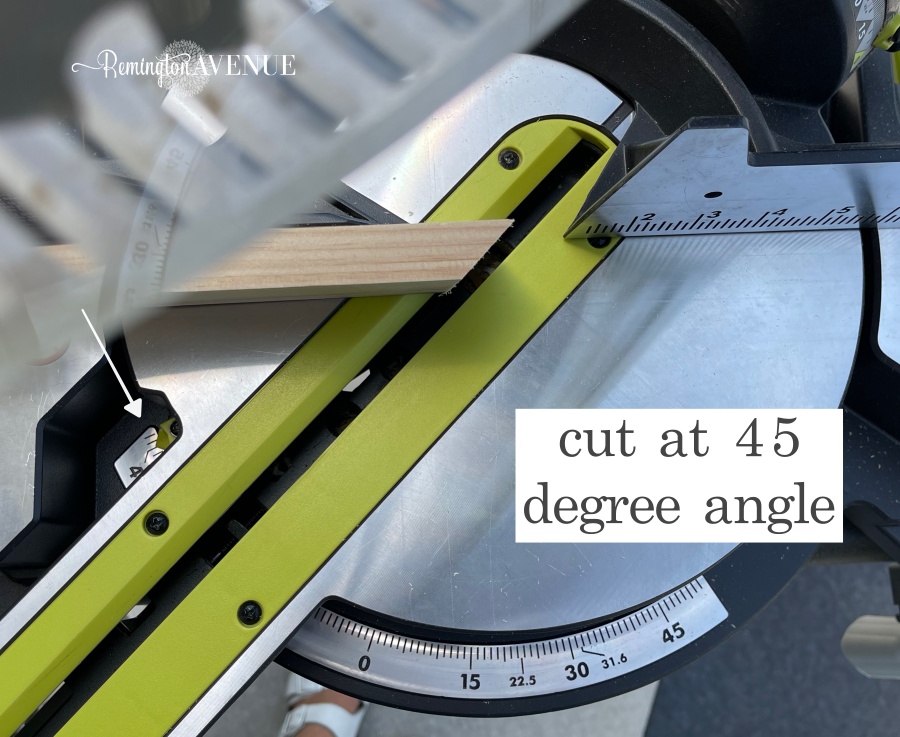
Step 1 for this DIY oversized floating frame: Cut the boards

Next, you want to determine how long you want the overall frame to be and cut the sides to that length. I wanted an 1/8″ gap around the canvas, so I added 1/4″ total to the length, plus the thickness of two boards (3/4″ x2) to get the measurements.
For my 40×60″ canvas, that came to a total frame size of 41 3/4″ by 61 3/4″ . Those measurements are from outside to outside assuming a mitered corners.
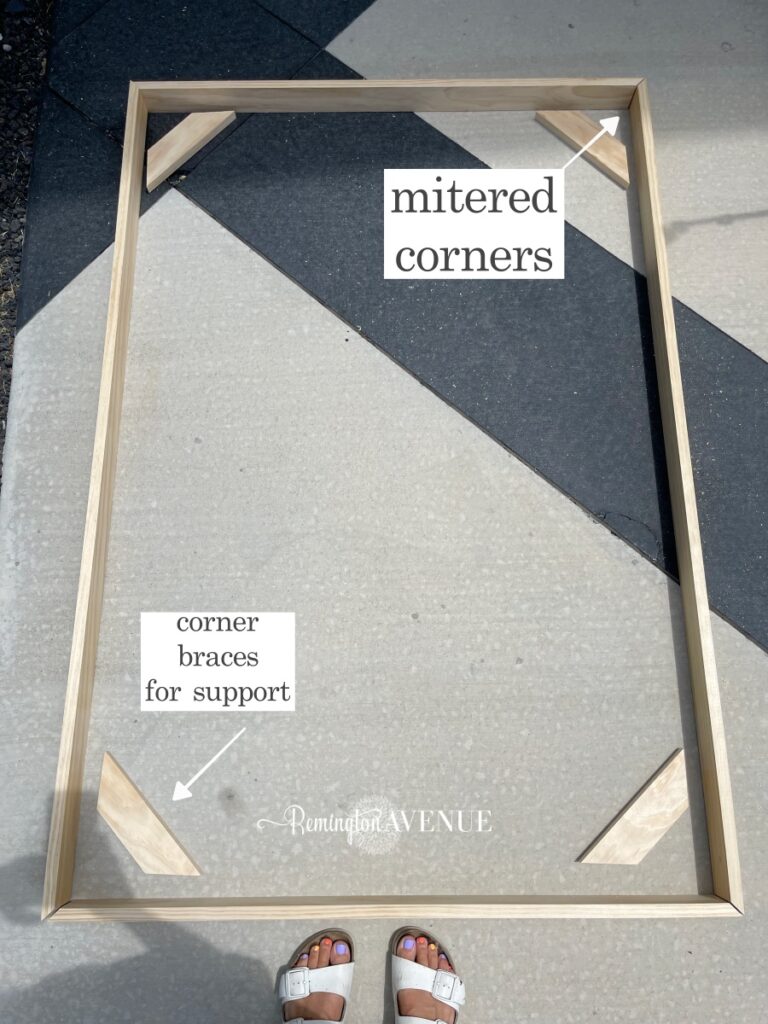
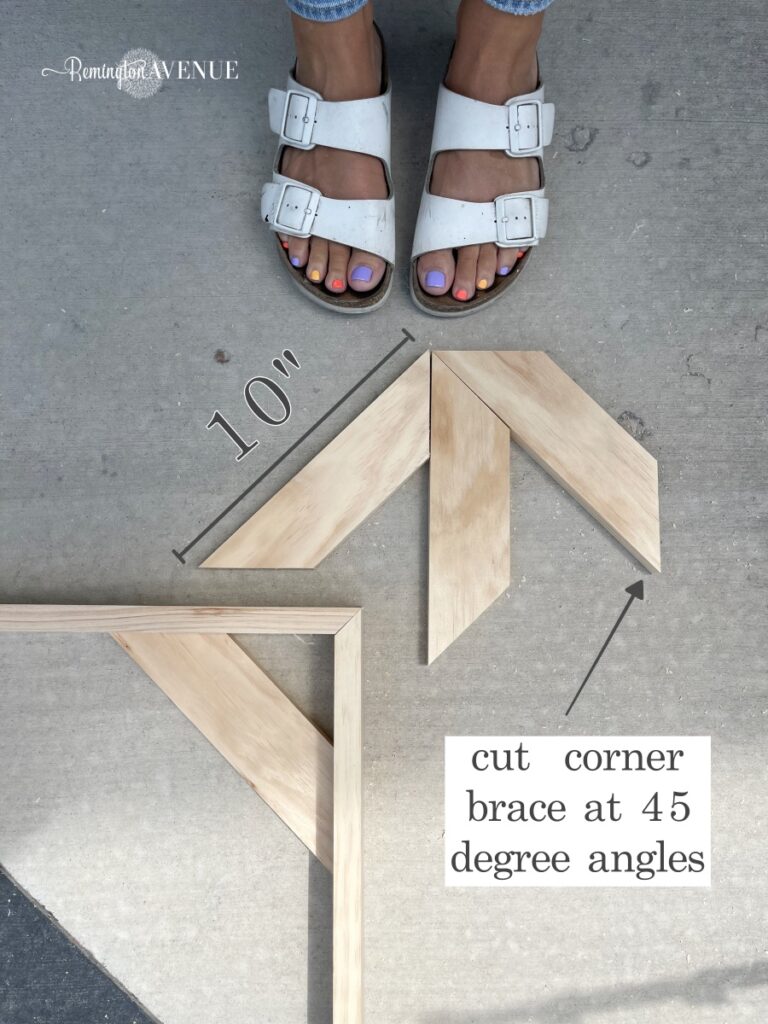
Step 2: Cut corner braces
Once all four sides of the frame were cut, it was time to make the corner braces. These pieces not only strengthen the frame but they are also the pieces you will attach the canvas too. I used the remainder of the 1x3x6 boards and cut them to 10″ in length. The edges were cut at 45º, but the length really didn’t matter much since these would be hidden. All together my canvas thickness (1.5″) plus the thickness of the corner braces(0.75″) came to 2.25″ leaving a 0.25″ space. This would allow the canvas to be recessed slightly from the frame.
Step 3: Assemble the frame
Now it’s time to join the pieces together. You will use wood glue and nails for this. I used gorilla glue. To attach the wood, we used 1.25″ 16 gauge nails , but anything from 1-2″ should work.

A corner clamp would be ideal, but I don’t have one, so I improvised by using the corner braces I just cut. I basically held them in place while nailing the mitered corners together. It worked great.
If you plan to stain the floating frame vs paint , It’s best to just nail into the top and bottom frame pieces because the sides are more visible. I nailed into all 4 boards from both directions for maximum strength and filled the nail holes with putty. I obviously painted my frame gold!

Step 4: Attach corner braces
You want your corner braces to be perfectly flush with the frame. There’s probably a better way to do this, but I held the piece to the frame very tightly with one hand, and shot the nail in at an angle with the other hand. It actually worked out just fine.
Step 5: Fancy it up!
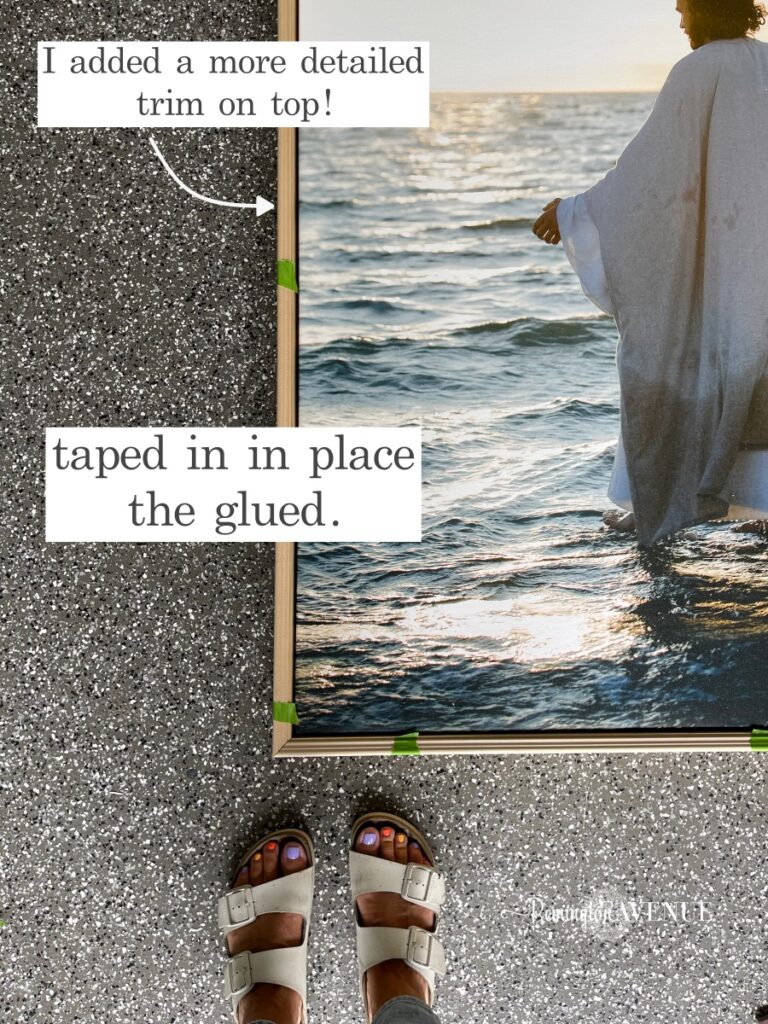
At this point you have a beautiful frame, but if you wanna dress it up a bit (like me) its time to add the decorative trim, paint, or stain. In retrospect, I would have attached the decorative trim on top of the 1×3 boards before cutting them down to size. This would ensure that the sizes lined up exactly.
…but I didn’t, so I simply cut my thin molding to the exact same sizes as my frame sides, taped them to the top of my frame, and used wood glue to adhere it. I used this gold chalk paint to really glam it up. The combination of this decorative trim and gold paint really gave the frame that high end look I was after!
Step 6: Install the canvas to the frame
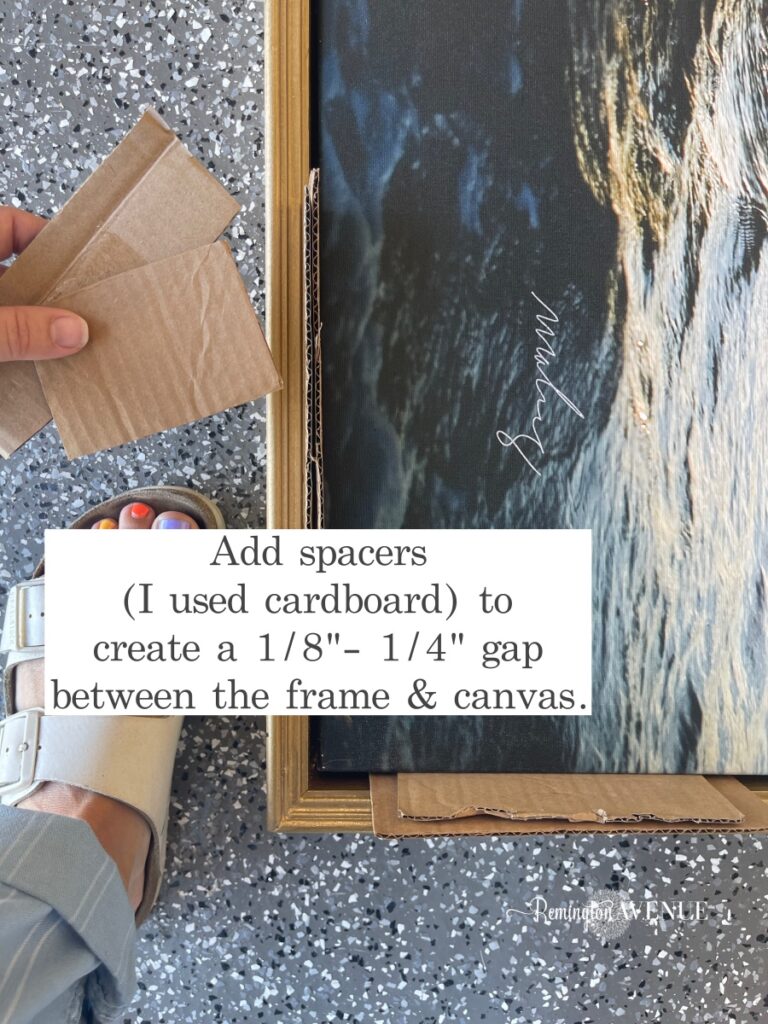
Using cardboard pieces as spacers, I created an equal gap of 1/8″-1/4″ space between the canvas and floating frame. These pieces also ensured the canvas from shifting inside the frame while I flipped it over to attach the frame to the corner braces.
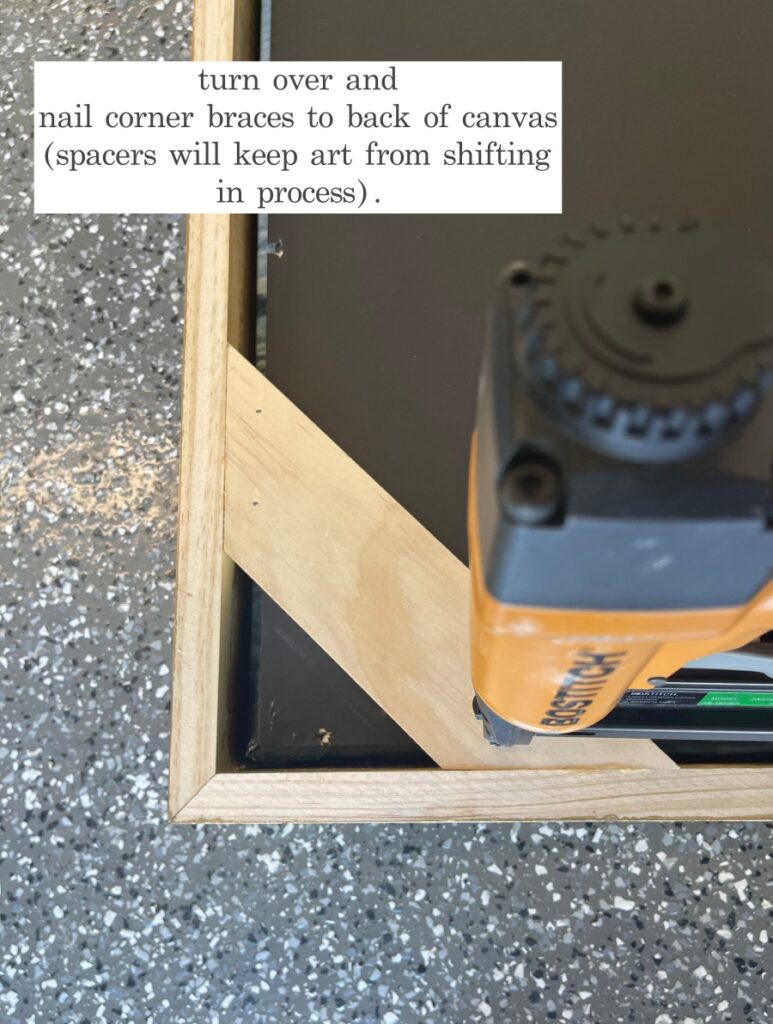
I used 1.25″ nails to attach the corner braces to the back of the canvas. Flip it over and you are done!
This project certainly achieved a high end custom framing look, but only cost me $30 for a 40″x60″ frame. Wow!
If you found this tutorial to be helpful, I hope you will subscribe to my weekly newsletters where I share more DIY tutorial like this, Interior design tips, room renovations, and more.

 Add to favorites or read later
Love it!
Love love love!! I have your blog bookmarked!!
That looks beautiful
Love it! You can do no wrong! Sorry about your account, I pray it is reinstated very soon!! Keep sharing and inspiring! No one can STOP YOU!!💜
Looks amazing!!
Beautiful 😍
Beautiful job! Thank you for sharing your content. ❤️❤️❤️
So beautiful 🤩
I absolutely love this picture of “Walking on Water”