DIY String Art
I’ve kinda been obsessing about all the string art everywhere. I thought it would make a super easy project for the nursery, and a great craft for my son and I to do together. He is my little helper and is always asking what he can make for his soon to be little sister. This would also make a great craft for valentines, so its coming at the right time of year I suppose;)

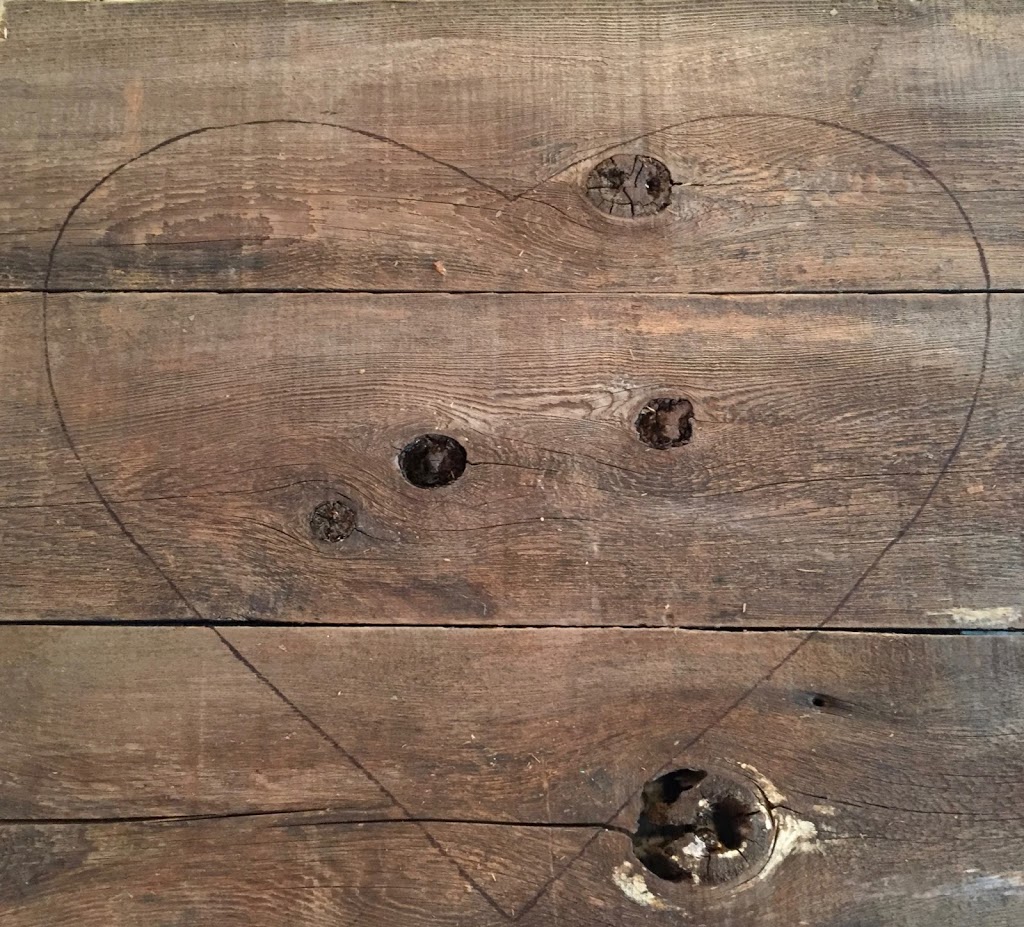
I have a stack of old fencing in my garage that I use for all sorts of little projects. I simply sawed one fence panel into 3 equal parts and secured them together for the base. You could also use pallet wood, an old frame, or an old decor piece painted or turned backward. I’m all about reusing old items that have been thrown aside and transforming them into something new and fun.
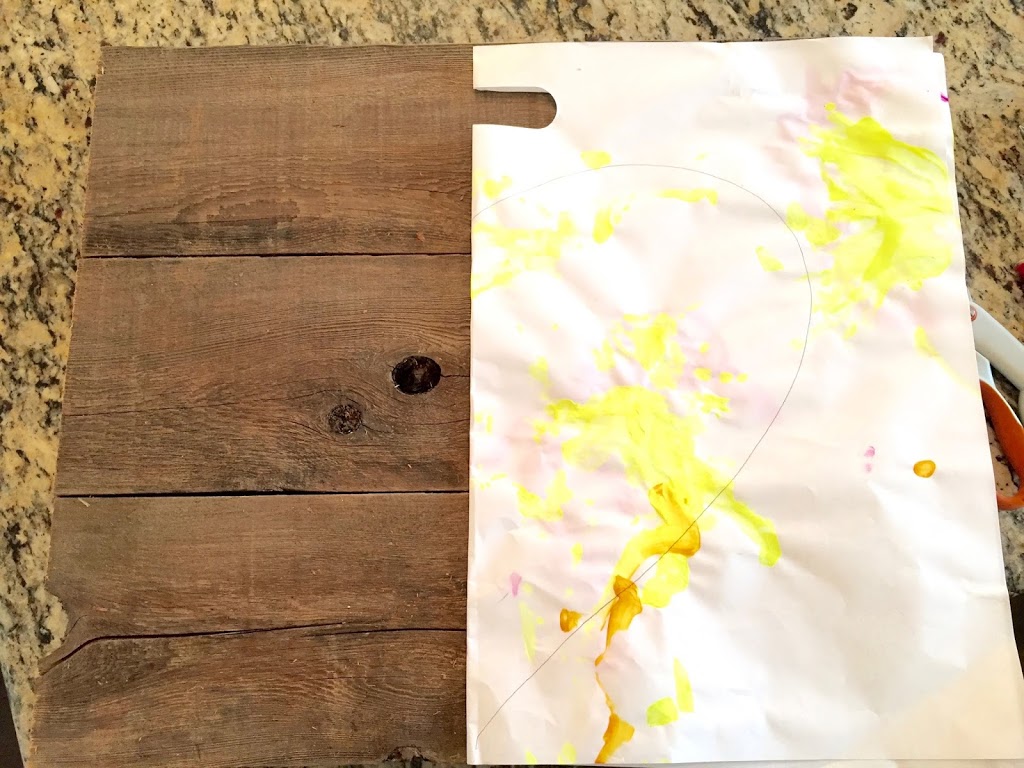
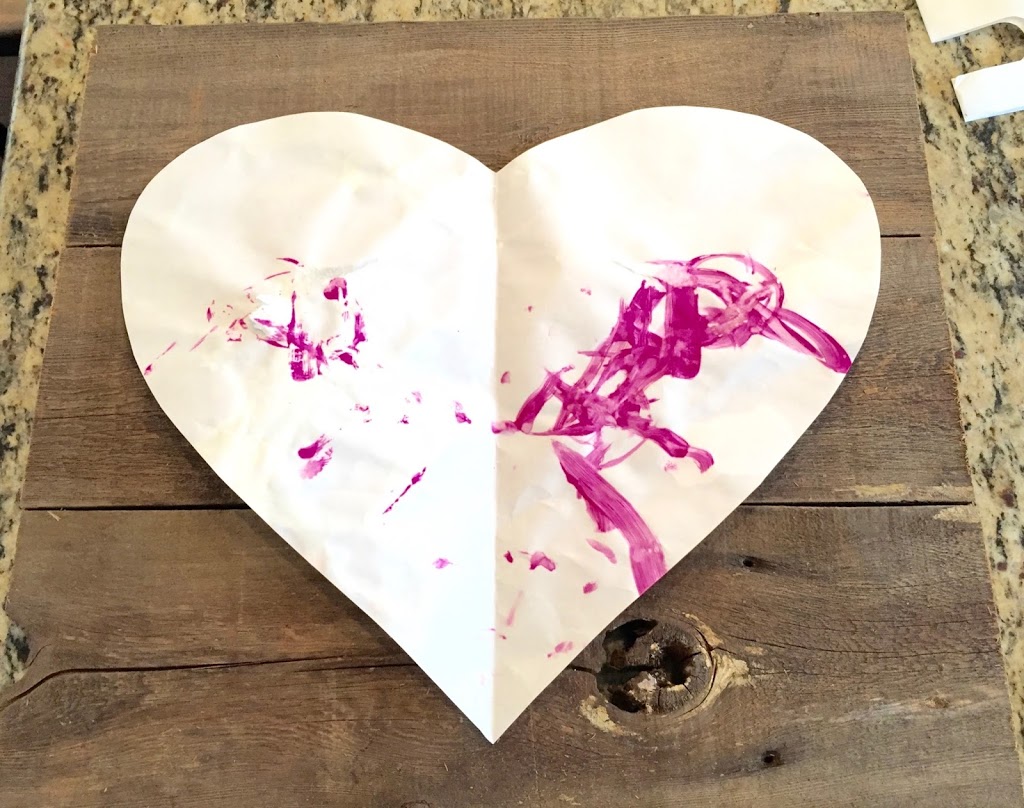
The first thing I did was make a pattern of the shape I wanted on a piece of paper. I chose a heart, but you could really do any shape! (I mentioned using old items right haha… watercolors from yesterdays craft activity). Once you have your desired shape, cut it out and trace it onto your base.
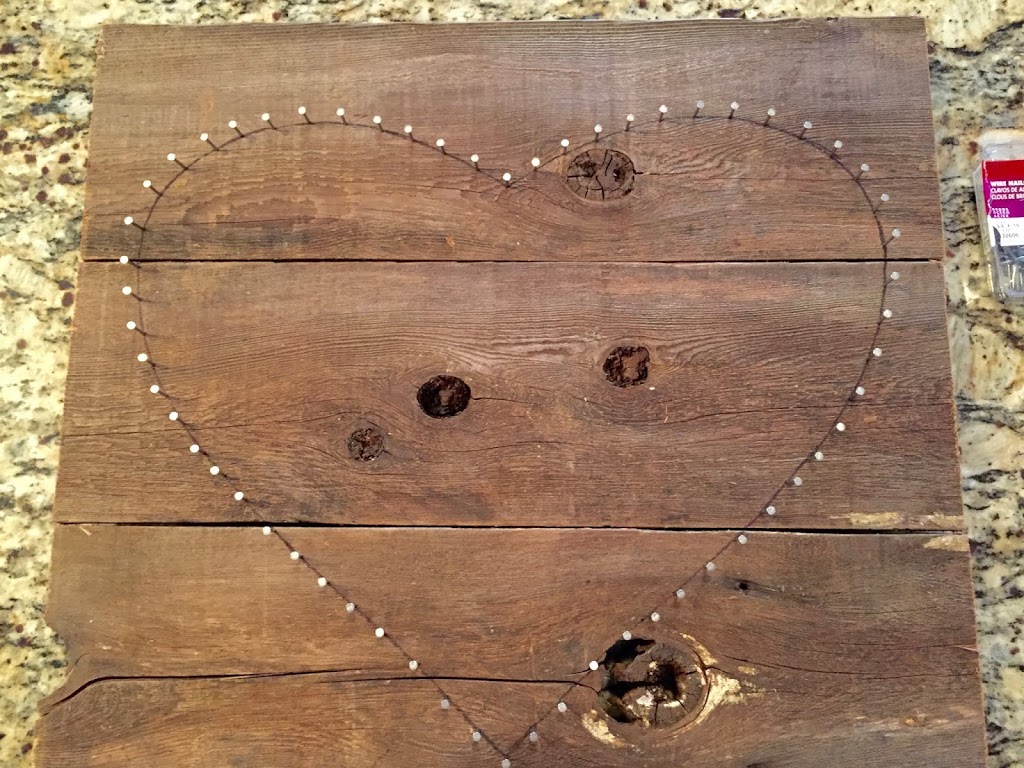
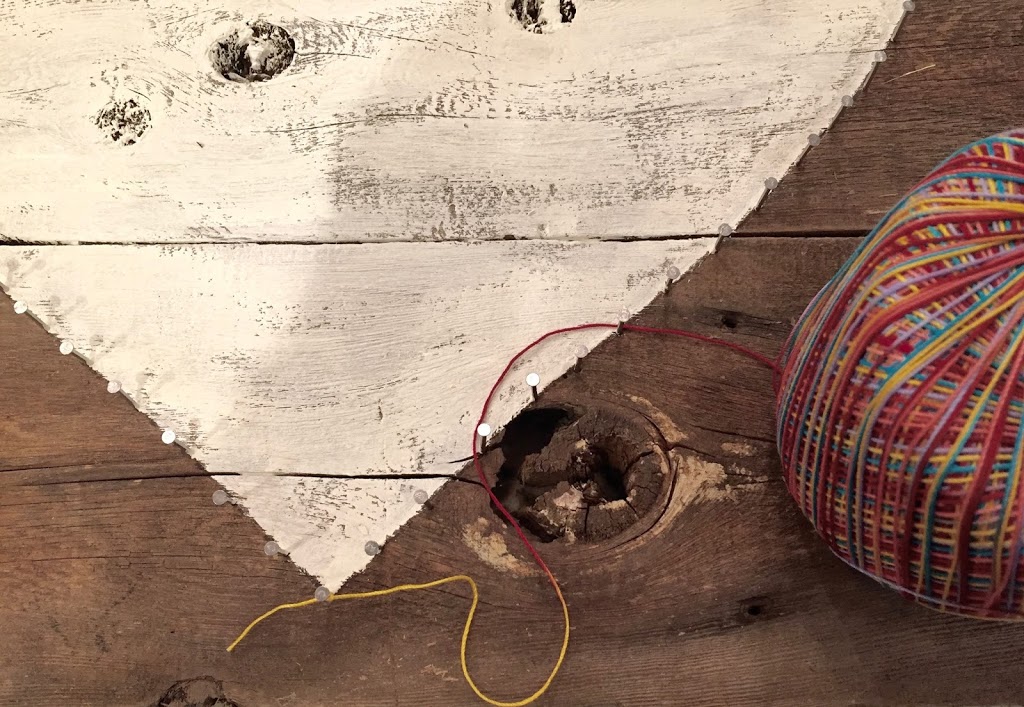
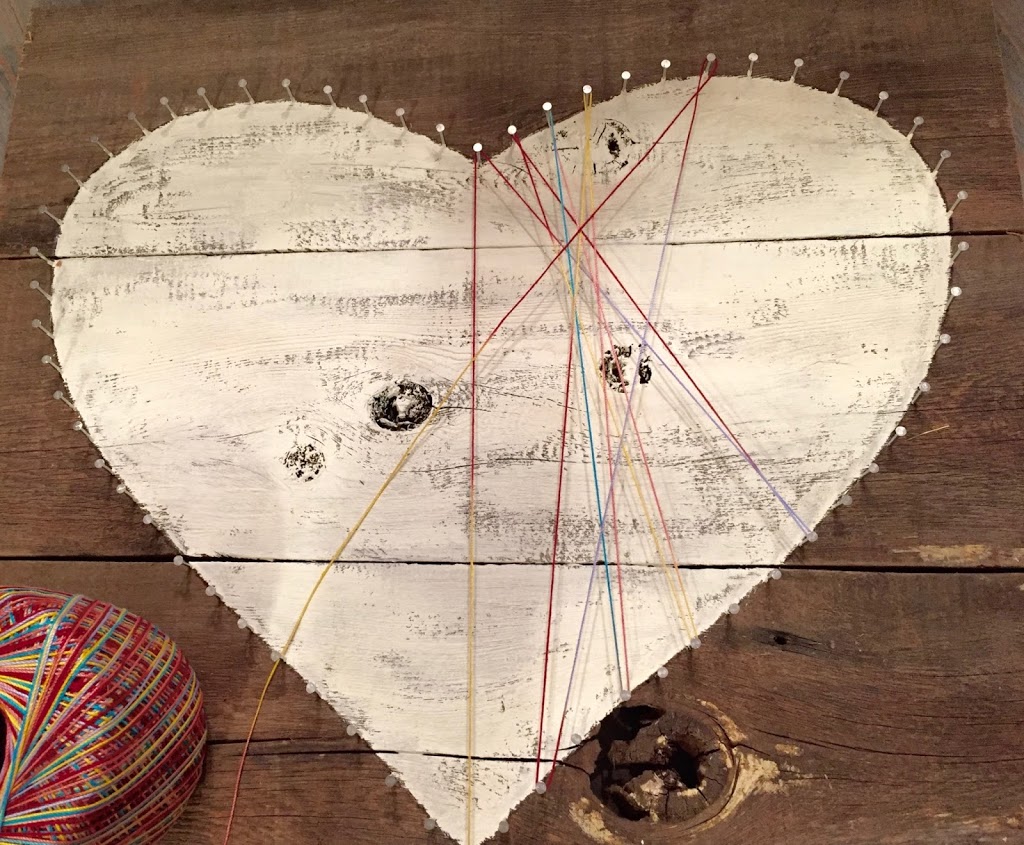
I made the mistake of hammering in the nails next. I totally spaced on the white paint. So DON’T MAKE THAT MISTAKE! Instead paint your desired shape white, staying in the lines. (ignore the nails in the pic)
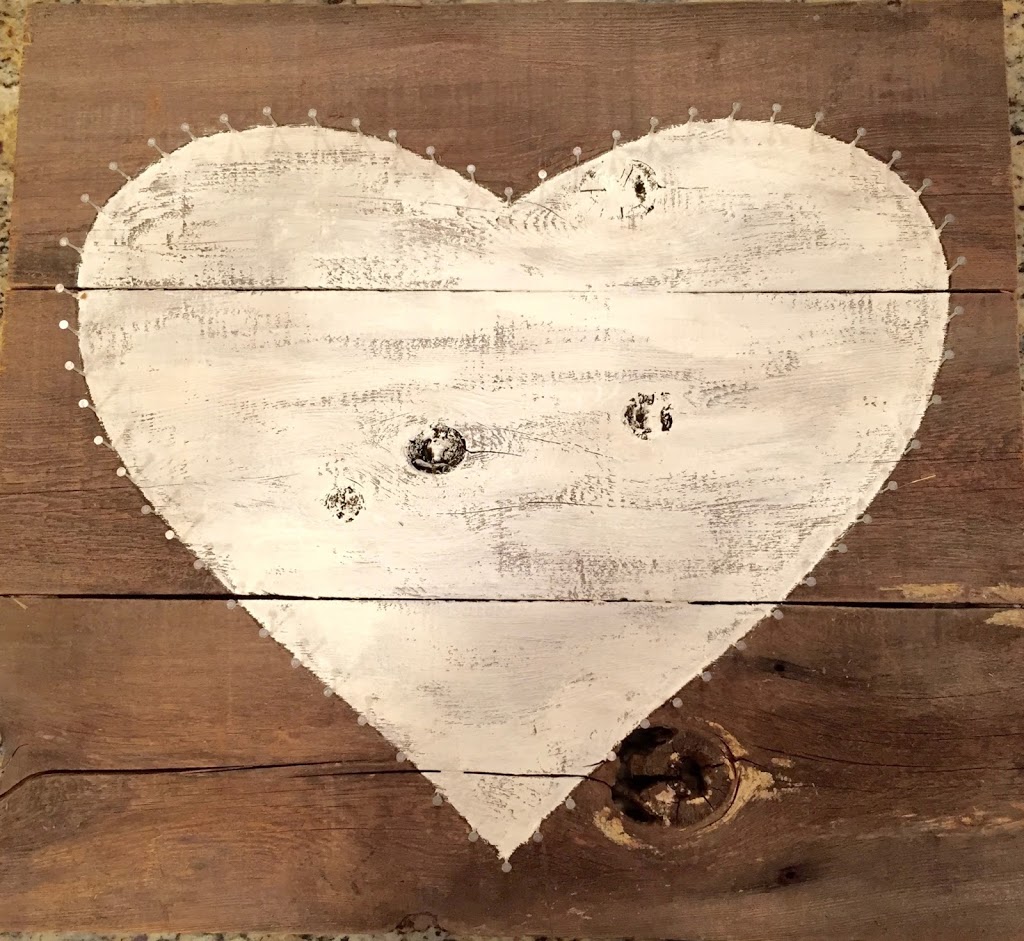
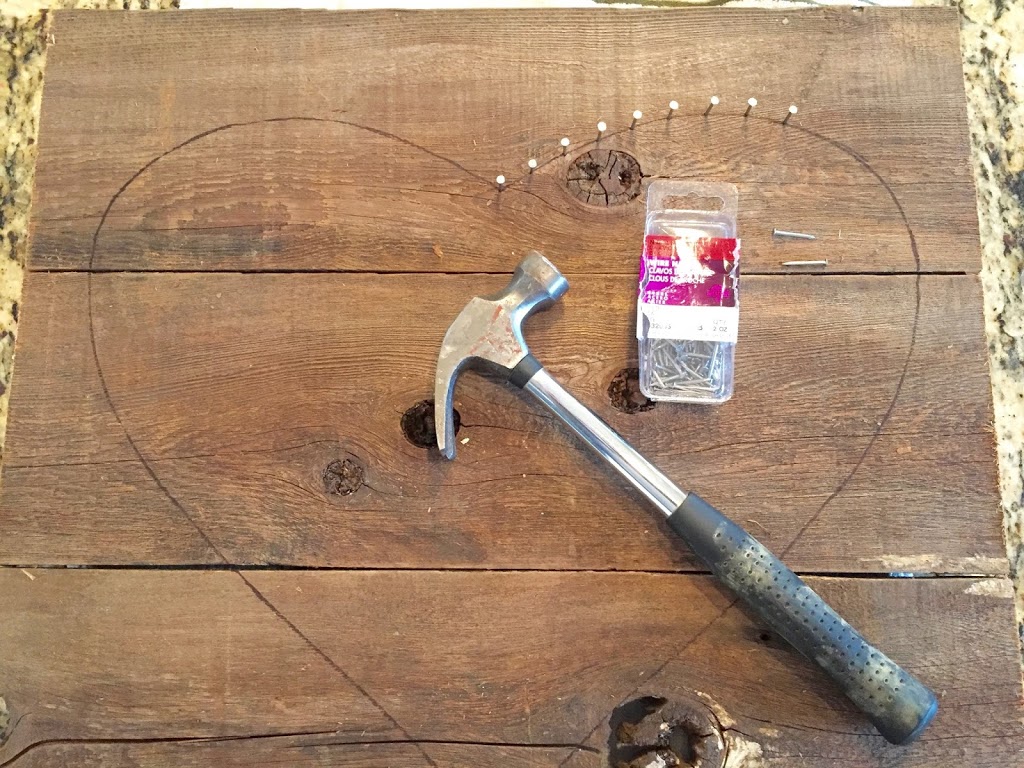
Now get your hammer and nails ready. I used some nails I already had… size 3/4 X 16. I spaced the nails about a 1/2″ to 3/4″ apart. I did not by any means break out a ruler, just eye balled it. Continue hammering in the nails until you have completed the entire heart or desired shape.


 Add to favorites or read later