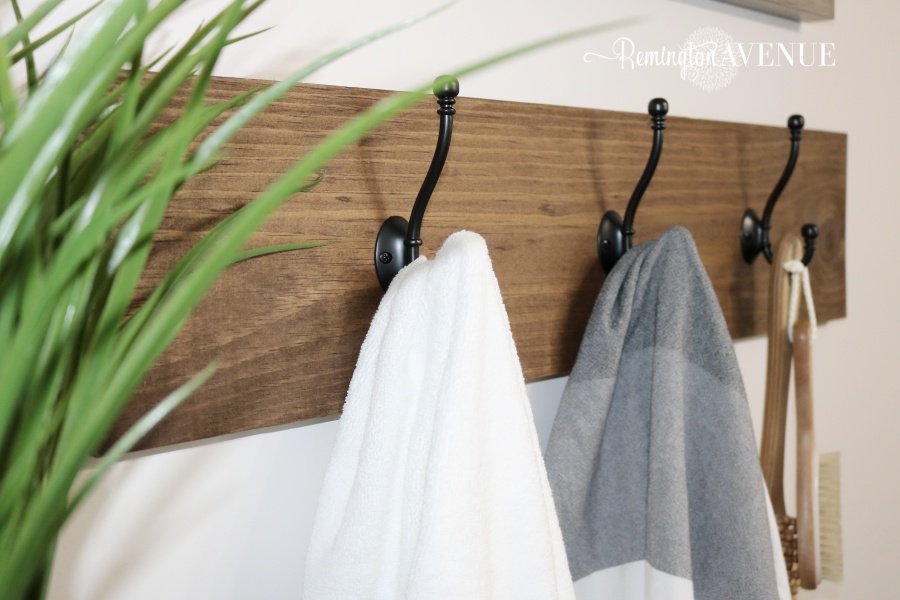
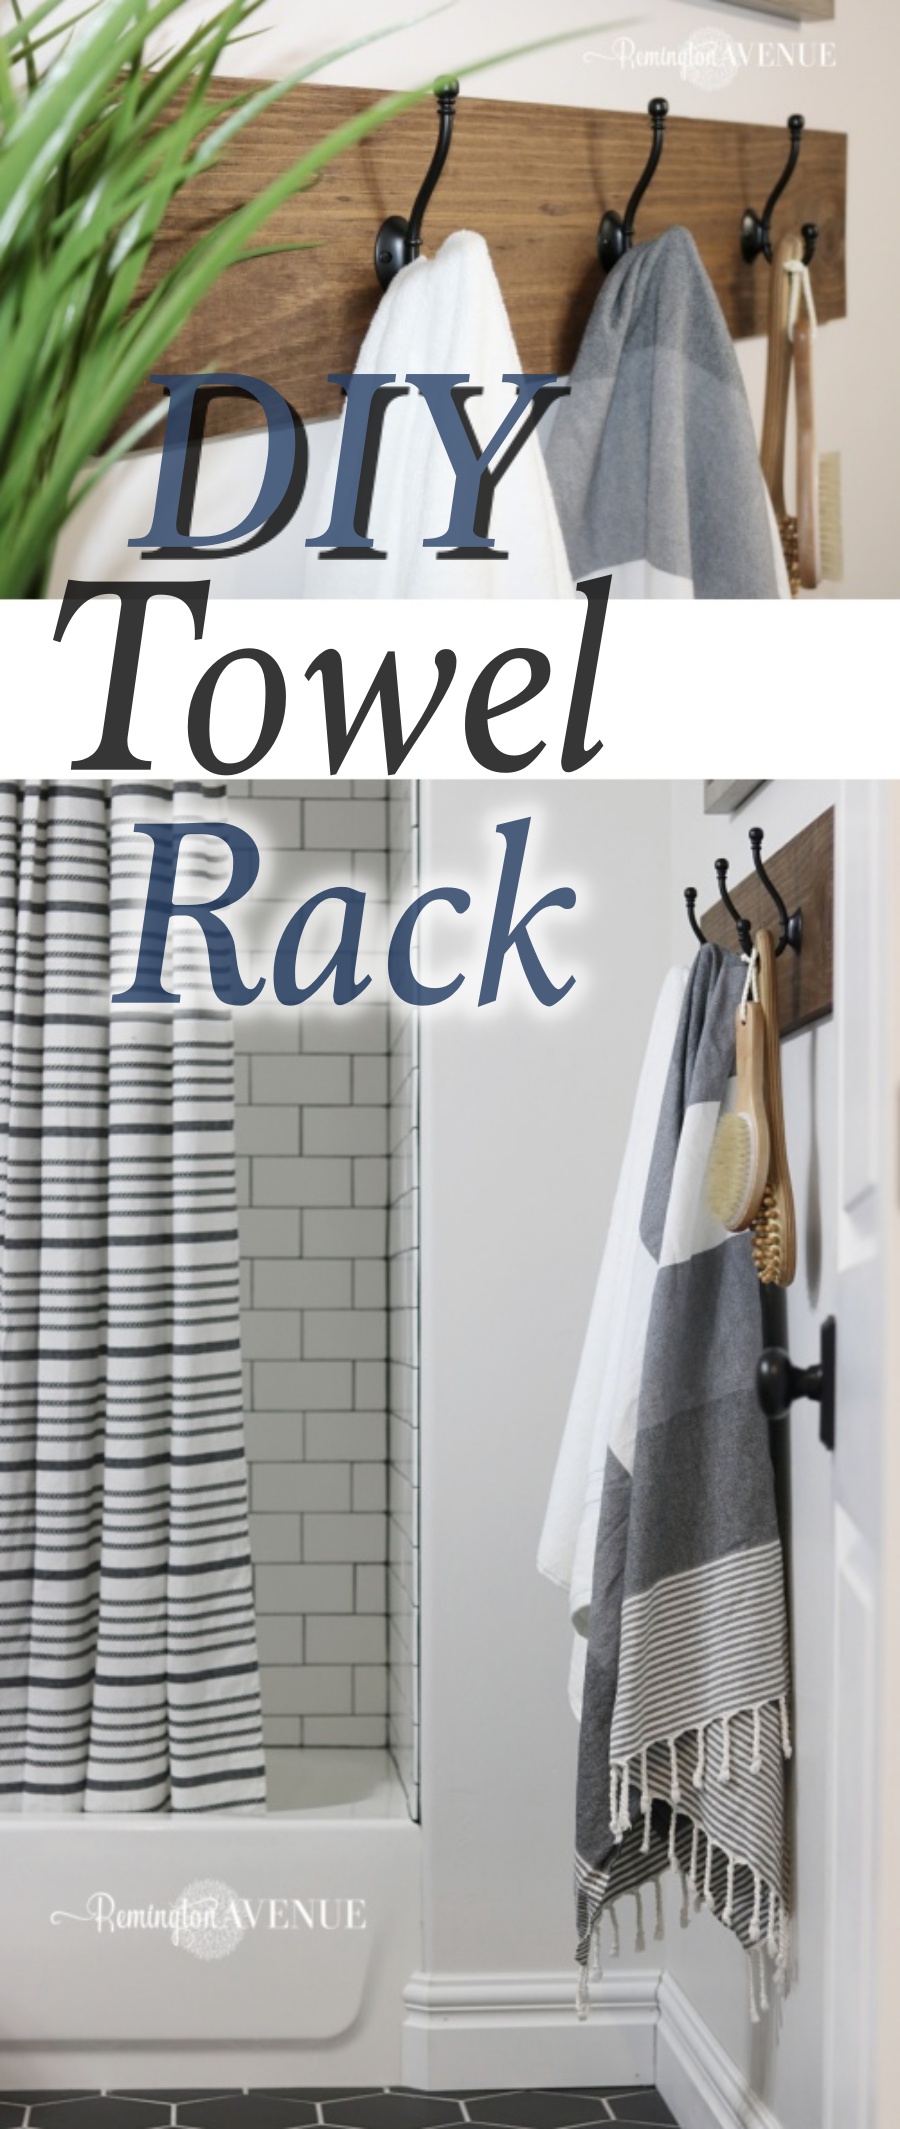
DIY Towel rack
How many times has your towel rack fallen off the wall or been ripped down by your kids? I can’t believe I haven’t thought of this solution before…but I have one now! I was wondering what to do with my leftover wood from my basement mantle project when it dawned on me! Hello…I can make a great towel rack for the bathroom just by using this board, a bit of stain, and some sturdy hooks! Read on as I share just how easy it was to create this DIY towel rack!
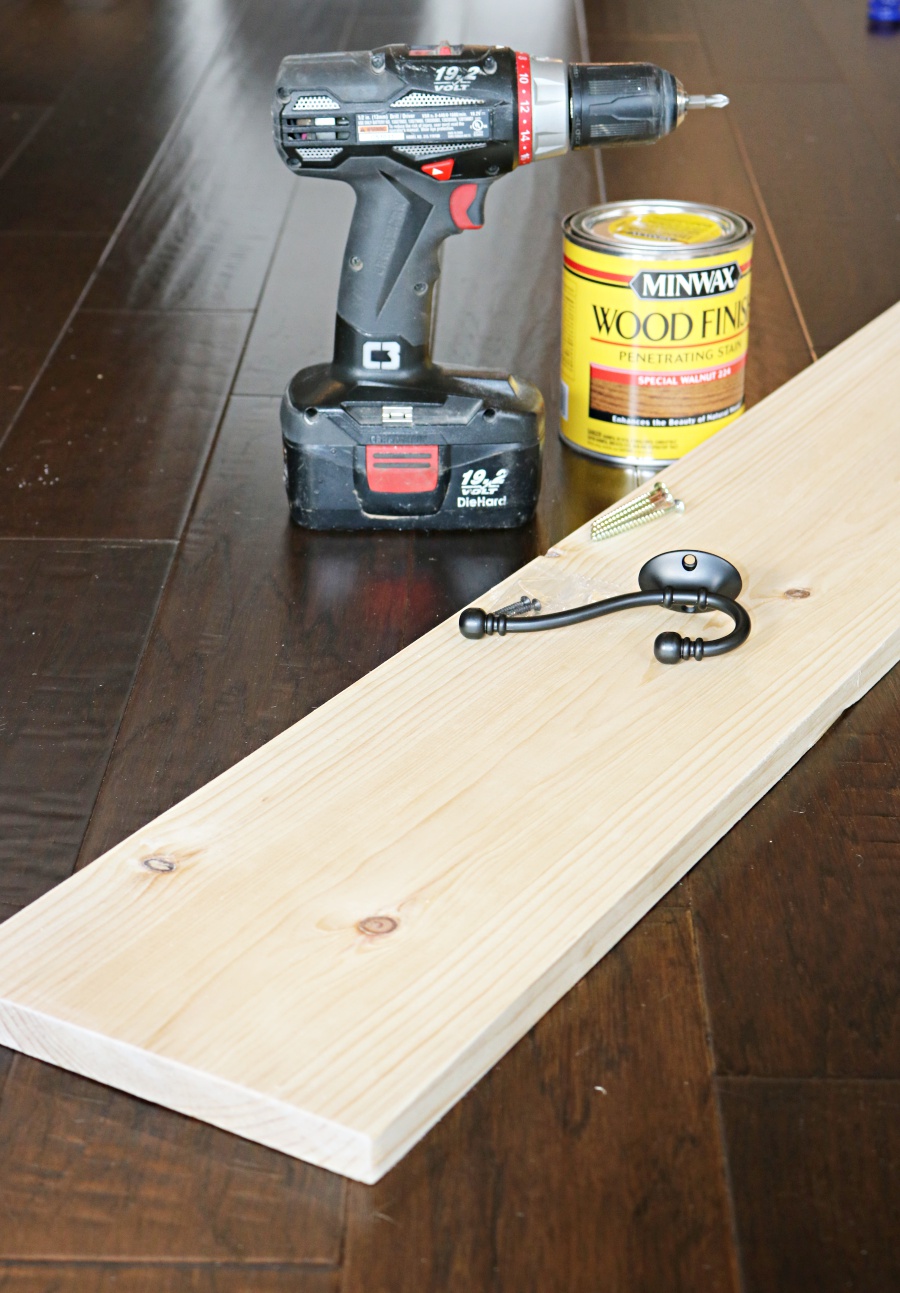
Supplies & Tools:
1-1×8″ board cut to desired length
wood stain (I used This One)
rag or sponge for stain application
drill or screwdriver
2″ construction screws
3 Hooks (I used these ones)
Level
Stud finder
Shop the Supplies & Tools:

How to Build your own DIY Towel Rack:
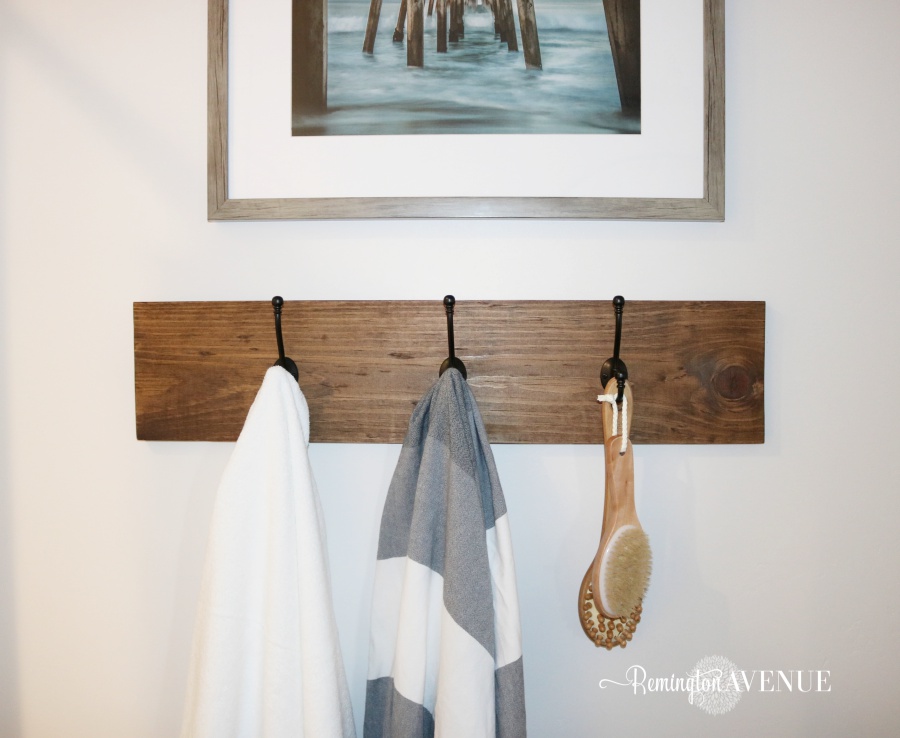
First measure your wall and decide how long you want your towel rack. Cut your board to the desired length. I made 2 of these towel racks, one measuring 27″ and the other measuring 32″.
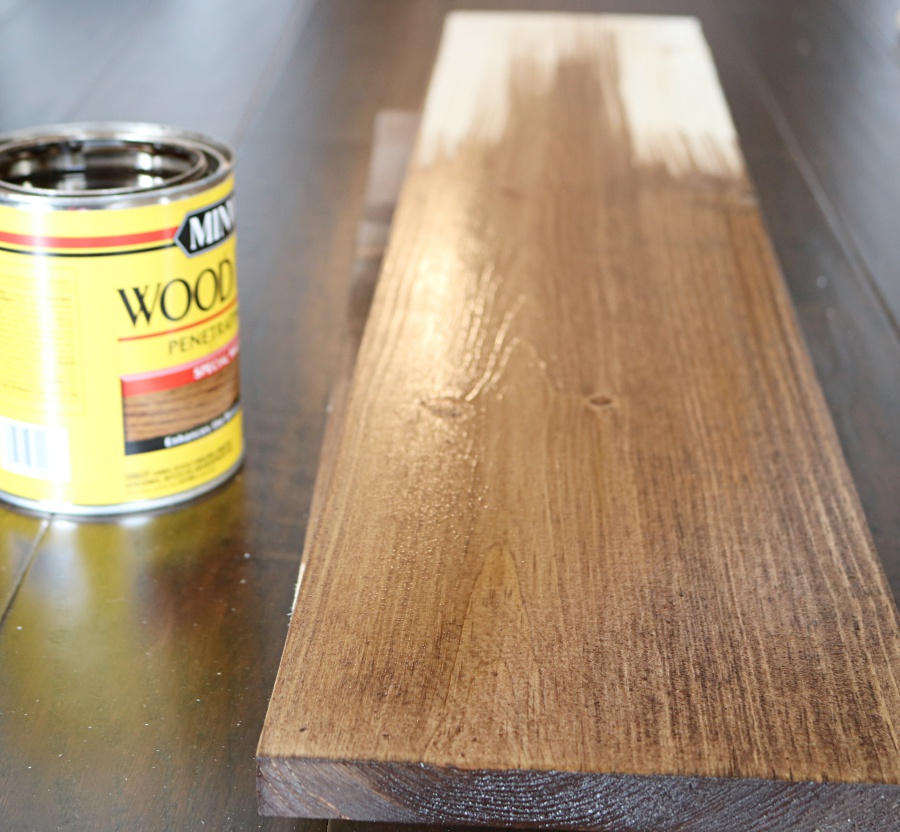
Stain the board using a rag or sponge. I only stained the front and sides of my board with one coat of Minwax special walnut.
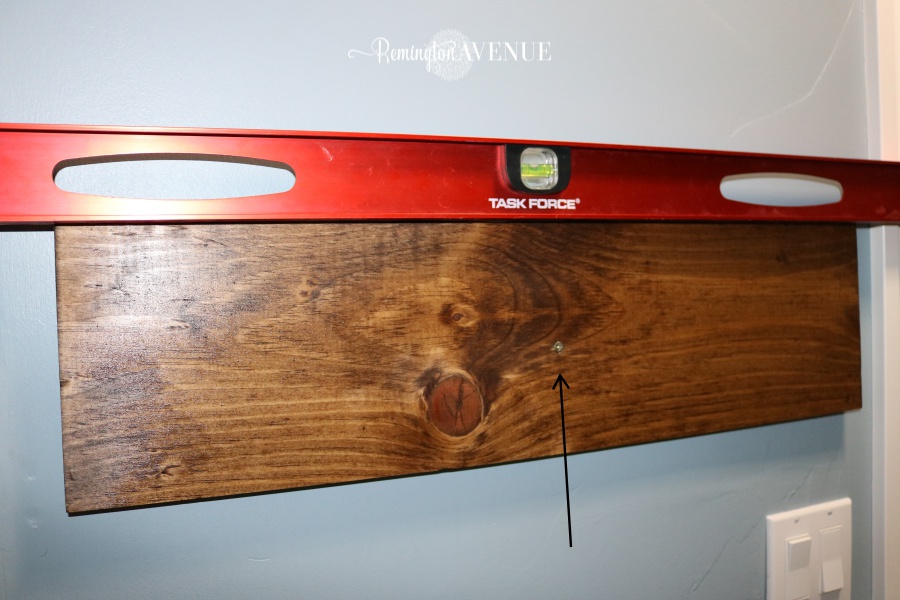
While your board is drying, determine where on the wall the board should hang. I used a stud finder to find and mark where the studs were on my wall. Using the stud marks, I then determined where I wanted my towel rack to hang. You will want at least on stud to screw into. If none of the studs line up with where you want your hooks placed, use wall anchors instead.
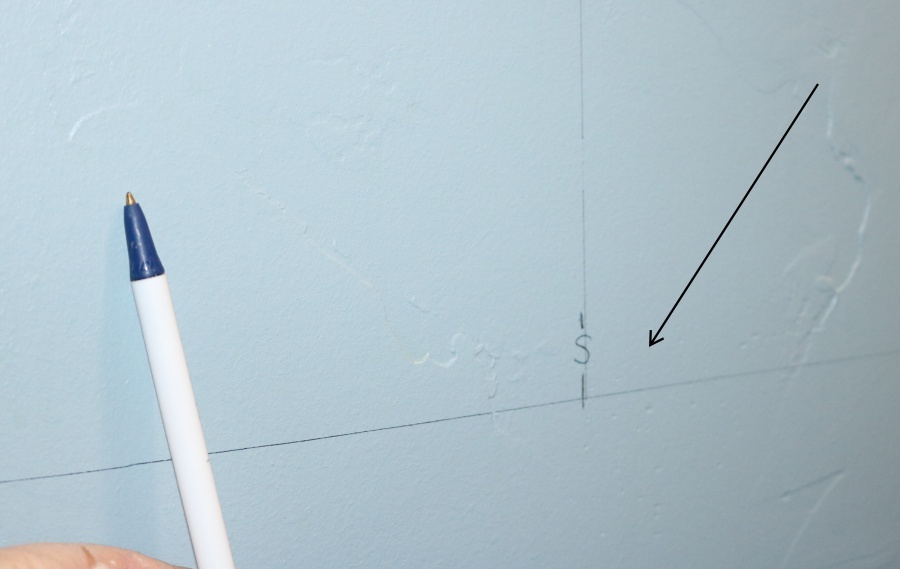
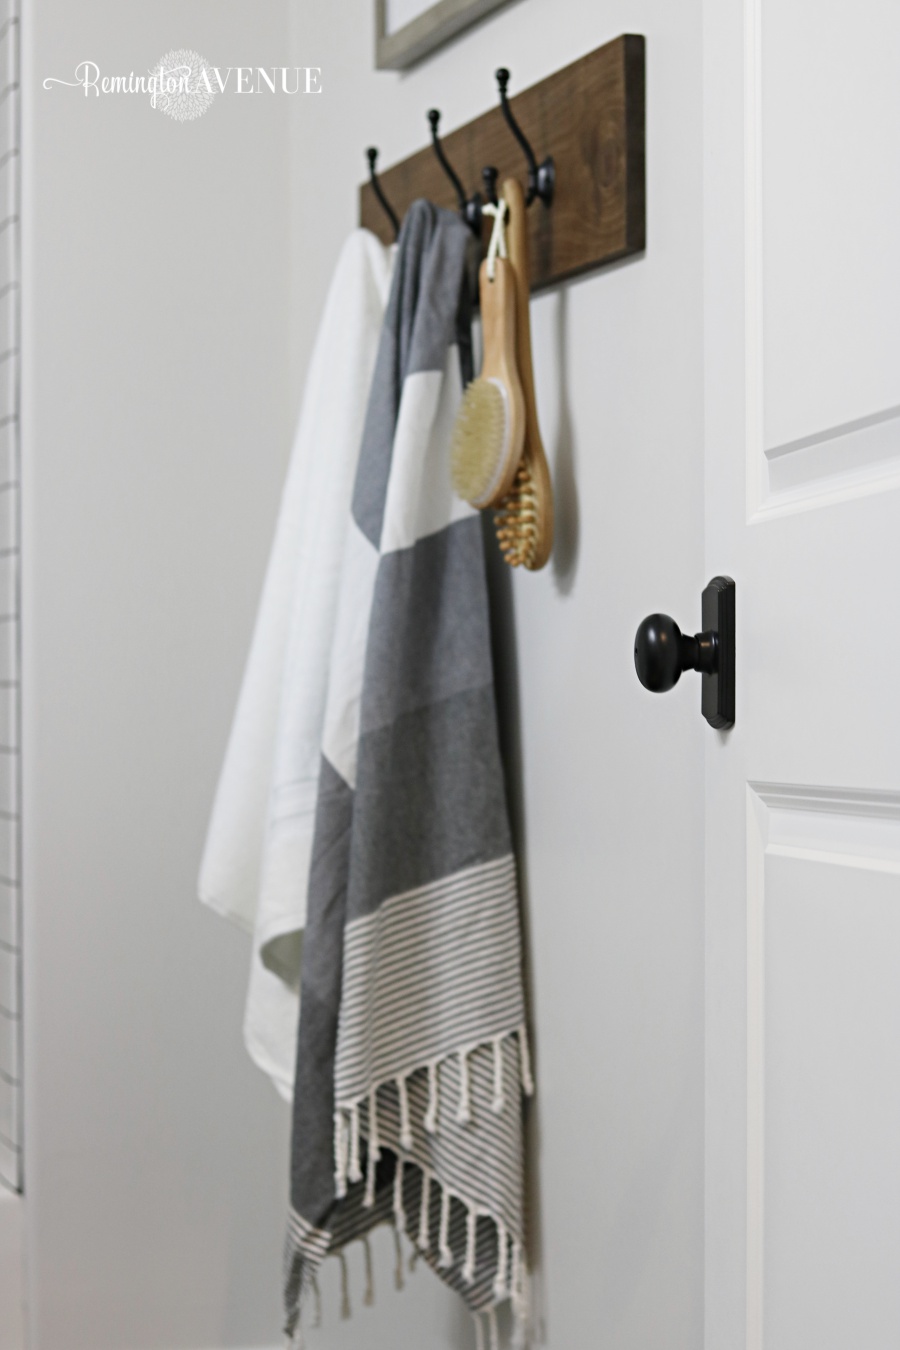
Using a drill or screwdriver, secure your dry board into the stud. Again, make sure that this screw is placed on the board where one of your hooks will hang. The hooks will cover the screw! I placed my board so the center screw was on the stud. This way I could adjust the board to level before I securing my other 2 screws in place.
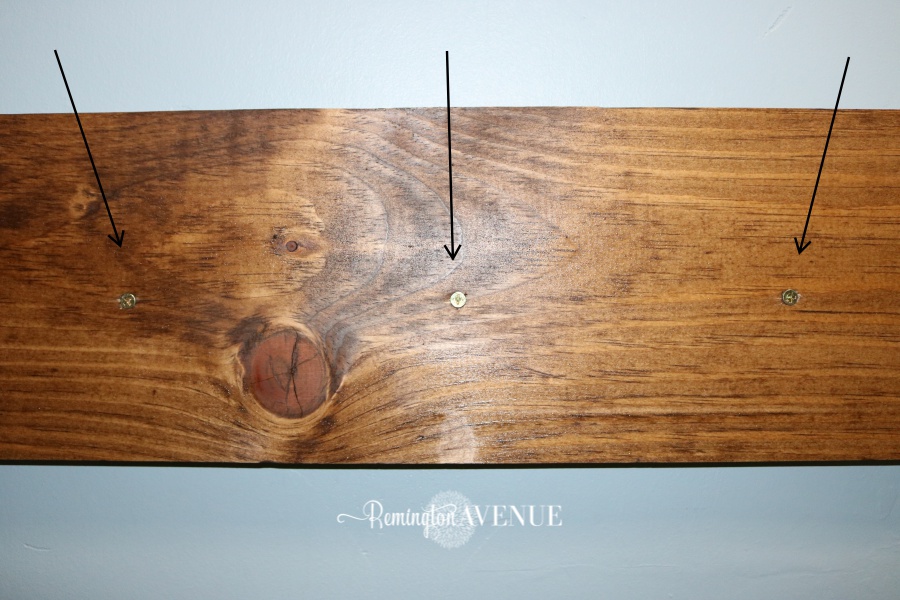
Using my level & a pen, I marked a strait line about 1″ long across each screw. The line tells you were to screw in the hooks, making sure to keep each hook level and in line with the other 2 hooks.
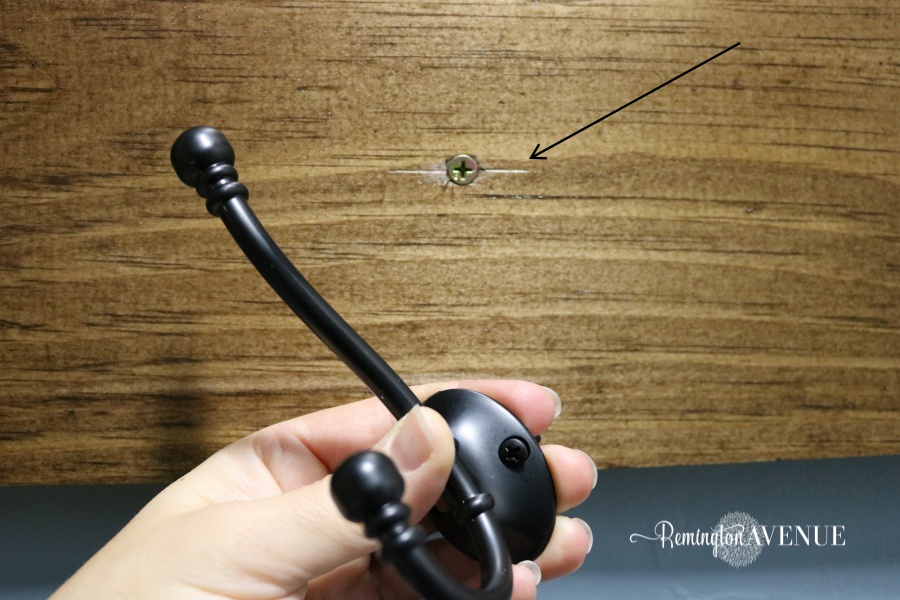
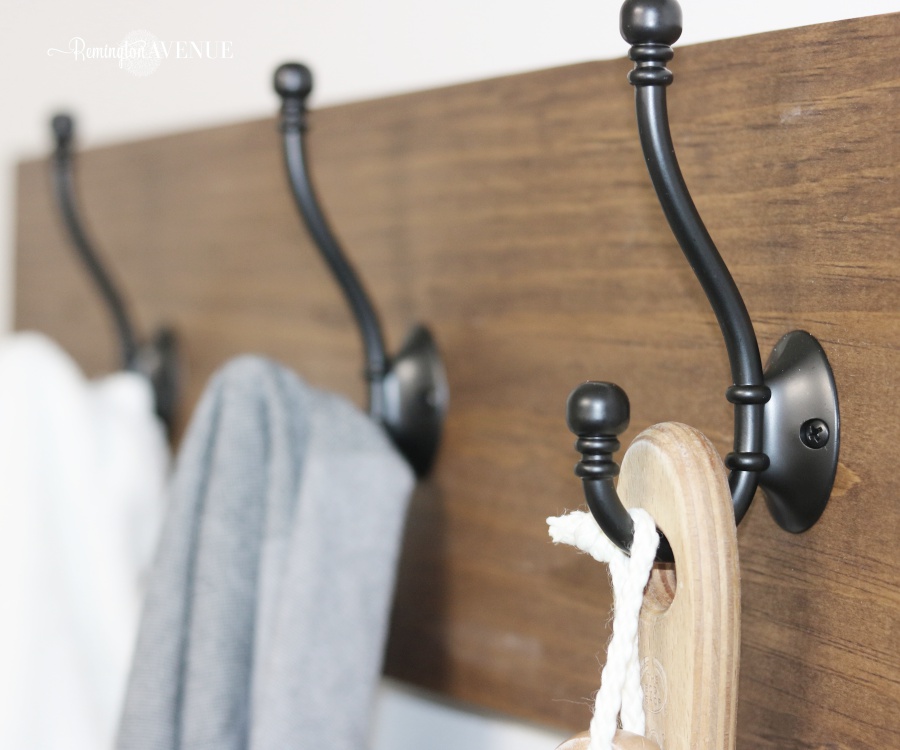
Secure the hooks in place covering each screw.

Shop the Look:
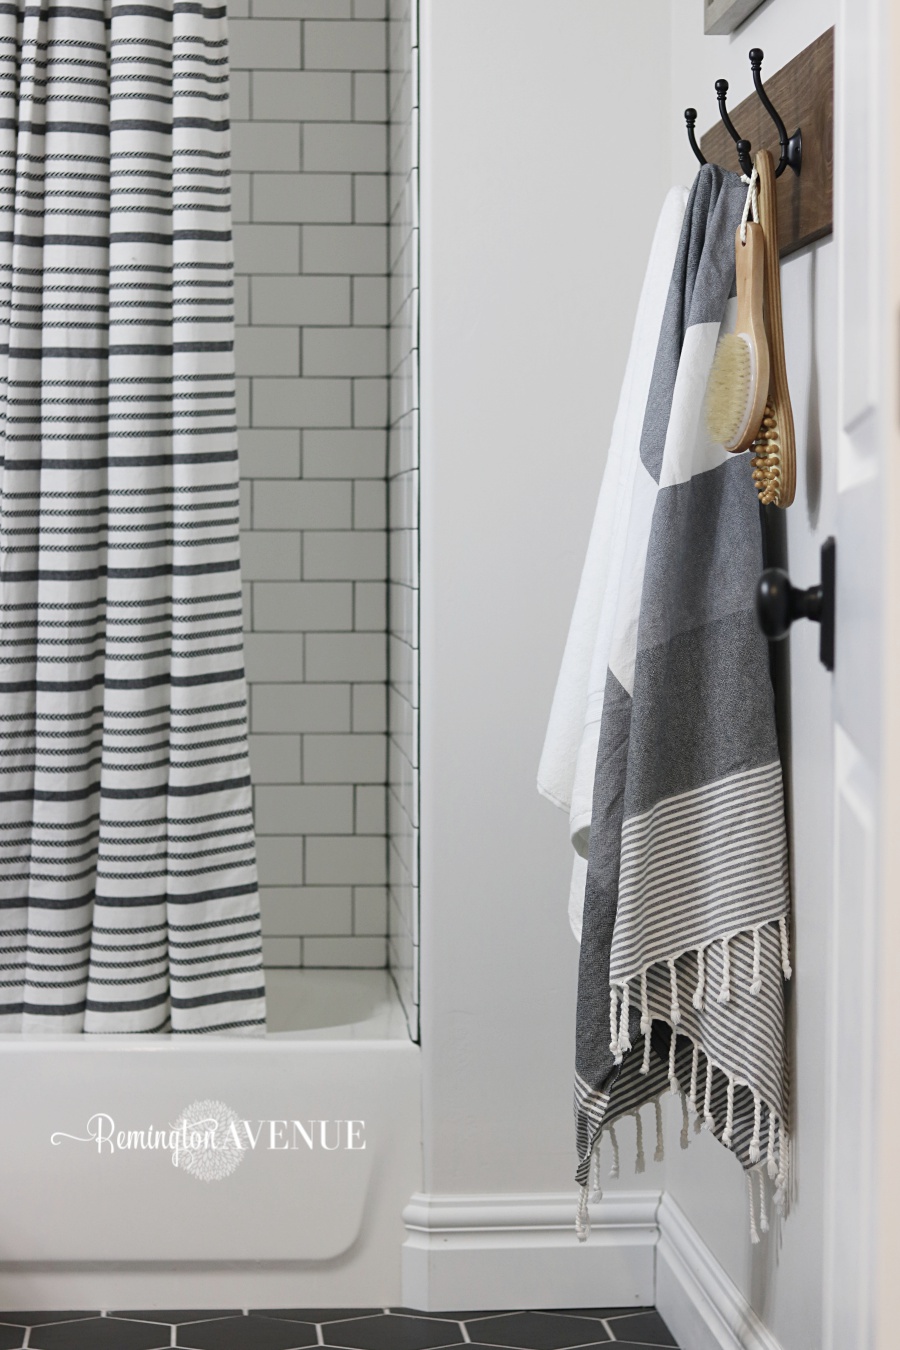
Now that my kids had a secure towel rack, I moved down stairs to repeat this process! Here’s the final product!
And a little peak at the full Basement bathroom. Im still waiting on one item before I can photograph, but I’m excited to show you the whole space soon!
Shop the Look
The possibilities are endless with this DIY towel rack. It would even make a great coat rack in a mudroom or entry space too. Change up the stain or paint, and personalize the hooks. Get creative and make it your own! If you enjoyed this DIY towel rack tutorial and love how it turned out, please help me by sharing this on Pinterest. Just click on the pin it button on the photo below or follow me on Instagram (@Remingtonavenue) where I share tips and tricks every day!

 Add to favorites or read later
Excellent idea! I’m mentally scanning my house to see where I can do this ha:-) love how you can hide the screws too..
Thanks Marie! It’s all in the details