Do-It-Yourself Kitchen Island
I was given the keys to my new home 2 days before the actual closing date. Its a risky move granting a project junky like myself entry to my newest undertaking. Naturally i decided to go ahead and paint the kitchen island! Of course our money was hard and we were completely insured, so don’t worry i was technically within my rights people.
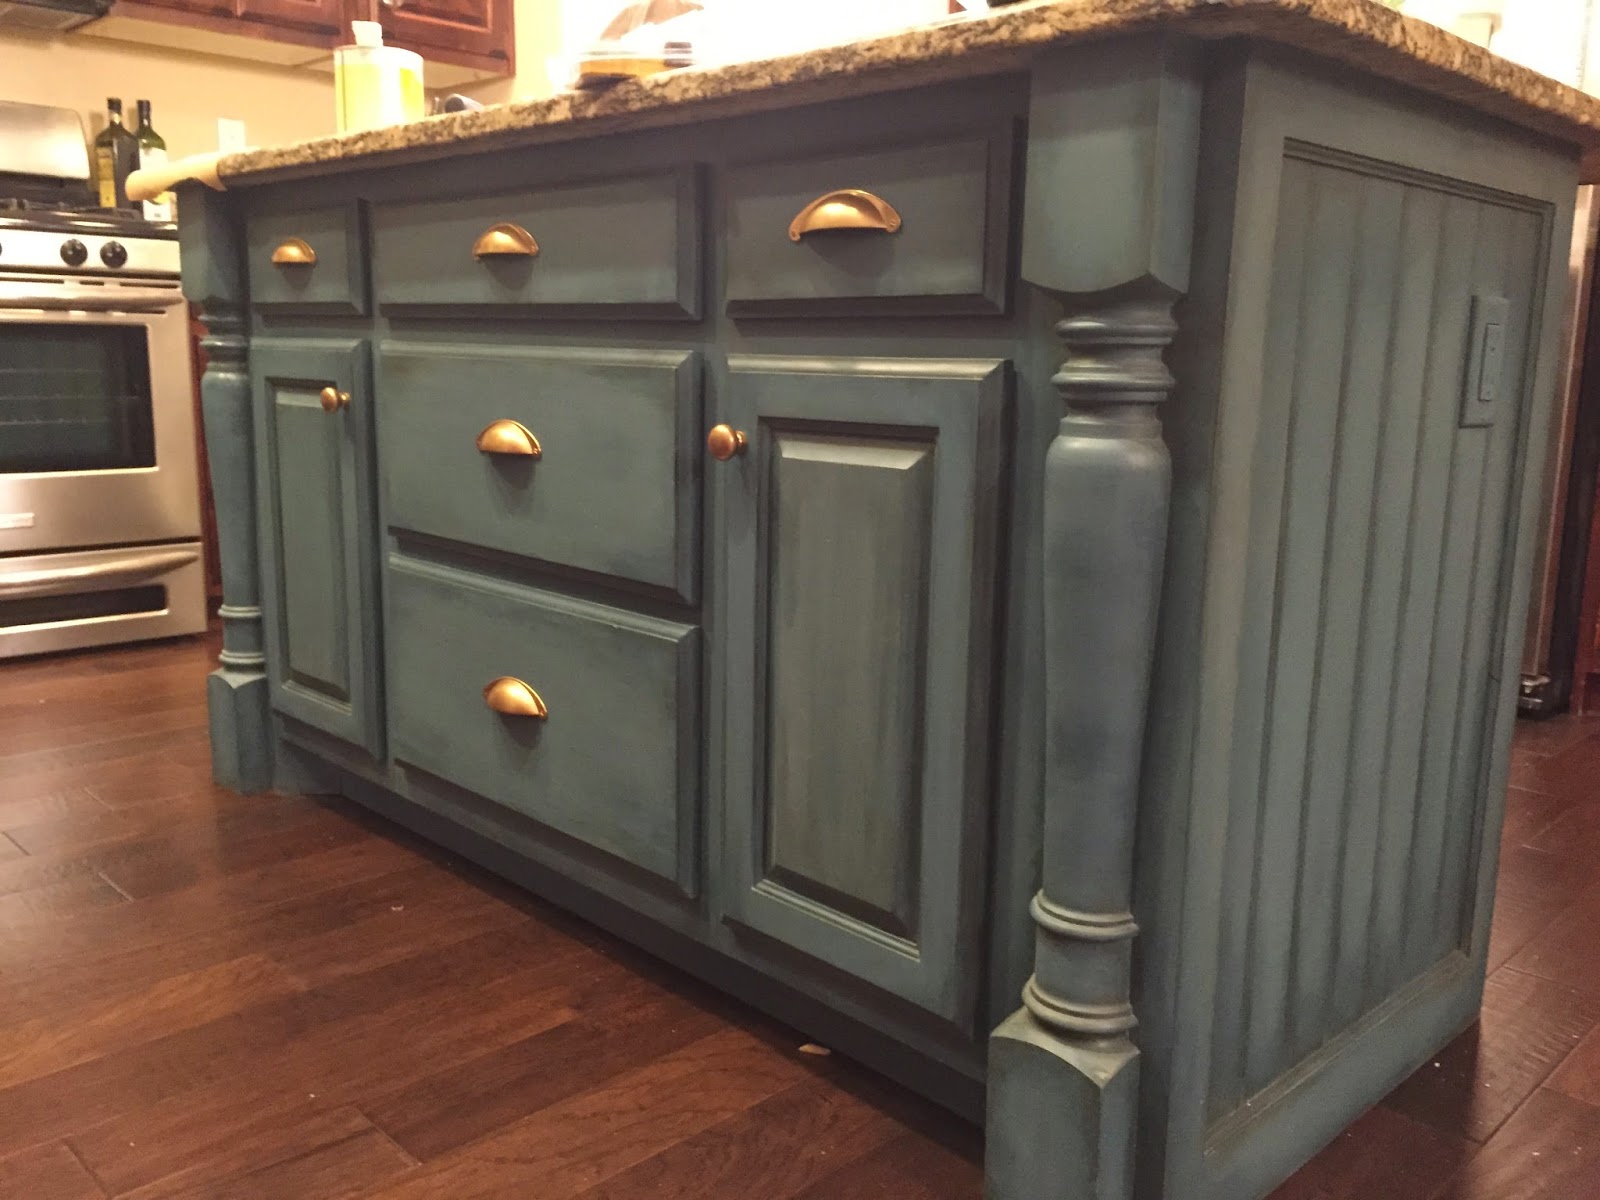
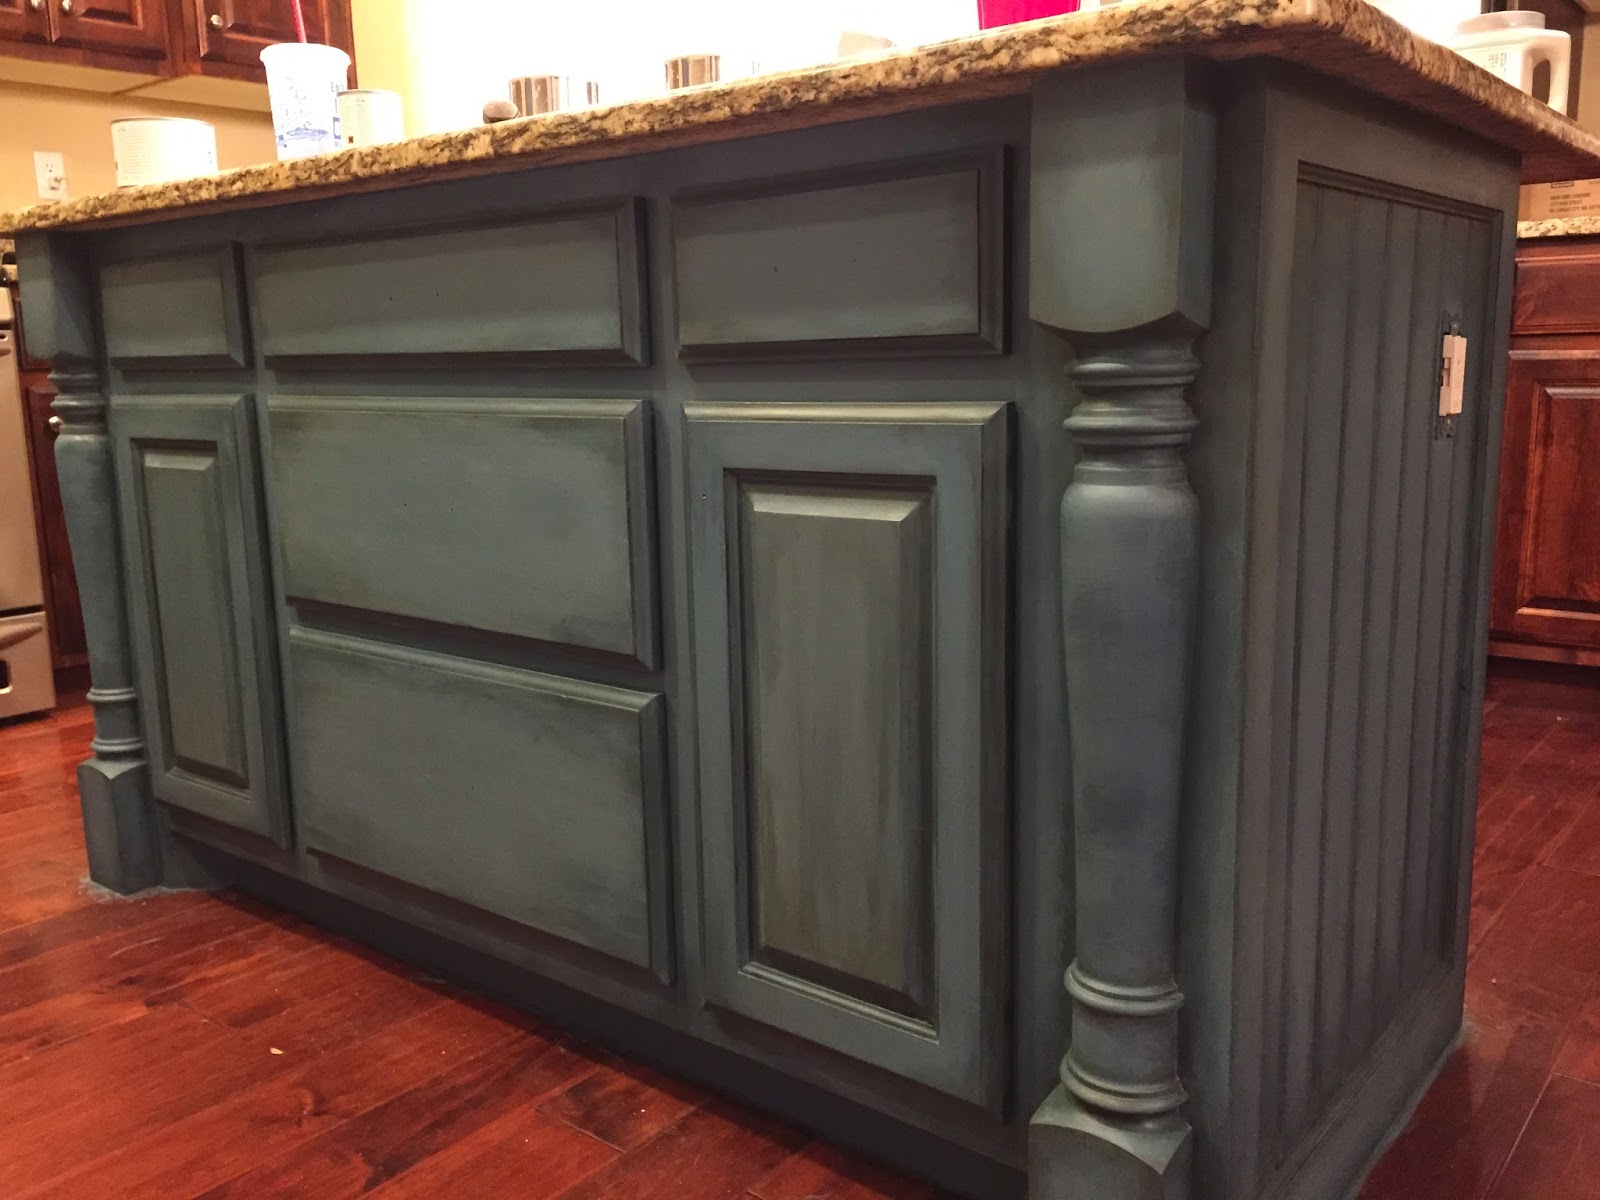
Ive refinished countless furniture pieces but never anything permanent like a kitchen. Honestly i was a bit nervous. I teetered over shades of navy blue or gray but decided on a bolder option. After all this is to be MY kitchen, not everyone else’s. Introducing Aubusson Blue by Annie Sloan. That’s right, chalk paint in my kitchen.
The first step is to find a color you love. My last house had a very Tuscan feel (coming from AZ you can imagine). I sold all of my large pieces of furniture to the new owner freeing me up to go a whole new direction! Out with the gold, brown, and reds and in with the blues! Stir your paint well. If you are planing on doing shading like shown in the first photo of the final product, you are going to mix to colors together. Here’s the formula i used: 2 parts Old White to 1 part Aubusson Blue. In other words twice as much white to blue. This is not an exact science so don’t freak out. Play with it a little till you find the exact shade your looking for. Again stir very well.


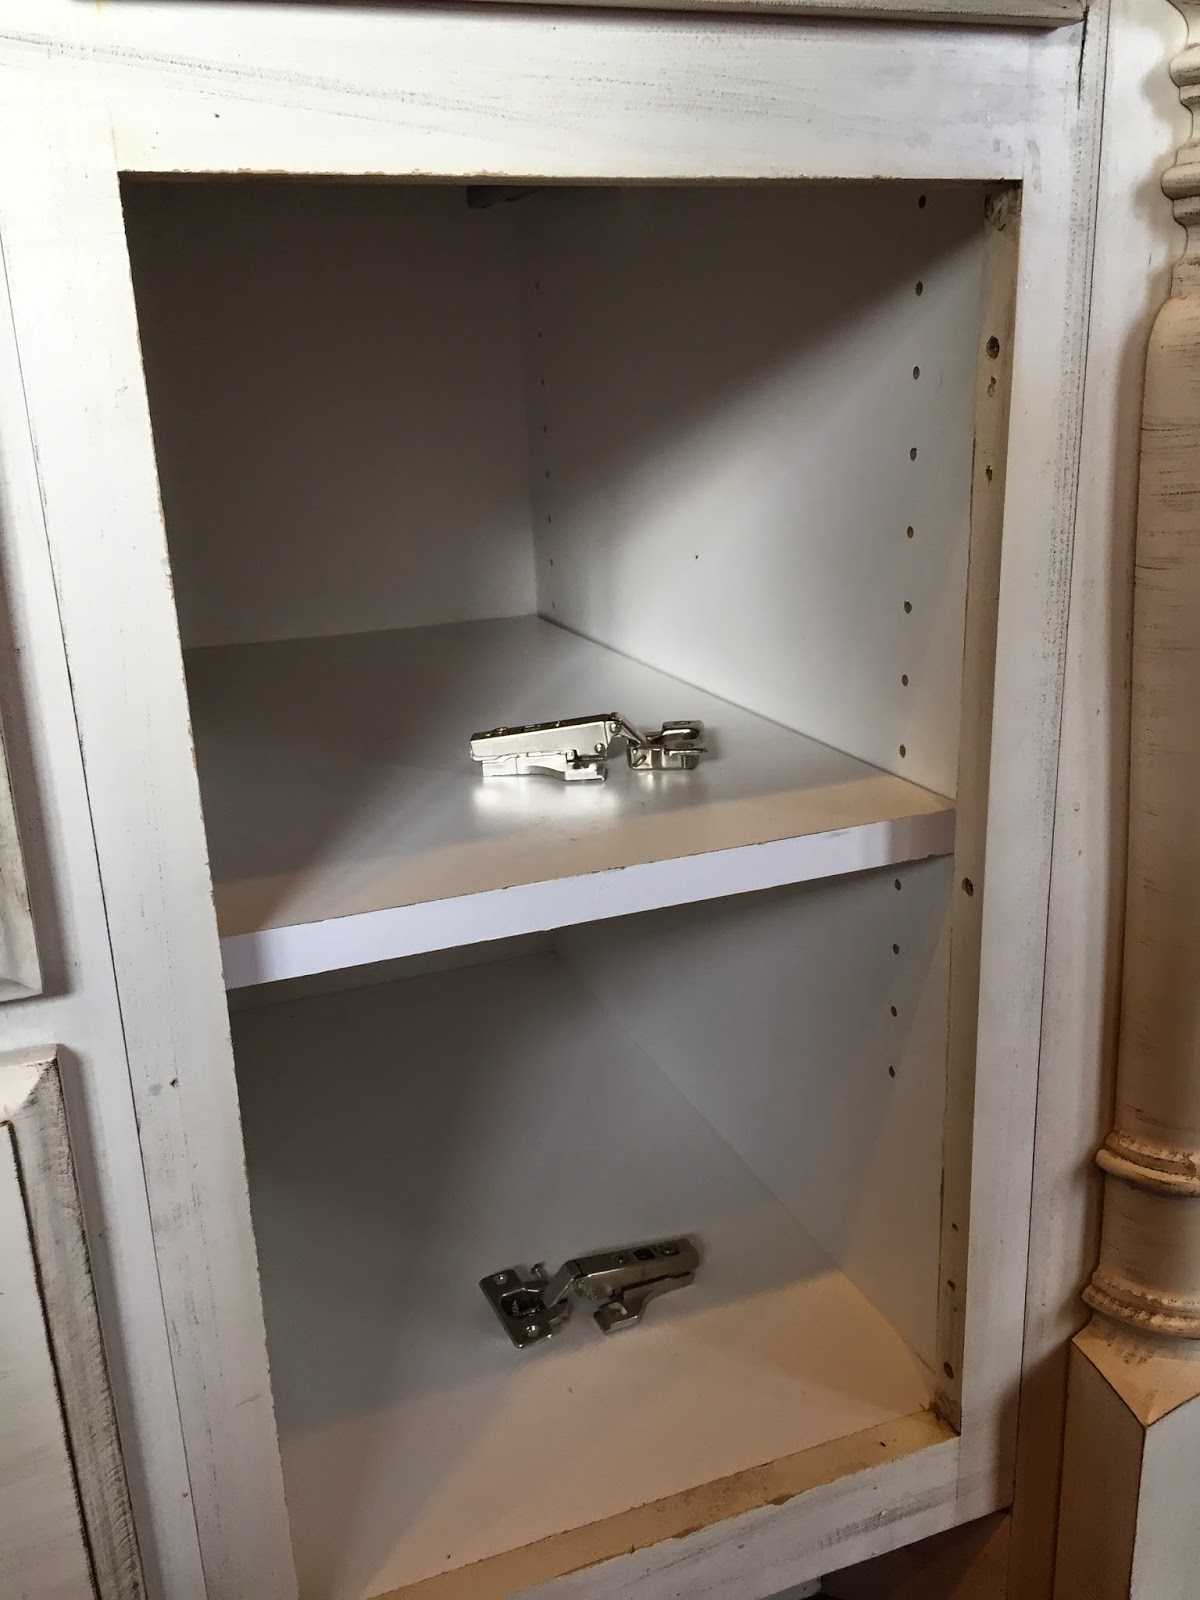
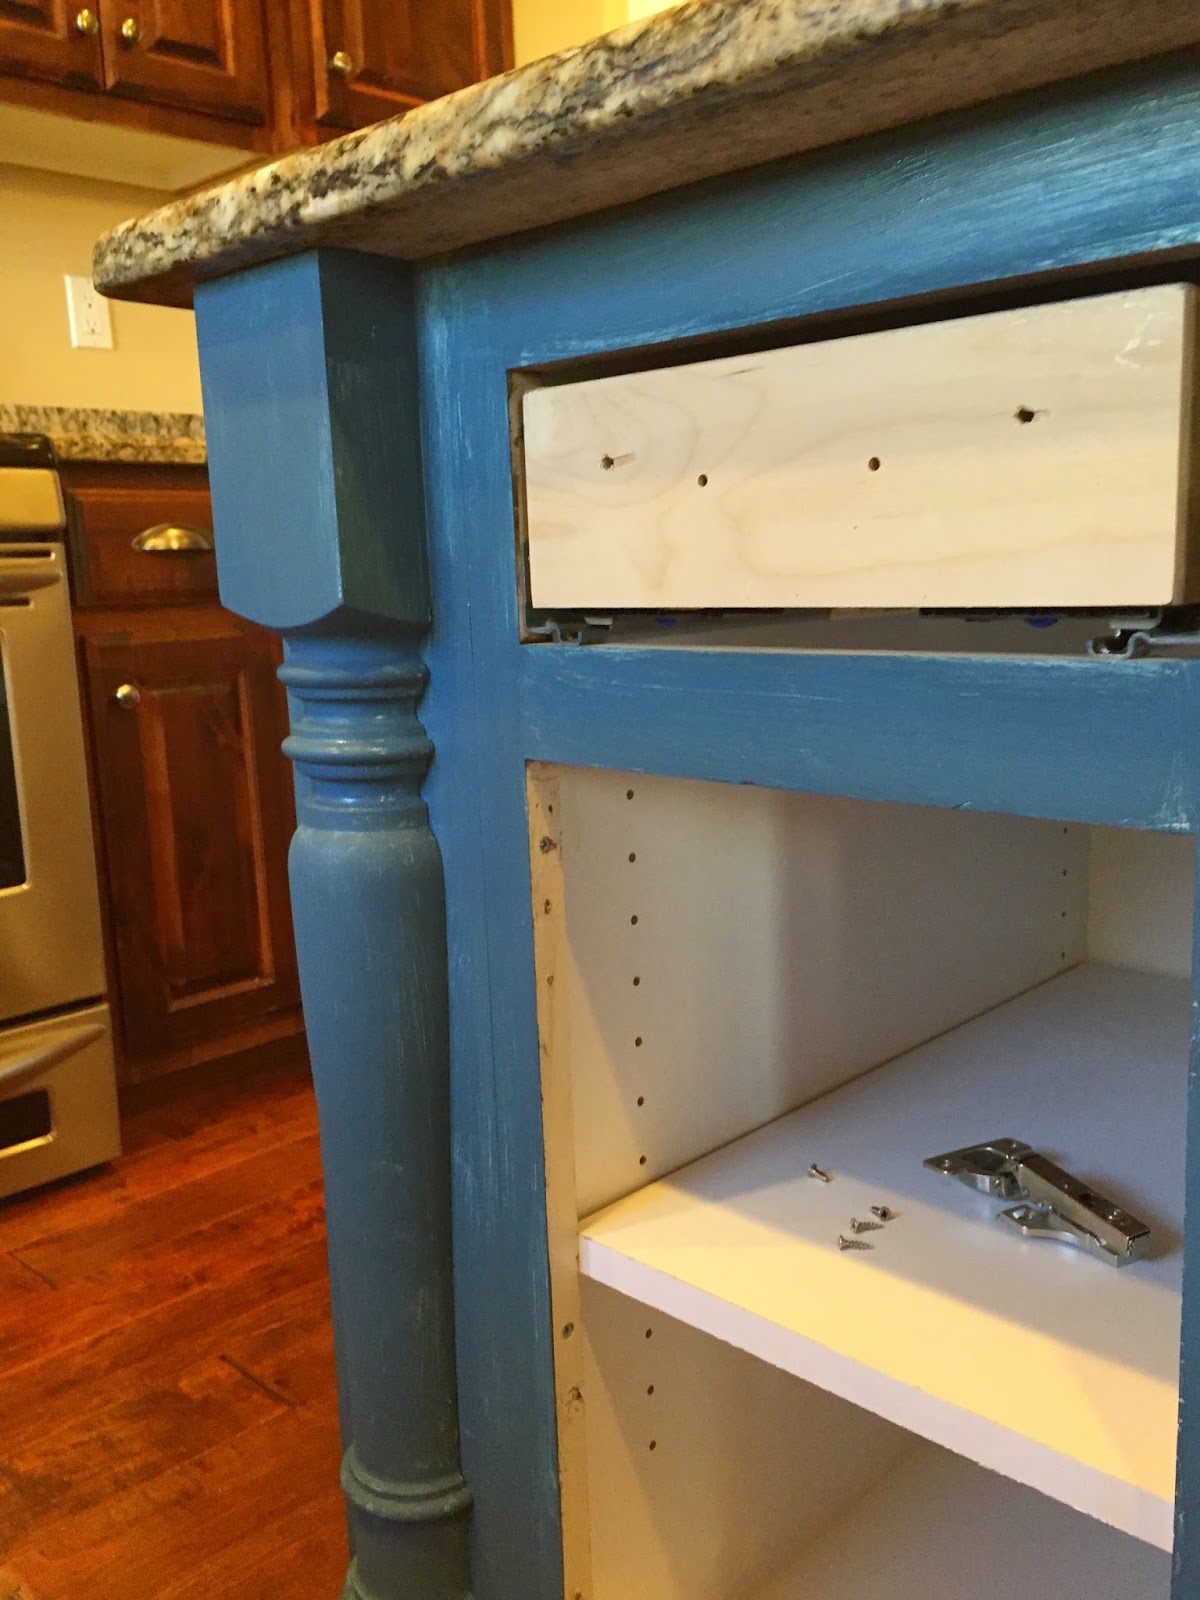
Second Step: Remove all hardware and place inside the drawer or cabinet it belongs to. Sometime people do not put these on correctly and holes do not line up with different hardware. This just makes things easier when anxiously screwing them back on after your project is complete. Next, remove the doors and drawers from the base and number them for the same reason.

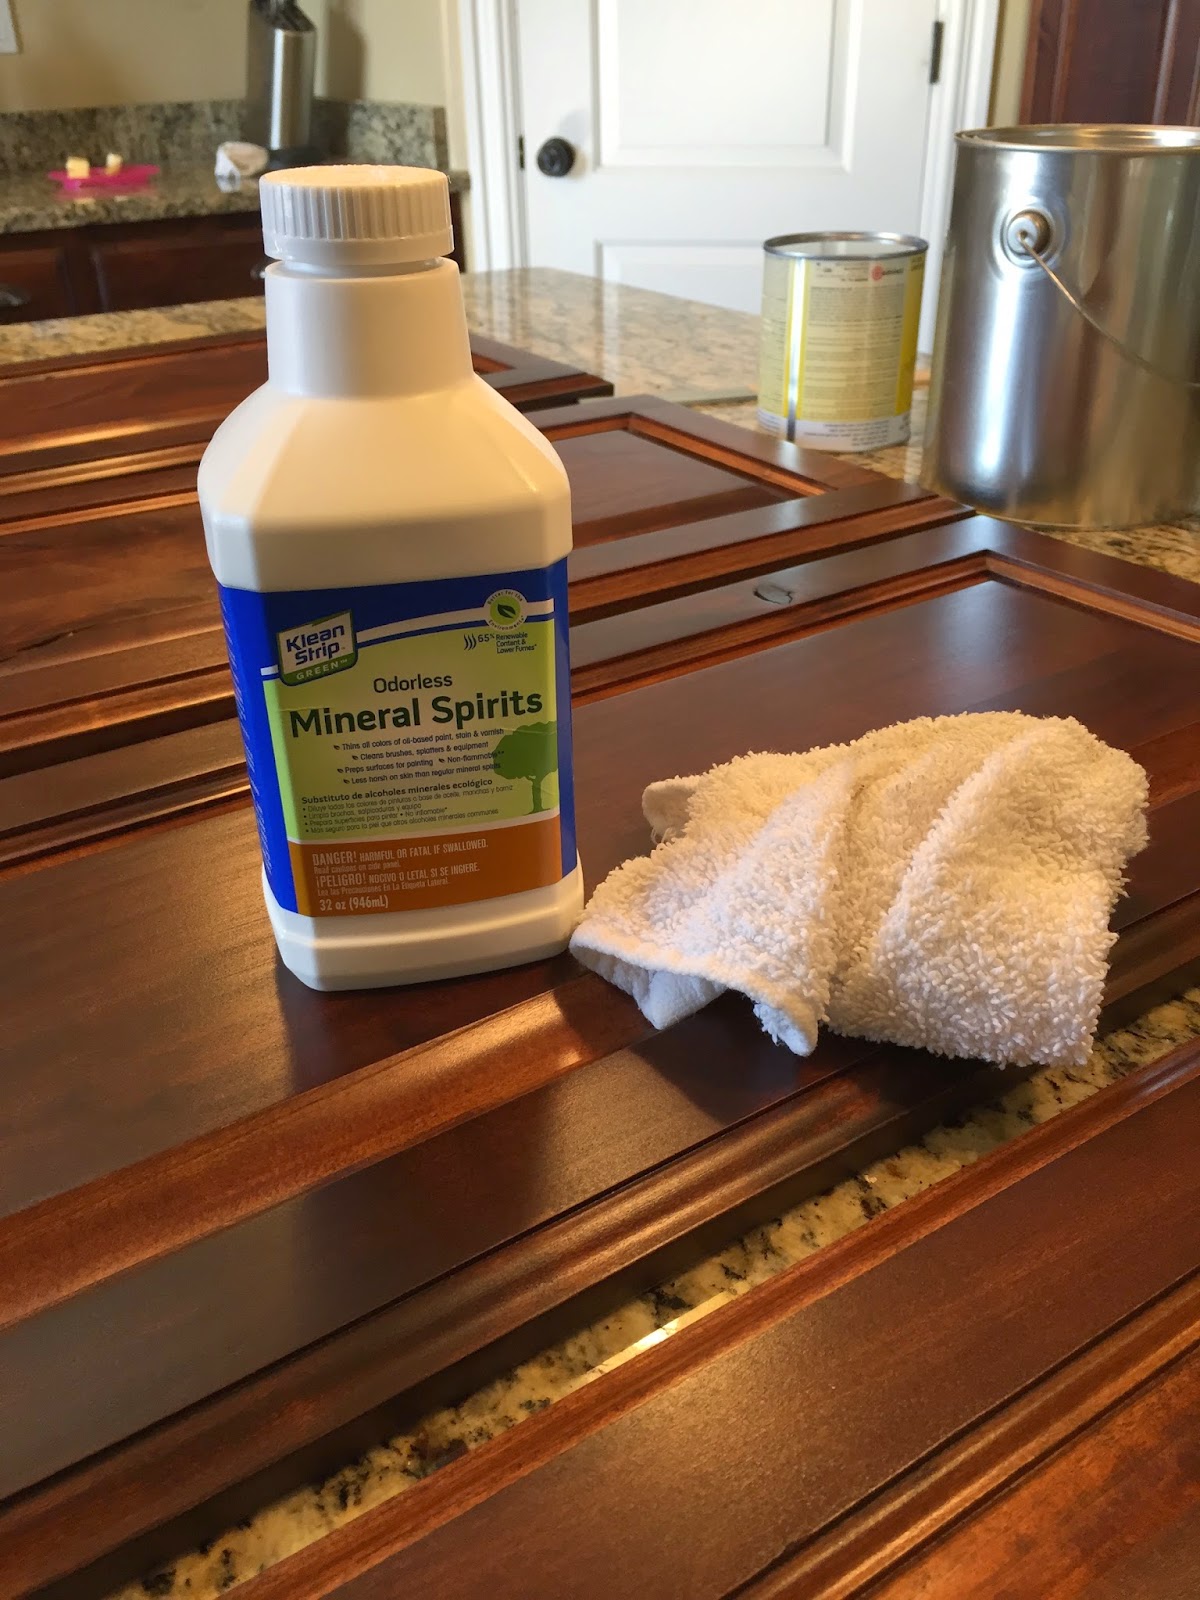
Third step: Wipe down the entire island (or furniture piece) with a degreaser or mineral spirits. I got this at home depot. Do not skip this step, especially if you are painting anything in the kitchen. Grease will show through chalk paint and its not pretty. Good news is… No sanding needed. Can we please give a Hallelujah for that!
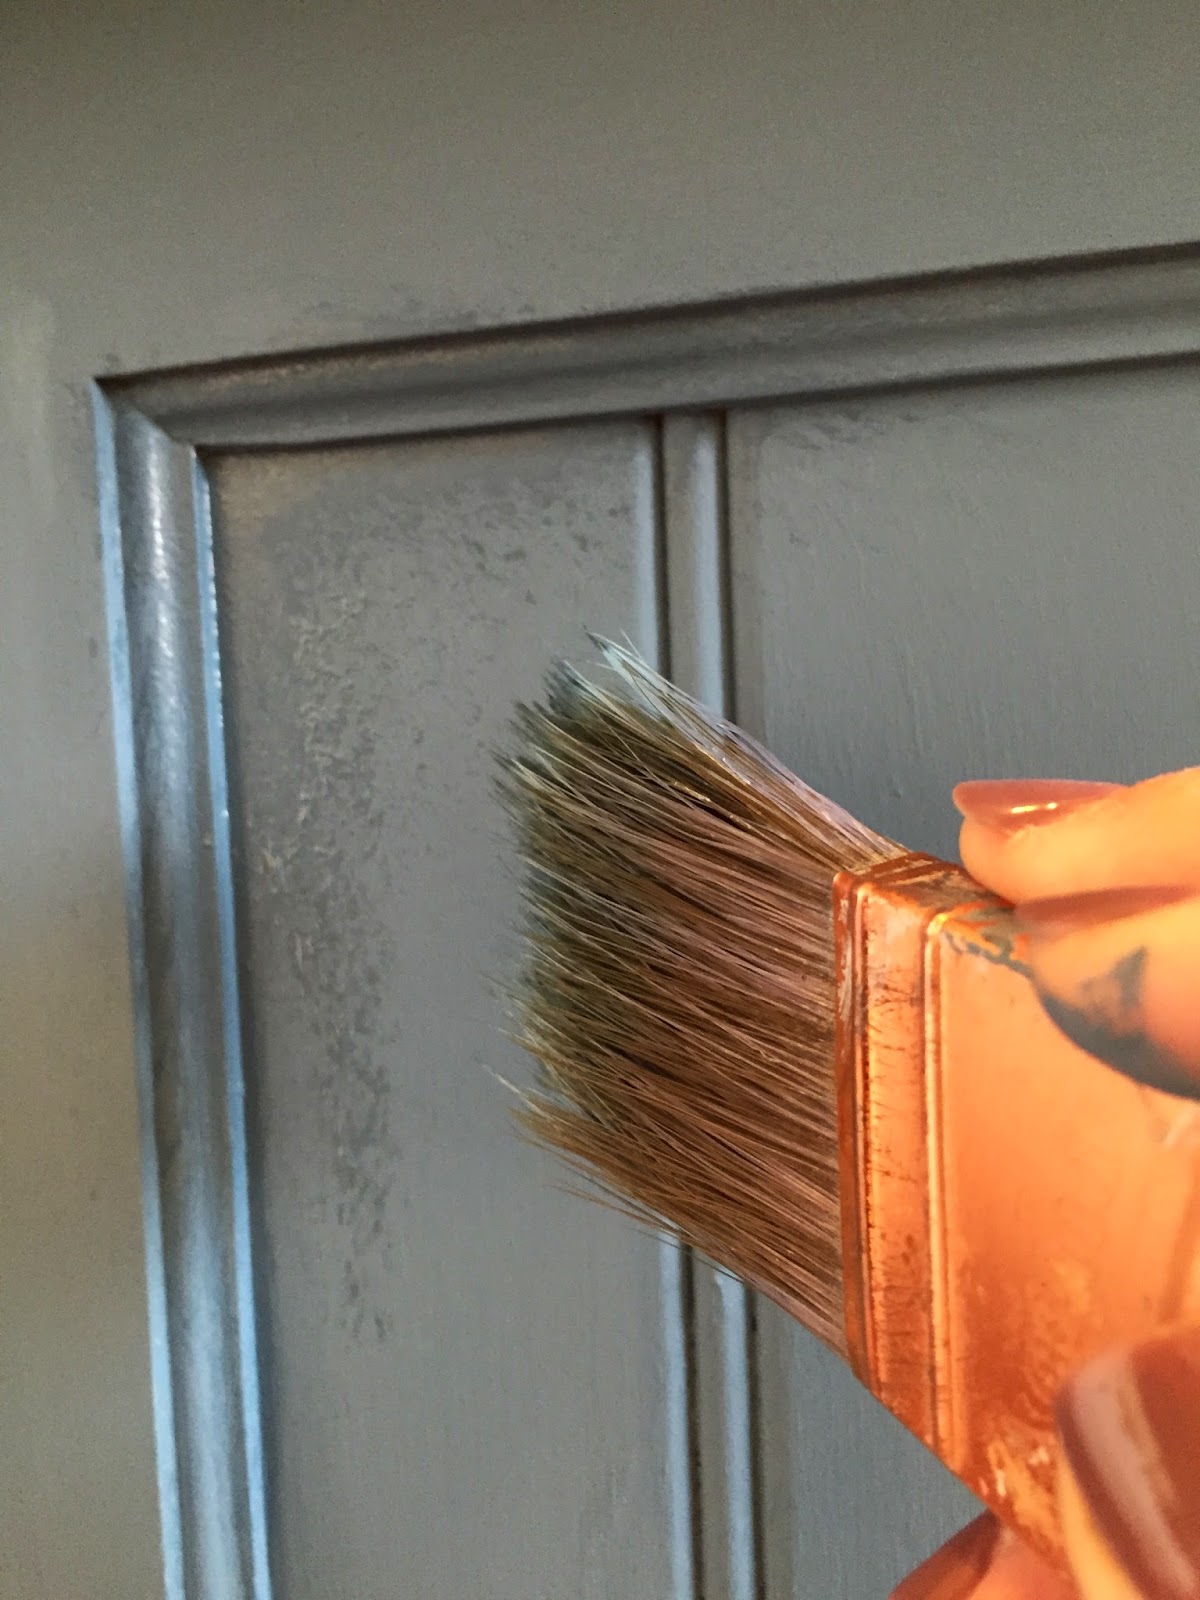
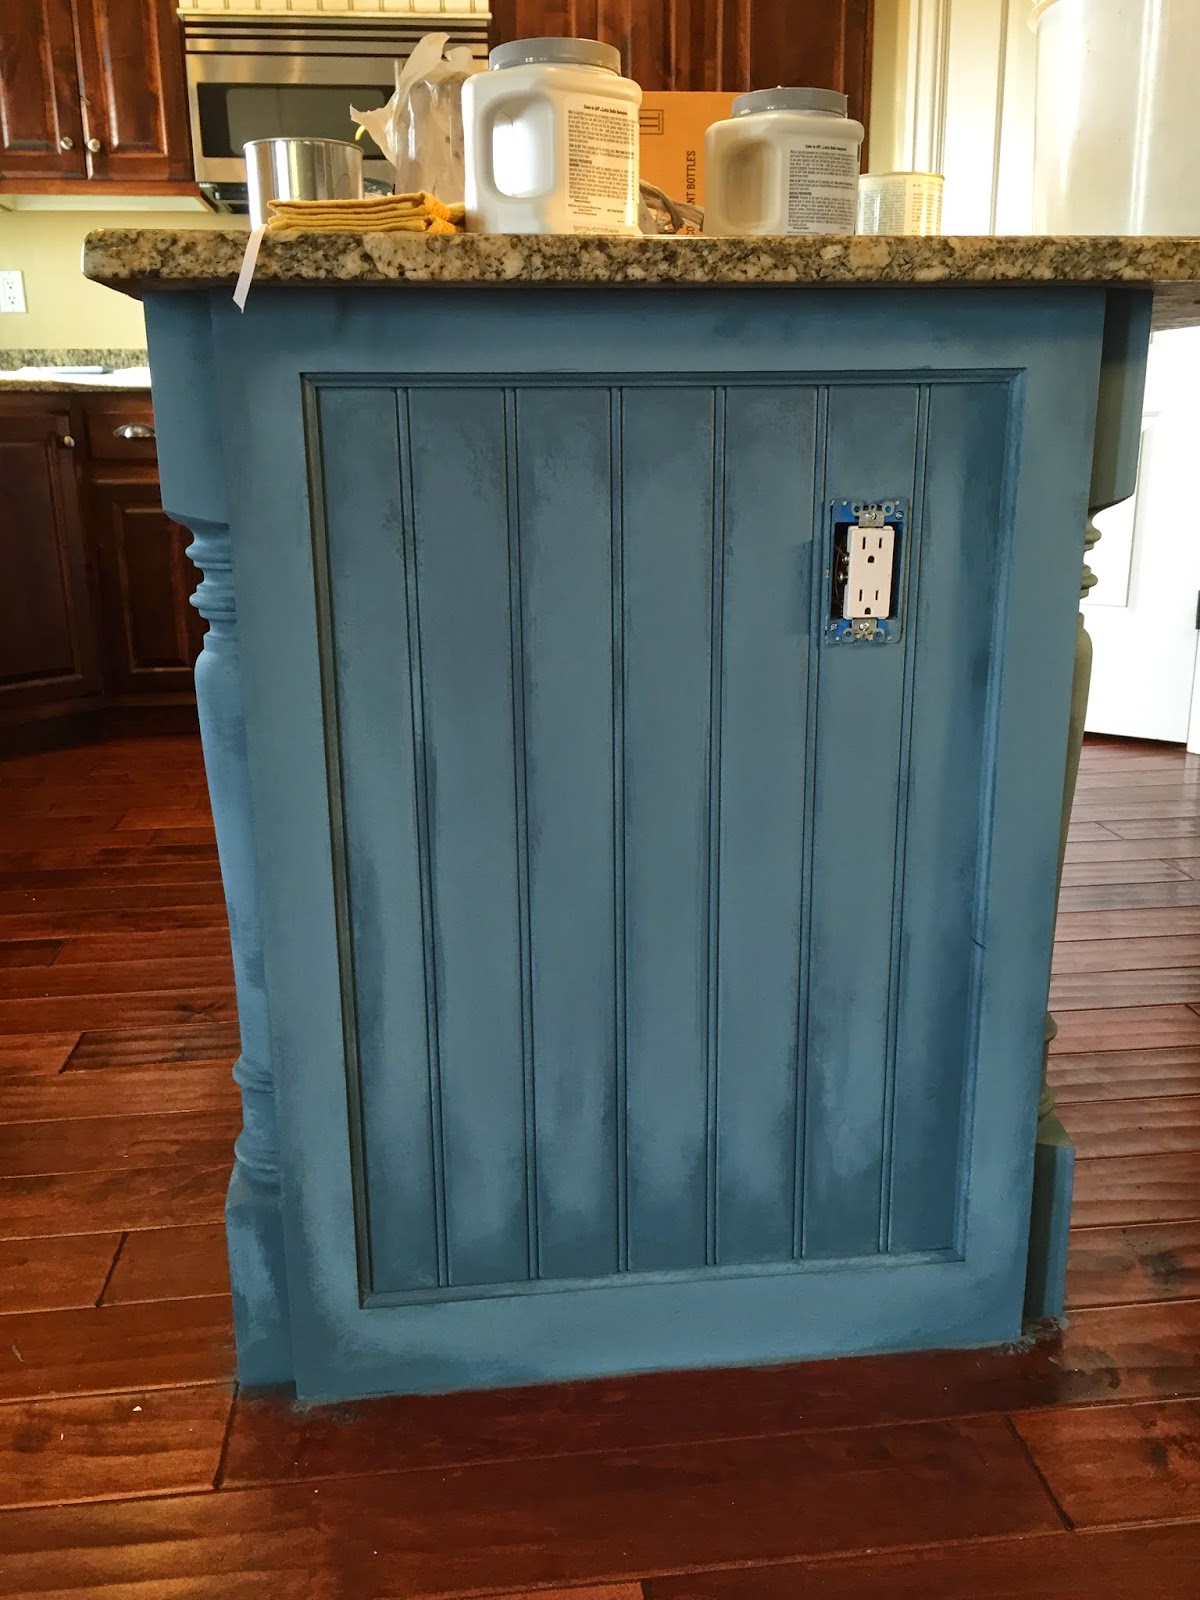
Fourth: Get your paint on! I used a my trusty Purdy 2 1/2 XL Elite glide angled brush . If you have a favorite go with that. Always paint with the natural grains of the wood for the smoothest finish. When I finished my first coat I was like “What the H have I done?” Before using Chalk paint, i read somewhere that my reaction was pretty common. So calm yourselves people and keep going!

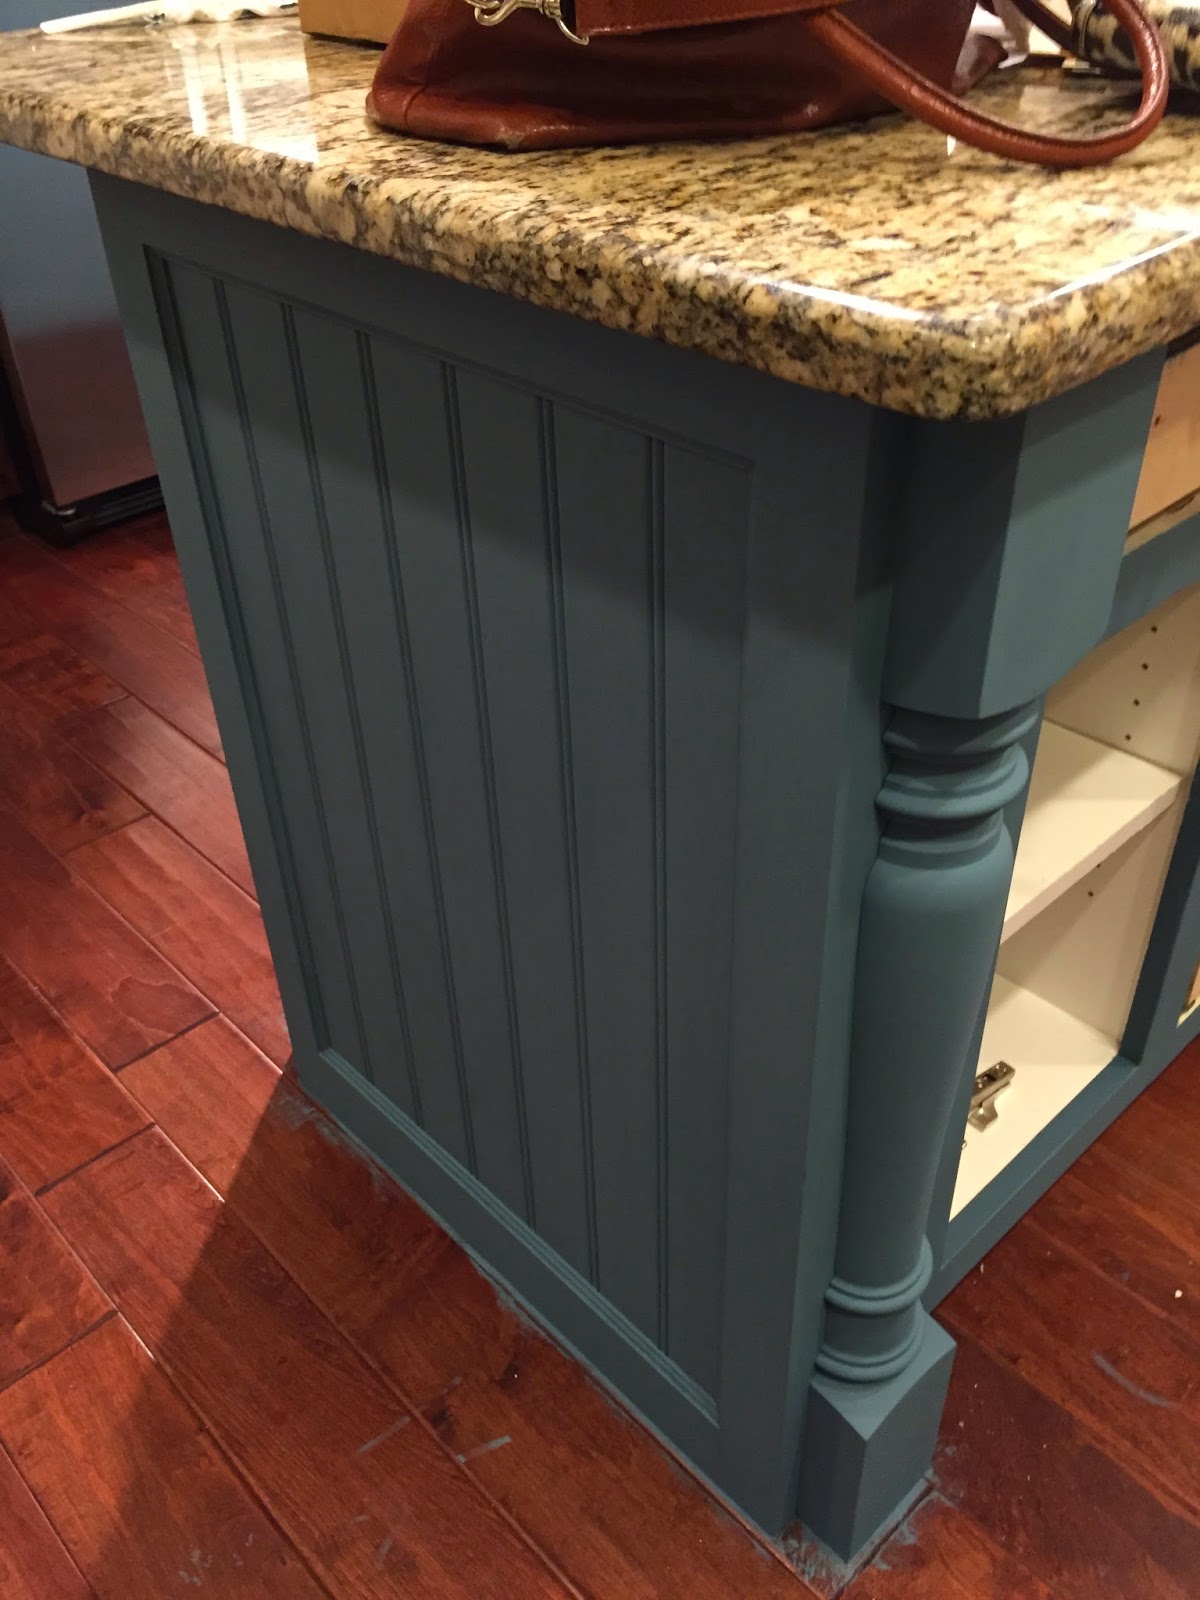
Fifth step: Repeat fourth! paint her again baby and watch the magic unfold. If you do not desire any shading or distressing this would be your final coat of paint. Doesn’t it look beautiful! Btw those are the red floors that we replaced. Most of you will probably not be doing that so definitely tape along the floor with painters blue tape. You can find it any hardware store in the paint section. While your at it throw a drop cloth down for good measure:) This paint will wipe of hardwood and tile easily but grout is a different story.
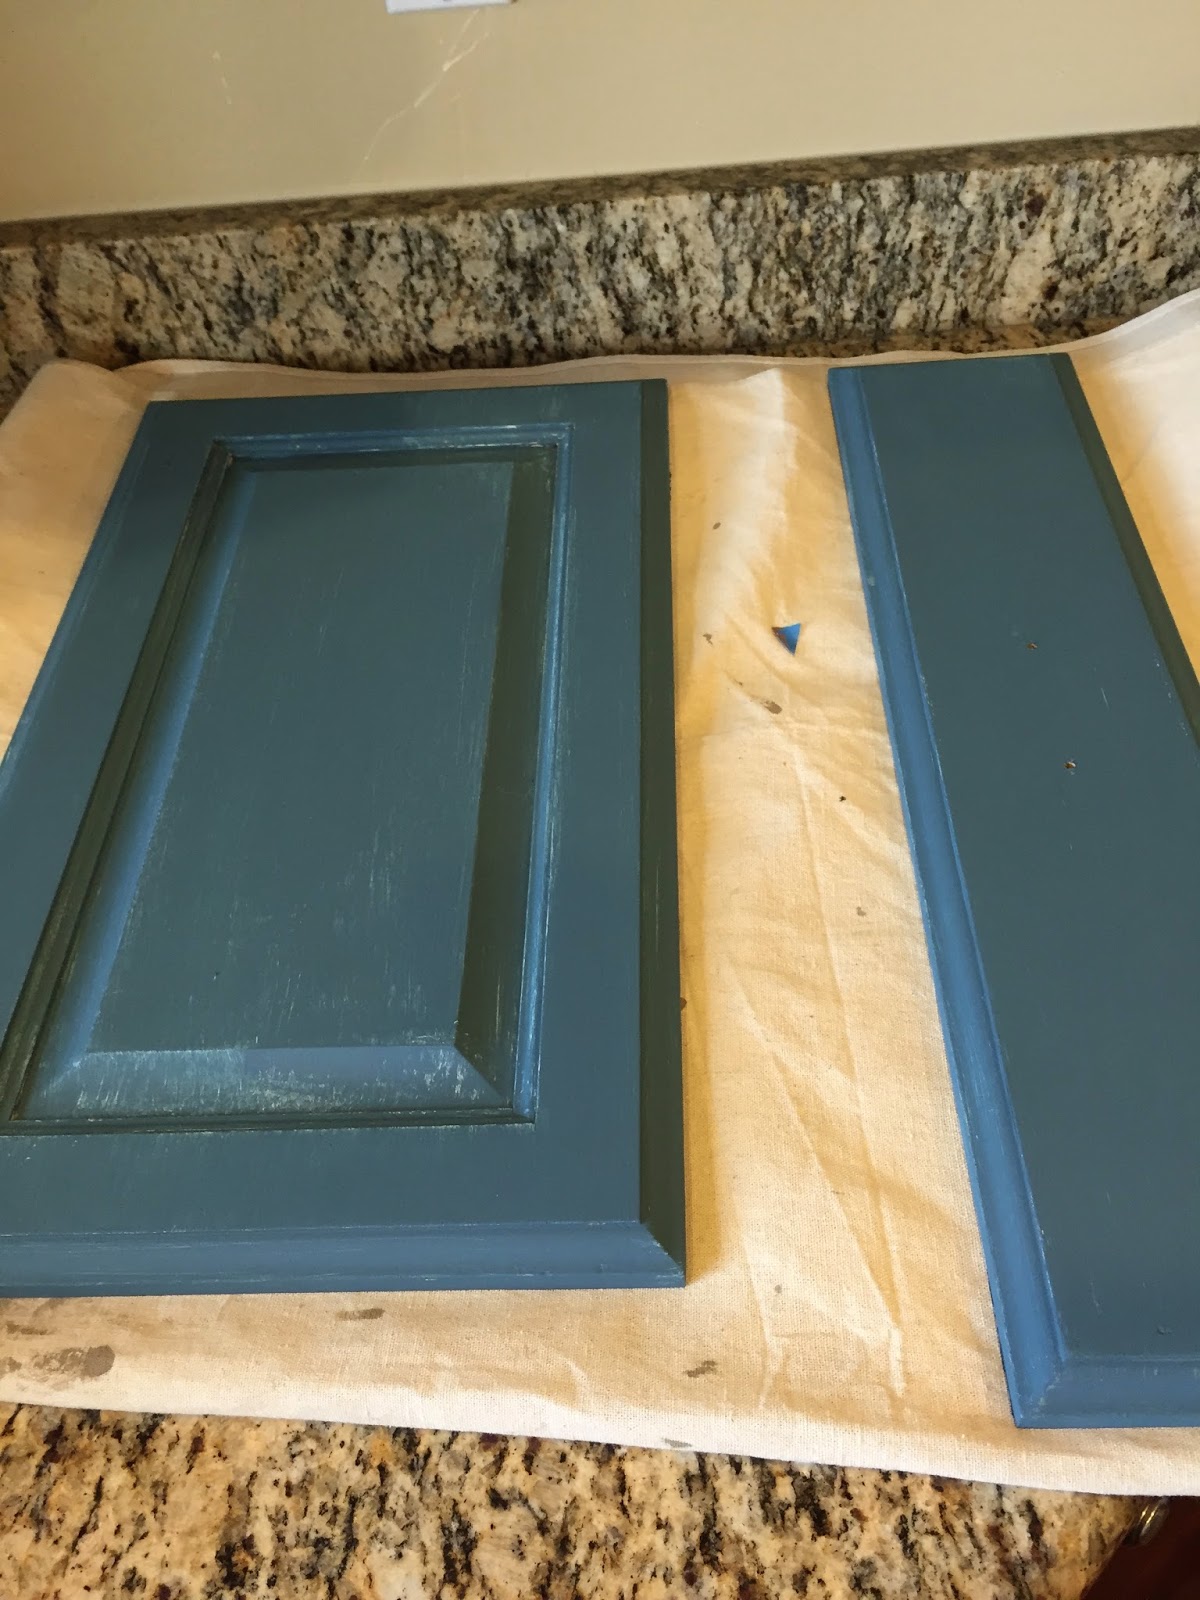
Sixth: Same methods apply to your cabinets. I laid my doors flat on a drop cloth on my counter. I painted 2 coats before i flipped them. You may get a little build up on the corners but its nothing a little fine grade sand paper can’t take care of. I did not paint the inside of my island, but i did paint the inner side of my cabinet doors. I feel like it gives it a more finished look and not a DIY project gone wrong!
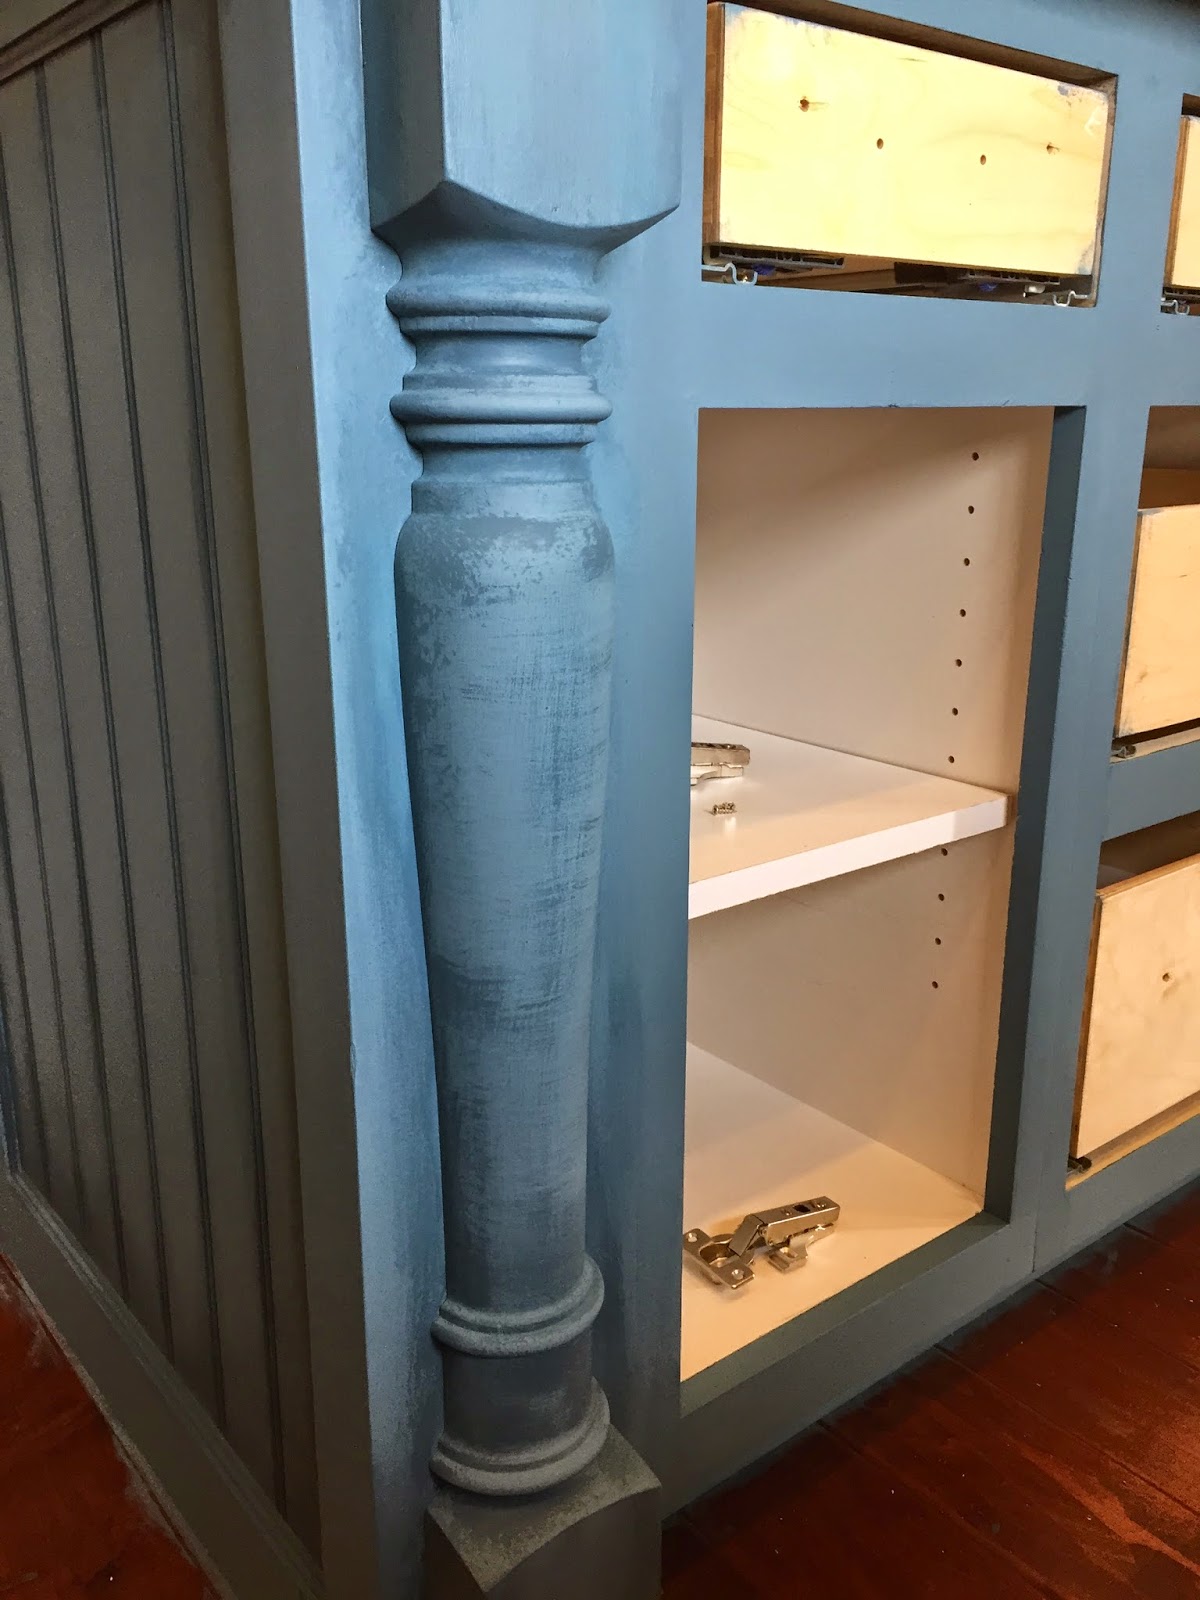
Step Seven: If you are not distressing or shading skip down to step #8. This is where you can get a little creative. I treated this island like a drawing. I took the Aubusson Blue strait form the can and started to work it in by dabbing and smudging it in the corners and crevices. Get aggressive with it! This is a technique that makes it feel like an old piece of furniture that’s been around for a long time. Don’t be afraid of the color difference. If you find you went a little heavy handed with the shading just take the mixed color and blend it back in. This is why i love this product. It’s like doing an art project with pastels or paints, you really can’t go wrong.
Eight: Let Dry for 24 hours. This will ensure the paint really bonds with the wood and won’t scrape of during the waxing.
Nine: Break out the clear wax and brush! Scoop out a nice clump of clear wax onto a paper plate or piece of cardboard. Work it into your wax brush in a circular motion and apply it to the island or furniture piece. I applied it in a circular motion first then went back over the same area going strait up and down to give it a smoother look. immediately wipe down with a lint free cloth in a downward motion. This removes any excess wax and will prevent wax build up which will leave your piece feeling gummy. A little wax really goes a long way! Make sure to wash your wax brush thoroughly using dish washing soap and hot water. If you do not desire and dark wax repeat this step again. I would at least give it 12 hours before reapplying.
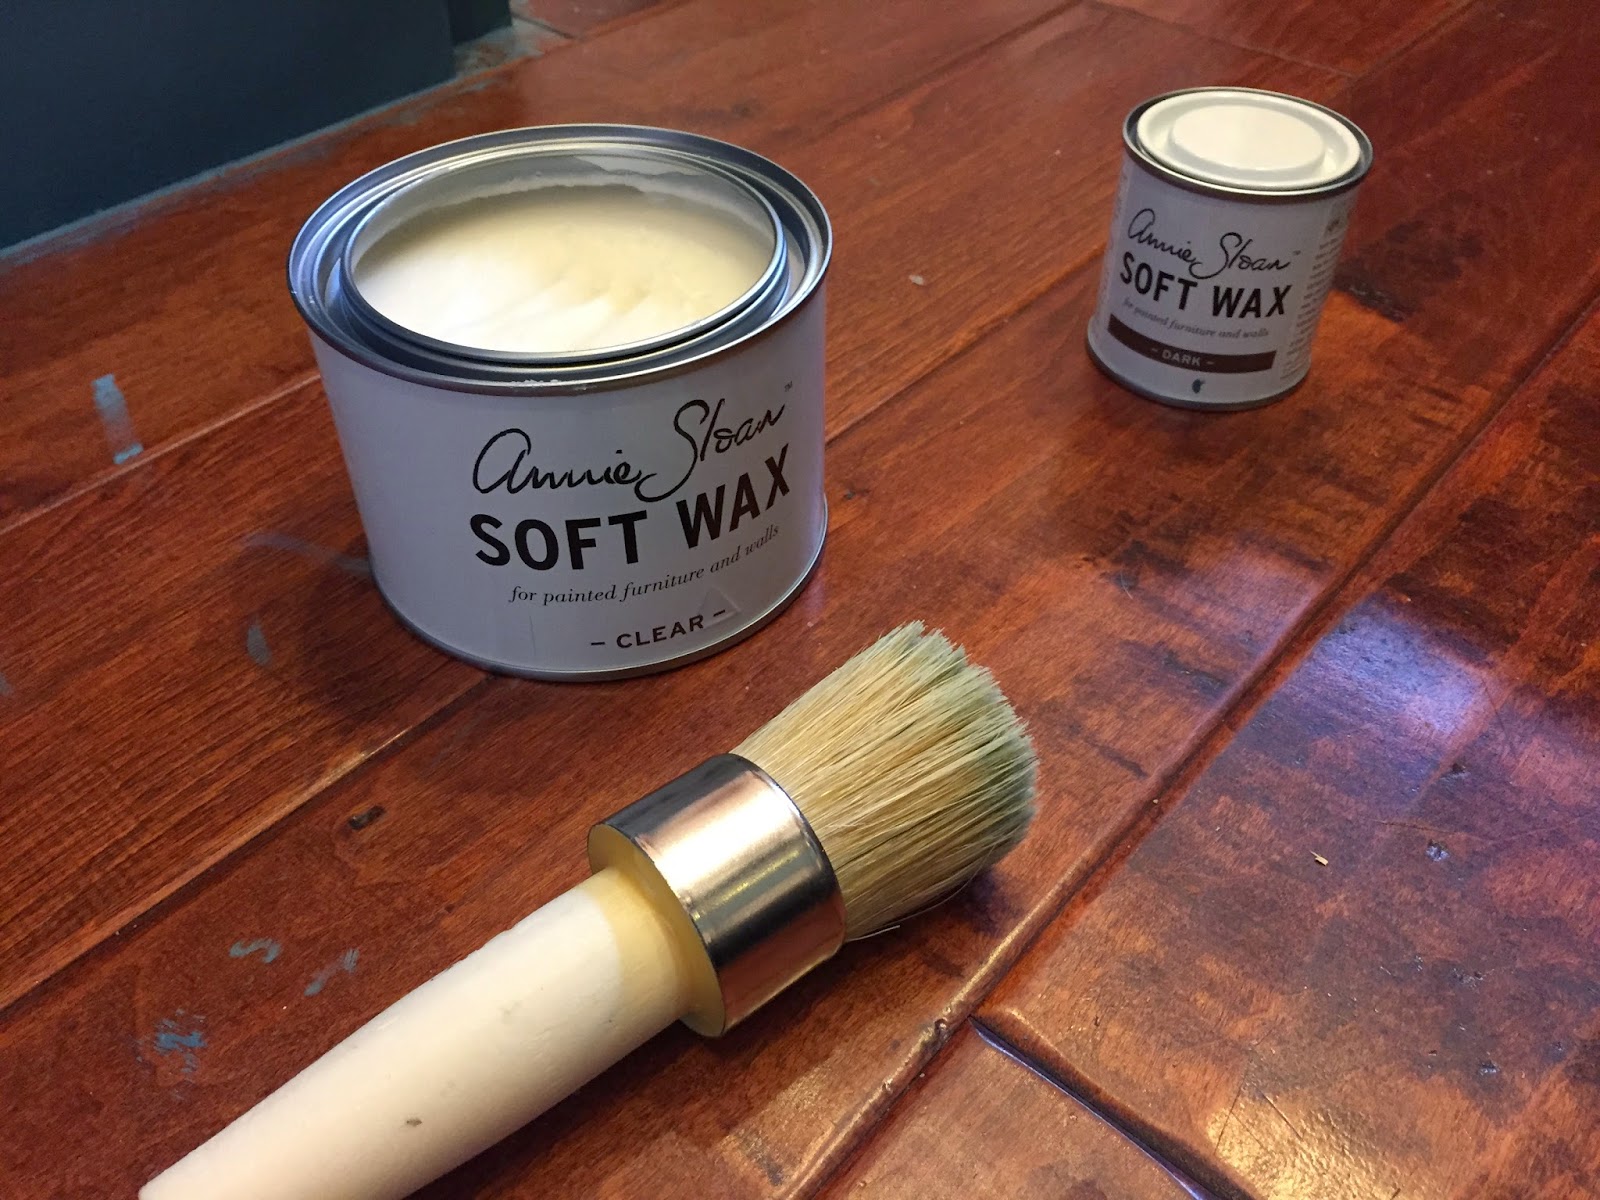

Step Ten: Dark wax! Some of you might be wondering why i would apply dark after clear. Well quite simply the dark wax is potent and if you don’t clear wax first your piece will just look dirty instead of aged. So, again scoop out some dark wax and some clear wax onto a paper plate or piece of cardboard. i use both when applying the dark wax so that i can blend it better in areas where i do not want a lot of dark showing. I have 2 different brushes, one designated exclusively to dark wax. This will ensure there is no carryover when doing other projects, especially white ones! Go ahead and apply the dark wax in the same fashion as the clear wax. I went heavier with the dark wax in the same areas as i shaded. I did blend some through out the entire island but not as liberally as the corners and crevices. Let dry 24 hours.

Final step: Just for safe measure apply one last coat of clear wax. I feel this is necessary being this is a kitchen. I want as much protection as possible from grease and water. Throw those doors and drawers back on and you’ve got yourself a finished product. Take some photos and post em up so all your friends can see your hard work!

 Add to favorites or read later
I was able to find good advice from your articles.
Heya i’m for the first time here. I found this board and I
find It really helpful & it helped me to out a great deal.
I am hoping to provide something back and aid others
such as you helped me.
Very good info. Lucky me I found your blog by chance (stumbleupon).
I have saved it for later!
Hi, I check your new stuff frequently. Your humoristic style is awesome, keep it!
Excellent post. I am going to be undergoing some of these
issues too..