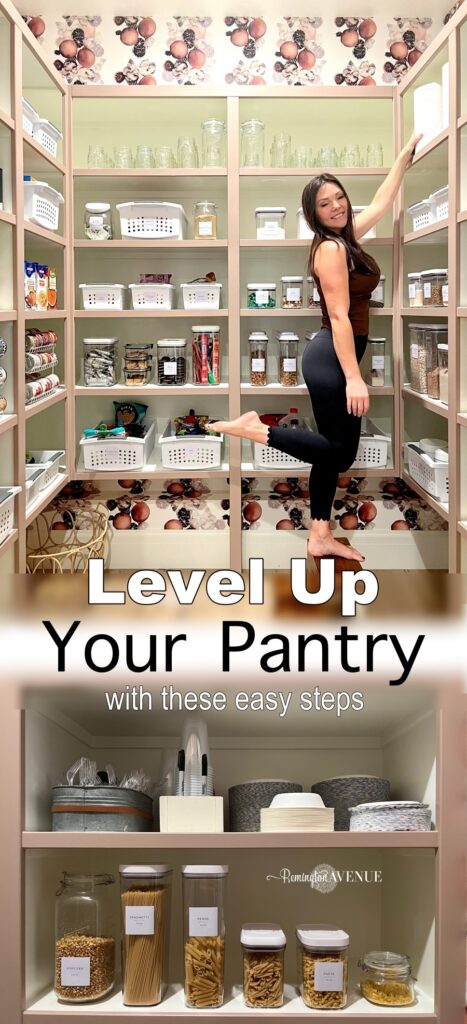
Level Up Your Pantry
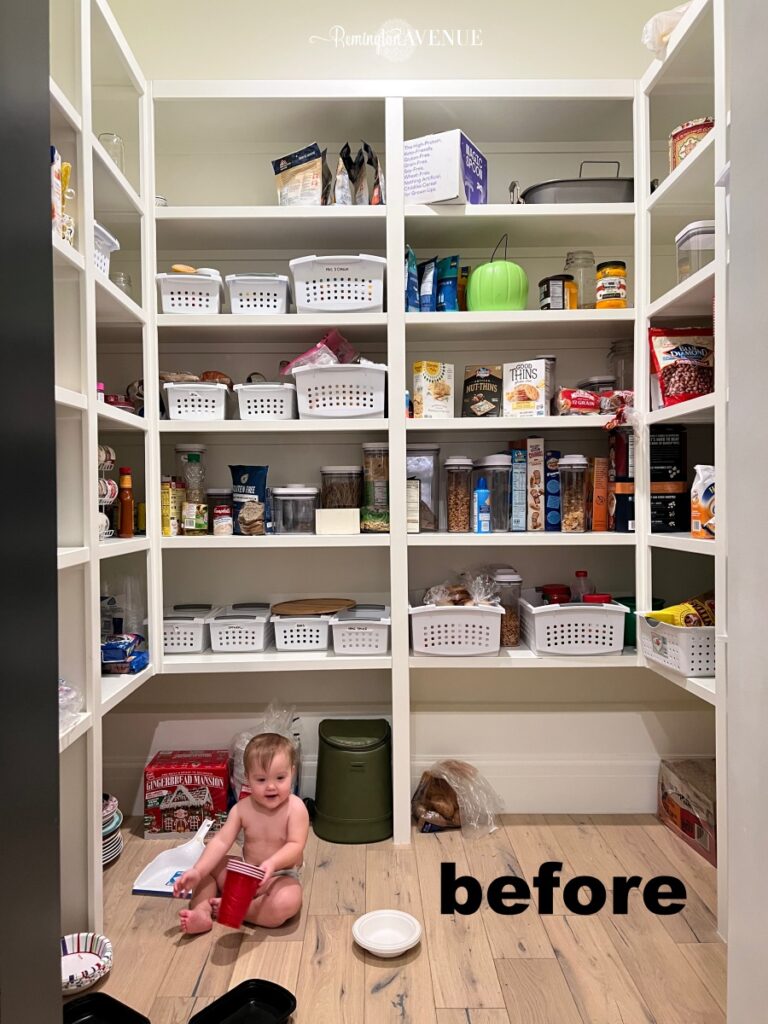
Pantries are often the forgotten spaces that no one thinks about when it comes to design, but it’s time to Level Up Your Pantry! I wanted to make mine inviting and functional by making it look great and be way more organized than it’s former state. I think because it’s essentially a dark closet, it’s easy to throw things on the shelves and shut the door, so I really wanted to add design elements that will make me want to keep it organized.
Keep reading for steps on how to level up your pantry. And if you want to watch me level up mine, watch THIS REEL I made on my Instagram!
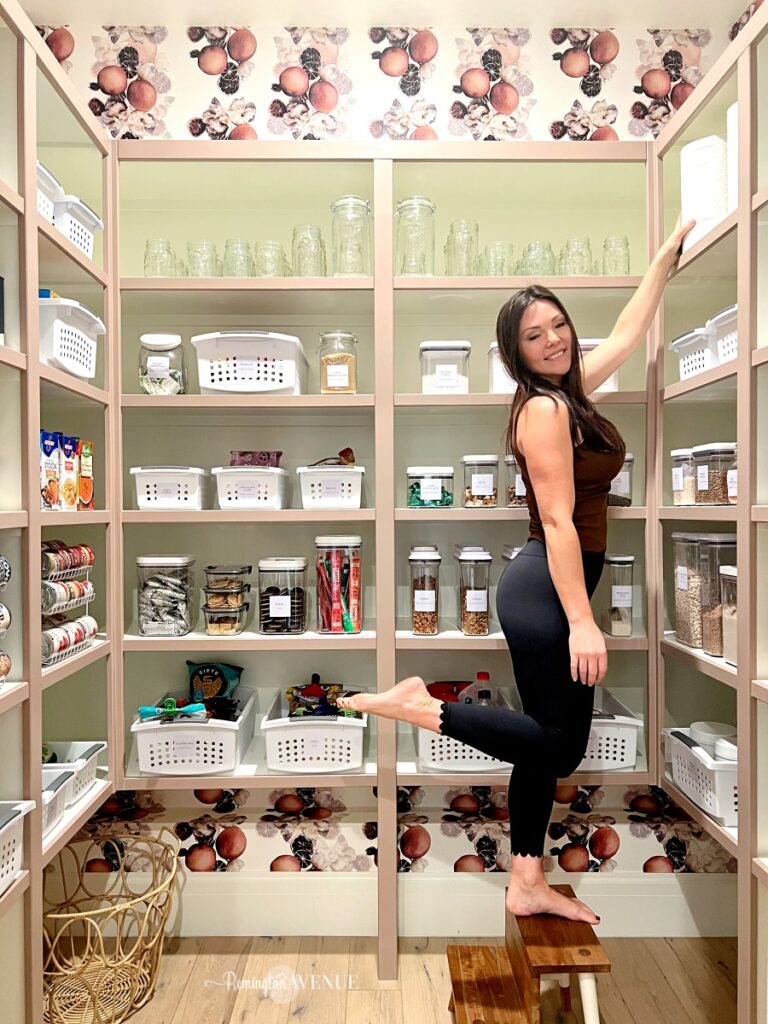
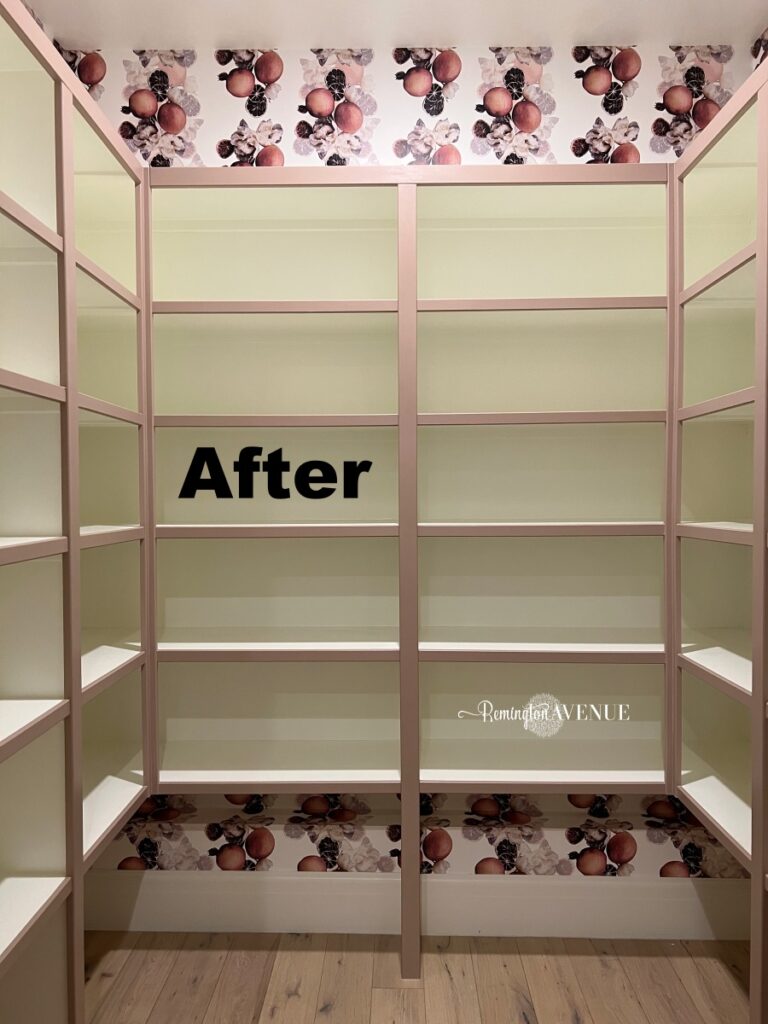
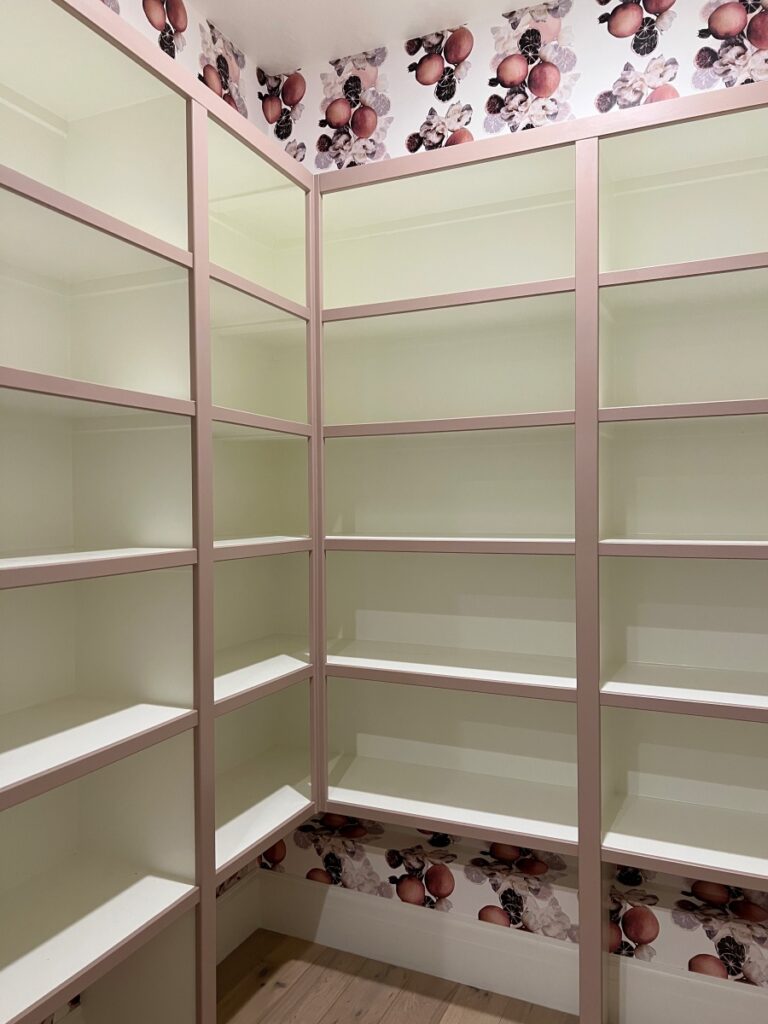
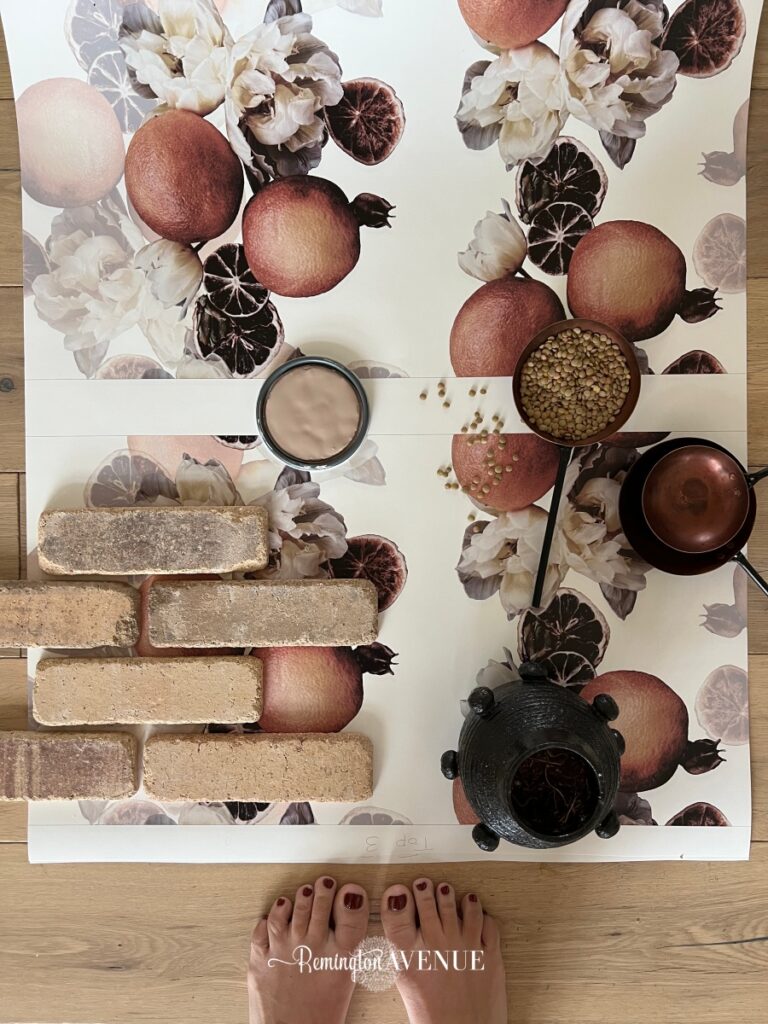
After clearing everything out, the first step is to put up the wallpaper. My paper is from Copper Corners, which is where many of the prints in my home are from, ie. laundry room, mirror wall, and powder bath. The name of this print is L’amour Orange and its available in three background colors, white background (mine), black background, or tan background. It’s a pre-pasted wallpaper, which I actually prefer over peel and stick. Use my code REMINGTON10 for 10% off any wallpaper on her site.
The second step is to paint your shelves. You can paint just the face frame like I did or the entire shelving system, it’s up to you and the look you prefer. Either way, make sure to use enamel paint. It dries harder and prevents your shelves from getting scratched up and scuffed.
The white paint color in my pantry is simply white by Benjamin Moore and the accent color is Dead Salmon by Farrow and Ball, which is the same color I used in my sister’s loft renovation.
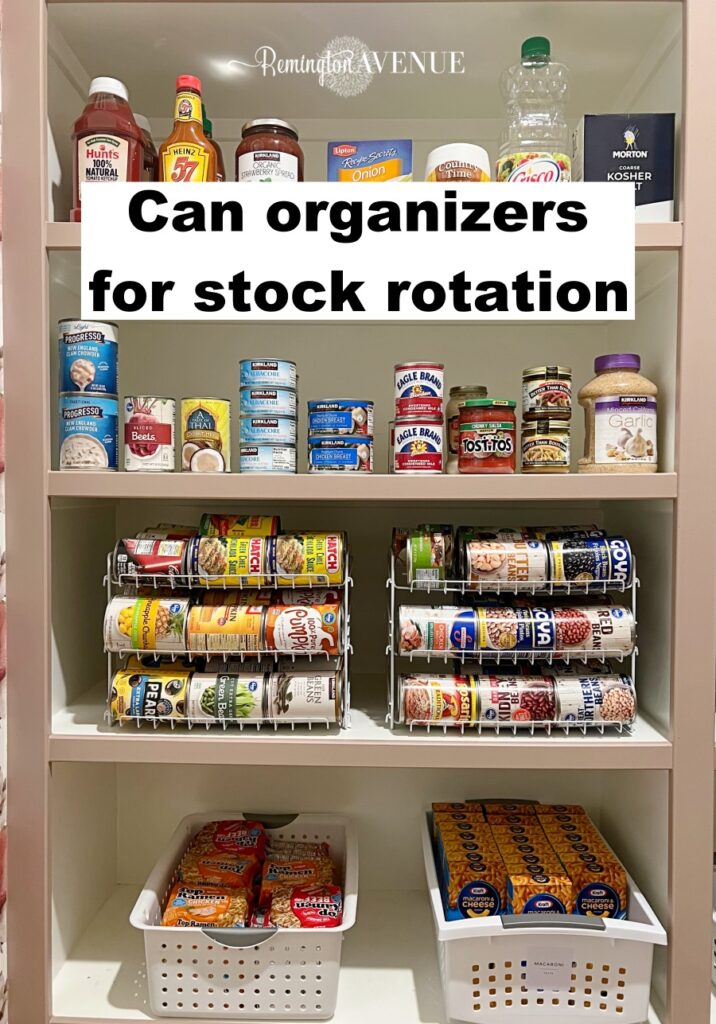
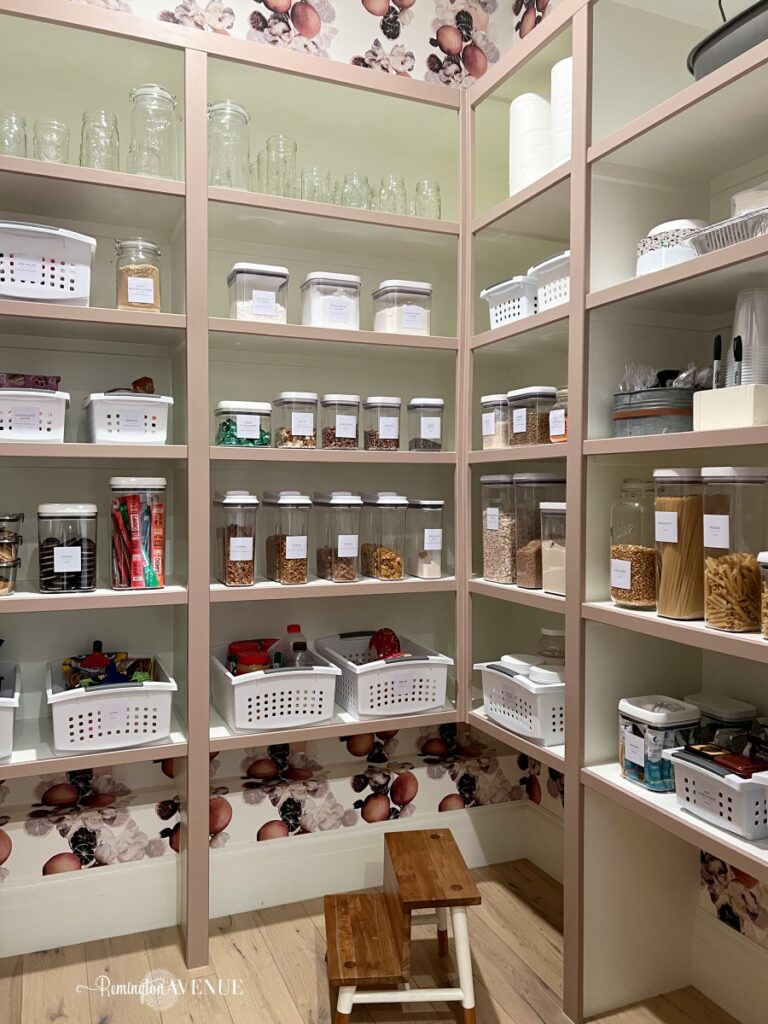
Now it’s time to bring in all of your organizational products! Use can organizers to store your canned goods. These make it easy to see what you have and rotate your stock to make sure the older items are used first.

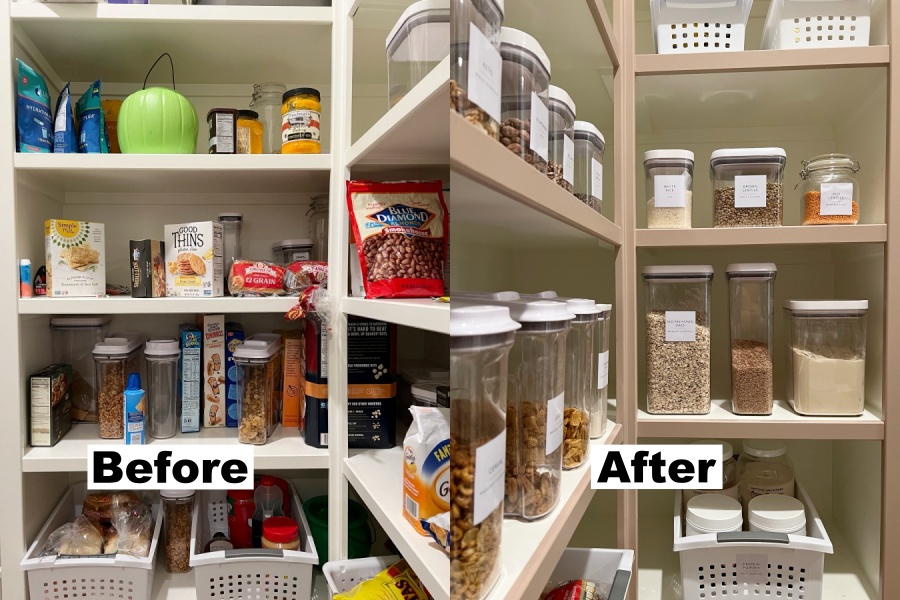
When it comes to pantry organization, clear airtight bins are a staple. You can use them for bulk dry goods or snacks. By pouring items like rice, cereal, or oats in these, you’re able to see exactly how much you have so you know when you buy more. Plus these protect your food from going stale so much longer than keeping it in the original packaging.
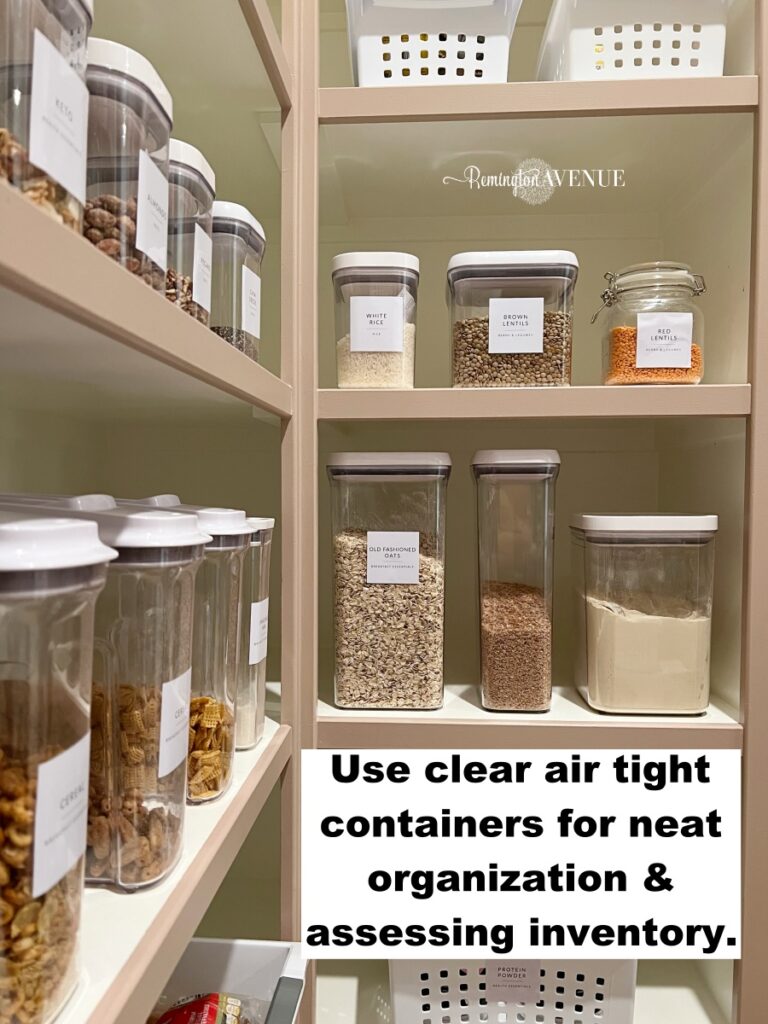
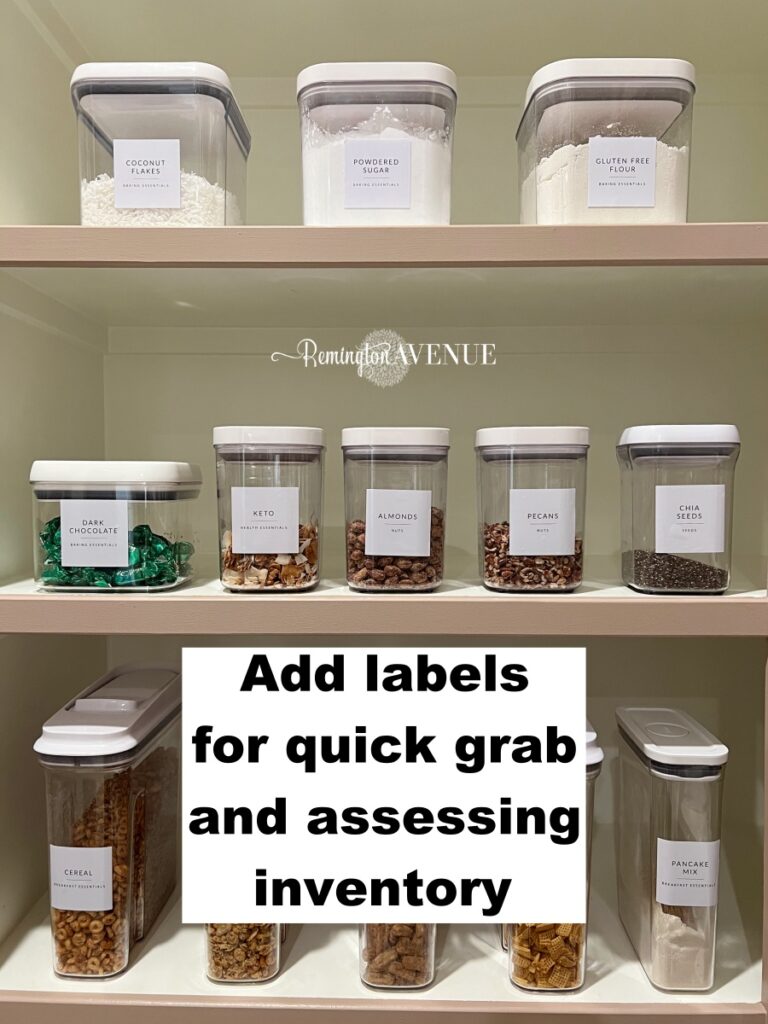
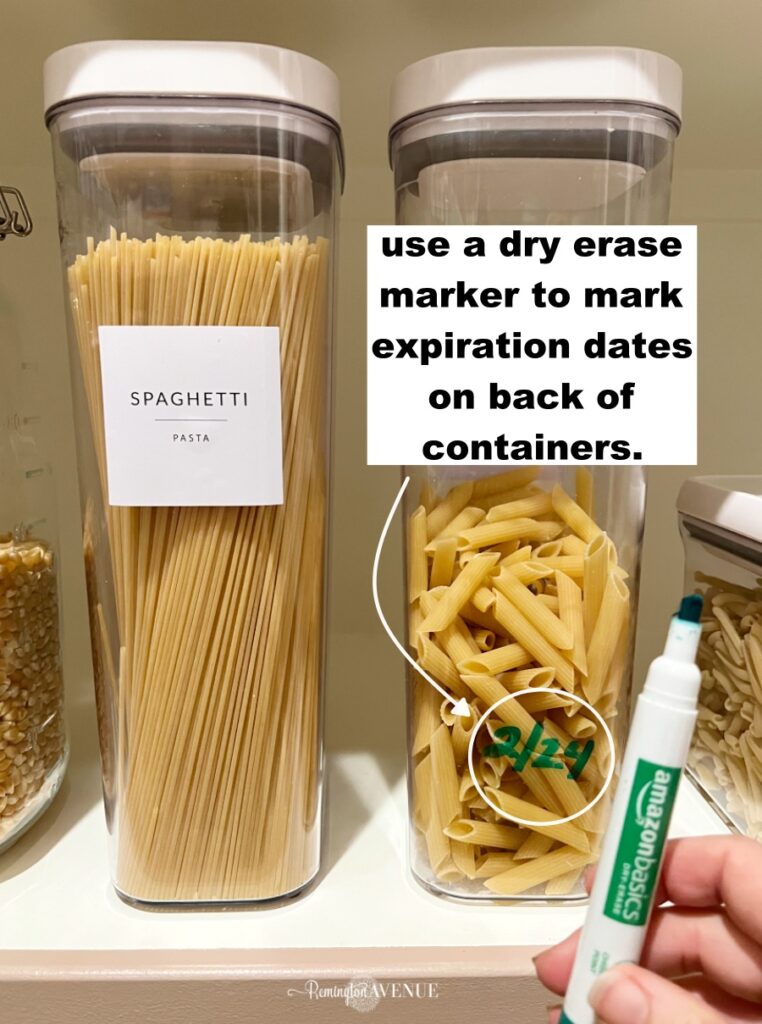
I have a few tips when it comes to these containers. The first is to label what it is in each. I used these pre-made labels that I got on Amazon. Next, write the expiration date on the back of each container in a dry erase marker. That way you aren’t left questioning or guessing whether or not things are still good. And last, cut out the cooking instructions and put them in the container. We’ve all done it, where we accidentally throw out instructions and don’t remember how to finish cooking something. Or we do hold onto them, but they get lost. Avoid that by cutting them out and putting them in the bin with the food.
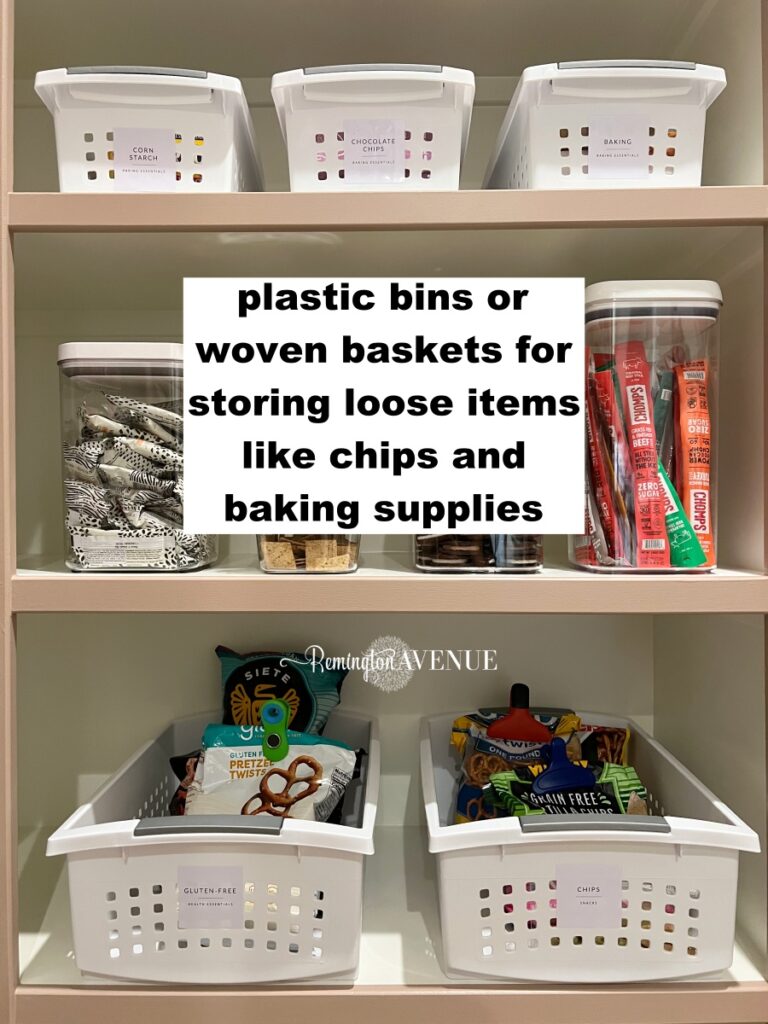
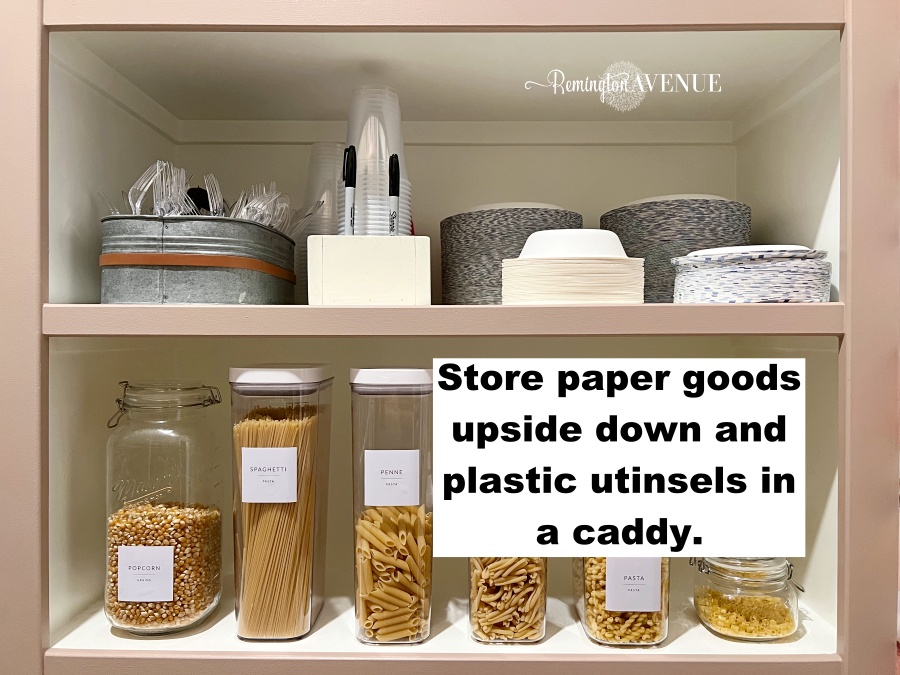
For more snack-type foods that you go through quickly like crackers or goldfish, you might not need to do all of that, but they are helpful tips to know. Wrangle all of your loose items and snacks in bins and baskets so they aren’t floating around the shelves. Store your paper plates face side down and plastic cutlery in a caddy.
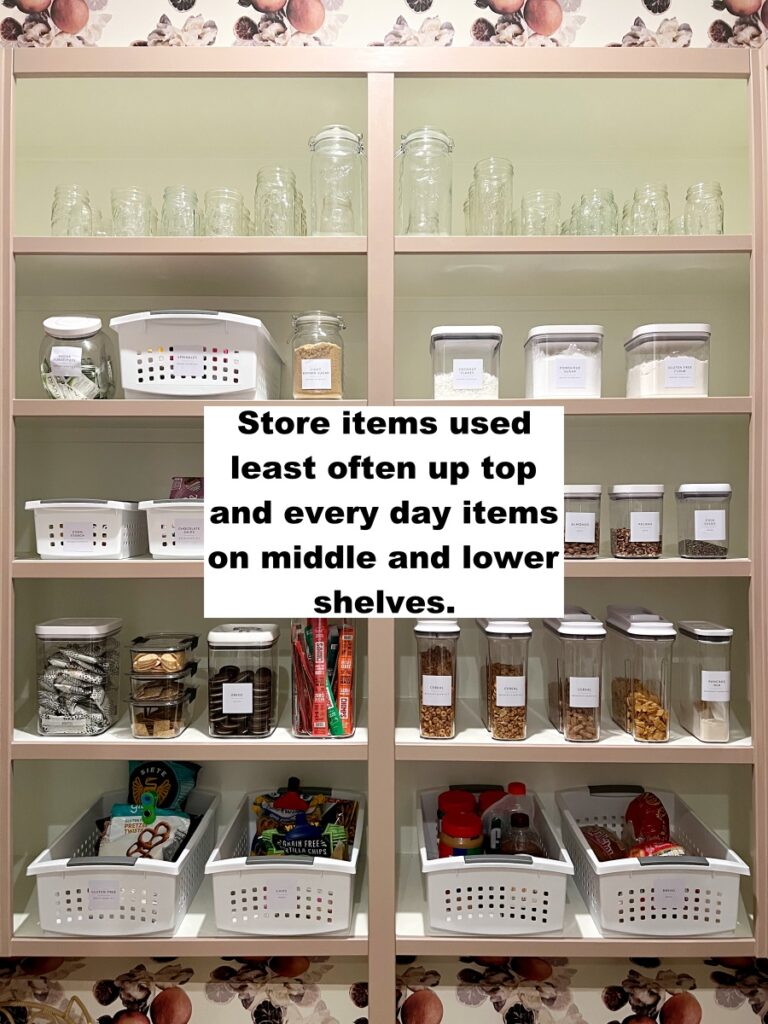
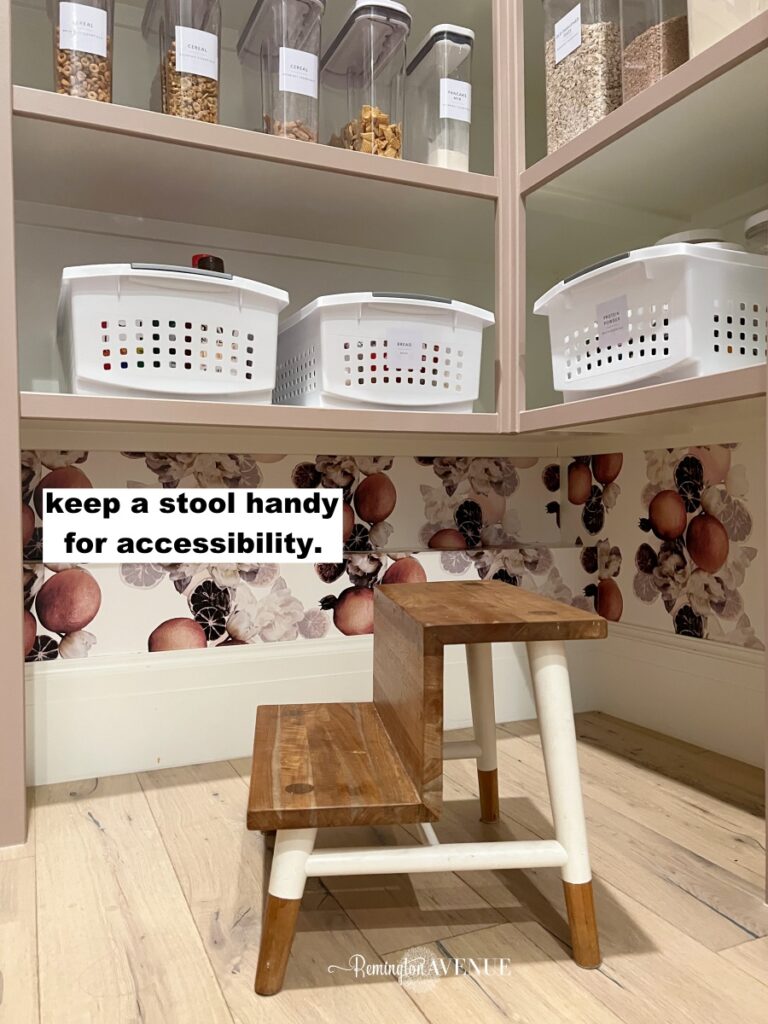
Keep frequently used items on more easily accessible shelves so you aren’t having to climb a step stool everyday. And then things like food you might not use everyday can go up higher or small appliances can go down lower.
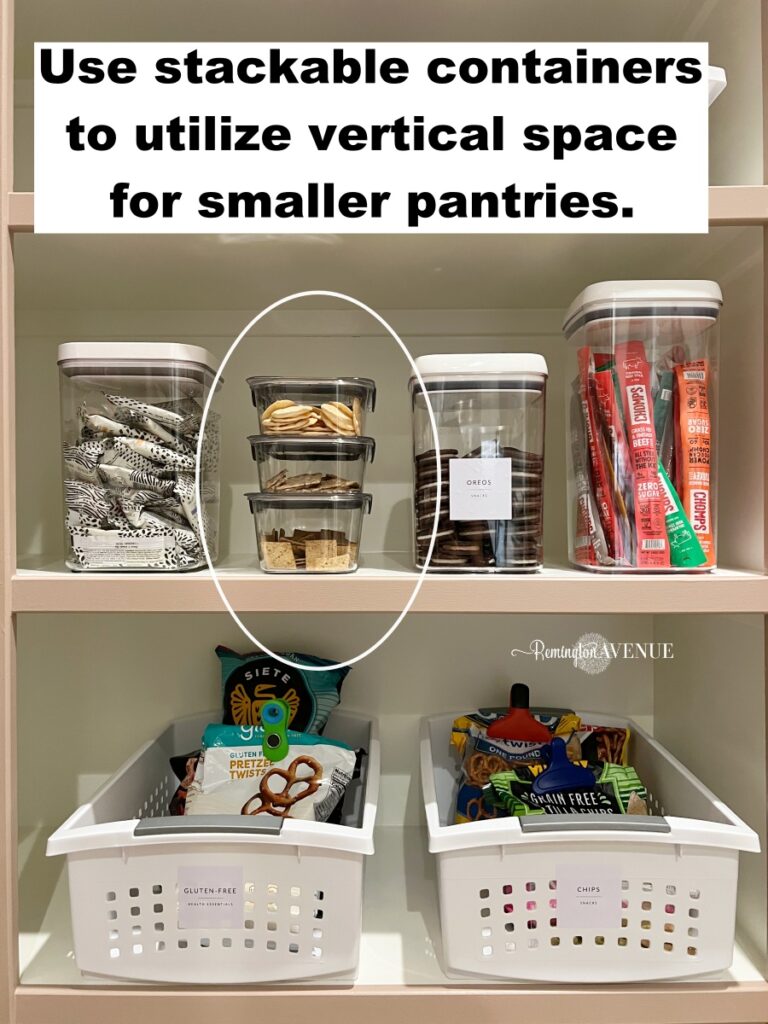
I know everybody’s pantry size is different, but a lot of these ideas can be used in any pantry. And you can customize it even more. If you don’t have a lot of wall space, you can put wall paper at the back of the shelves. Or you can not do wallpaper and just paint! The containers and bins can be purchased to fit your space accordingly size-wise. Buy smaller bins and containers if you have a smaller pantry, and try stacking containers to utilize vertical space.
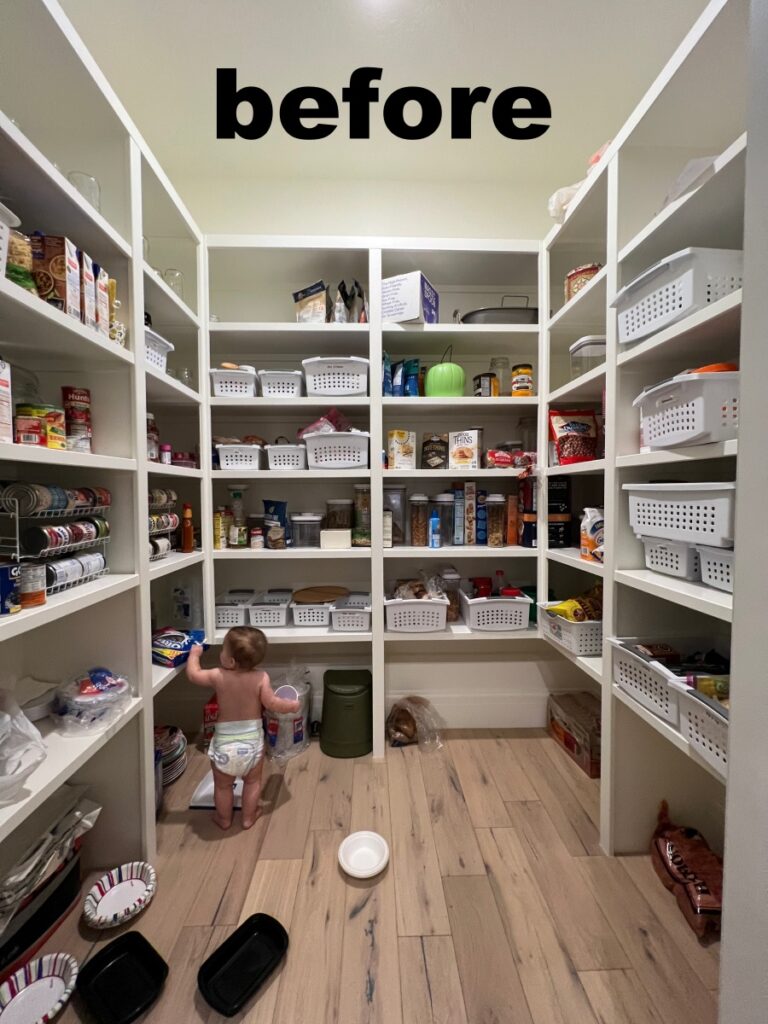
Now that my pantry is beautiful, it definitely makes me want to put more effort into keeping it organized. Watch the transformation below and let’s Level Up Your Pantry!

 Add to favorites or read later