
Lou’s Bedroom Reveal: DIY Makeover Ideas & Before + After
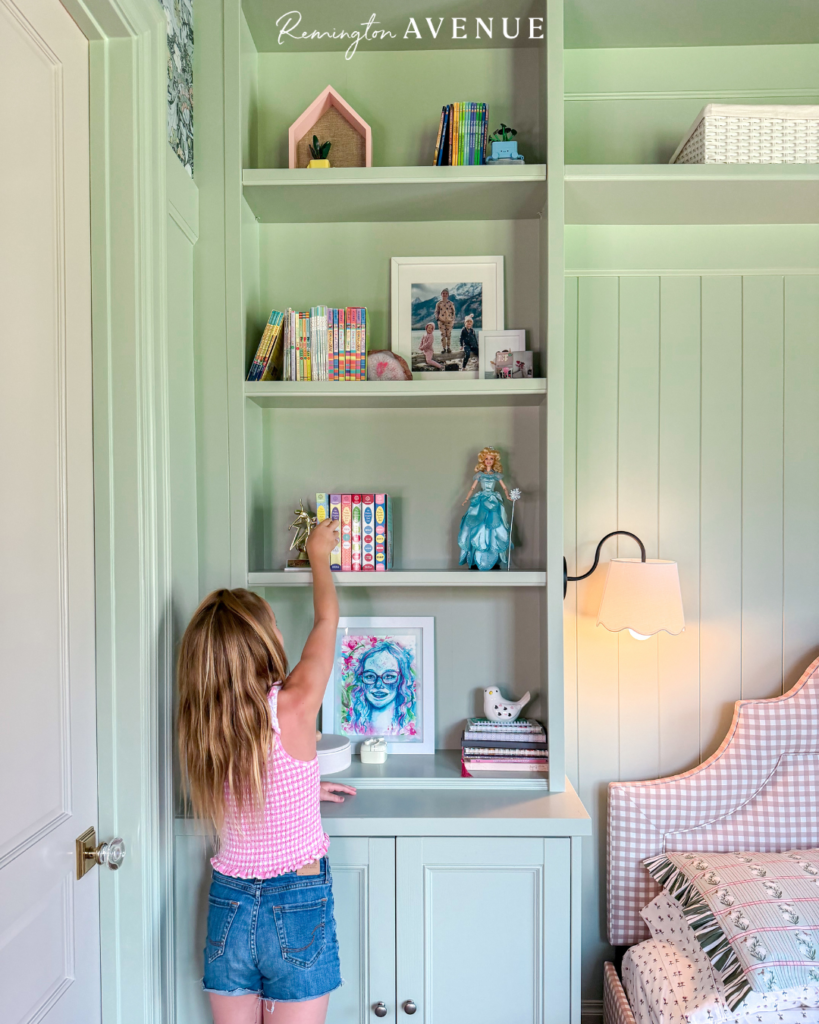
Nothing says “labor of love” quite like designing an entirely custom room for your child. But you know what makes it even more special? Building almost every piece yourself. It was a huge undertaking, but I can’t wait to show you exactly how this room came together—and hopefully inspire you to tackle a few DIYs of your own! Without further ado, here is Lou’s Bedroom Reveal: DIY Makeover Ideas & Before + After!
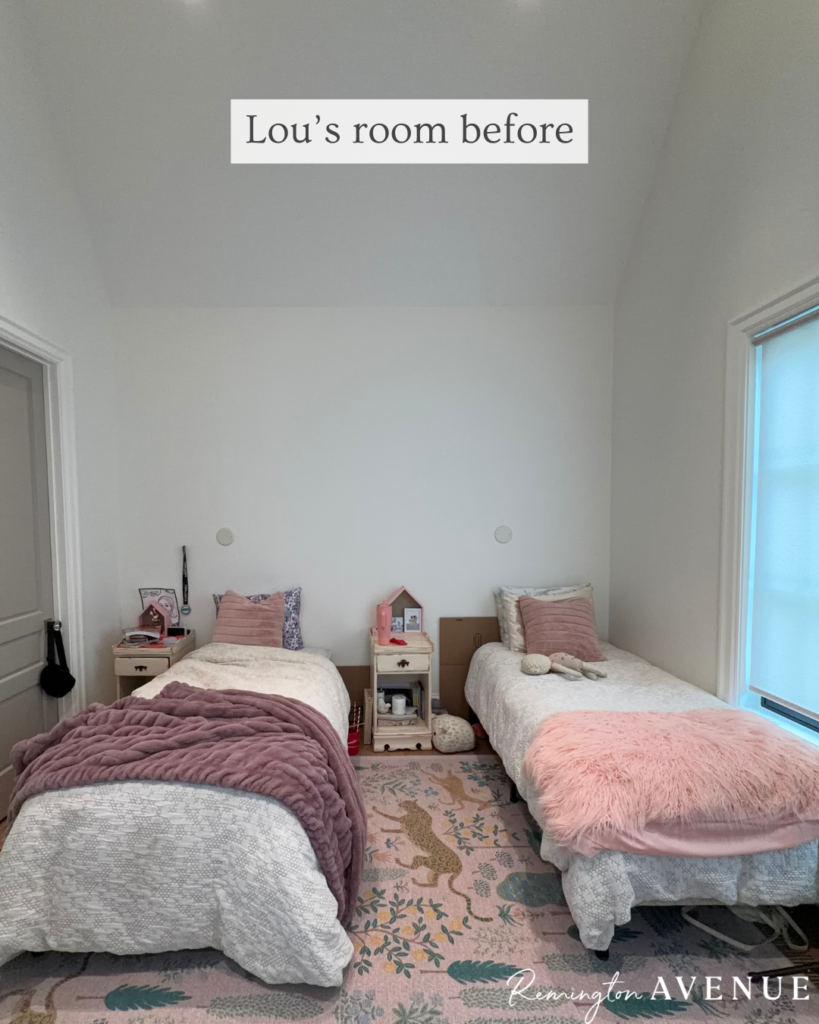
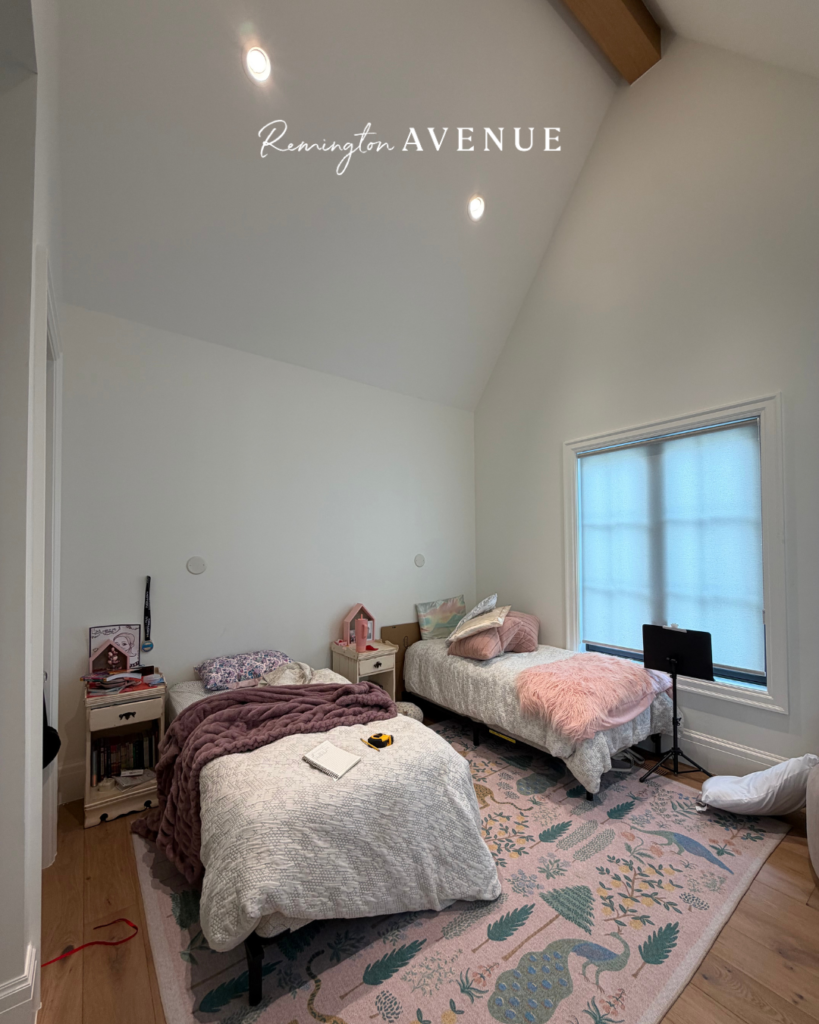
Lou has been patiently waiting for her room makeover, and I wanted to make sure it was worth the wait. She dreamed of a colorful, whimsical fairy-tale bedroom, so I knew this project would require plenty of creativity, custom details, and a little bit of magic.
As with every room makeover, I started by gathering inspiration.
I pulled together ideas that captured that dreamy woodland feel, then Lou and I chose a color palette together. Once we landed on the vision, it was time to start building!
One thing I knew from the beginning was that Lou needed lots of storage. This girl loves collecting books, treasures, and little knickknacks. So, I wanted the storage to be just as beautiful as it was functional.
After getting several custom cabinetry quotes (that honestly made my jaw drop), I had the familiar thought: I can do that.
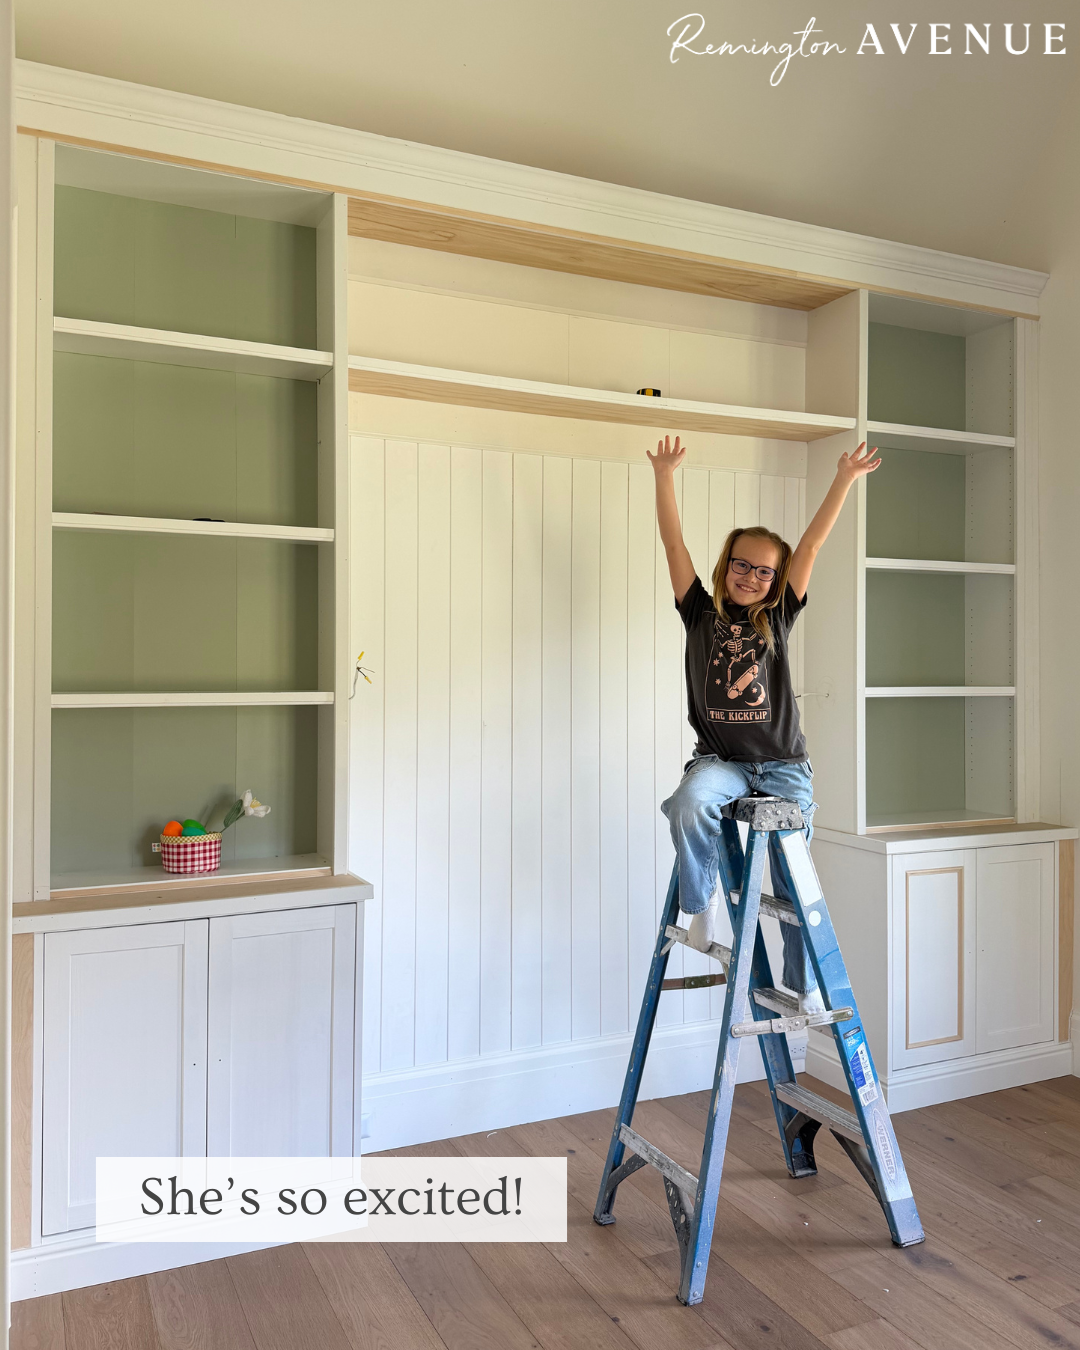
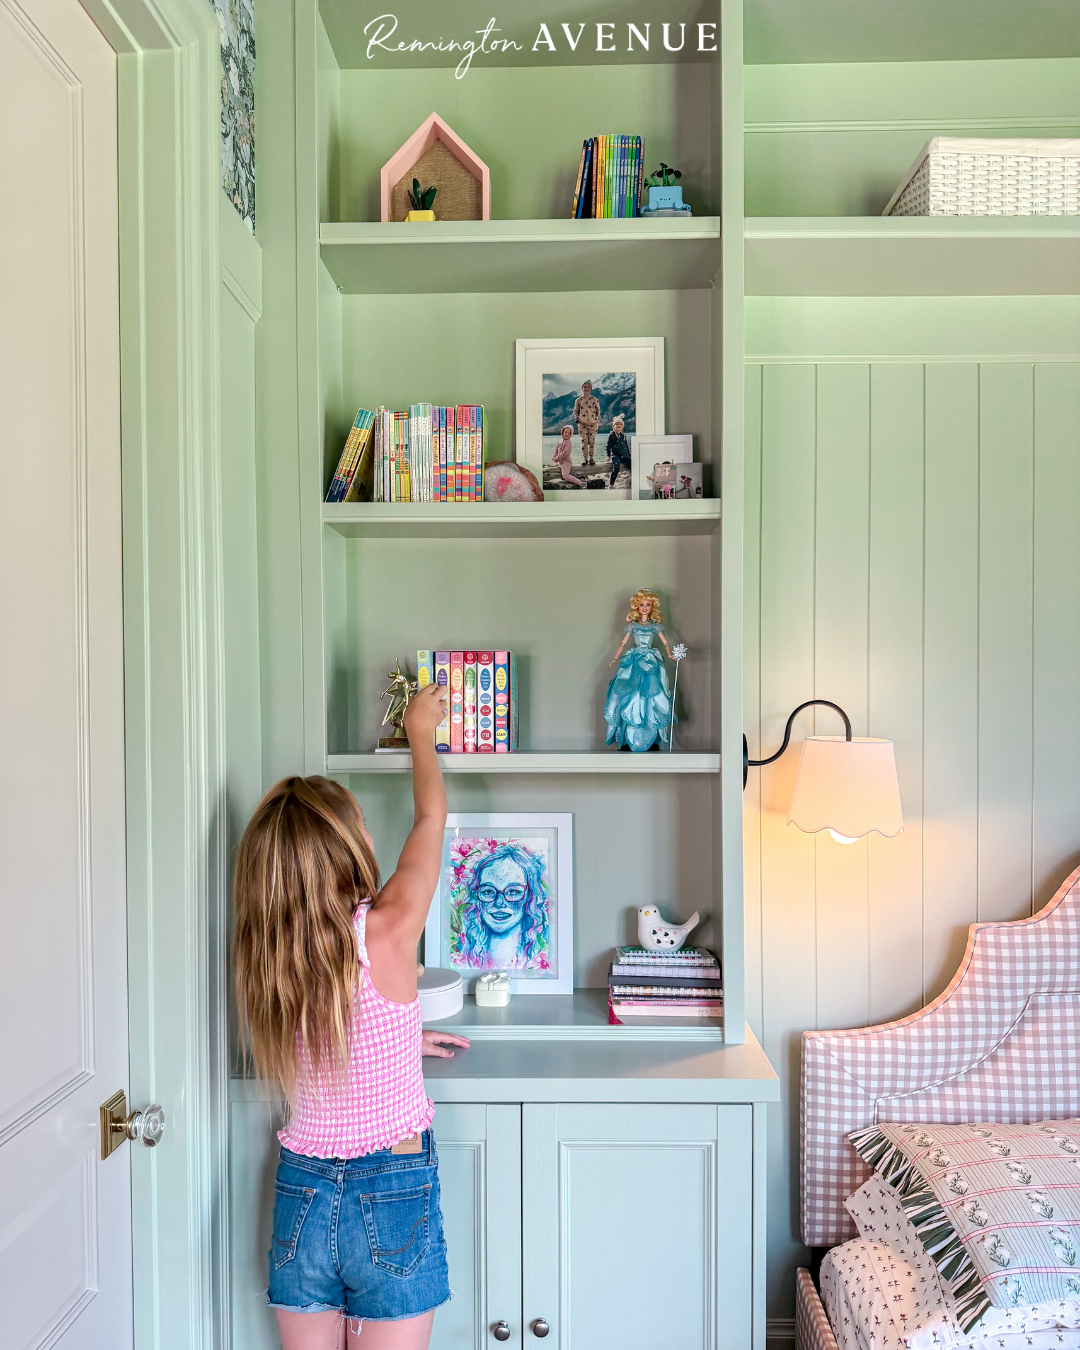
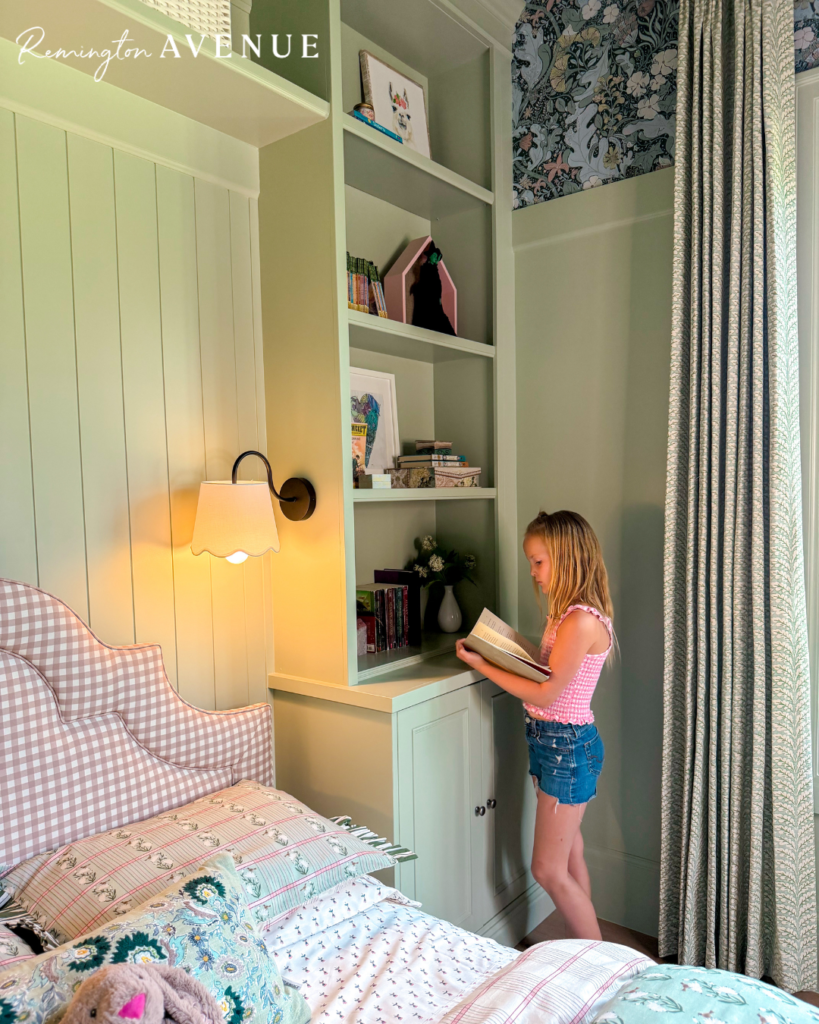
So I designed and built custom built-ins that perfectly frame her bed. They include bookshelves, hidden storage, built-in sconces, and decorative molding that makes them look completely custom. They quickly became one of my absolute favorite features in the room.
The foundation of these built-ins actually started with IKEA pieces. I used a combination of Billy bookcases and cabinets, then added molding from Home Depot to secure everything to the wall and create that fully built-in look. It’s one of my favorite tricks for achieving a high-end custom feel without the custom price tag.
If you’d like to build something similar, I shared the entire process in another post with step-by-step instructions here!
The project definitely required patience, but the savings alone made it worthwhile. Even better, it feels so much more meaningful knowing it was built specifically for Lou. I already know the best part will be hearing one of her friends compliment her room someday and listening to Lou proudly say, “Thanks, my mom built it.”
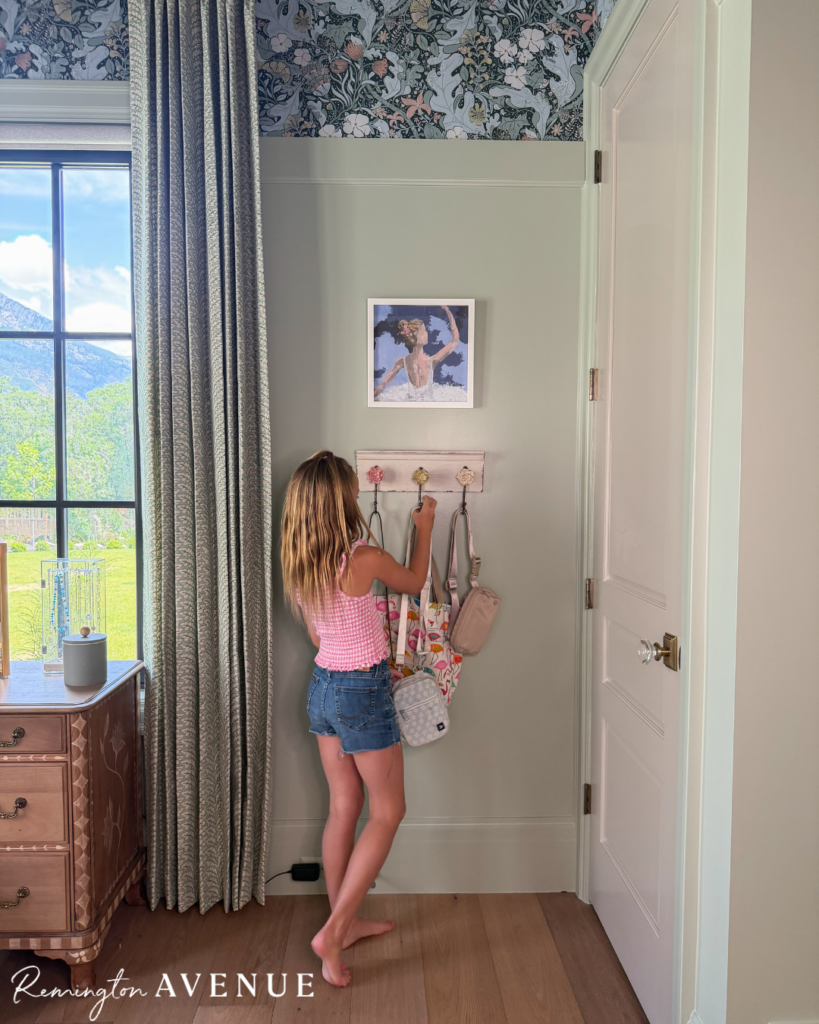
To continue the architectural details throughout the room, I used the same molding from the built-ins to create a dado rail just below the tops of the windows. Here, I intentionally positioned it there to draw your eye upward and marry the very high pitched ceiling with the rest of the bedroom- also creating the perfect place to hang dramatic curtains.
For paint, I chose the same beautiful green for the walls, trim, built-ins—even the outlets. Painting everything one color creates such a rich, immersive look, and instantly transformed the room into the woodland fairy garden we had imagined. It’s cozy, magical, and exactly what Lou had hoped for.
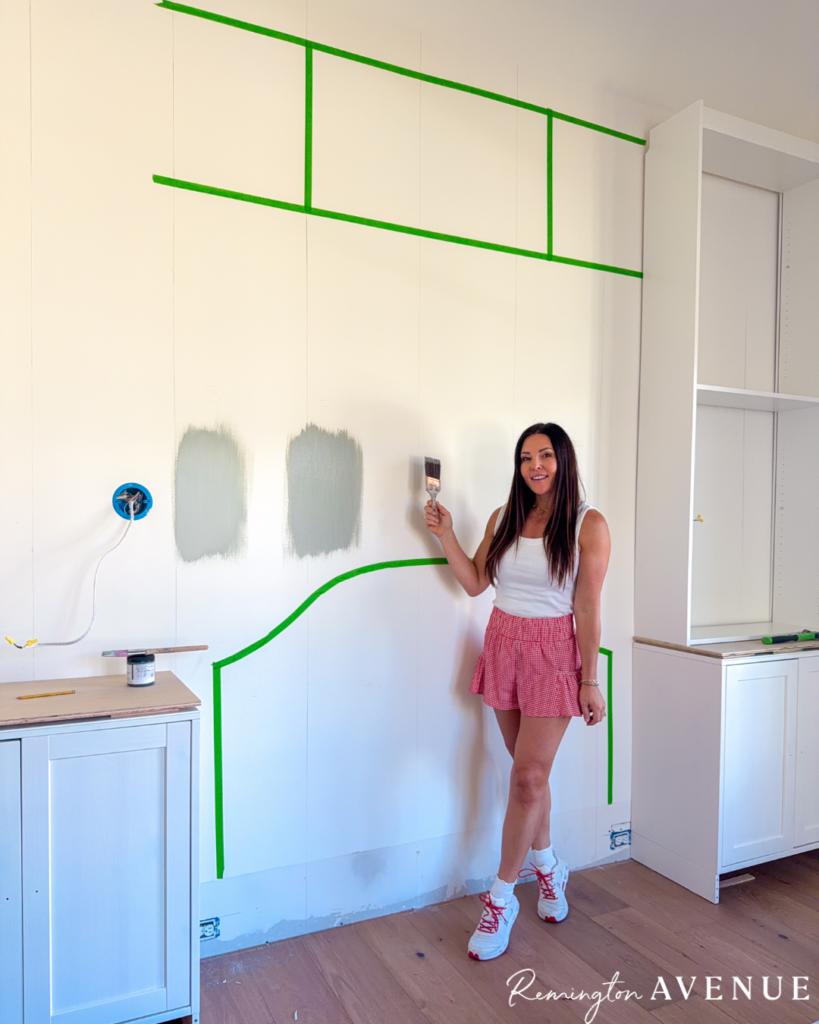
Then it was finally time for the wallpaper – Lou’s room was getting wrapped!
She had chosen the most colorful floral wallpaper, and I absolutely fell in love with it. It adds so much warmth, personality, and storybook charm to the room. Between the wallpaper and the green walls, the space instantly felt like a cozy little hideaway made just for her.
One design decision that took much longer than expected? Choosing the curtains. I went back and forth for days before finally settling on my favorite fabric…only to discover it was on backorder.
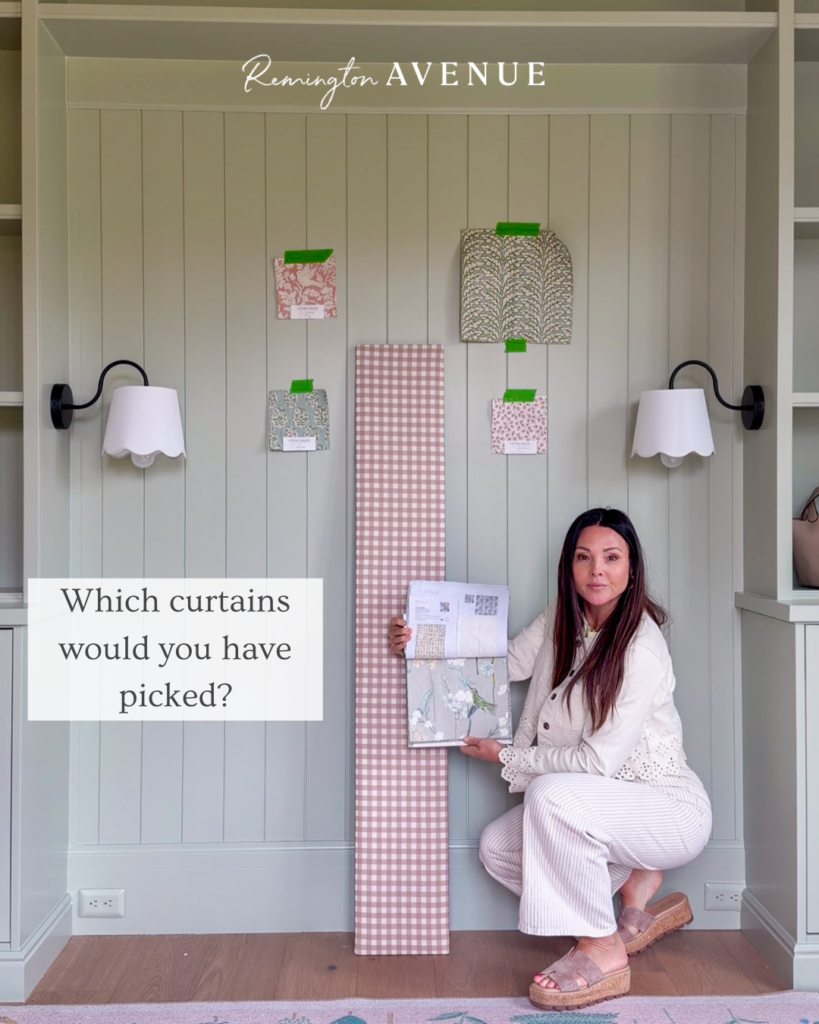
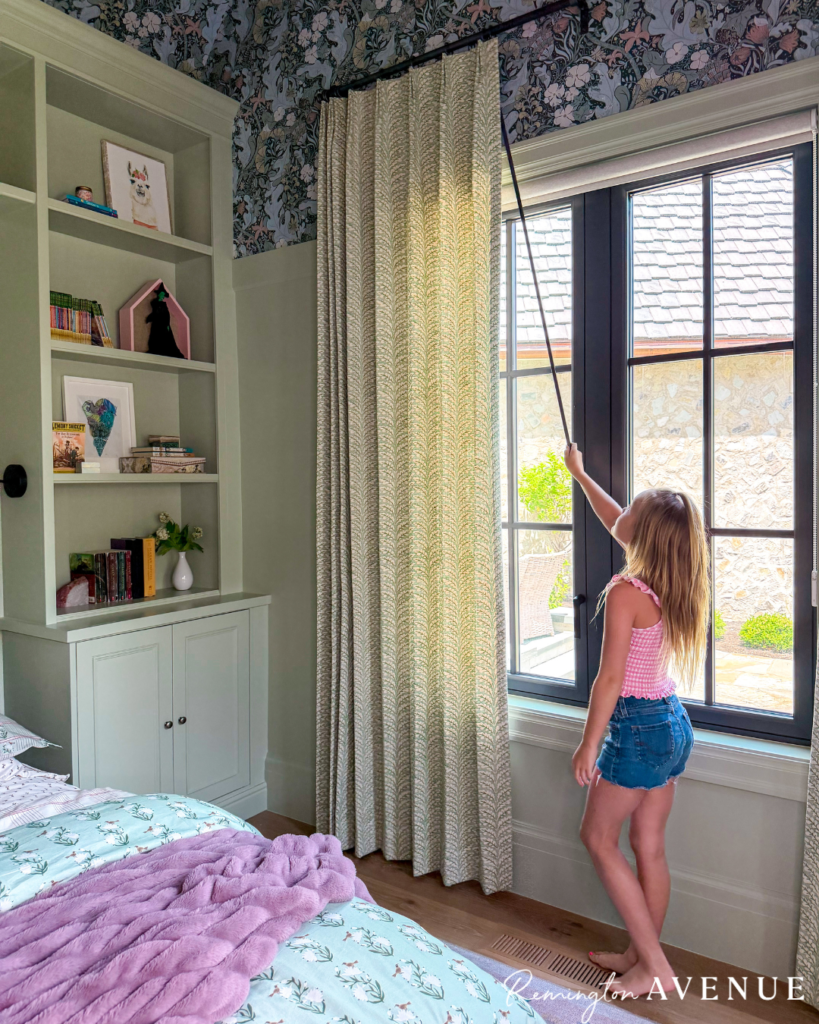
Not exactly the news I wanted.
Thankfully, there were still plenty of projects left to tackle while we waited!
Lou had already picked out her bed frame, but I still needed a desk or really more of a vanity. I searched everywhere for one that matched the vision I had in my head, and after coming up empty-handed, I had another thought of: “I can do that.”
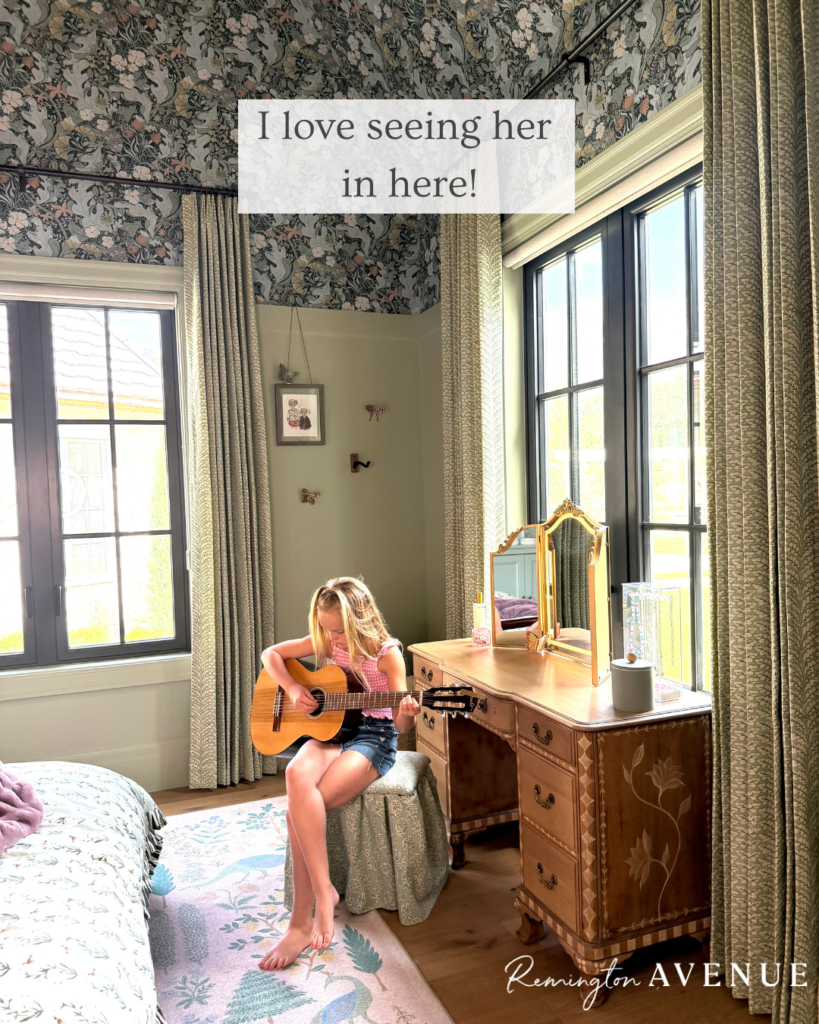
So, I found an old dresser on Facebook Marketplace for just $30 and decided to completely refinish it.
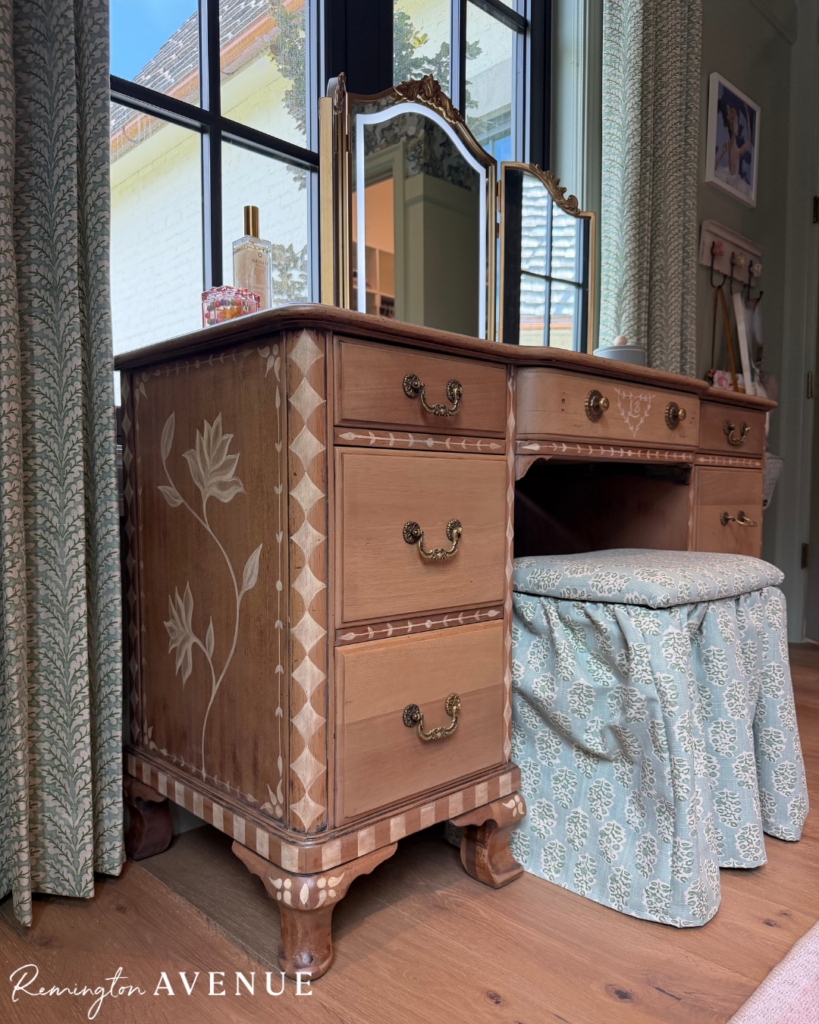
I wanted to preserve as much of its original character as possible, but the top had definitely seen better days. After multiple rounds of bleaching, sanding, and staining, the wood came back to life with a smooth, beautiful finish.
Once I reinstalled the original hardware, I knew it still needed one final special touch.
I spent days sketching designs before carefully hand-painting every detail onto the dresser. There were definitely moments when I questioned whether I was ruining it, but I’m so glad I trusted the process. The finished piece turned out even better than I imagined.
Instead of buying something new, we created what I truly believe will become a family heirloom. Seeing Lou’s face when she saw it for the first time made every hour completely worth it.
The next challenge came when I needed a vanity chair that would actually fit the vintage dresser. Older furniture is often much smaller than today’s pieces, so finding the right proportions was surprisingly difficult.
So…you know what happened next. “I can do that.”
I found the sweetest little chair at a yard sale for just $2. Honestly, the thrift gods were looking out for me throughout this entire project.
While choosing a fabric for the drapes, I had actually fallen in love with two. So I decided to use my second choice for this seat instead of the drapes so I could still include it in her room. I reupholstered the seat with my trusty staple gun, then sewed a skirt to soften the legs and tie everything together. It ended up looking like it was always meant to be part of the room.
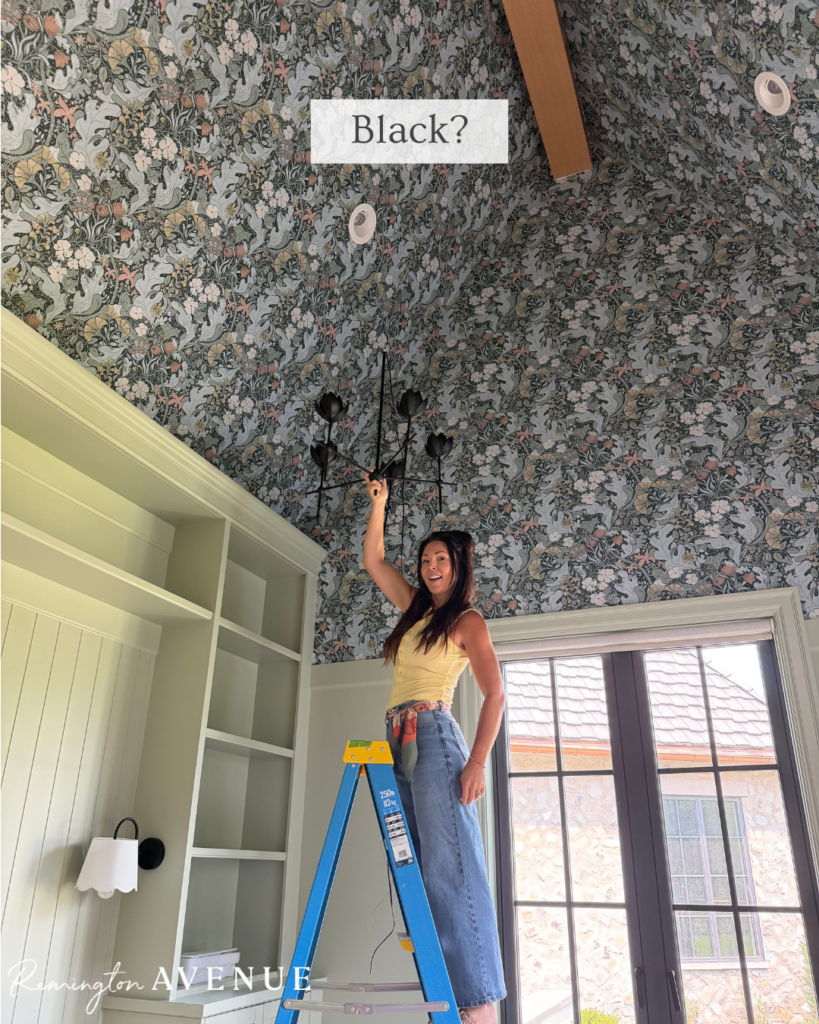
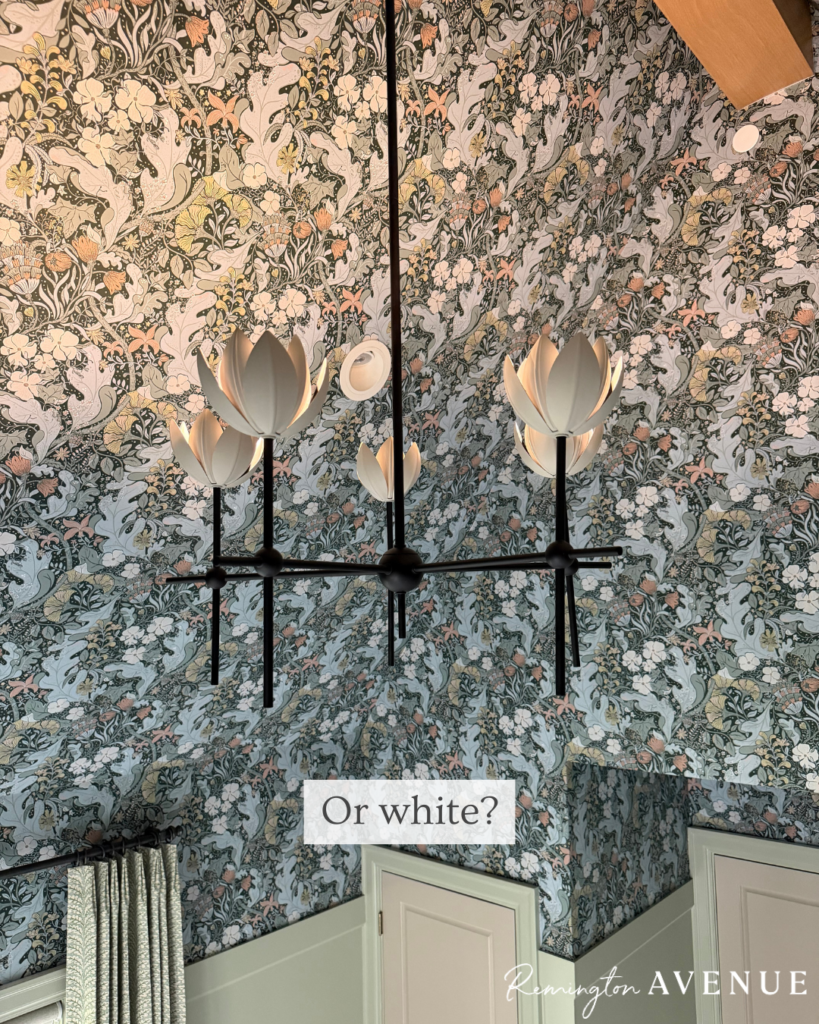
Around this time, Lou’s chandelier finally arrived. I ordered this light from Wayfair in black. Once I held it up against the wallpaper, though, I realized it needed a little more depth and contrast. So, naturally, I painted it using leftover paint that I’ve used in a few different places around the house: Stone hearth by Benjamin Moore, and I absolutely love how the finish complements the rest of the room.
Then came my favorite part of Lou’s Bedroom Reveal: DIY Makeover Ideas & Before + After – decorating and pulling it all together!
Every accessory was chosen because it felt unmistakably Lou! Whimsical, magical, sweet, and full of personality, that’s her!
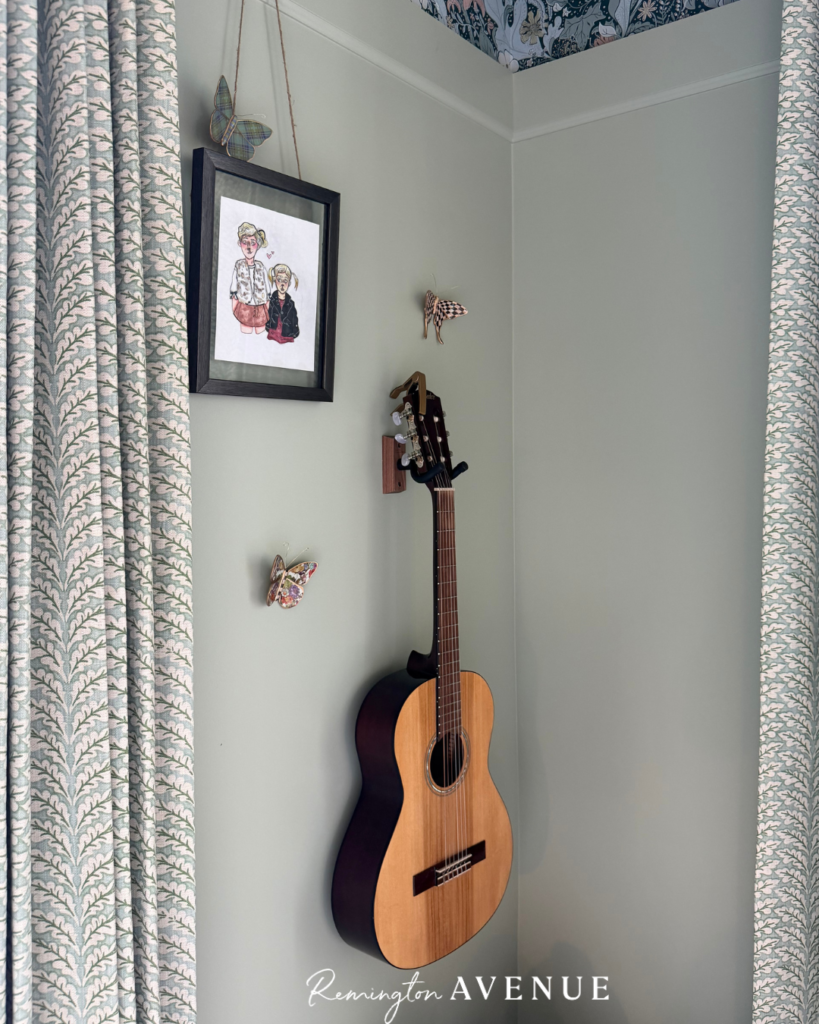
I layered in flowers, butterflies, vintage touches, and meaningful keepsakes. We made sure she had practical storage for her guitar and bags. Then, we filled the shelves with books, artwork, and little treasures she’s collected over the years. I love that every corner tells a little bit of her story.
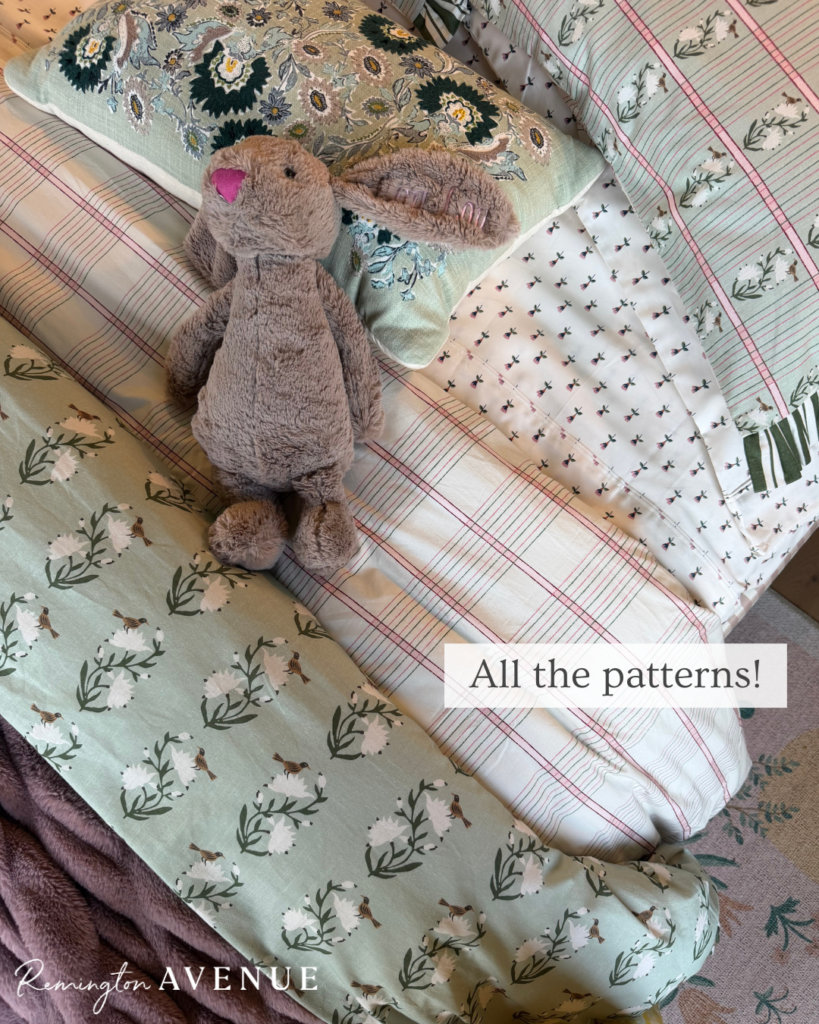
The bedding was the final finishing touch that tied everything together. The green echoes the walls and fabrics throughout the room, while the soft pink sheets coordinate beautifully with the bed frame and the rug we reused from our old playroom.
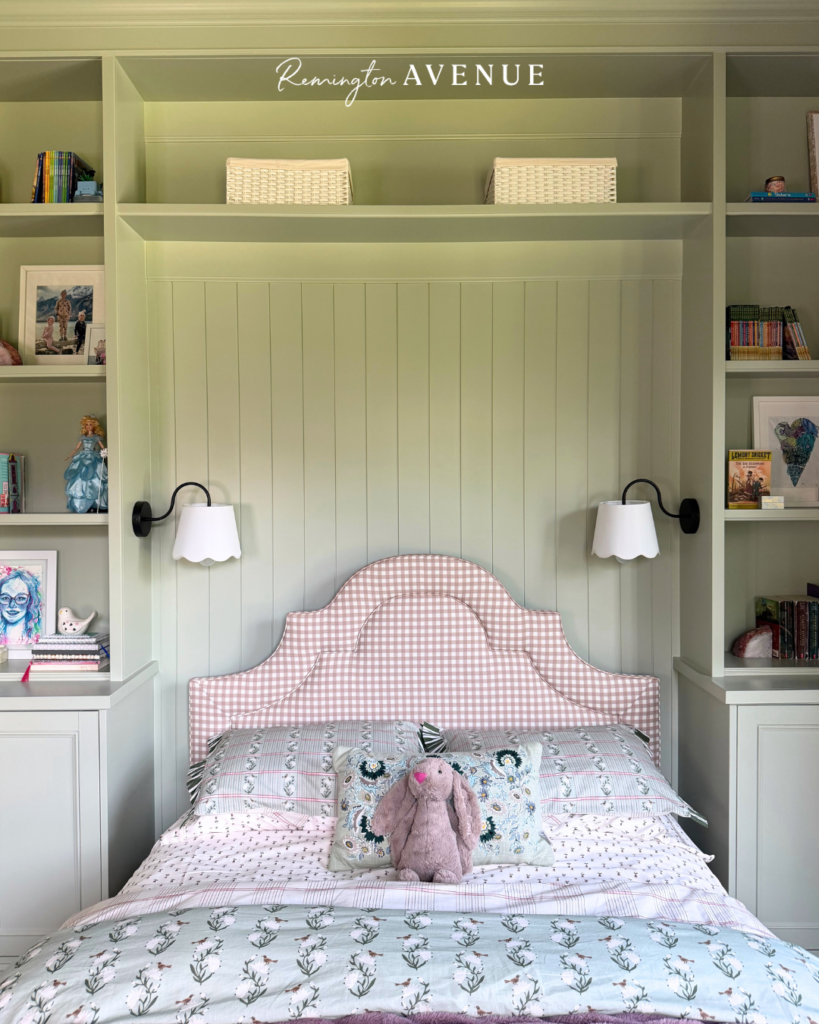
In fact, that rug was one of the very first pieces that inspired this entire design that previously lived in their old playroom.
Looking back, Lou’s room took months to complete. There were delays, unexpected challenges, plenty of moments where I questioned myself, and more than a few projects that required learning something new, but it all turned out so good. It was well worth it!
But that’s exactly why I love DIY.
Lou’s room isn’t just beautiful—it tells a story. Every painted detail, every built-in shelf, every thrifted piece carries memories that simply can’t be bought.
So here’s your reminder: if you can imagine it, there’s a good chance you can make it. You don’t need an unlimited budget to create a home that’s beautiful, meaningful, and completely one of a kind!
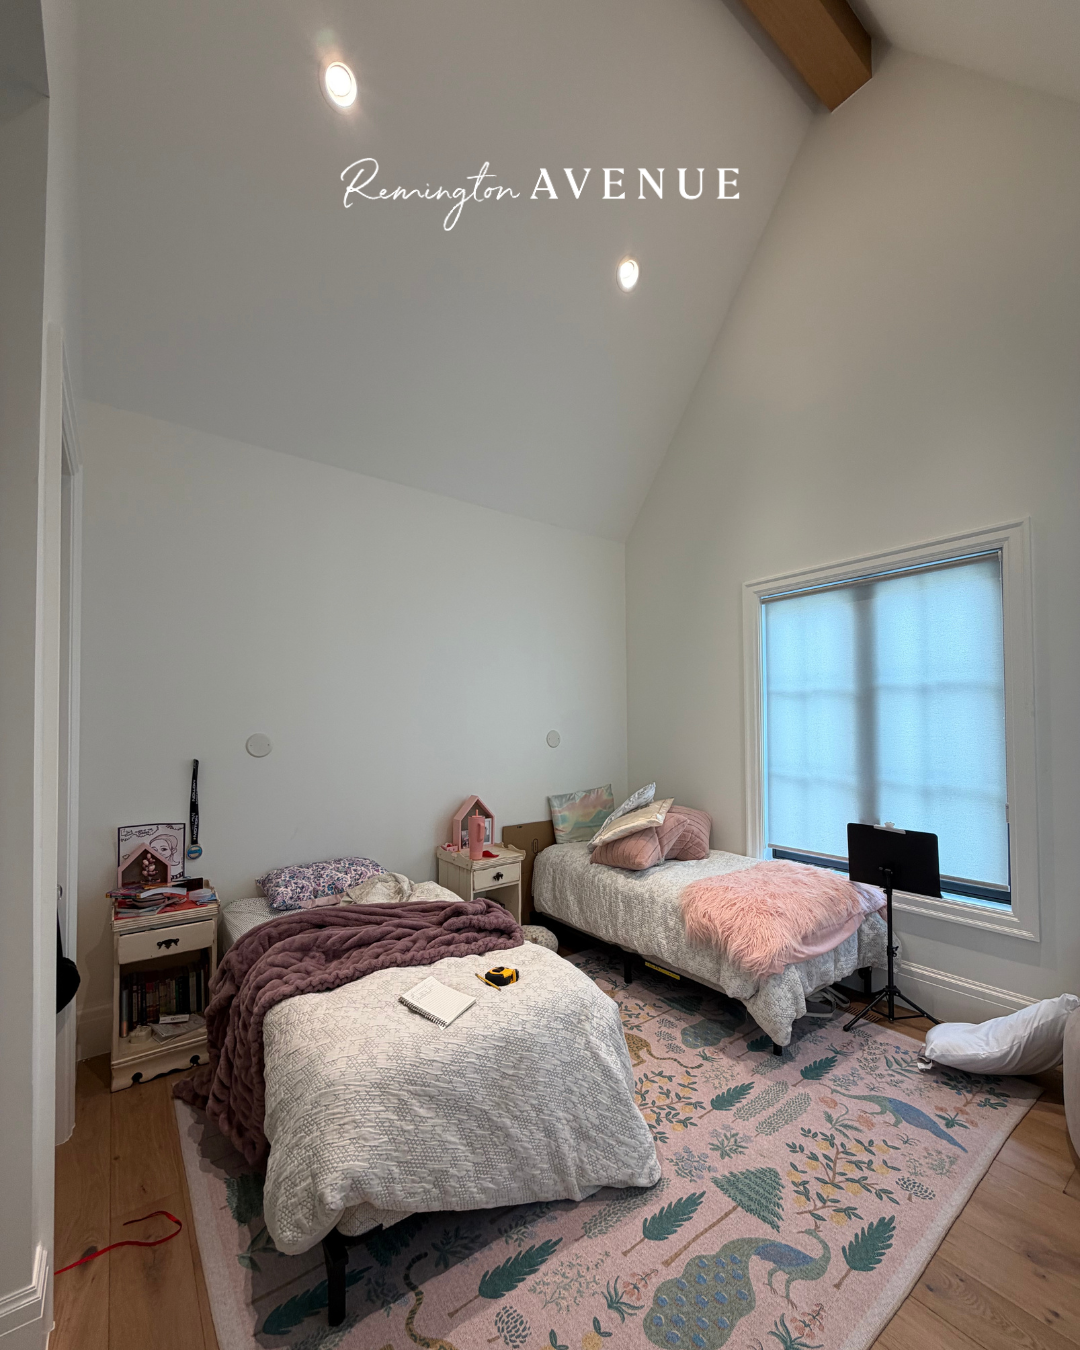
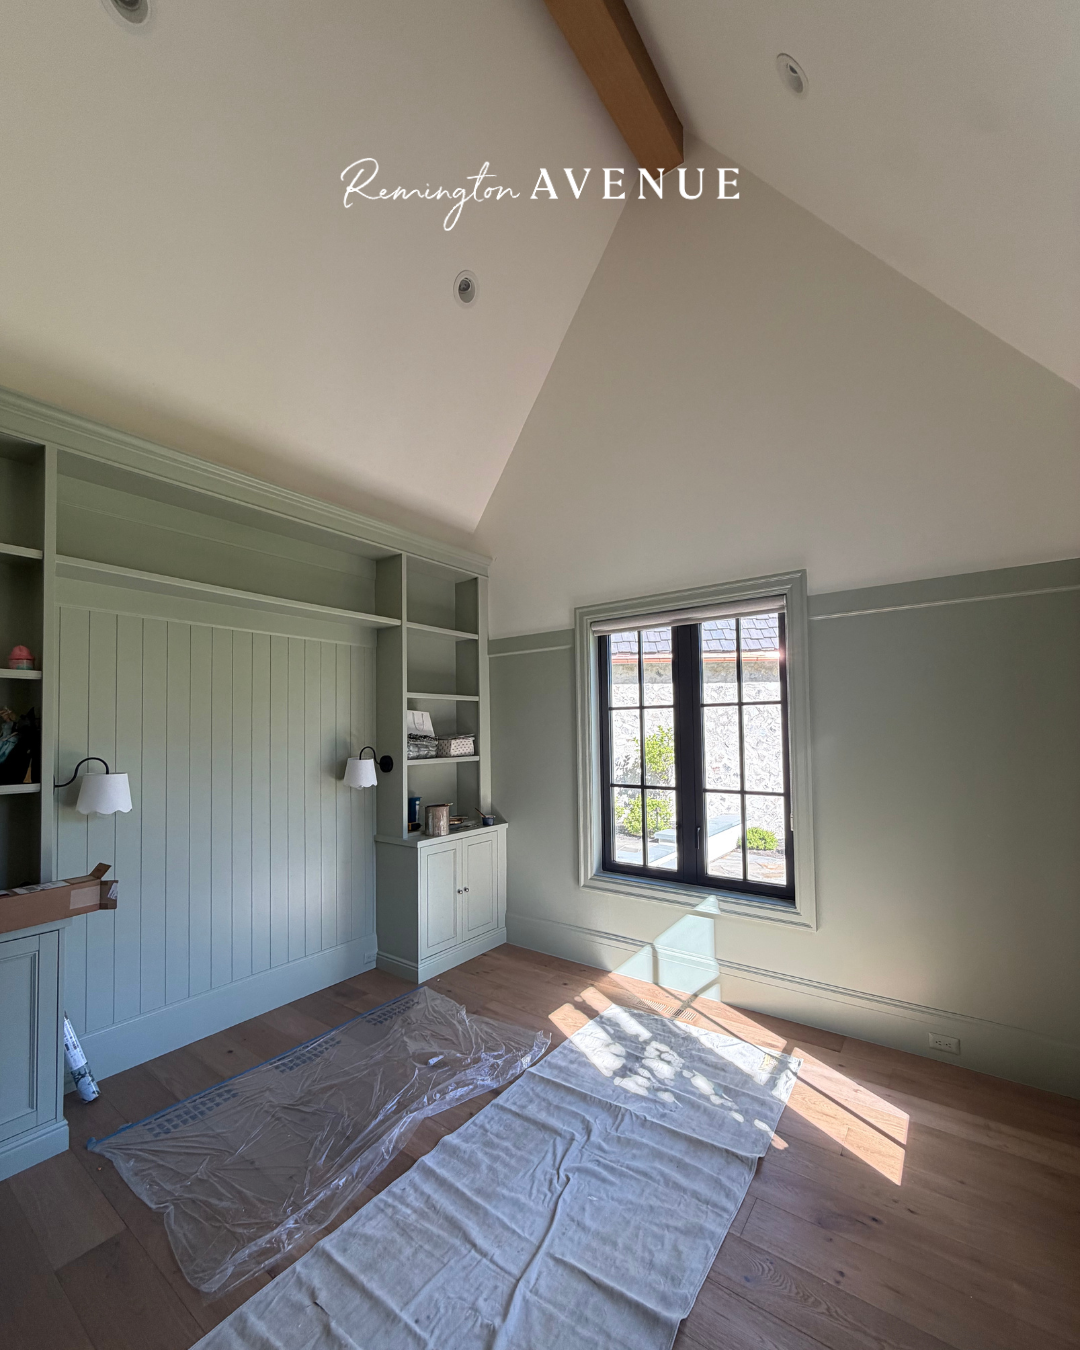
A labor of love: Lou’s Bedroom Reveal: DIY Makeover Ideas & Before + After – shop the entire space here.
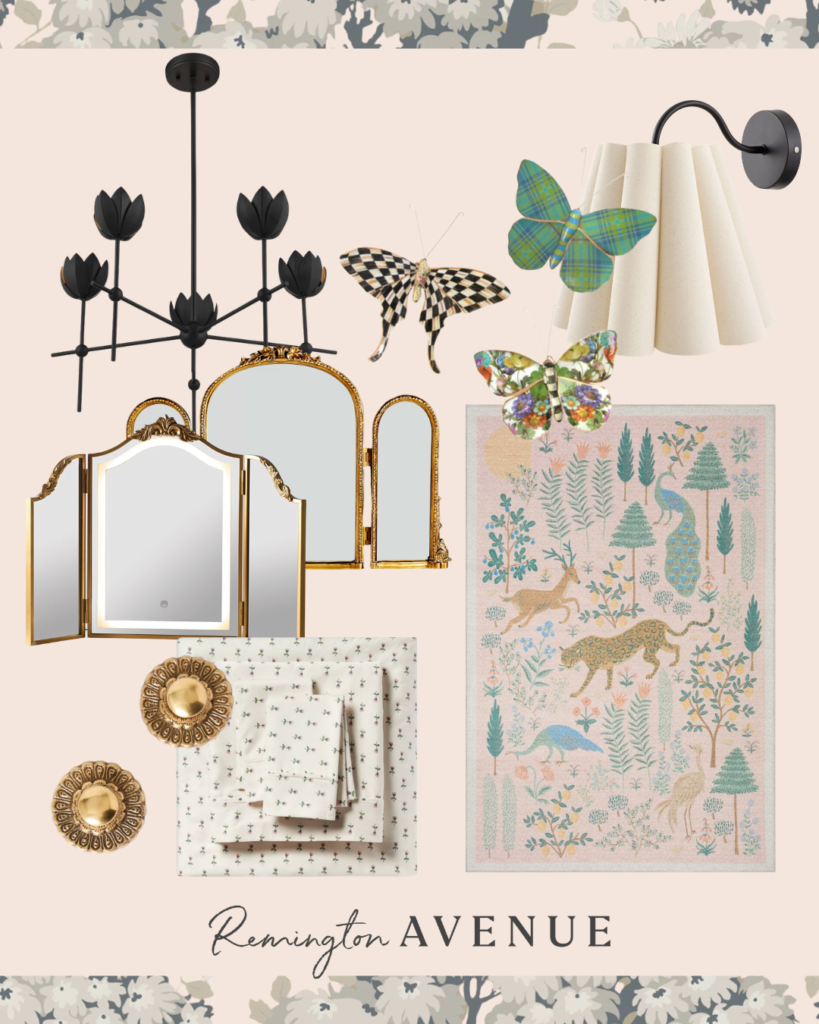
white chandelier // black chandelier // sconces // wall butterflies // arched mirror // ornate mirror // sheets // knobs // rug
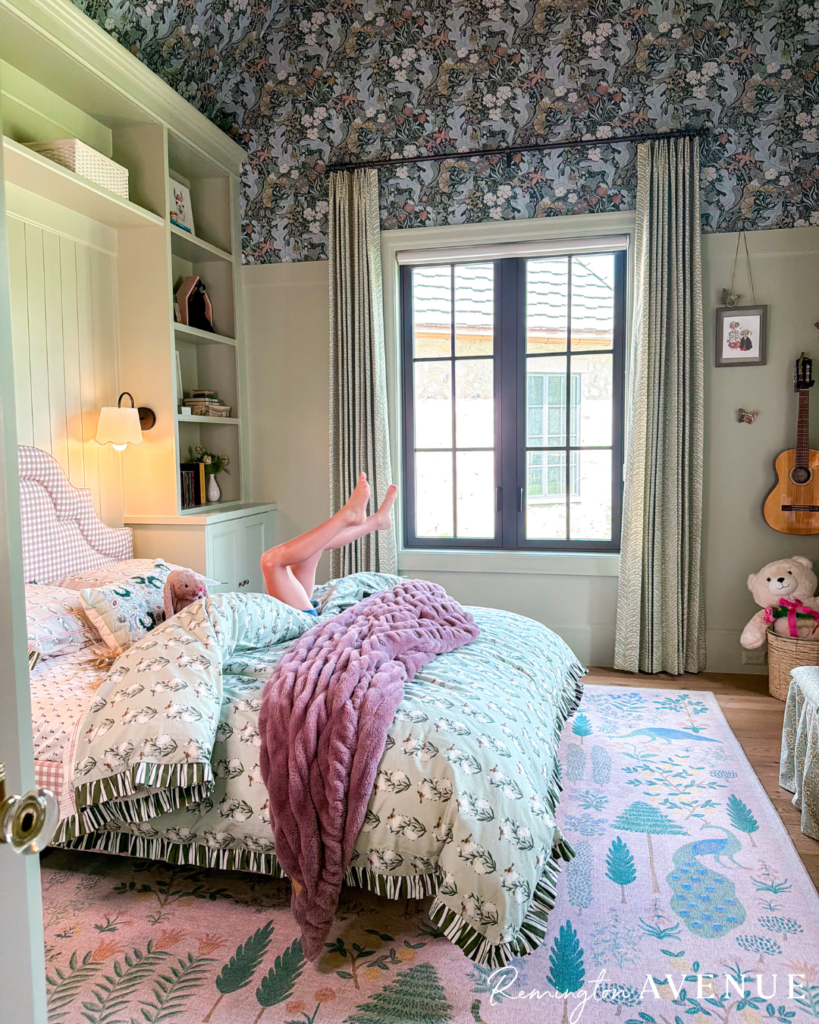
That is one happy girl! xx

 Add to favorites or read later
Gorgeous!!