Stencils are not a new design tool for me. I’ve used stencils in all my homes…this being the 3rd stencil project in this house alone! I love wallpaper too, but stencils are a more affordable option AND you can truly have a one of a kind look! I love that you can explore your own creative journey! You can see one my previous stencil endeavors HERE.
For this project I teamed up with Cutting Edge Stencils to demonstrate how Stencils really can be better than wallpaper! They have so many fun patterns and options. I love how my project turned out, and would love to see yours (if you choose to take it on). Tag me on instagram @REMINGTONAVENUE with your project photo!
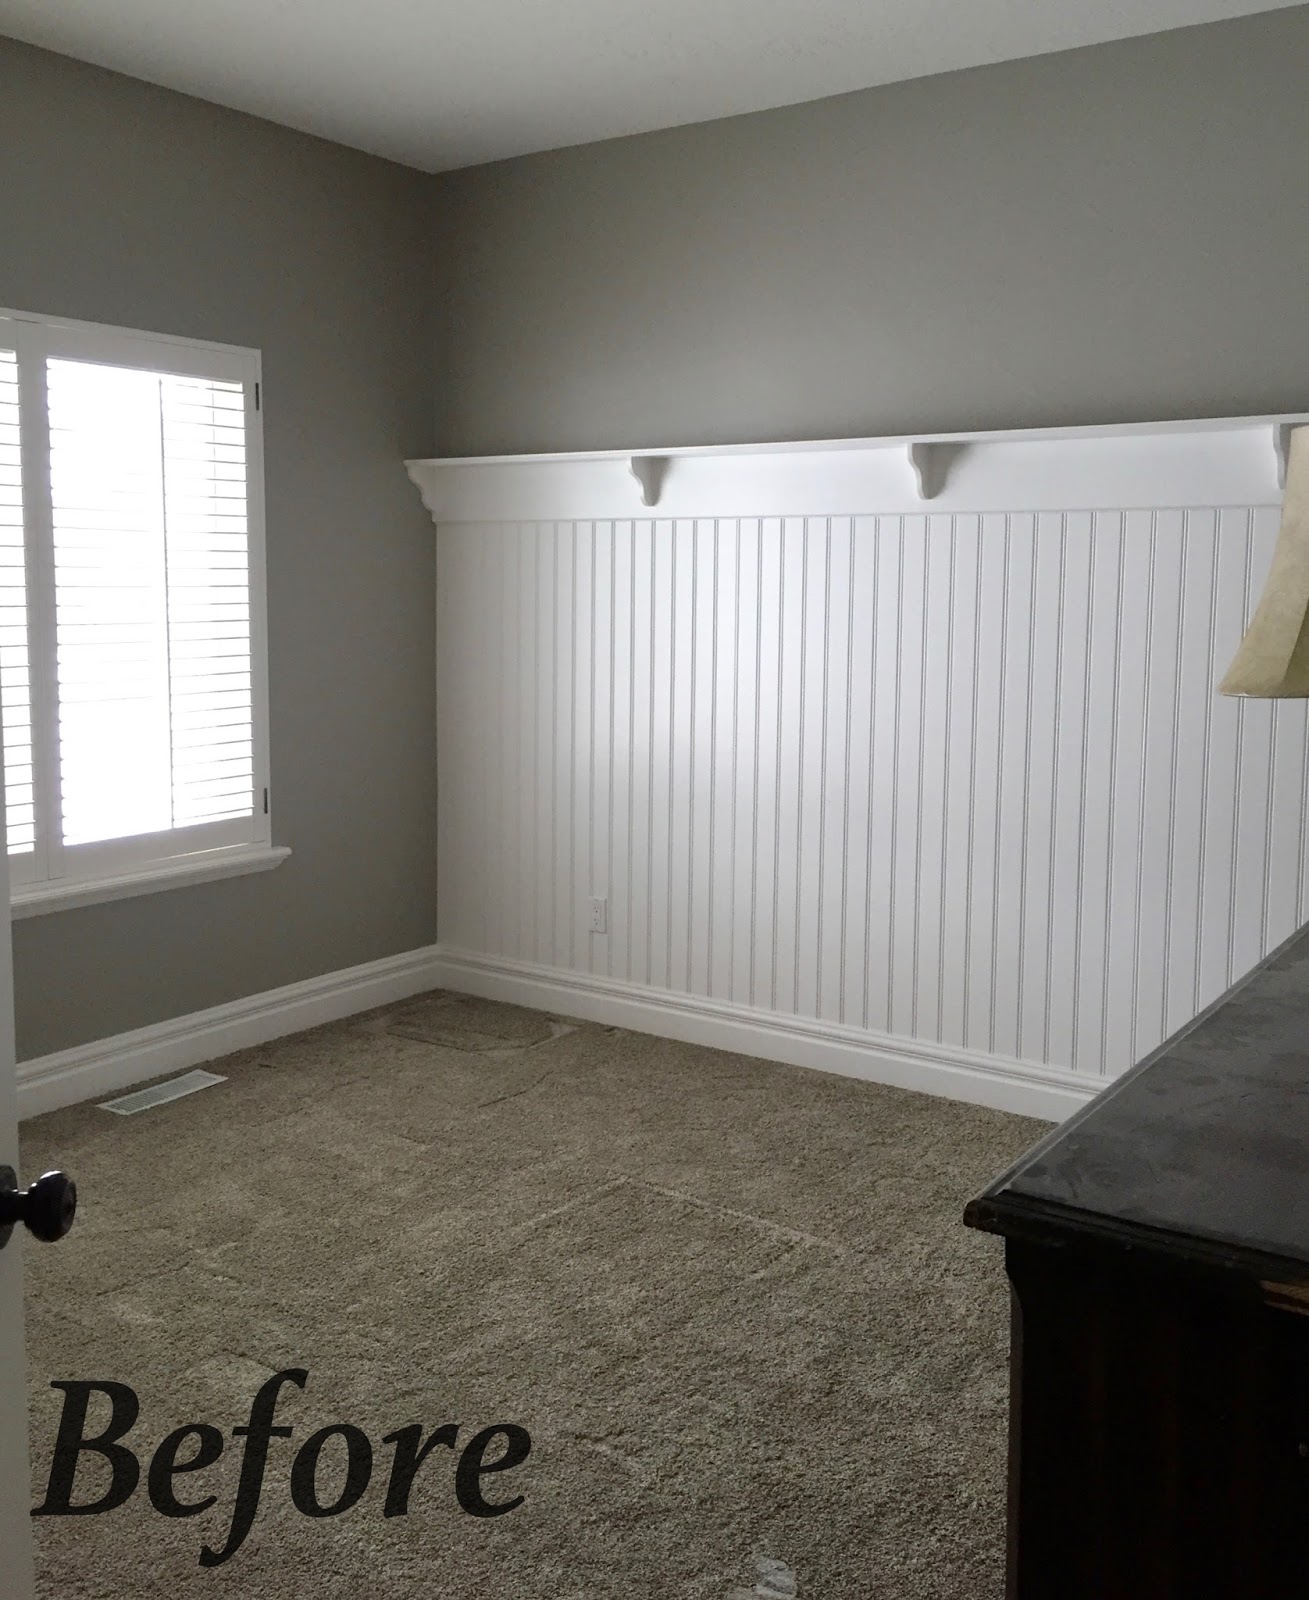
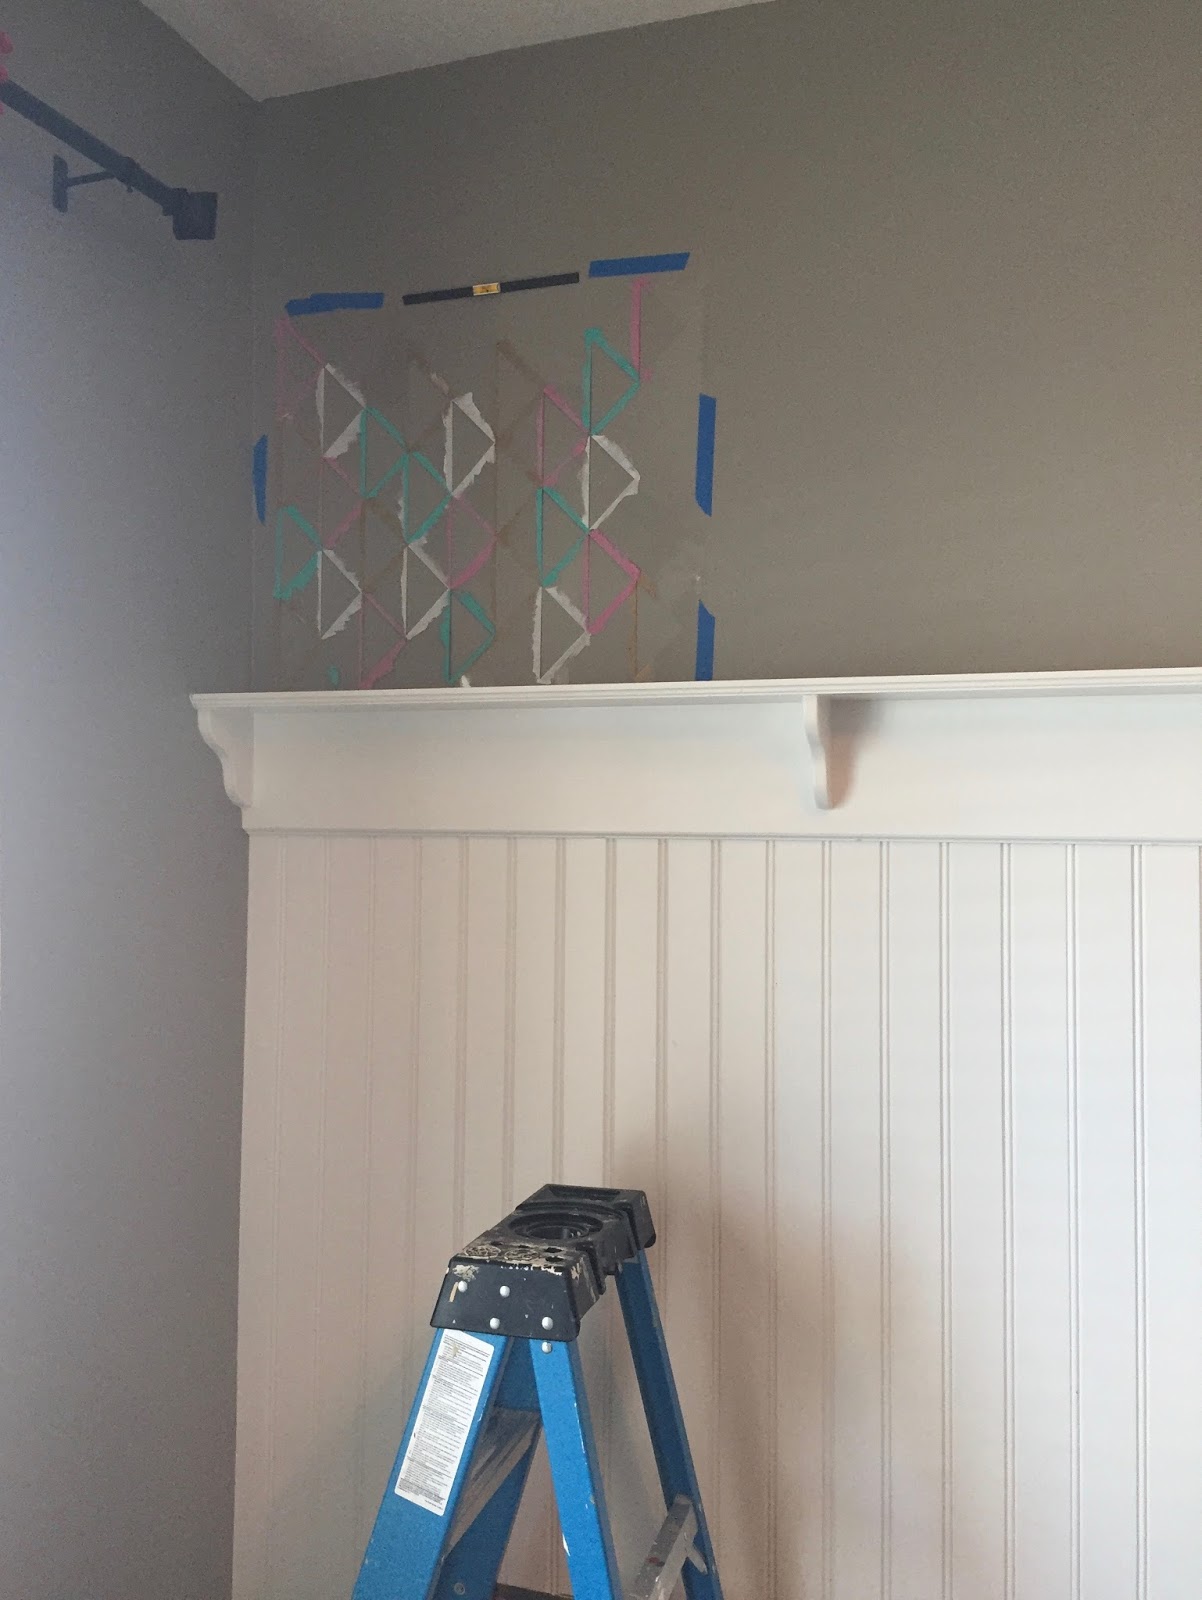
Before
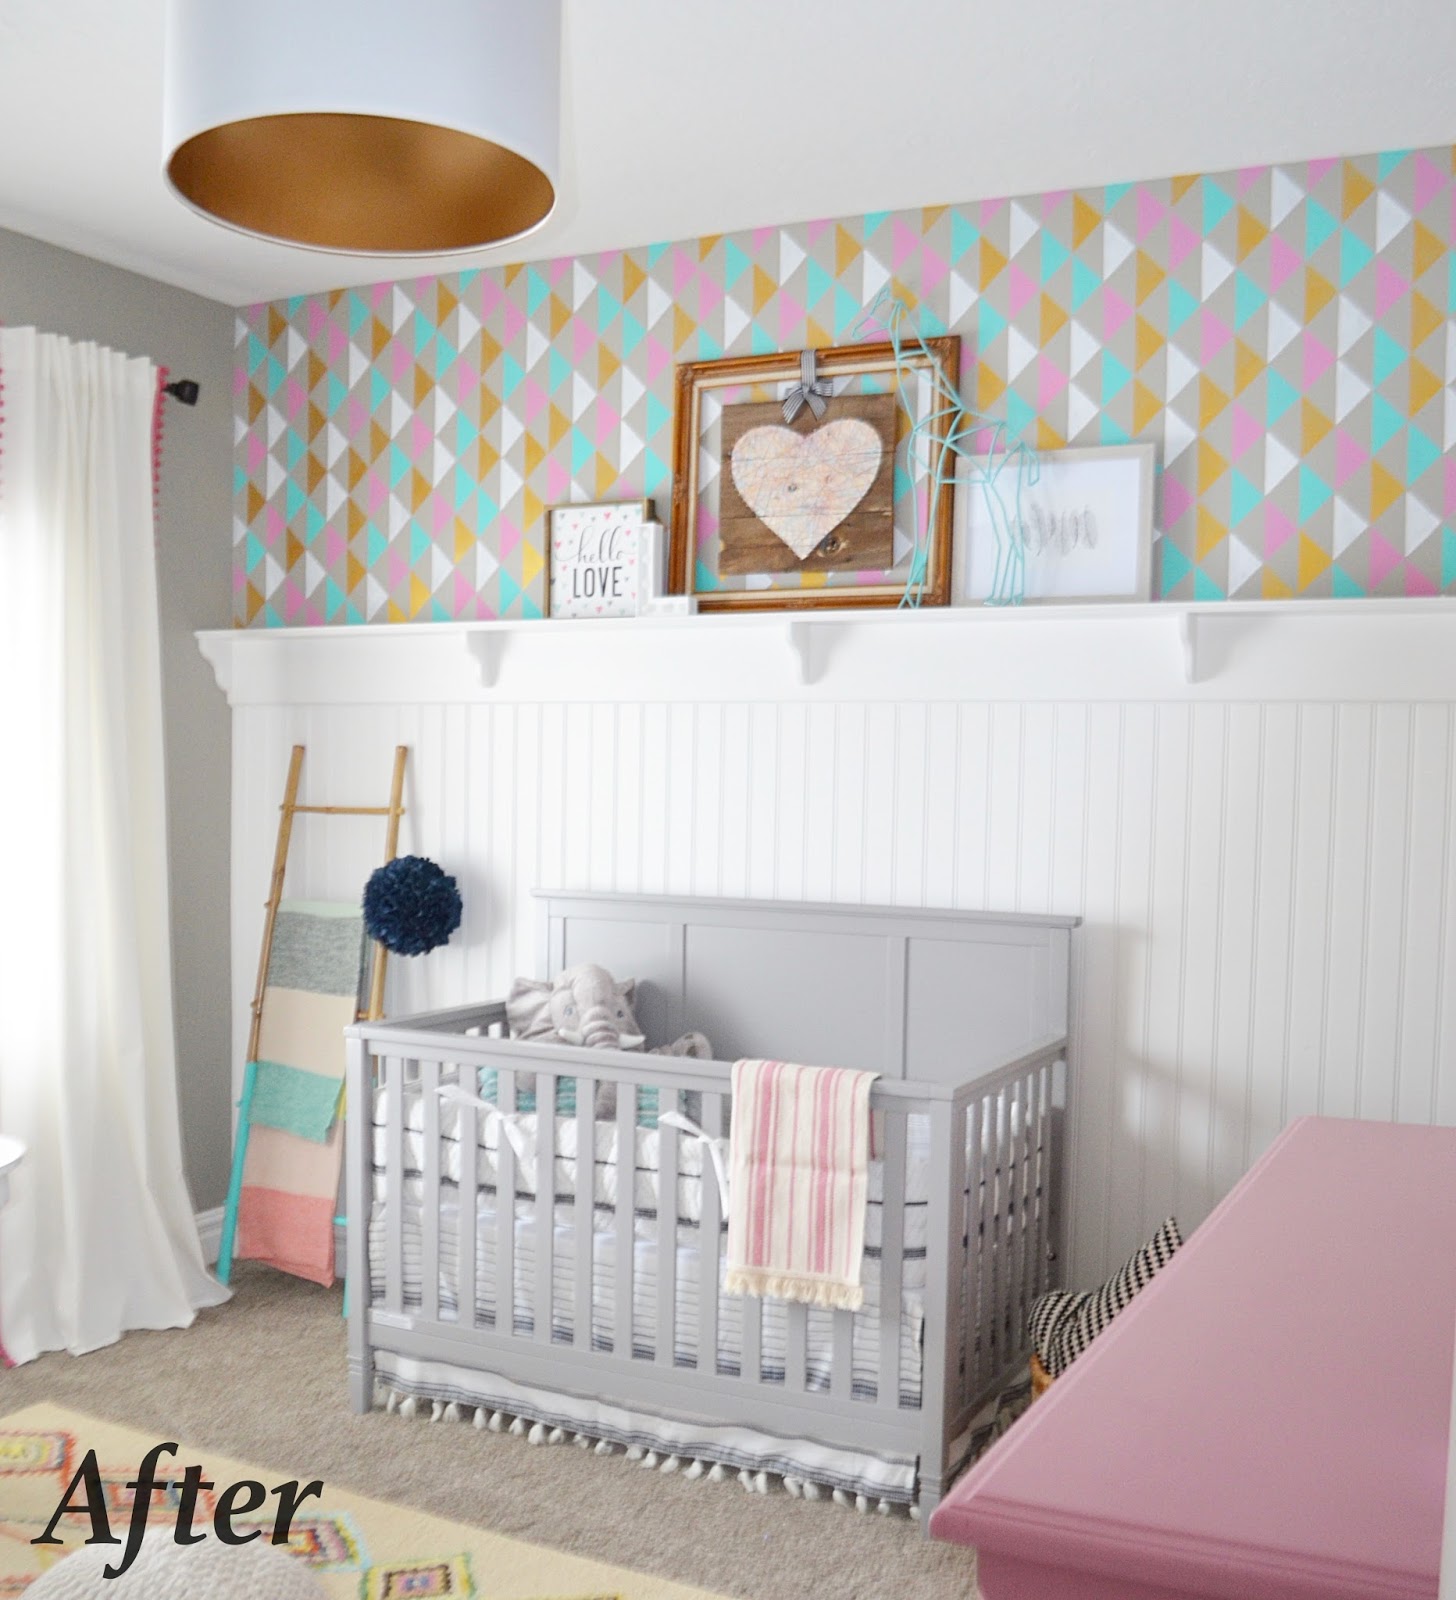
After
Materials:
I highly recommend the “Stencils essential Kit” by cutting edge stencils which includes:
clip on stencil level
4″Dense foam Roller with handle
Stencil brush for touch ups
And 3 extra 4″ foam rollers OR foam craft brushes (one for each color)
Paint:
My base color is Dorian gray by Sherwin Williams which runs throughout my home
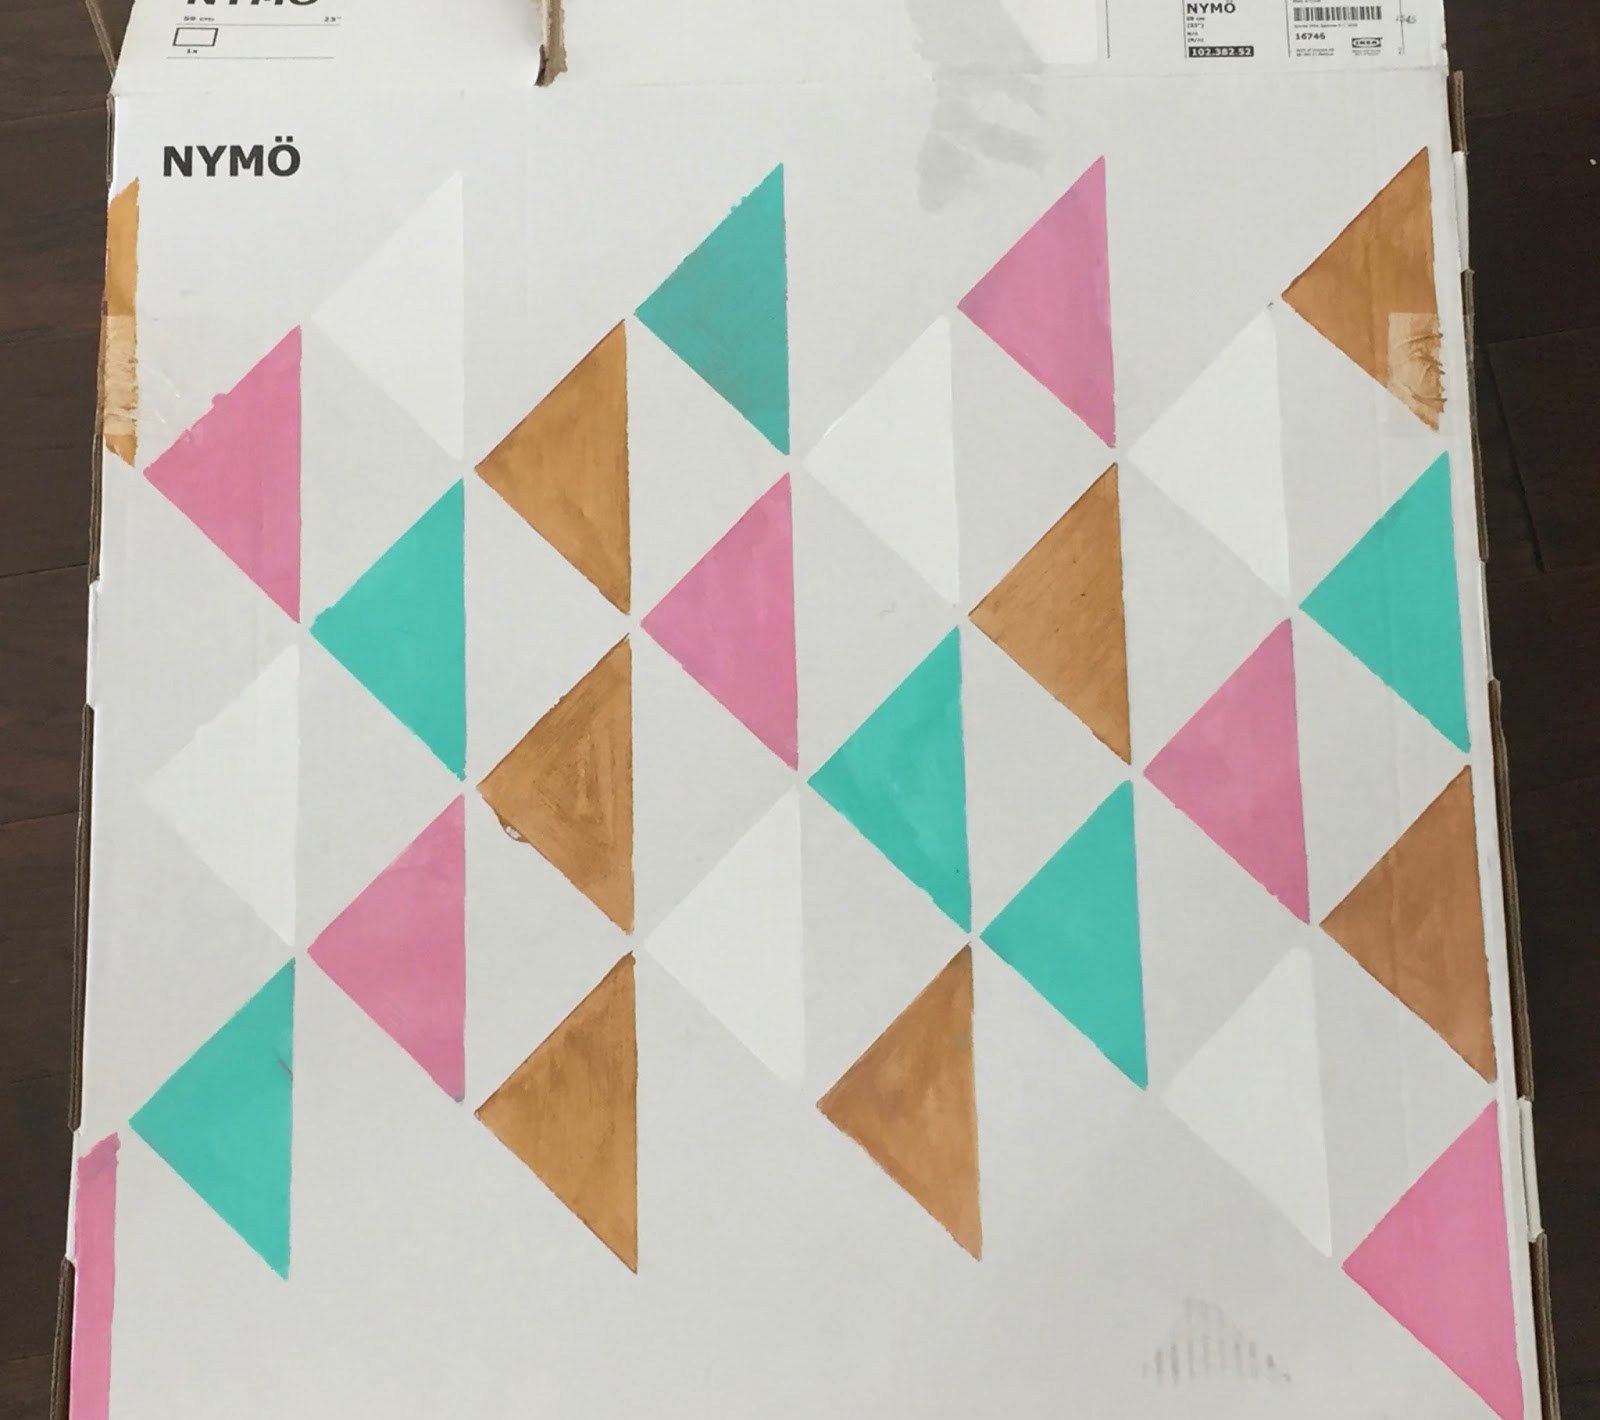
1. Lay out the stencil AS SOON as you receive it to make the stencil as flat as possible. I started with several colors before narrowing it down to the suggested colors above.
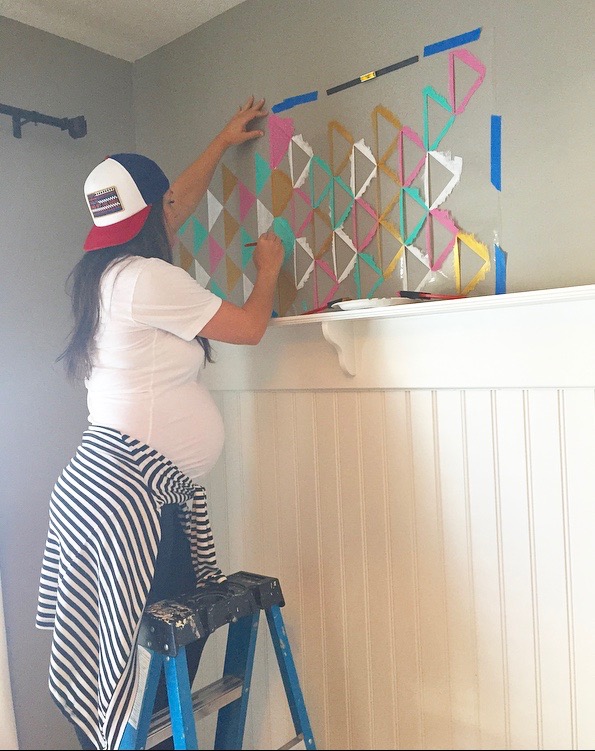
2. Test the stencil on a box or large piece of cardboard. This will help you get a feel for how the paint is applied and the design outcome. It really helped me finalize my colors and choose my paint tool… foam roller or brush. I chose the brush for this one only because my entire project took place on top of a ladder. Normally I would use the roller.
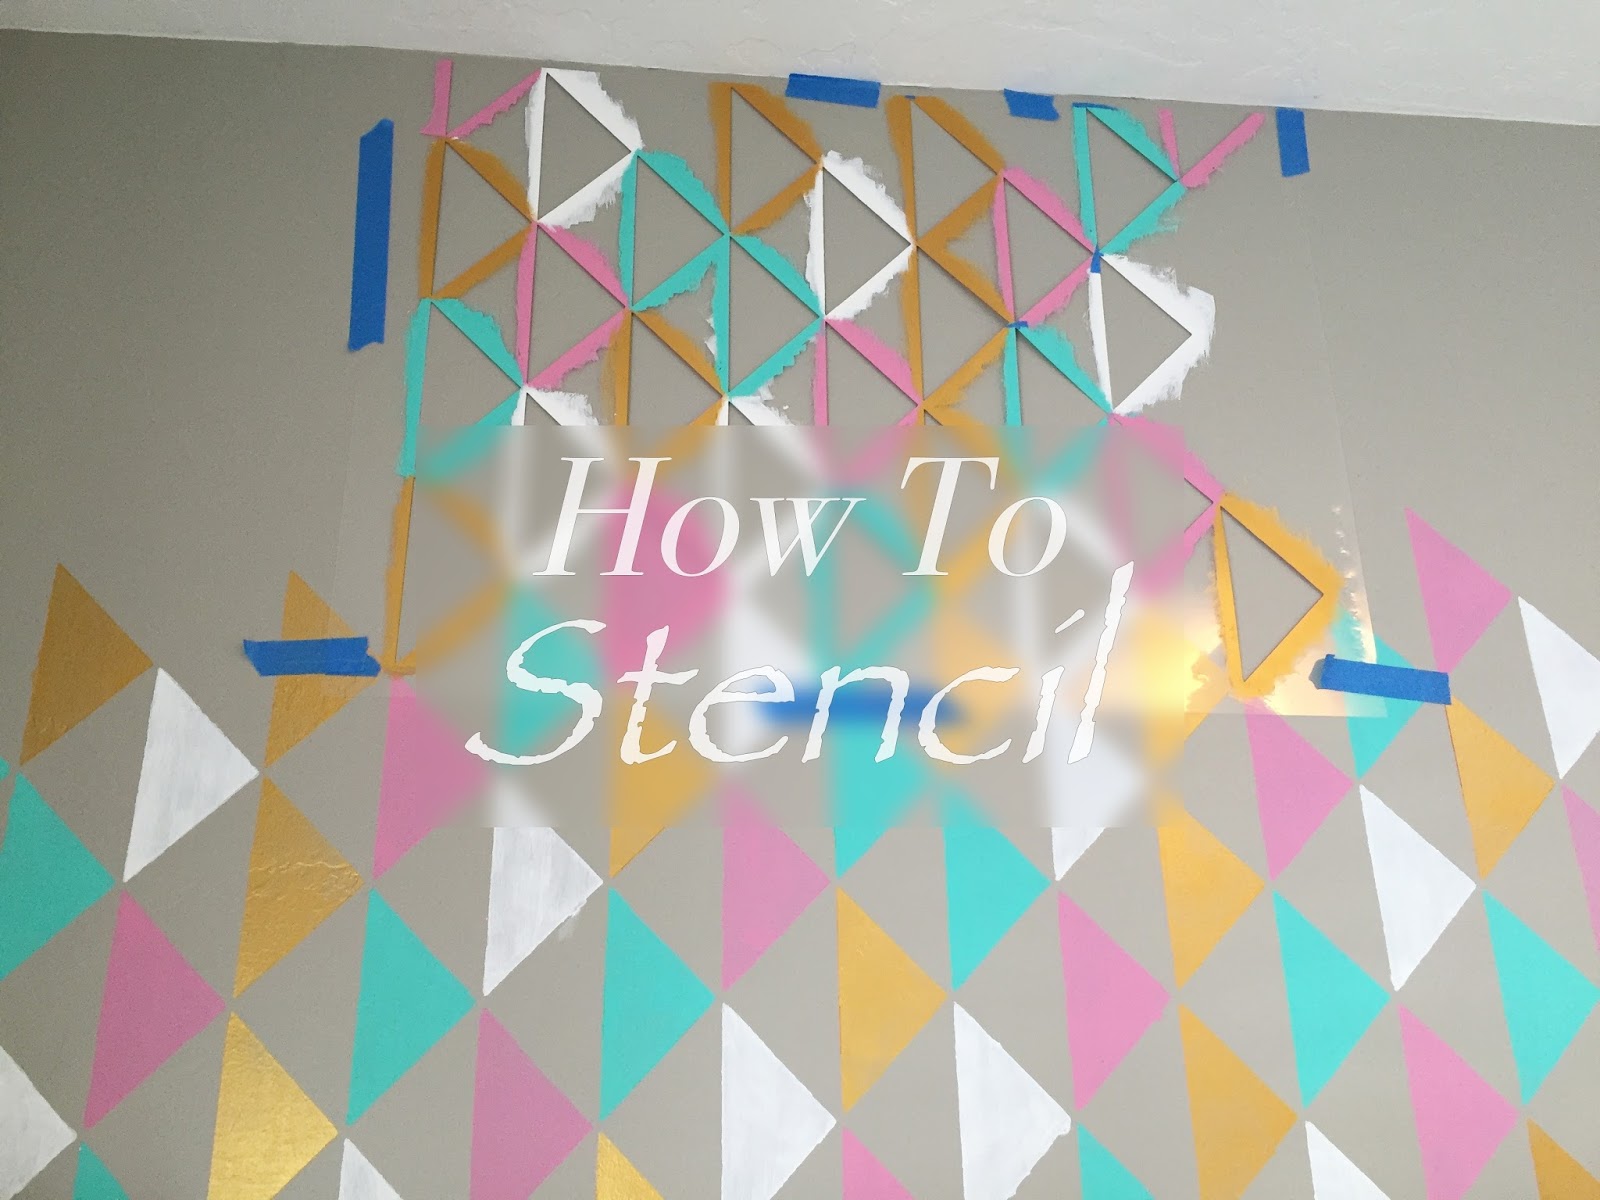
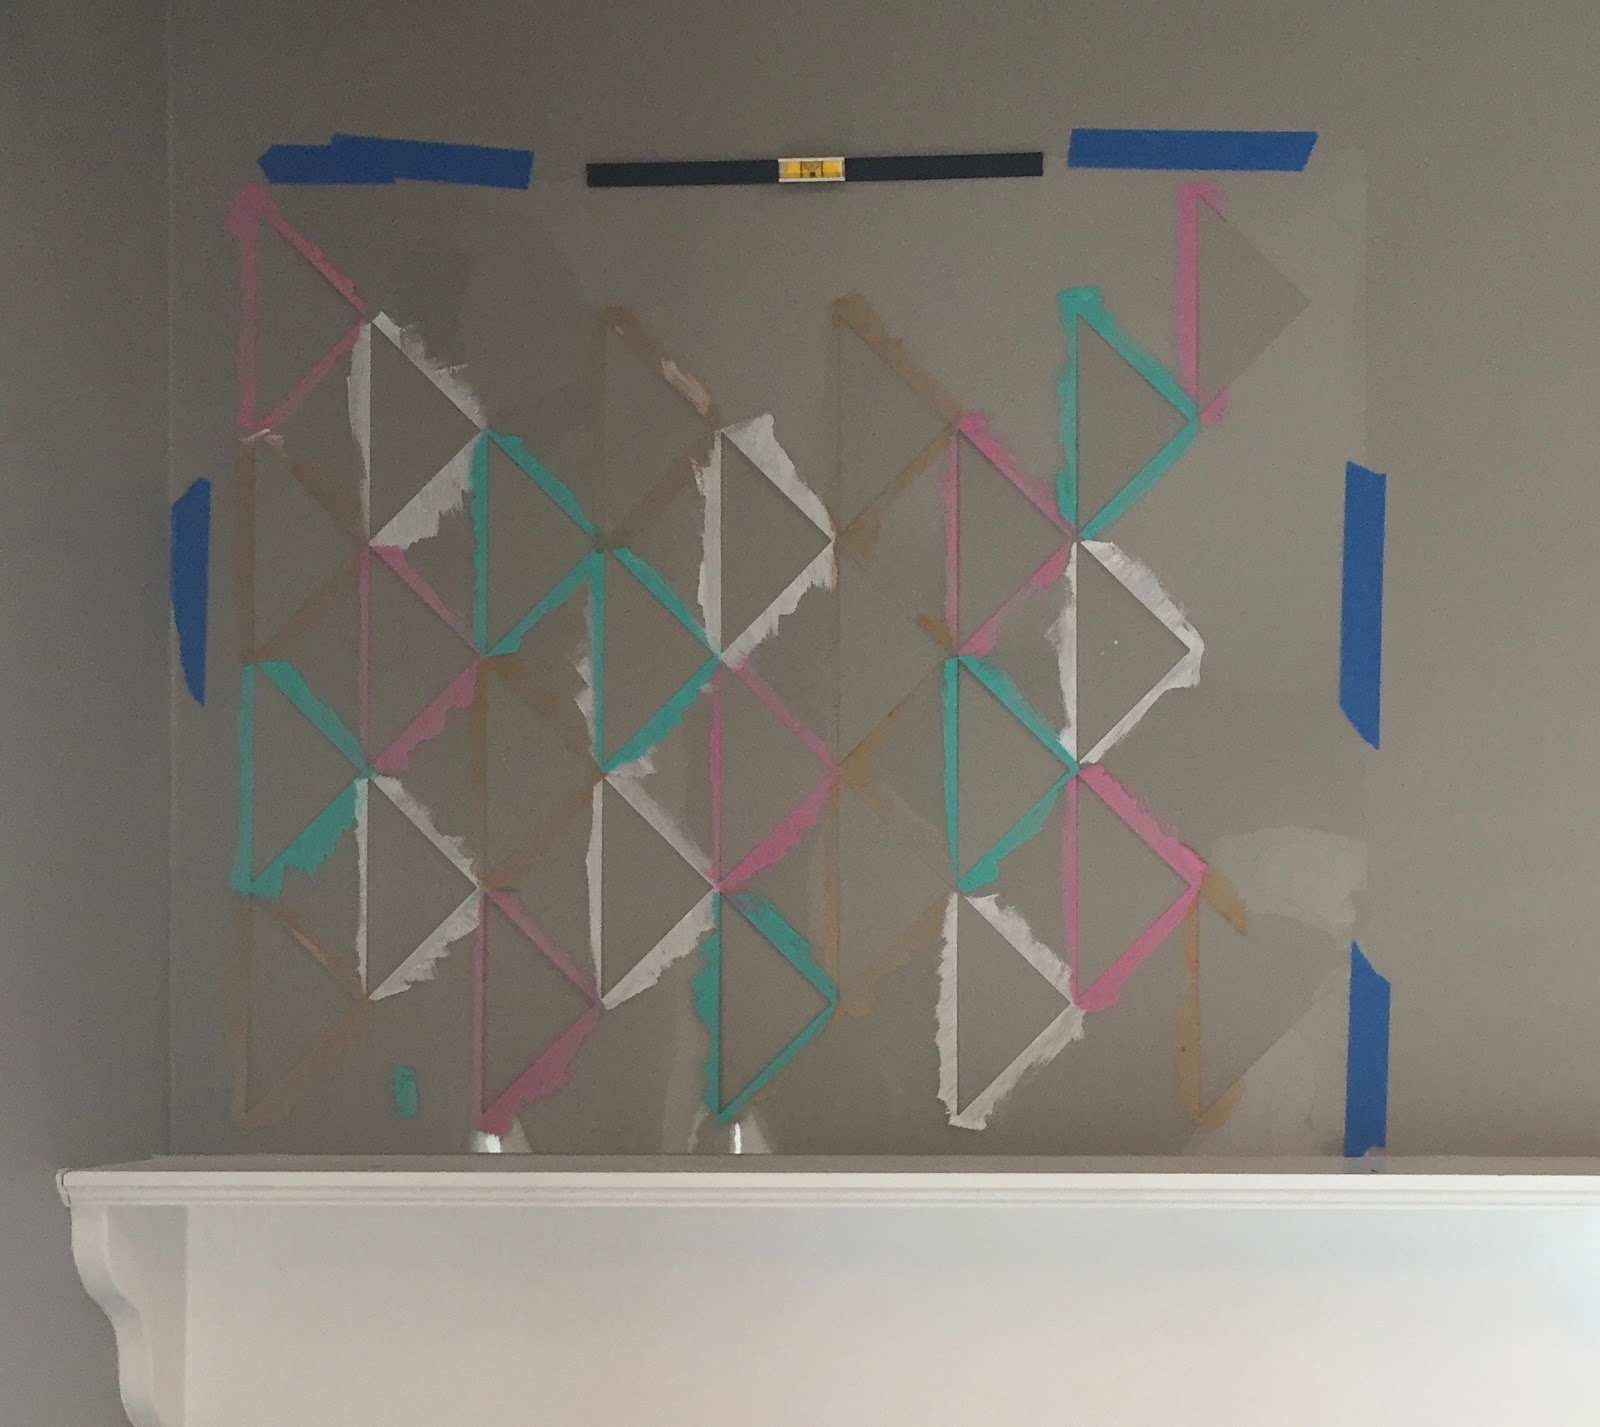
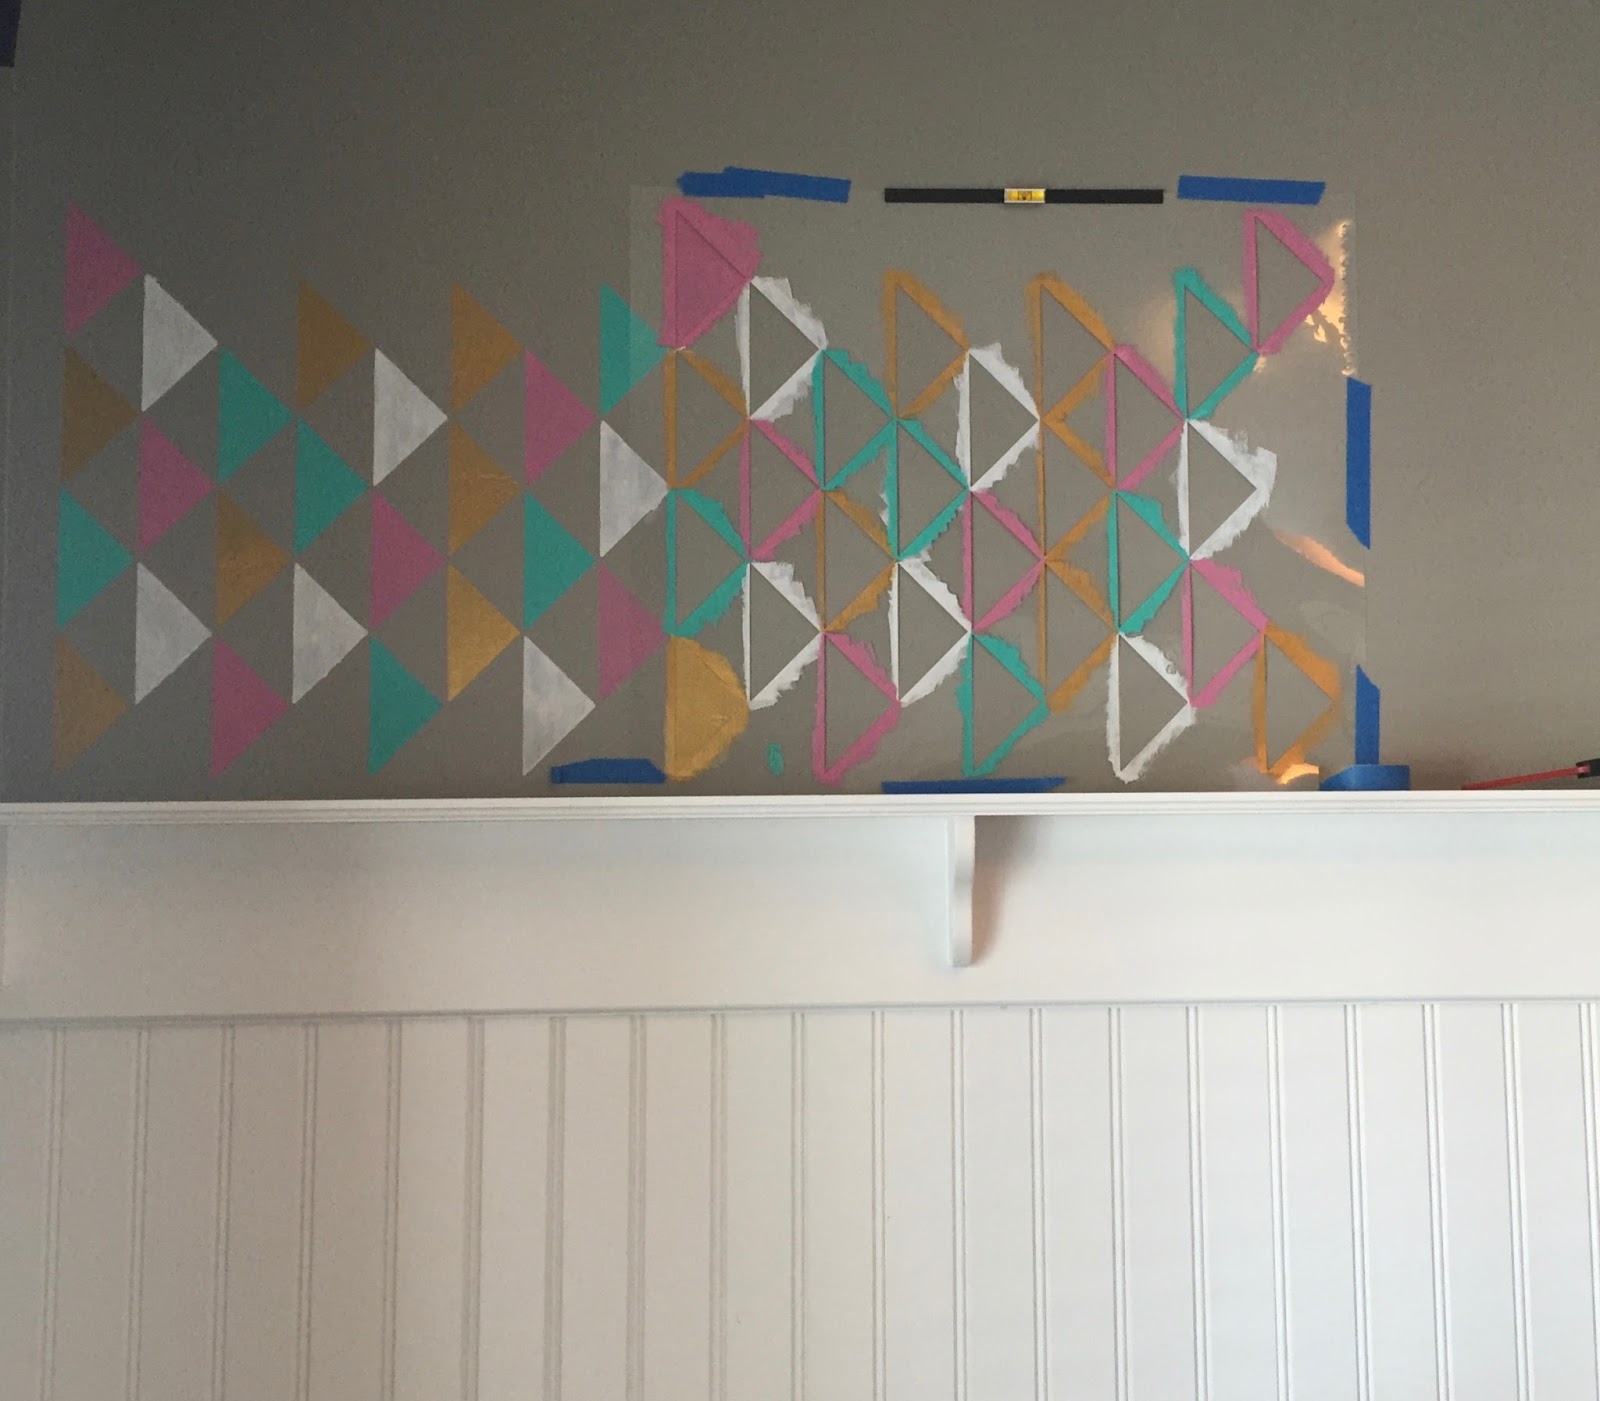
3.Using painter’s tape and a level, tape the stencil to the wall or desired area.
4. Begin painting each triangle with the designated color. A little paint goes a long way, so don’t over apply. It will cause dripping. I had leftover paint after completing this entire wall.
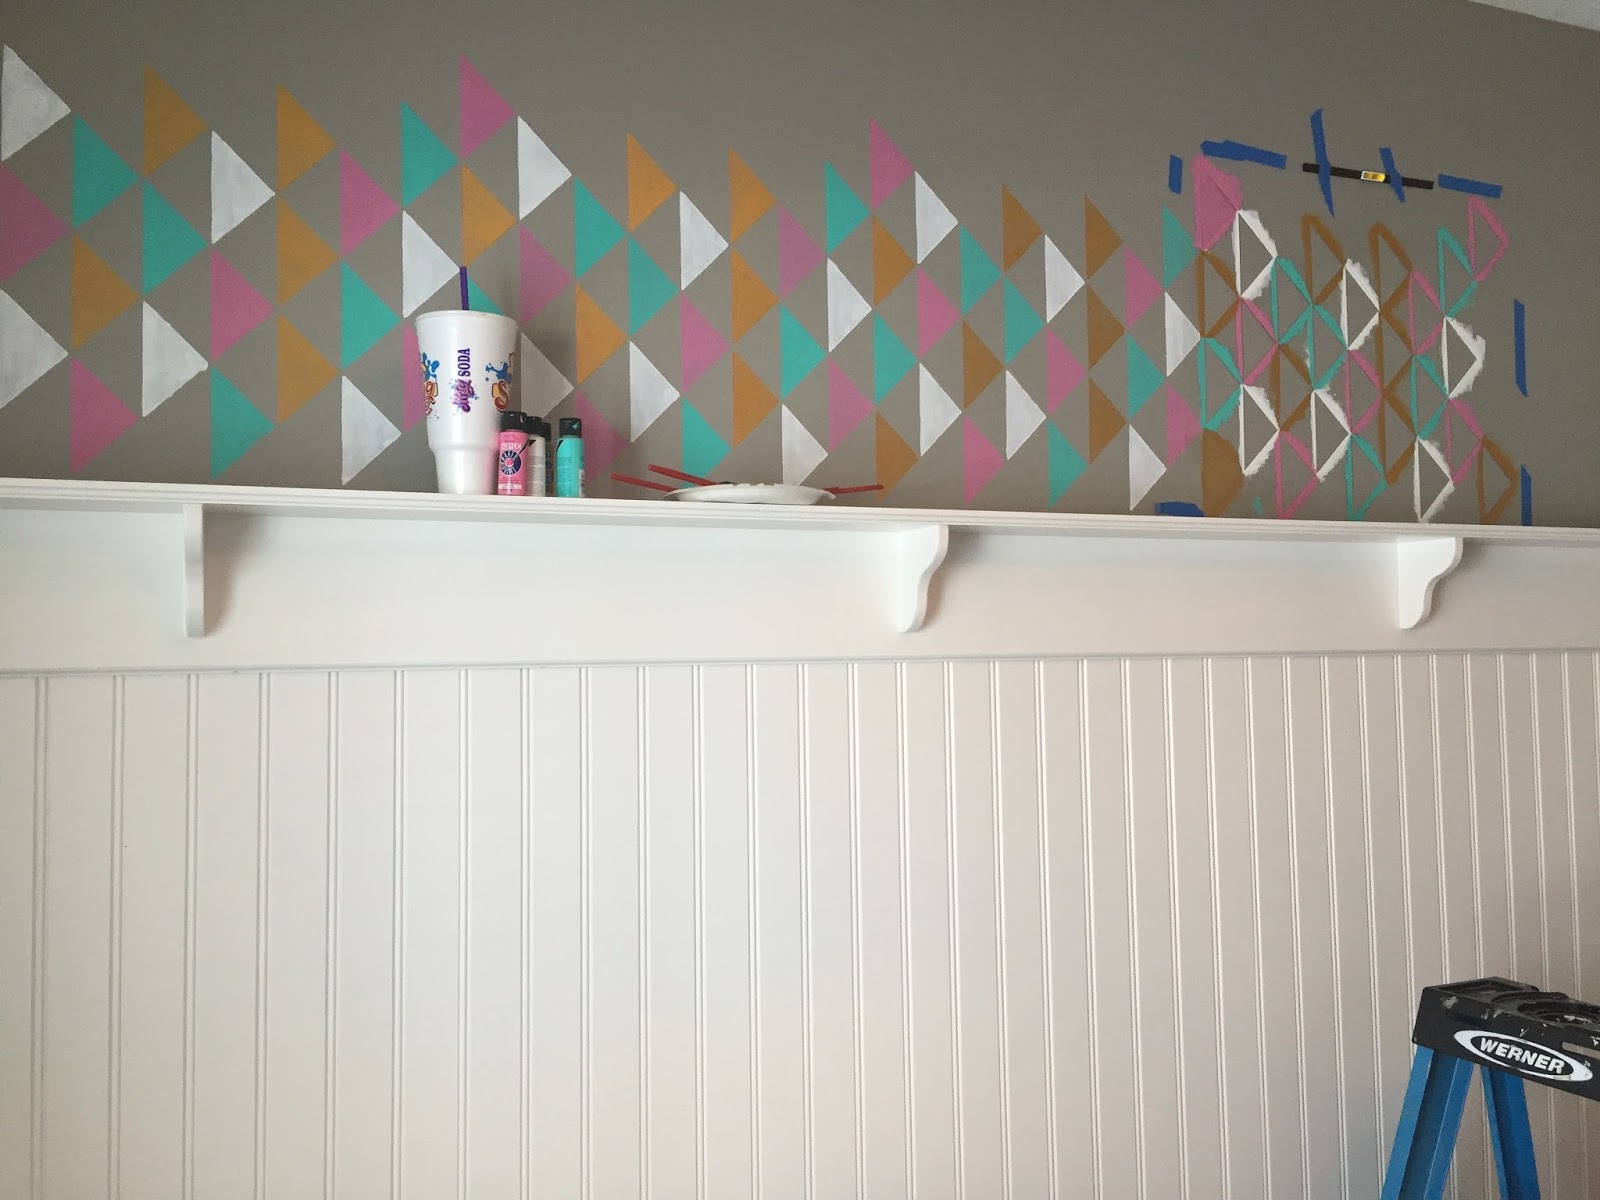
5. Matching up the triangles move the stencil to the next spot and tape again. Use the tape as move along the entire wall. It helps keep the stencil flat and avoid bleeding.
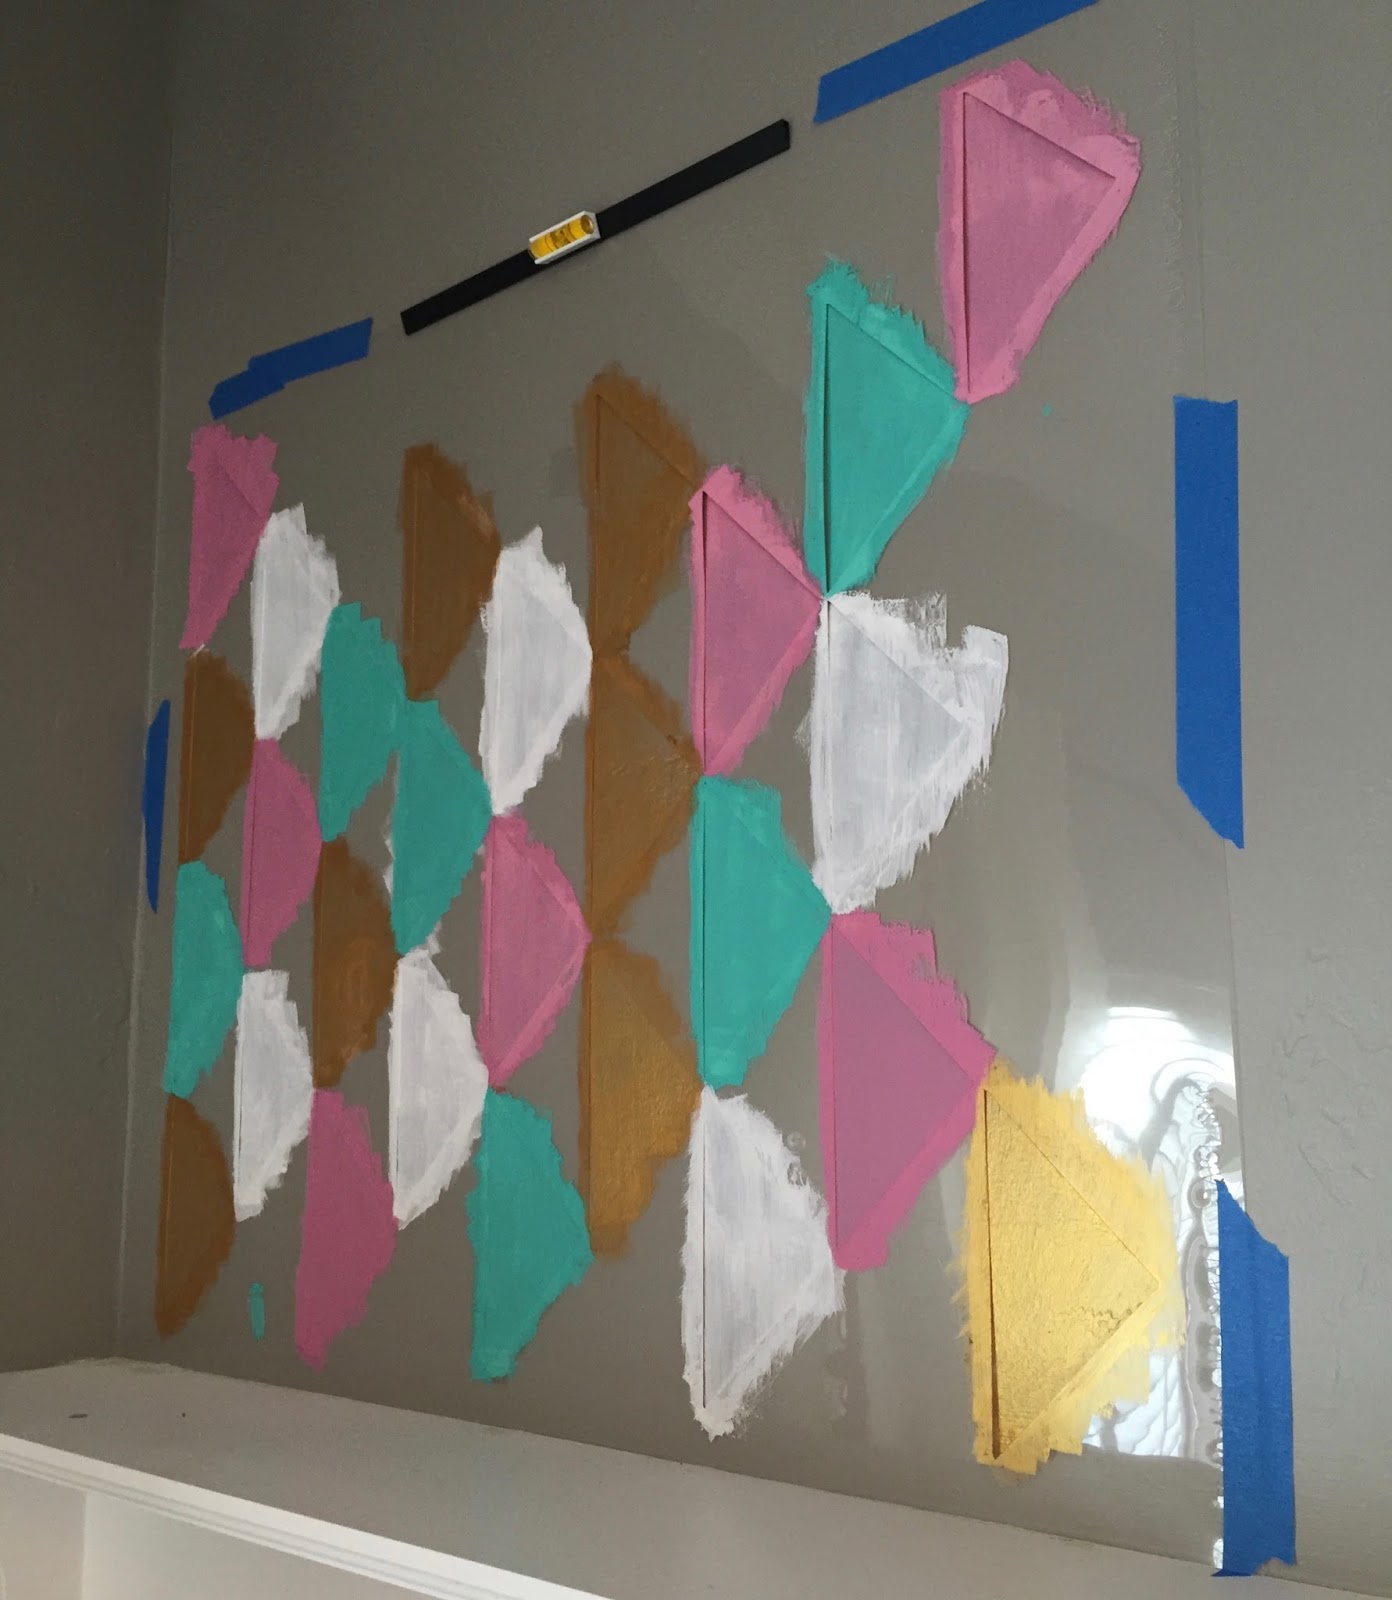
6. I started on the far left side and worked my way across the wall to the right corner. Make sure to start in an area where you can paint a uninterrupted pass through the stencil. Do not fill in any gaps or corners yet.
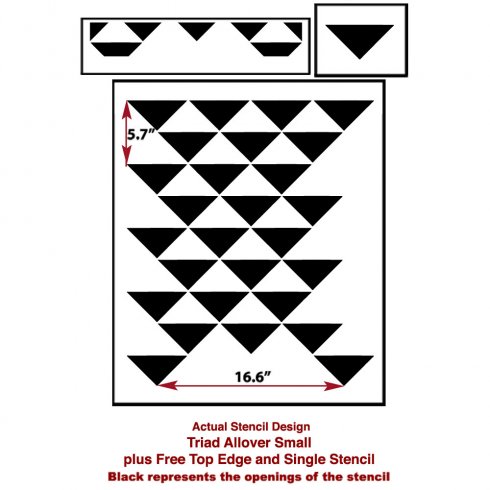
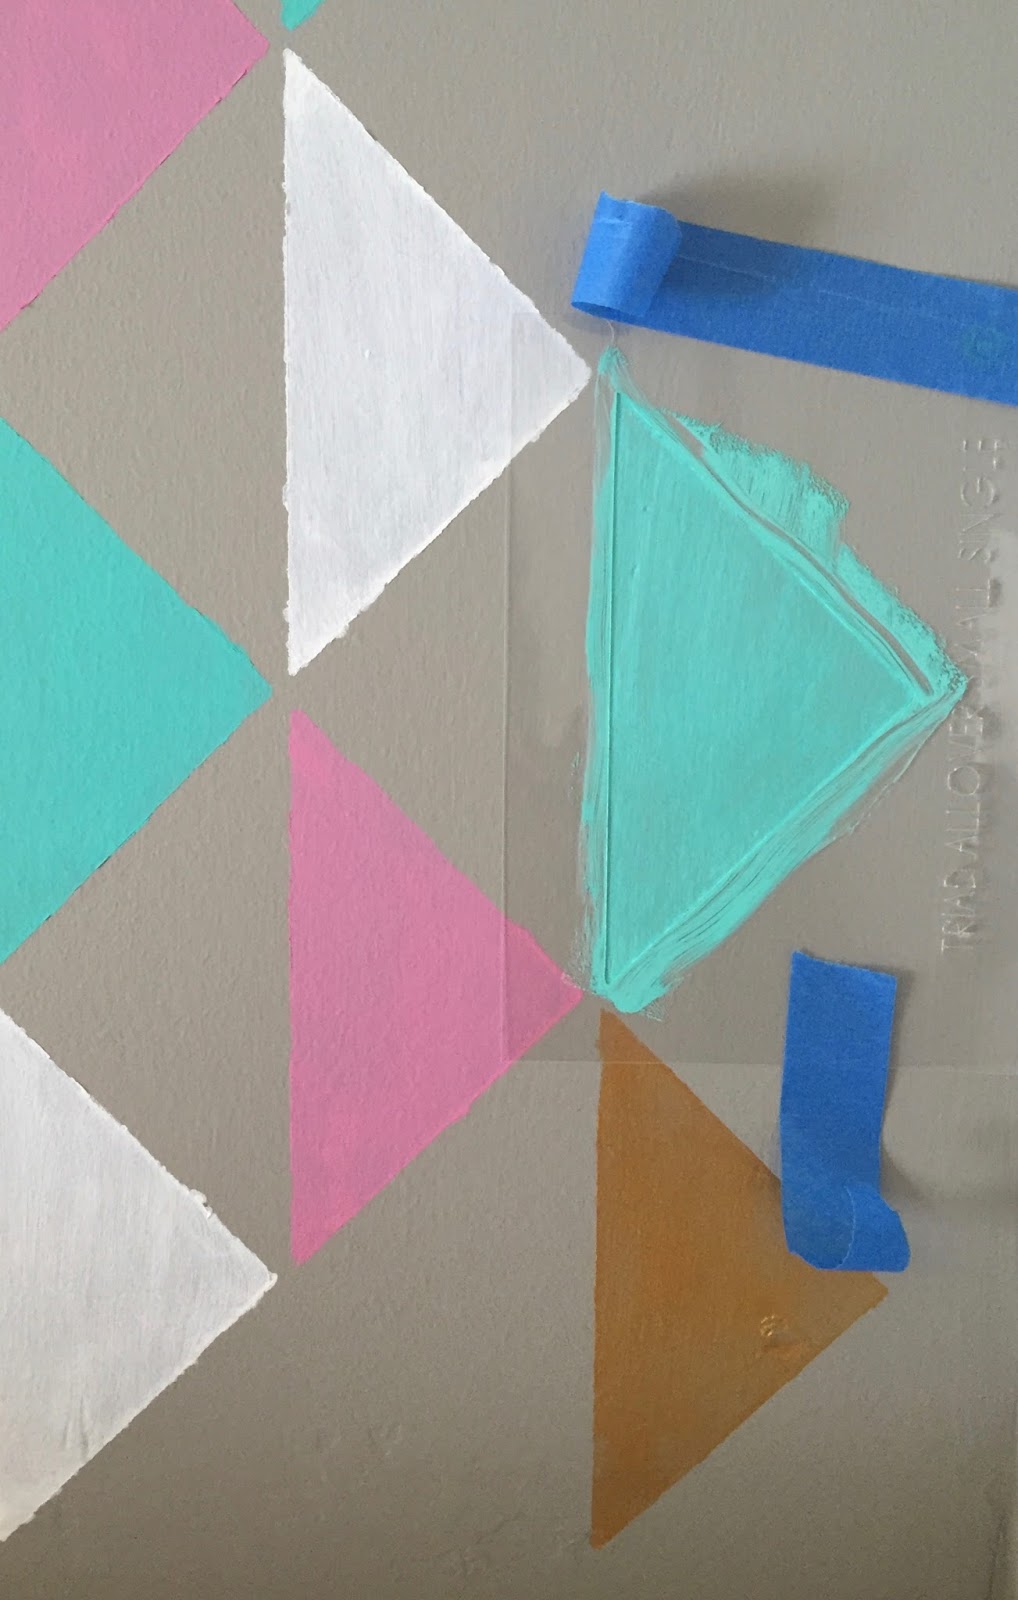
7. Once I complete the large full stencil areas, I cut down the stencil to fit the remaining narrow and small areas. You’ll notice in the below picture that I cut of about 2″ off the top of the stencil to complete the second row. The 2 top pink triangles were cut in half.
8. Complete the second row of uninterrupted stenciling from left to right. Then fill in the gaps with the extra single triangle stencil that was included in the package.
Shop stencils here
7. Once all stenciling is complete, simply touch up any drips or smears with wall paint.
8. Pat yourself on the back and tag me on pictures of your project via Instagram!
How beautiful! Great job, Momma! I've been eyeing this stencil for a while! Ordering now;)
Jamie you will love it! Good luck and thanks for visiting!
This looks great. Thanks so much for sharing all you nursery finds. Did you seal the acrylic paint with a sealer? How is it holding up? Worried about water ruining the work. :). Thanks in advance!
no i didn't seal it. are you planning on doing it in a bathroom or kitchen where there is water? i haven't had any issues


 Add to favorites or read later
How beautiful! Great job, Momma! I've been eyeing this stencil for a while! Ordering now;)
Jamie you will love it! Good luck and thanks for visiting!
This looks great. Thanks so much for sharing all you nursery finds. Did you seal the acrylic paint with a sealer? How is it holding up? Worried about water ruining the work. :). Thanks in advance!
no i didn't seal it. are you planning on doing it in a bathroom or kitchen where there is water?
i haven't had any issues
Thanks – Enjoyed this post, can I set it up so I receive an alert email whenever you make a new article?
yes just subscribe to my blog