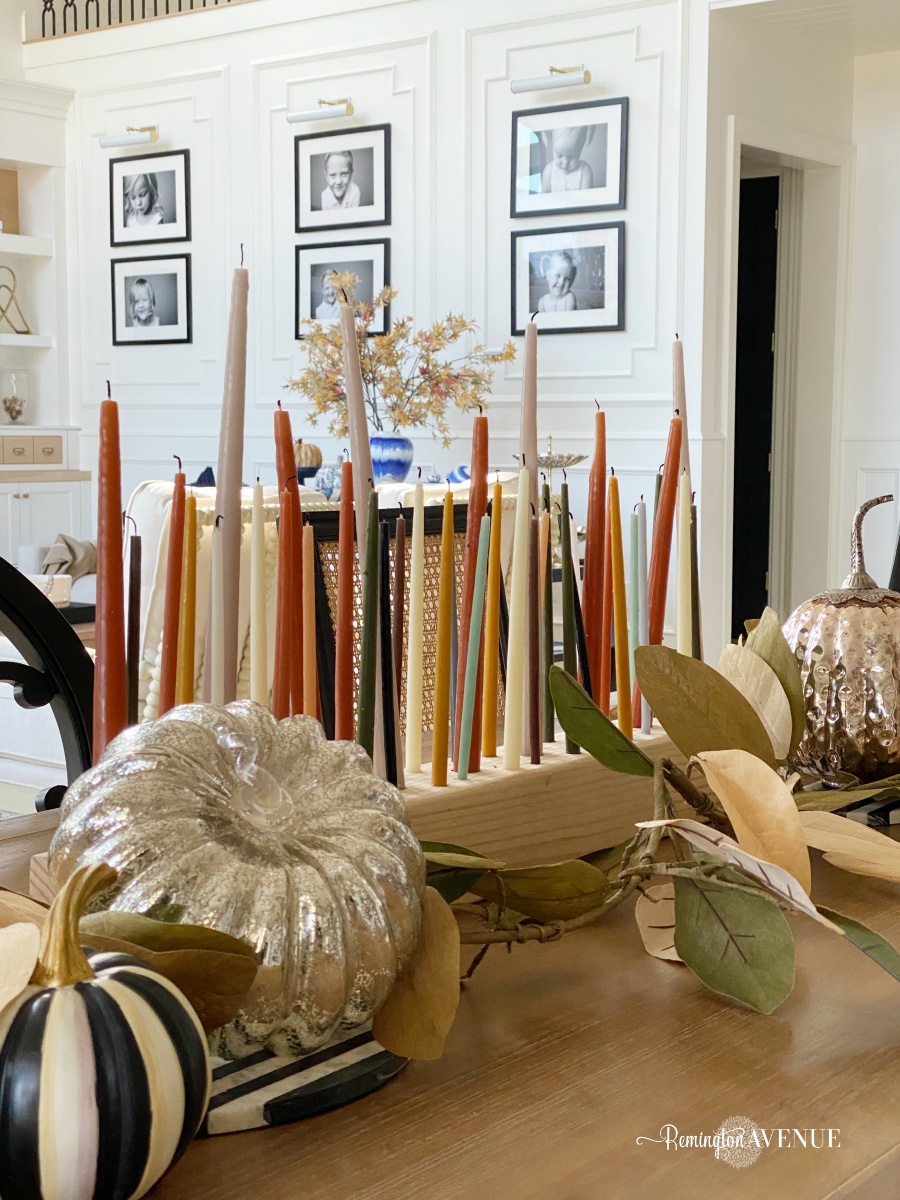
DIY Candle Block Centerpiece
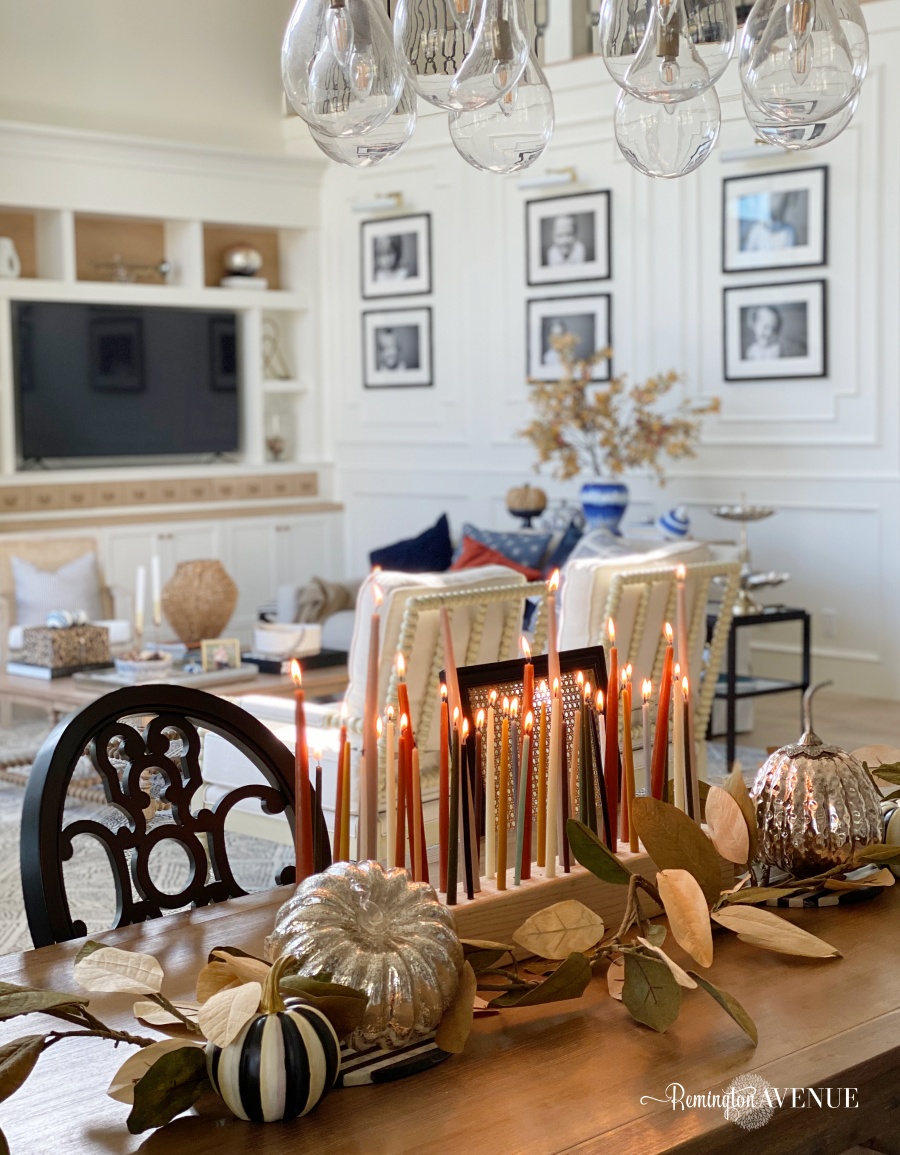
Have you all seen these gorgeous Candle Block Centerpieces online? They are just incredible and perfect for a Fall centerpiece. However they are pricey! So I decided to break out the saw again and create this DIY Candle Block Centerpiece! They look perfect with my Mod Podge Pumpkins we created too!
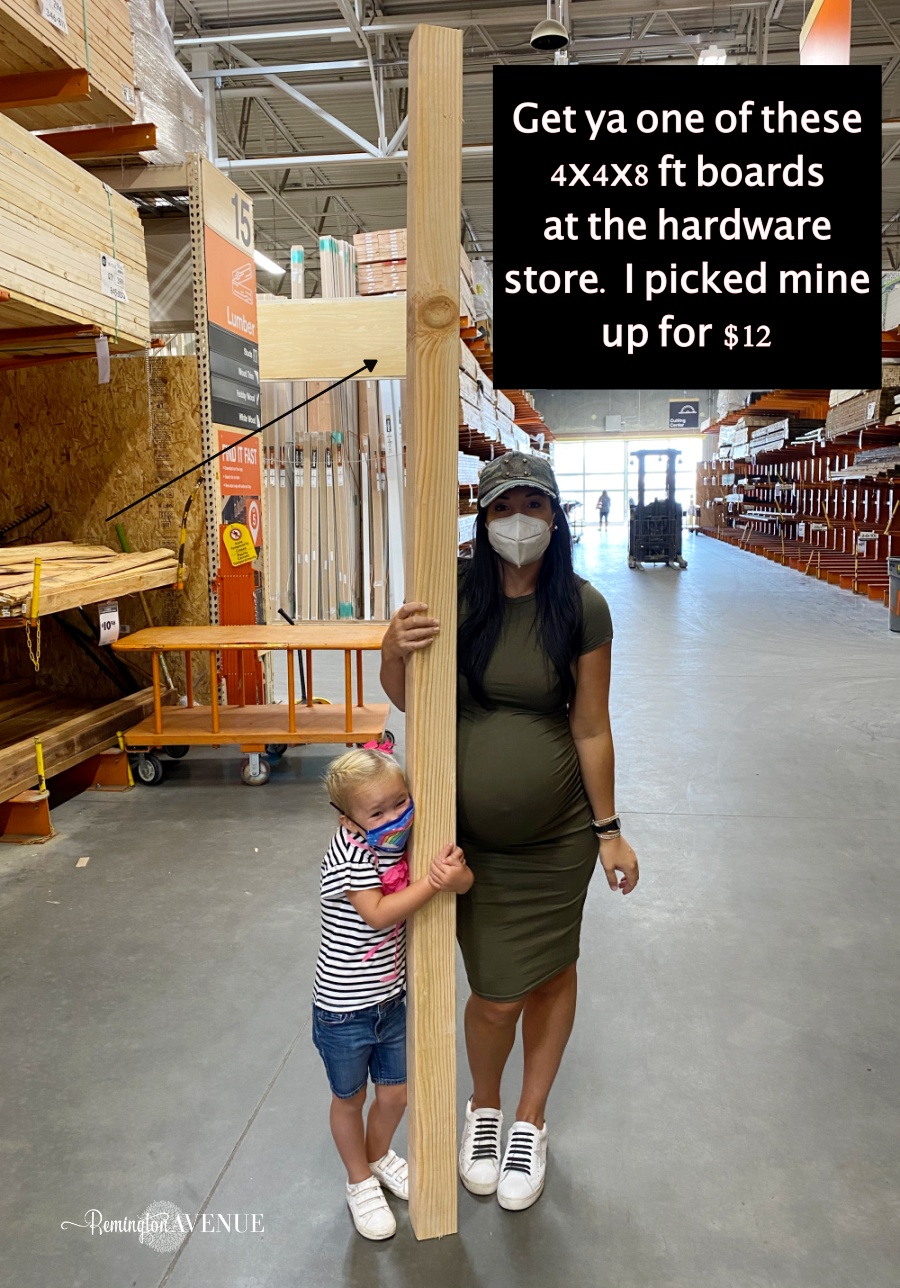
You will need to start with a piece of Douglas fir wood which you can find at Home Depot or other hardware stores.
***Pro Tip: When choosing lumber you always want to make sure there are no cracks or bows. So we got our premium 4 x 4 x 8 for $12. I like that price!
Everything you need is linked here:
- 4 x 4 x 8 piece of Douglas Fir wood – this will allow you to cut it into a few pieces, make some gifts while we are at it! Score!
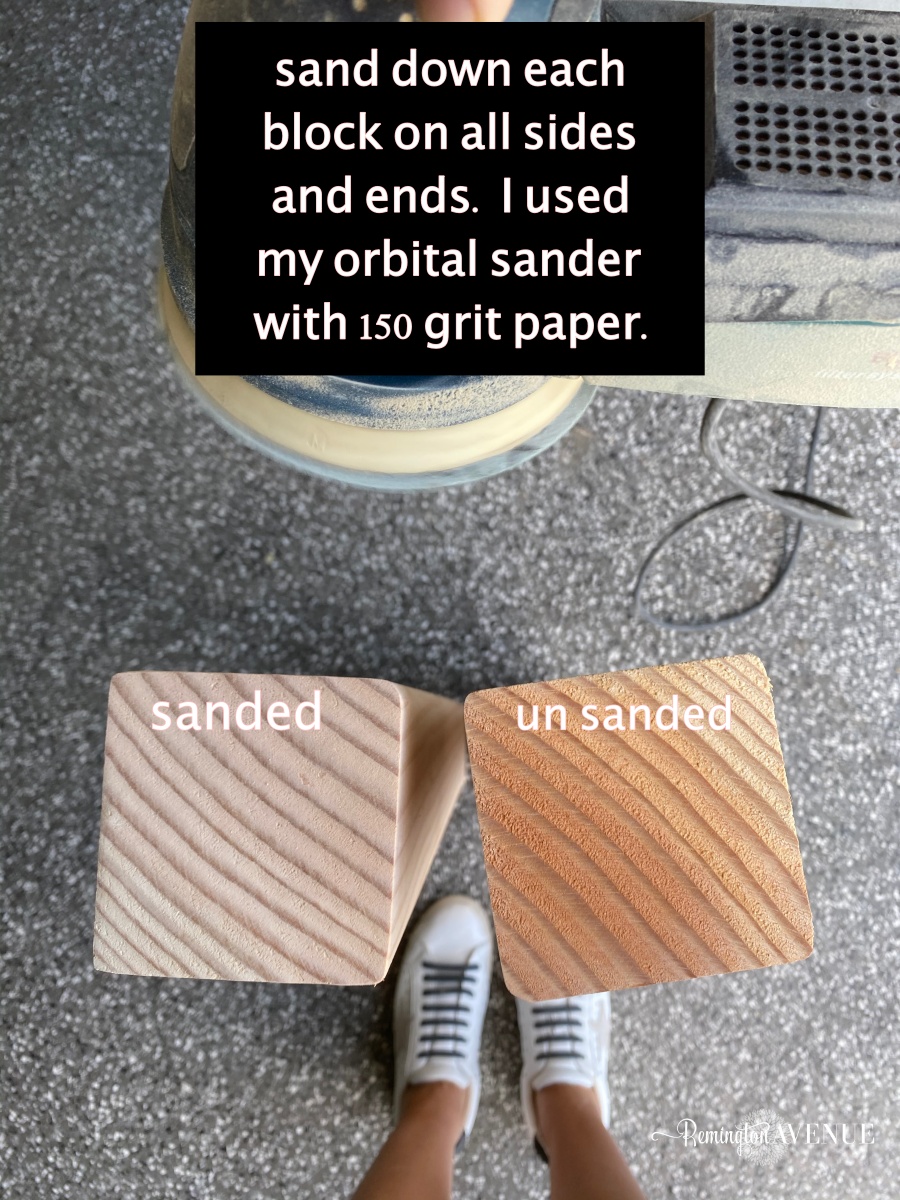
- Sander with 150 grit paper
- Table saw
- Forstner Bits
- Sharpie
- Stain or paint (optional)
- Pilar candles (any color that works with your decor!)
View building video by clicking below!
So, take your sander and get in there good, to create a super smooth finish.
Measure out your piece of wood to how long you want your centerpiece to be. I am cutting mine lengthwise to create 3 even pieces, and 3 DIY Candle Block Centerpieces. Measure out and make a definitive cut line for reference. I have measured out 31” for each.
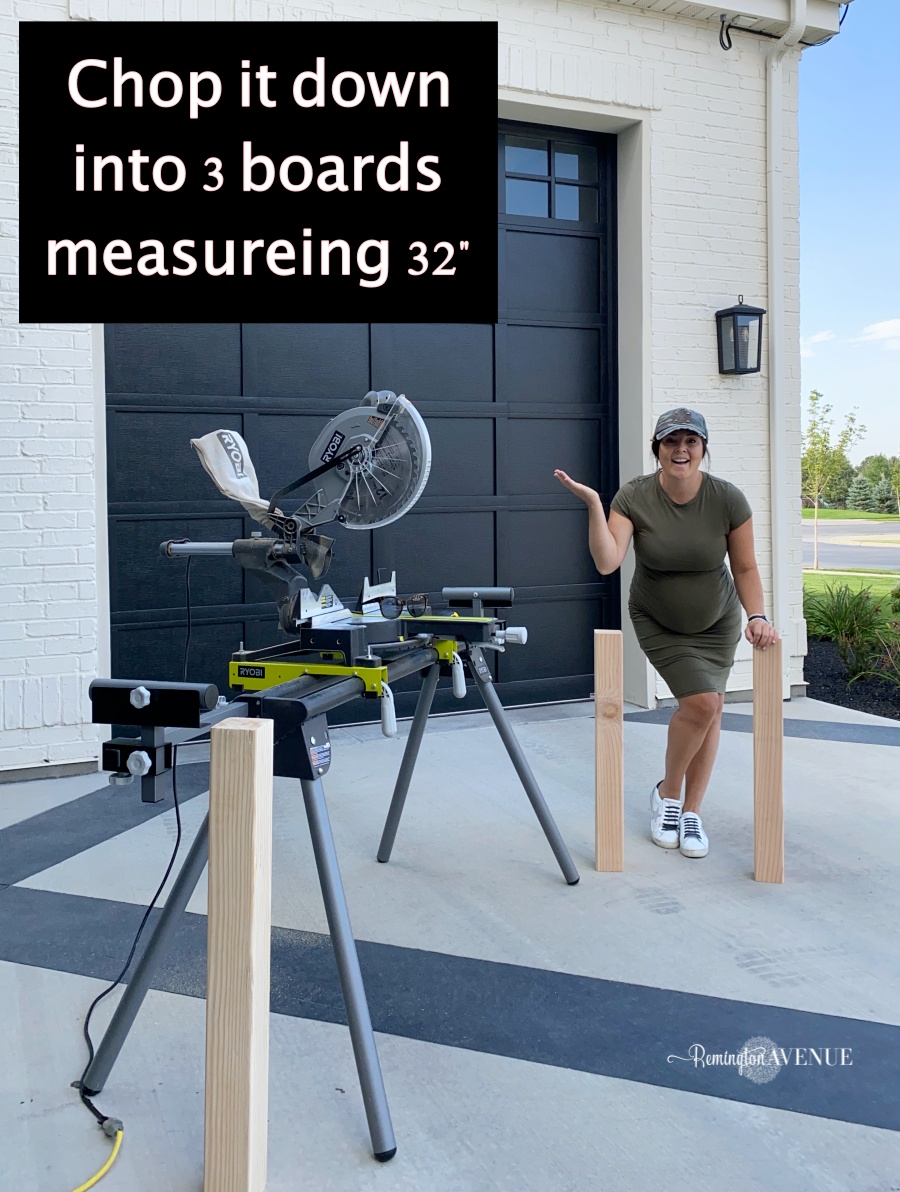
One thing to keep in mind when cutting with the Miter Saw, the blade will take about ⅛ of an inch so if you want a precise measurement, make sure you account for that!
Safety first! Let’s get our goggles on – sunglasses work too!
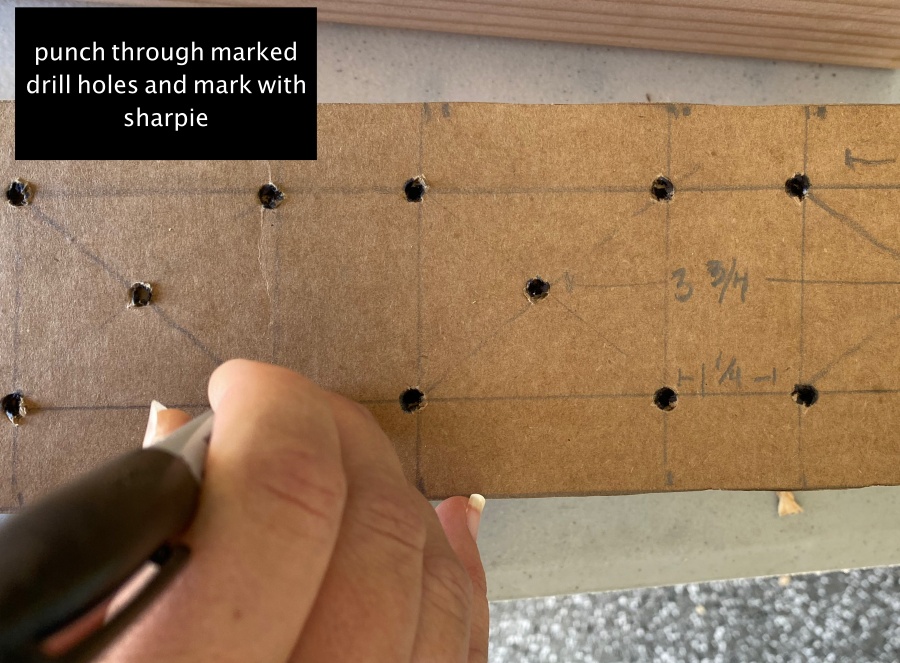
Trim your wood pieces and from here measure out where you want your candles to go and mark with a sharpie. We made a cardboard template for the drill holes, so we could replicate on each pilar of wood for these DIY Candle Block Centerpieces – precise is my jam. I measured anywhere from 1 ¼ to 3 ¾ between each candle spacing.

During the first drilling process I learned once again, I don’t know all the things and that is why we are learning as we go – trial and error is your friend! You just gotta go for it and learn along the way! Anyways! Using drill bits to create the holes was splitting the wood and it was not pretty.
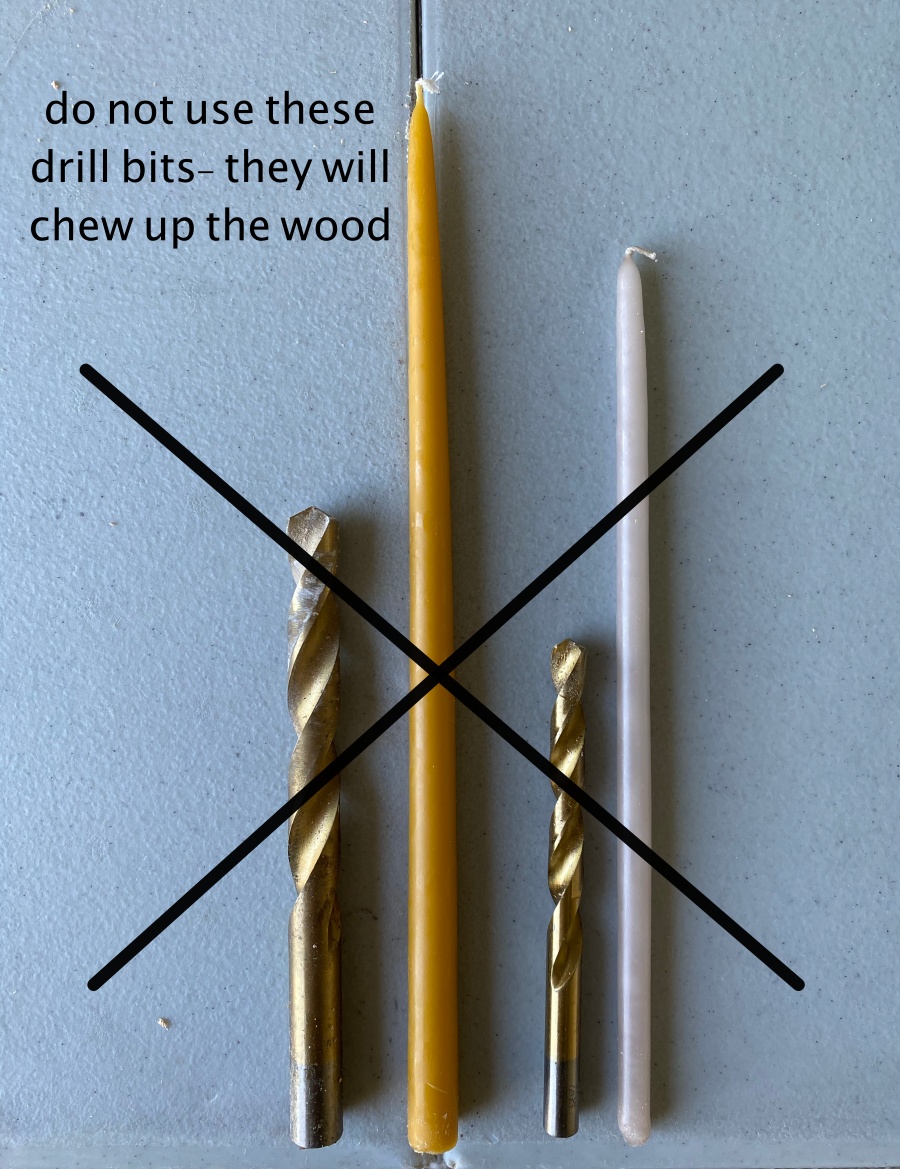
So the hubs and I put our heads together and did a little research and we found Forstner Bits! They are designed to cut a super clean hole and a flat bottom. It turned out so much better!
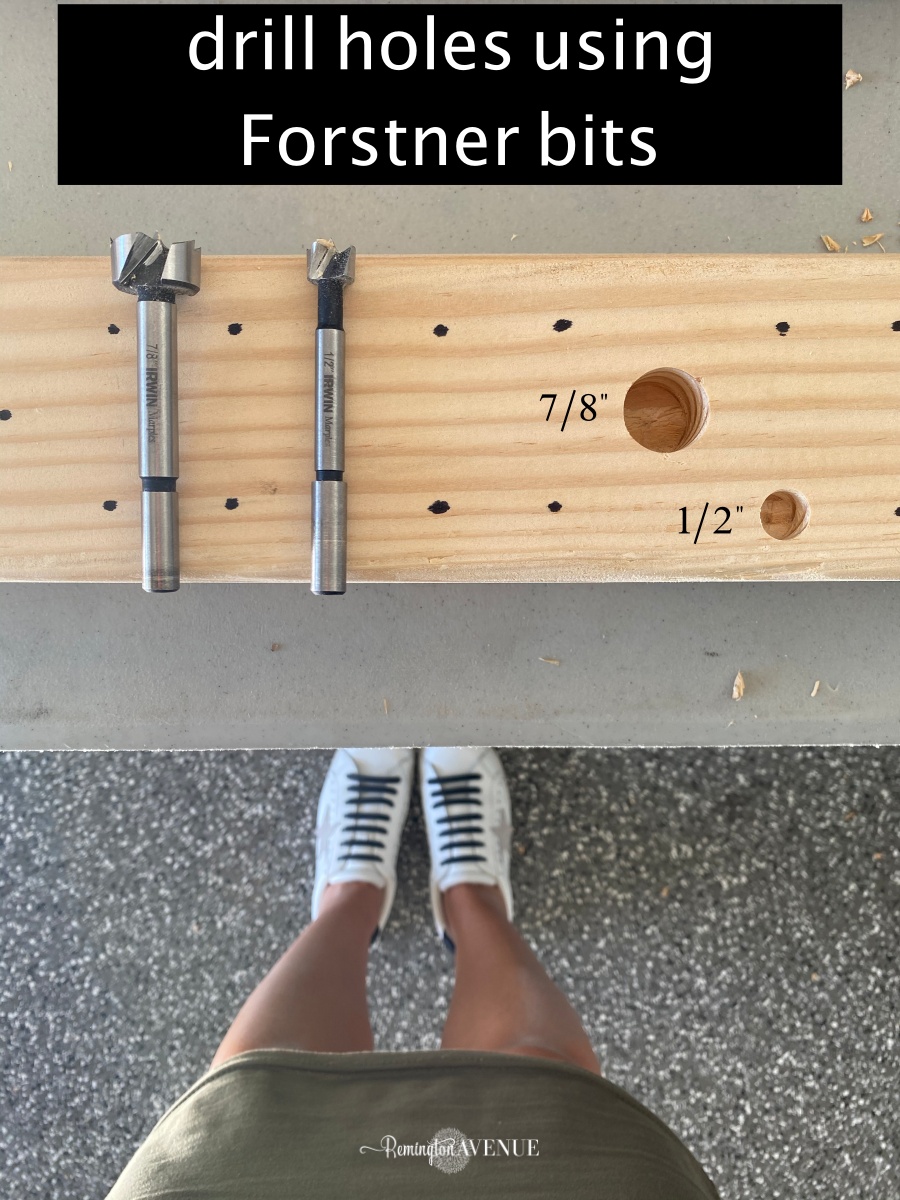
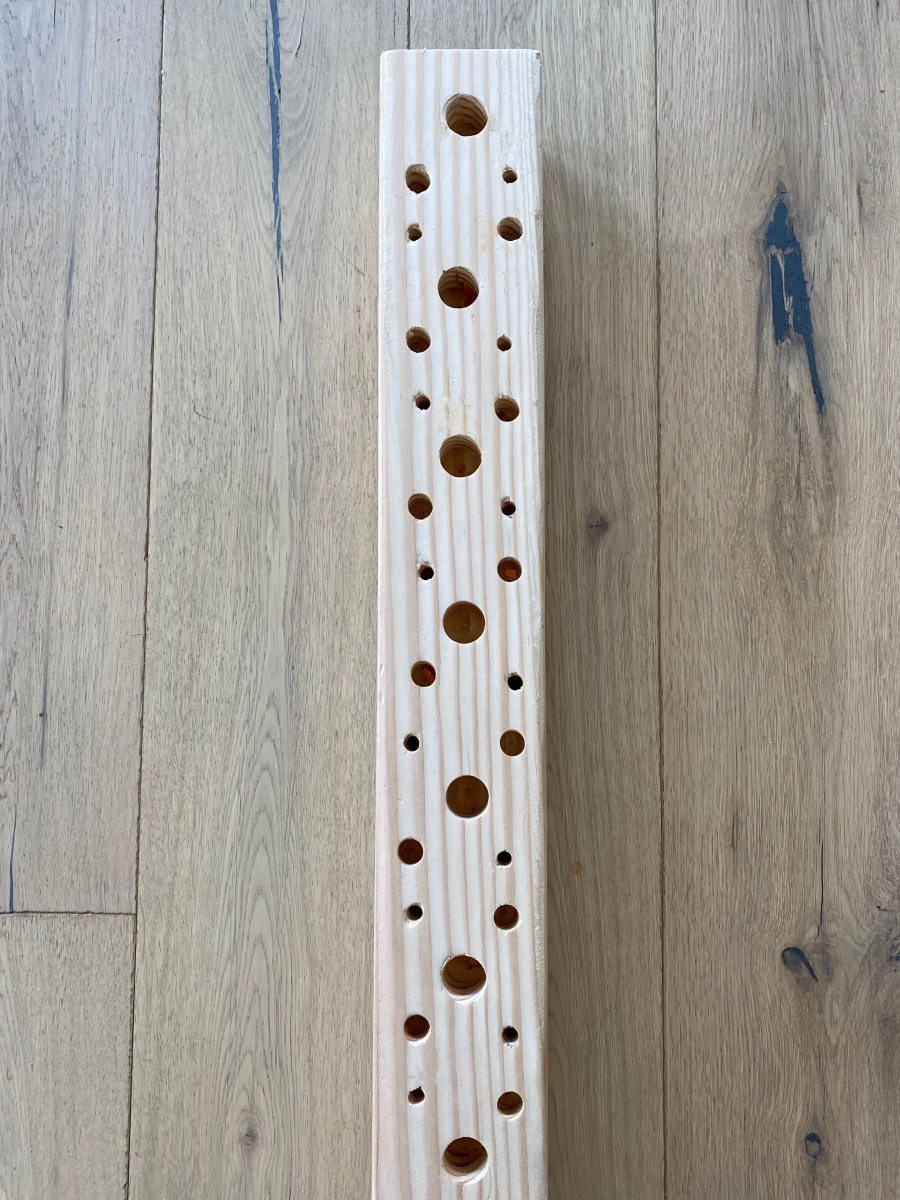
Using the Forstner Bits, I used two different sizes – ½” for the perimeter candle holes and ⅞” for the middle candle holes. I drilled down about an inch in depth.
A little tip here for your DIY Candle Centerpiece is you may need to give your drill a bit of a rest – it’s a lot of drilling so it may get heated up.
From here you can stain or paint the DIY Candle Block Centerpiece to whatever works with your decor.
When I originally started this project I wanted to create holes for three different sized candles – however, I realized that was a little too complicated and it would have been hard with the Forstner Bits – and really, it’s not even needed. It looks great with just the two sizes!
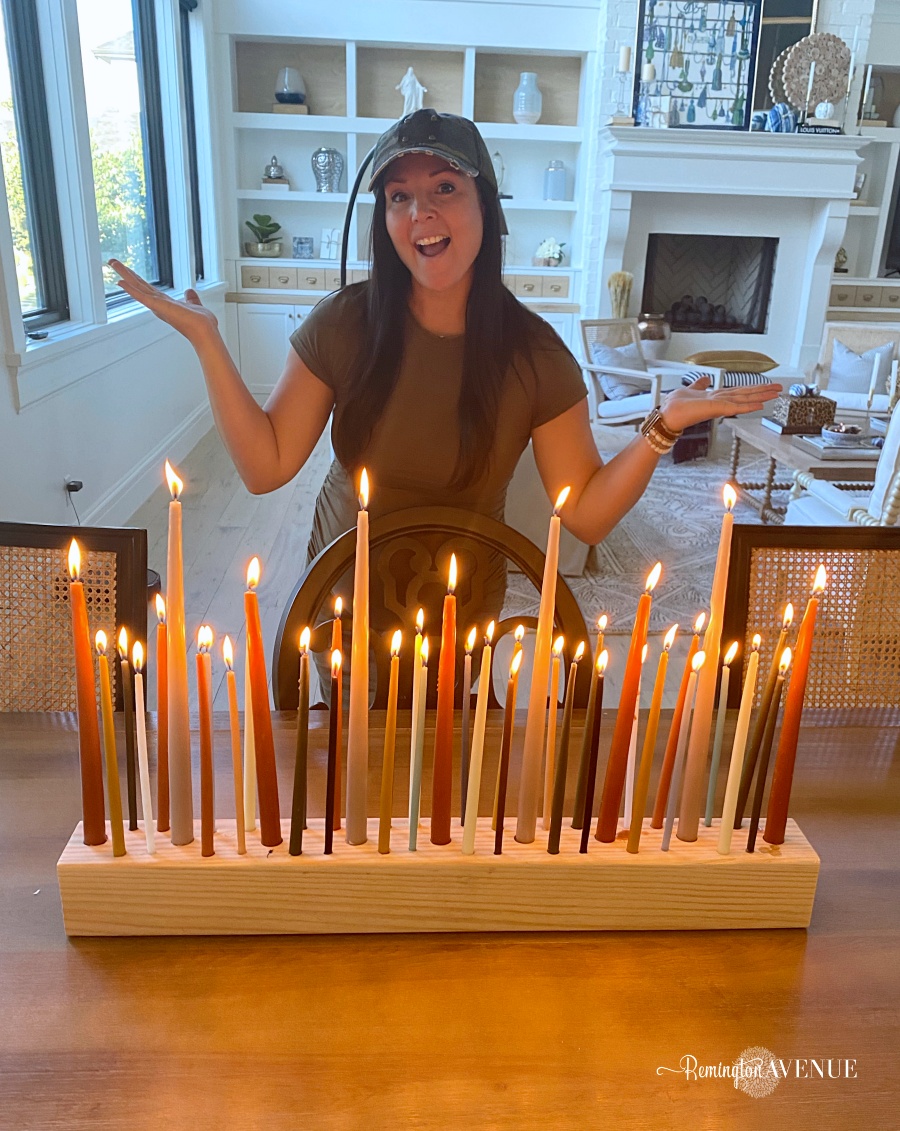
I can’t even wait to see these in the wild! They are perfect for your Thanksgiving table scape and can quickly be updated with different candles for Christmas – and for a fraction of the cost of the ones online! Be sure to check out my other tips for Fall decorating here and here, and post your DIY candleholder on instagram using the hashtag #remingtonavenueinspired so I can see your candle creation.

 Add to favorites or read later
Did you find a good place to get candles? Love the colors you found!
Thanks!
Hi yes they are linked within the copy of this post.