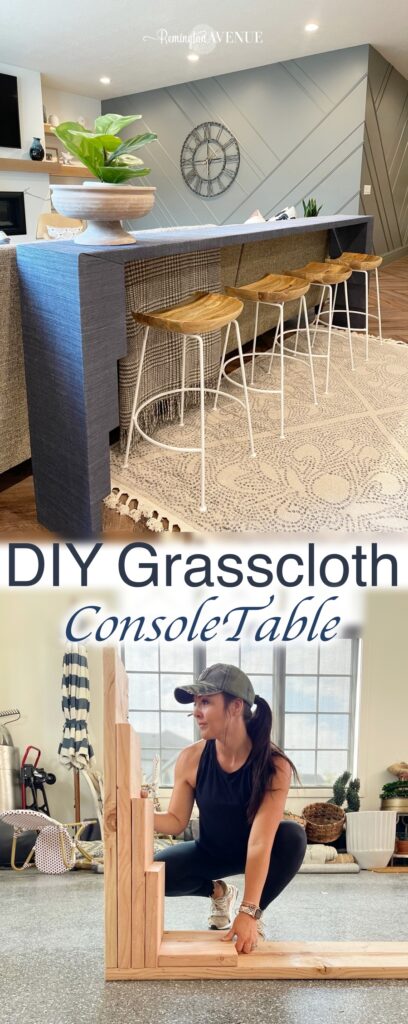
DIY Console Table
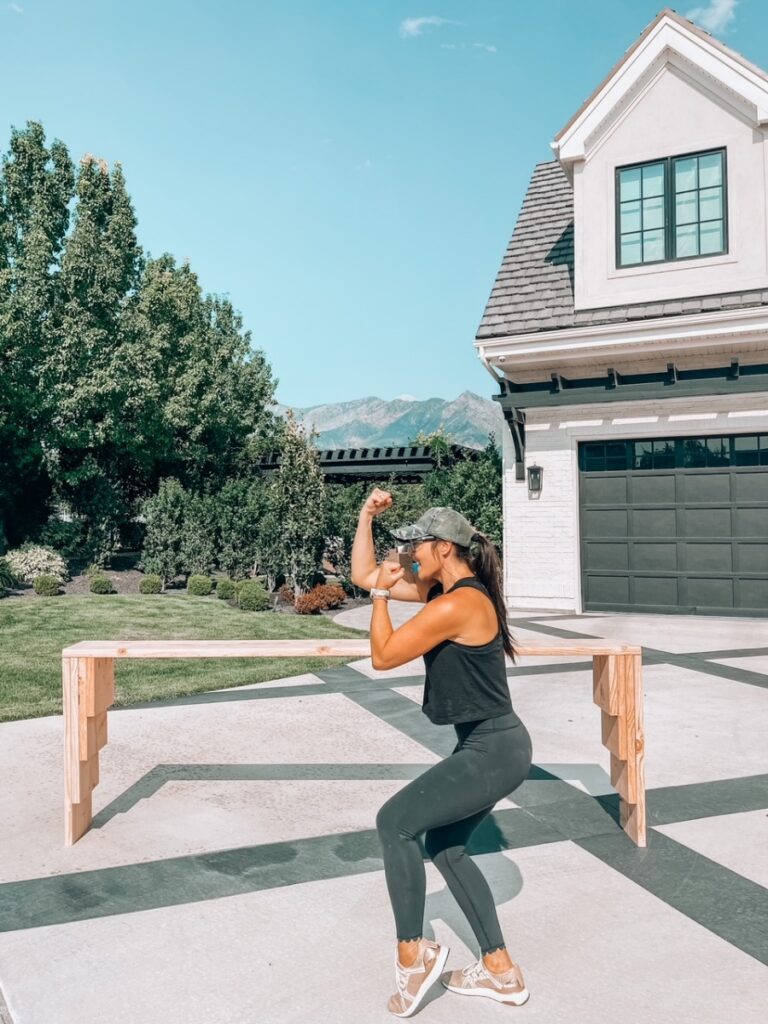
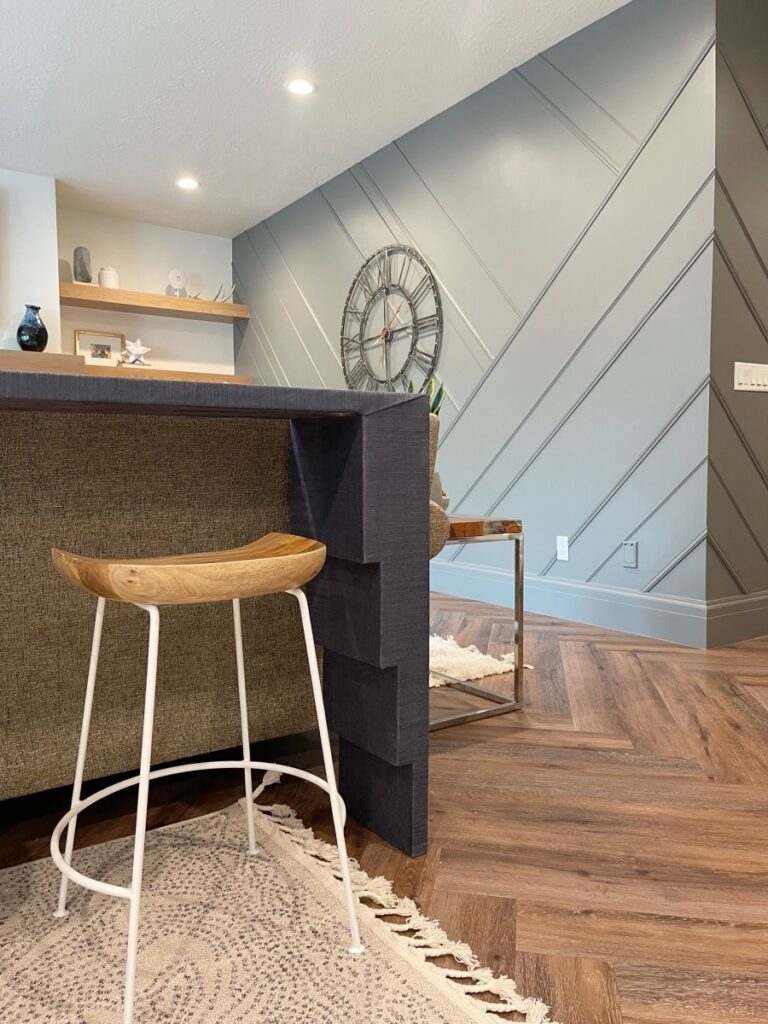
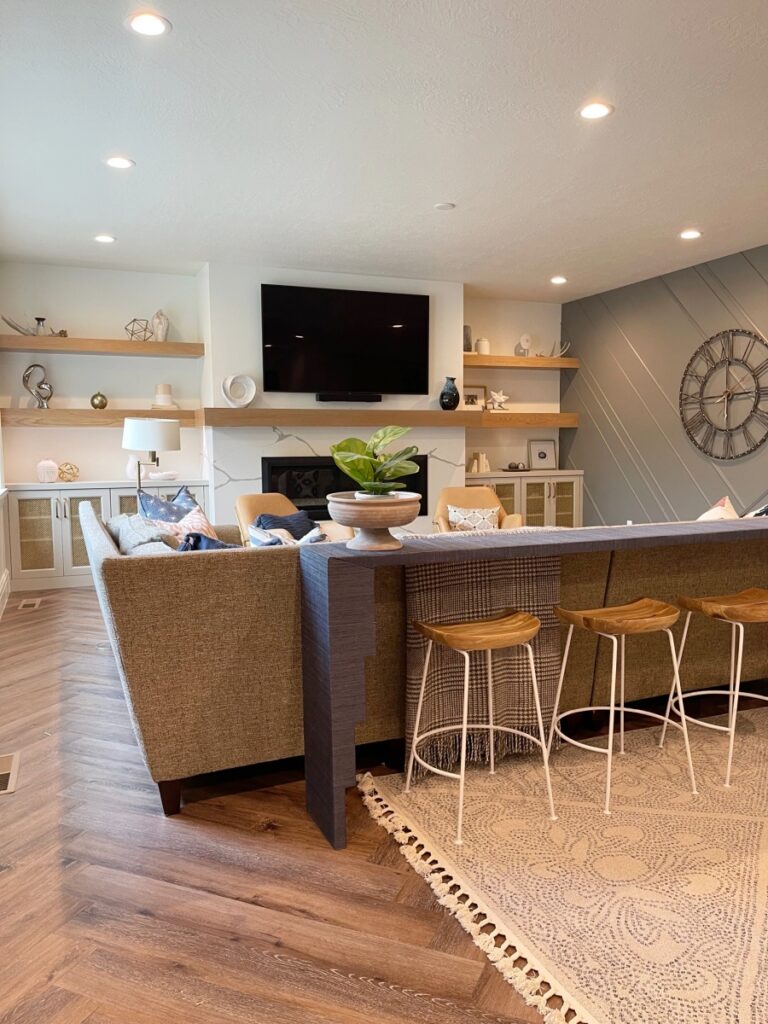
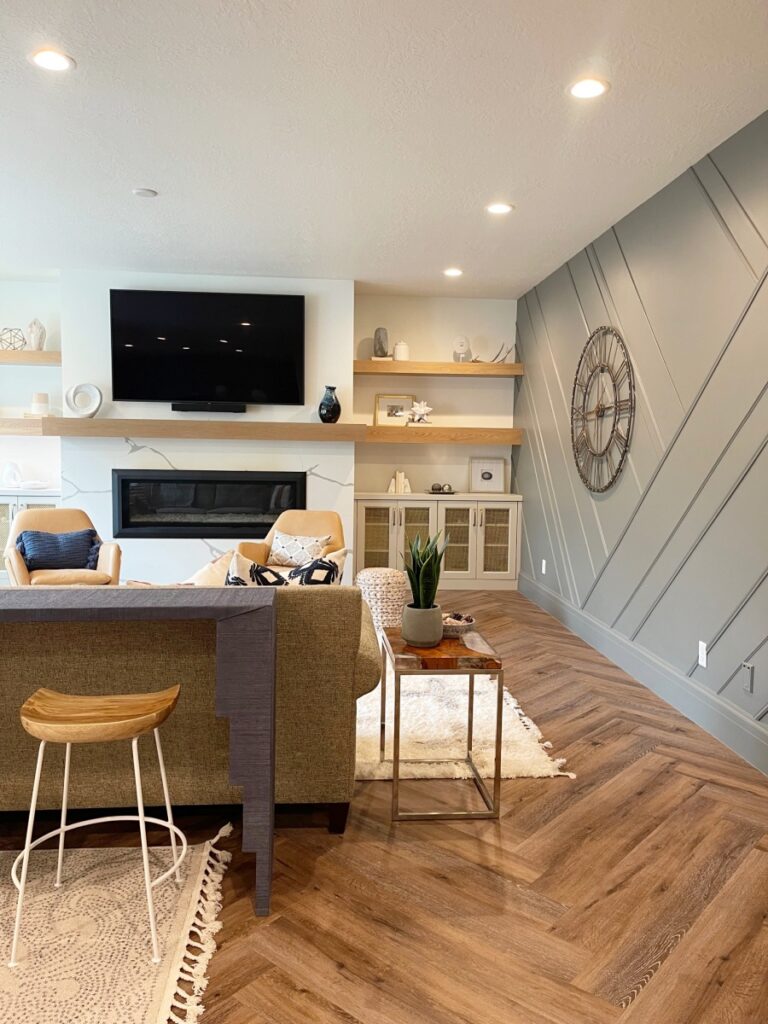
This DIY Console Table was tedious, but SO FUN. I am so pleased with how it turned out! This space just needed a little something and I wanted a piece that was simplistic but unique – and this table nailed it. The room looks so custom!
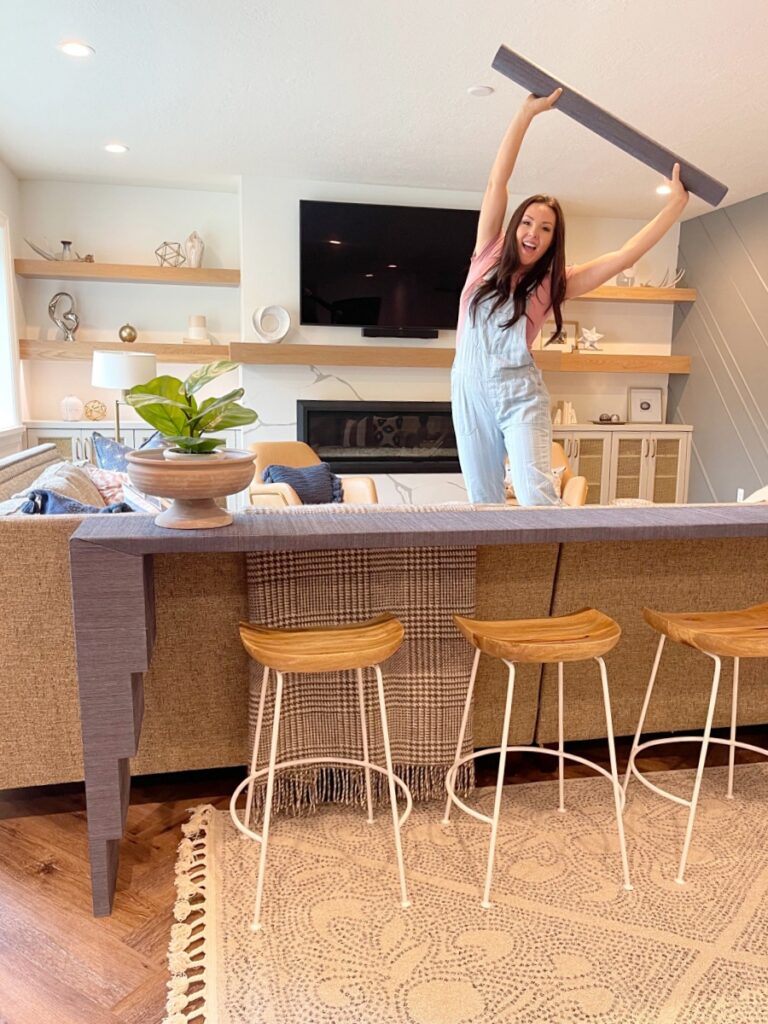
Sharing all the details below on how to execute this DIY Console Table – get creative! You really can use any wallpaper you like to mesh with your decor!
Step 1: Measure out the length you want your table to be and use your table saw to cut it to size.
Step 2: Next you want to measure the height of your legs and cut those pieces to size.
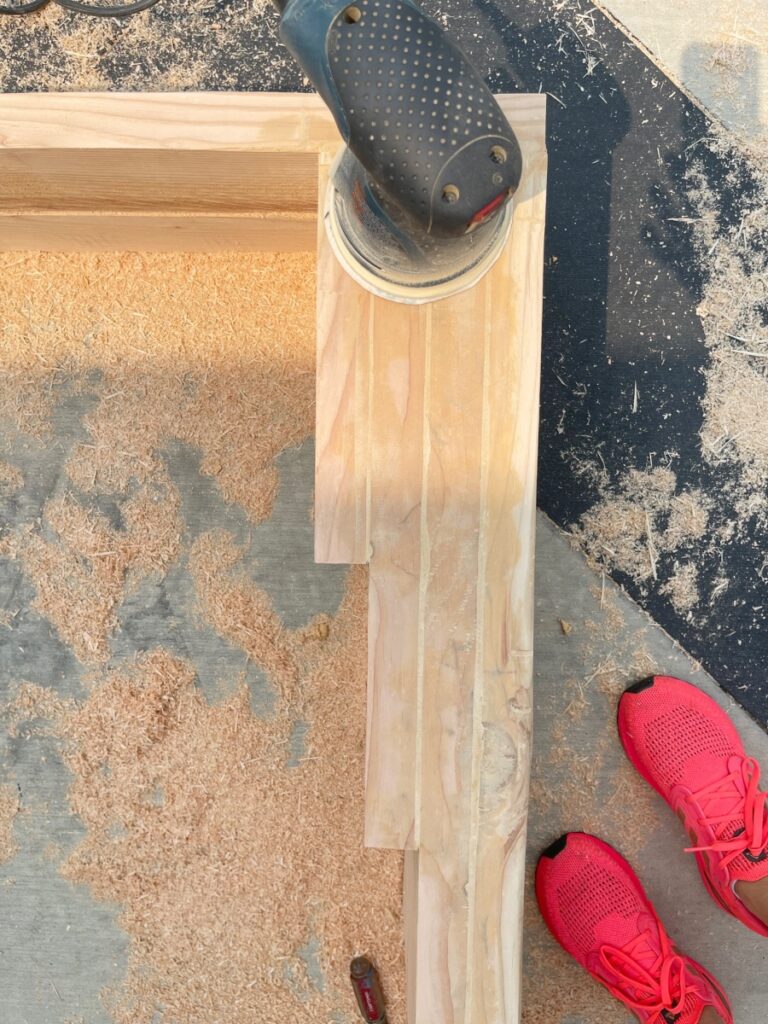
Step 3: Sand down the pieces so they are smooth.
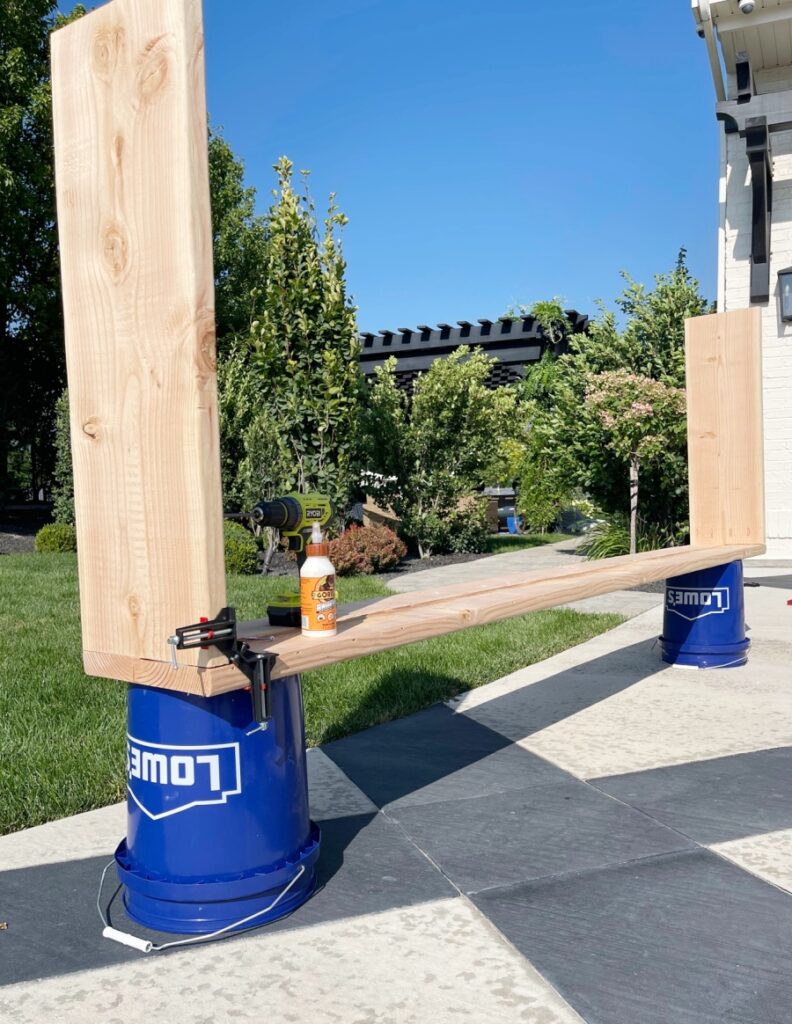
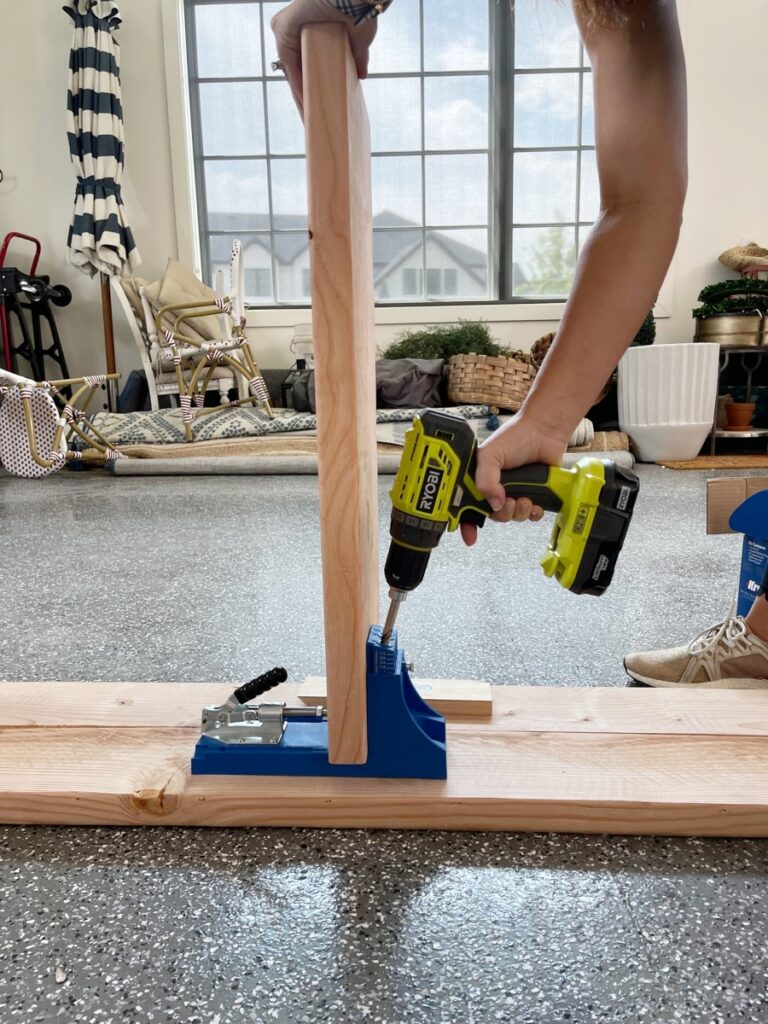
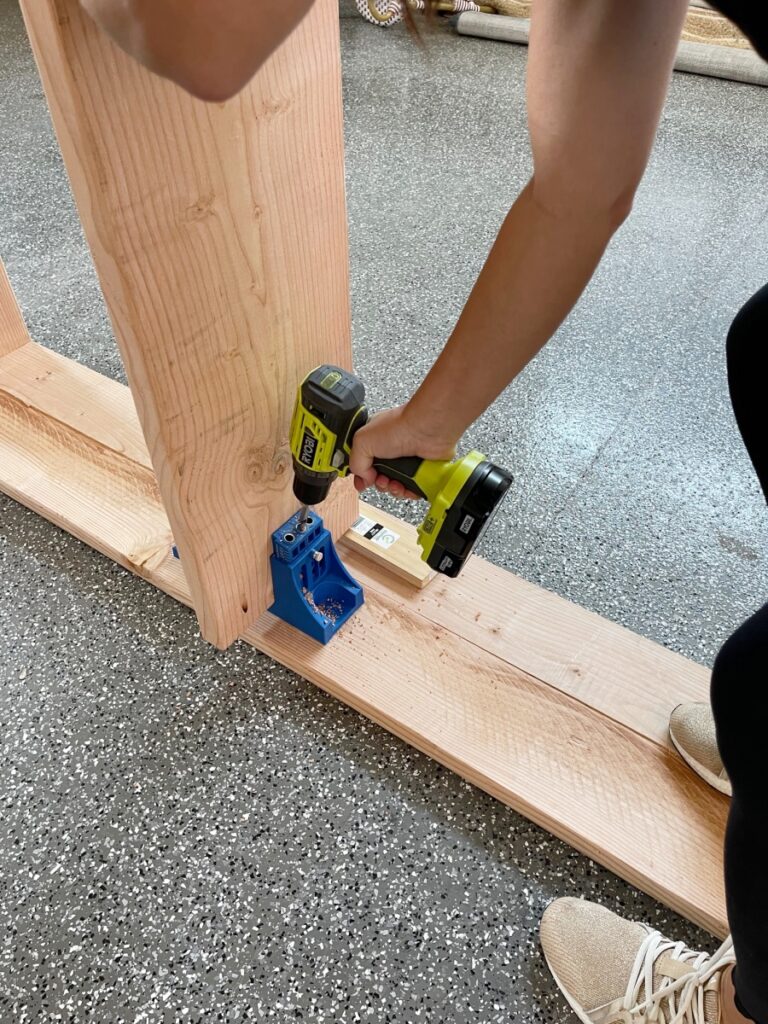
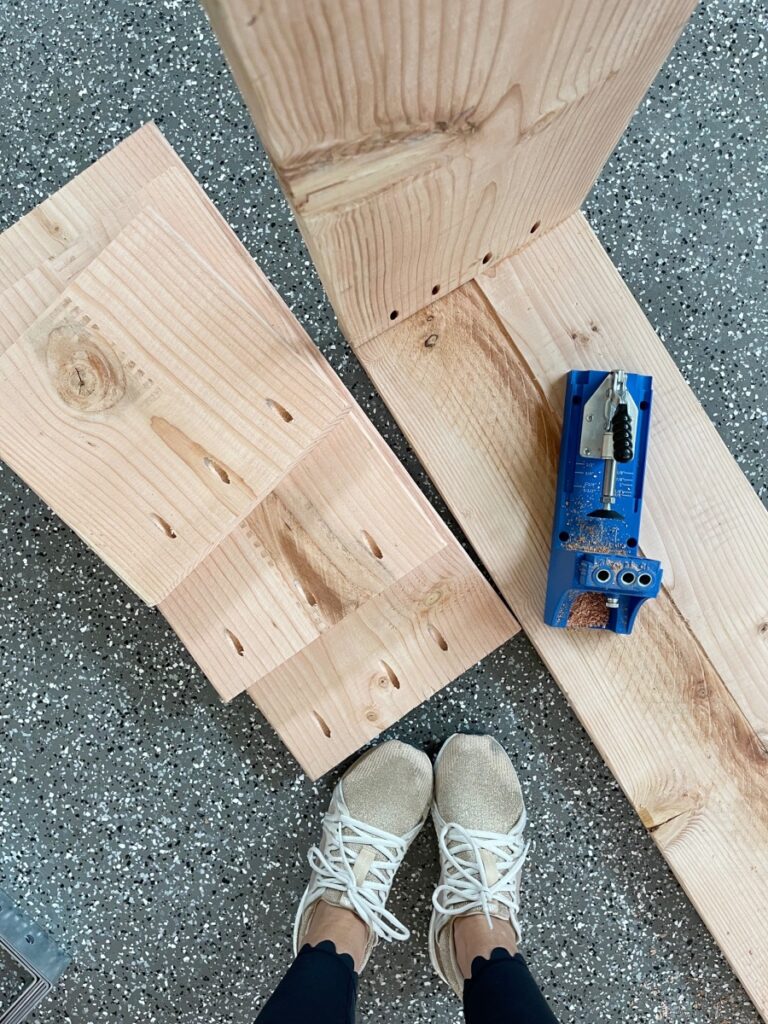
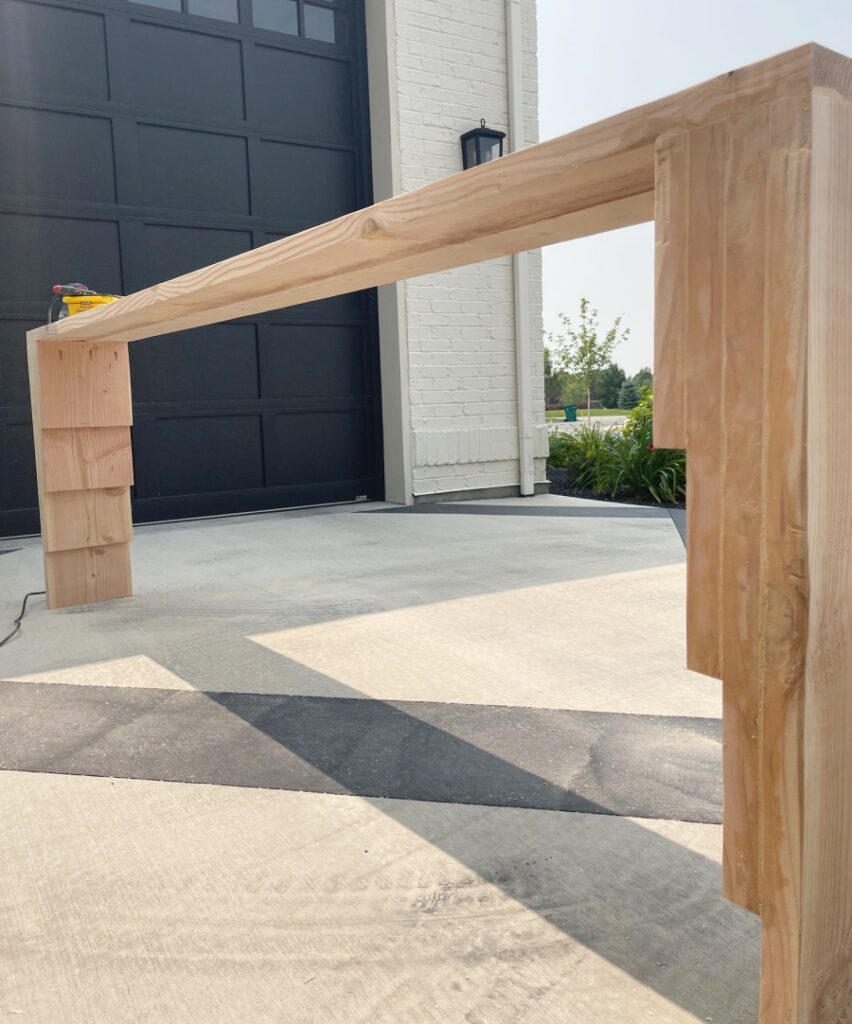
Step 4: Build the table. Create pocket holes that will secure your sides of the table with the top to create a stable butt joint. Add wood glue to the pieces that will touch, secure with a clamp, and screw together.
Butt joint: where two pieces of wood butt up against each other. You could screw into the top, but it doesn’t create a very strong joint. So instead I created pocket holes, which hide the screws and the hardware and create a stronger, tighter joint. I used a Kreg jig to make the pocket holes.
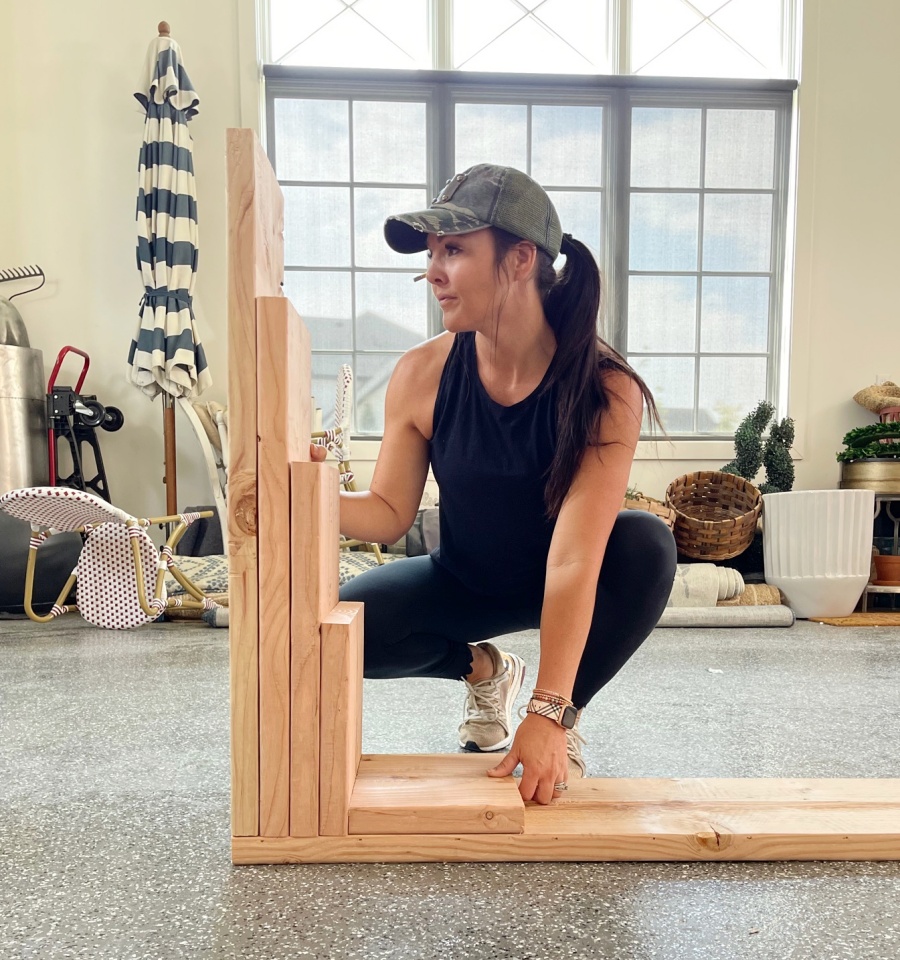
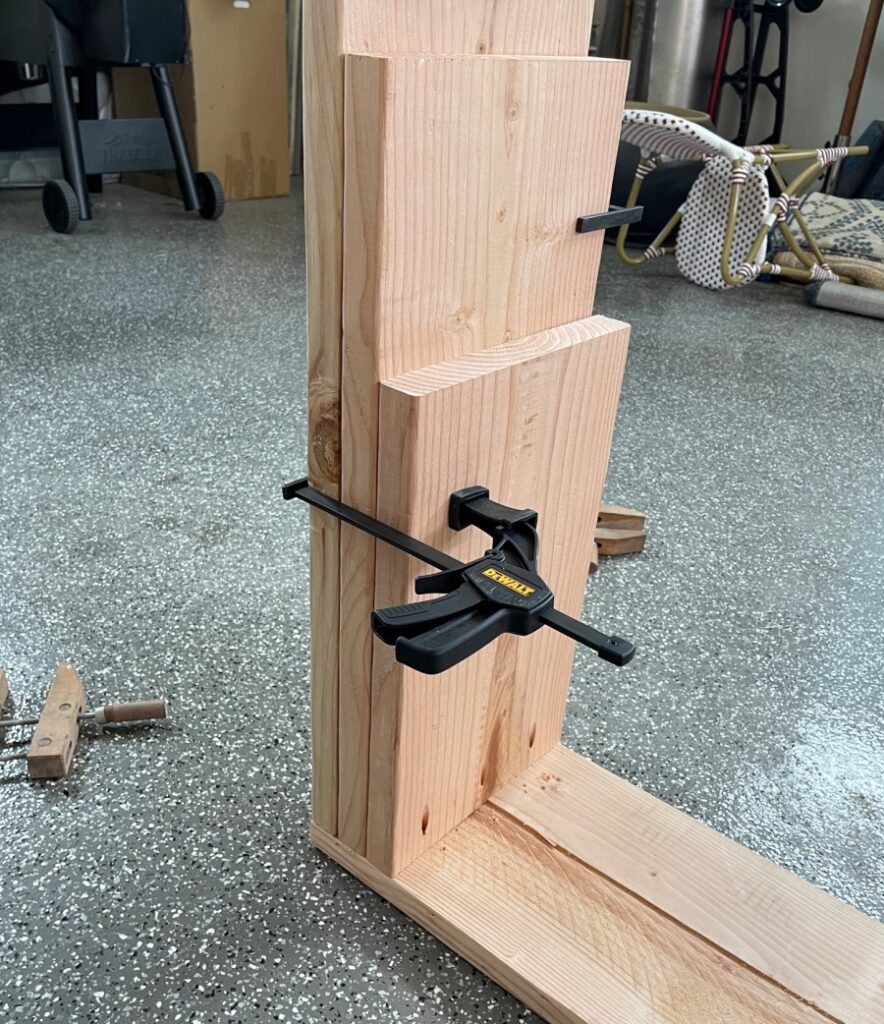
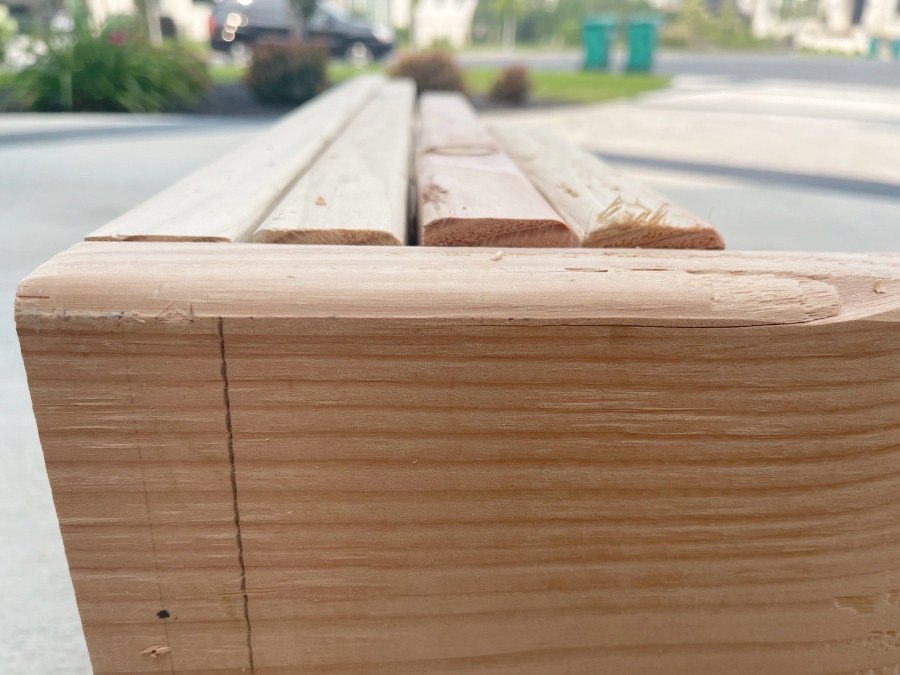
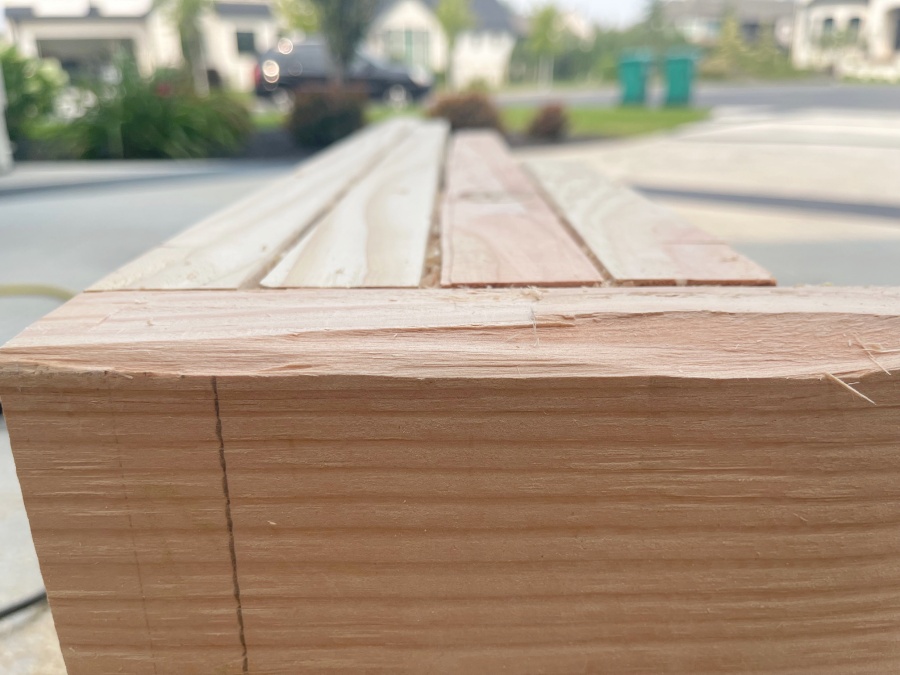
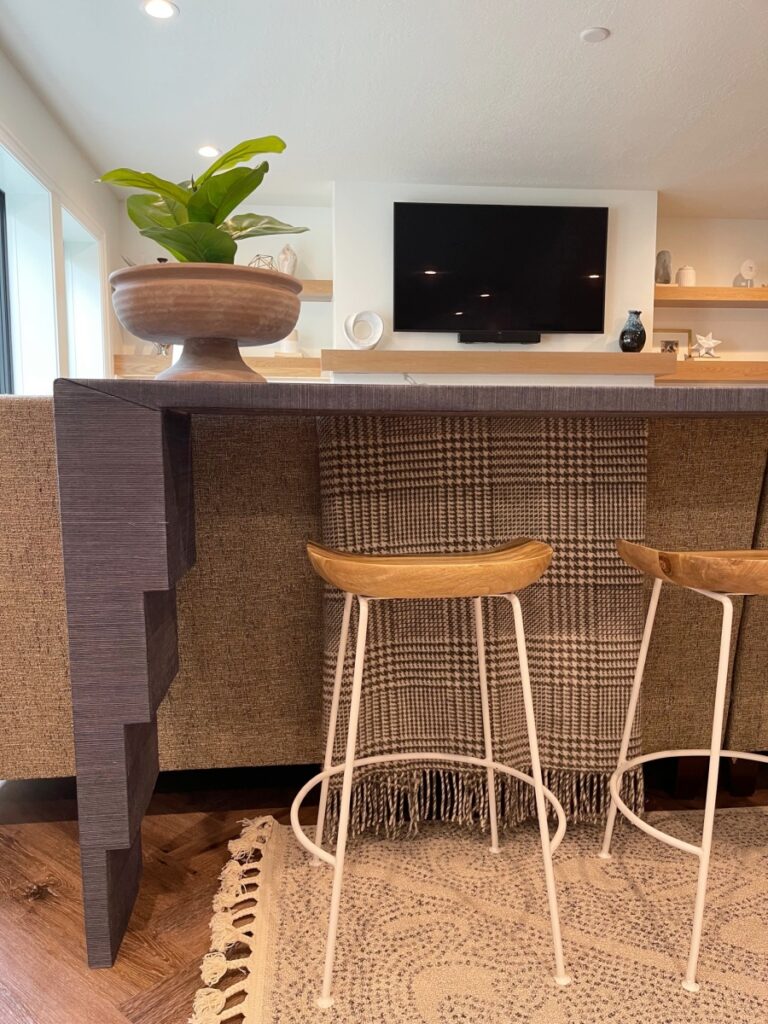
Step 5: Cut the pieces that will become the staggered pieces to add some more dimension and design to the otherwise very simple table.
Step 6: Secure the new pieces. Create pocket holes in each. Add wood glue to the back of the longest pieces, secure with clamps, and then screw into place. Repeat for the remaining smaller pieces, securing all pieces together with clamps so they all dry tightly together.

Step 7: Use the hand planer to smooth out the uneven ledges so they are even with the top of the table and each other.
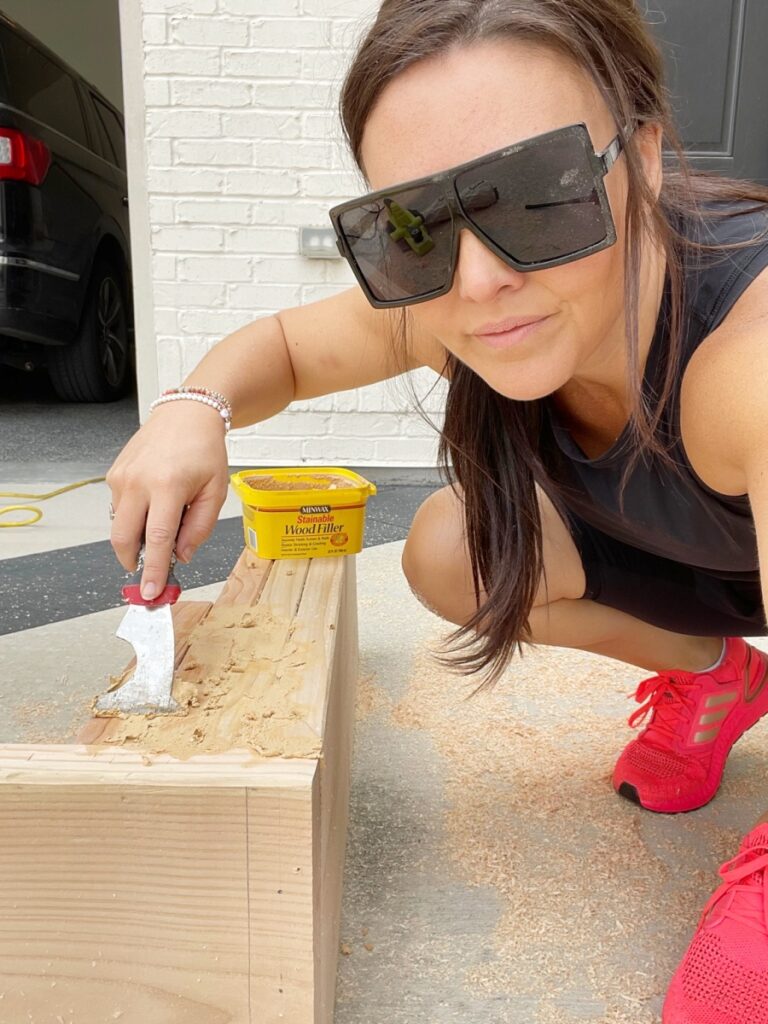
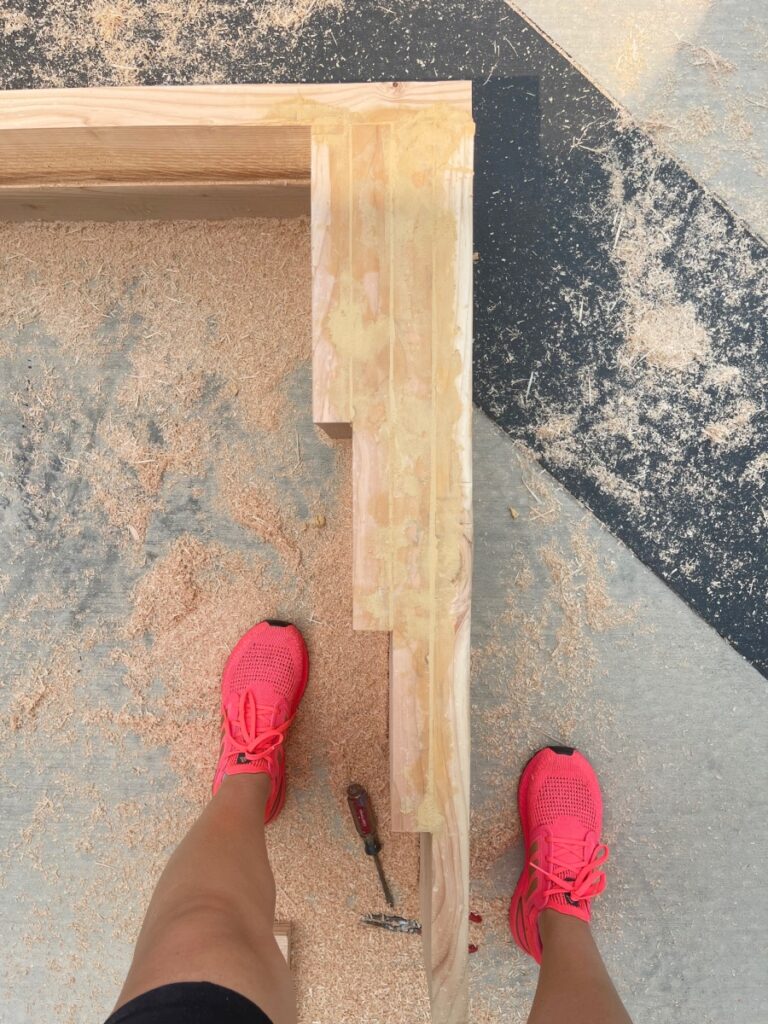
Step 8: Once it’s even, use wood putty to fill in all of the cracks so make a completely solid, flat surface. Sand down once dry.
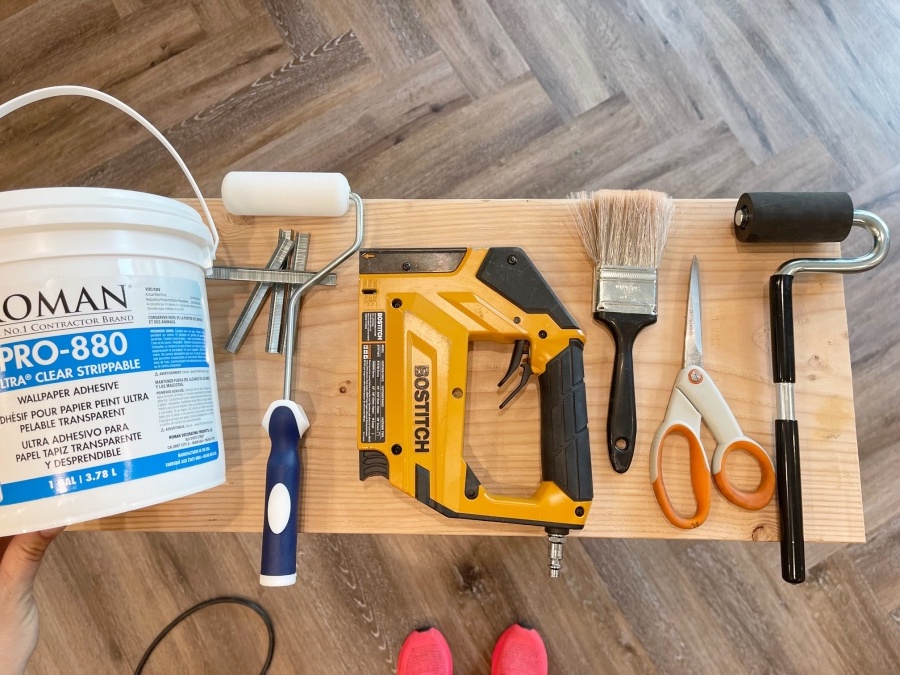

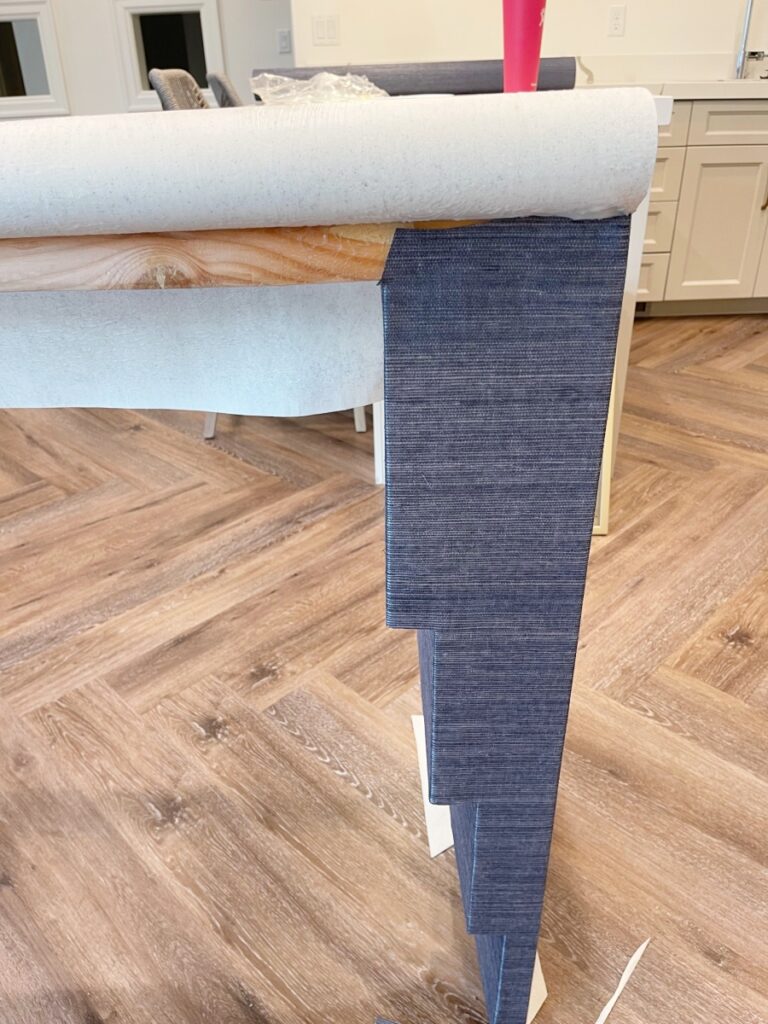
Step 9: Now the fun part! Apply the wallpaper to your DIY Console Table! To do this, start by laying the roll over your table to make sure you cut one long piece long enough to cover the entire table from side to top to side.
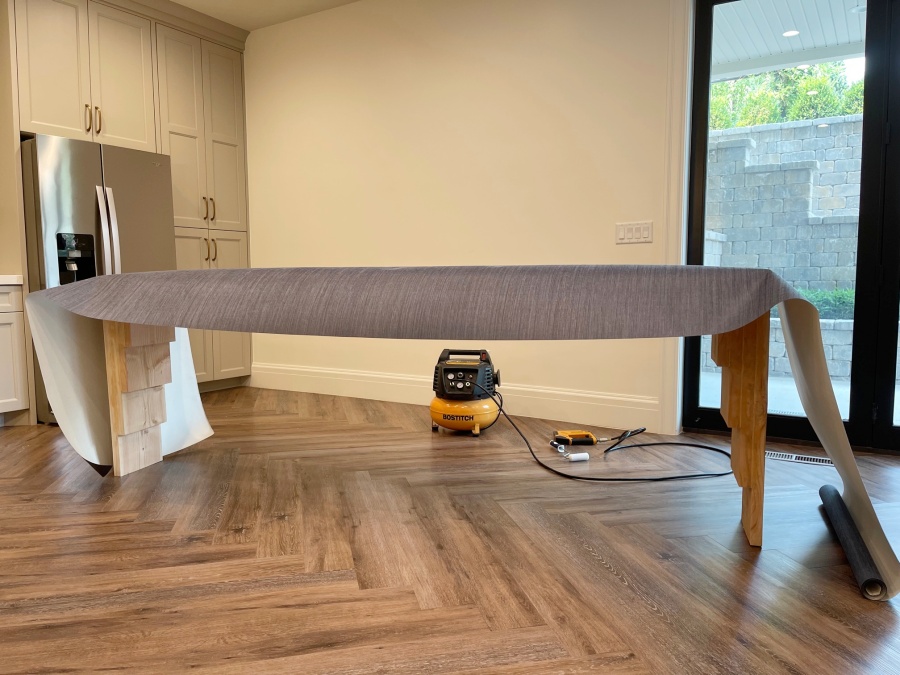
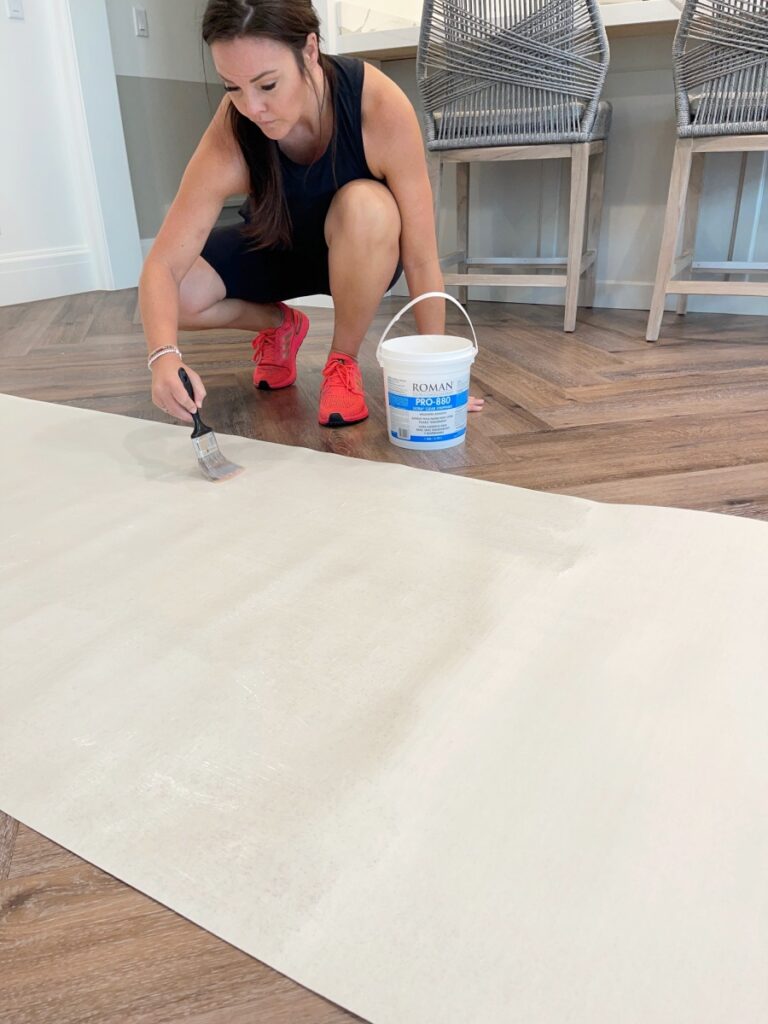
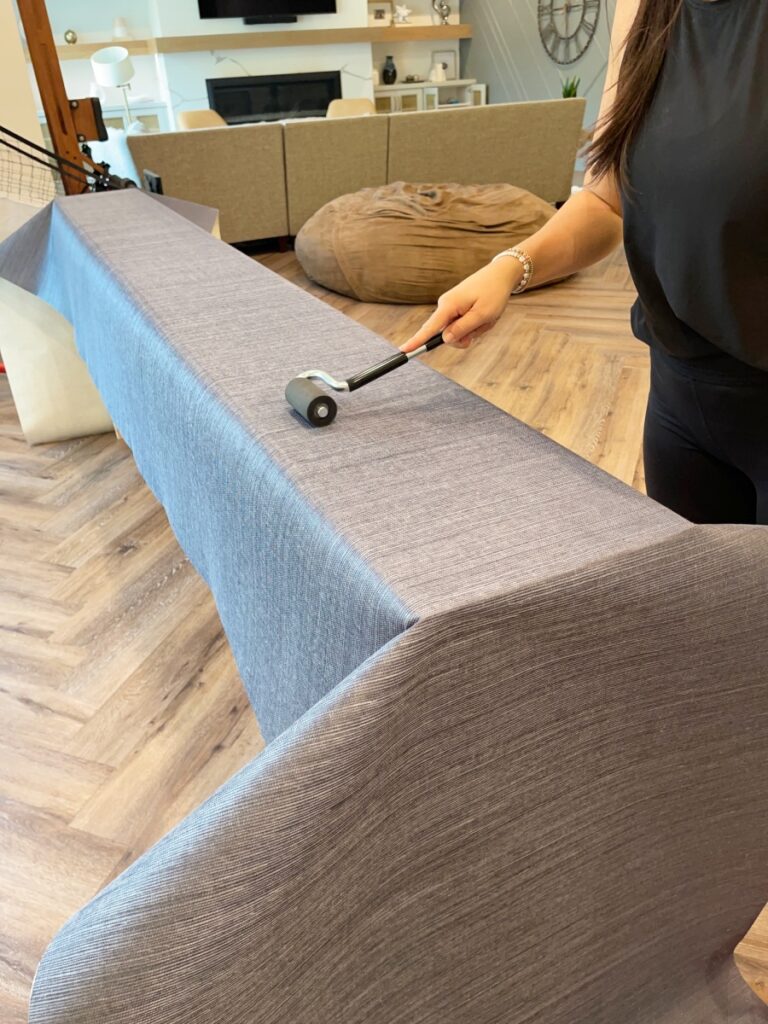
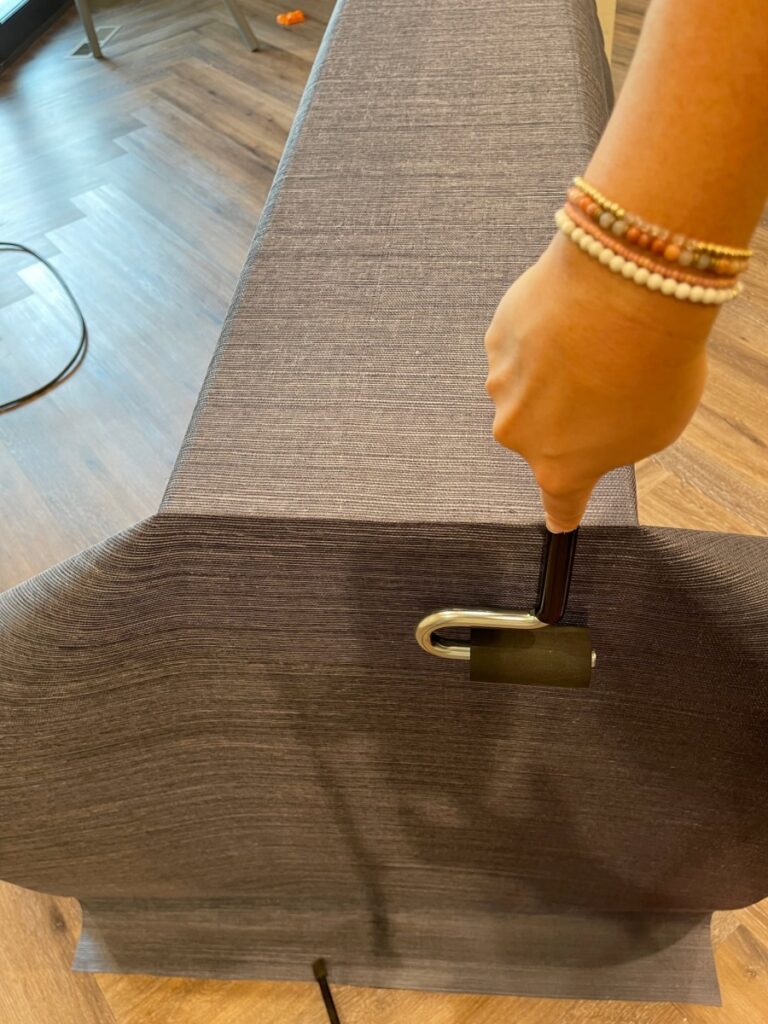
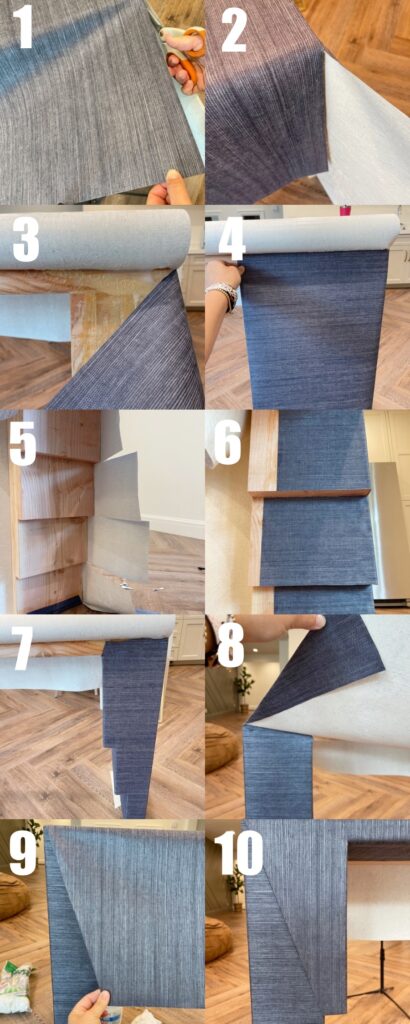
Step 10: Apply wallpaper paste to the back of the wallpaper, book it, and then roll it on. Cut as needed to precisely go around the tiers and corners. See numbered image below for a detailed step-by-step on this. I will say, it was a little tedious with the tiered details I added. I used real grass cloth wallpaper.
Here is a breakdown of the Wallpaper application of this DIY Console Table – trust me this is all worth it in the end!

Since my kids will be eating here while watching movies, I went ahead and dowsed the hole table with polyacrylic. I applied a couple coats and it worked great.
In case you missed here is my DIY Assymetrical Accent Wall – love how this room came together!

 Add to favorites or read later
The link to the wallpaper….is that the exact one you used? I love it and will try it in my master bedroom.
That table is gorgeous. Love that you used grass cloth. You are so creative.
Love this!!! I also love that you could use any wallpaper to suit your taste and decor! Really creative!