Easy Bleached Wood Furniture
Thinking about rescuing an old furniture piece? Let’s think outside paints and stains and look at bleach for a minute. Natural woods are back with full force for 2018 and I personally love it. This is one reason I decided to take a pair of nightstands I had painted in a shabby chic fashion (10 years ago) and bring them back to their natural wood state. So how do you do that exactly? Well, today I am talking about how easy it is to bleach wood furniture even if its been painted.
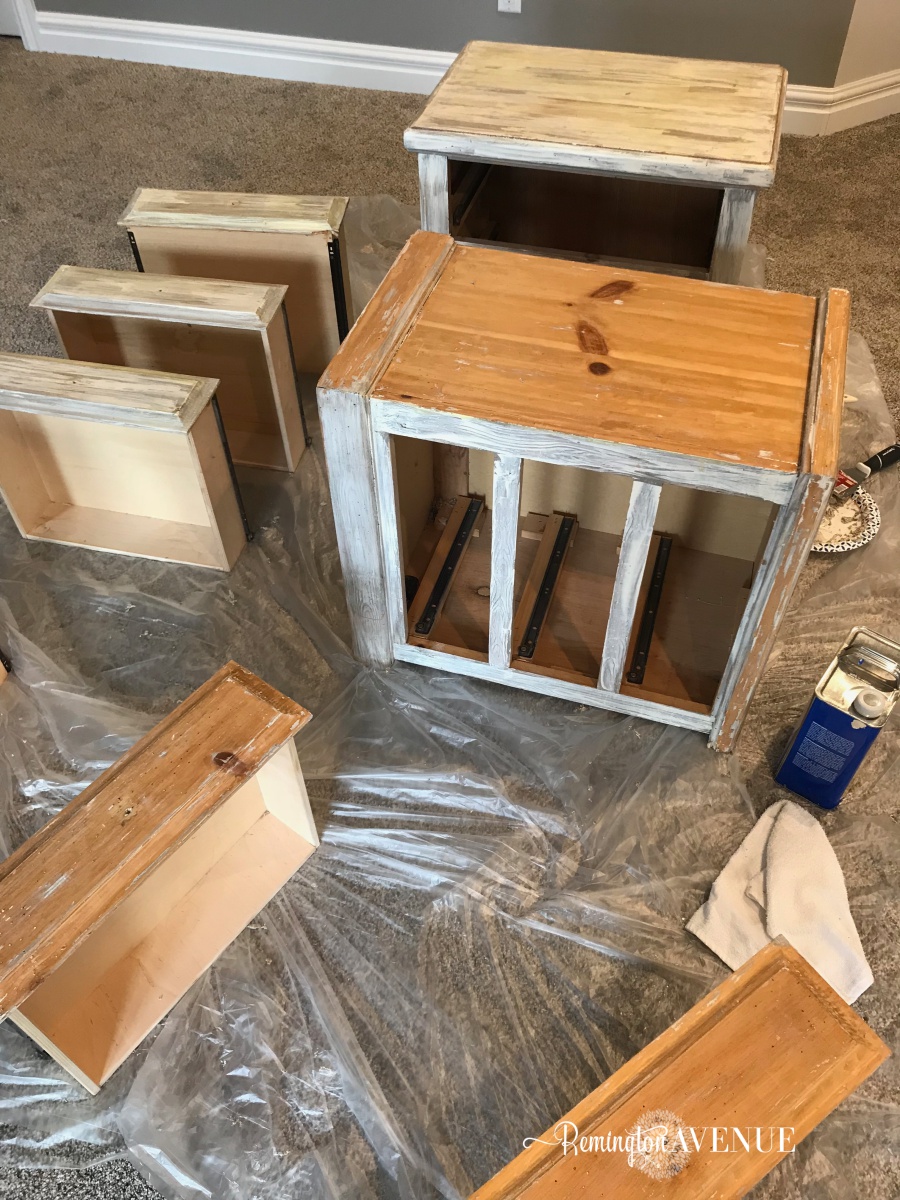
My brother gave me these nightstand when I bought my first home back when I was about 24 years old. These were my very first DIY furniture makeovers ever. I used these night stands and coordinating bed for years in my guest room, but now its time for a revamp! As I was scouring the internet for inspiration, this beachy natural wood kept catching my eye. I had to figure out a way to make this look happen. That’s when I discovered that you can BLEACH WOOD! So here are the steps I took to get this look. Click here to see how they look in my new master bedroom.
Easy Bleach Wood Furniture Tutorial
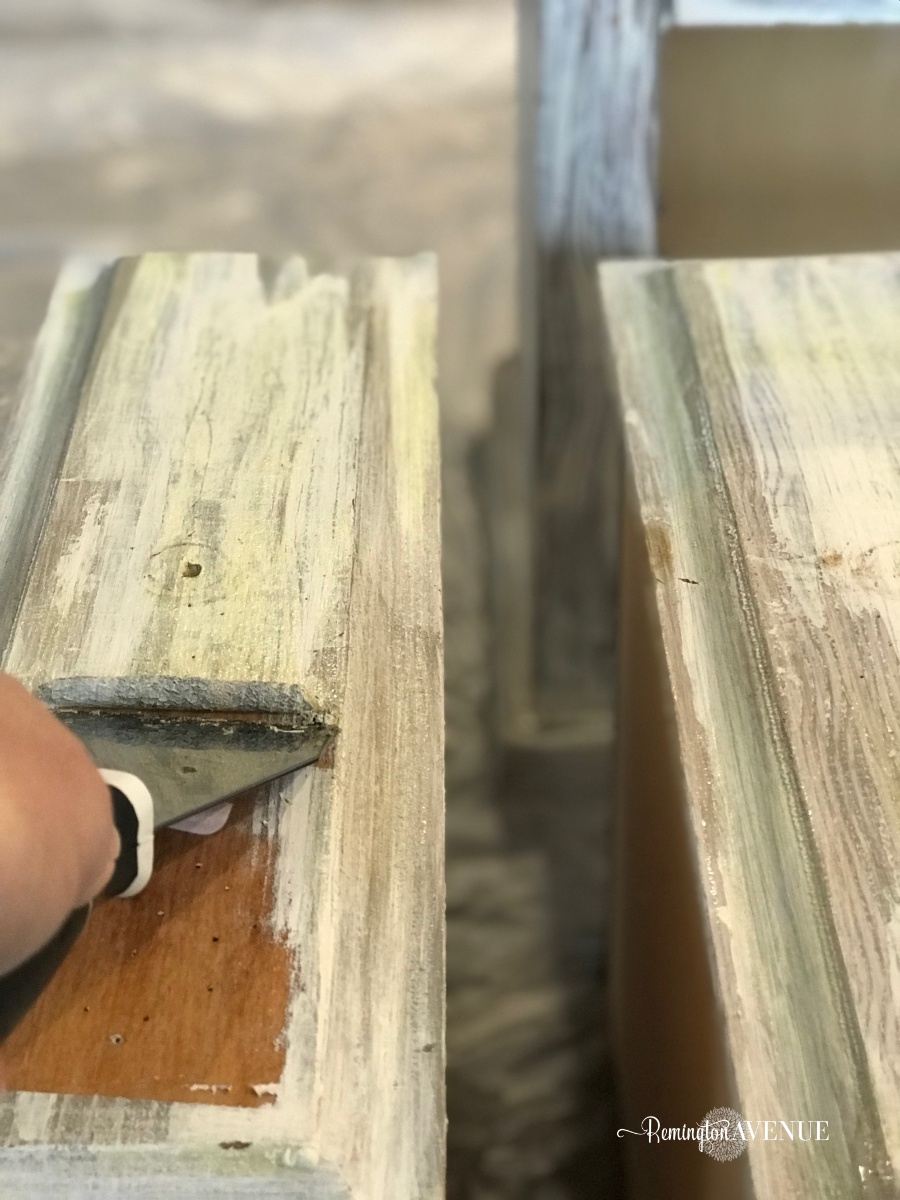
If your furniture piece is painted, your gonna have to strip it off like me. I used this exact product and it worked beautifully. If you want to see an actual video of this step by step, check out my Instagram stories HERE. *Affiliate links used throughout this post.
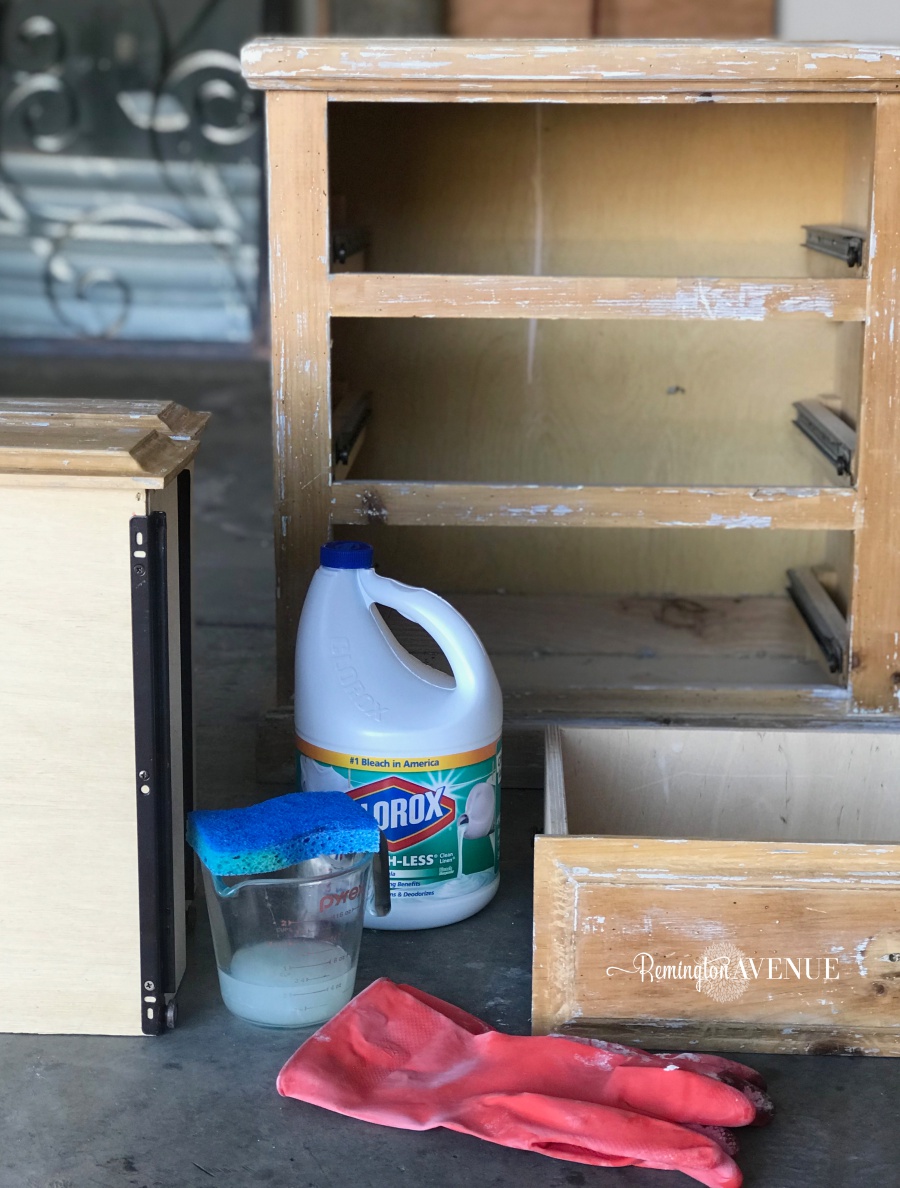
You will need these products:
rag
paper plate
plastic & or drop cloth
Glass vessel
Shop the Supplies for this Project

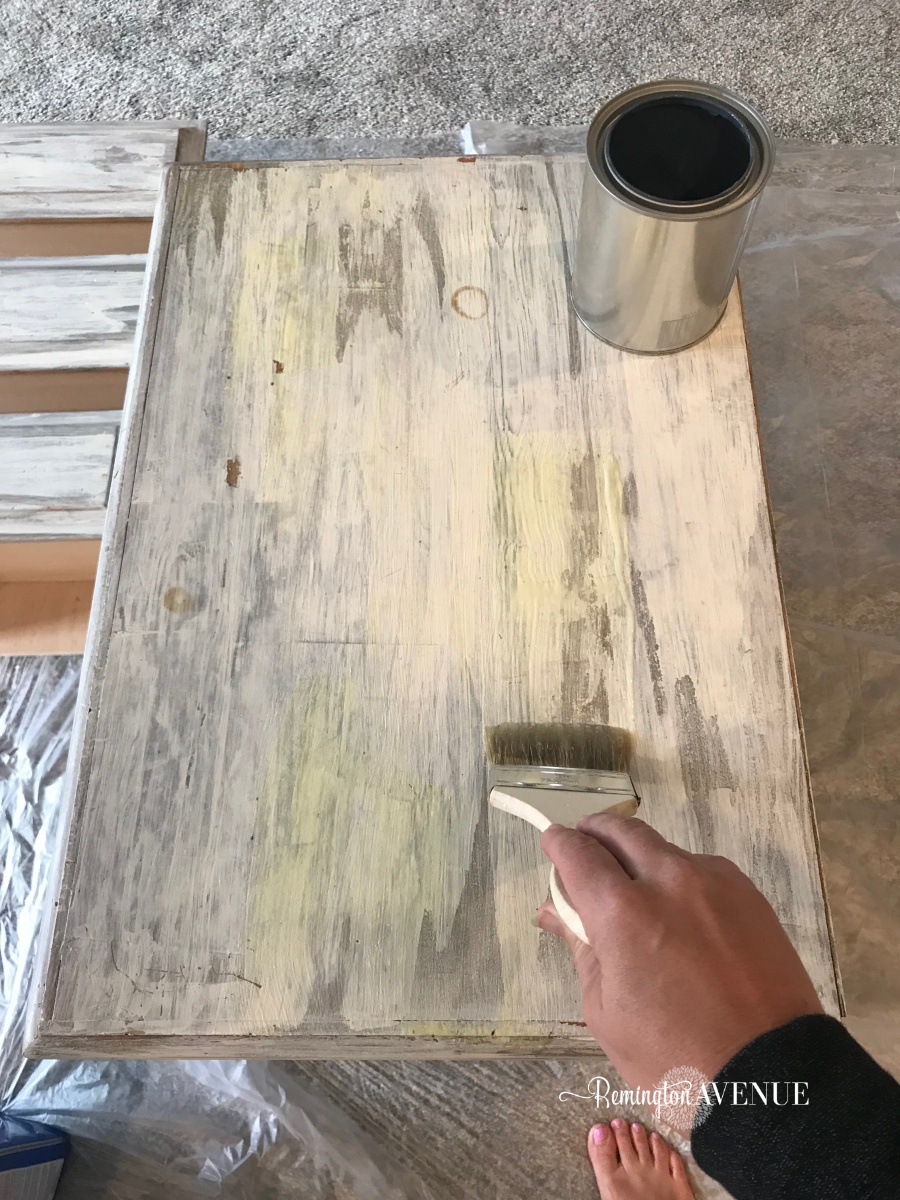
I considered sanding off the paint, but quickly decided it would take forever, and really I wouldn’t end up with the result I needed. If you truly want to get off all the paint, striper is the way to go. My friend Brooke has a lot of experience using paint stripper, and her tutorial was a valuable resource for me. I would defiantly check it out before you start on your furniture piece. Click here to read How & when to use paint stripper.
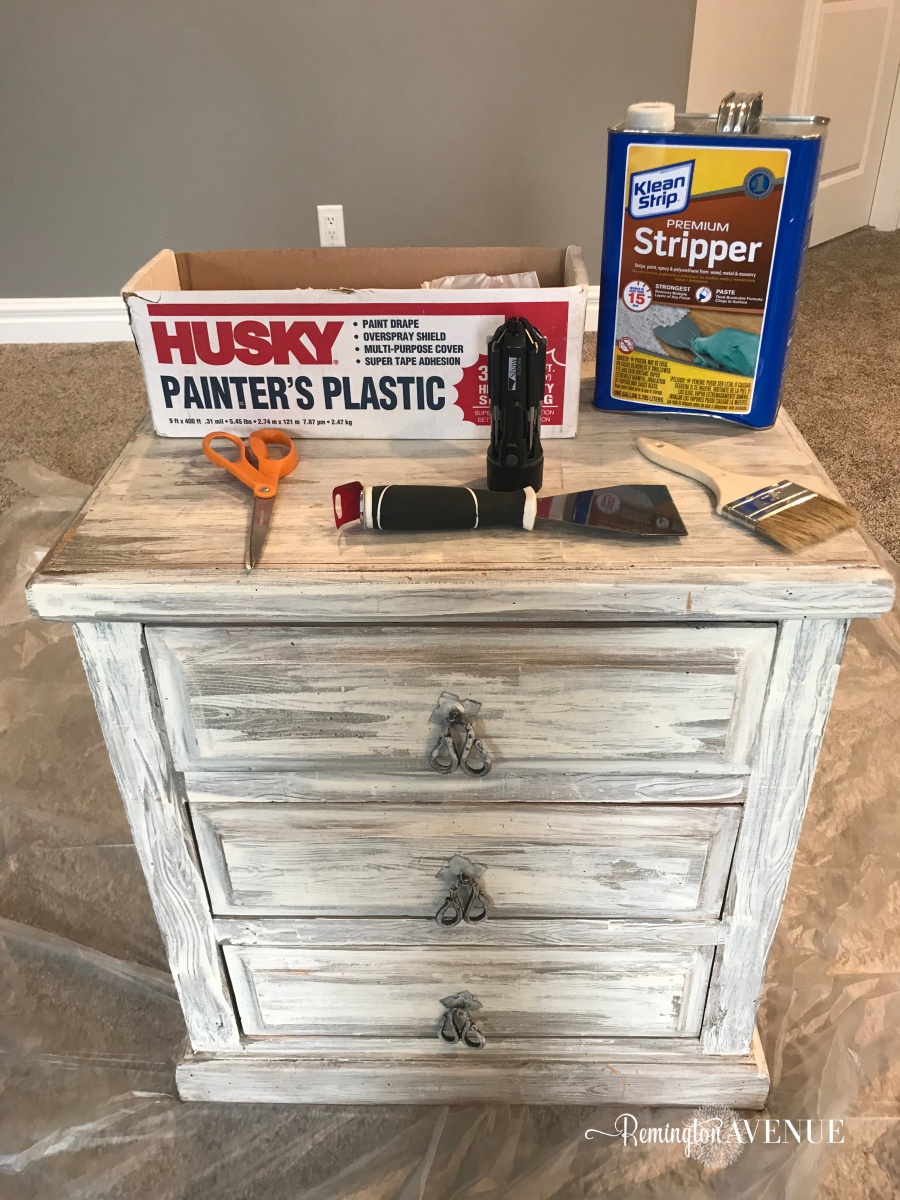
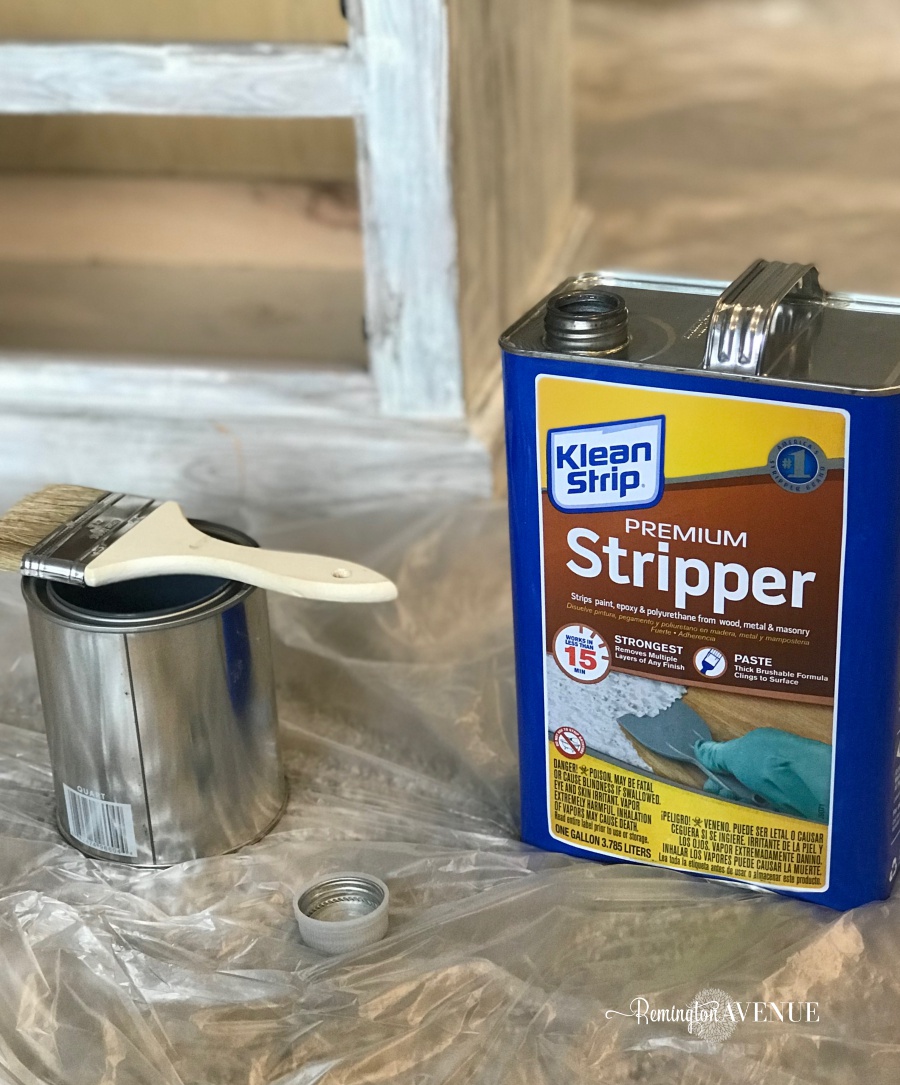
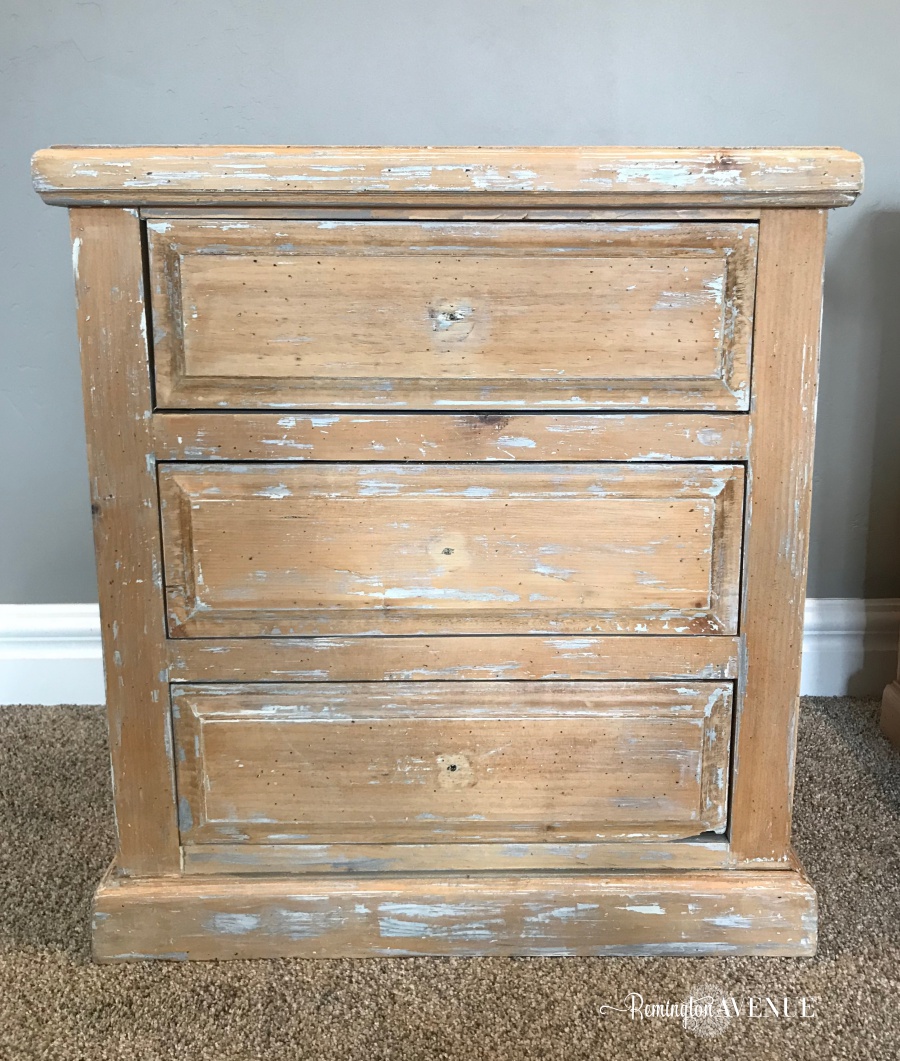
It took me about 2 hours from set up to clean up to finish stripping my nightstands of their paint. I left just a few spots of paint just for character. However, you can definitely get rid of all the paint using this stuff. I actually found this paint stripping process quite therapeutic and relaxing believe it or not. But it is messy.
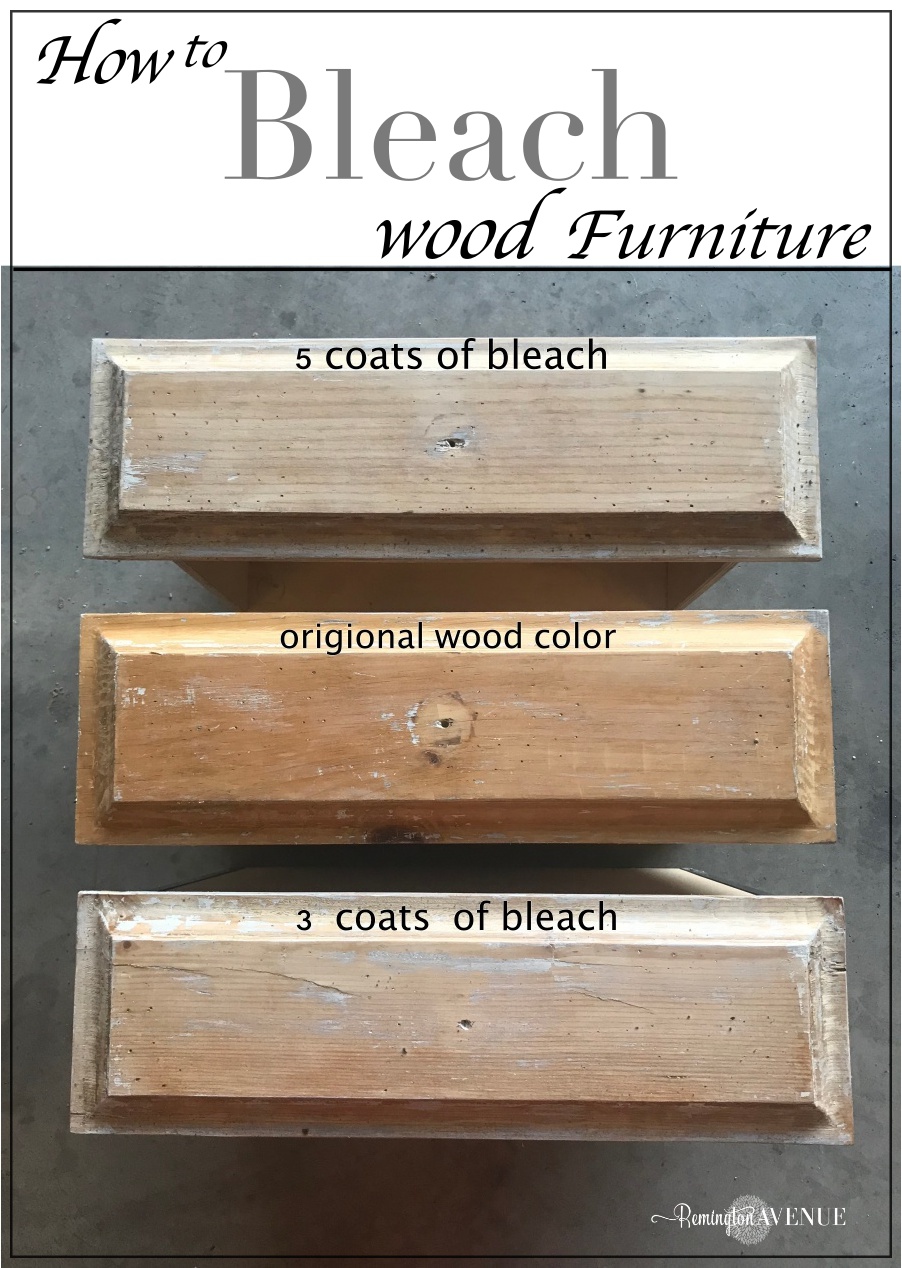
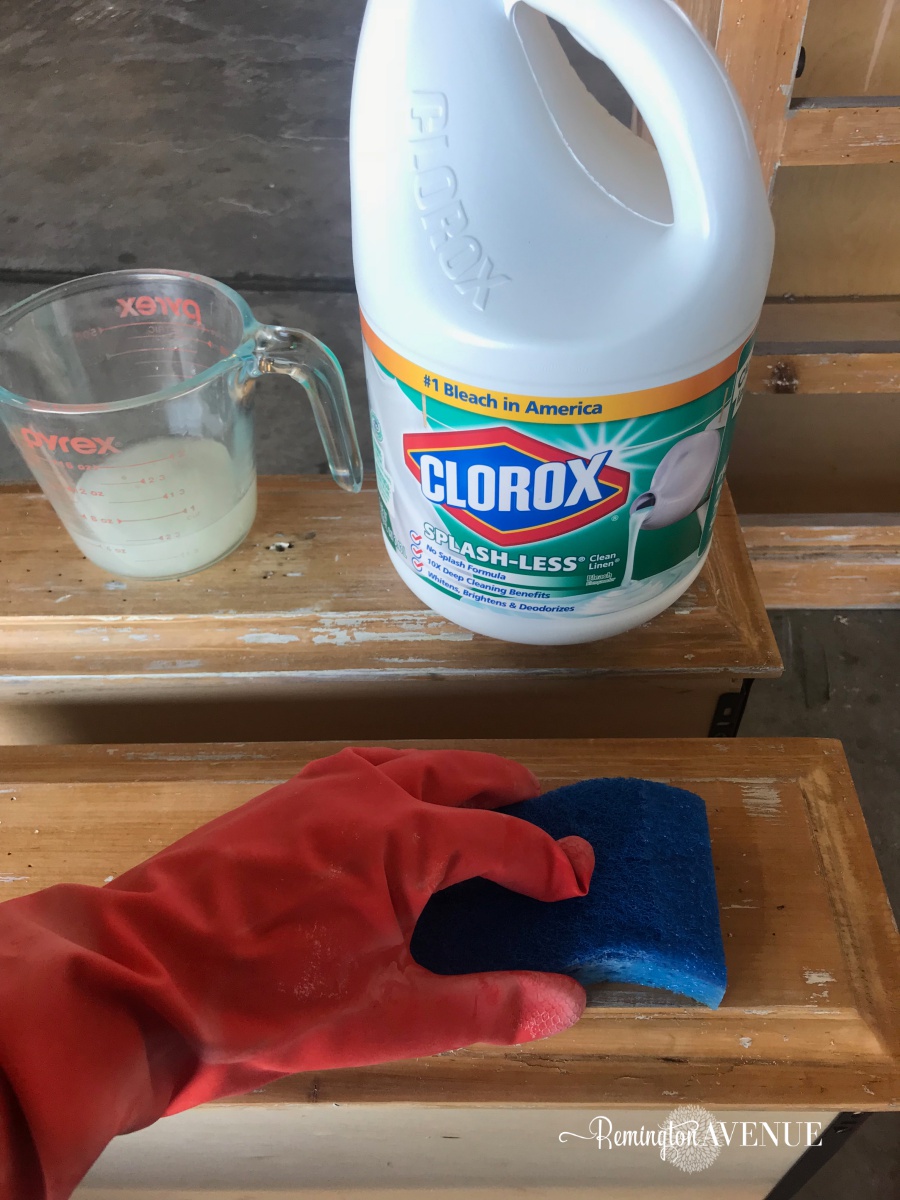
Now on to the Bleach! There are actual wood bleaches out there, but I found that my regular old house hold Clorox did the trick. This mild bleach can solve most refinishing color problems, from stains to water spots. It works well for blotchy areas and for slight overall lightening, but it won’t change the color of the wood drastically. Before you use a stronger bleach on any piece of furniture, try laundry bleach; it usually does the trick.
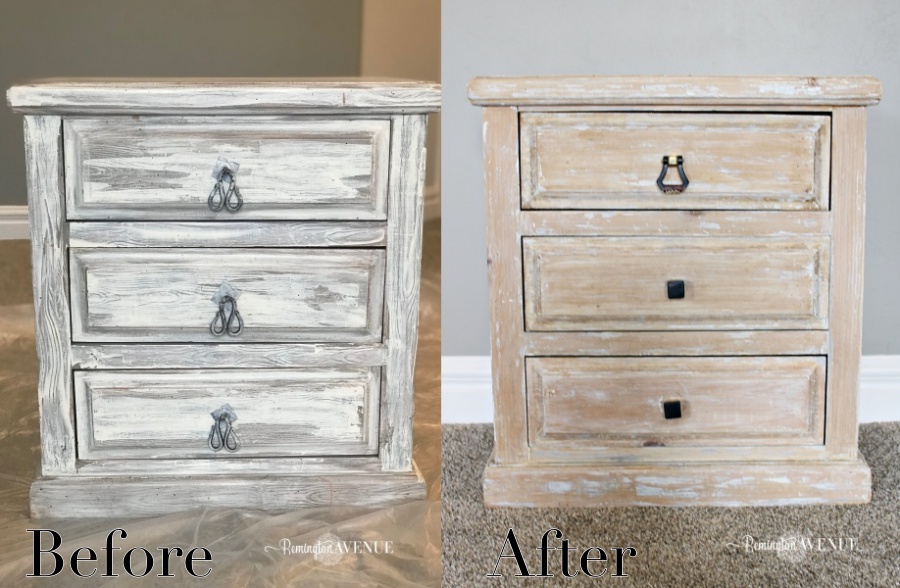
You can see my nightstands had a bit of an orange undertone. Orange is not my favorite color nor the look I was after. I applied laundry bleach full-strength, brushing it evenly over the entire surface of my furniture with a sponge. I repeated this process about 5 times through the course of a day before I got the color I wanted. I let the bleach fully dry before adding a new coat of bleach. I was amazed at the results. I rinsed both of my nightstands with water and let them dry over night. You can see in the photo below the difference between the original wood color to the bleached drawers (top and bottom).

If you’re removing spots or lightening discolored areas, apply bleach full-strength to those areas. Laundry bleach works quickly. After a minute or two, you should be able to see the stain fading. If you’re bleaching out an old stain, wipe the bleach off with a damp cloth when the stain has lightened.
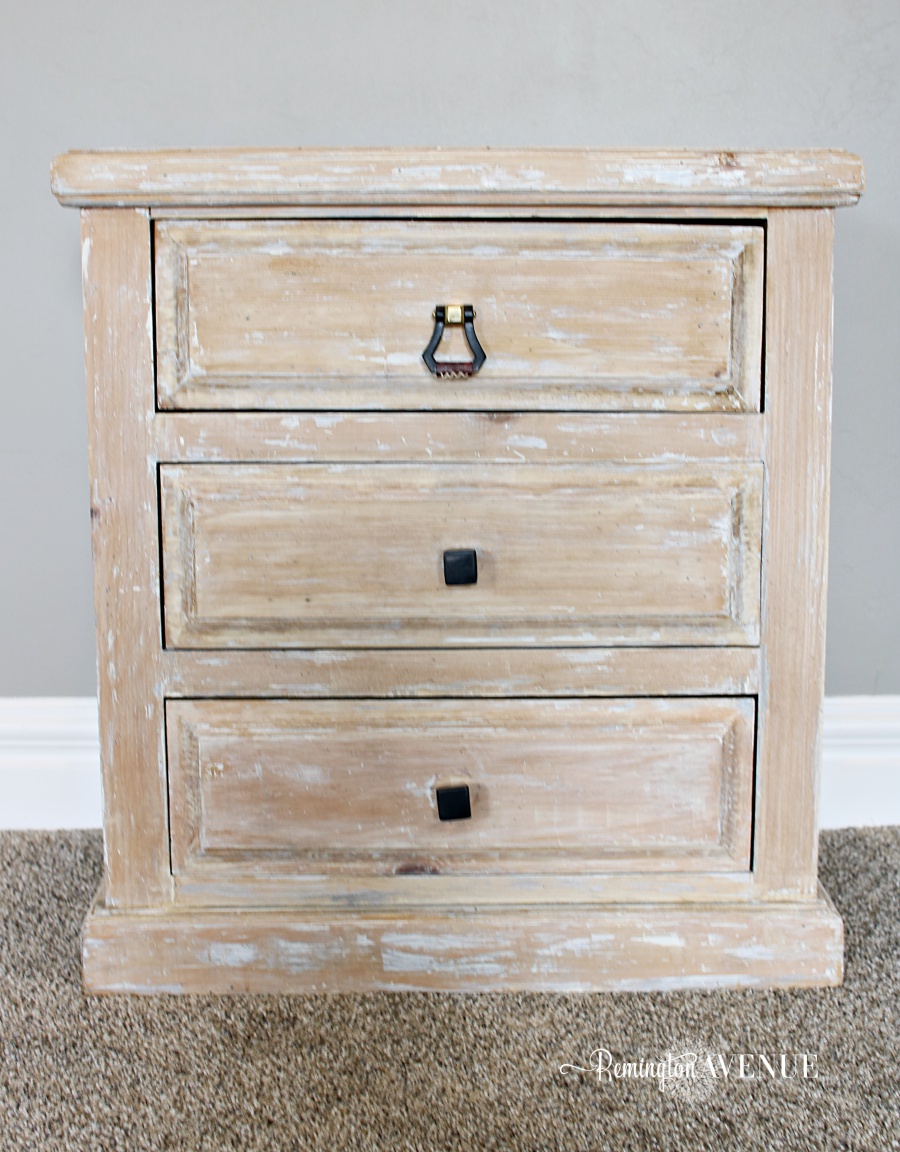
You could stop here with your freshly bleached furniture, but I wanted that bleached wood beach affect, so I took it one step further. I used this white washed pickling stain to achieve the look. I simply applied one coat of this stain with a sponge following the direction of the wood grain. It added the final white touch I was looking for.
Get the Look (Scroll & Tap)
There ya have it! Bleached wood furniture is definitely one of my new favorite ways to revamp an old piece of furniture. If you found this tutorial helpful, please pin the first image and help me share it with others. I would love if you joined me on Instagram and for all my diy tutorials, home projects, recipes, new home updates, and design tips by subscribing to Remington Avenue below.

 Add to favorites or read later