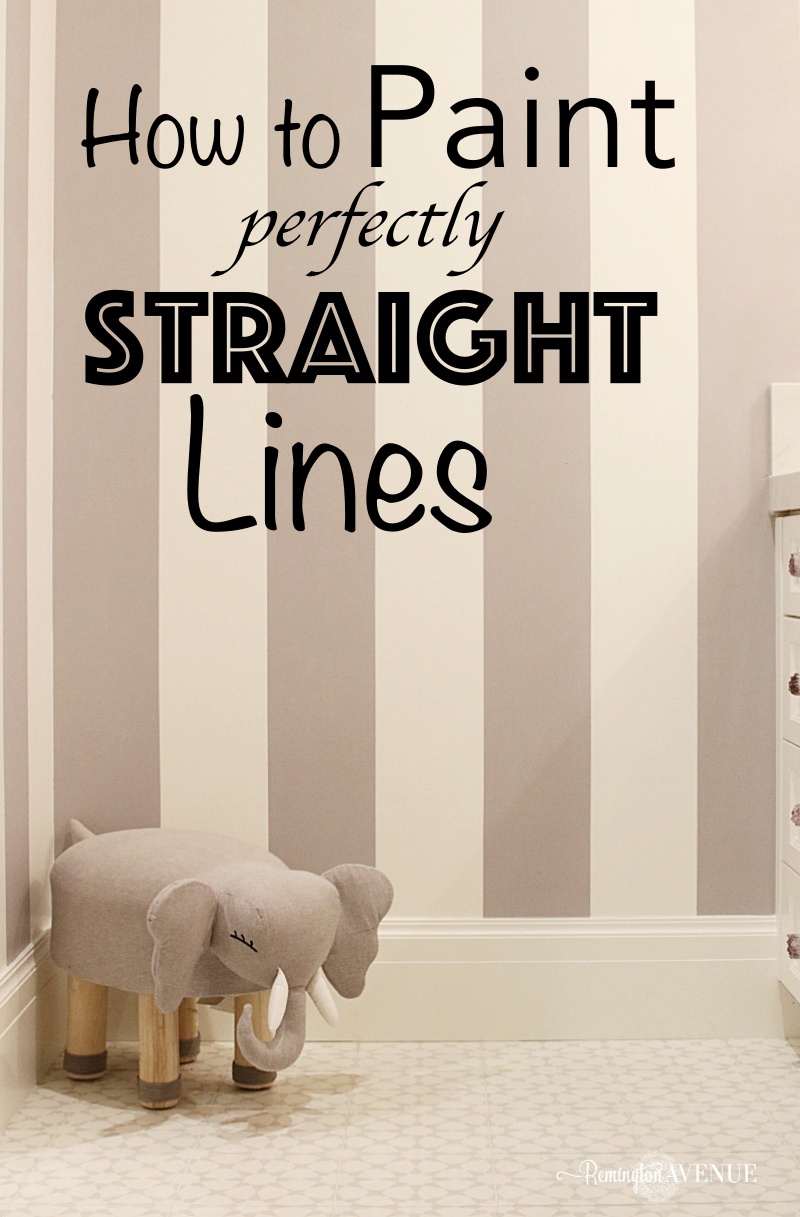
A tutorial for painting stripes. This step by step guide will have you painting perfectly straight stripes on your wall with no bleeding in a jiffy!
Okay people, you’ve made a monster out of me. All of you who requested a tutorial on painting stripes, you’ve contributed to this. It is YOUR fault that I am now obsessed with Frog Tape. ALL YOUR FAULT. Now all I’ve been dreaming up are different patterns and designs to take my paint brush to. Oh the endless projects that I can use my new painting tricks on!
All kidding aside, this painting project took me a total of 3 hours. Of course it was broken up by helpful kiddos and some snacking…always gotta snack. The prep took the longest. Measuring out my lines, leveling, and taping. Once it was time to paint though, it was game on!
*Affiliate links used throughout this post.
How to paint PERFECTLY STRAIGHT STRIPES on your wall
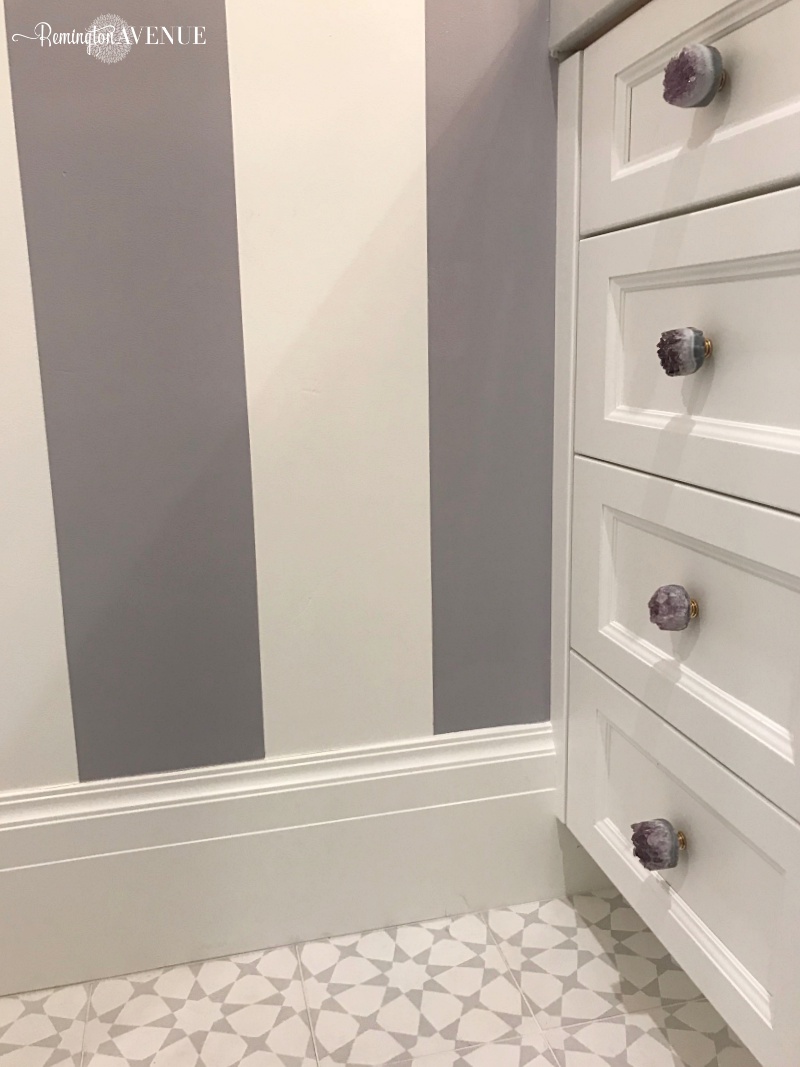
Adding vertical stripes to a wall creates a great effect for bathrooms, hallways, dining rooms, and other spaces in the home. I chose to stripe out my girls bathroom in this nice purple- gray color called Swanky Gray by sherwin Williams. Make sure your base color is the lighter of the 2 colors and shoot for 7-12 inch stripes.
Paint you base color. My walls were already white (Simply White by Benjamin Moore), and I wanted purple and white stripes so that was easily checked off the list.
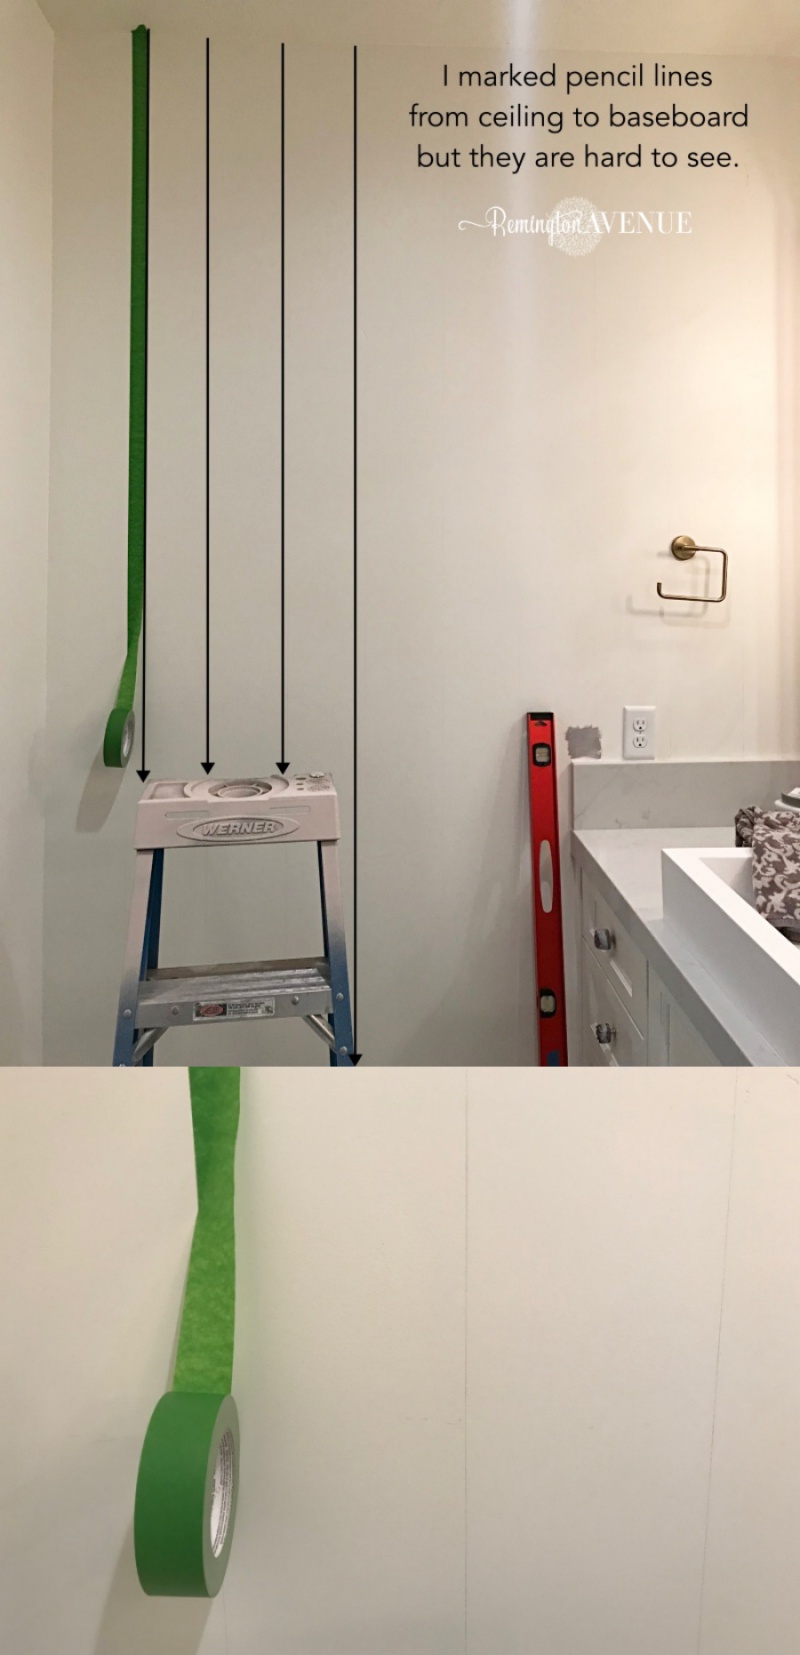
Map out your stripes. Measure your wall and divide the length of the wall by the width of the desired stripe. Mark out stripes with a pencil. Extend the marks vertically on the wall using a plumb level . Don’t worry, your pencil marks will be covered with the paint.
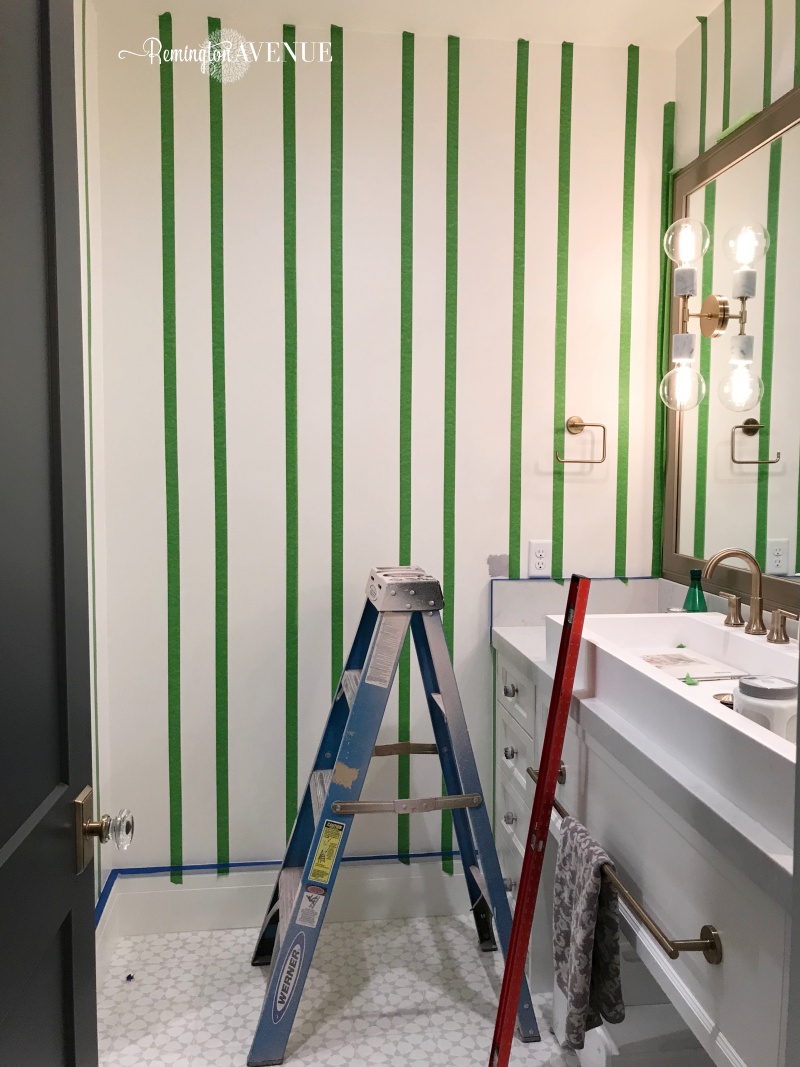
Frog it out. Ok, I have always used blue painters tape in the past, but I had heard such great things about Frog Tape that I decided to put it to the test. Man, I am a believer now! I have forever been converted to frog tape, esp after seeing the difference side by side. I had one roll of frog tape- enough for all the stripes in my bathroom. I had to use blue painters tape for the baseboards to avoid another trip to the hardware store. Let me tell you, I had ZERO BLEEDING with the frog tape, but I did have bleeding with the blue painters tape. This is 100% not sponsored in any way, I just really feel strongly about this!
Press firmly on the tape with the back of your nail preventing any paint from seeping under. Now here is another trick that will make your lines extra crisp…
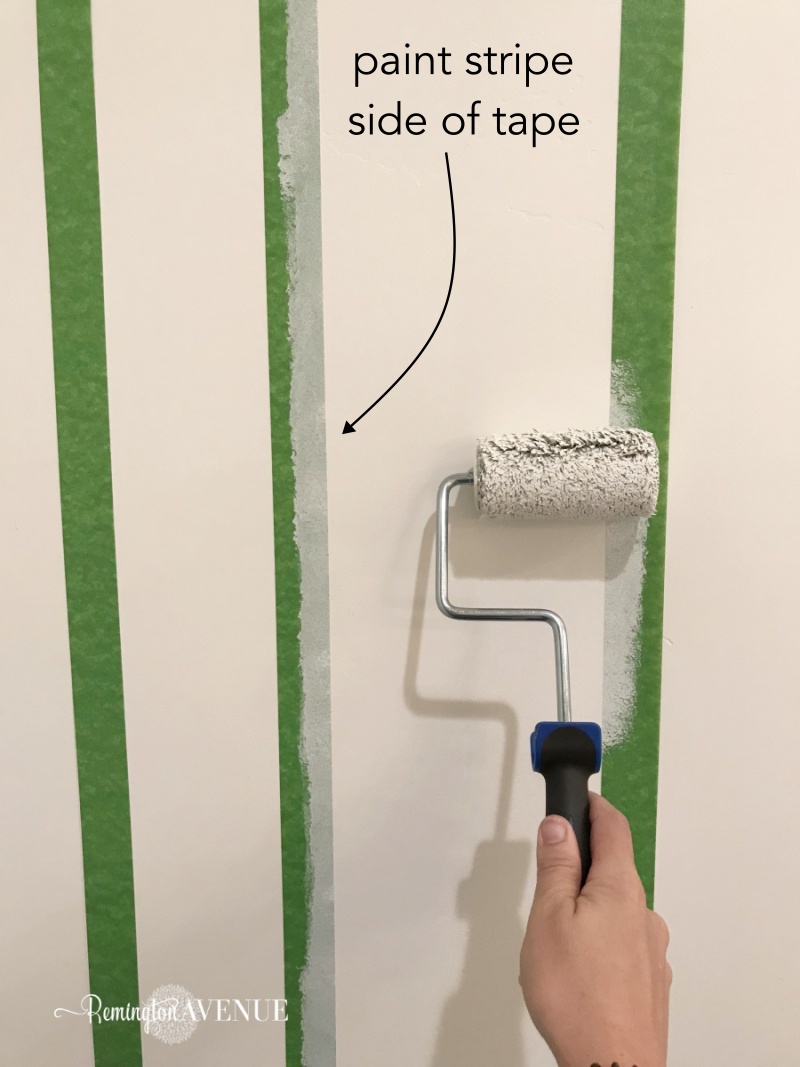
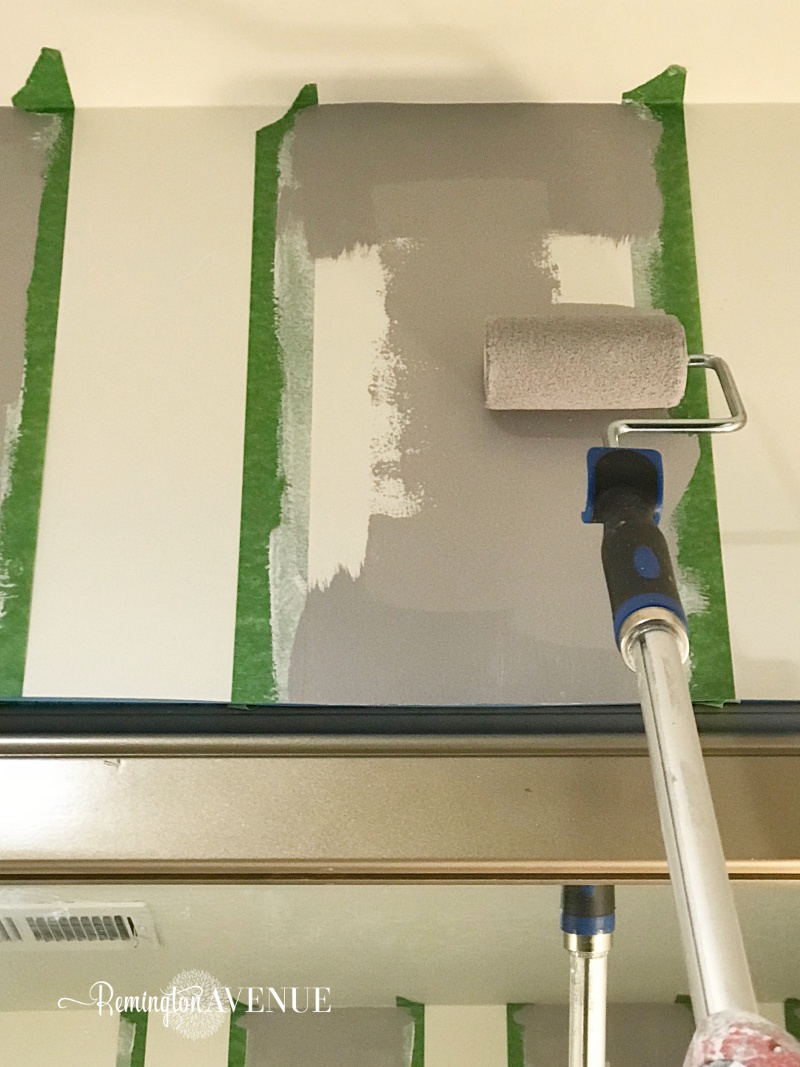
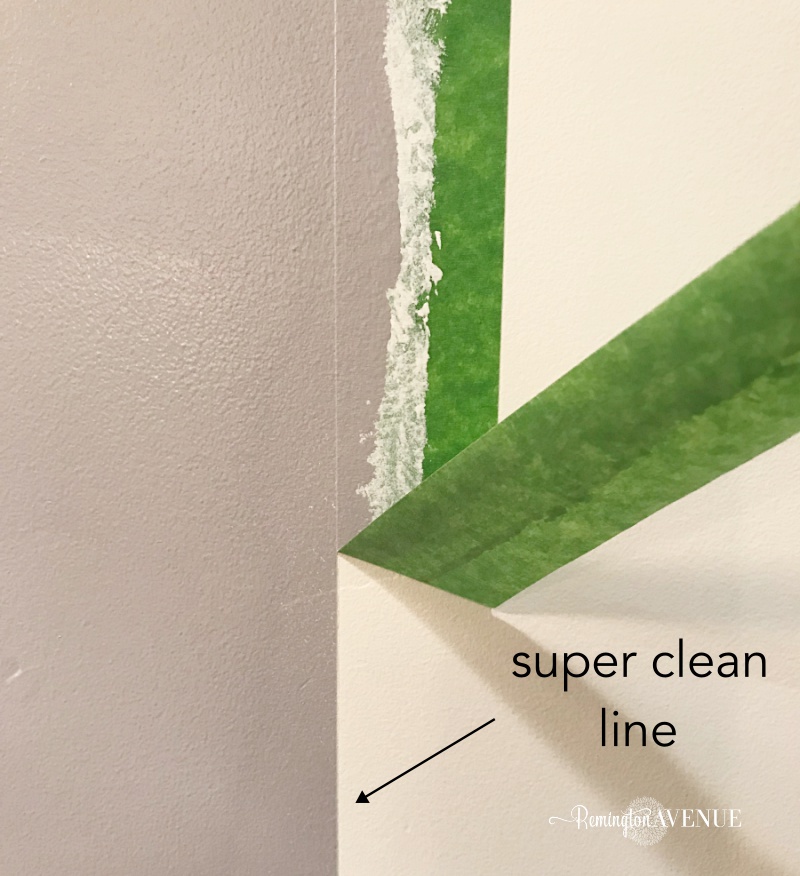
Apply one layer of base color over the stripe side of the tape. I used a 4″ roller for this step and my 6 year old son helped me. Yes, this is another step, but it goes quick, its easy, and IT WILL ENSURE NO BLEEDING…FOR REAL! If there are any air gaps between the tape and wall, the base color will fill them, leaving you with a crisp line. TRUST ME!
Paint your perfectly straight stripes. Cut in the ceiling and baseboards with an angled brush. Use a roller to apply desired stripe color to the walls. My walls were fully covered with 2 coats.
Remove the tape. While the paint is still wet, remove the tape by pulling the tape upwards. Removing the tape while wet will ensure no peeling and give you that crisp clean line.
Having painted many stripes in my life, I gotta say this was the most successful method. My two takeaways: use frog tape and paint your base color over the tape before applying your stripe color. I can’t wait to use my new tricks on more projects. Make sure to share your own projects with me in the comments section below or by tagging me @remingtonavenue on Instagram for a chance to be featured!
Did you paint the whole wall with the base over the tape or just over the tape and it’s edges?
Also, after you painted the official stripe colour on, how long before you removed the tape?
Being a bathroom, the paint base – was it specifically for bathroom use? I.e. steam, washing the walls, etc. ?
Hi Kira, I just painted the base color over the tape edge that would become my stripe. The base color then fills in any air gaps and prevents the stripe color from bleeding.
Hi, this looks great. What could you use to help get a crisp straight line against the ceiling. Frog tape again? Thanks
Hi and thank you. I never tape my ceiling line actually. Ceilings are almost never level, so I use an angled brush to cut in the paint.


 Add to favorites or read later
Love this! Been wondering about the frog tape….
Did you paint the whole wall with the base over the tape or just over the tape and it’s edges?
Also, after you painted the official stripe colour on, how long before you removed the tape?
Being a bathroom, the paint base – was it specifically for bathroom use? I.e. steam, washing the walls, etc. ?
Hi Kira, I just painted the base color over the tape edge that would become my stripe. The base color then fills in any air gaps and prevents the stripe color from bleeding.
Hi, this looks great. What could you use to help get a crisp straight line against the ceiling. Frog tape again? Thanks
Hi and thank you. I never tape my ceiling line actually. Ceilings are almost never level, so I use an angled brush to cut in the paint.