ORC Bright White Master Bathroom Makeover :Week 2 Demo
Hello everyone! It’s already Week 2 of the One Room Challenge and my bright white master bathroom makeover is officially underway! If you missed my first week, you can find the information here. I’m linking up as a guest participant for the full 6 week challenge.
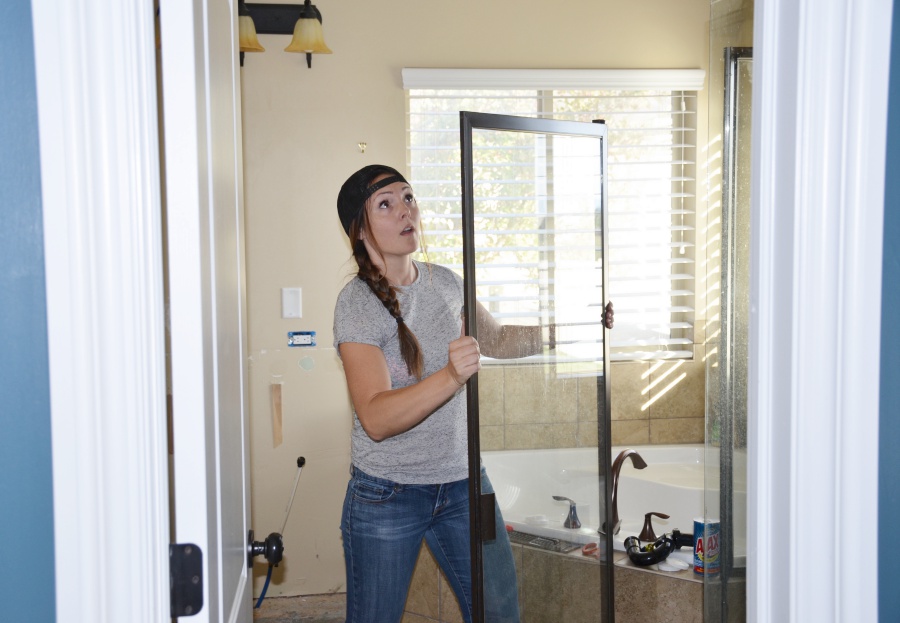
Demo, demo, demo! Those were the lyrics to the song of my hammer this week! We really only got one thing completed which was gutting the bathroom. Holy moly that’s hard work and boy am I so glad it’s done! We tore out the old shower door and I gotta say it was quite satisfying to see that thing hauled off to the dump! I’m ordering a new custom Euro glass door and I am so excited for the upgrade.
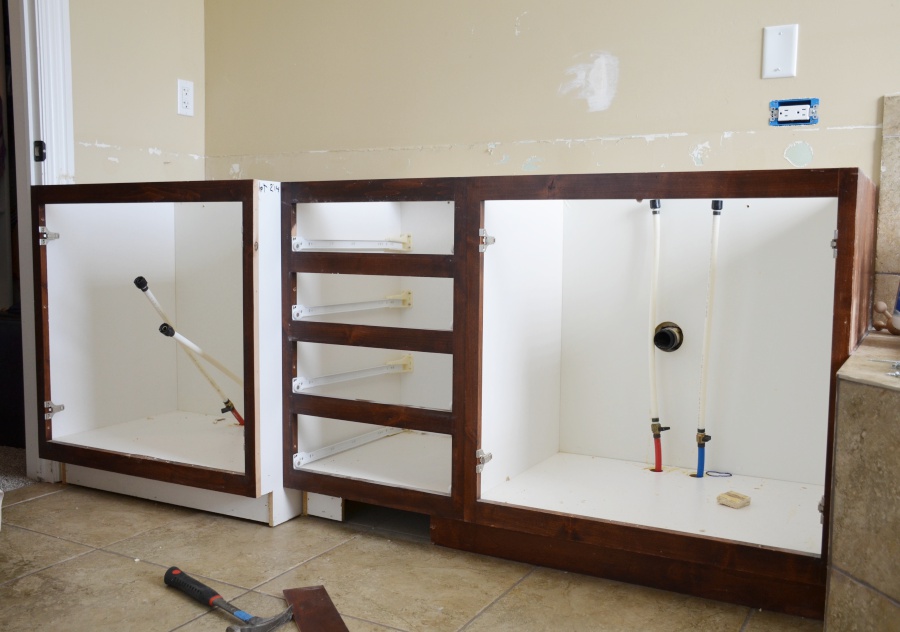
Next to go was the vanity. I mentioned in the last post that we will be reusing it in the downstairs bathroom. More details on that later. Of course the wonky mirrors are gone too.
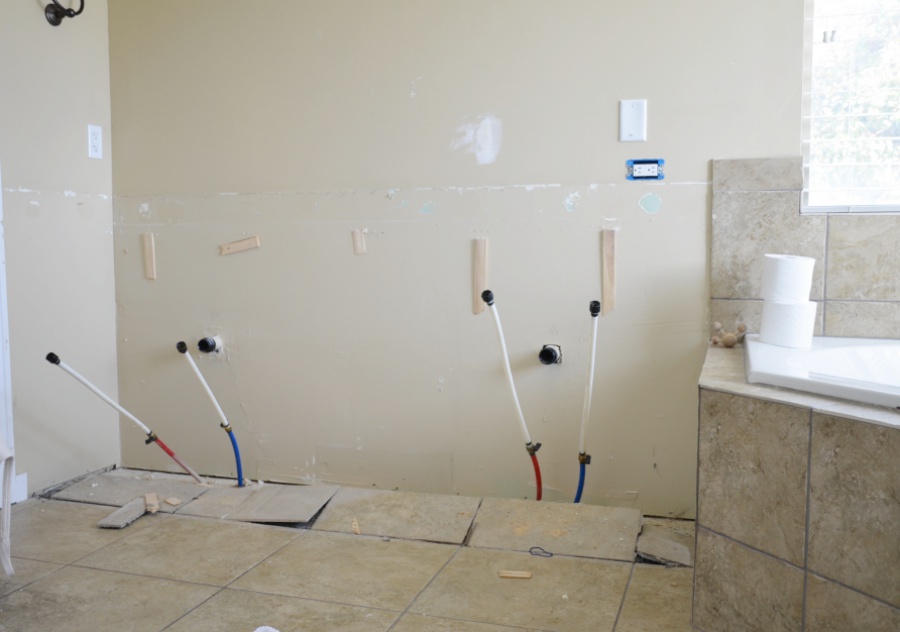
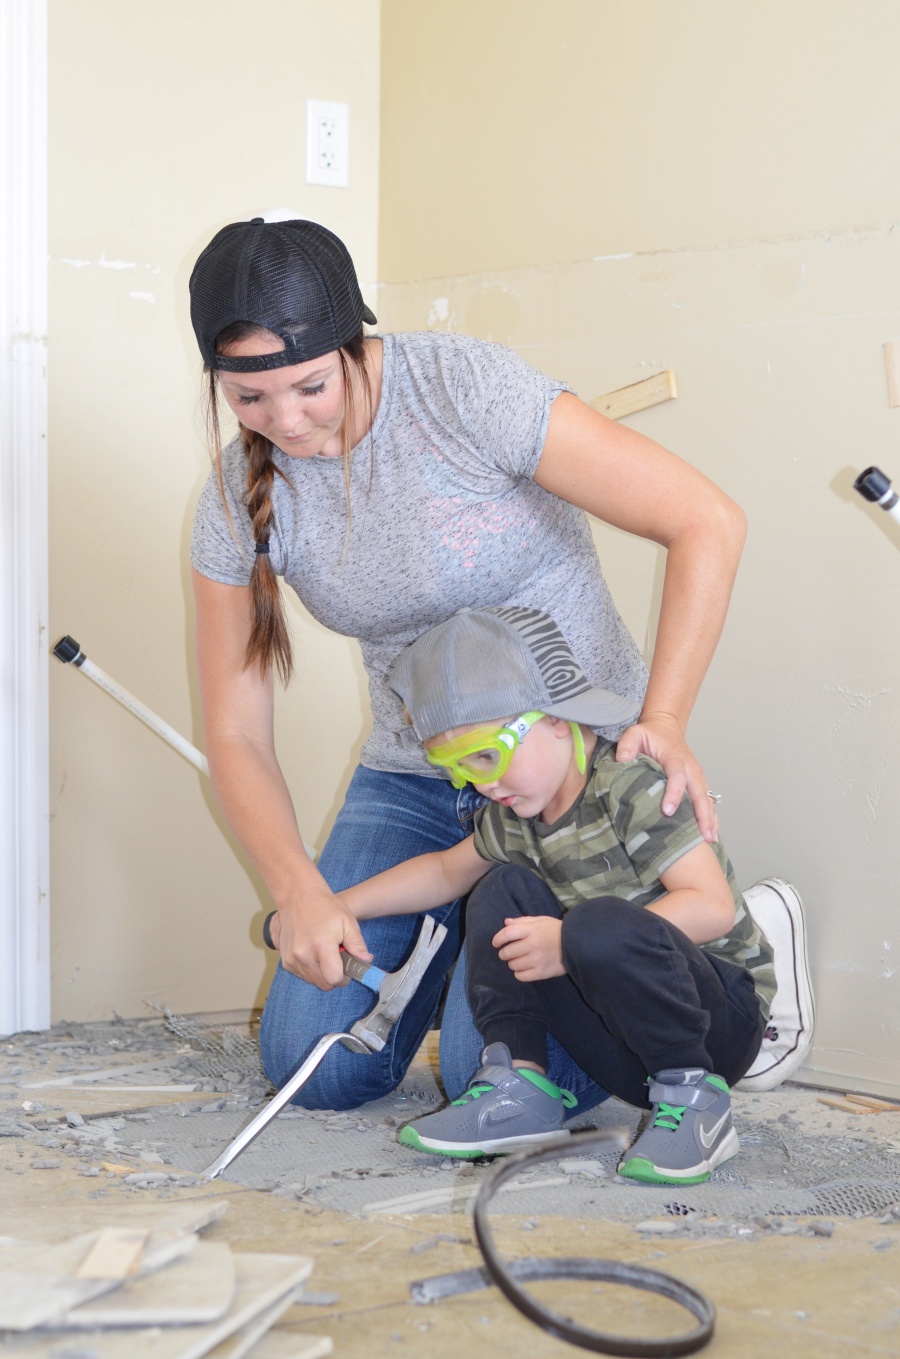
We removed all the baseboards and finally the floor tile was the last to go. A huge Thank you goes out to CB (my helpful hubs with the muscles) for doing the majority of the tile tear out. You better believe we had our little helper in there doing all the heavy lifting though! We used a hammer and a mini crowbar to remove all our floor tiles. If your looking for a good tutorial on removing tile, check out this video.
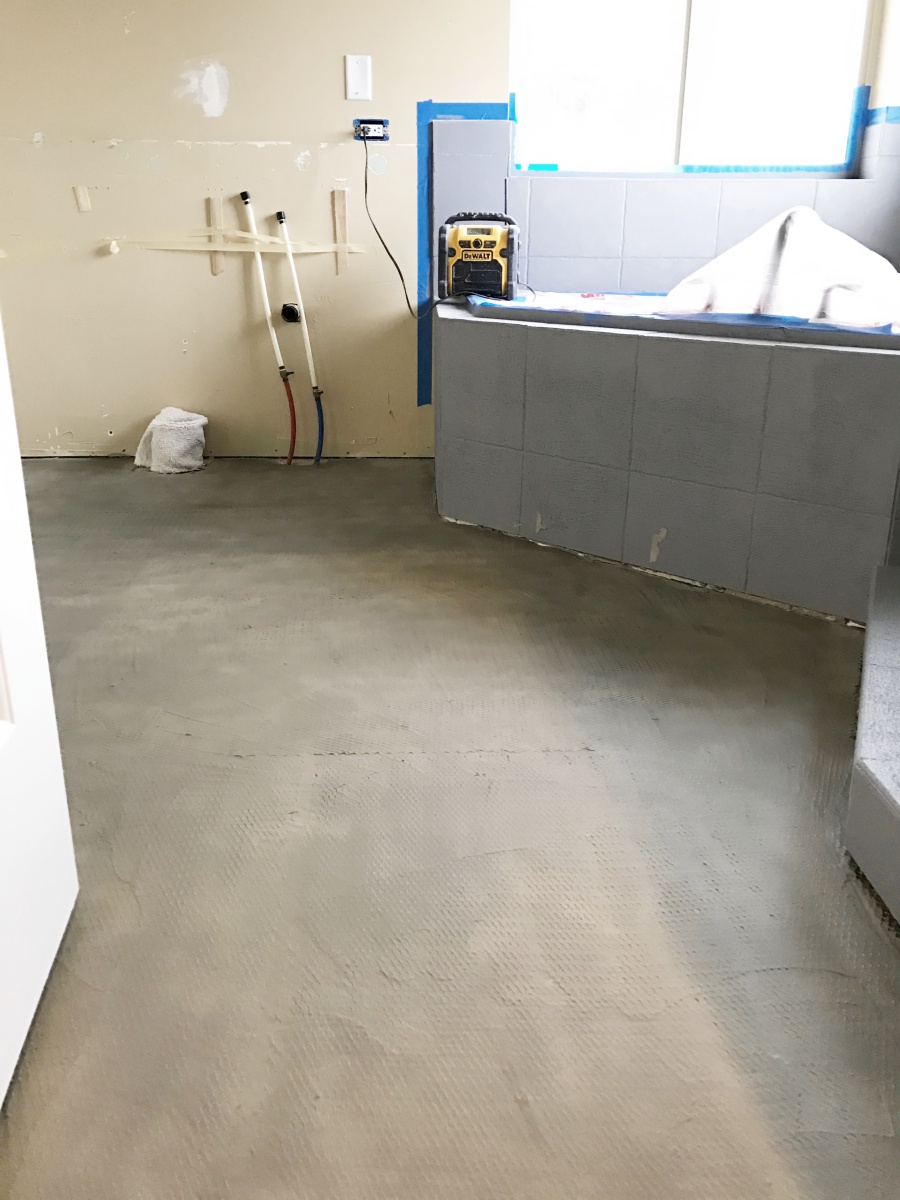
You’ll notice we didn’t remove all the tile! No we didn’t get too tired and NO we definitely aren’t keeping it. We are tiling right over it! Did you know you CAN tile over tile? I don’t think I would do this on my floor because of height differences between the new floor and any existing floor transitions. Knowing myself and my tiny bladder, I’d trip over the tile edge on my way to the commode in the middle of the night. Not to mention it would be a huge eye sore. However, on a wall application and/or shower floor it’s a great money and time saving solution.
A couple things to keep in mind when considering tiling over tile in a shower are 1)The thickness on the wall will increase. 2) You need a rough surface for the new tile to adhere. 3) Make sure there are no cracks and/or water damage.
The extra thickness on the wall is no bother to me. You just need to find a finishing piece for the edges. I’ll be using a schluter trim piece from my sponsors Floor and Decor. This should give it a nice finished look and nobody will even notice!
To rough up the surface, my tile guy Jim applied Eco Prim Grip all over the old tile. It’s a multipurpose bond-promoting primer that contains sand particles to create a surface that the new tile can adhere too. See how rough it is?!

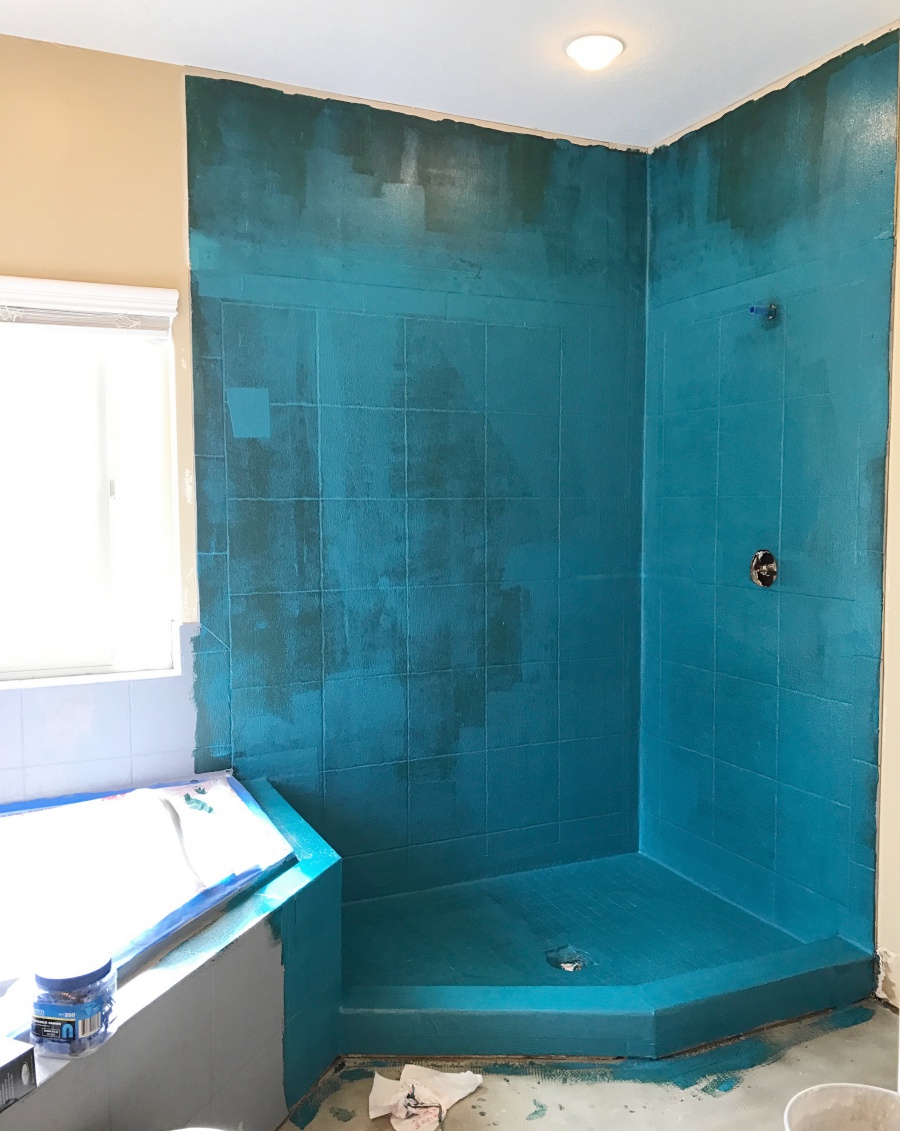
The last of the prep work was spent water proofing the shower. He rolled on a couple coats of aqua defense to create just another barrier to prevent future leakage or water damage.
My motto for this bright white master bathroom makeover is “splurge and save!” Basically we are strategically saving in certain areas so we can splurge in others. Doing the demo ourselves saved us a good chunk of change and tiling over the old tile helped us keep those dollars in the bank too. Tiling over the shower floor saved us from having to replace the shower pan and that was also a great saver. Approx in $2000 savings.
The new Euro glass door will be a splurge. Splurging on a frameless piece of glass art will defineltly bring our master bathroom to the next level. We also extended the shower tile all the way to the ceiling for a more dramatic look. Now enough with the ugly photos.

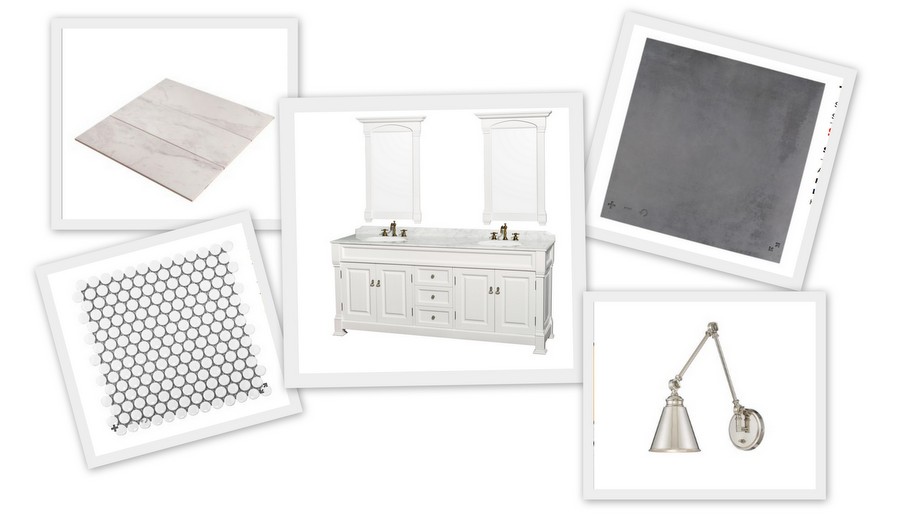
Below is the design plan for my bright white master bathroom makeover. Make sure to stop back in next Thursday to see all the tile fun with Floor and Decor.
ORC: Week 1 Bright White Master Bathroom Makeover
ORC: Week 3 Bathroom Vanity & Painted Faucets
ORC: Week 4 Tile- Designer style on a budget
ORC:Week 5 Lighting & Accessories

 Add to favorites or read later
Mysha!! I had no idea you could tile over tile. This is something I will keep in mind regarding my own master bathroom. You’re making awesome progress! Can’t wait to see it all come together.
Even though I’m not doing the work myself, I wanted to educate others in money saving methods. Glad to help someone! ps loving how your room is coming together
I had no ide you could tile over tile!! I can’t wait to see what it’s gonna look like next week!
Sure can… and it can sure save you some $$$. Thanks Kelia
This was super helpful!!! I had no idea. Your plan mood board is beautiful!!!!
So much progress! I love the part when the demo is over and the slate is totally empty and clean. Like a blank canvas! Its going to be beautiful!
Thank you so much Michaela
Mysha, I am so excited about your master bathroom plan! Your inspiration photo looks EXACTLY like the master bath of my dreams :). Love the idea of tiling over tile… you have me thinking for when we do our master bath. Can’t wait to follow along!!! Have a great rest of your weekend!
Glad I could offer some solutions! The inspo pic is dreamy…mine will be on a budget haha! Loving your bathroom progress as well!
You are blowing my mind with the tiling over tile. We have almost exactly the same tile and I have no fear tearing it up on the floor, but the shower scares me. Can’t wait to see how this comes together. You’re picking all my dream selections, so it will be an amazing image of what our bathroom could be!
Haha, it’s a little trick that works great for kitchen backsplashes too! Thanks for following along
Oh Mysha major demo girl I love it! OK, so I am taking note on all this tile work because my bathroom refresh for ORC that didn’t include major demo and tile work is now turning into that. UGH. Maybe I should just hire you to come do the job. 🙂
Oh no! Well hopefully you get it all worked out
OK I’m so hooked on this entire bathroom redo AND I love that you get your kiddos involved too!!
awe thanks carissa, your so sweet!
I’m so glad I found your blog!!! I’ve heard of tiling over tile, but I’ve gotten mixed reviews.
So you tiled over existing tile throughout the entire shower? Like floor,walls, everything?! I’m assuming the same steps/technique could be used on a backsplash? What about on a countertop? Would you recommend that?
How has it held up so far? Any water issues??
Yes its held up great. I shared the exact products I used to ensure no water leakage. This method works great on backsplashes, but I don’t think I would do it on a counter just because your will see a huge difference in thickness