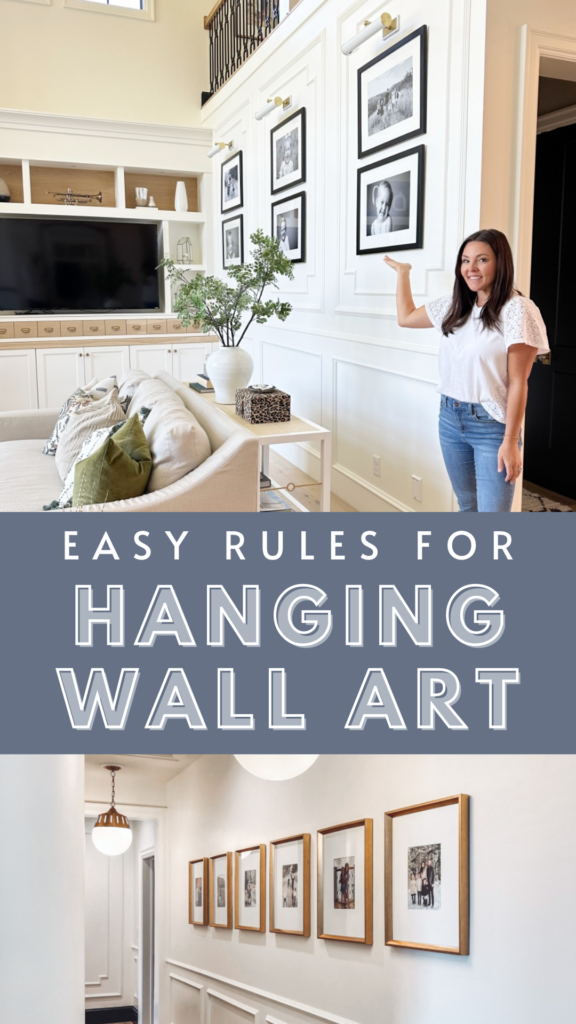
Easy Rules for Hanging Wall Art
When it comes to YOUR home, you want it to reflect the people who live there, specifically you and your family. That is why I am always saying “hang the dang family photos and the art pieces you found while traveling!” Your home needs to embody your memories, your style, and your unique collections. But I know it can sometimes be intimidating to put holes in your walls, so I have a few easy rules for hanging wall art that I want to share with you.
So I finally get you on board to “HANG THE DANG PICTURES” and now you’re feeling overwhelmed by how high to hang the art, or how far apart each piece needs to be. The thing about it is, styling is an art, but there are some simple easy rules that will help you cheat your way to a comfortable and harmonious design.
Here we go…
Easy Rules for Hanging Wall Art at the Right Height Every Time
Hang art/photographs at eye level.
Now I know the first thing you’re gonna say is…”I’m 5’5″ and my partner is 6’3″…our eyes are at different levels. To that I answer, YES, you are correct! And to ensure your artwork looks amazing regardless of who’s gawking at it, the standard height for hanging artwork at eye level is 57” from the center of your photograph to the floor. If this seems low to you, know that you can get away with hanging your art or photographs a little higher at 60”.
You’ll first want to find the center of your artwork (from top to bottom) and then decide which height you prefer. From there, just stay consistent. If your optimal height choice is 56″ then repeat that in every room. I share an easy hanging hack on my Instagram here.
Art over furniture should be hung 4-8″ above the furnishing.
Just a small gap between the top of the table and the bottom of the art is necessary. But, please keep in mind that scale matters! We never want to hang a piece of art that is wider than the sofa or table below it. It will feel unbalanced and awkward. In contrast we don’t want to hang a tiny piece of art over a large furniture piece. This will make the art feel like it’s floating in an abyss. Group your smaller pieces into a gallery or collection that equals about two-thirds the width of the furnishing.
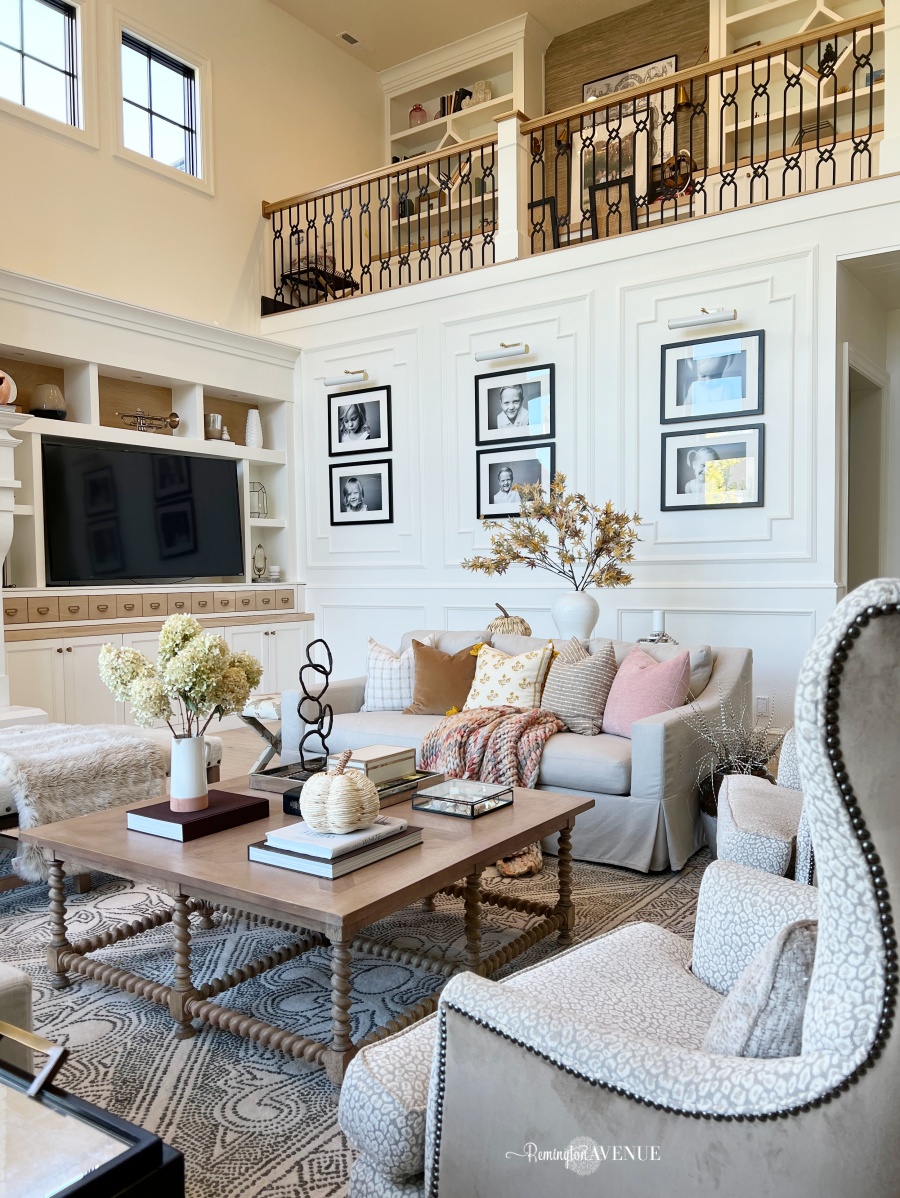
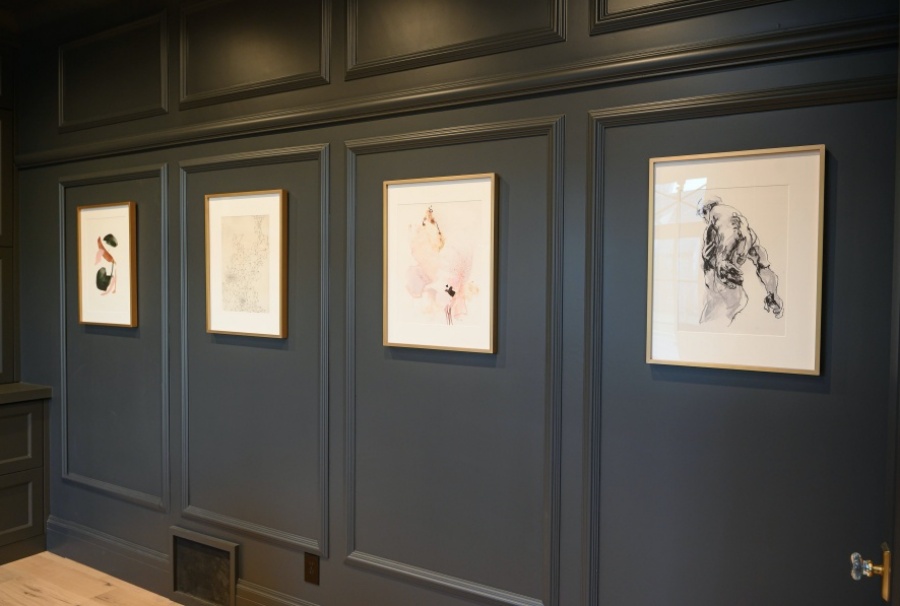
Art within molding should be hung in relation to the box dimensions.
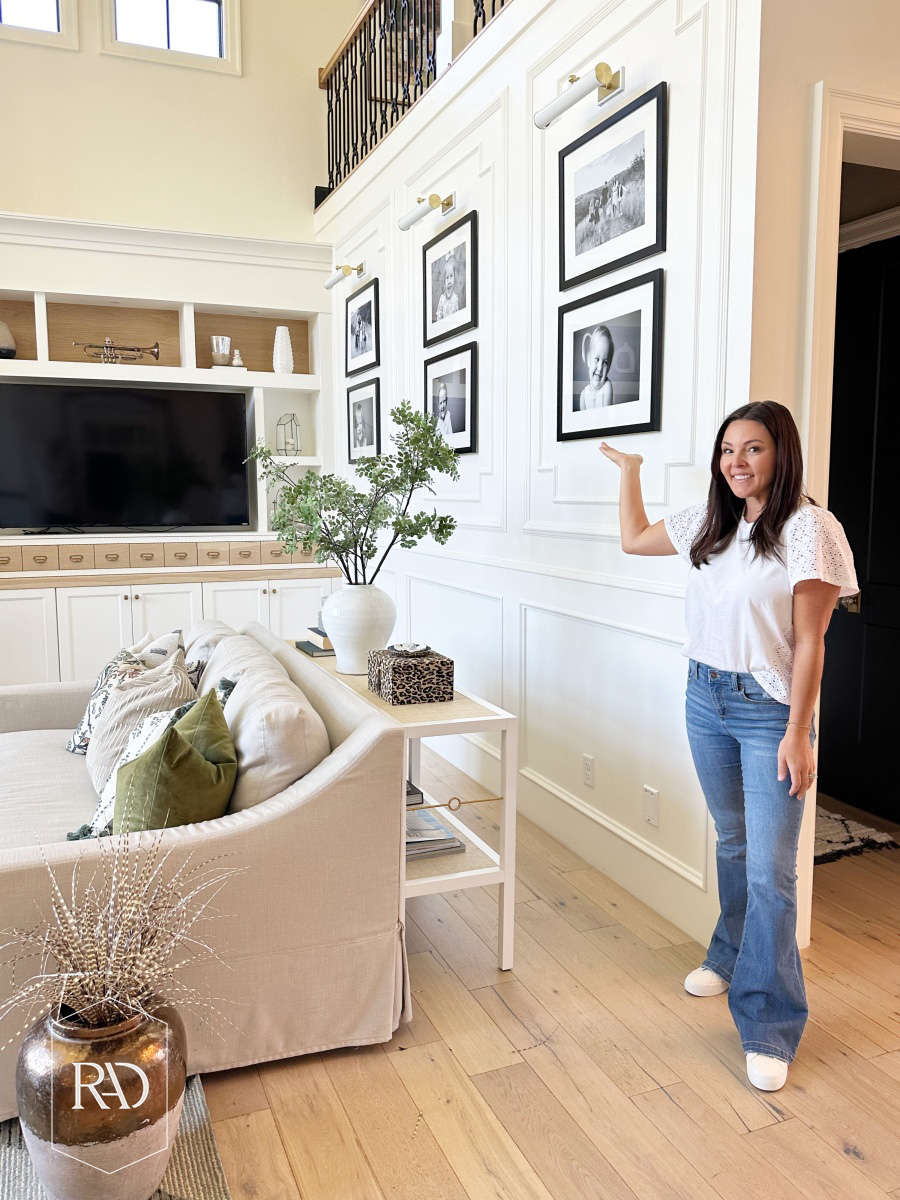
If you’re hanging art within molding, disregard everything I said above! So basically, you’re gonna throw out the eye level bit here. Instead, go with proportionate measurements within the boundaries of your molding. This gallery wall is featured on a 10ft tall wall and half the height of the entire space floor to ceiling. My chair railing is higher to balance the magnitude of the entire room, lifting the height of my gallery wall into the coordinating molding boxes.
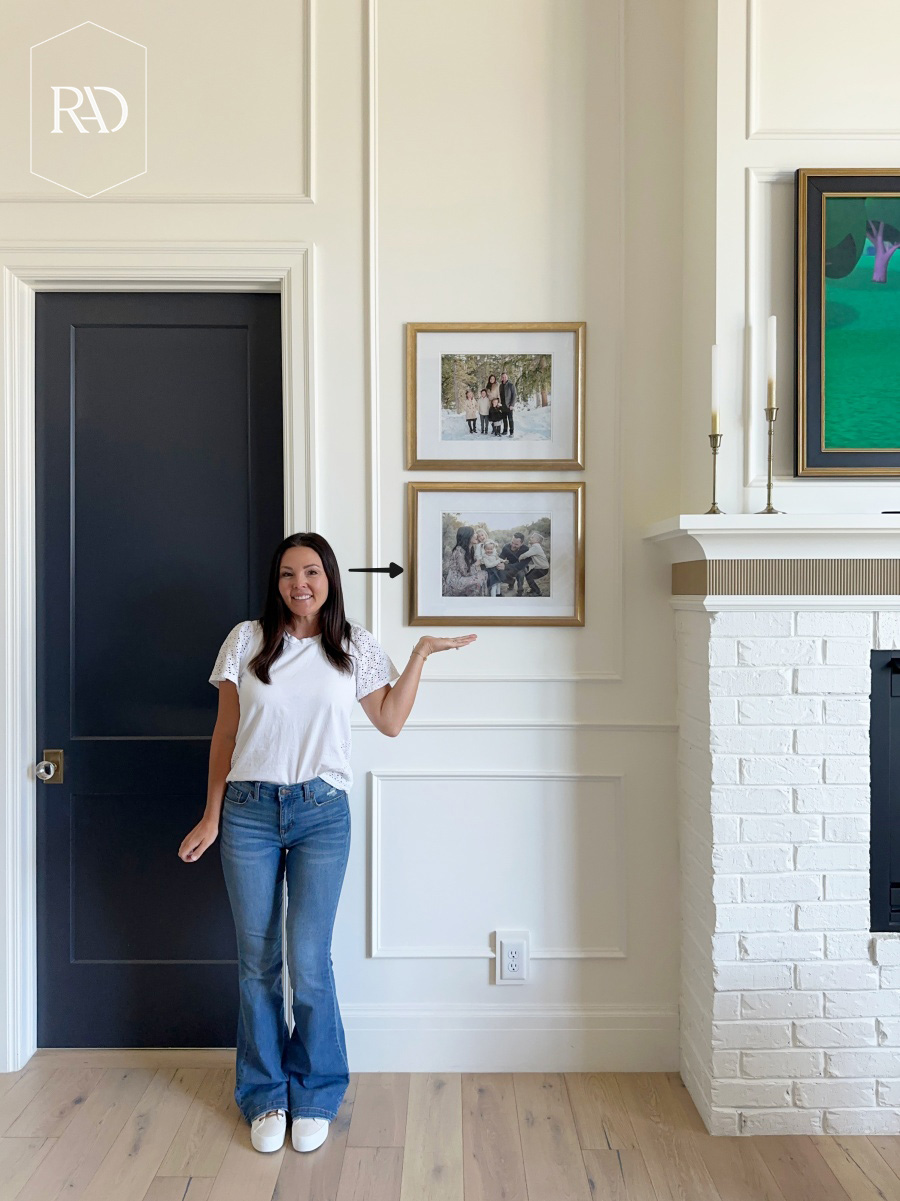
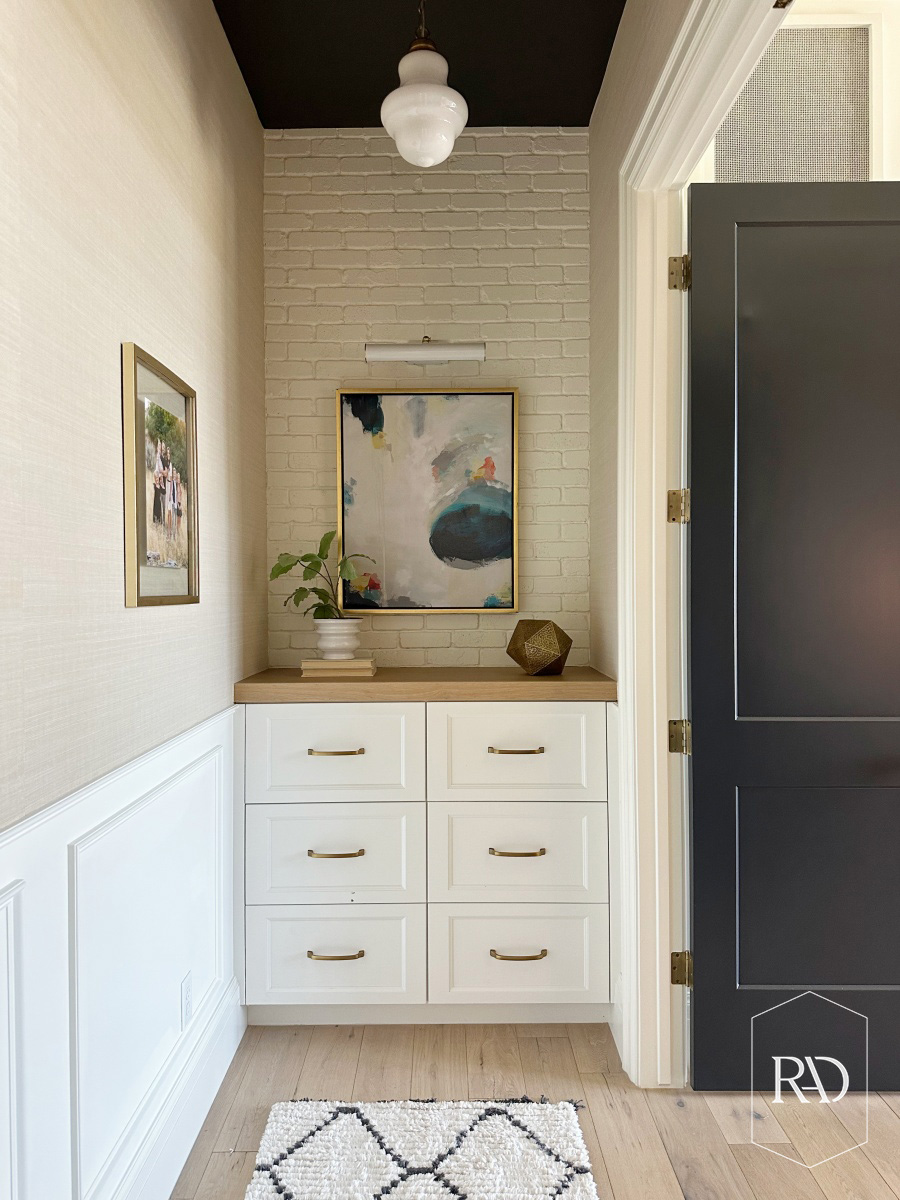
Consider the adjacent wall art.
Look around your space and take into consideration the other wall art in the room. Is it larger or smaller? This is another situation where you’ll throw out the eye level rule. You’ll want each of your art pieces or photographs to be centered with each other. So if you have a larger piece, you’ll want to center the smaller pieces with it. I did this in the hallway below, causing the family photos on the adjacent wall to be hung slightly higher that eye level.

Remember these rules are to help guide you in creating a cohesive and well-balanced home. Sometimes rules can be rigid, and creating a comfortable home should be anything but rigid. So step back from your art and see how it plays with the rest of the space. I know you can do it!

 Add to favorites or read later