Nostalgic Elegant Christmas Mantel
I’ll admit, I’m a little bit behind schedule this year when it comes to the holiday decor. I had tons of messages from you guys asking for holiday decor inspiration! It makes me so happy that you look to my content for the inspiration you need. I even had my kids asking where the tree was. I then explained to them that most people wait until after Thanksgiving to put up their Christmas decorations. Of course I had to start with my fireplace mantel. It’s the focal point of the room and I tend to draw off of this for decor for the rest of the space. This year’s nostalgic elegant Christmas mantel might be my favorite yet, but I say that every year!
Nostalgic Elegant Christmas Mantel
I always start with a blank slate. So I started by clearing all of my fall decor off of the mantel and putting it away in its resting place (aka my seasonal decor closet), to nap until next year. I do leave my big mirror up since that is there year round.
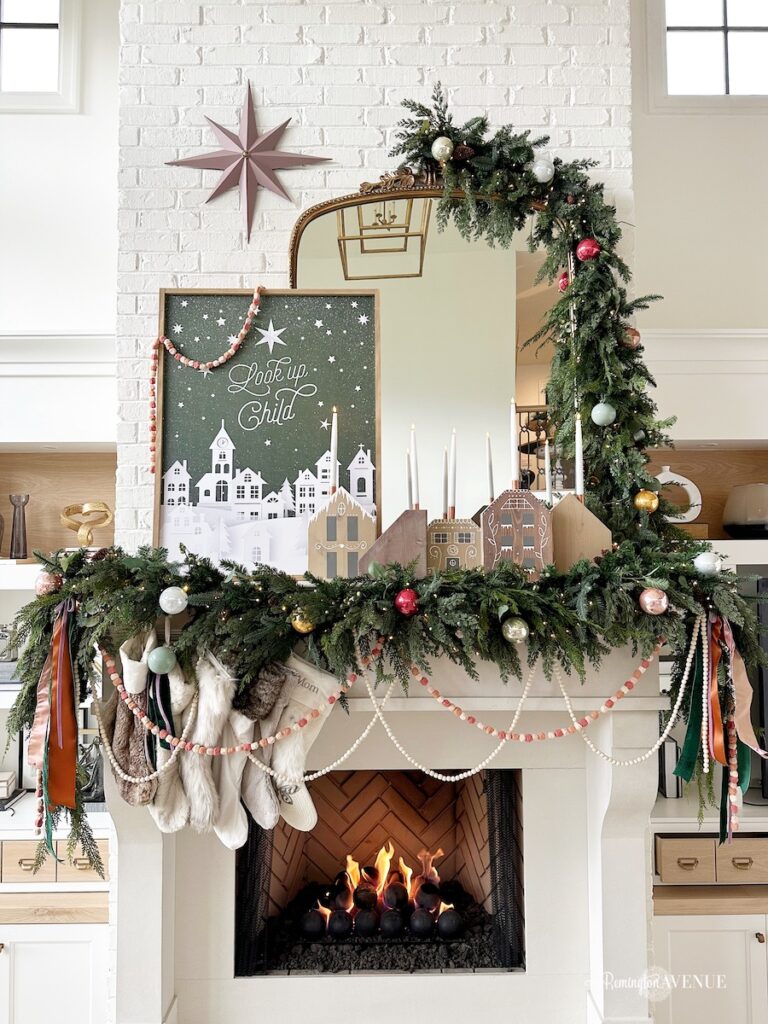
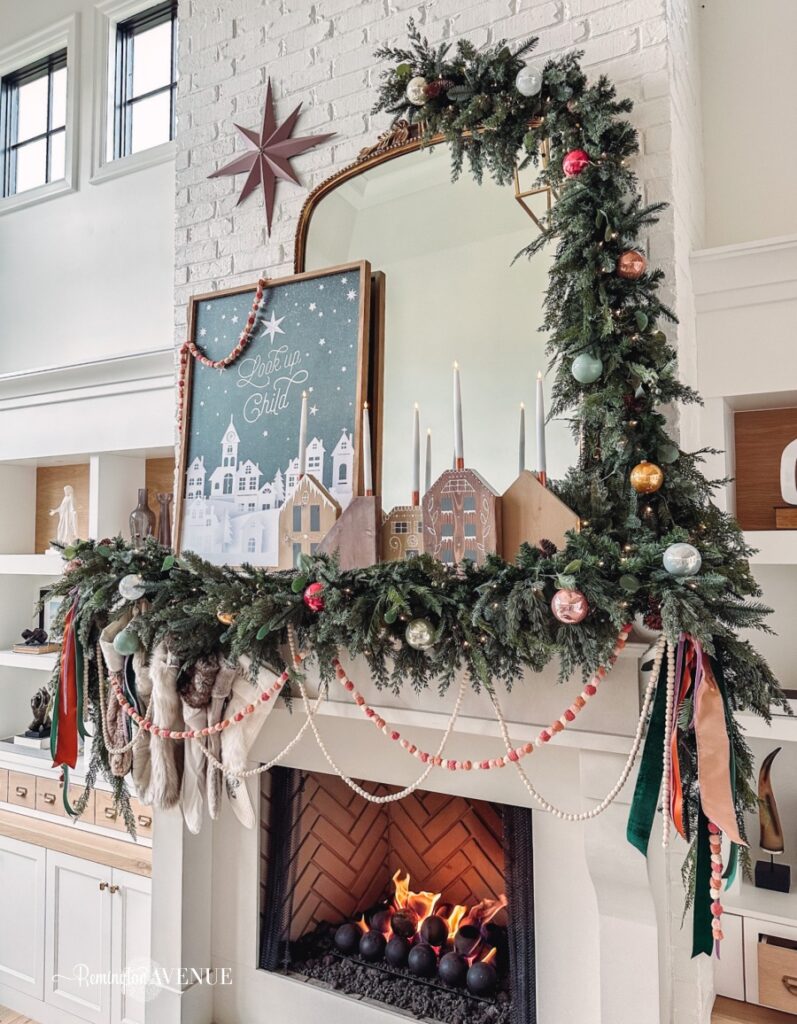
Let’s start with the garlands. To create a thicker garland, I twisted two together a faux cedar and a mixed variety. I attached it at the top center of the mirror and the top right corner of the mirror. This creates a fuller, more interesting look. For the garland going across the mantel I did the same thing, twisted two together. I did a full garland round up, so for reference I used number 6 and number 8 from my round up for this. I used these bungee cord style hooks to attach my garland to the mantle. Then once it was attached I fluffed it to make it look like it was spilling to the front a little.
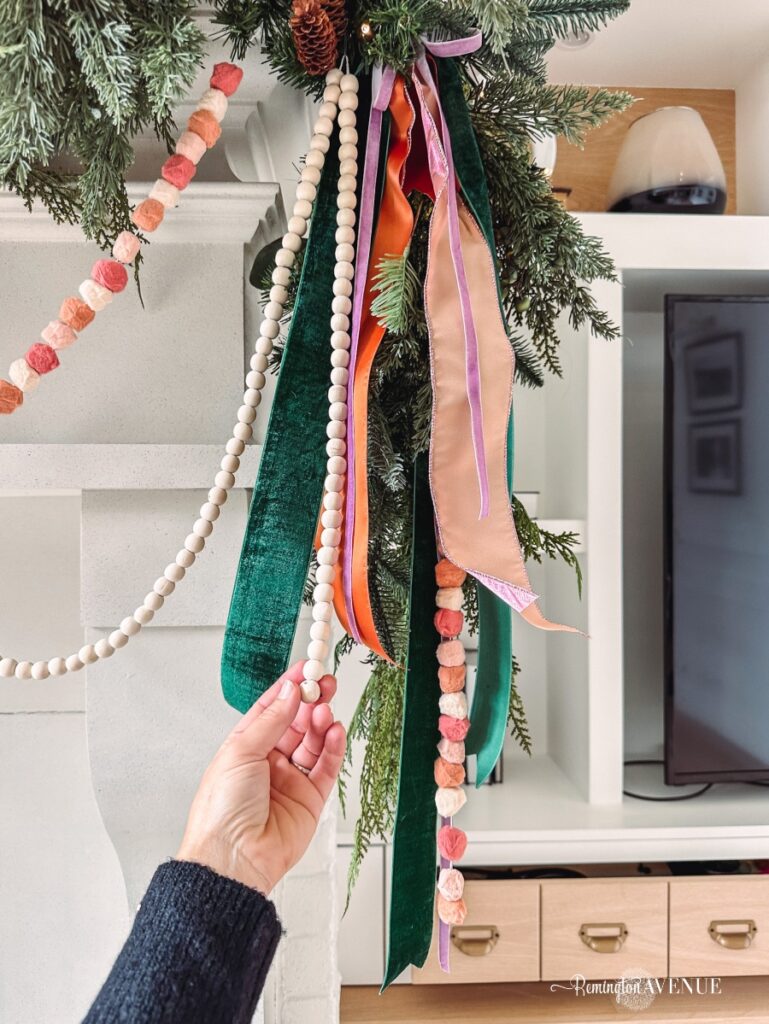
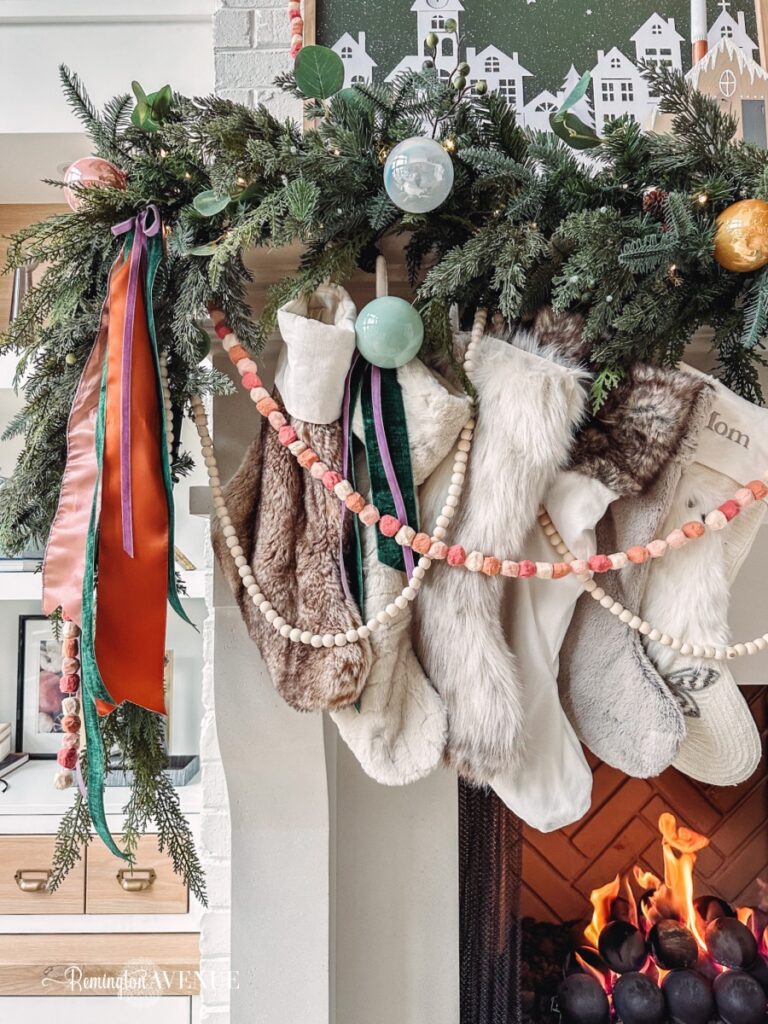
Next I took some of my favorite ribbons and tied them together with floral wire to create bows. Use the floral wire to secure them into the garland. All ribbons and beads linked HERE.
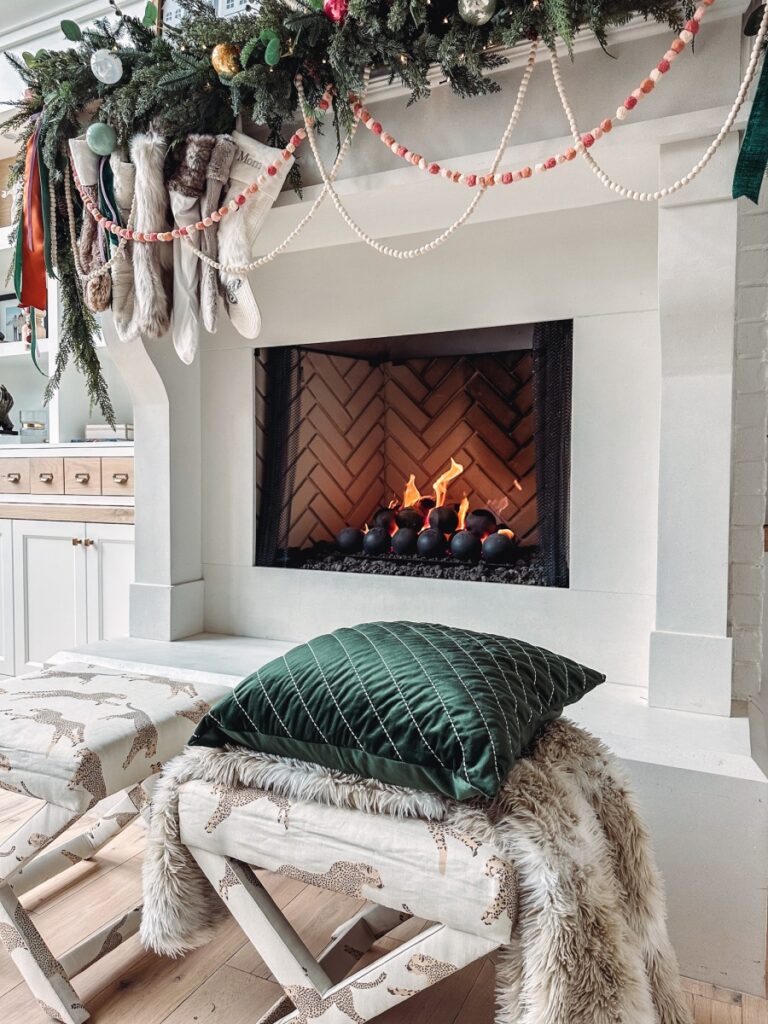
After the ribbons were in, I added the pom pom garland and the wooden bead garland. The easiest way to do this is to attach it at each end and then find the center and attach it there as well. I added the beaded garland in opposite loops as the pom pom one to add more depth.
Then it was time to add some art! Ginger of Teal Barn Signs and I have been collaborating for months on a new Christmas sign to go on the mantel! You might remember that we collaborated on a sign a couple of years ago.
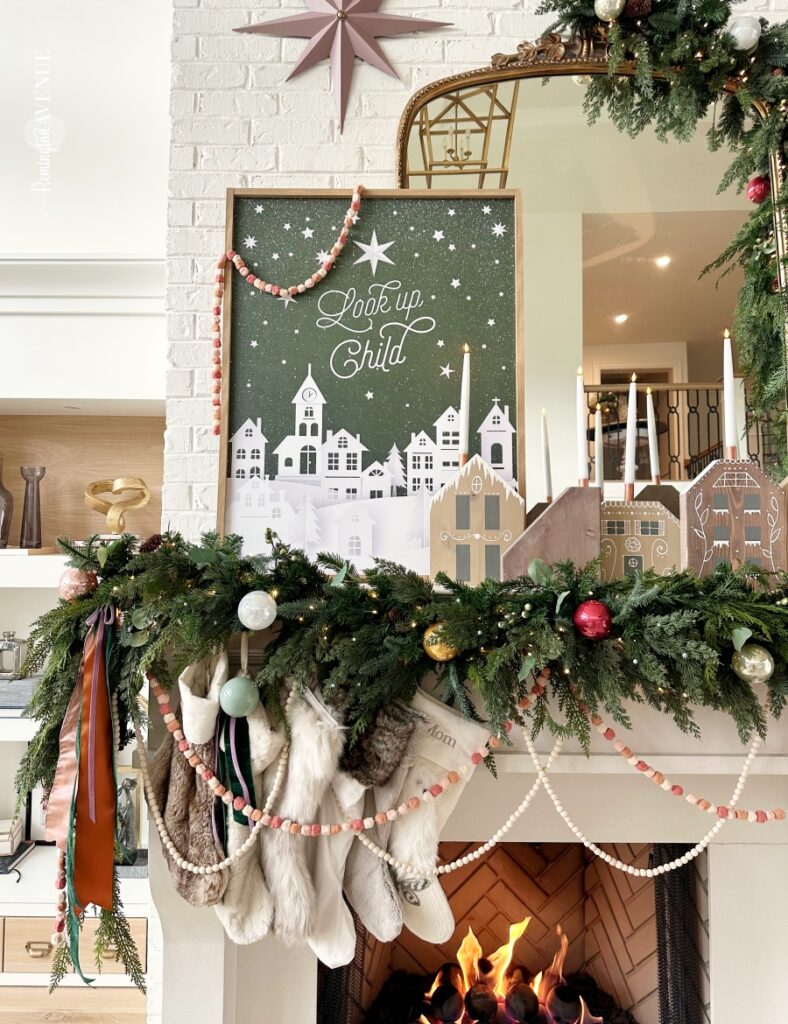
You guys know I love to switch up the colors and the decor every year for Christmas. But most importantly, I want my kids to remember the feeling they had at Christmas. And I want them to remember the reason “why.” For us this sign encompasses the reason why. This phrase just kept popping into my head when we were creating this sign and I love how it turned out. You can get 15% off her shop site wide with my code MYSHA15. There’s more sizes available in her shop, and we also made a Santa version of the sign as well! For reference, I have the 31” x 41” sign in pine green and my mantle is 7ft tall by 5 ft wide.
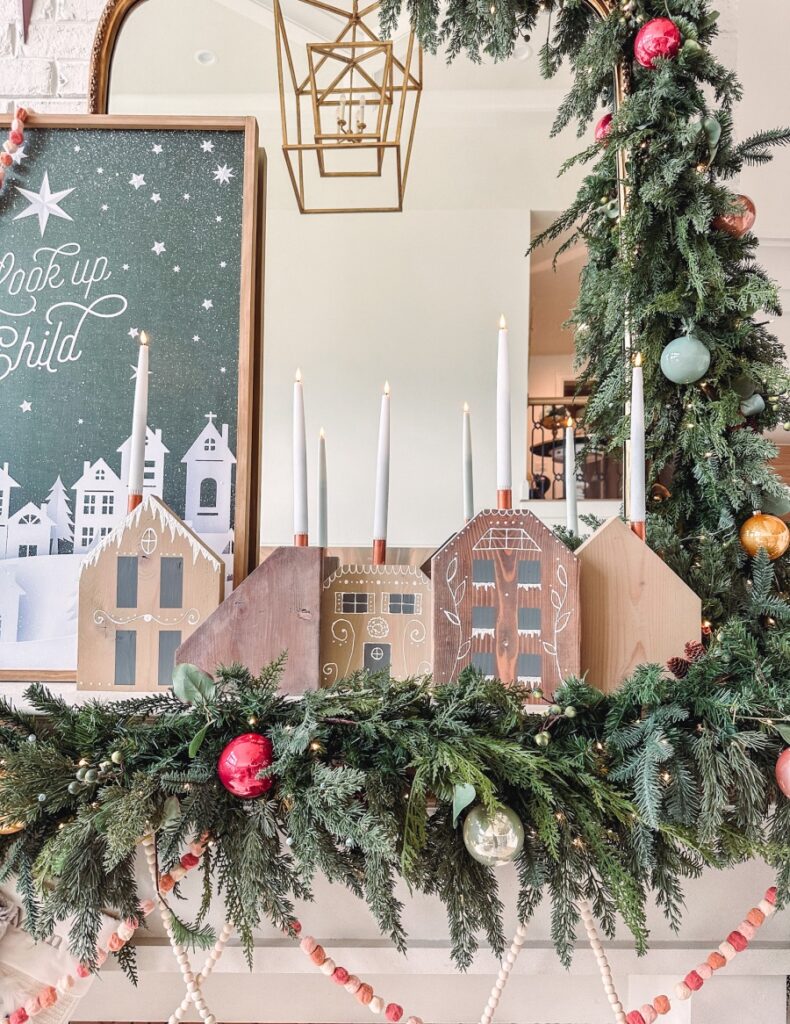

To even out the sign, I added a few of the wooden houses I made in this post. And I added LED flameless candles to the copper stacks.
Add in a few ornament bulbs for color and dimension with floral wire. And don’t forget to add the stockings – also with floral wire.
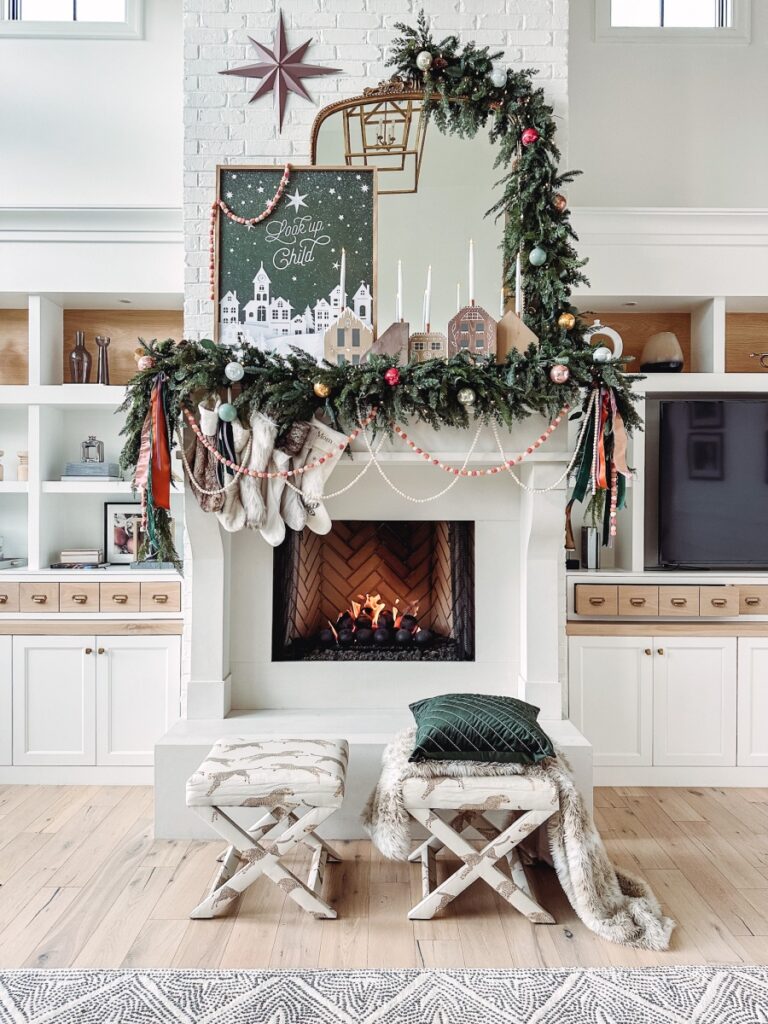
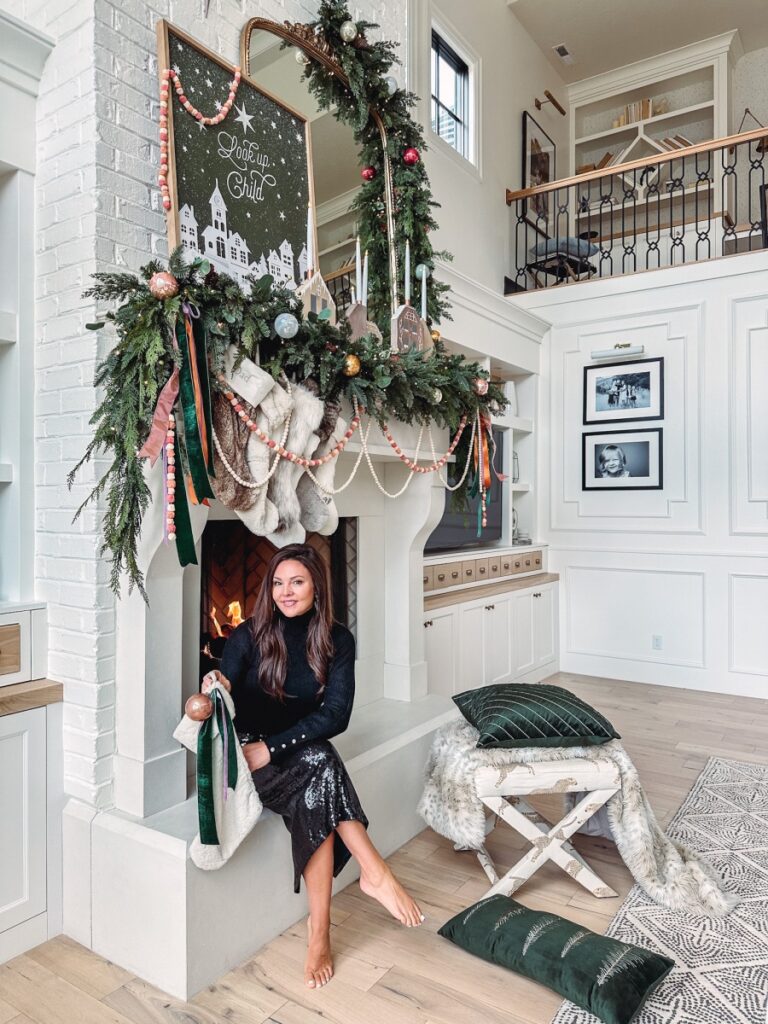
My goal with this year’s Christmas mantel was to achieve nostalgic elegance and I think I did just that. Watch me put this whole mantel together in this reel! And follow along on Instagram for more holiday content!

 Add to favorites or read later